Hologram indicator : tutorial 1 uv editing and baking normal map with cinema4d

Hi! SensitiveCube here!
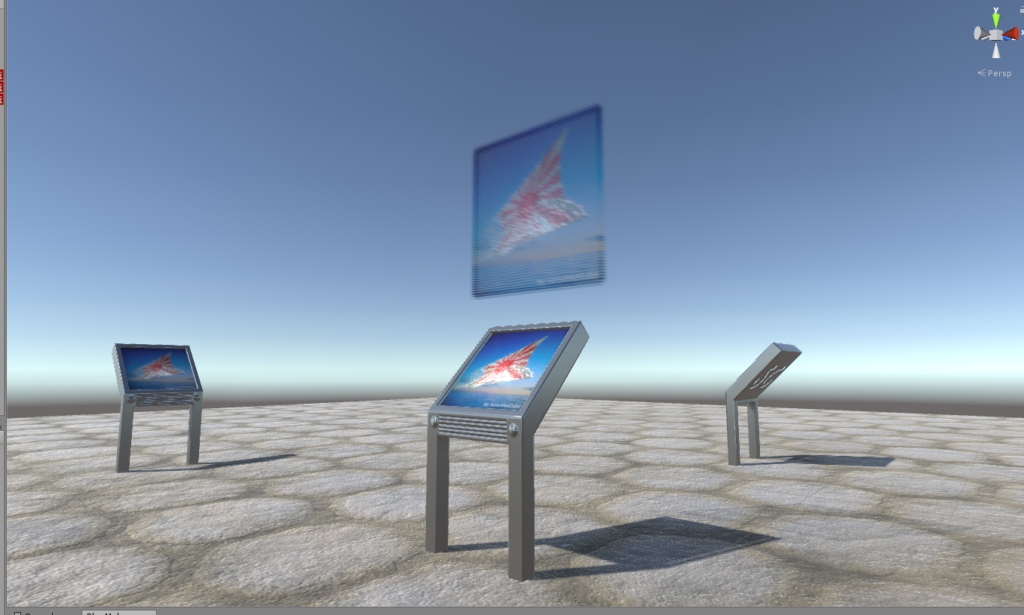
In this tutorial, I’ll show you how to make Hologram indicator. You will learn : UV editing and baking normal map with Cinema4d, Edit normal map with Photoshop and Quixel, Create shader with Unity Amplify shader Editor, Node base scripting with Unity Playmaker.
hologram indicator by sensitiveCube

an image of uv editing and baking normal map with cinema4d

Check the models for this project

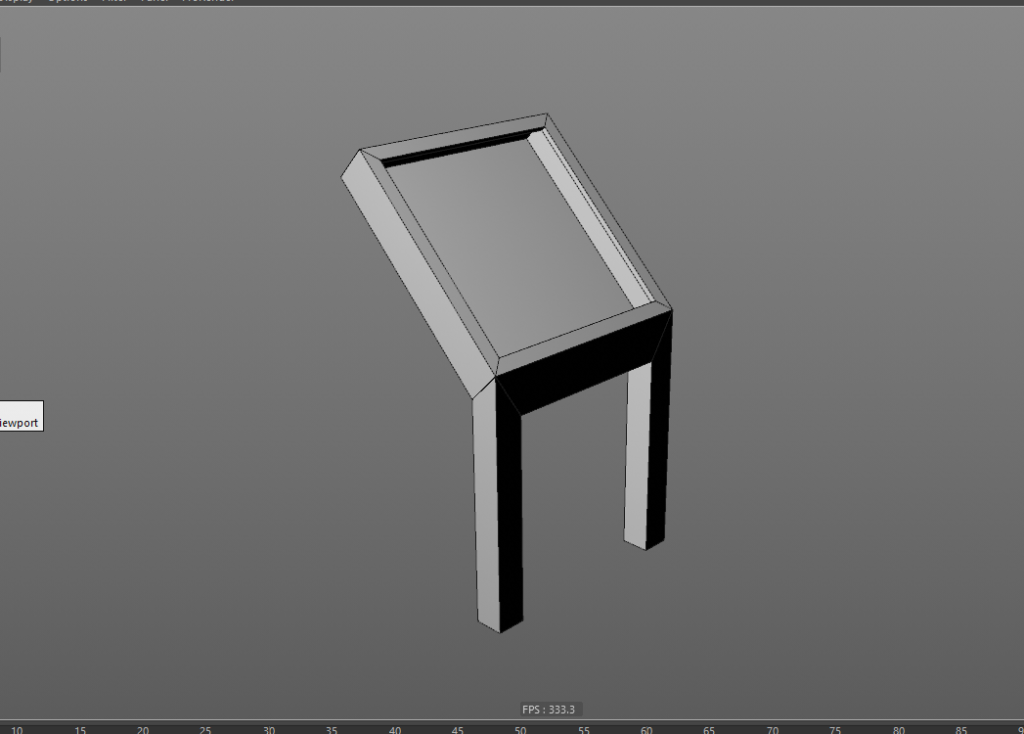
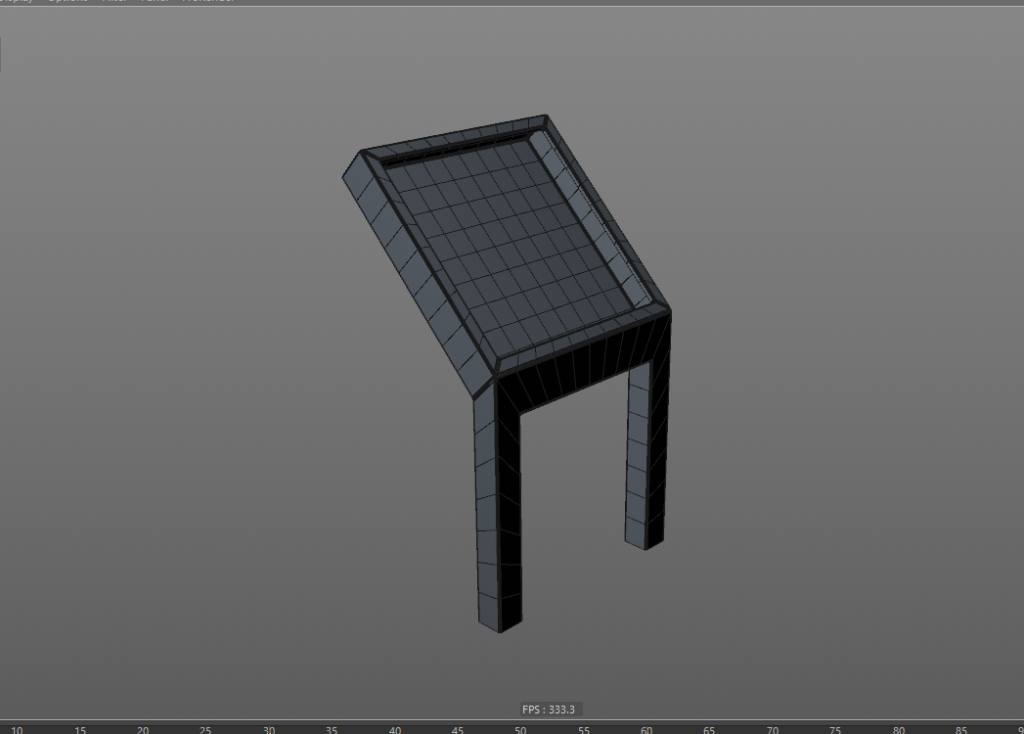
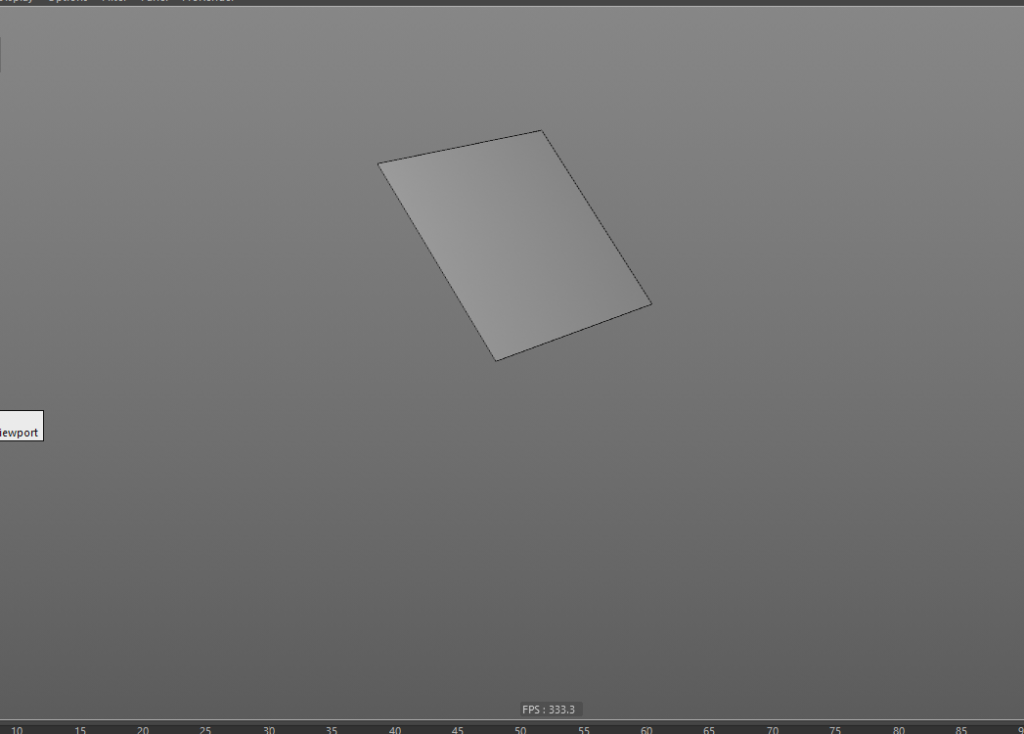
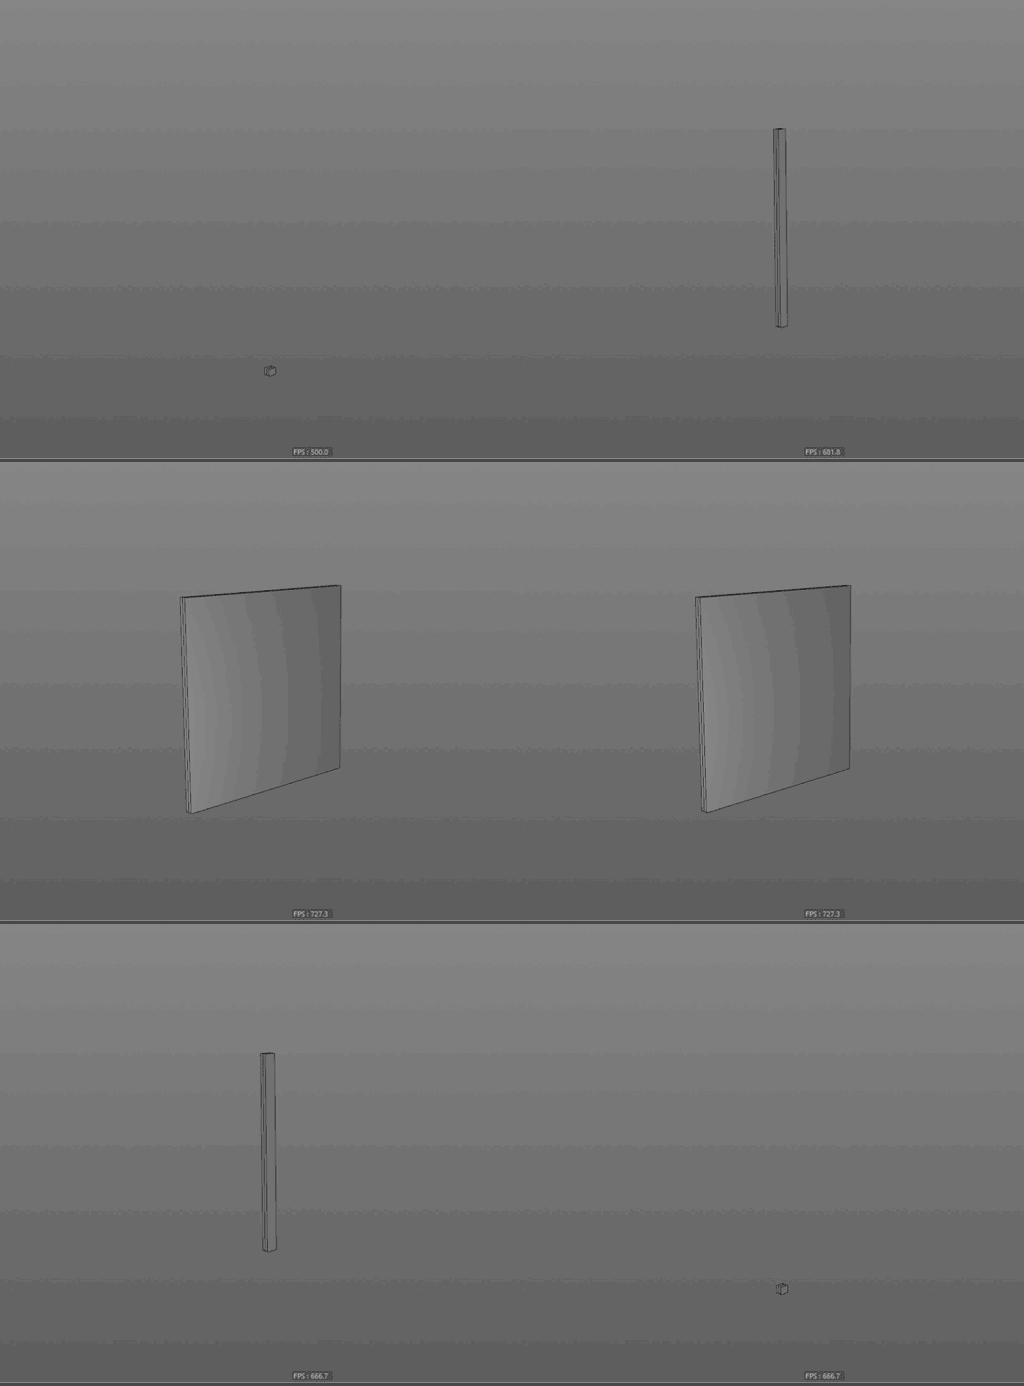
First thing first, Three 3d objects are needed. Low poly indicator, High poly indicator and animated Hologram screen.
Hologram indicator : tutorial 1 uv editing and baking normal map with cinema4d
an image of uv editing and baking normal map with cinema4d
Hologram indicator : tutorial 1 uv editing and baking normal map with cinema4d

an image of uv editing and baking normal map with cinema4d
Hologram indicator : tutorial 1 uv editing and baking normal map with cinema4d
an image of uv editing and baking normal map with cinema4d
Hologram indicator : tutorial 1 uv editing and baking normal map with cinema4d

an image of uv editing and baking normal map with cinema4d
The modeling of these objects are nothing special. Simple low mesh objects and a chamfered high mesh.

UV editing with cinema4D

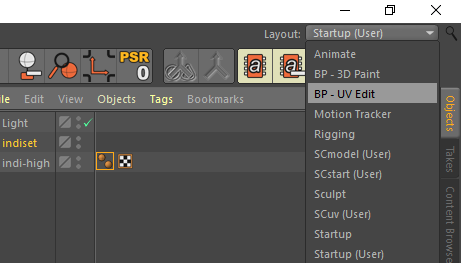
Let’s edit the uv map. Well, I understand nobody like uv editing. Don’t worry, I’ll show you an easy method this cinema4d. Basics of routine is ‘Select’ , ‘Project’ and ‘Hide’. If all polygons are hidden, realign all. Ok, move forward. Create new material named ‘lndiBody’ and add to low-poly indicator mesh. Select the Low poly indicator and change layout to ‘BP – UV Edit’. Change mode to UV Polygons.
Hologram indicator : tutorial 1 uv editing and baking normal map with cinema4d

an image of uv editing and baking normal map with cinema4d
Hologram indicator : tutorial 1 uv editing and baking normal map with cinema4d

an image of uv editing and baking normal map with cinema4d

Hologram indicator : tutorial 1 uv editing and baking normal map with cinema4d

an image of uv editing and baking normal map with cinema4d

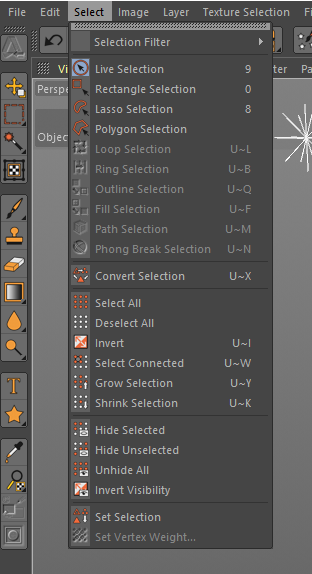
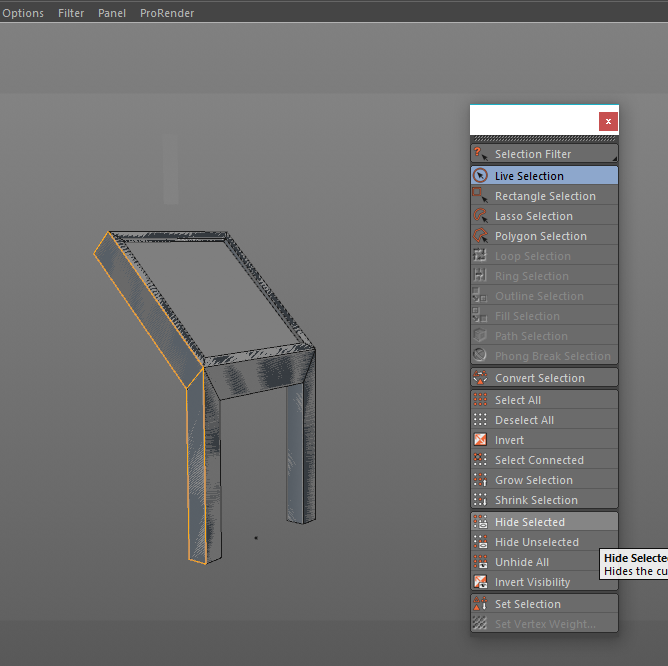
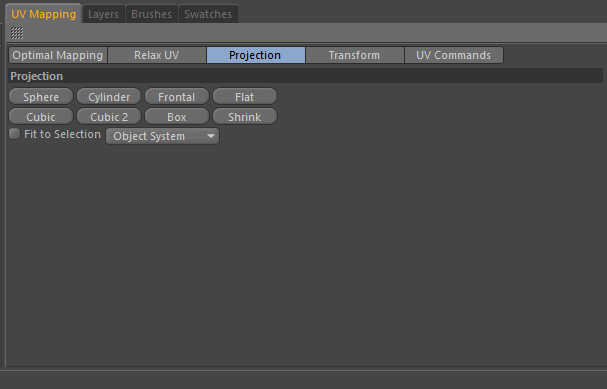
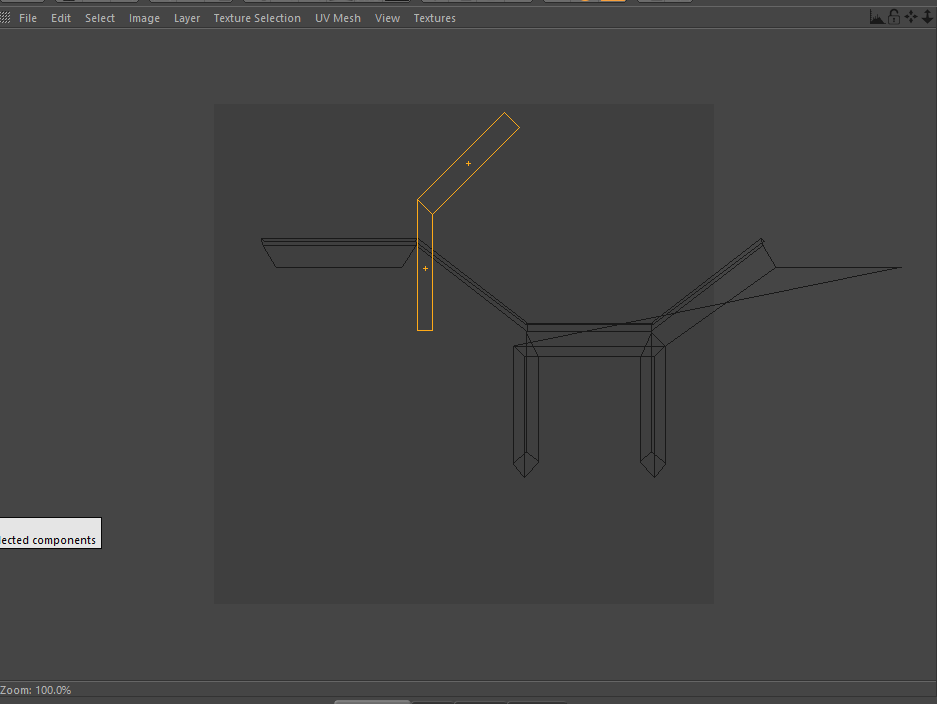
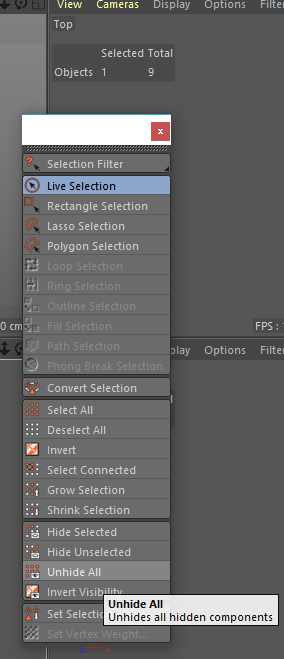
Open Select menu and hit bar on the top. Now you can easy to access the menu. Select Live Selection tool. Then do the routine. Select the side polygons. Goto Right view( the view which shows the polygons nicely ) and hit Frontal button in UV Mapping > Projection. Then hit Hide Selected menu.
Hologram indicator : tutorial 1 uv editing and baking normal map with cinema4d

an image of uv editing and baking normal map with cinema4d

Hologram indicator : tutorial 1 uv editing and baking normal map with cinema4d

an image of uv editing and baking normal map with cinema4d

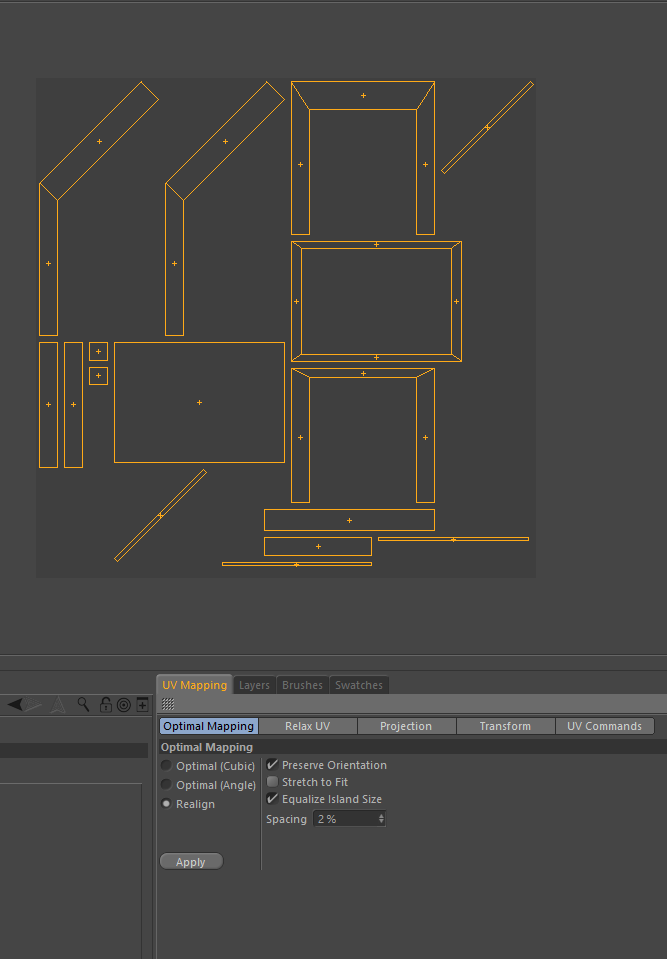
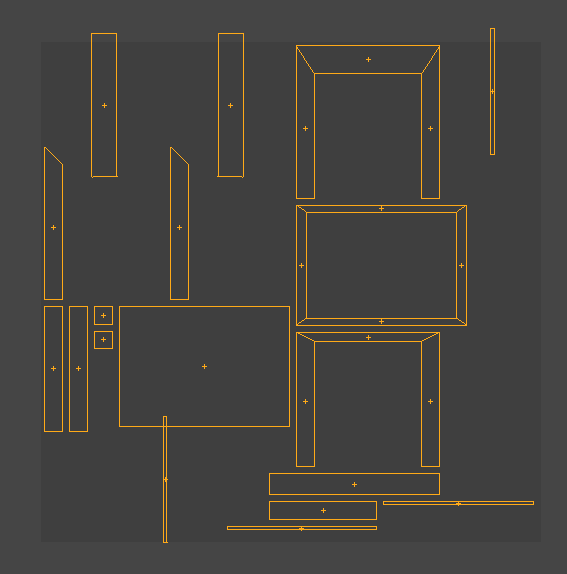
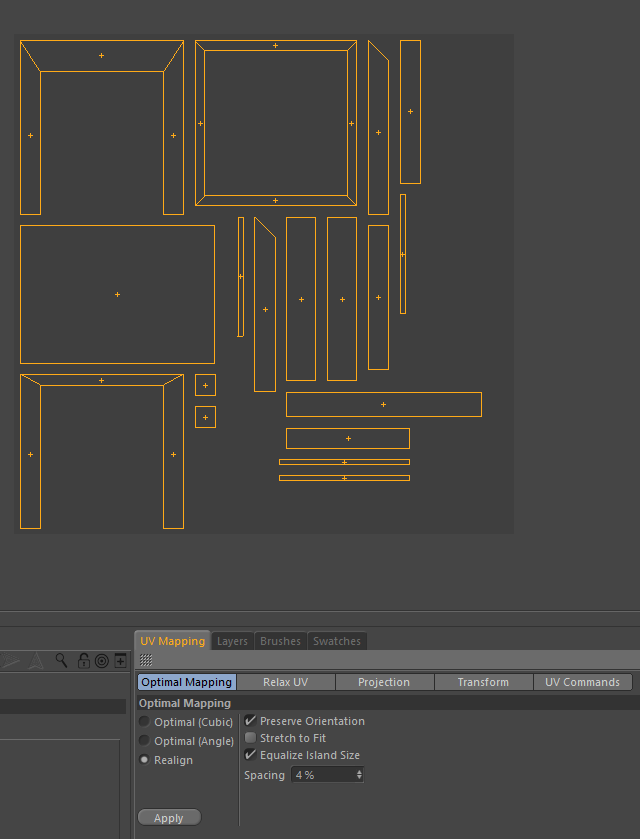
the side polygons became invisible. conticuring this the all polygons became invisible. If finish, hit the unhide all and goto UV Mapping > Optimal Mapping, Turn on Realign and hit Apply.
Hologram indicator : tutorial 1 uv editing and baking normal map with cinema4d
an image of uv editing and baking normal map with cinema4d

Hologram indicator : tutorial 1 uv editing and baking normal map with cinema4d

an image of uv editing and baking normal map with cinema4d

The uv’s are ok but tweak a bit. Select Rotate Tool and ajust tilted uv polygons. Then hit Apply again and Done!
Hologram indicator : tutorial 1 uv editing and baking normal map with cinema4d
an image of uv editing and baking normal map with cinema4d

Hologram indicator : tutorial 1 uv editing and baking normal map with cinema4d

an image of uv editing and baking normal map with cinema4d

It isn’t complicated is it? Special thanks to ‘http://www.renderready.com/‘. This method is inspired by him!

Bake nomal map with cinema4d

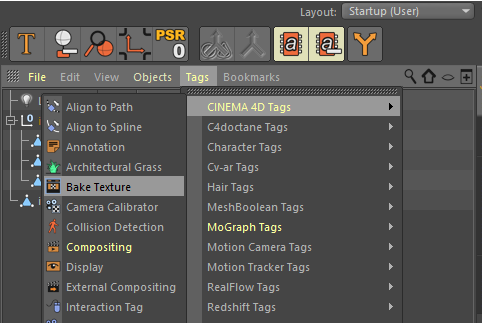
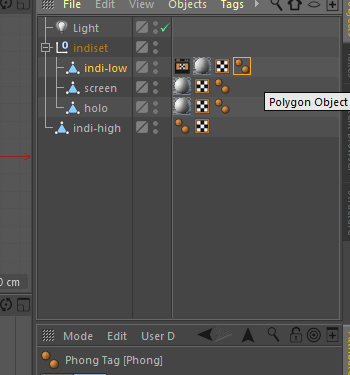
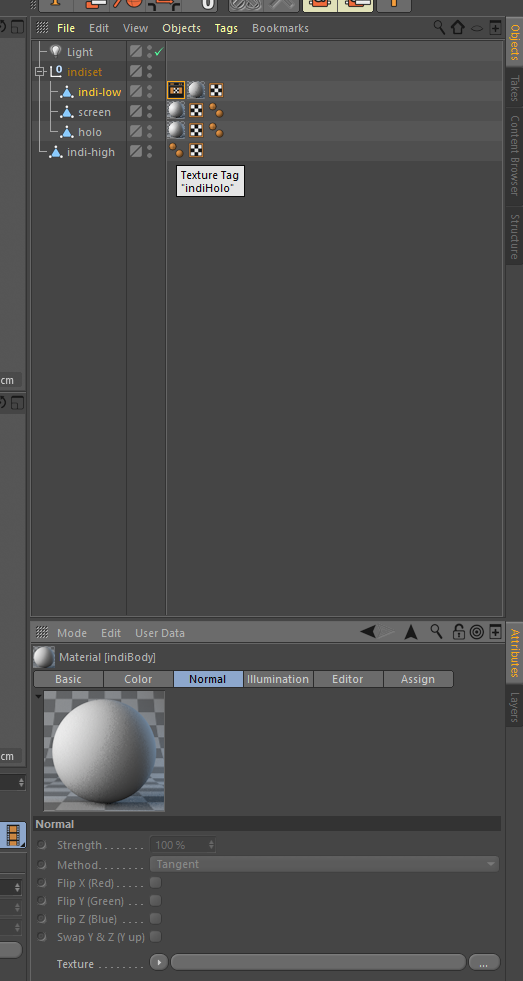
Next step, make the normal map from high mesh with Cinema4d. Firstly, set layout to such as startUp. Go to hierarchy panel and add Bake Texture tag to low-poly indicator mesh. Delete Phong tag of the low mesh
Hologram indicator : tutorial 1 uv editing and baking normal map with cinema4d
an image of uv editing and baking normal map with cinema4d
Hologram indicator : tutorial 1 uv editing and baking normal map with cinema4d

an image of uv editing and baking normal map with cinema4d

Hologram indicator : tutorial 1 uv editing and baking normal map with cinema4d

an image of uv editing and baking normal map with cinema4d

.
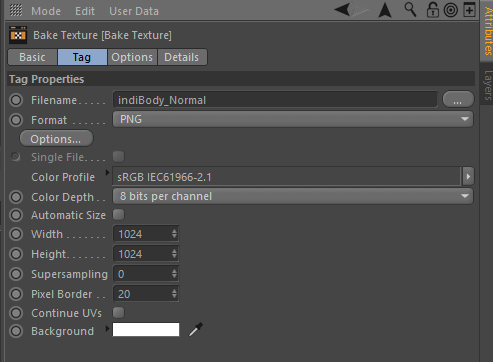
Select the tag and go to Attribute panel. Move to Tag. Set Properties like below.
Hologram indicator : tutorial 1 uv editing and baking normal map with cinema4d

an image of uv editing and baking normal map with cinema4d

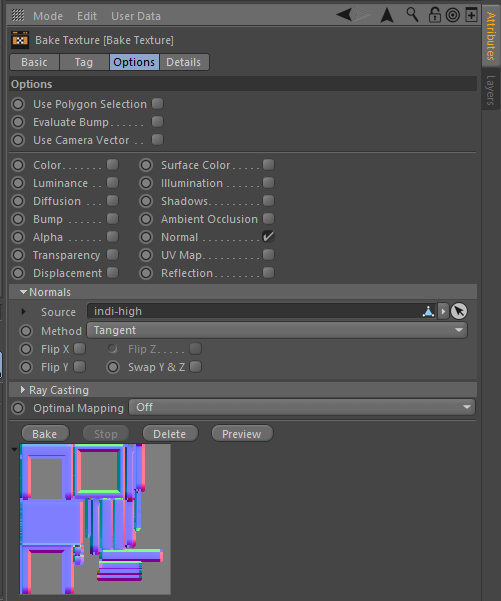
Next, goto Options tab and turn on Normal. Add high-mesh indicator to Source and change Method to Tangent. Then hit Bake button.
Hologram indicator : tutorial 1 uv editing and baking normal map with cinema4d

an image of uv editing and baking normal map with cinema4d

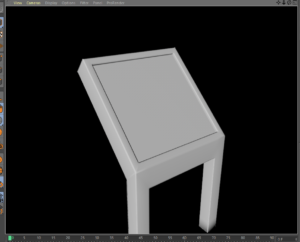
Aftere while, the normal map will appeared. Let’s check the texture. Select indiBody material. In Basic tab, turn on Normal and goto Normal tab. Assign the normal map to Texture and Render View.
Hologram indicator : tutorial 1 uv editing and baking normal map with cinema4d

an image of uv editing and baking normal map with cinema4d

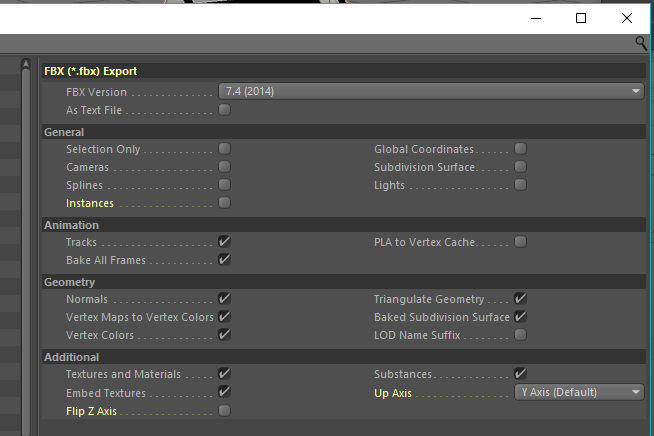
If it is ok, exprot the objects( Low-mesh indicator, screen and hologram). Do not include high-mesh.
Hologram indicator : tutorial 1 uv editing and baking normal map with cinema4d

an image of uv editing and baking normal map with cinema4d

Next section, you will learn how to add details for normal map with adobe Photoshop and Quixel NDO.