こんにちは!SensitiveCubeです!
このチュートリアルでは、ホログラムインディケーターの作成方法を解説します。この記事では、Cinema4Dを使ったUVの編集とノーマルマップのベイク、PhotoshopとQuixelを使ってノーマルマップの編集、Unity Amplify shader Editorを使ってシェーダーの作成、Unity Playmakerを使ってノードベースでのスクリプティングを行います。

Cinema4Dを使ってのUVの編集とノーマルマップのベイク 1
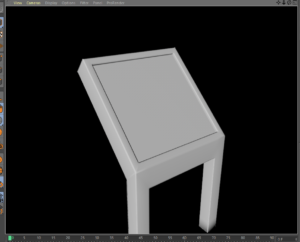
このプロジェクトで使用するモデル
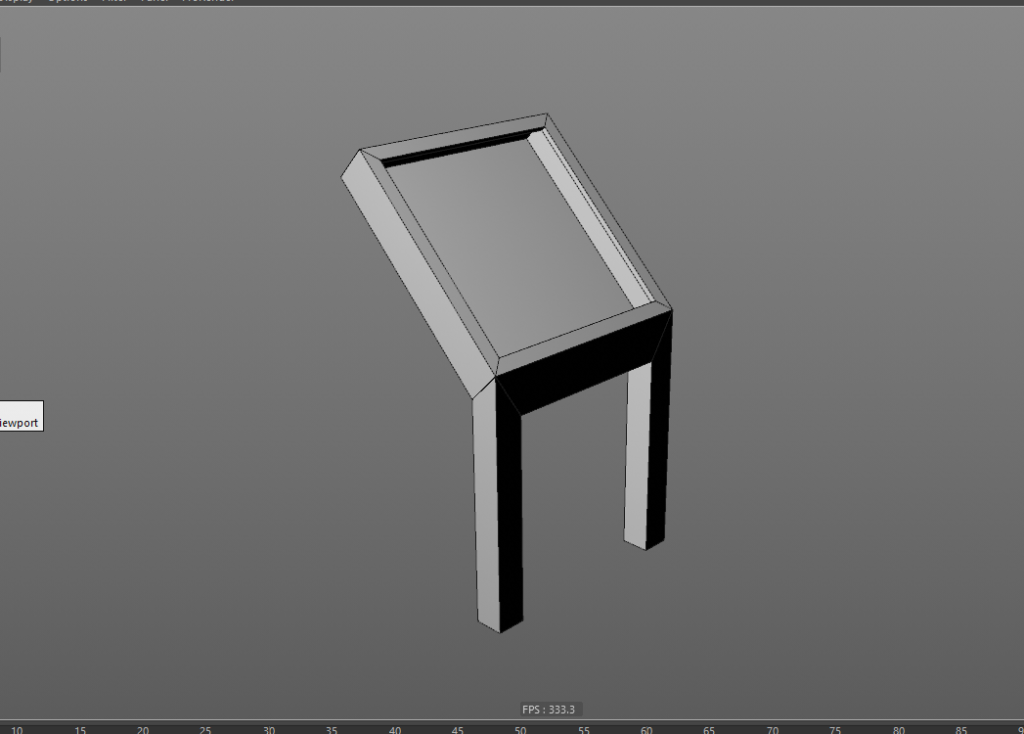
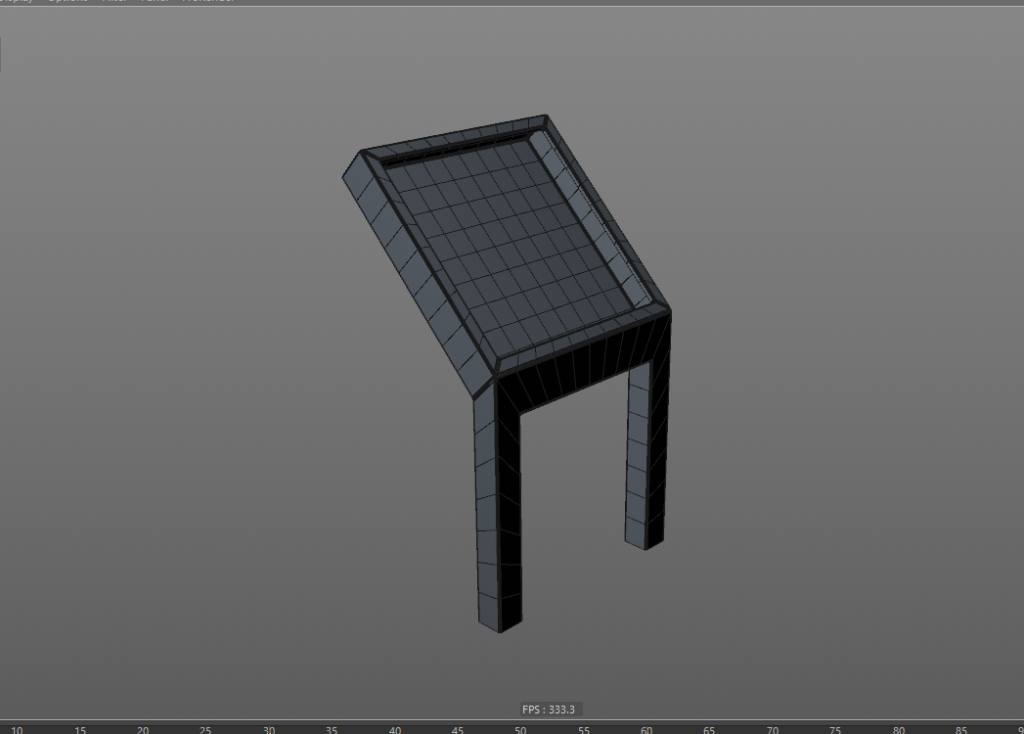
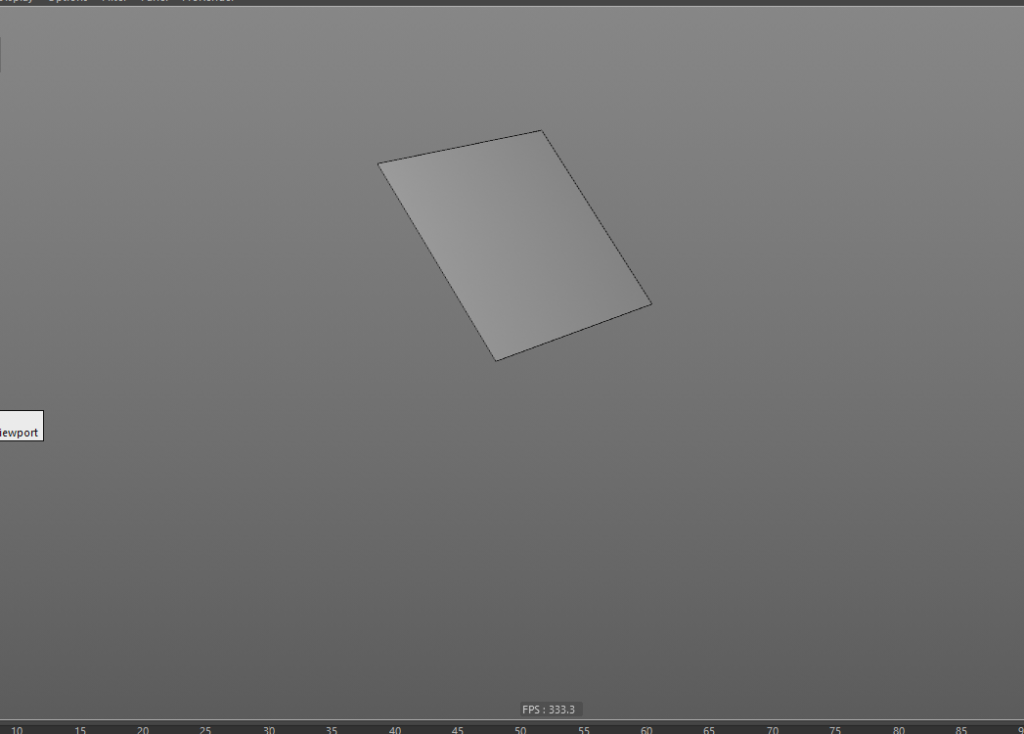
今回のチュートリアルでは、3つの3Dオブジェクトを使います。ローポリのインディケーター、ハイポリのインディケーターとアニメーション化されたホログラムスクリーンです。
Cinema4Dを使ってのUVの編集とノーマルマップのベイク 2
Cinema4Dを使ってのUVの編集とノーマルマップのベイク 3
Cinema4Dを使ってのUVの編集とノーマルマップのベイク 4
Cinema4Dを使ってのUVの編集とノーマルマップのベイク 5
これらのオブジェクトは何ら特別なものではありません。シンプルなローメッシュオブジェクトと、面取りしたハイメッシュからできています。
Cinema4Dを使ったUVの編集
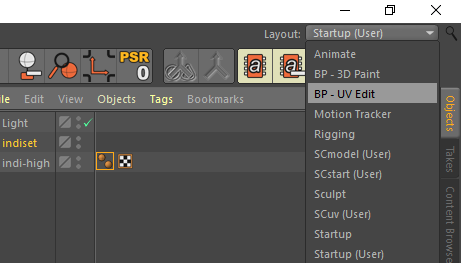
では、UVマップを編集しましょう。もちろん、UVの編集が好きな人はあまりいないことは知っています。ですが、今回はCinema4Dを使って簡単にUVの編集ができる方法をご紹介します。ルーティーンの基礎は、”Select”、”Project”と”Hide”です。すべてのポリゴンが非表示状態の場合は、再調整してください。では、次のステップに行きましょう。”IndiBody”という新しいマテリアルを作成し、ローポリインディケーターに追加してください。ローポリインディケーターを選択し、レイアウトを”BP – UV Edit”に変更してください。モードは”UV Polygons”に変更してください。
Cinema4Dを使ってのUVの編集とノーマルマップのベイク 6
Cinema4Dを使ってのUVの編集とノーマルマップのベイク 7
Cinema4Dを使ってのUVの編集とノーマルマップのベイク 8
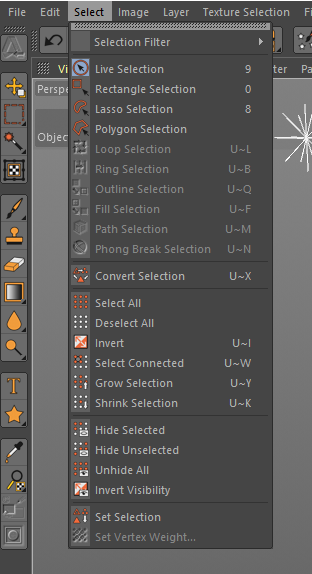
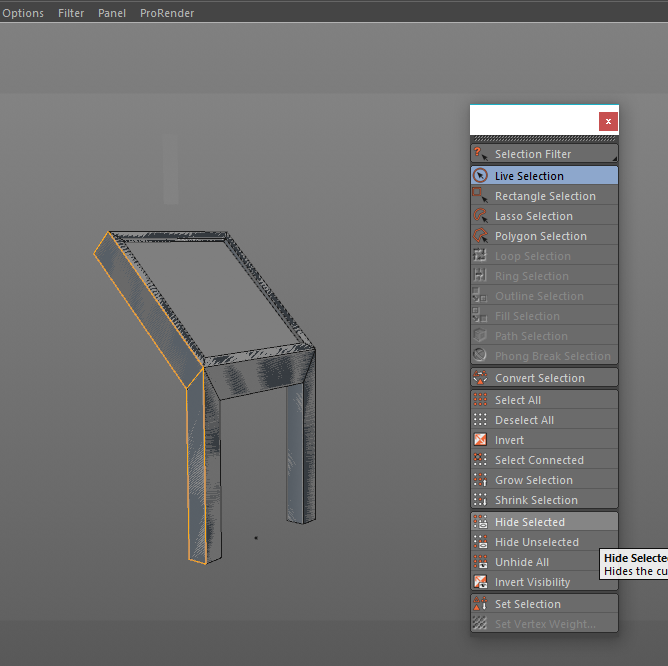
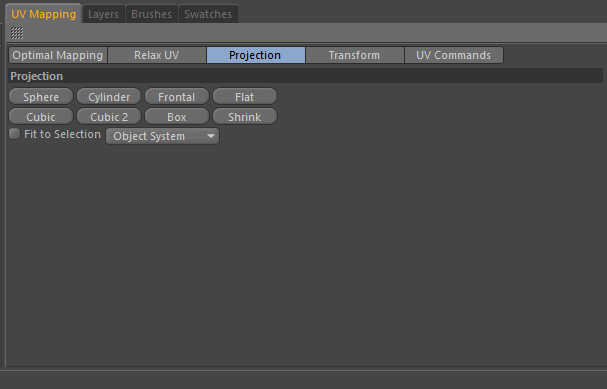
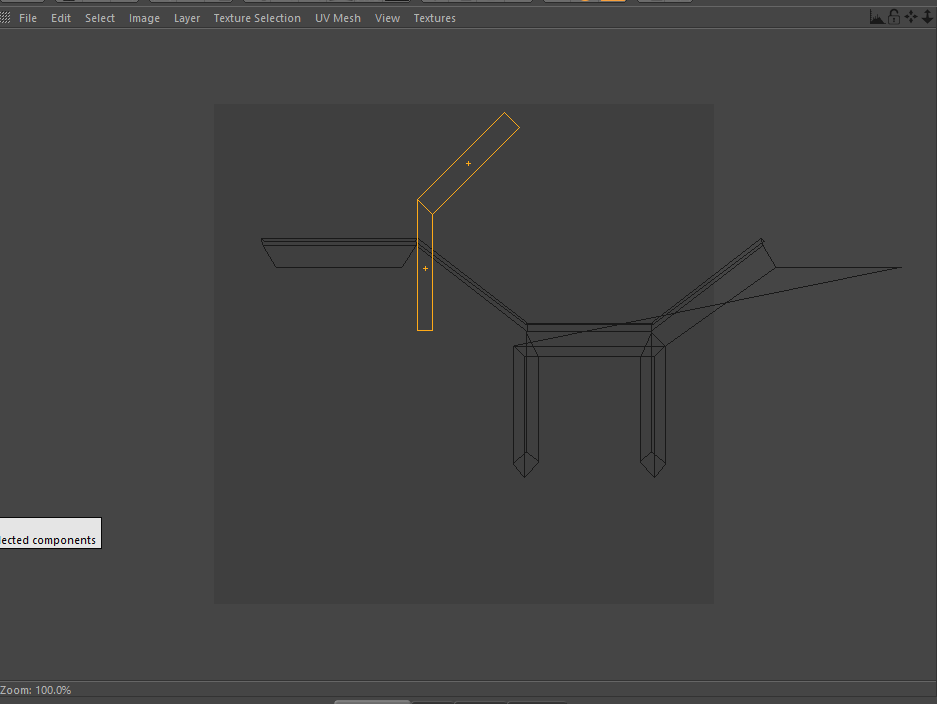
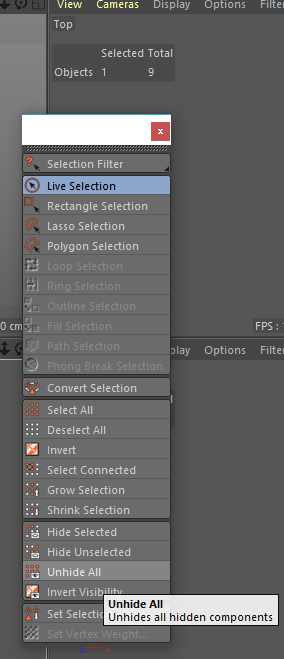
Selectメニューを開き、上のバーをクリックしてください。これで簡単にメニューにアクセスすることができます。Live Selectionツールを選択してください。そしてルーティーンを行います。サイドのポリゴンをクリックしてください。次に右のビュー(ポリゴンが綺麗に映っている方)を開き、UV Mappingタブ > Projectionを選択 > Frontalボタンをクリックしてください。そして Hide Selected Menu をクリックします。
Cinema4Dを使ってのUVの編集とノーマルマップのベイク 9
Cinema4Dを使ってのUVの編集とノーマルマップのベイク 10
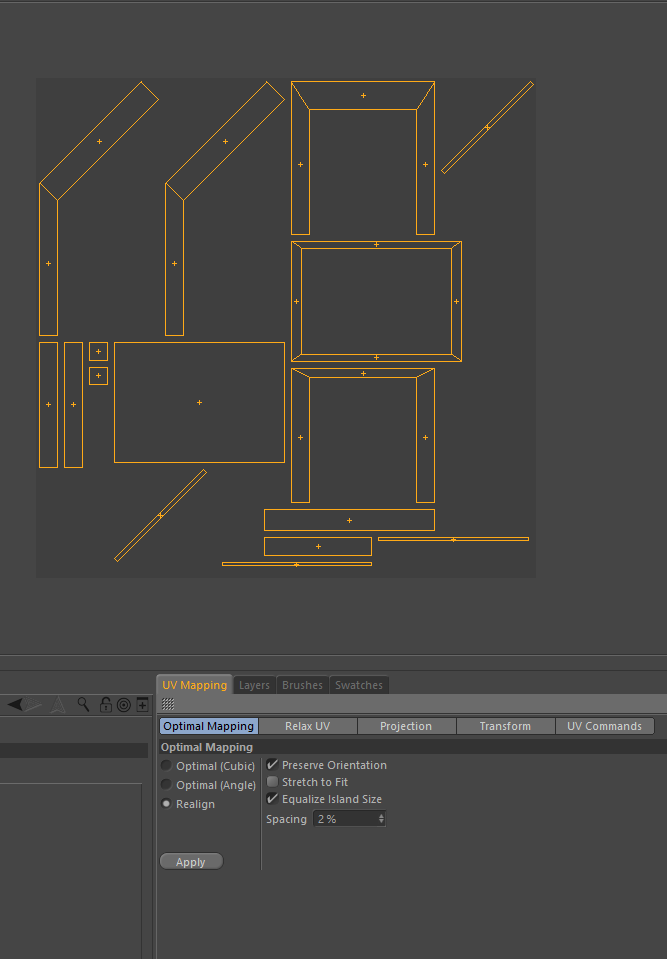
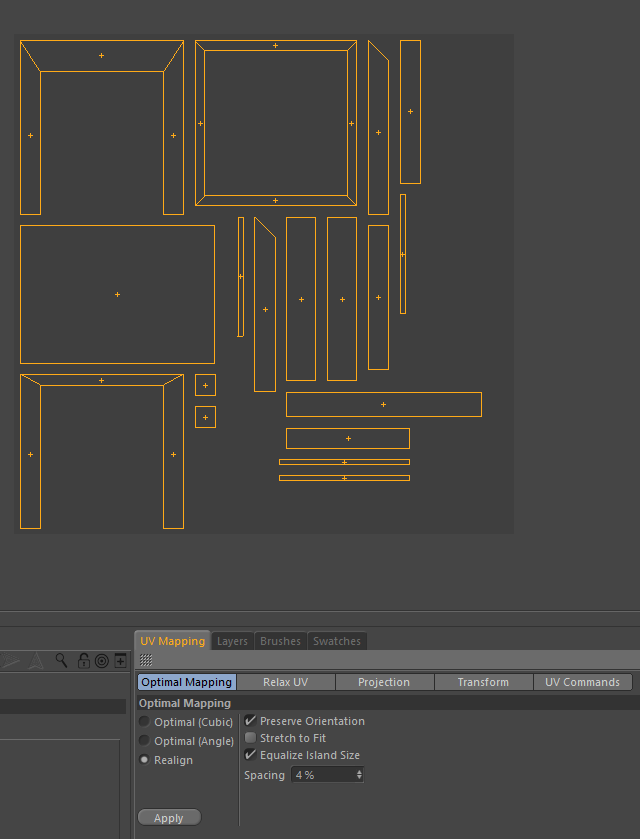
これでサイドのポリゴンが透明になりました。繰り返すことですべてのポリゴンが透明になります。完了したら、Unhide をクリックし、UV Mapping > Optimal Mappingを選択、Realignを選択状態にし、Applyをクリックしてください。
Cinema4Dを使ってのUVの編集とノーマルマップのベイク 11
Cinema4Dを使ってのUVの編集とノーマルマップのベイク 12
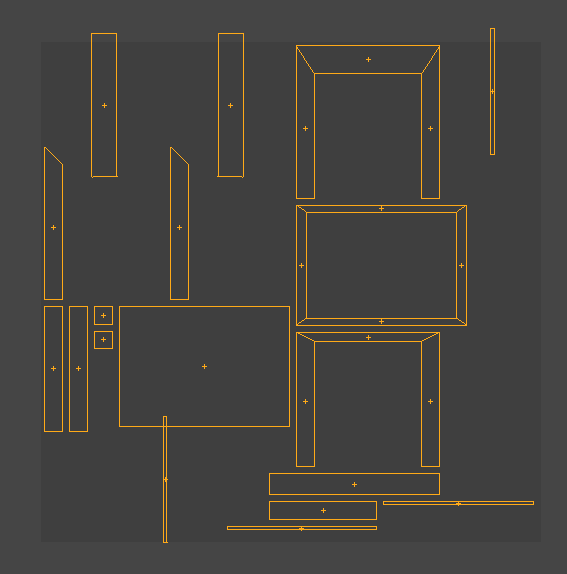
これでUVの準備はできましたが、少し調整します。Rotate Tool を選択し、傾いたUVポリゴンを調整してください。Applyをクリックして、完成です!
Cinema4Dを使ってのUVの編集とノーマルマップのベイク 13
Cinema4Dを使ってのUVの編集とノーマルマップのベイク 14
シンプルな手順ですよね?これも’http://www.renderready.com/‘のおかげです。今回の手順は彼の記事からインスピレーションを受けたものです!
Cinema4Dを使ってノーマルマップをベイク
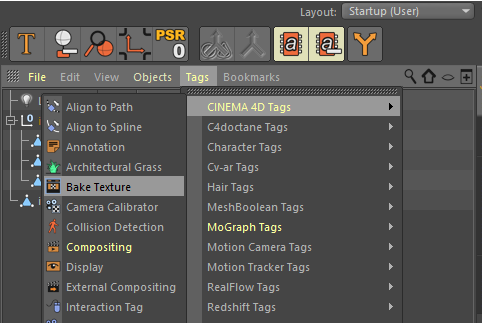
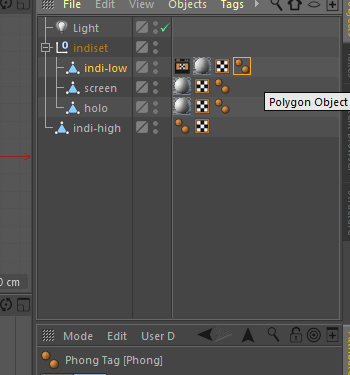
次は、Cinema4Dを使ってハイメッシュからノーマルマップを作成しましょう。まず、レイアウトを startUp に設定します。Hierarchyを開き、Bake Texture tagをローポリインディケーターメッシュへ追加します。ローメッシュの Phong tag を削除します。
Cinema4Dを使ってのUVの編集とノーマルマップのベイク 15
Cinema4Dを使ってのUVの編集とノーマルマップのベイク 16
Cinema4Dを使ってのUVの編集とノーマルマップのベイク 17
Tagを選択し、Attributeパネルを開きます。Tagをクリックしてください。以下の画像のように設定してください。
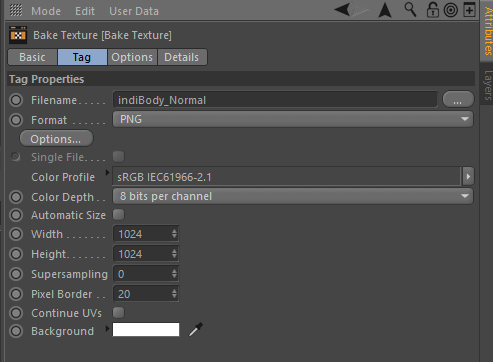
Cinema4Dを使ってのUVの編集とノーマルマップのベイク 18
次に、Optionsタブをクリックし、Normalオプションをオンにします。Sourceへハイメッシュインディケーターを追加し、MethodはTangentに変更してください。Bakeボタンをクリックします。
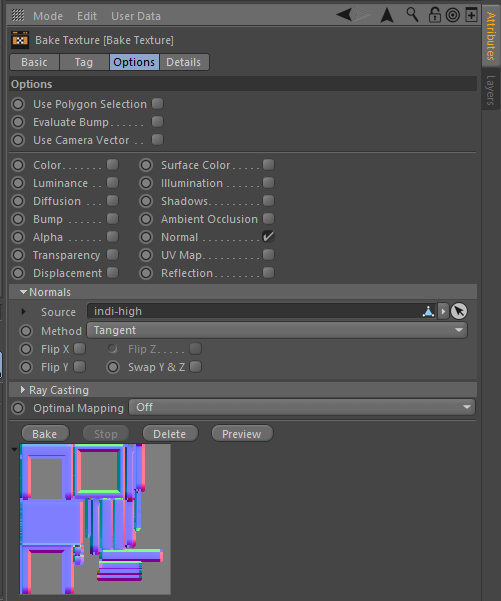
Cinema4Dを使ってのUVの編集とノーマルマップのベイク 19
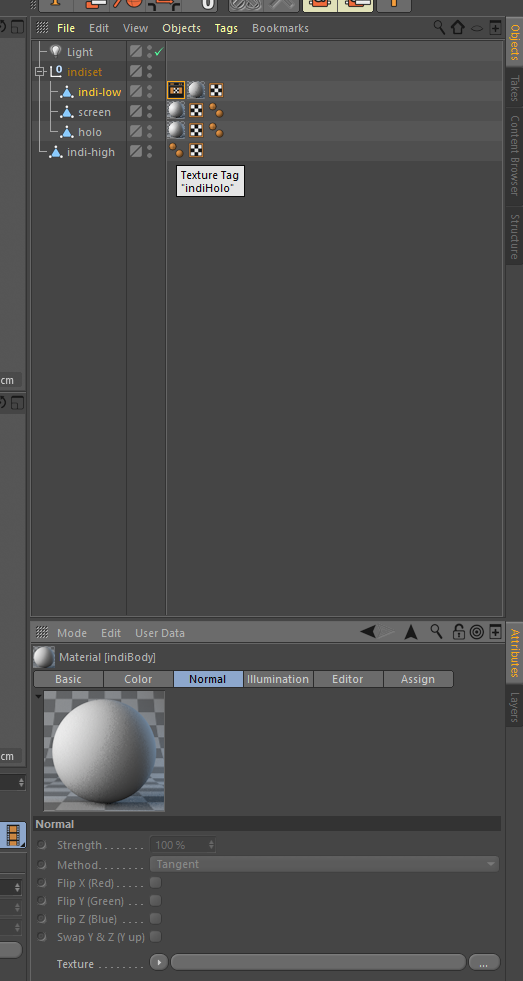
少し待つと、ノーマルマップが表示されます。テクスチャを確認してみてください。IndiBodyマテリアルを選択します。Basicタブを開き、Normalオプションをオンにし、Normalタブを開きます。Texture と Render View へノーマルマップを適用してください。
問題がないようであれば、オブジェクト(ローメッシュインディケーター、スクリーン、ホログラム)をエクスポートしましょう。ハイメッシュは必要ありません。.

Cinema4Dを使ってのUVの編集とノーマルマップのベイク 2
問題がないようであれば、オブジェクト(ローメッシュインディケーター、スクリーン、ホログラム)をエクスポートしましょう。ハイメッシュは必要ありません。.
Cinema4Dを使ってのUVの編集とノーマルマップのベイク 20
次の記事では、Adobe PhotoshopとQuixel NDOを使用してノーマルマップへディテールを追加する方法を解説します。