
an image of uv editing and baking normal map with cinema4d
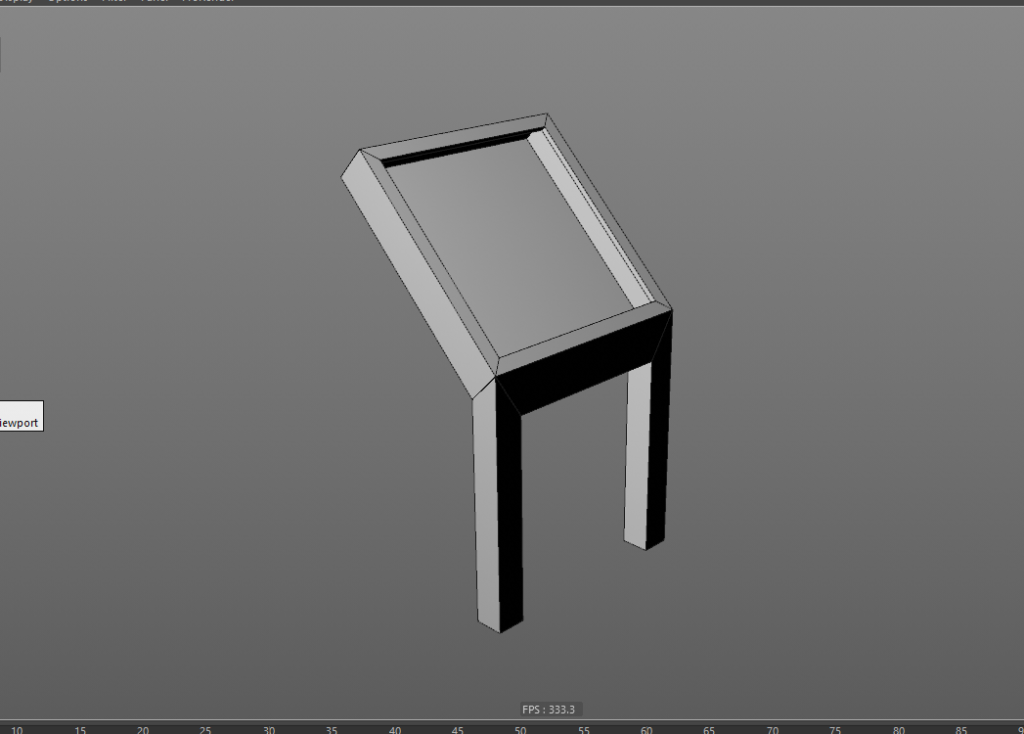
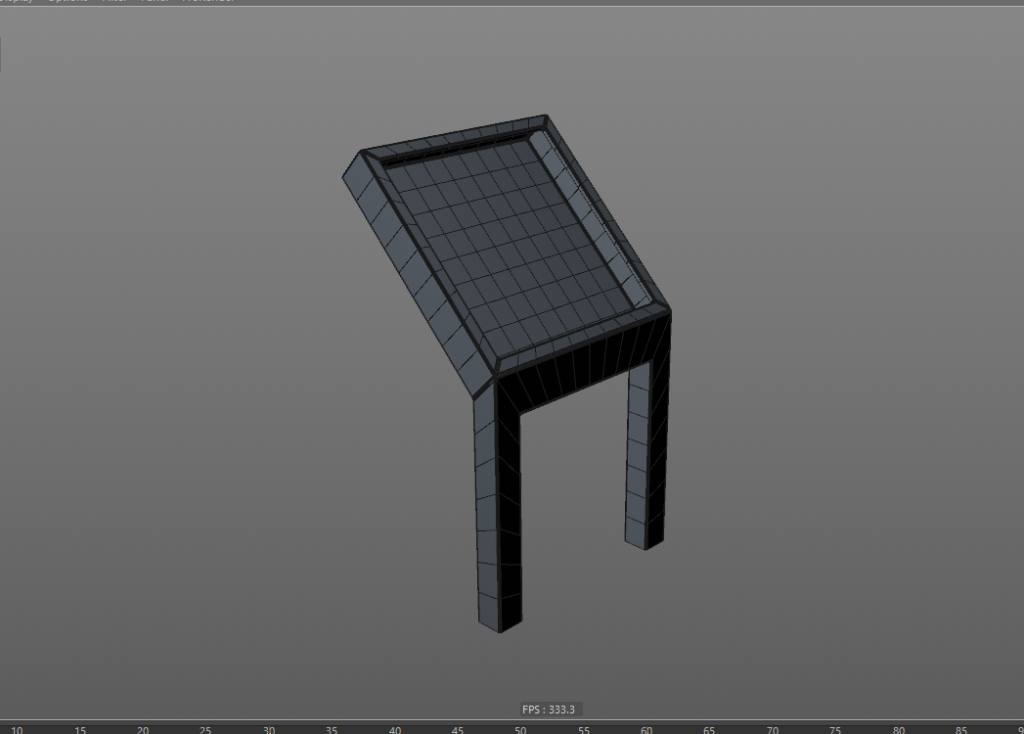
Check the models for this project
First thing first, Three 3d objects are needed. Low poly indicator, High poly indicator and animated Hologram screen.
an image of uv editing and baking normal map with cinema4d
an image of uv editing and baking normal map with cinema4d
an image of uv editing and baking normal map with cinema4d
an image of uv editing and baking normal map with cinema4d
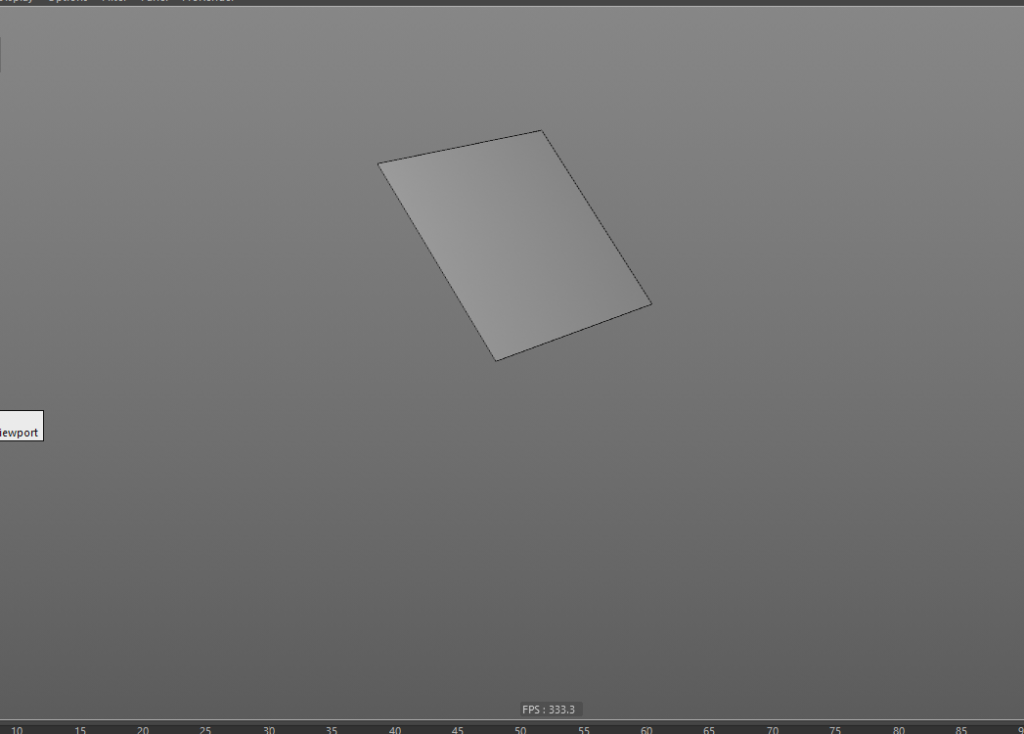
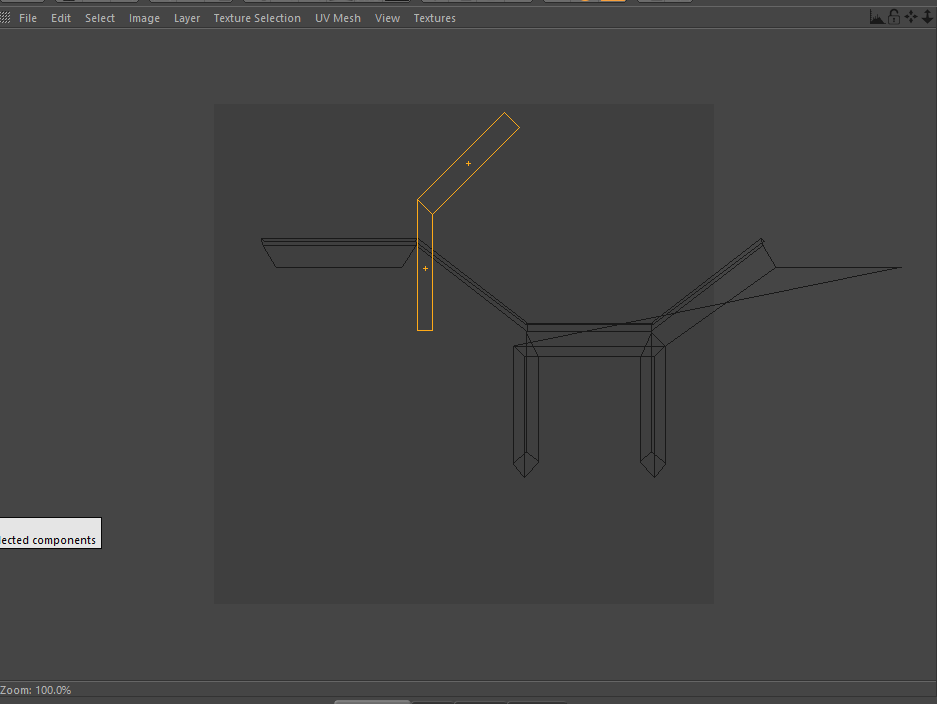
UV editing with cinema4D
an image of uv editing and baking normal map with cinema4d
an image of uv editing and baking normal map with cinema4d
an image of uv editing and baking normal map with cinema4d
an image of uv editing and baking normal map with cinema4d
an image of uv editing and baking normal map with cinema4d
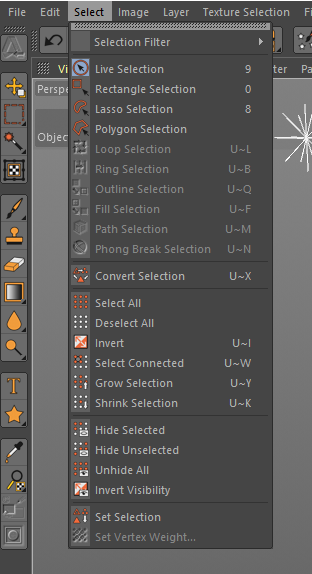
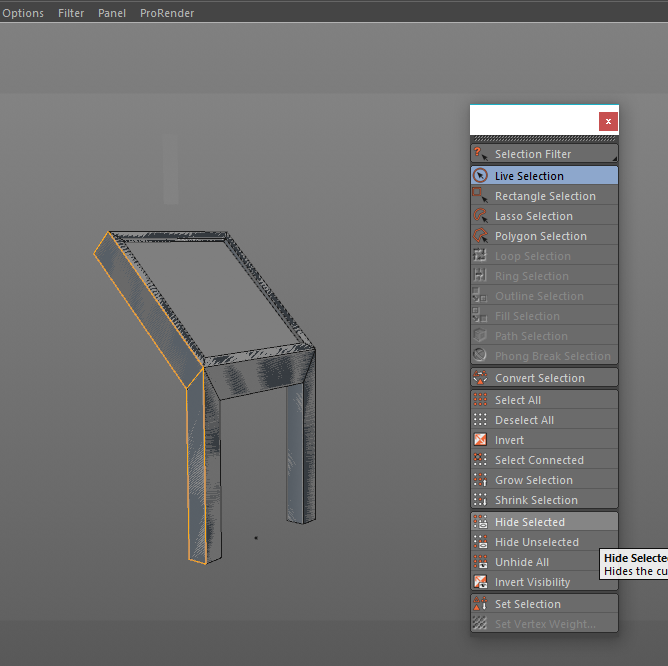
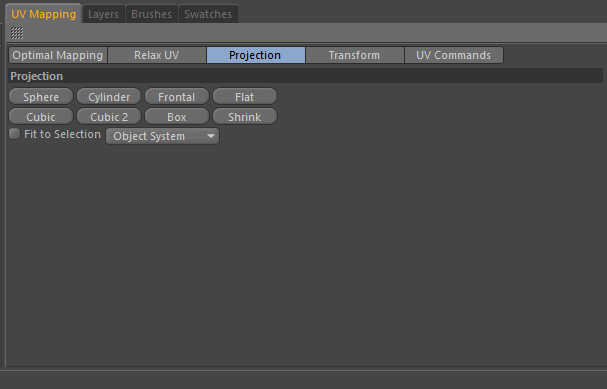
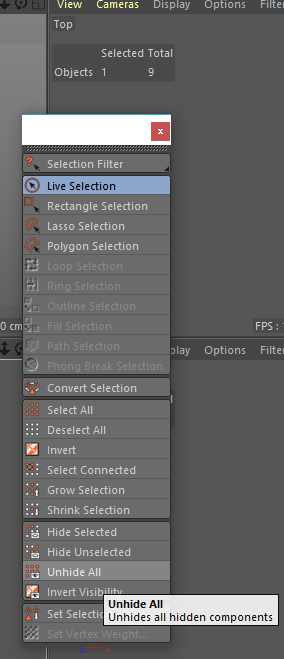
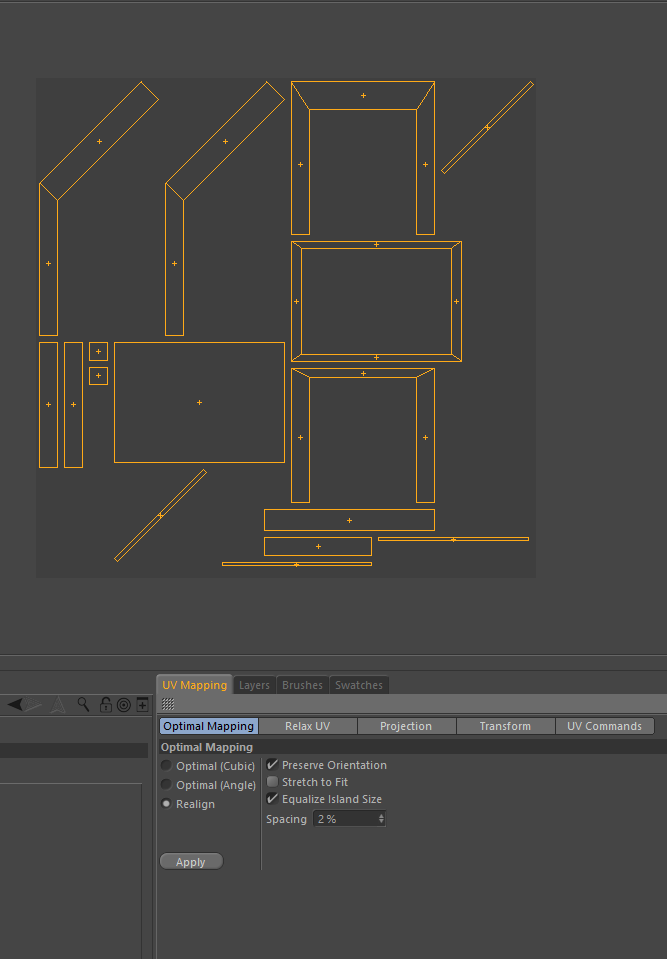
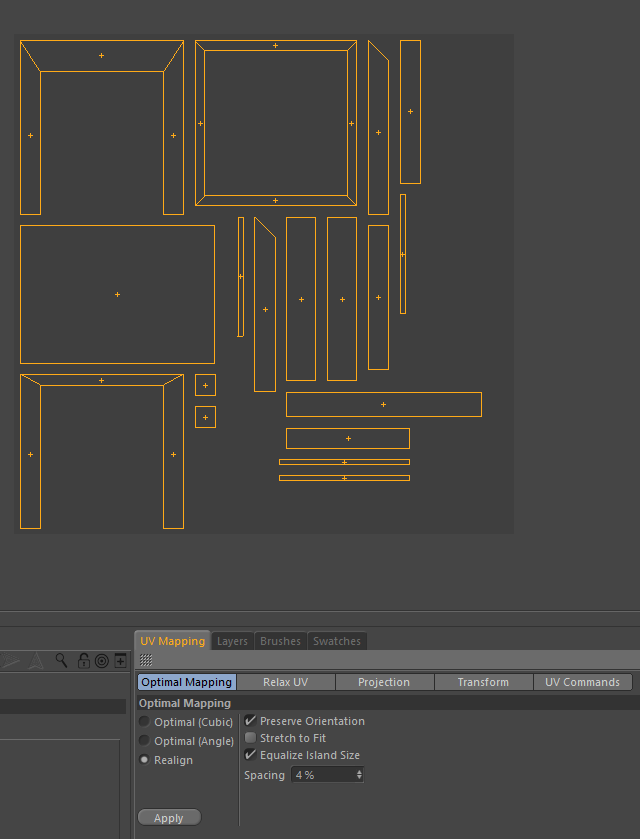
the side polygons became invisible. conticuring this the all polygons became invisible. If finish, hit the unhide all and goto UV Mapping > Optimal Mapping, Turn on Realign and hit Apply.
an image of uv editing and baking normal map with cinema4d
an image of uv editing and baking normal map with cinema4d
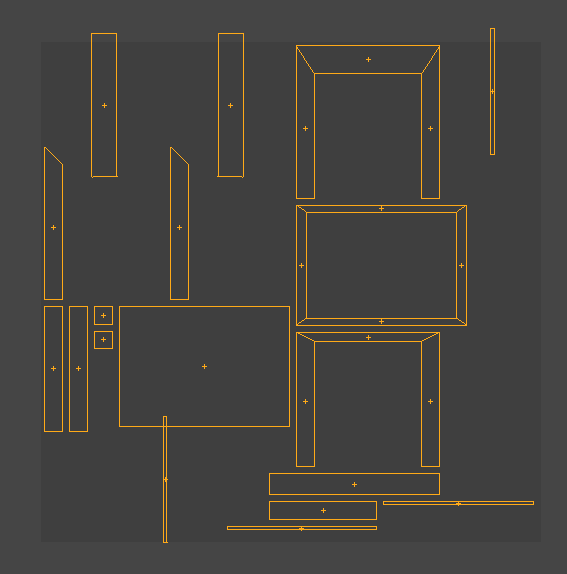
The uv’s are ok but tweak a bit. Select Rotate Tool and ajust tilted uv polygons. Then hit Apply again and Done!
an image of uv editing and baking normal map with cinema4d
an image of uv editing and baking normal map with cinema4d
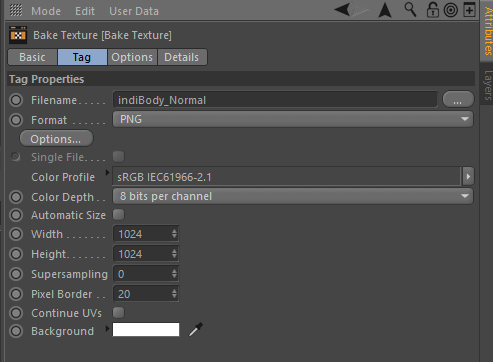
Bake nomal map with cinema4d
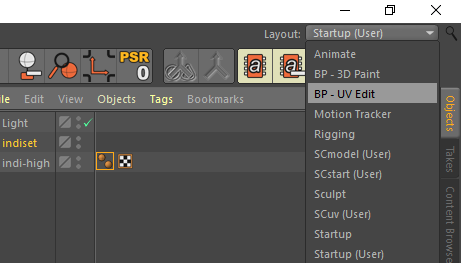
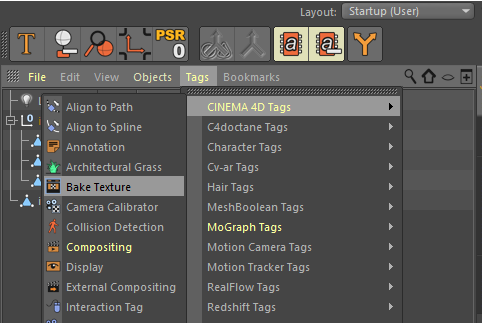
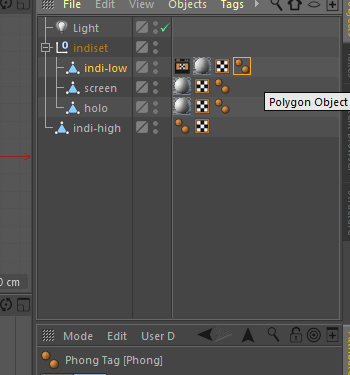
Next step, make the normal map from high mesh with Cinema4d. Firstly, set layout to such as startUp. Go to hierarchy panel and add Bake Texture tag to low-poly indicator mesh. Delete Phong tag of the low mesh
an image of uv editing and baking normal map with cinema4d
an image of uv editing and baking normal map with cinema4d
an image of uv editing and baking normal map with cinema4d
.
an image of uv editing and baking normal map with cinema4d
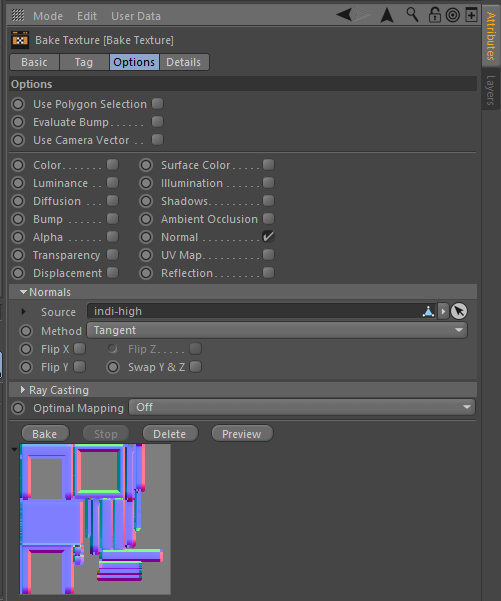
Next, goto Options tab and turn on Normal. Add high-mesh indicator to Source and change Method to Tangent. Then hit Bake button.
an image of uv editing and baking normal map with cinema4d
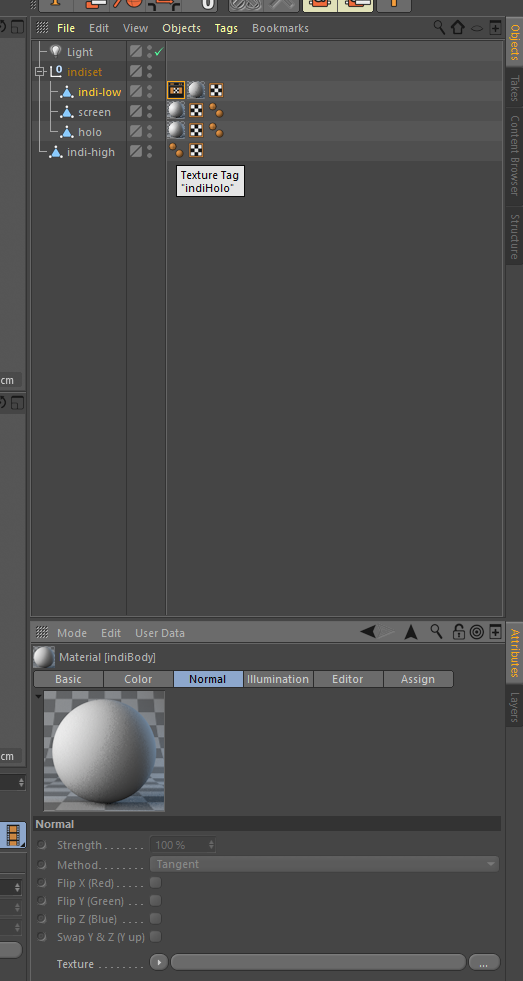
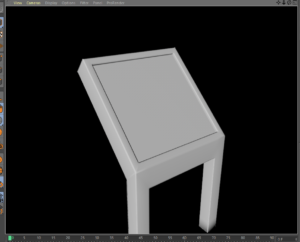
Aftere while, the normal map will appeared. Let’s check the texture. Select indiBody material. In Basic tab, turn on Normal and goto Normal tab. Assign the normal map to Texture and Render View.
an image of uv editing and baking normal map with cinema4d
If it is ok, exprot the objects( Low-mesh indicator, screen and hologram). Do not include high-mesh.

an image of uv editing and baking normal map with cinema4d