特定の場所(ロケーション)をARマーカーにできるImmersalとの連携が可能になりました。
ロケーションを登録すれば、室内/室外のどの場所にでも紐づけられるARシーンの制作が可能になります。
Immersal機能の使い方マニュアル
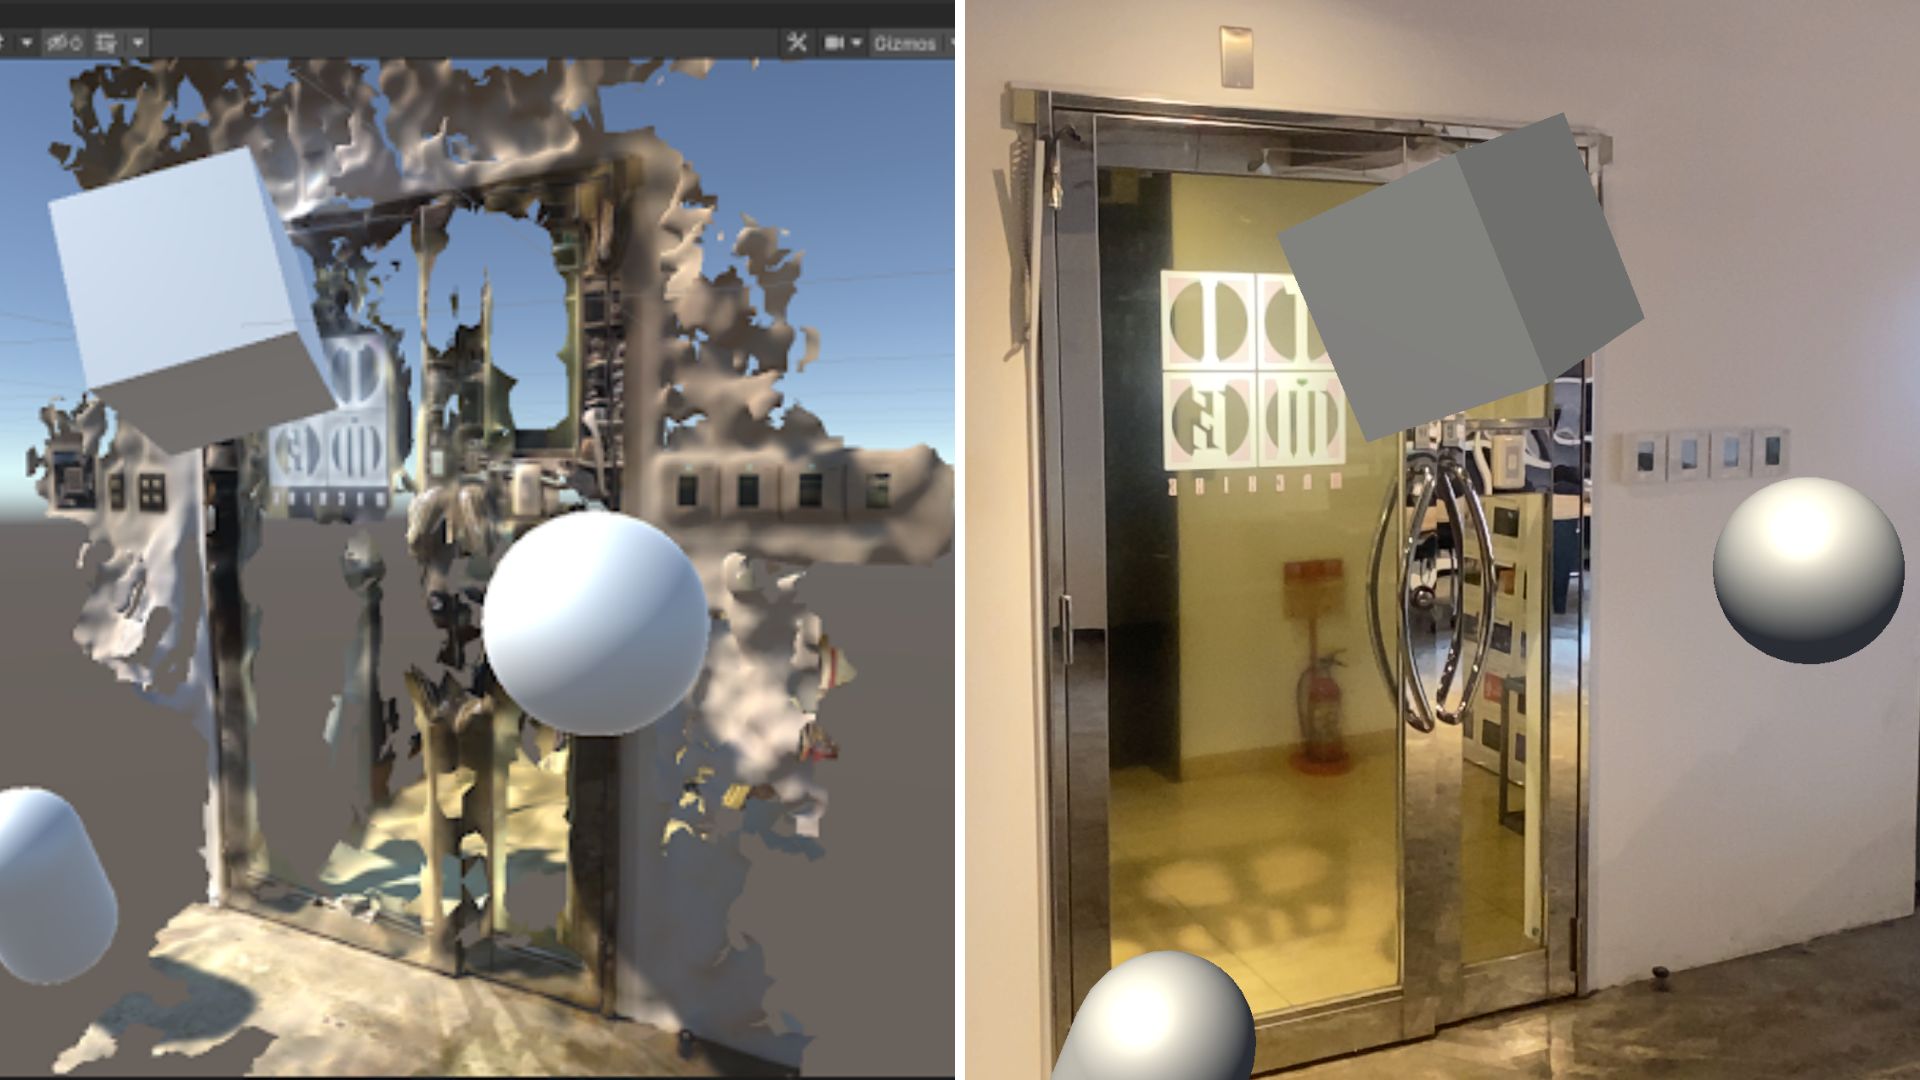
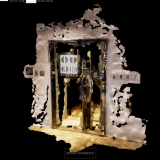
Immersal Mapperアプリを使用してARマーカーとなるオブジェクトを生成します。
オブジェクトの詳しい作り方は以下になります。
Immersal Mapperでマップデータを作成する方法
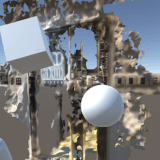
ARマーカーとなるオブジェクトを生成したら、Unity上でARシーンの実装をします。
ARシーンの実装方法は以下になります。
Immersalマップデータをマーカーにして、ARシーンを作成/体験する方法
STYLYに関する質問、バグ報告、改善してほしい要望はSTYLY FORUMまで
https://jp.forum.styly.cc/support/discussions
ビジネス利用を希望のお客様は下記よりお問い合わせください。
https://styly.inc/contact/