In this article, we are going to look at the basics of lighting- “3-point lighting”.
First, let me explain something about 3-point lighting, one of the shooting techniques widely used in 3DCG, its purpose, and how to create it.
For those of you who know about lighting but feel that you are still new to the technique, you are reading the right article! Let’s get started.
Please take a look on our previous article about the basics.
![[Lighting in 3DCG] Lighting Basics](https://styly.cc/wp-content/uploads/2020/05/スクリーンショット-2020-05-25-13.33.18-160x160.png)
What is three-point writing?
Three-point lighting is one of the basic lighting techniques. It is also literally known as “three-point lighting”
The “Three” lightings refer to-
- Key lights (the main light source, main light)
- Fill light (serves as an auxiliary light source, holding down and reflex)
- Backlight (reverse light source, rim light)
3point_Lighthing
About 3-point writing
The purpose of three-point writing
Key Light
The main light, which illuminates the object among the three lights.
Fill Light
Like the key light, shadows are adjusted by illuminating the entire subject.
Adjusts the lighting of the subject so that unevenness is not notable, providing ambient light.
Back Light
Backlighting is also sometimes referred to as rim light. The word “rim” means rim or border.
It is mainly used to illuminate contours to create effects to stand out the shapes and furs of objects. Both backlighting and rim lighting are used for this same purpose.
Benefits of 3-point lighting
By using the three lights above, you can make your subject (object or model) look more three-dimensional and beautiful.
Create three-point lighting
With the above background knowledge, we are ready to create our 3-point lighting.
Create three-area lights
Create 3-area lights in any 3D software- Maya, the same for Arnold Create three area lights
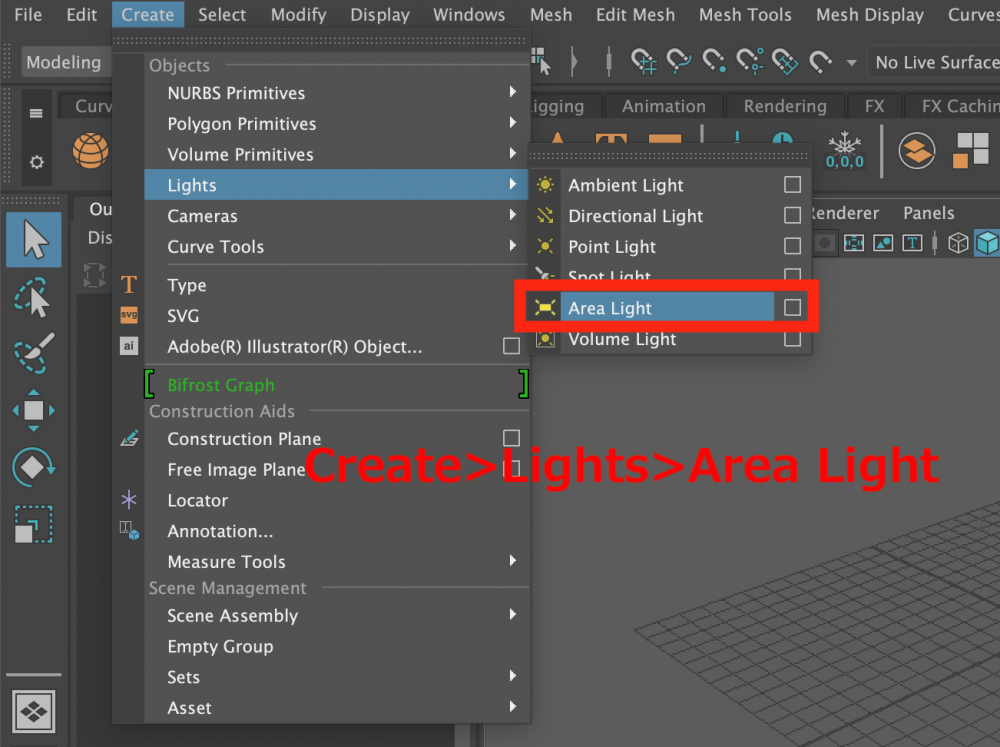
Create three Area Lights
Rename the lights
It’s always good to use easy and comprehensible names, like the followings.
- Key Light
- Fill Light
- Back Light

Rename all the light
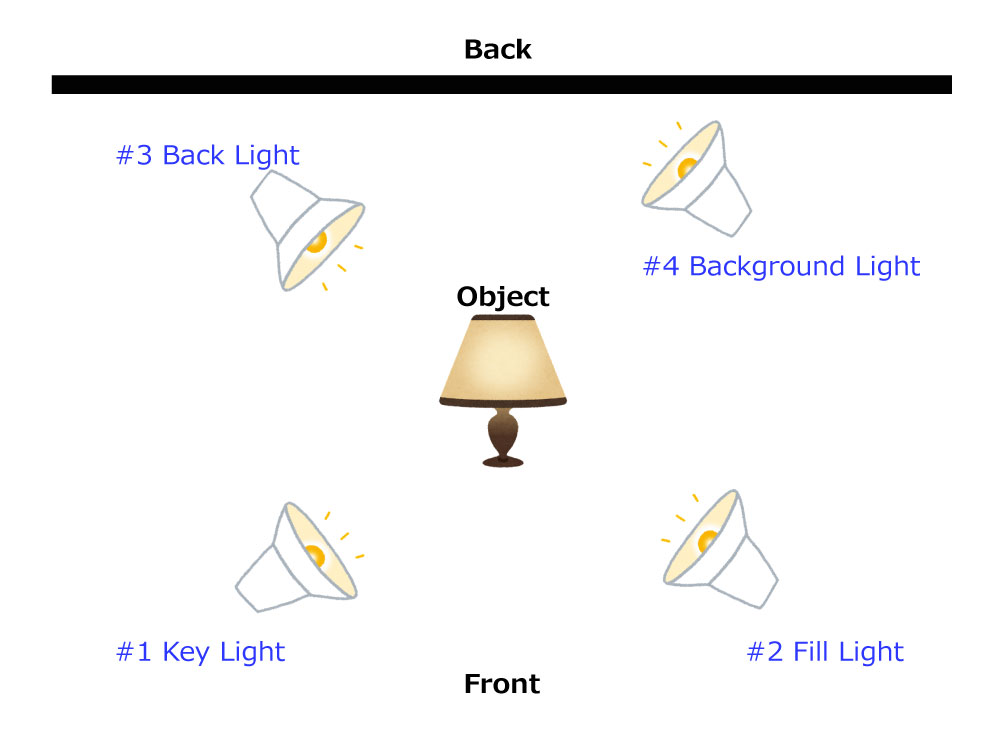
Place the lights
Place the light as shown below.
#4 Background Light should be created as needed while I haven’t created any this time.
3point_Lighthing
In this case, I’ve placed it on the right side because I want the edge to stand from the right. My apologies for the grid.

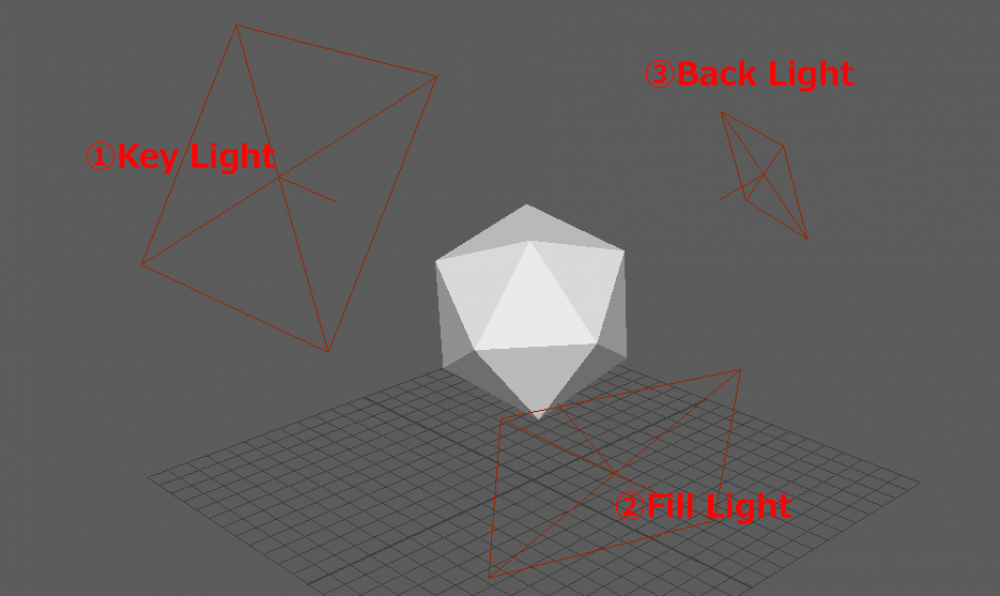
Arrangement all the light_01
I have adjusted the position of the lights a bit.
You need to consider the position of each light depending on your subject.
You don’t need three lights next to each other by any means- I have adjusted the height, distance, and strength of the light according to the appearance.
Arrangement all the light_02
Just if you can make sure there is as much light throughout as possible, but that the shadows and backlighting are illuminated. Okay, in this case, I used a fill light to reduce shadows at the bottom of the object.

Arrangement all the light_03
The key to 3-point writing
Here’s a summary of the key points of each light.
I think the key light may have a shadow edge that is simply too strong when the light is illuminated. You can change the scale of the key light (area light) by changing its value, but you can also increase and adjust the scale of the key light (area light) itself. Take a look.
Next, backlighting from the direction you want the edges to stand out will give you a sharper outline.
We recommend setting the fill light at last. After creating the key light and the backlight, you can see how the shadows are created and then create the fill light. It’s easy to balance the whole picture indeed.
It’s difficult to balance perfectly right from the beginning, while it’s easier for beginners to see how much light the key light can provide and the edges of the backlight first, then use fill light to adjust the shadows for unevenness and balance.
Practice 3-point lighting in STYLY
Finally, I practiced 3-point lighting on STYLY using a human body model up on STYLY.
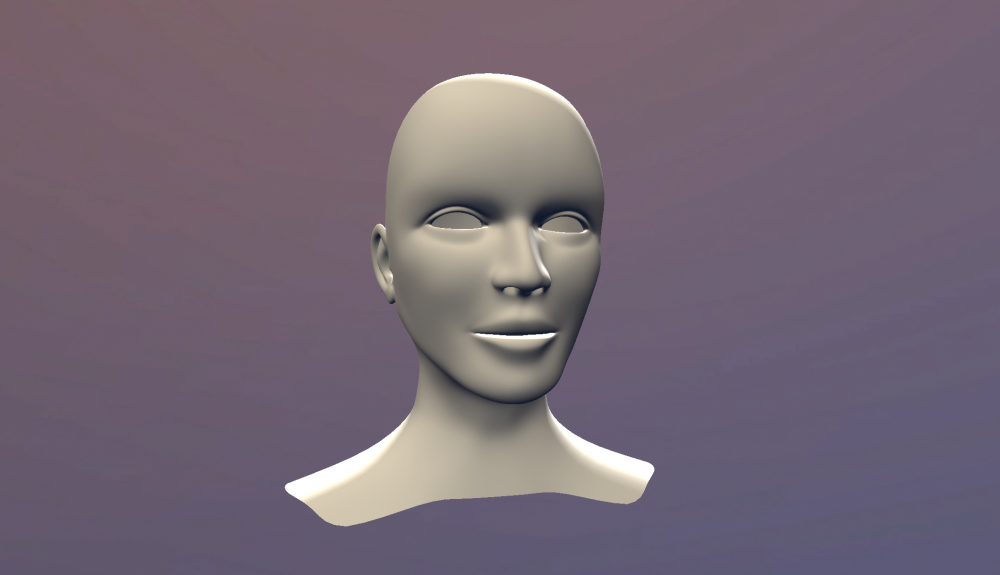
The following images are without any lights. The background is not in ambient light; thus the subject is darker.
STYLY doesn’t have area lights currently (as of June 2020), so I’d like to try pseudo 3-point lighting.
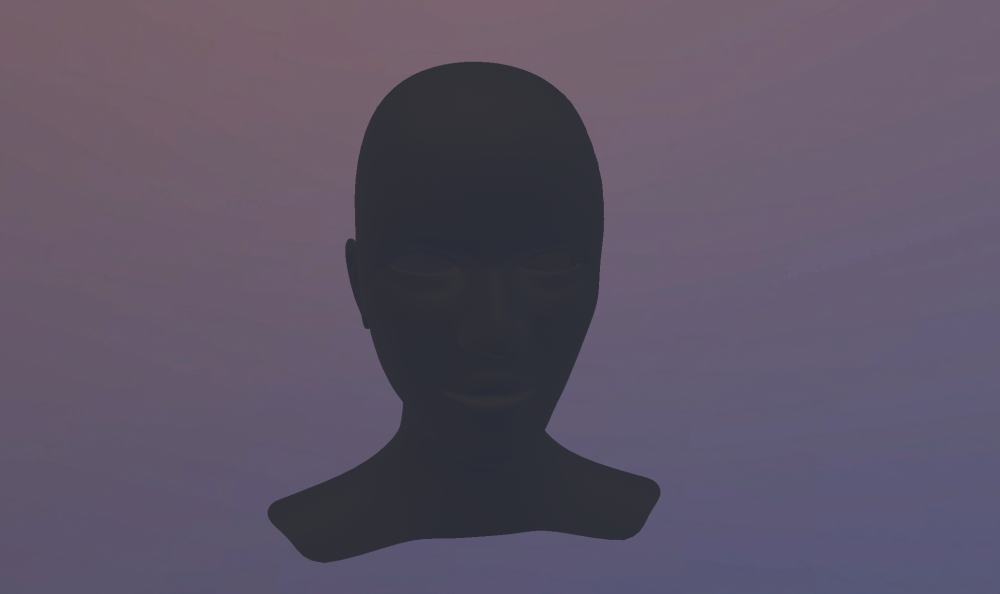
3 point Lighting @STYLY_lightOff
I have created two directional lights as a key light and a backlight. I wanted the fill light to be attenuated, hence I have used an ambient light instead.
The neck is a little bit jumpy, but I think the face and the contour are both nicely illuminated.
3 point Lighting @STYLY
Summary
Here’s a summary of the 3-point writing we’ve touched on so far
The Structure of Three Point Writing
- Key light: Primary light source, illuminating the entire subject
- Fill light: Regulating the shadows and acting as an ambient light
- Backlight: A reverse light source standing up the edges
The key to create 3-point writing
The key point is the following steps, which make it the overall balance easier
- Key light- set the overall light intensity
- Backlighting- adjust the backlighting
- Fill Light- create the top two and adjust the shadows created by them
Incidentally, the origin of 3-point lighting is in art painting, the painting technique introduced in this period has been applied to 3DCG as 3-point lighting.
Yet, it is still important to study writing by watching movies, try watching art as a teaching tool for learning writing techniques as well.
I hope you now understand the reasons to choose 3-piont lighting.
When you understand these 3-point lighting techniques, you can use them in various ways. Lighting can be set up arithmetically, but at the end of the day, you need to know what you see- thus you need a lot of references for a better quality.
We recommend you to use 3-point lighting in your own work and see how your objects look like.