In this article, we will explain how to render a low-poly style scene in Blender (version 3.3LTS).
We will use a TV model as an example.
Render Settings
Go to Film in the Render Properties and change the Pixel Filter > Width to 0.01px.
We will be using Cycles in our example, but for Eevee the same effect is called Filter Size.
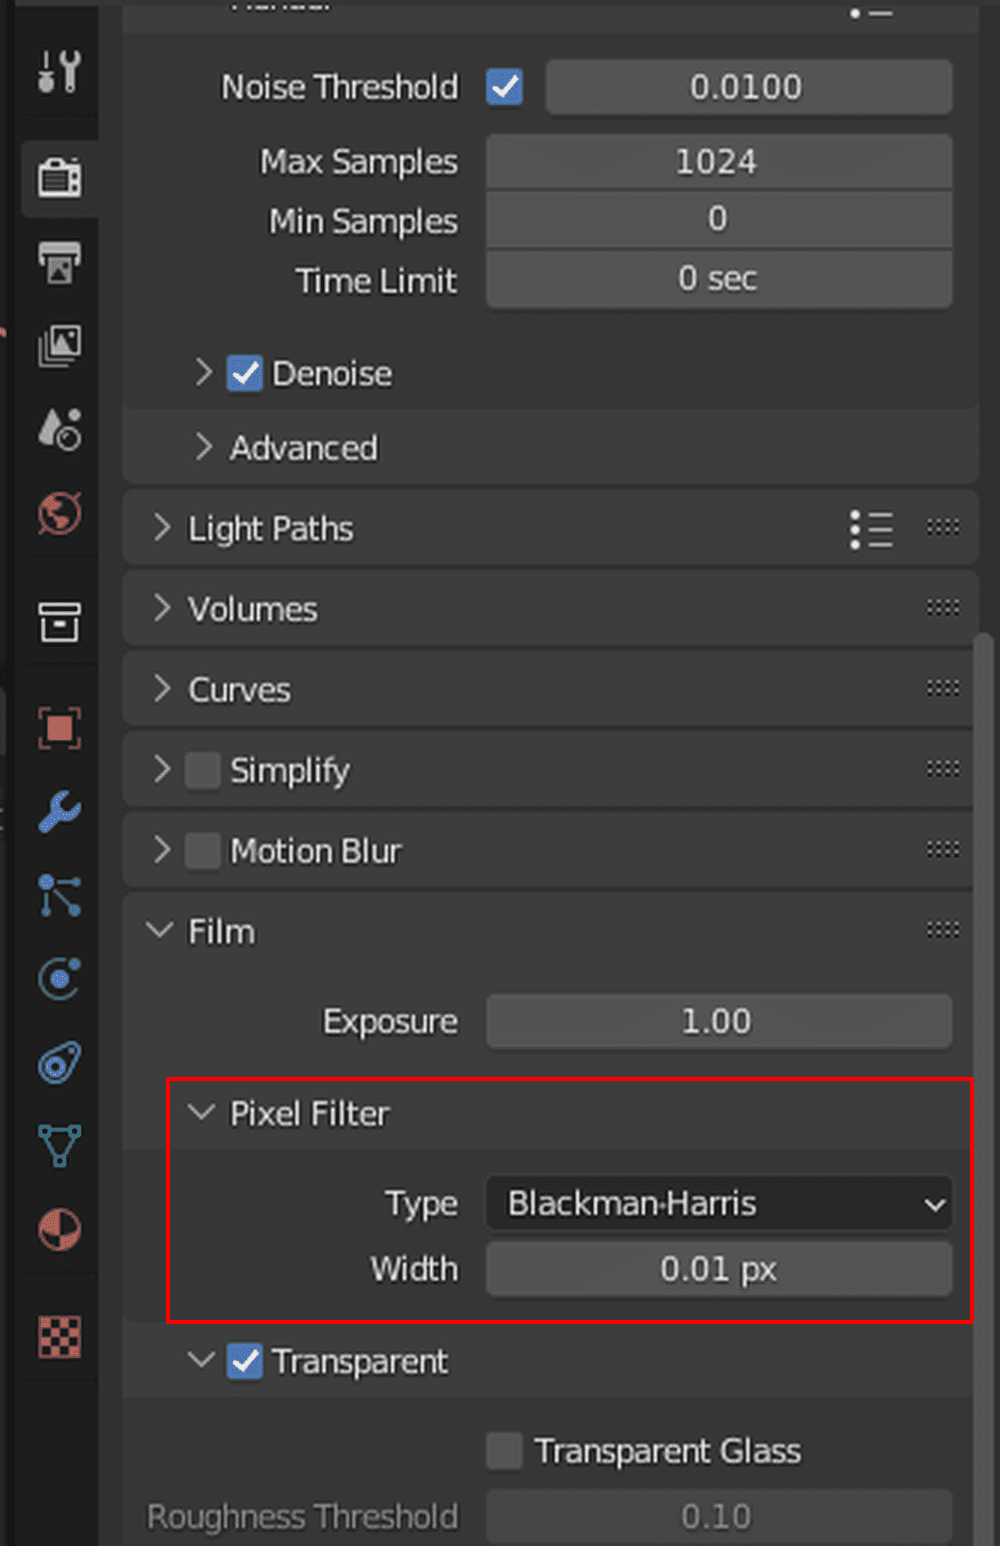
Film > Pixel Filter > Width > 0.01px
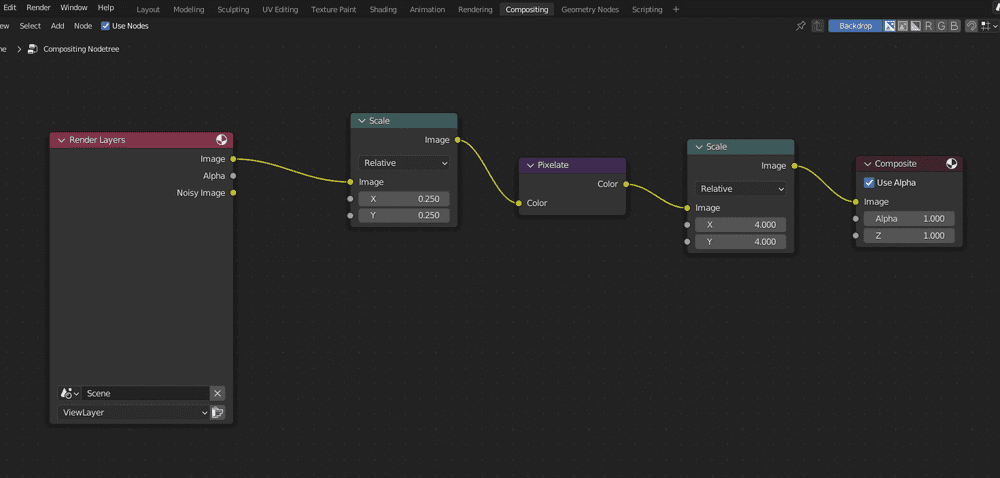
Next, open the Compositing workspace tab at the top of the screen.
Press Shift+[A] to add a Scale node, and duplicate it by pressing Shift+[D]. Change the value of one Scale node to 0.25 and the other to 4.0, like the image below.
Then, add a Pixelate node and connect the two Scale nodes.
Compositing
We have now finished setting up our scene.
Both Eevee and Cycles will work for this project. Let’s do a test render of our scene.
You can see that the TV is now rendered in a low-poly style (we’ve made the background green to show the effect more clearly).
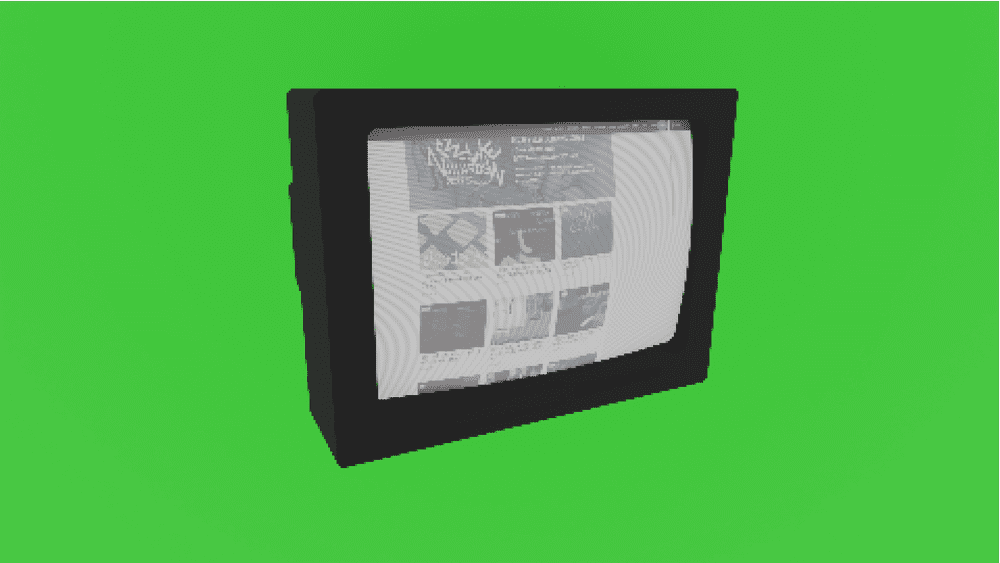
TV rendered in low-poly style
Adding Animations
From here, we will add a simple animation to the TV to create an animated GIF.
First, go to frame 1 and add a keyframe. Select the TV object, press [I] to open the Insert Keyframe Menu and select Rotation.
After adding the keyframe, move to frame 250 and change the object’s Rotation Z value to 360.
Add another keyframe following the same steps ([I] > Rotation). Then, right-click on the last keyframe and change the Interpolation Mode to Linear.

Creating a simple turntable animation
Let’s play it back.
Playing the animation
Export Settings
Now, we will render the animation to create images for the animated GIF.
Go to Film in the Render Properties and check Transparent; by turning transparency on, you can export the background as transparent.
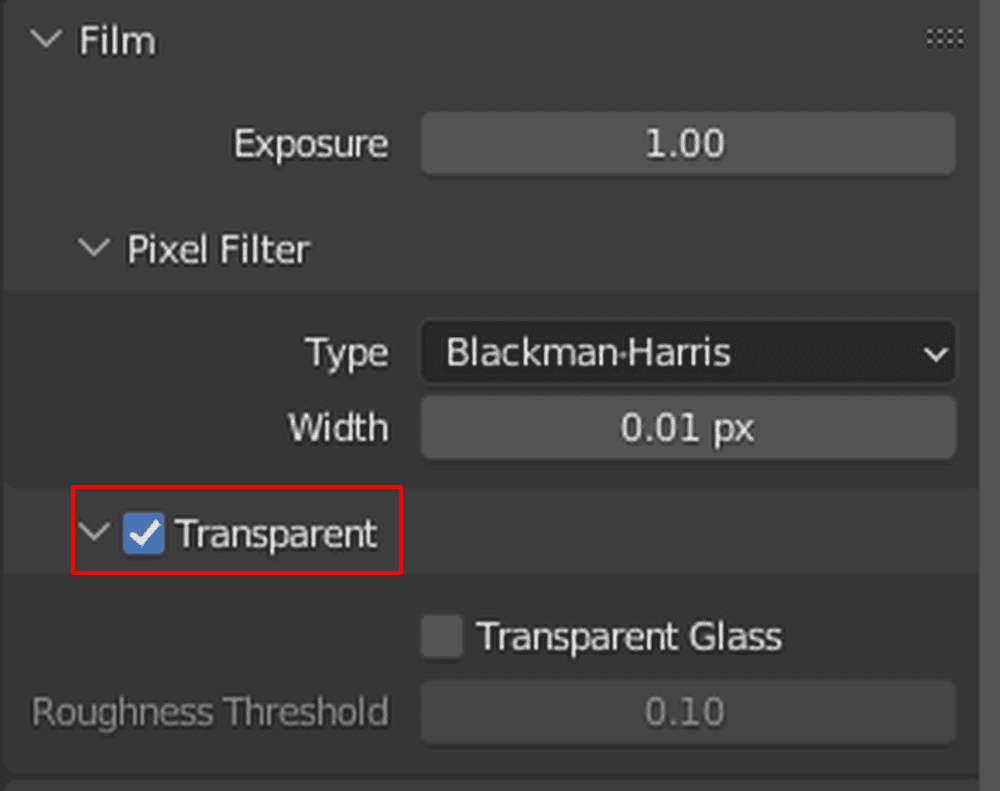
Check transparent
Next, go to Output and specify where to save the rendered images.
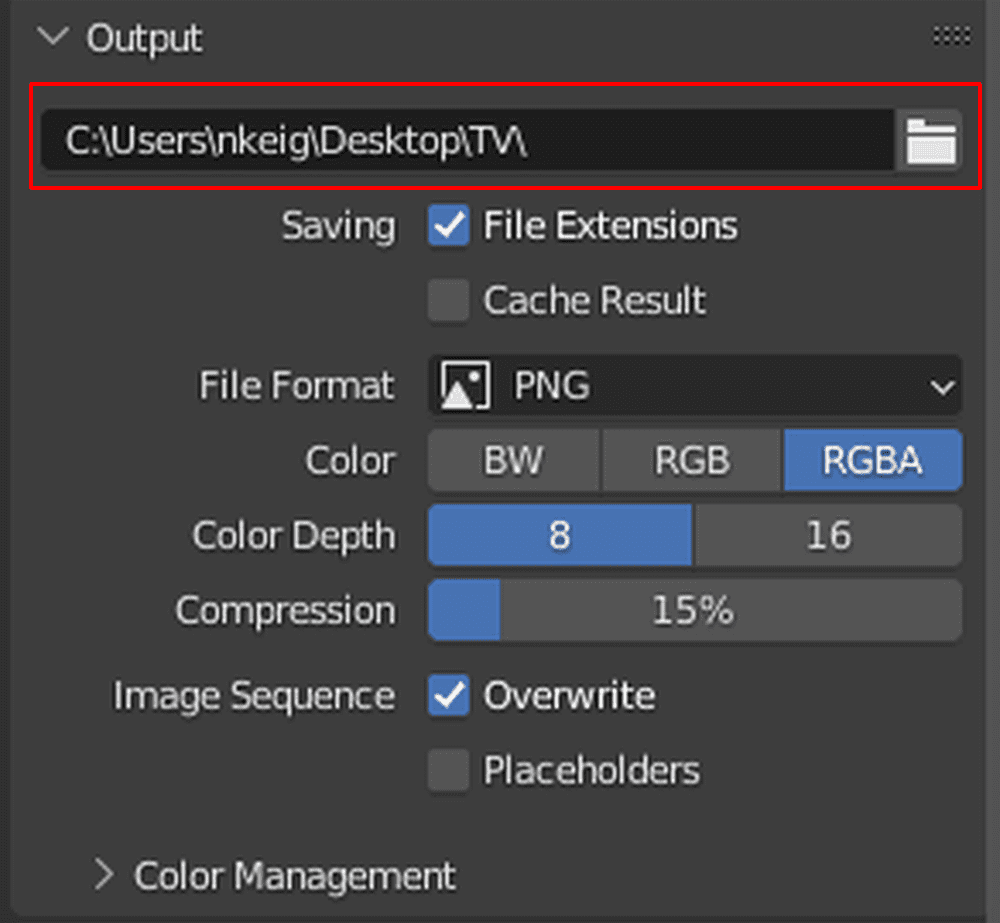
Select the output location
Now that the preparation is complete, we can start rendering our animation.
In the upper left corner of the screen, click Render > Render Animation and it should start rendering.
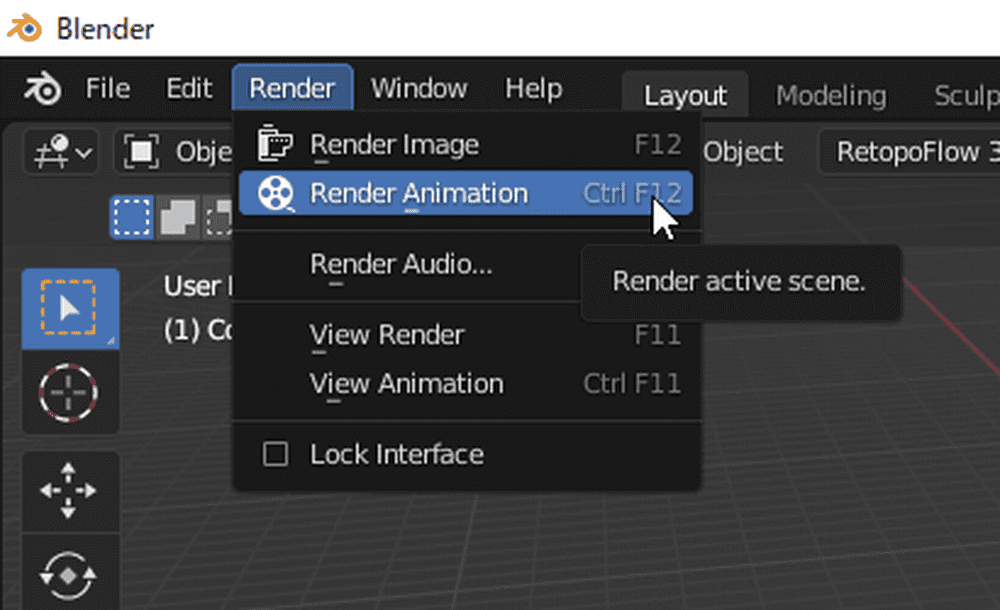
Render > Render Animation
Open the output folder and ensure that all frames have been saved in the specified location.
Making an Animated GIF with Transparency
Once we have our transparent images, we can use them to create an animated GIF.
In our example, we will use the Japanese service GIF Animation Image Creator, which allows you to create GIF images in your browser.
Translator’s note: For English users, we recommend using something similar such as Ezgif.
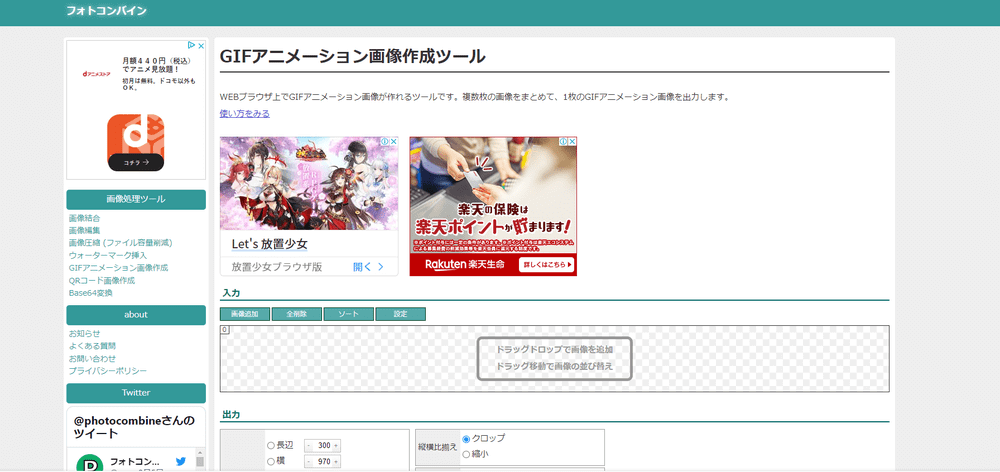
GIF Animation Image Creator (Japanese website)
Selecting all the images from your render, drag and drop them into the upload area.

Input
Setup the Output like this:
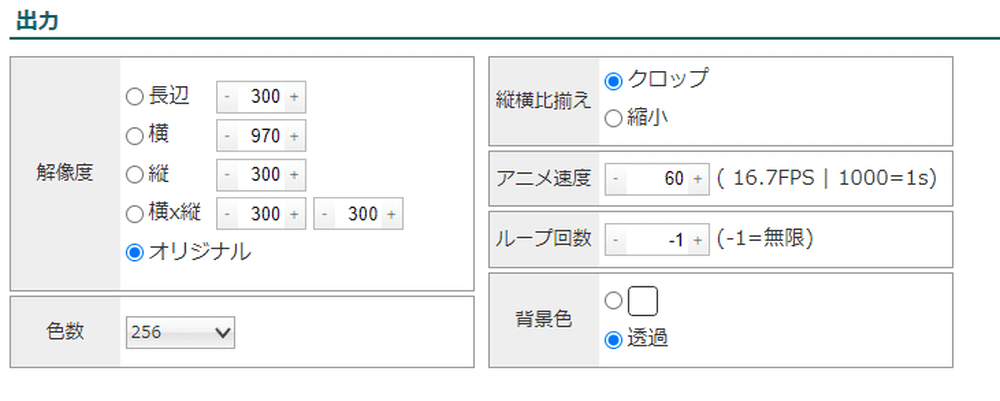
Output
Resolution: Original
Colors: 256
Aspect ratio: Cropped
Animation Speed (FPS): 60
Loop: -1(Infinite)
Background color: Transparent
When you have configured the settings, click Create.
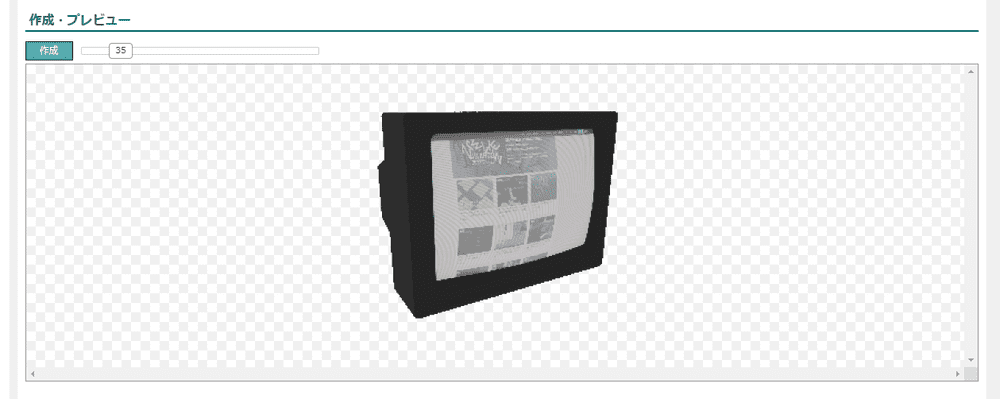
Create
After the image has been successfully created, rename the file and click Save to download your animated GIF.
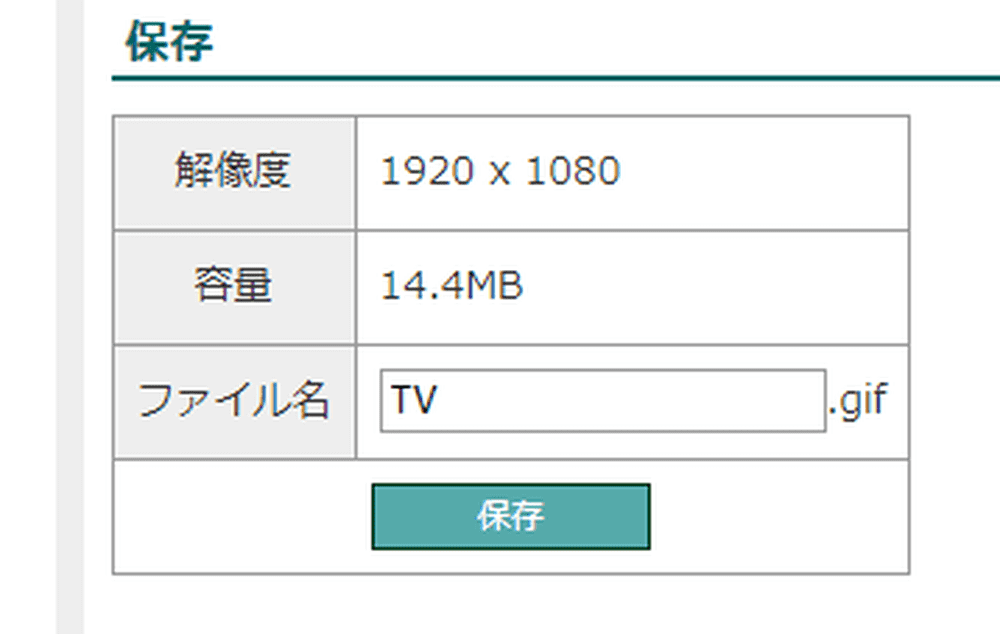
Save
This is what we have created.
The GIF animation
Uploading to STYLY
Finally, let’s upload our GIF to STYLY.
From STYLY Studio, go to My Uploads > Image and upload the animated GIF image.
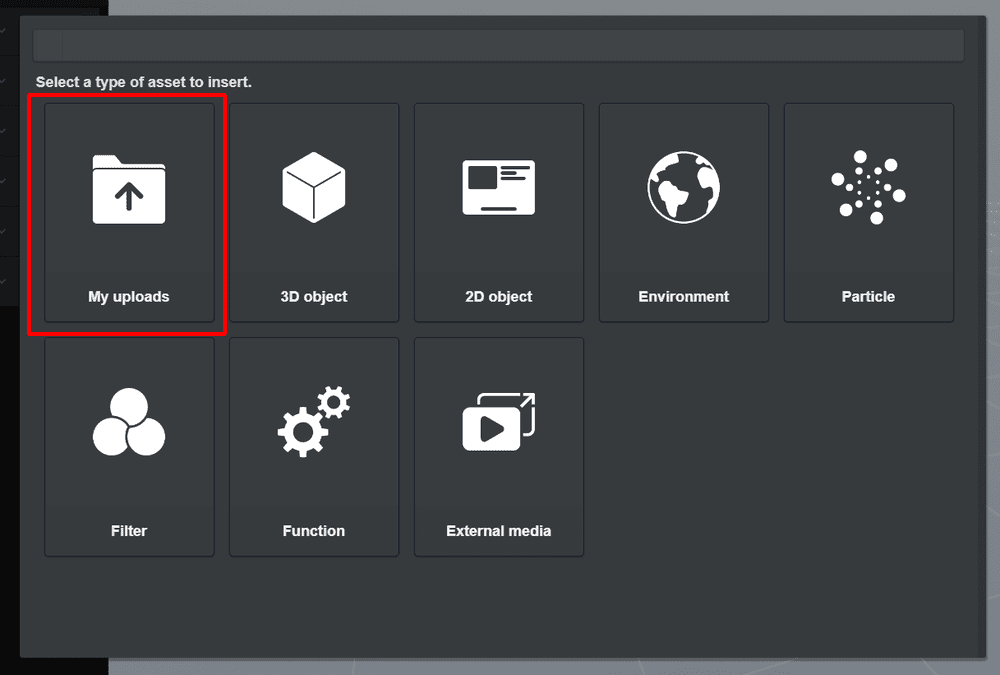
My Uploads
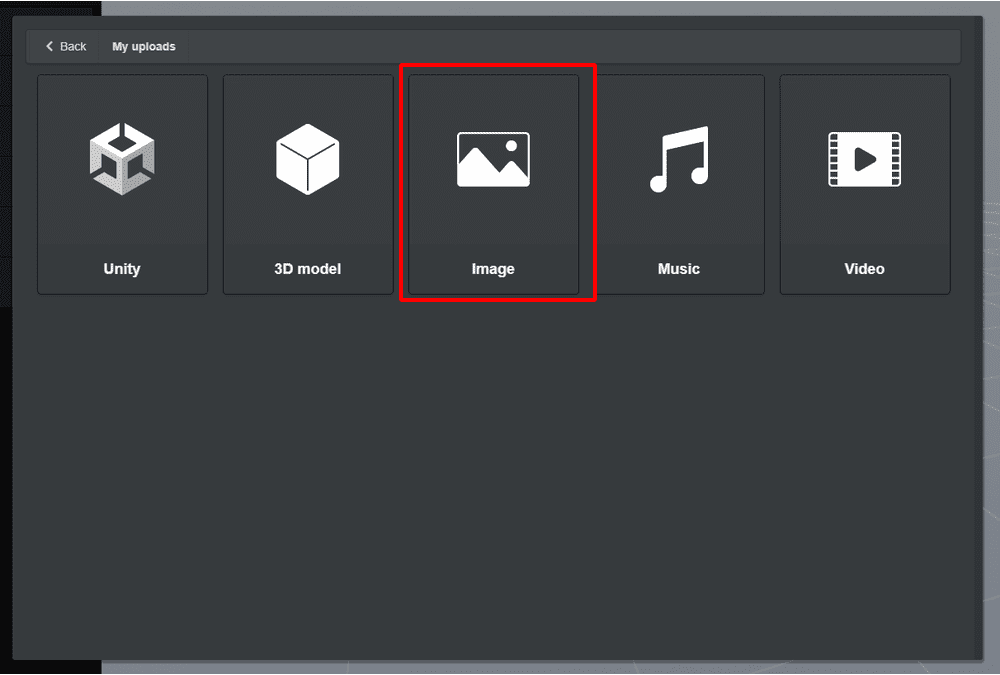
Image
Click Select and select your image file.

Select
Then, click Upload to upload your image.
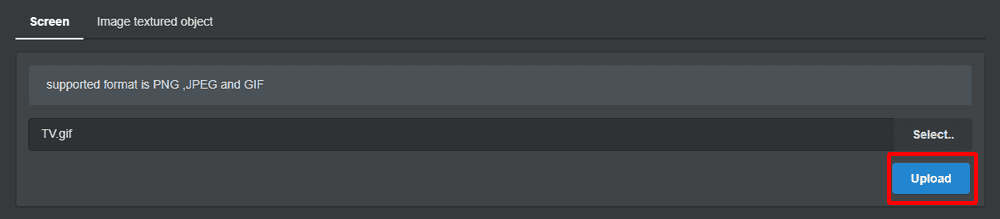
Upload
After the upload is complete, click Next.
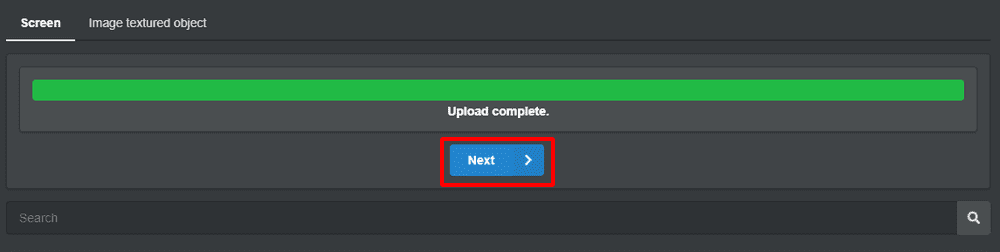
Next
This time, we will select 16:9 Screen.
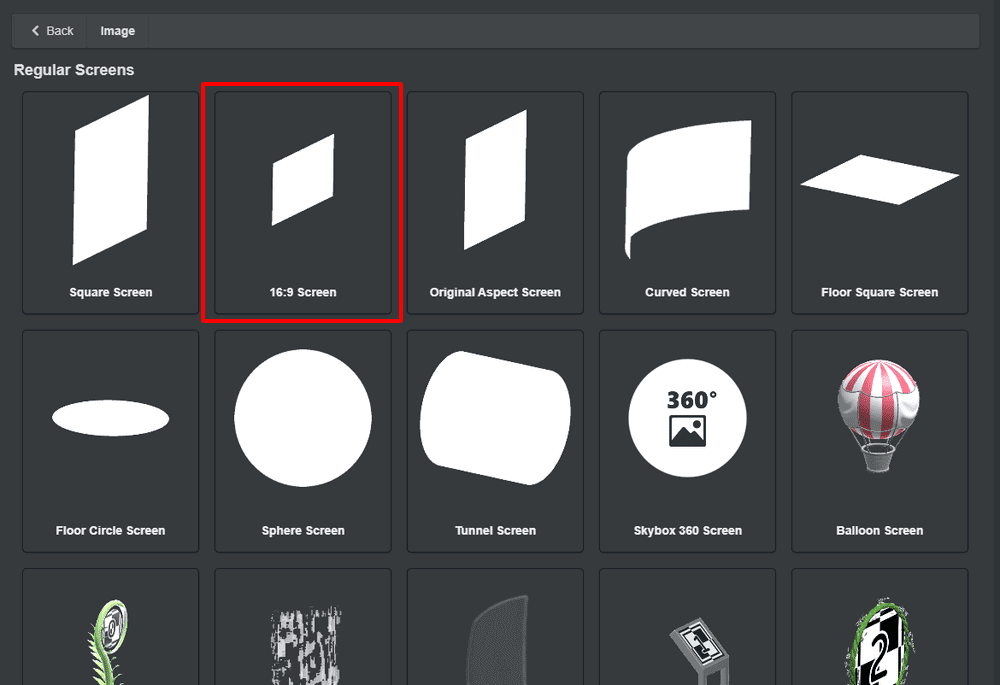
16:9 Screen
We have successfully added the animated GIF image to our scene!

Our animated GIF in our STYLY scene
For questions about STYLY, bug reports, and improvement requests, please contact the STYLY FORUM:
https://en.forum.styly.cc/support/discussions
Certified (QA) by Shota Shawn Yoshizawa
Edited by SASAnishiki
Translated by cpnnn