In this article, I show you how to use Instant Meshes, a free software program, to automatically retopologize a 3D model with a large number of vertices, reducing the number of vertices.
What is retopology?
When you generate a 3DCG model using photogrammetry or sculpting, the number of vertices tends to increase, resulting in a heavy and unwieldy model. This is where a method called “retopology” is used to replace the model with a low-polygon model while maintaining the shape as much as possible.
Retopology can be done manually, but it can be done more efficiently with add-ons or software.
Download Instant Meshes
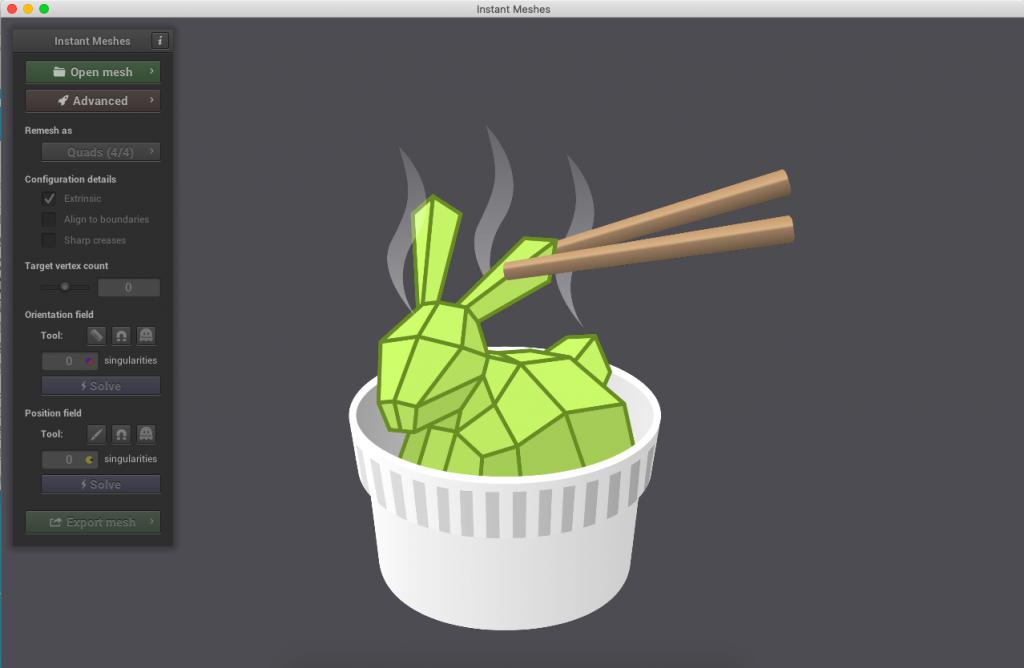
Instant Meshes is an open source software based on technology developed by a lab at ETH Zurich, and is available for Windows, Mac, and Linux.
The project page can be found at
https://igl.ethz.ch/projects/instant-meshes/
To download it, open the following GitHub page.
https://github.com/wjakob/instant-meshes
Scroll down to the bottom and you will find a section called Pre-compiled binaries, download the zip file according to the PC you are using.
After unzipping the zip file, click on the exe file to launch the software.
How to use
How to use Instant Meshes
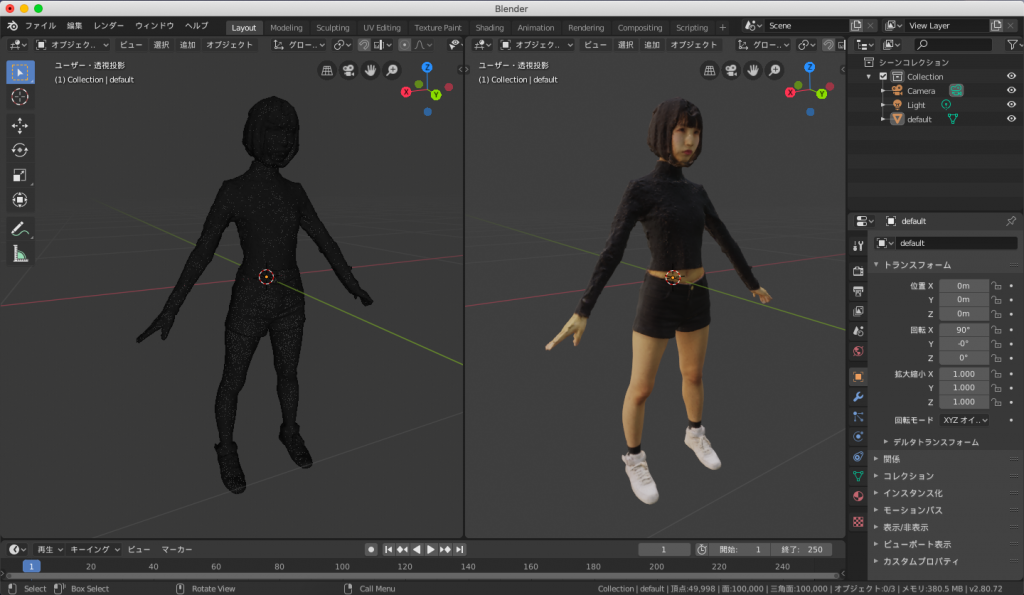
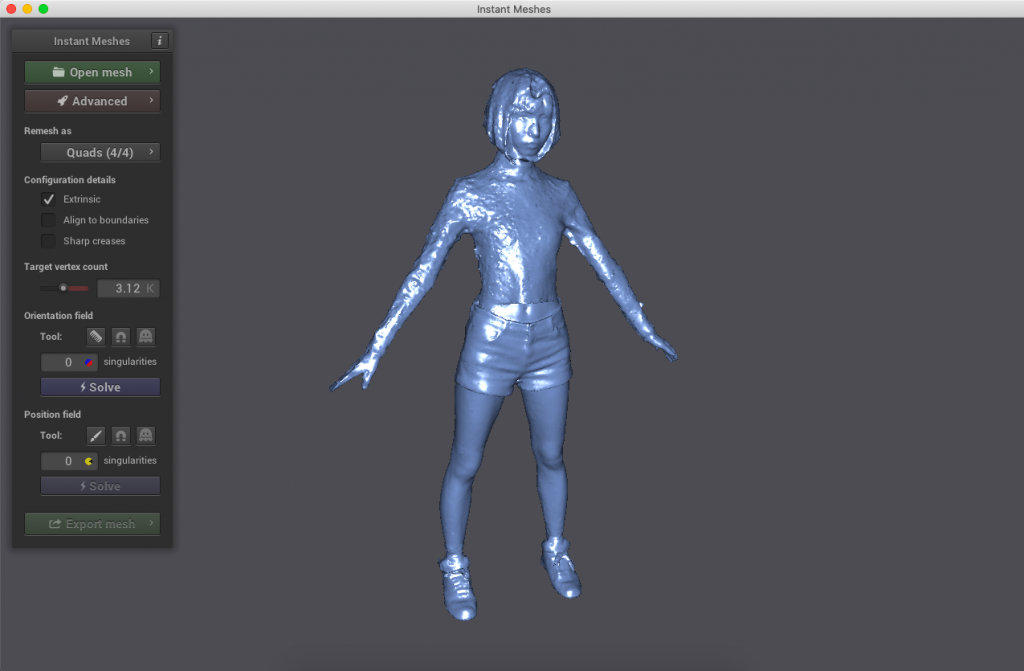
We will be working with the following 3D scanned model.
The number of vertices in Blender is 49,998.
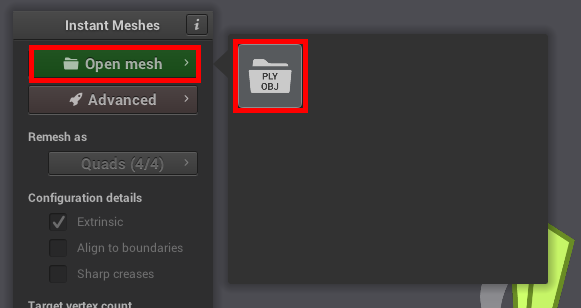
Click the folder icon that appears after clicking “Open Mesh” to load the 3D model. The supported formats are .ply and .obj.
The 3D model is now loaded. The loaded 3D model will not have a texture. After retopology, it is necessary to bake a new texture (we will publish this procedure in a later article).
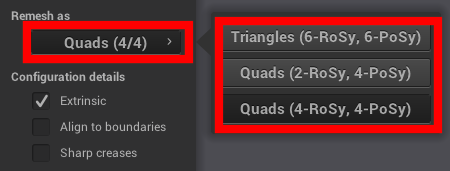
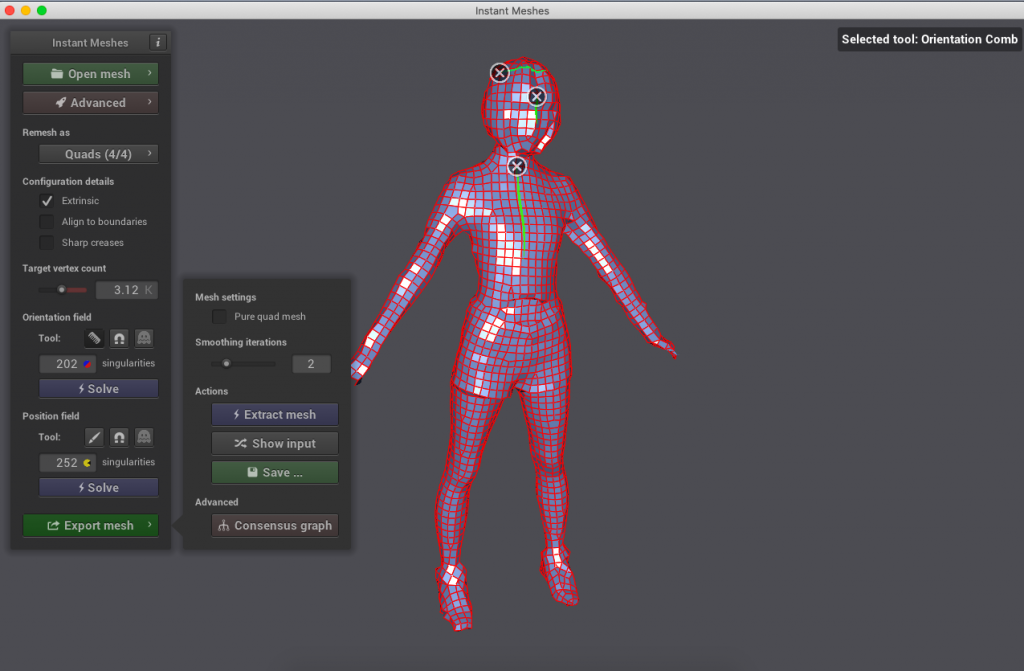
From now on, all you have to do is to set up the menu on the left side in order from the top. First of all, from the “Mesh As” item, you can choose whether you want the finished product to be a triangle mesh (Triangles) or a quad mesh (Quads).
Specify the number of vertices after retopology from “Target vertex count”.
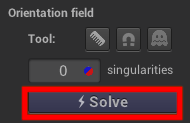
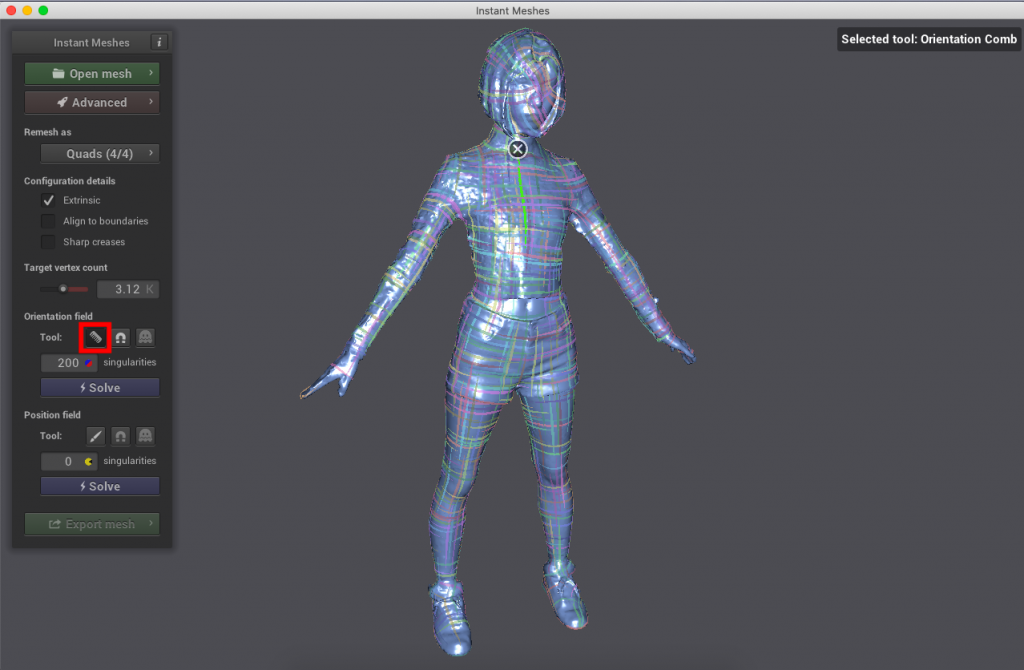
Click the Solve button in the Orientation field.
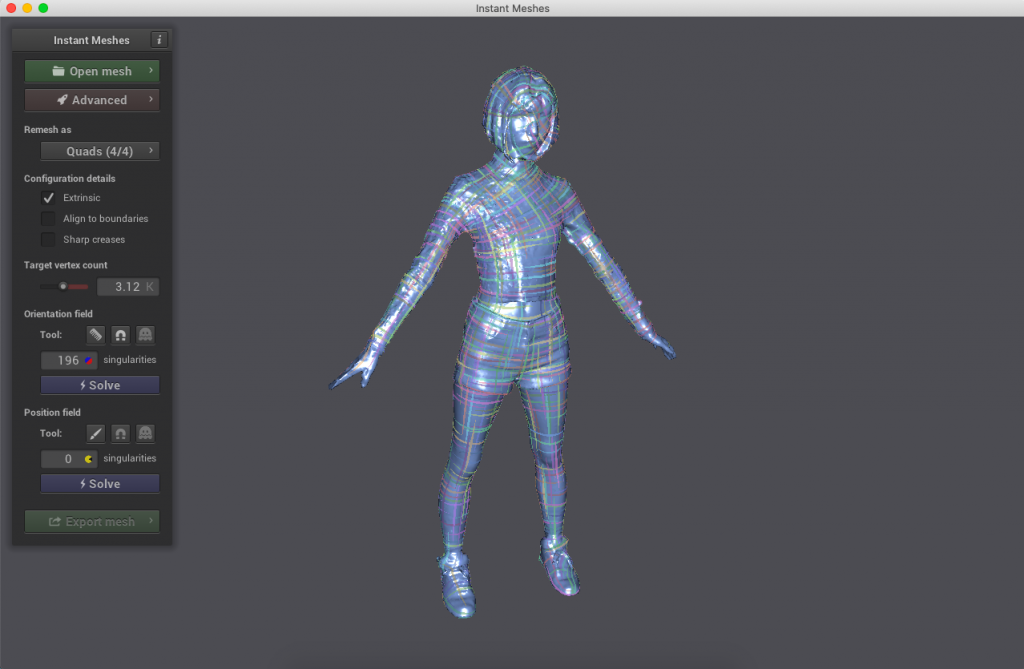
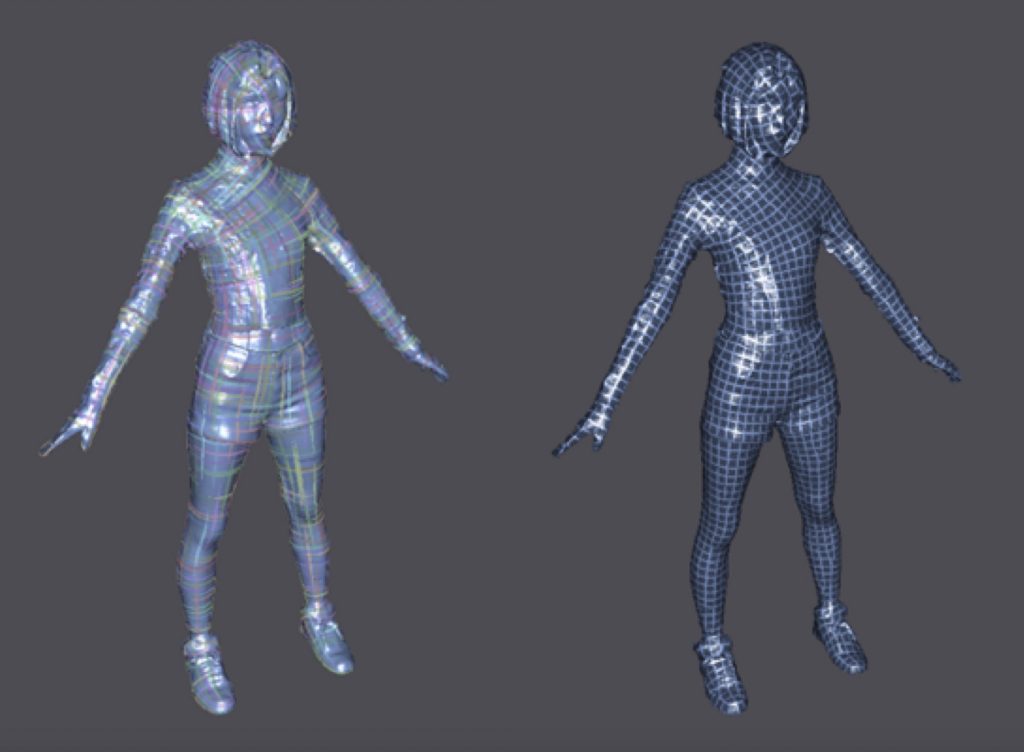
The flow of the mesh that will be generated will be displayed as a line, as shown below.
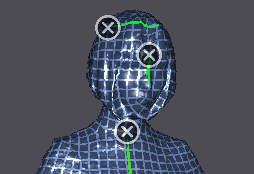
If you think the flow of the mesh is different, click on the comb icon and draw a line on the model with the mouse, and it will recalculate to point in that direction. (In the following example, the line is extended directly down from the neck)
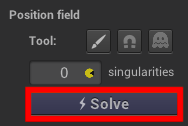
Click the Solve button in the Position field.
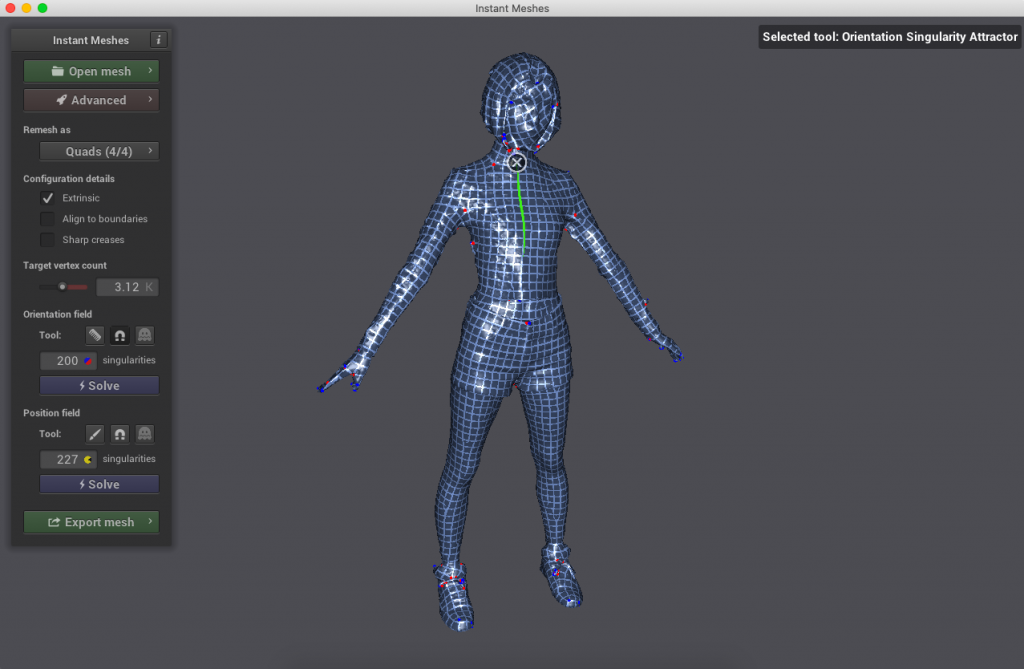
Click the Solve button on the Position field to display the mesh that will be generated.
From this state, we can also go back to the previous step to adjust the flow of the mesh.
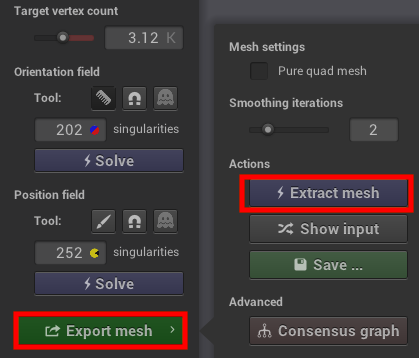
Once the adjustments are complete, we can output the results. Click “Export mesh” to display the output menu.
If you want to make all the polygons square, check the “Pure quad mesh” checkbox. Set the number of smoothing iterations in Smoothing iterations.
Click “Extract mesh”. The final mesh will be displayed as shown below.
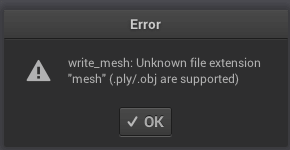
If you get the following error after selecting “Save”, make sure that you are not using Japanese for the file name to be saved.
Also, saving the file with “.obj” in the save file name (e.g., “xxx.obj”) will work.
Check in Blender
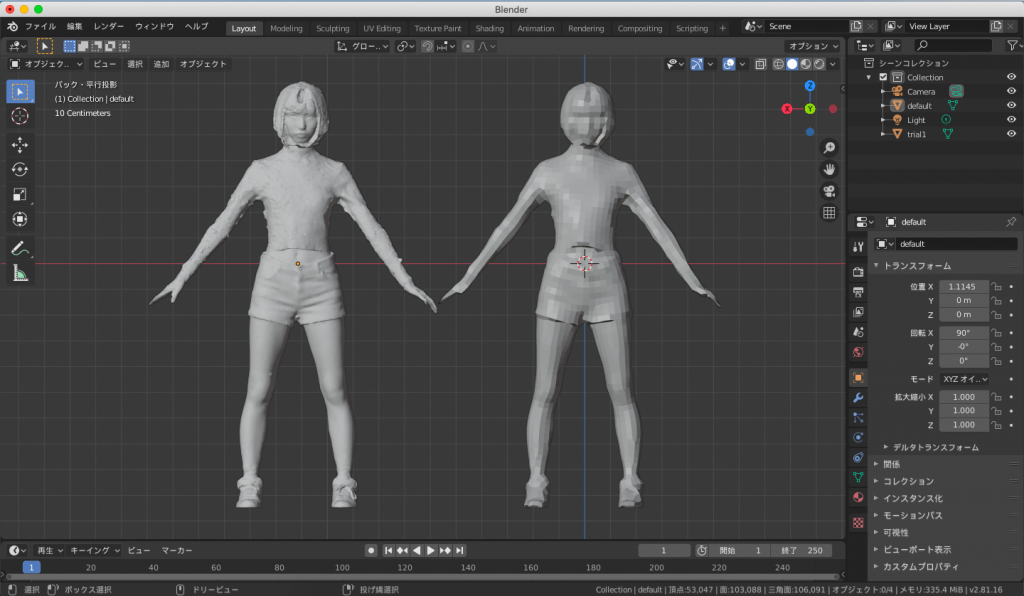
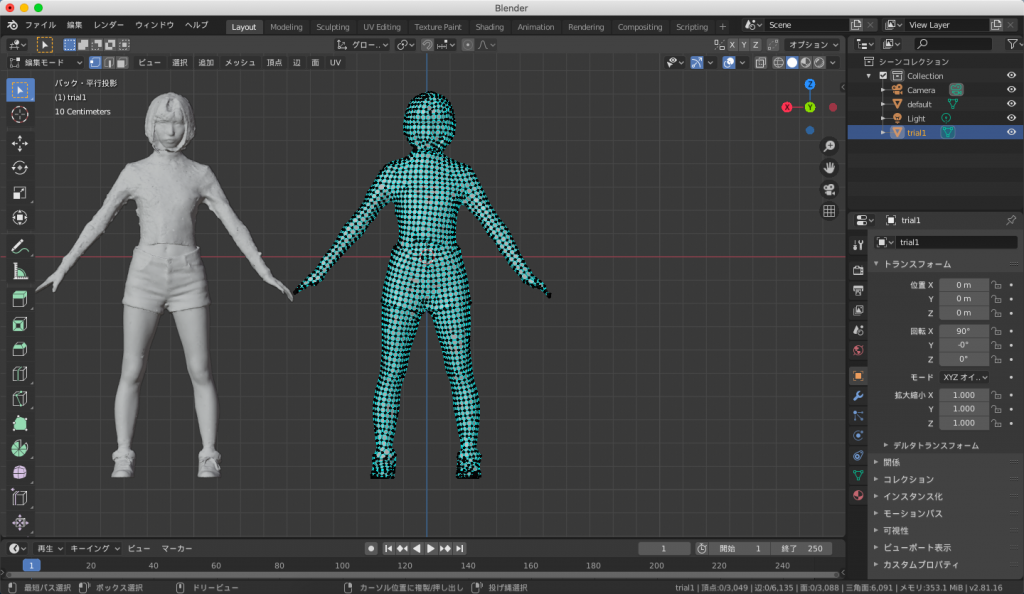
The original model and the model after retopology are loaded in Blender and compared as follows. You can see that the number of vertices has been reduced while the shape is almost the same except for some details.
The number of vertices in the model after retopology was 3,049.
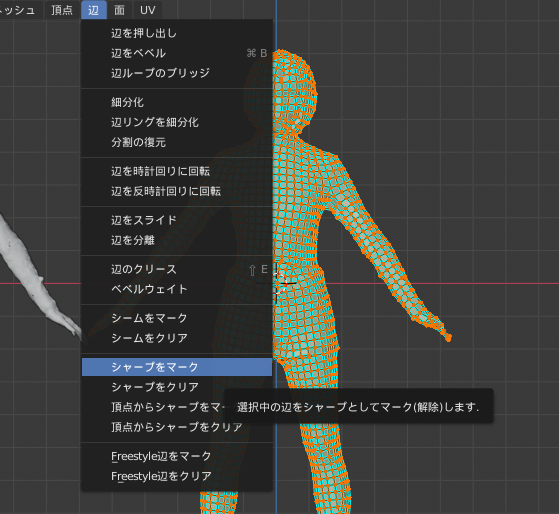
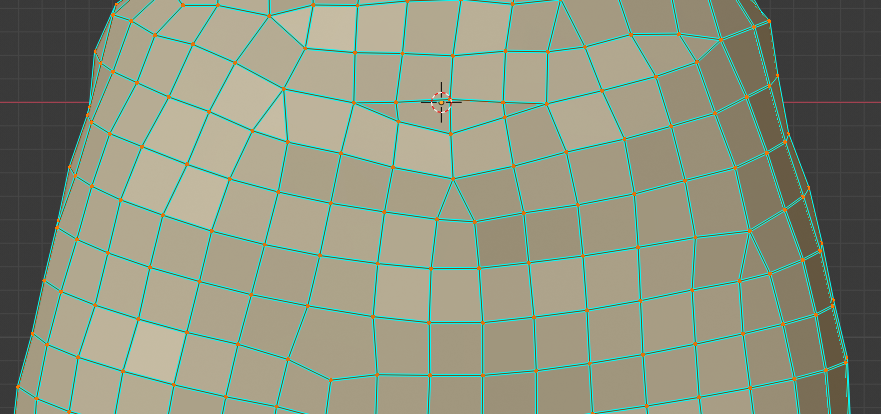
If you switch to edit mode and view the model after retopology, you will see that all edges are now light blue. Sharpening has been applied to the edges.
Sharpening can be turned on by “Mark Sharpen” in the “Edges” menu, and turned off by “Clear Sharpen”.
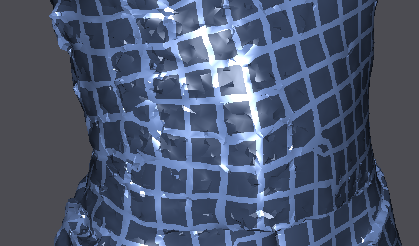
Since I did not check the Pure quad mesh checkbox at the end of this tutorial, triangle and polygon polygons are also mixed in as shown below.
Comparison of retopology results
We tested how changing the options during the process changes the results.
Comparison of mesh shapes
I changed the “Mesh As” item. Here are the default output results for Triangles, Quad (2-RoSy, 4-Posy), and Quad (4-RoSy, 4-Posy) from the top.
Configuration details option
Next, let’s take a look at the configuration details options.
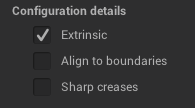
These settings are respectively
- Extrinsic: Smoothing along the feature lines of the geometry.
- Align to boundaries: If the input mesh is not closed, the boundaries will be preserved.
- Sharp creases: If the normals of the input surface mesh are discontinuous, they will not be smoothed.
Align to boundaries.
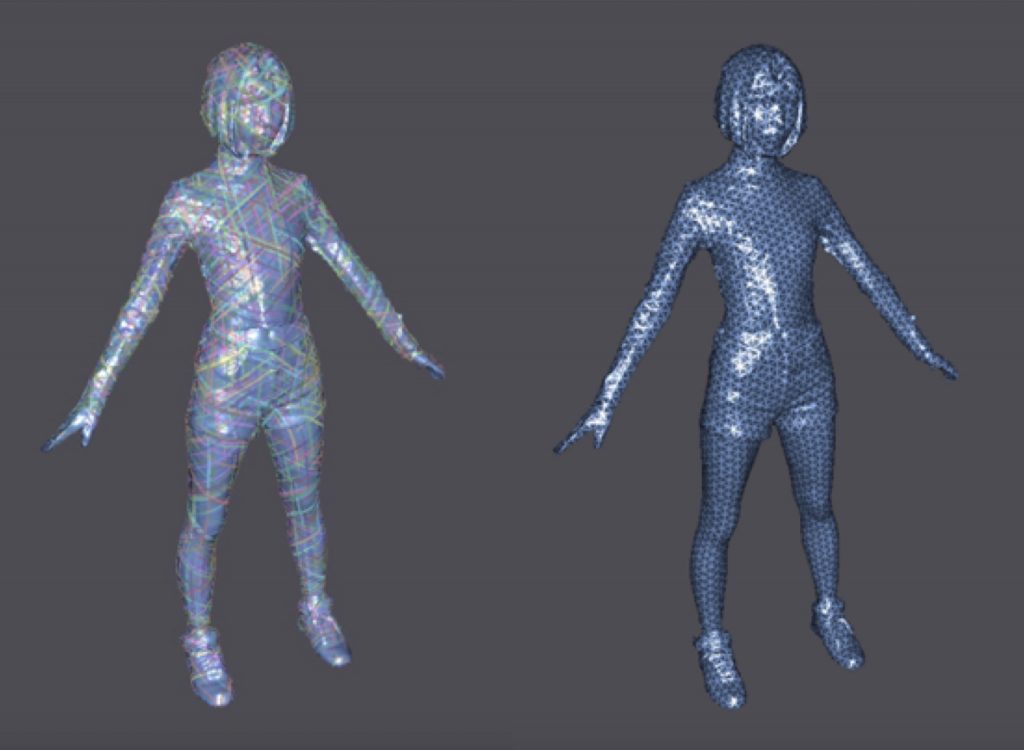
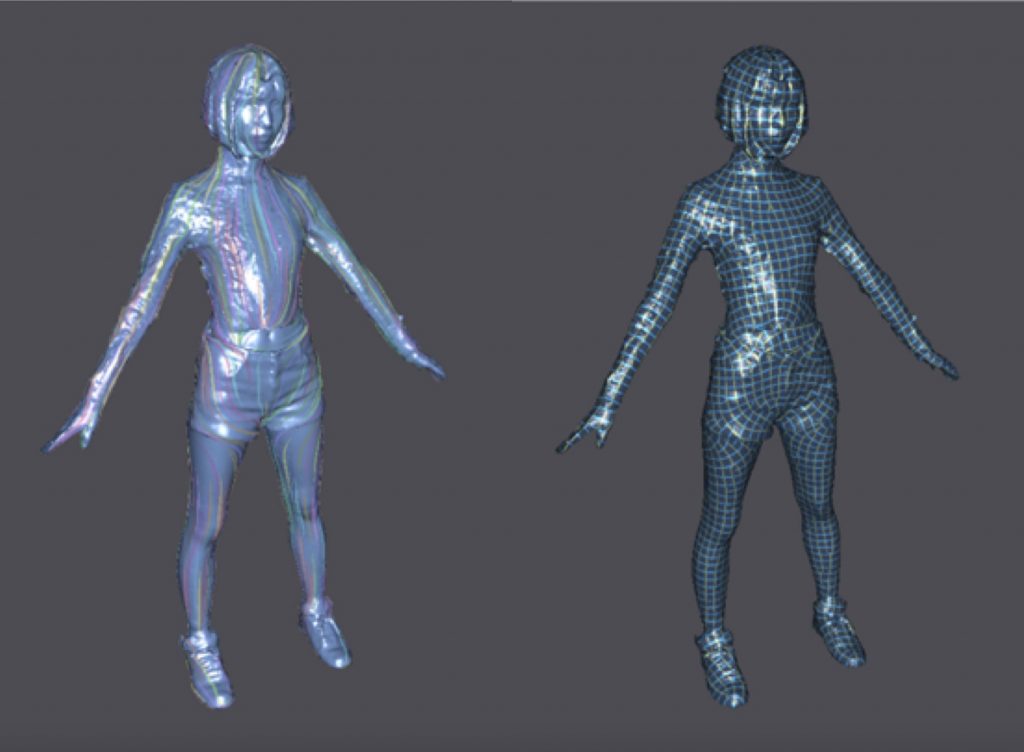
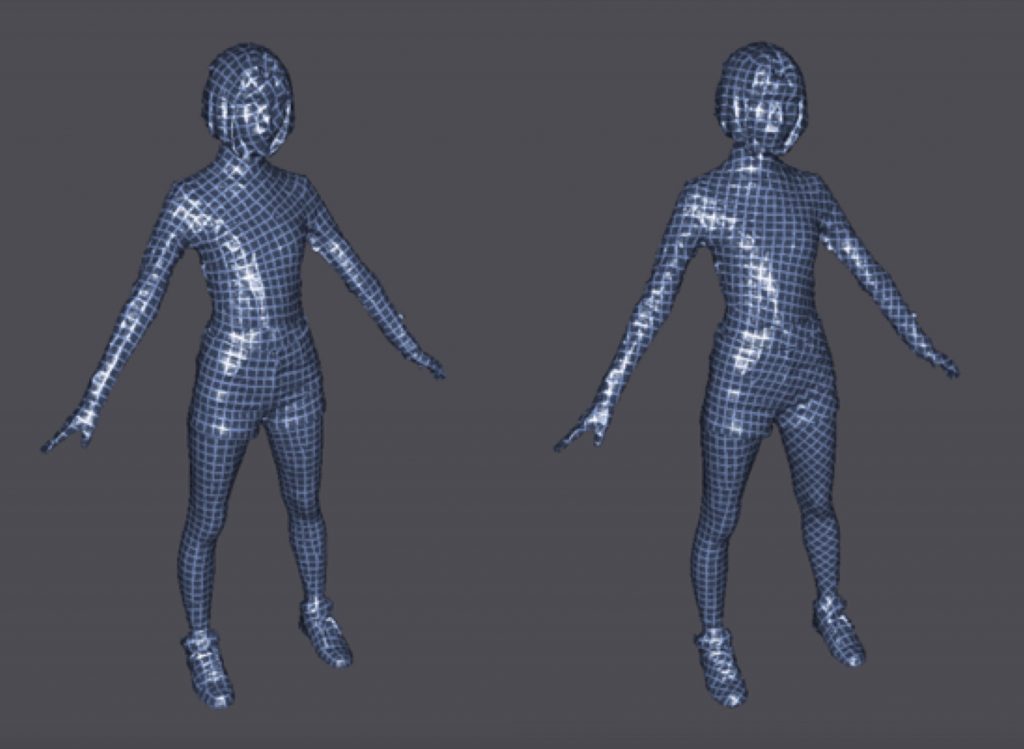
Here are the results of turning “Extrinsic” on and off.
With “Extrinsic” turned off, you can see that the mesh does not follow the shape of the model, but is just drawn in a straight line.
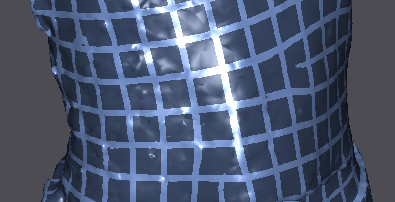
Next, we show the results of turning Sharp creases on and off.
When Sharp creases are turned on, the mesh after retopology is placed exactly on the original shape without any smoothing correction.
Uploading to STYLY
For instructions on how to upload your retopologized 3D model to STYLY, please refer to the “Upload” chapter in the “Understanding the assets you can import” article below.
Bake textures on the 3D model after retopology
The model after retopology has no texture.
Since it will have a different UV placement than the original model, applying the original model’s texture as is will not work.
The following article explains how to bake the texture of the original model into the texture of the retopologized model using a function called baking.





![[Blender 2.81] Baking textures into retopology models](https://styly.cc/wp-content/uploads/2020/03/キャプチャ6-160x160.png)