In our previous article, we showed you how to create an account and use custom animations.
Now, we’ll show you how to take Kinetix even further.
What is Kinetix?
Kinetix is a platform that allows users to extract animation from dance and other videos and add the movement to 3D models.
The entire process can be completed on the web without the need to write any code, and it is free of charge.
Take advantage of this service and incorporate dance and other movements into your work with STYLY!
https://www.kinetix.tech/
Editing and Adding Animations
After you add an animation, you can add and combine different animations to create one original animation.
Click the same button to add the animation again.
When creating two or more consecutive animations, adjust them so that they do not overlap to ensure that their movements are neatly linked.
Drag and drop the second animation and you will see an orange line between the two animations.
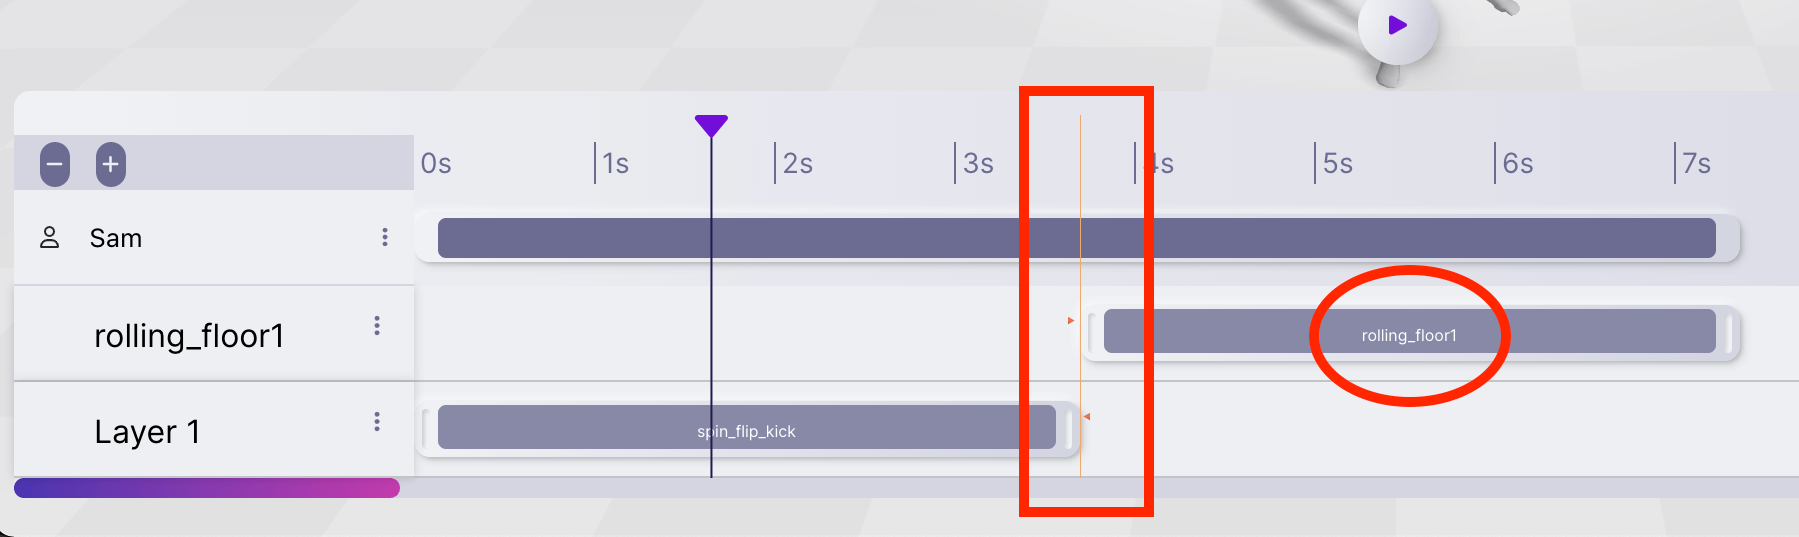
Timeline.

Click the play button at the bottom center to play the animation.
Click My Clips to see the last video you uploaded.
You can add animations by clicking on the thumbnails.
For detailed instructions on how to upload to My Clips, please refer to the previous article.
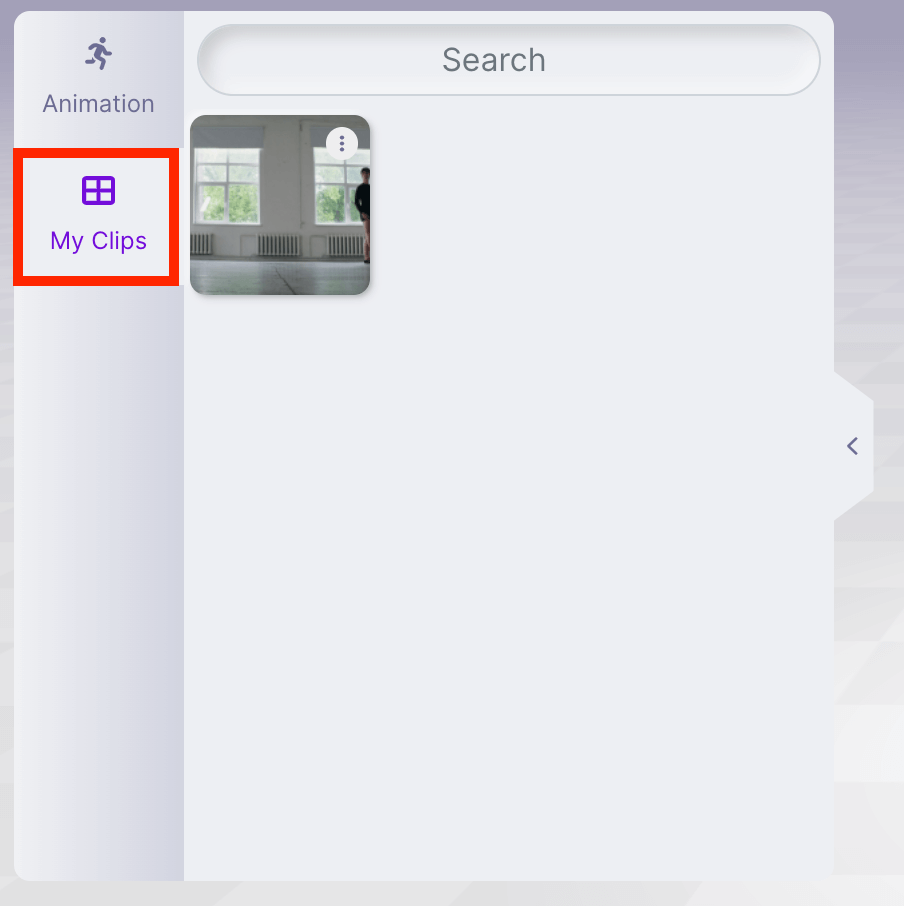
My Clips.
Using the Original Rigged Model
You can import your own rigged models created in Blender or other software into Kinetix.
First, delete the default character from the menu in the upper right corner.
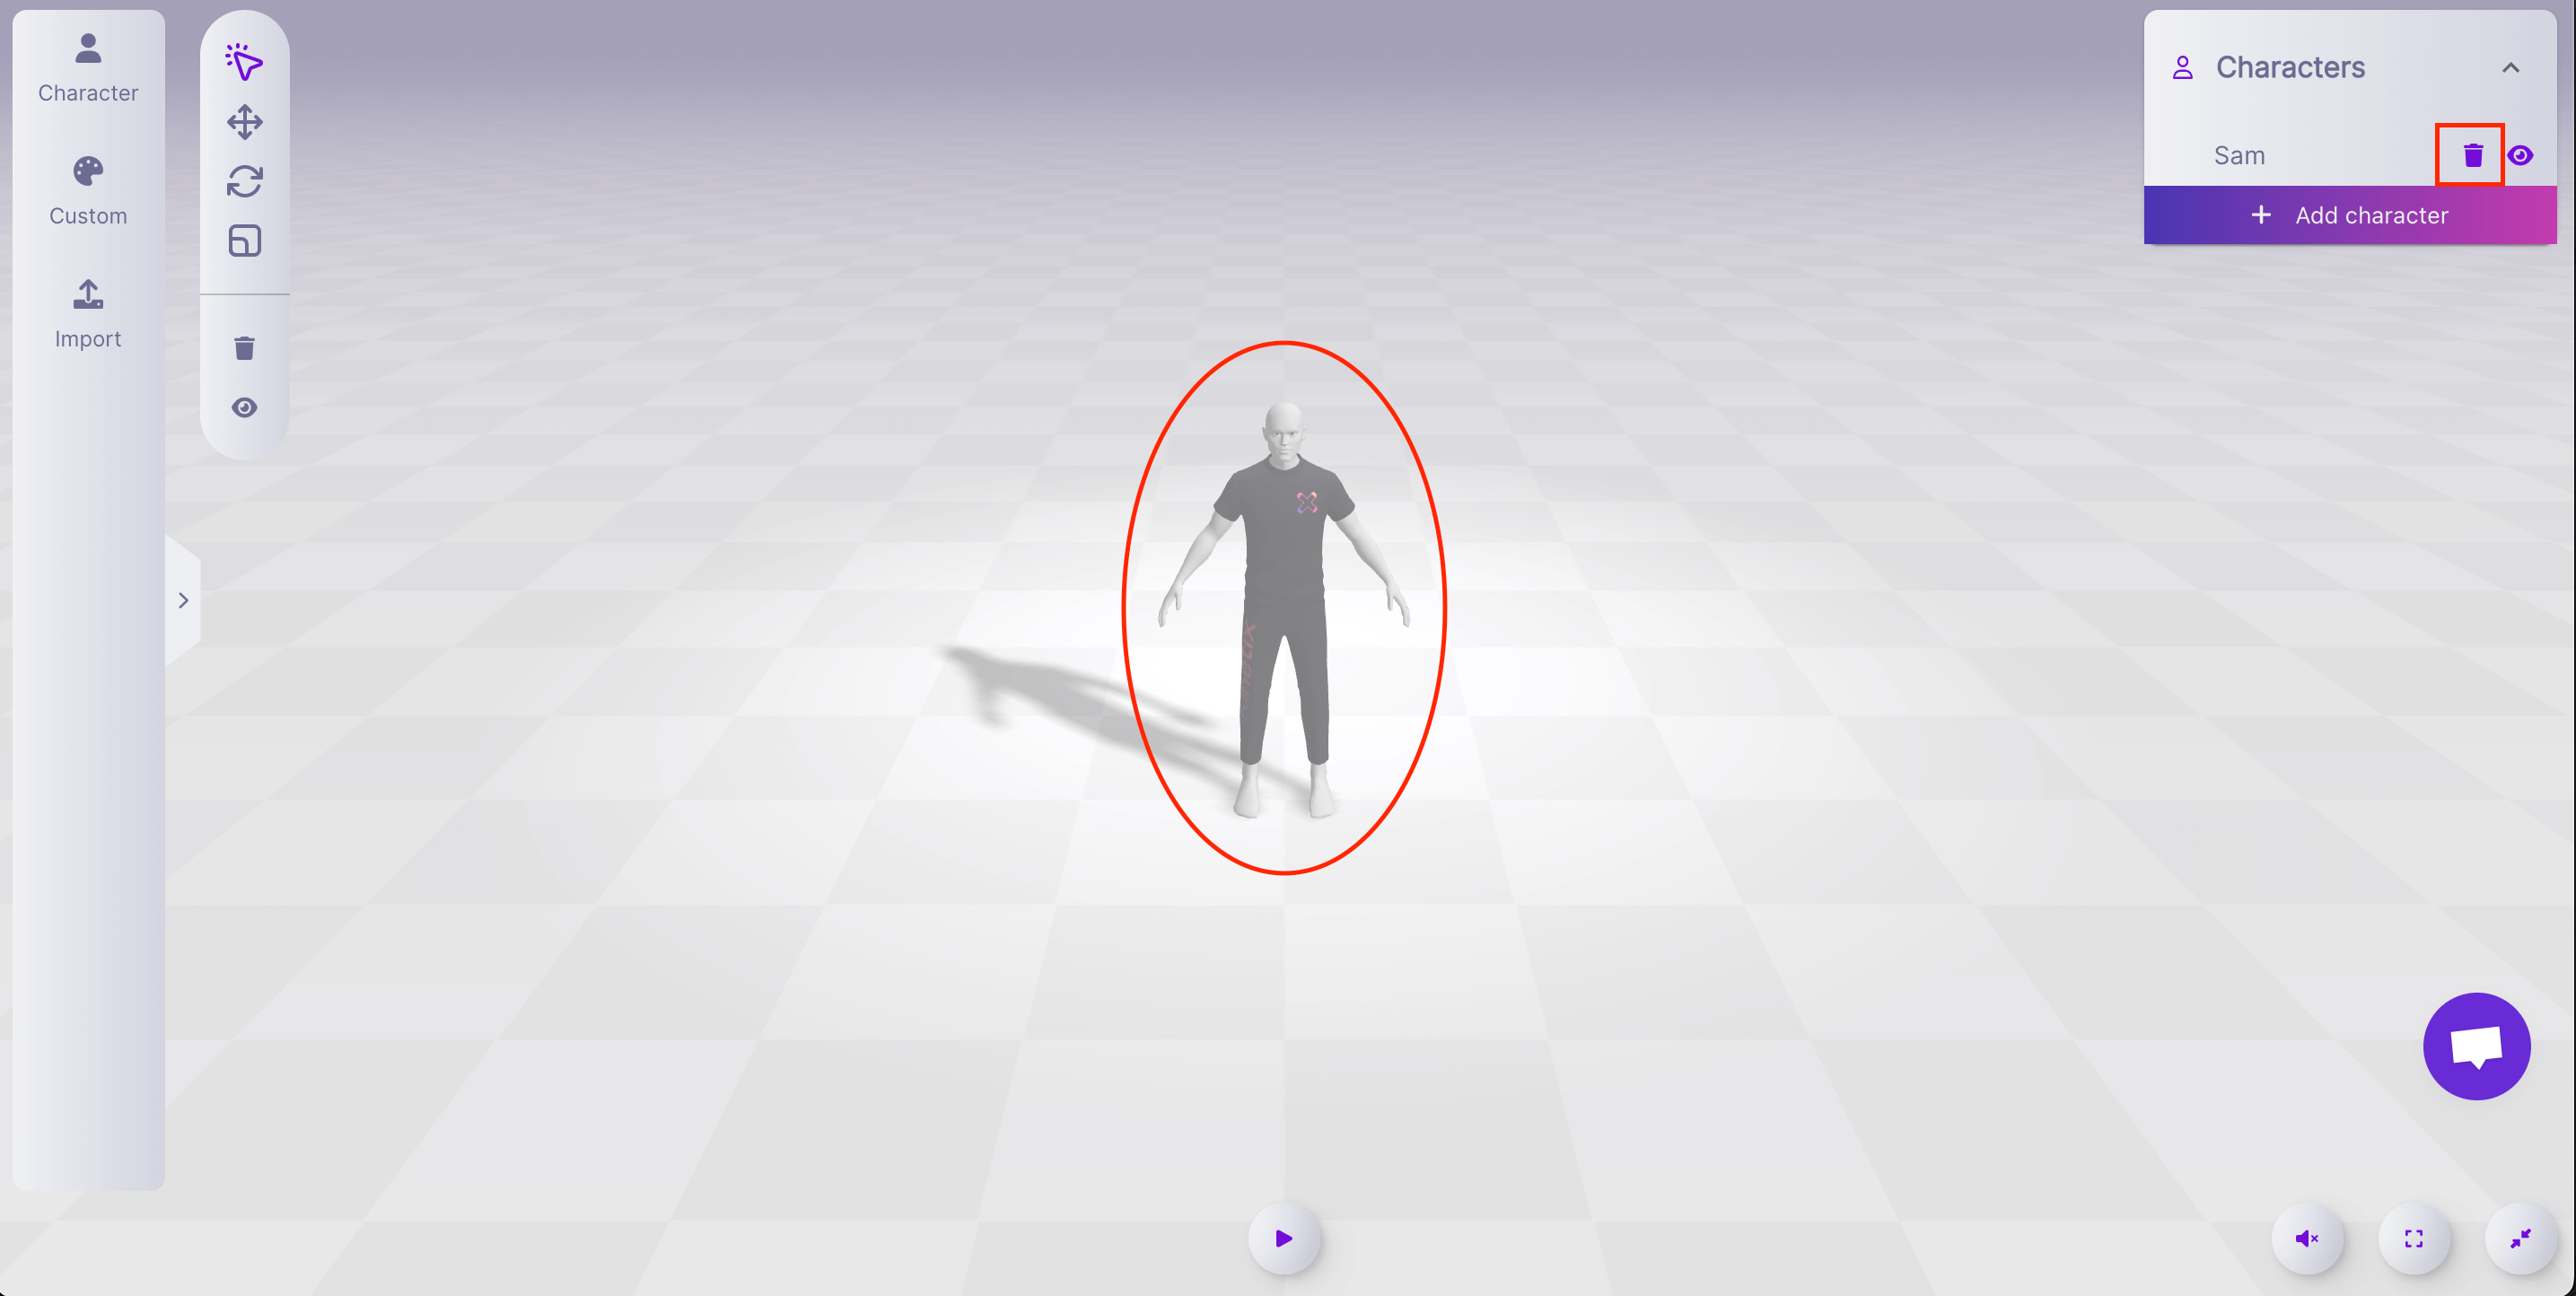
Character.
Click on Character at the top of the screen and select Import on the left.
Then drag and drop the file you wish to upload into the frame.
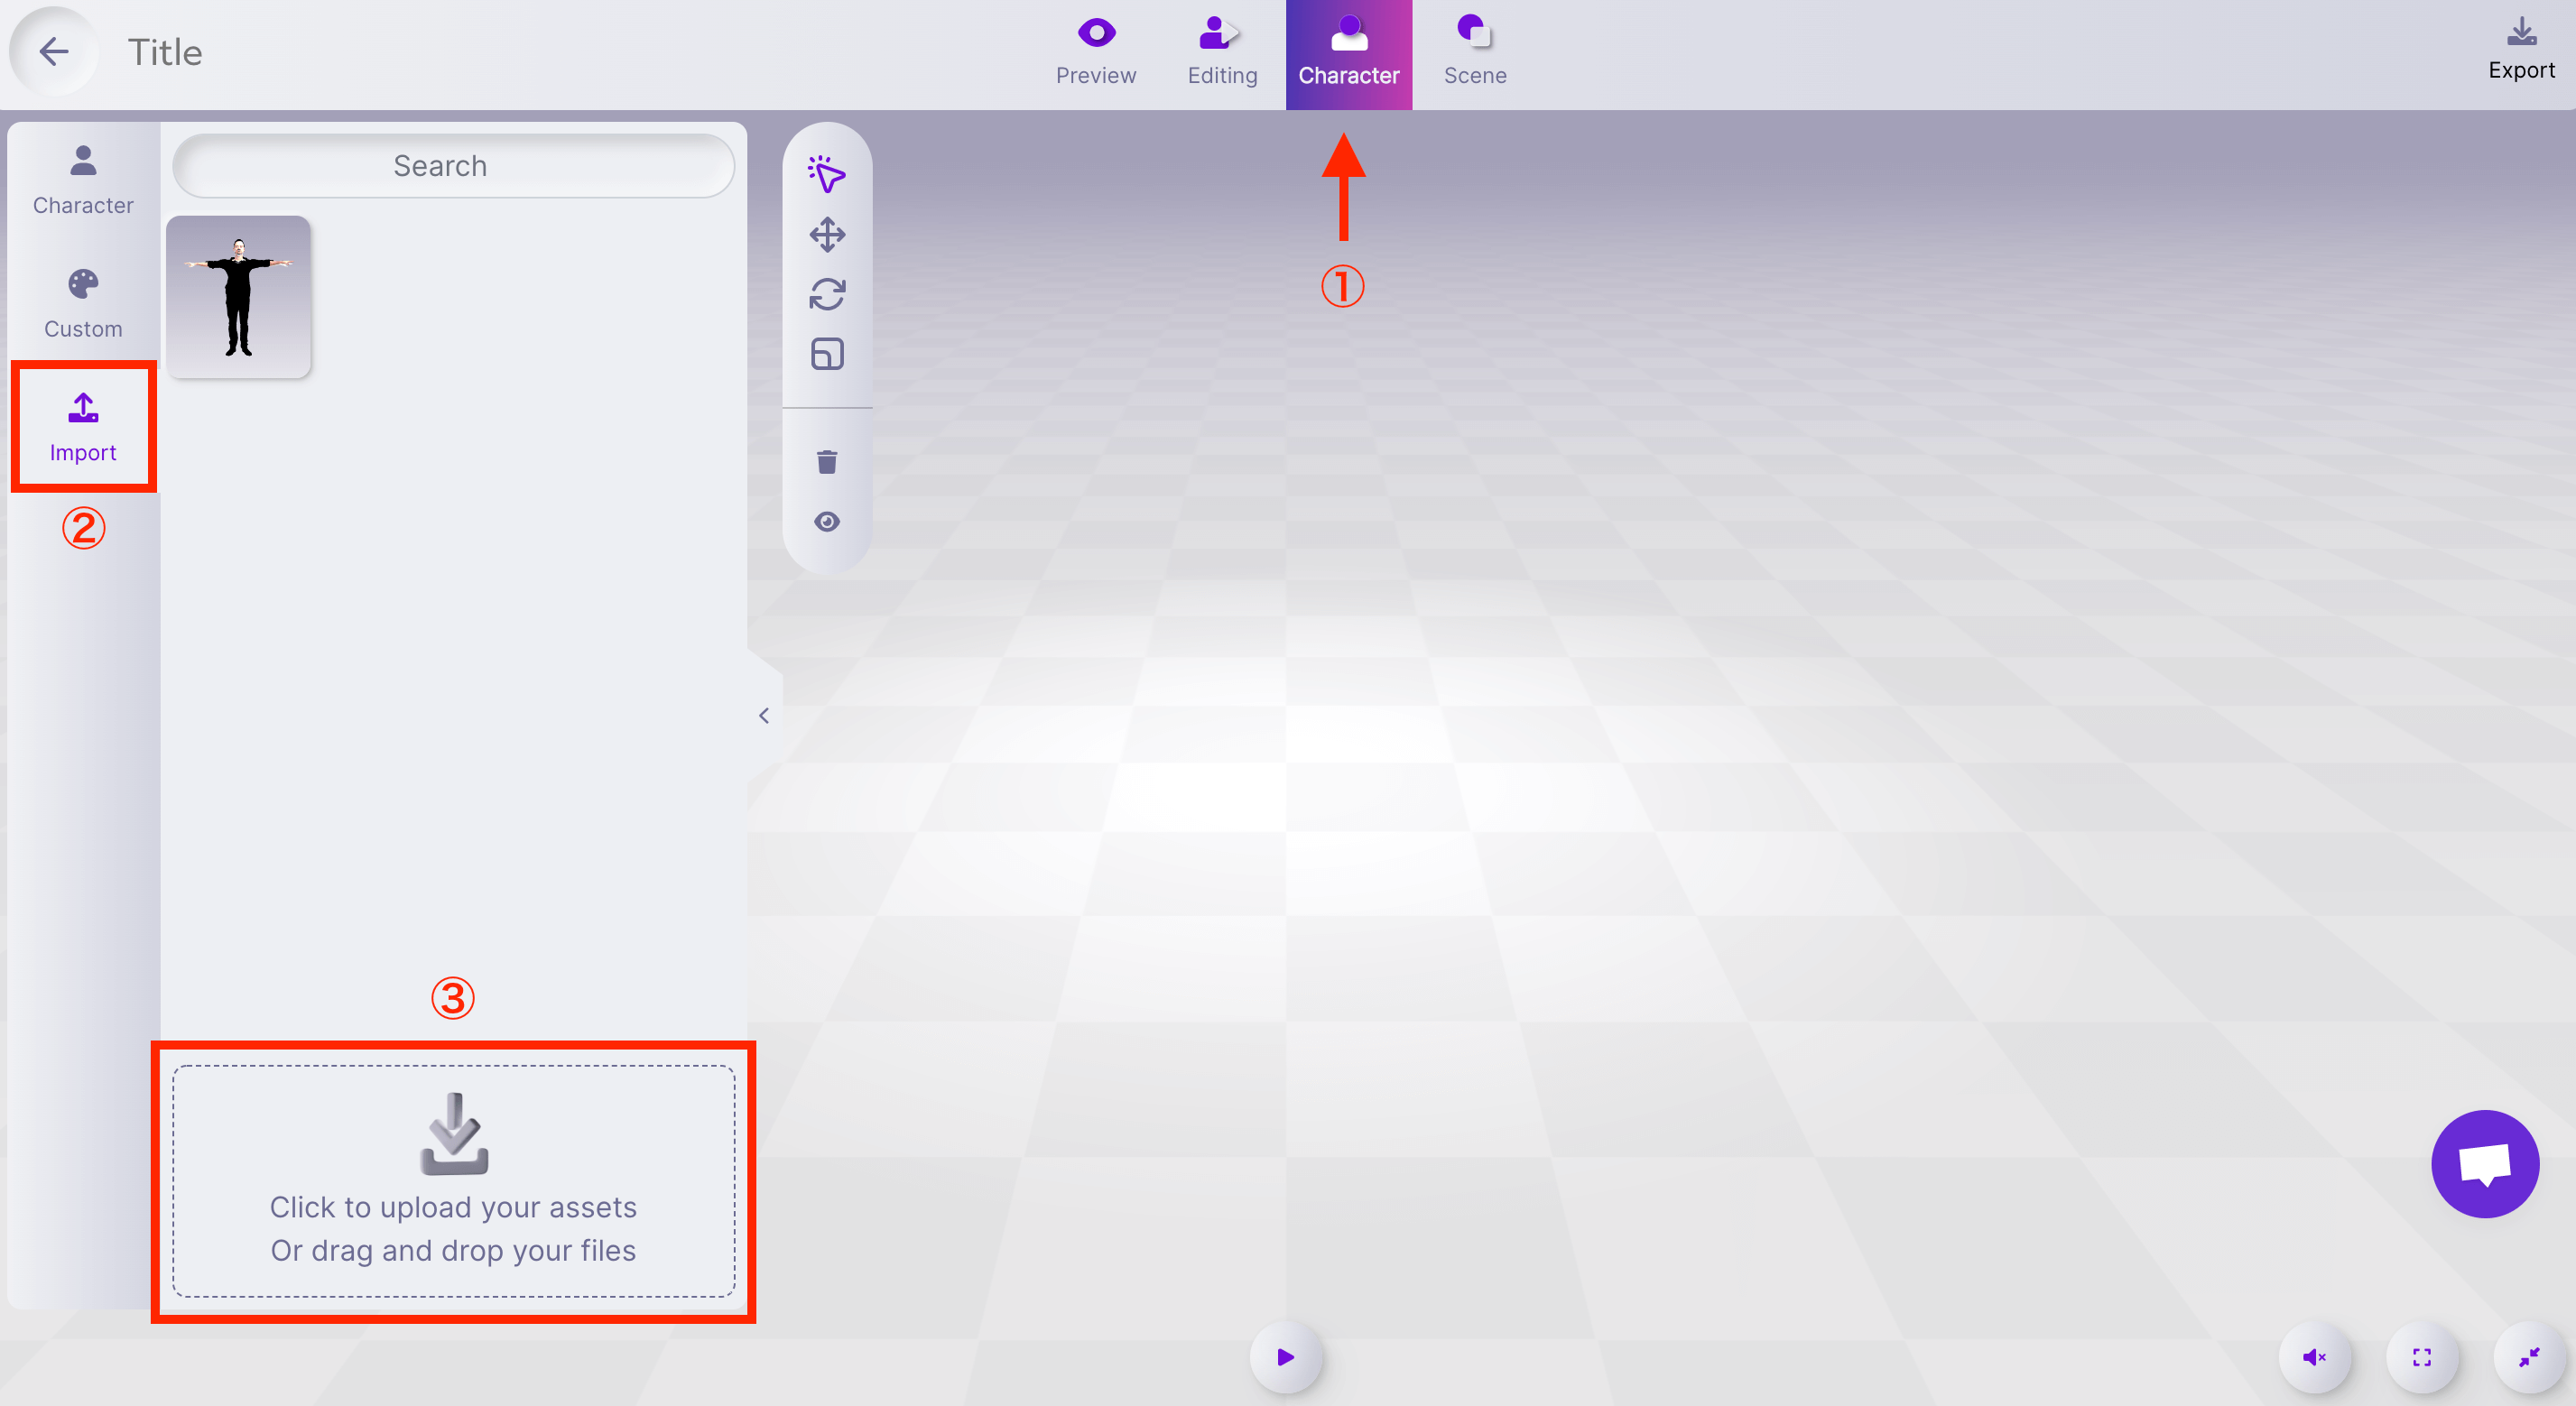
Import.
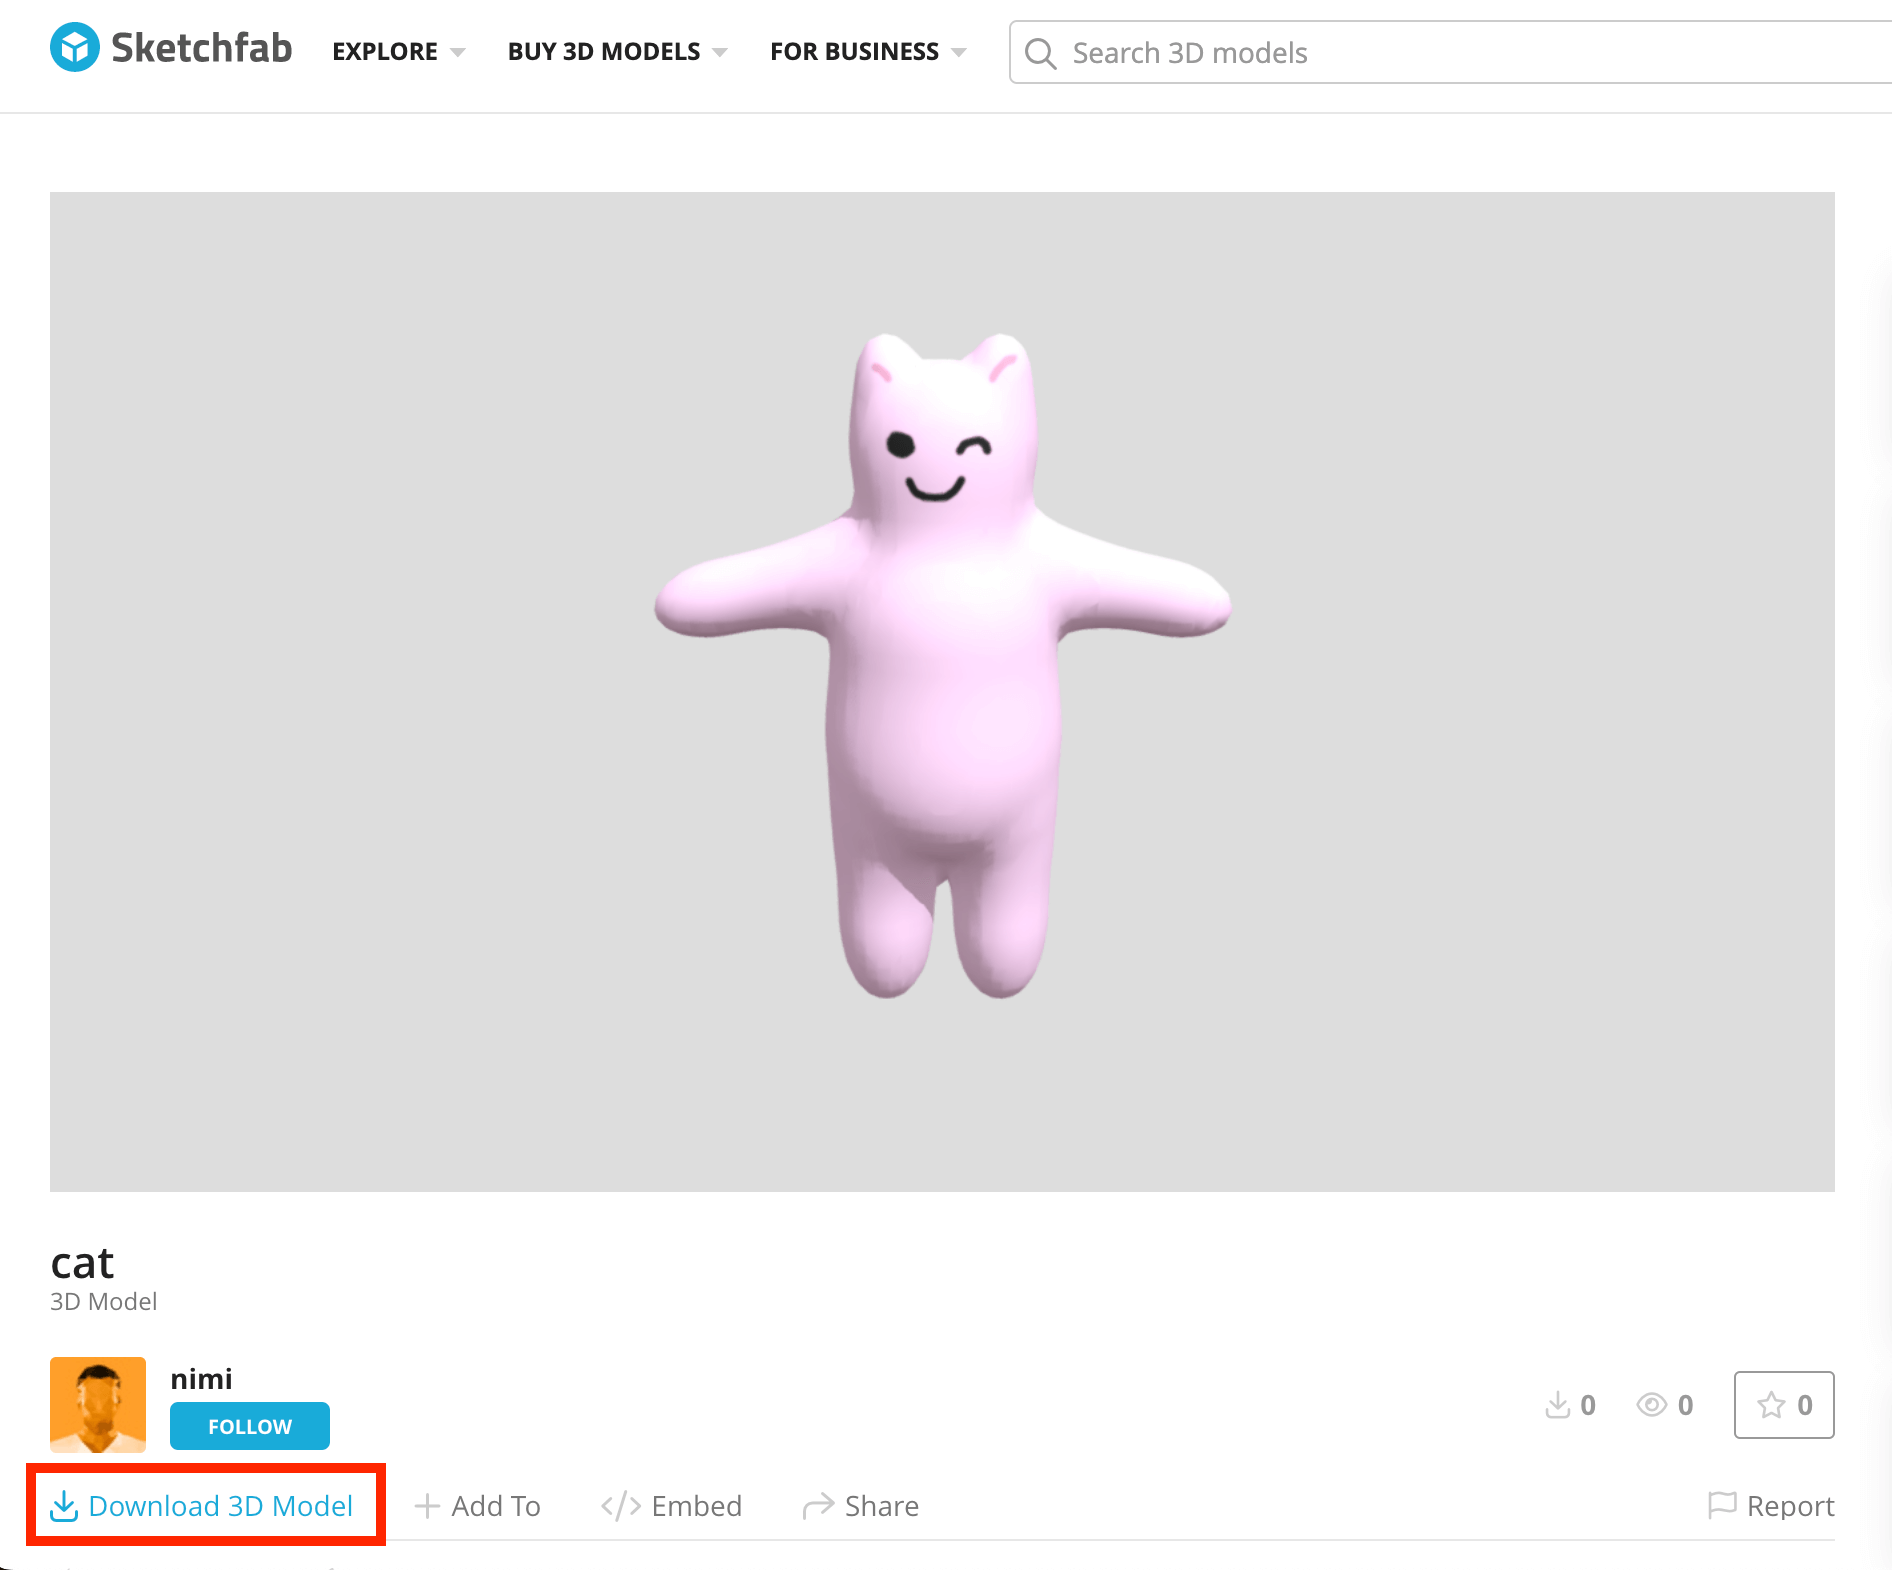
We used our own model in this case.
You can download your model by clicking Download 3D Model under your username.
After uploading the file, the model’s joints are automatically assigned, and a description of the settings is displayed.
If the joints are not assigned as cleanly as in the screenshot below, you can assign them manually.
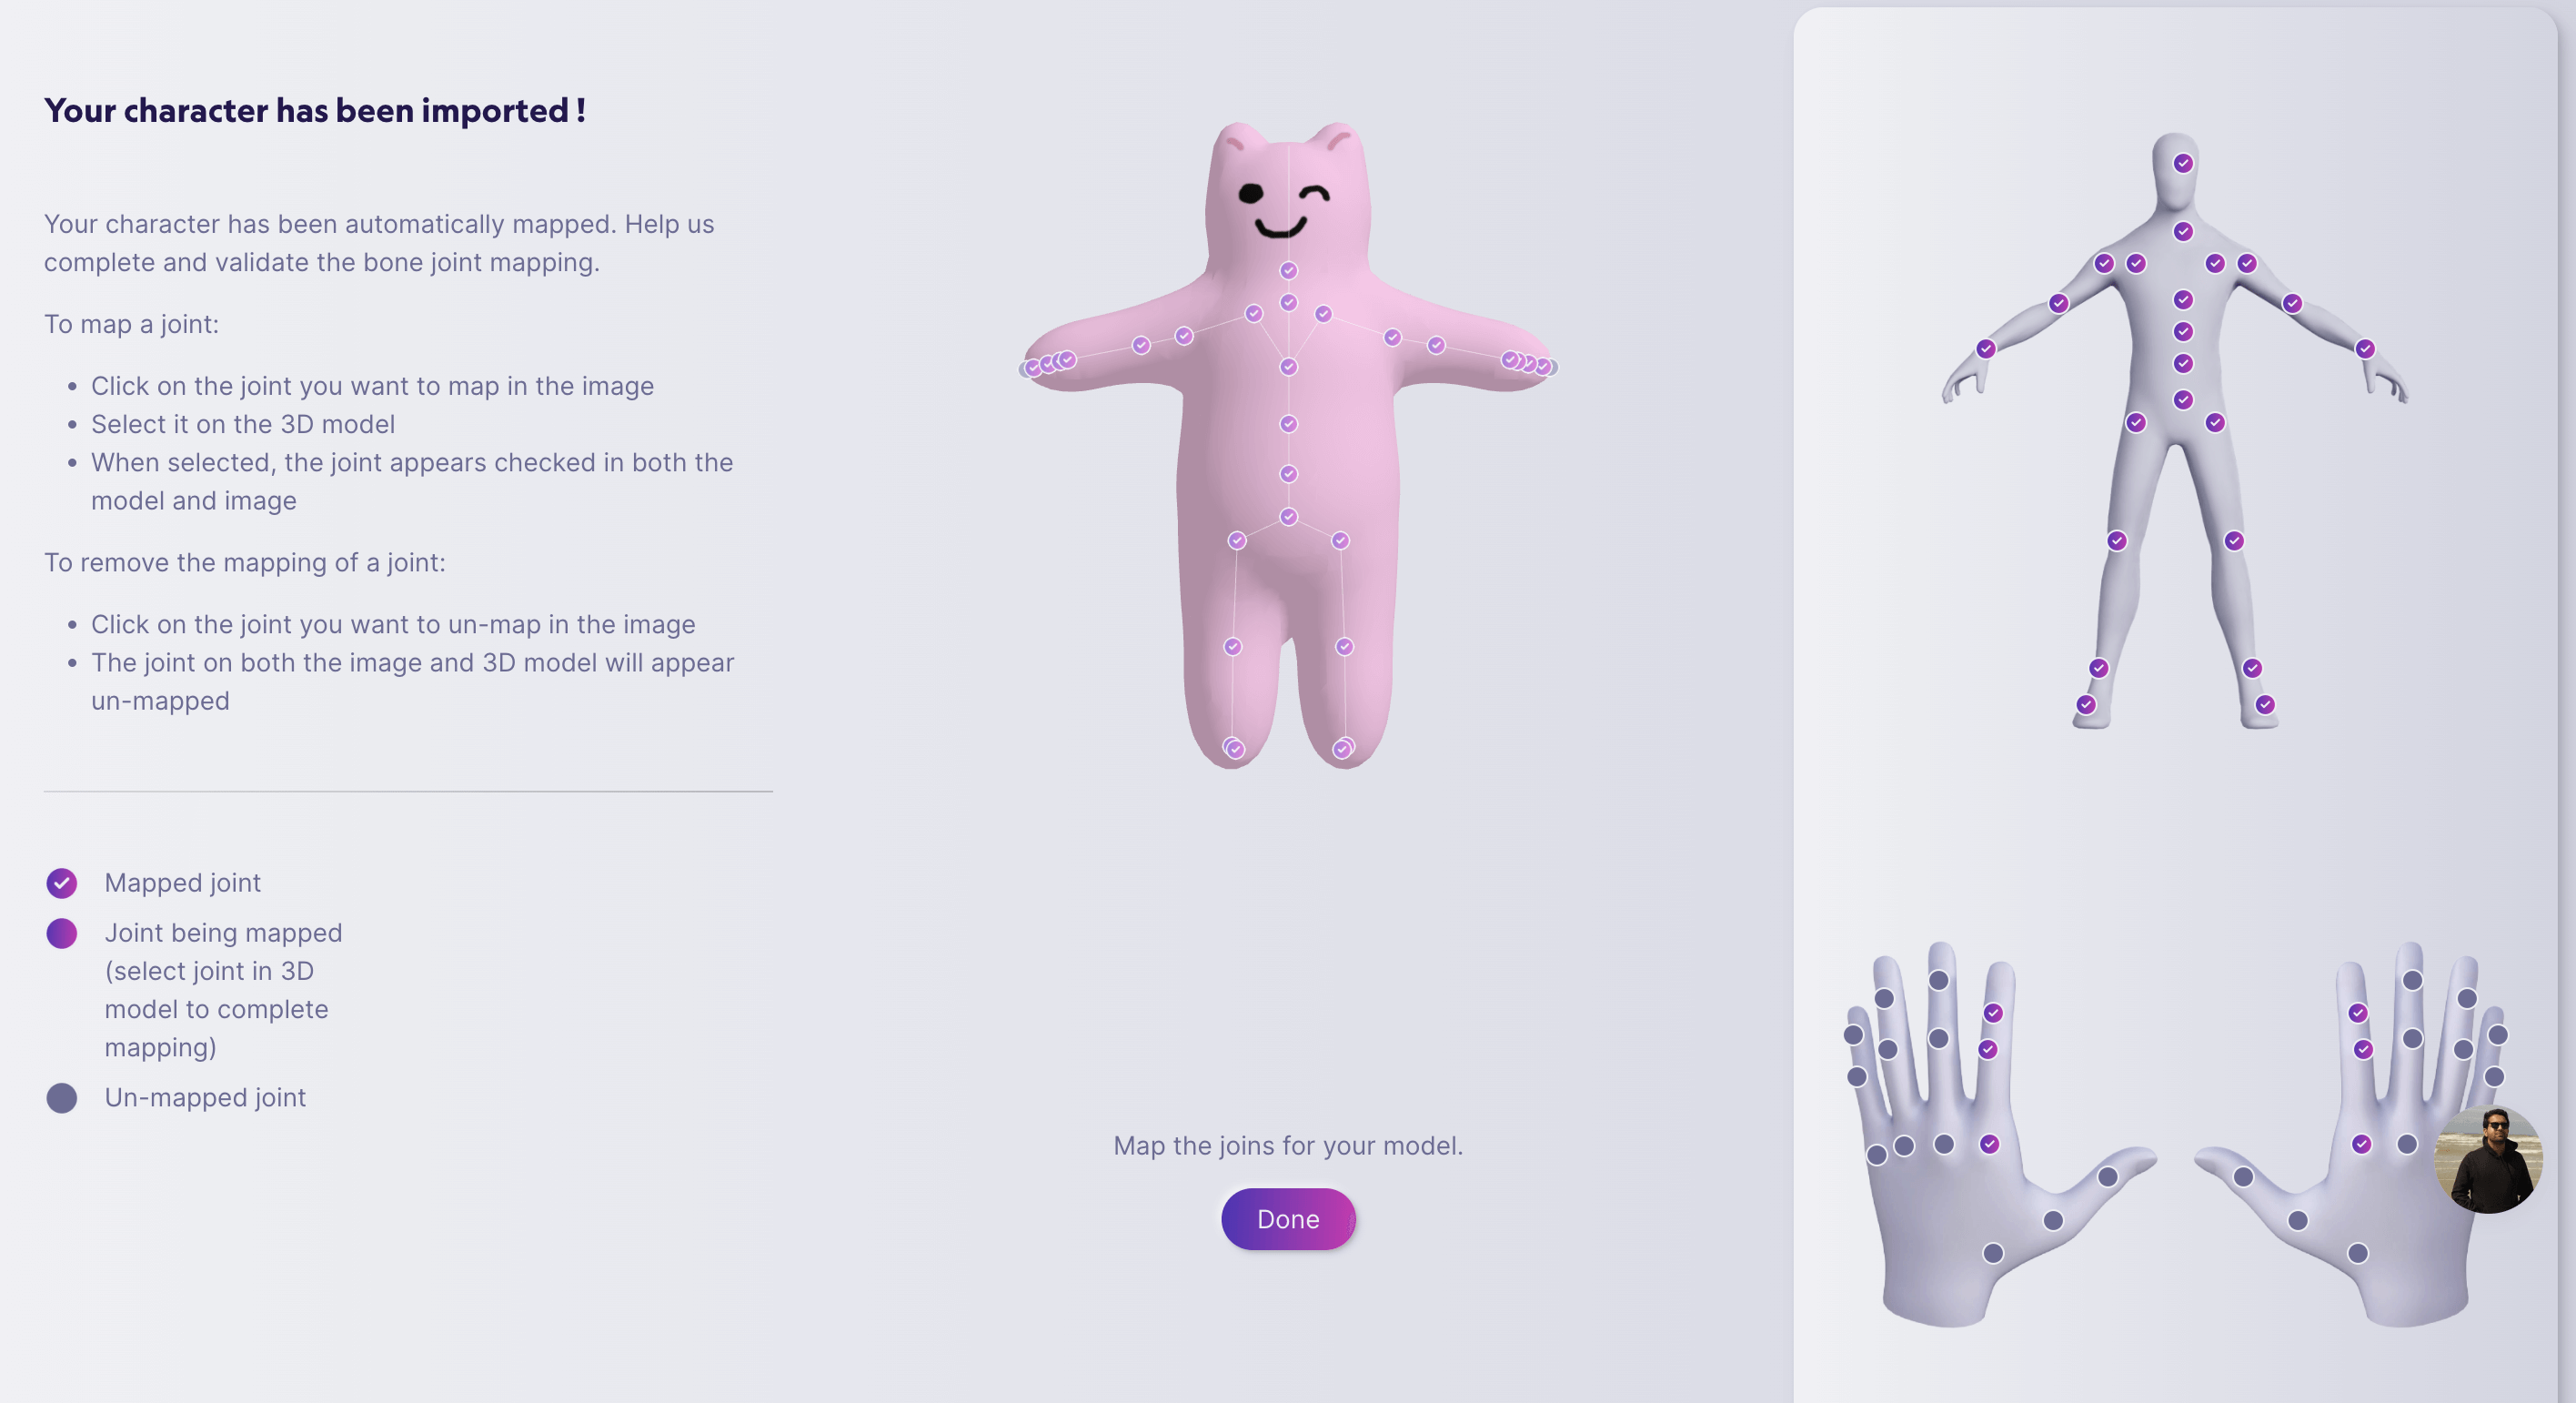
Mapping.
- Click on the joint (any circle) you want to map on the human model on the right side of the screen.
- Click the circle on the 3D model that corresponds to the selected joint of the human model.
- When selected, the circles of both the human model and the 3D model will be displayed with the selected circles checked.
If excessive mapping has been selected, click on the joint you wish to unmap in the human model on the right side of the screen to unmap it.
Click “Done” to upload the model.
Click on the model you wish to use and it will appear in the center of the screen. From the Editing tab, click on the movement you wish to use to add it.

Import model.

Editing.
Using Characters
Add Characters
Click on Character at the top of the screen to switch menus.
Click on any character in the Kinetix library to add it.
Add a character.
Customize Your Character
In addition to using existing characters, you can create your own avatar to use in your animation.
From the Custom menu, select Customize your model.
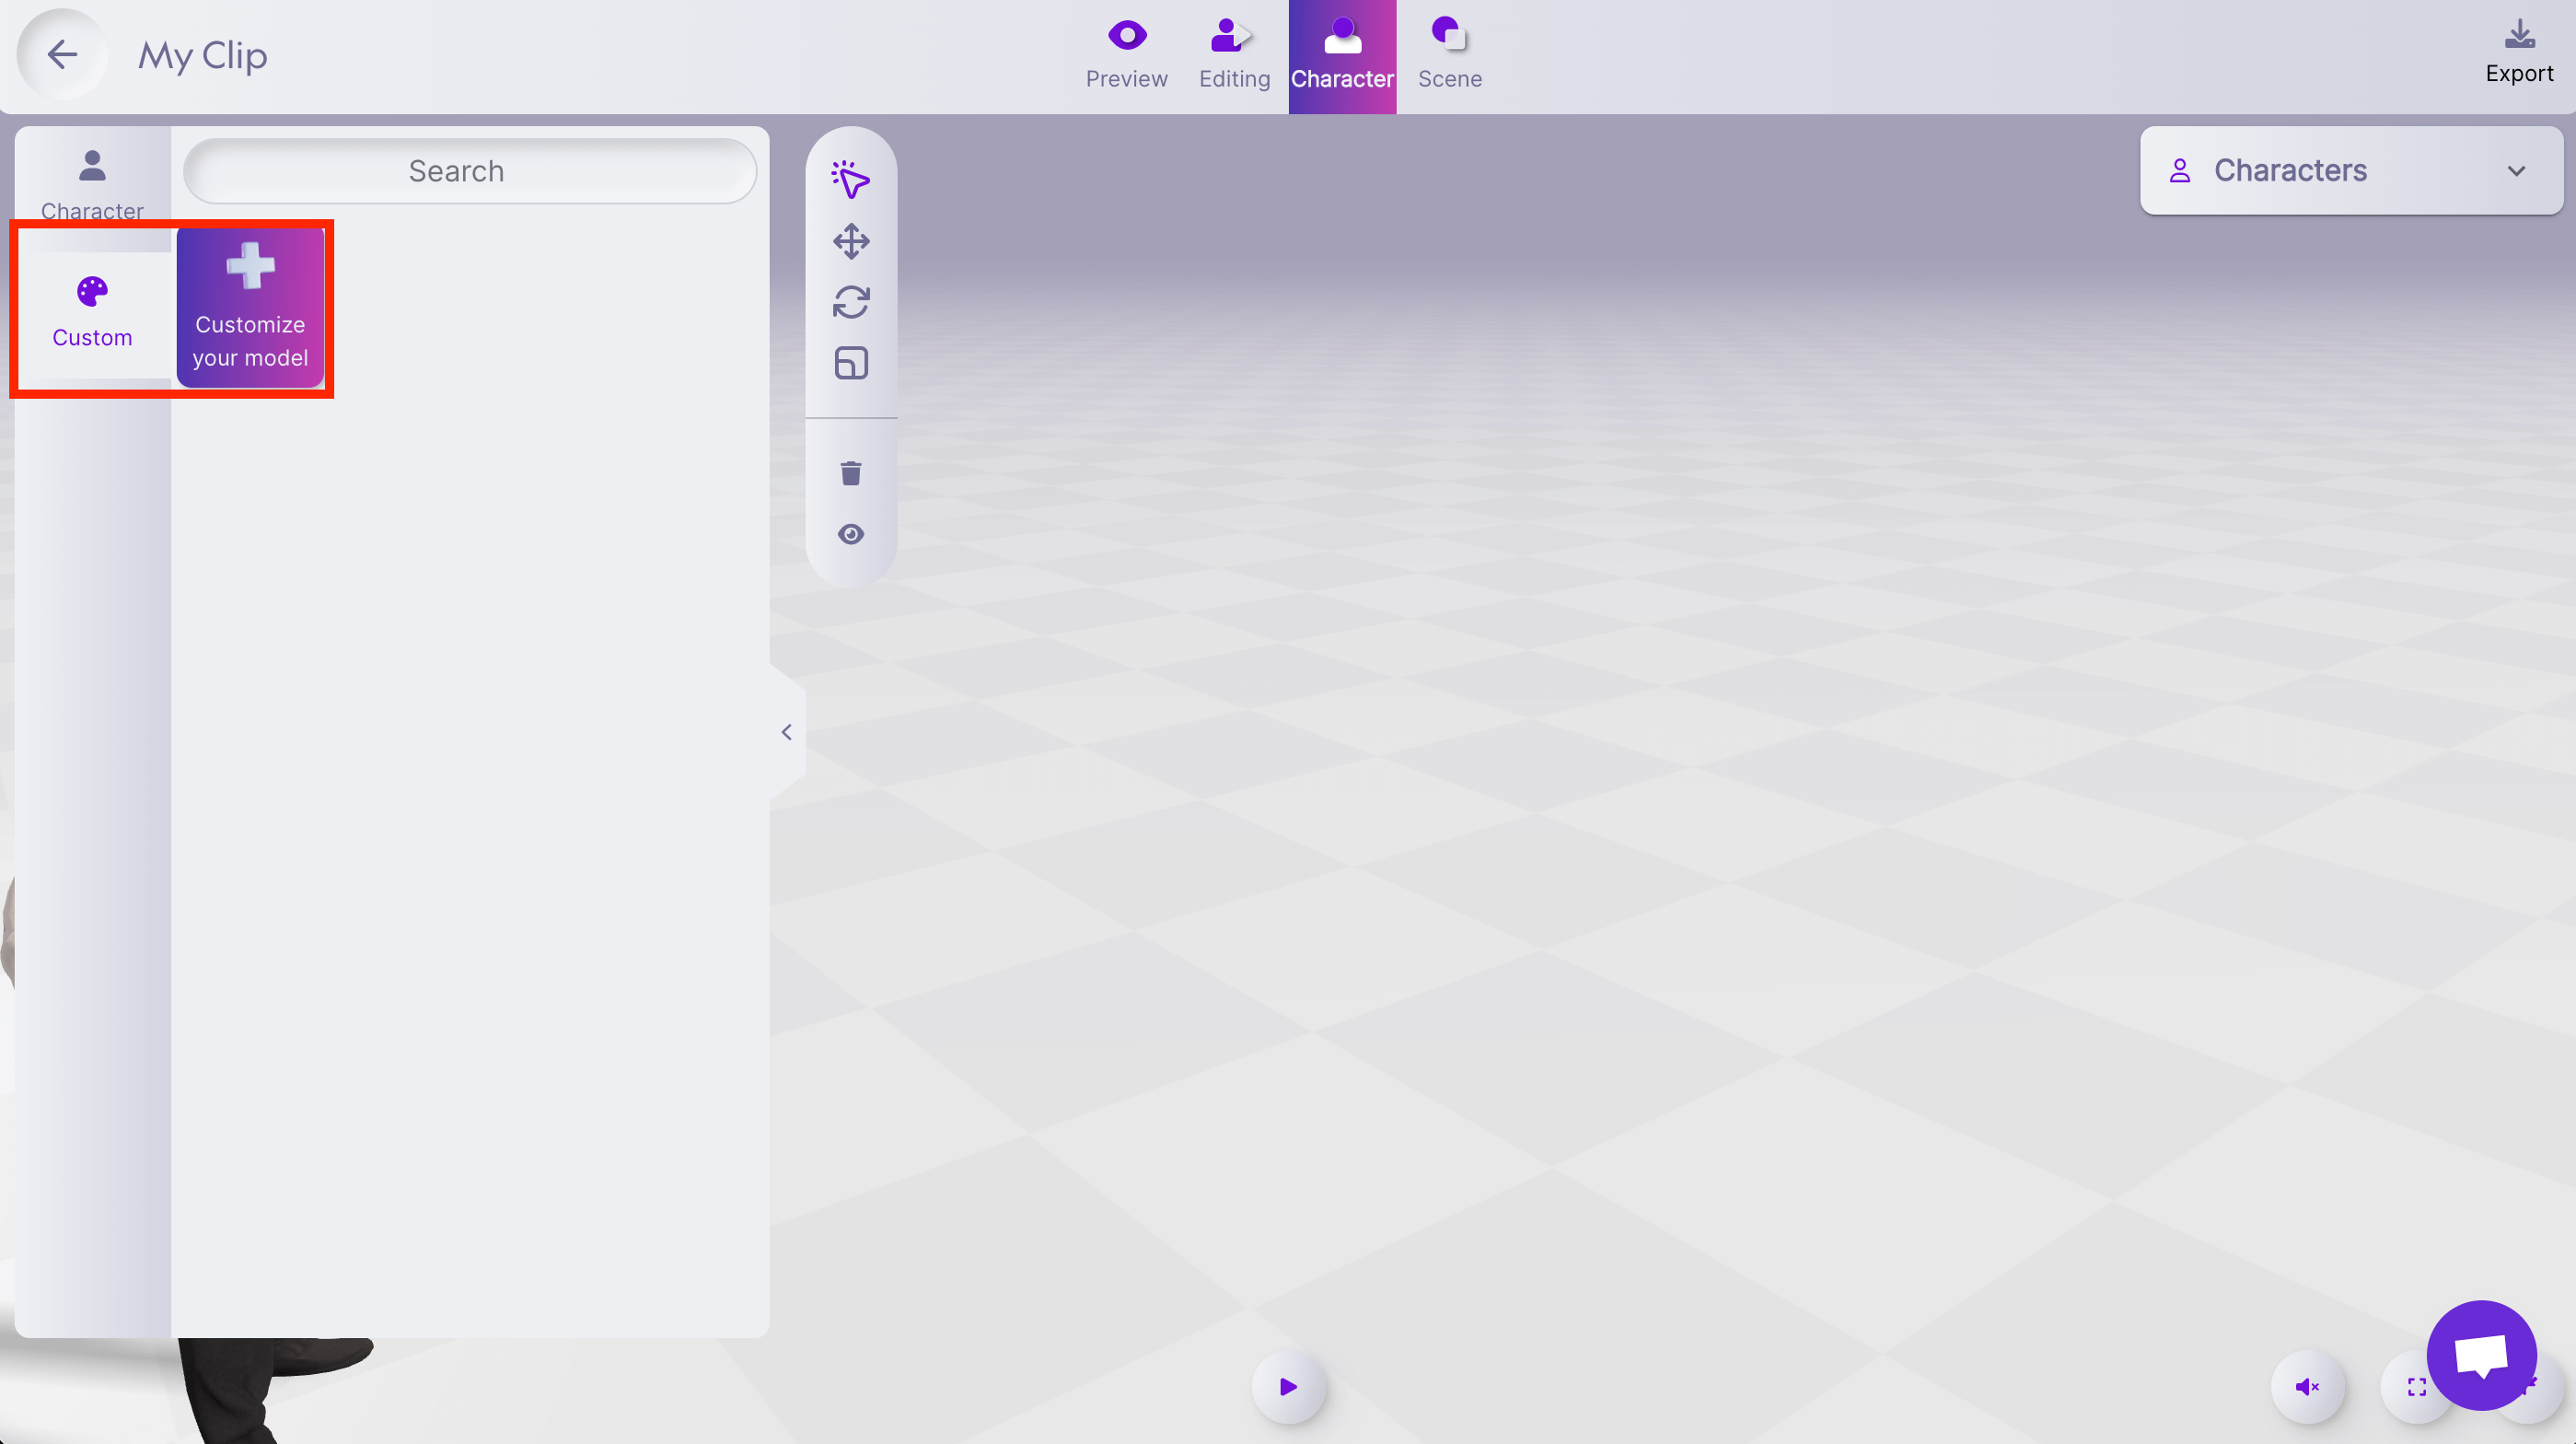
Customize your model.
You will then be taken to a screen where you can select your character’s gender.
If you have a READY PLAYER ME account, you can sign in and use it here.
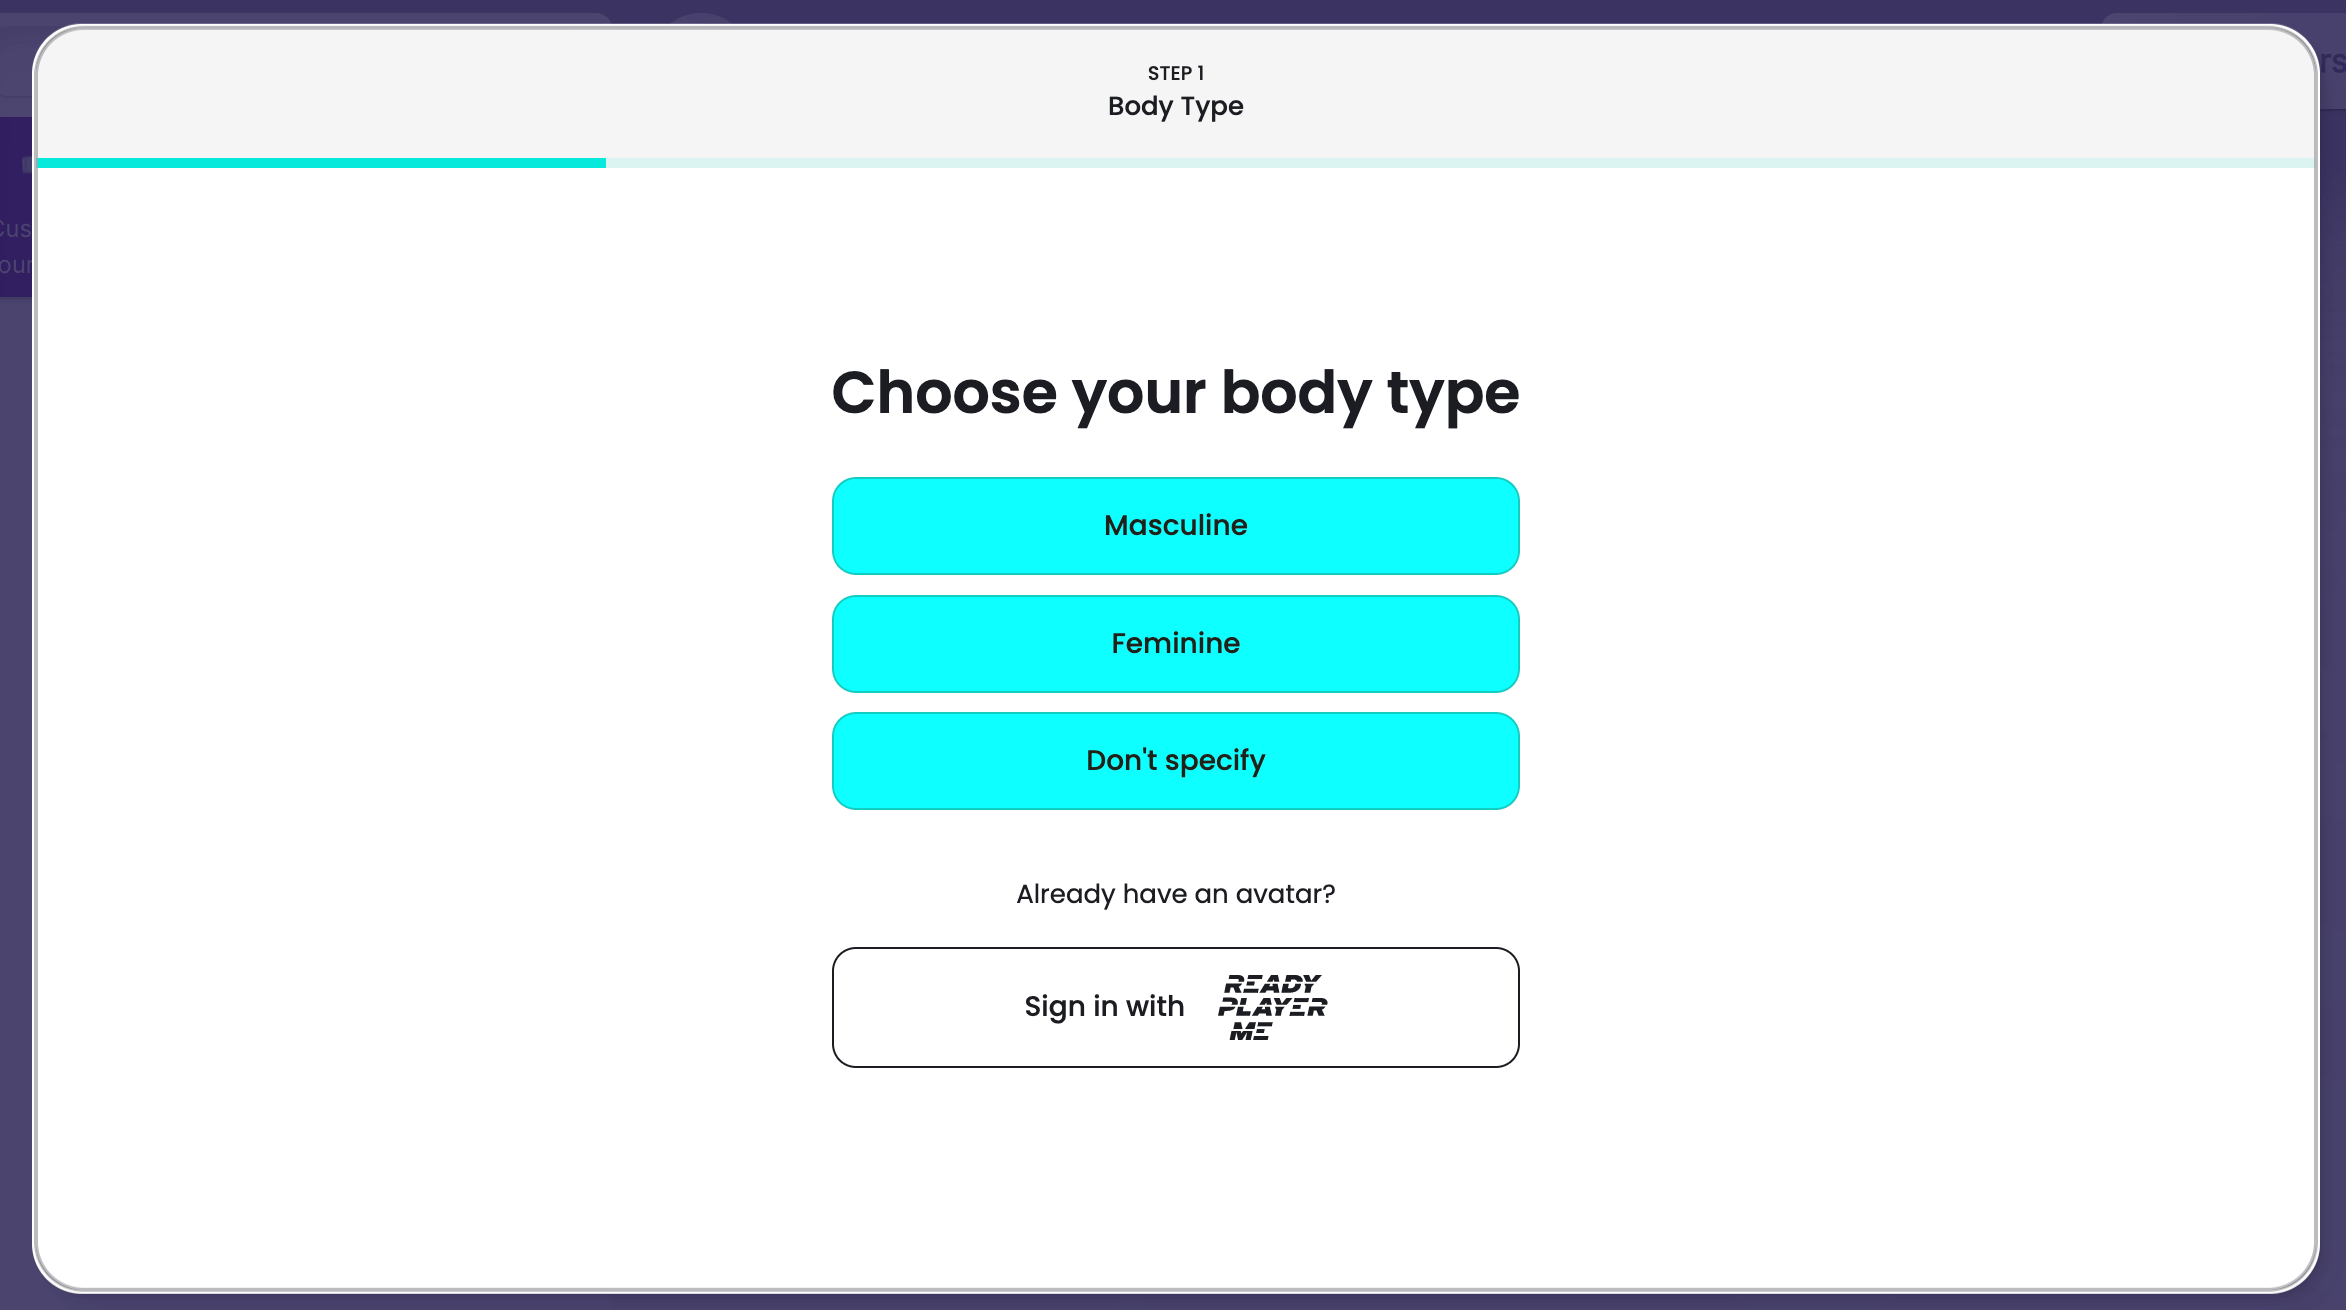
Masculine/Feminine/Don’t specify.
Next, upload a photo of your face to be used in your avatar.
Click “Take a photo!” to take a photo of your face, or click “pick a file” to select a photo of your face from your PC.
Click “Continue without a photo” to continue without a photo.
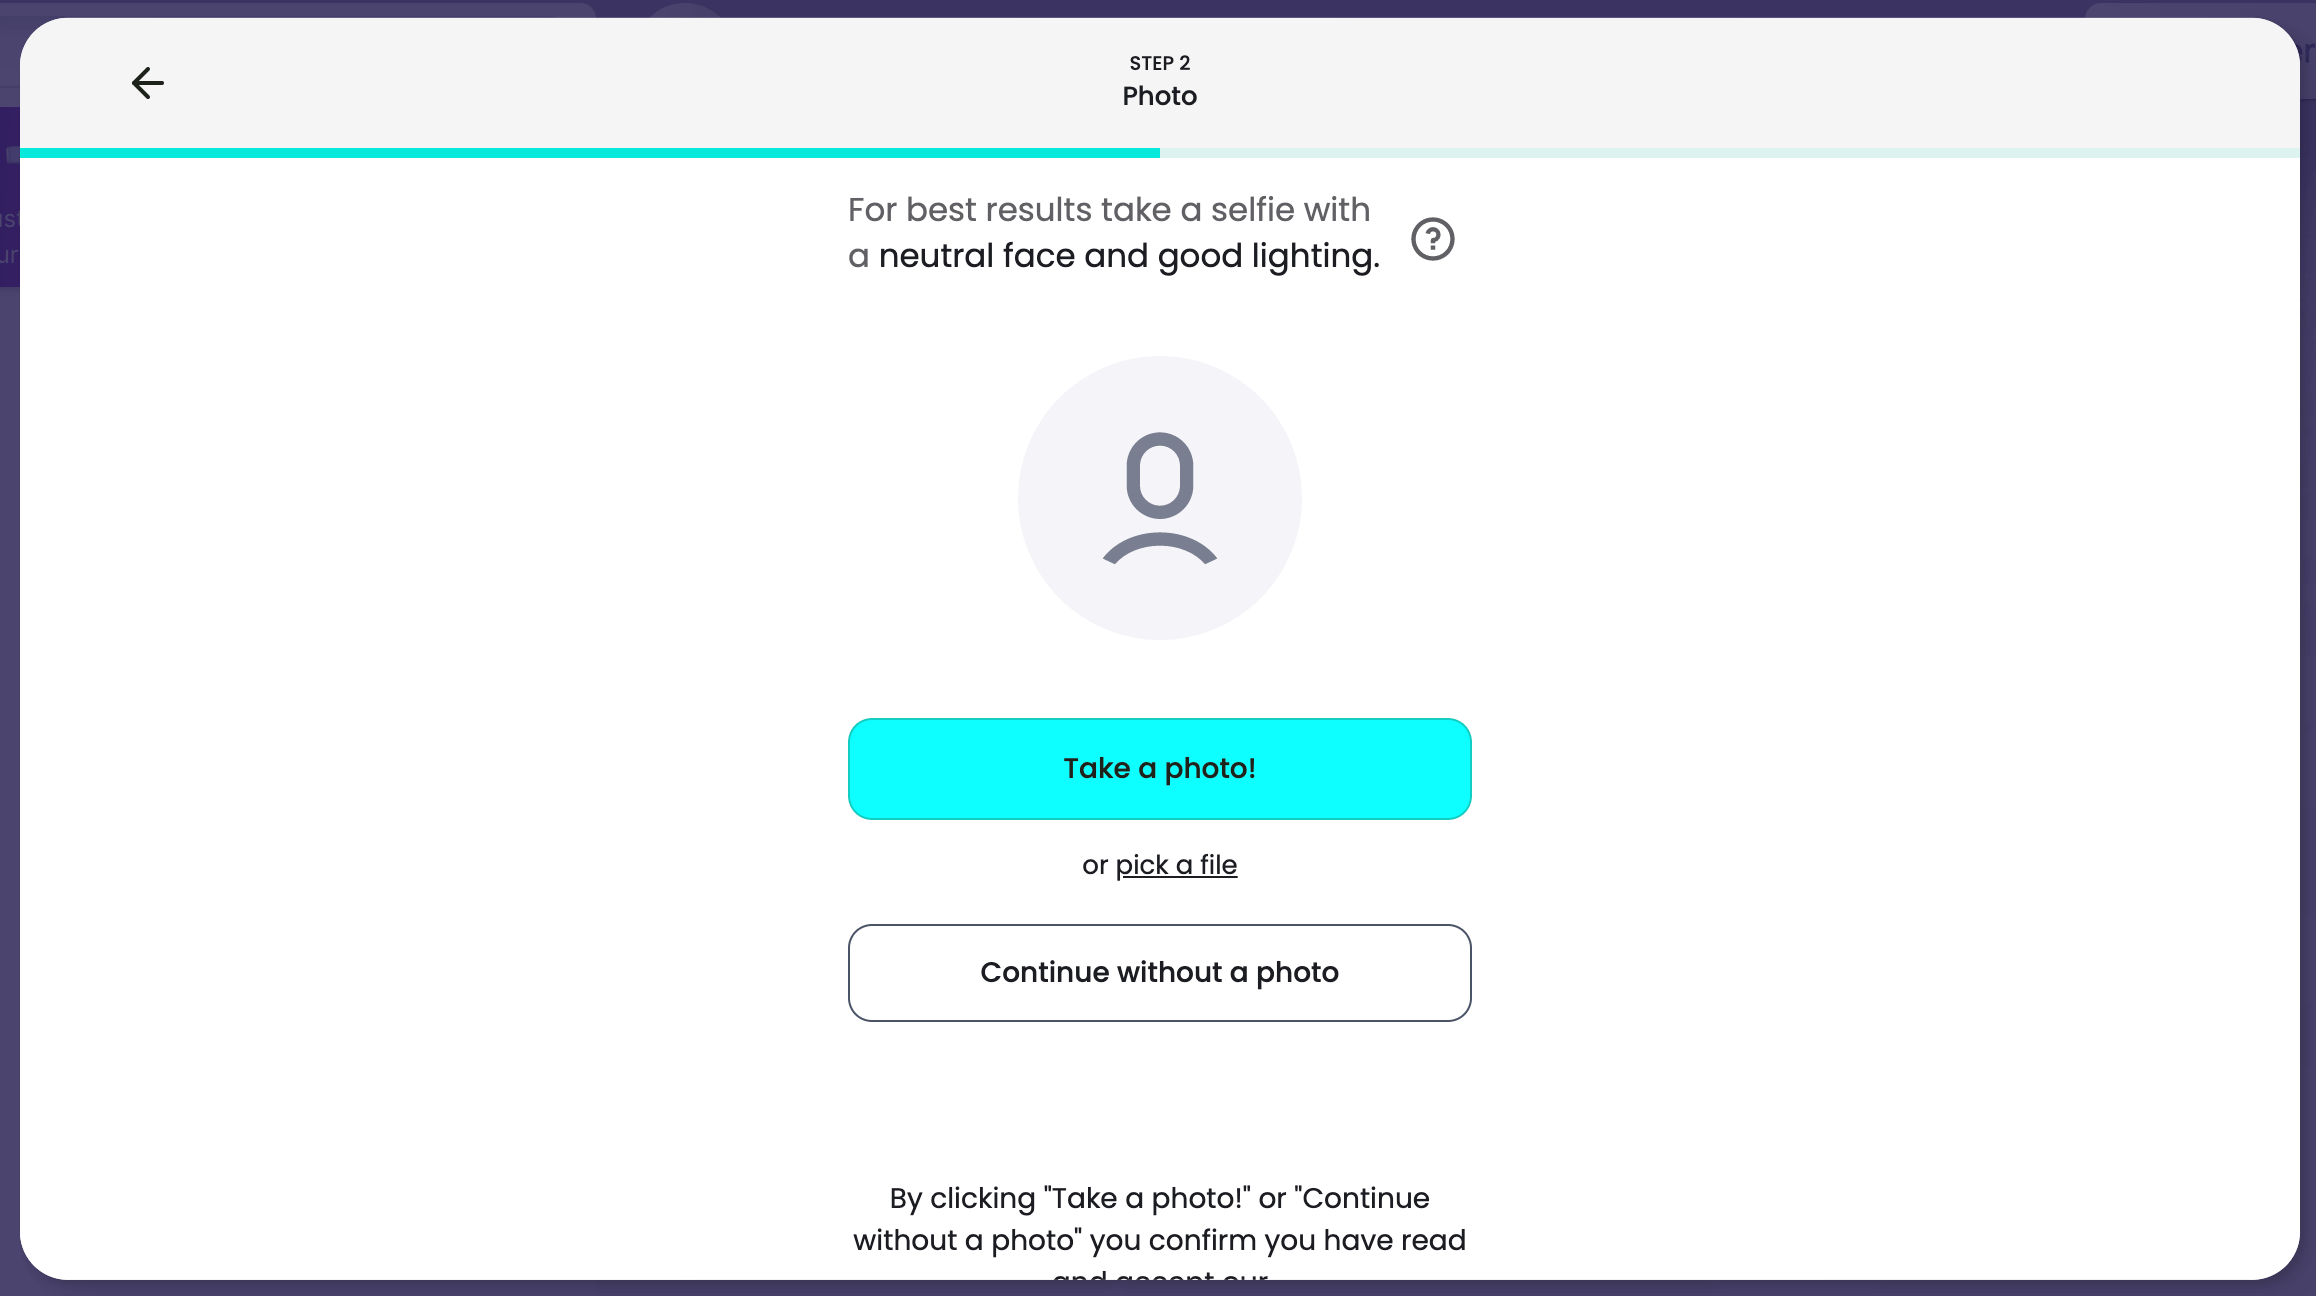
Upload Your Photo.
If you proceed without uploading a face photo, a list of avatars will be displayed, as shown below.
Click on any of them, then click Next.
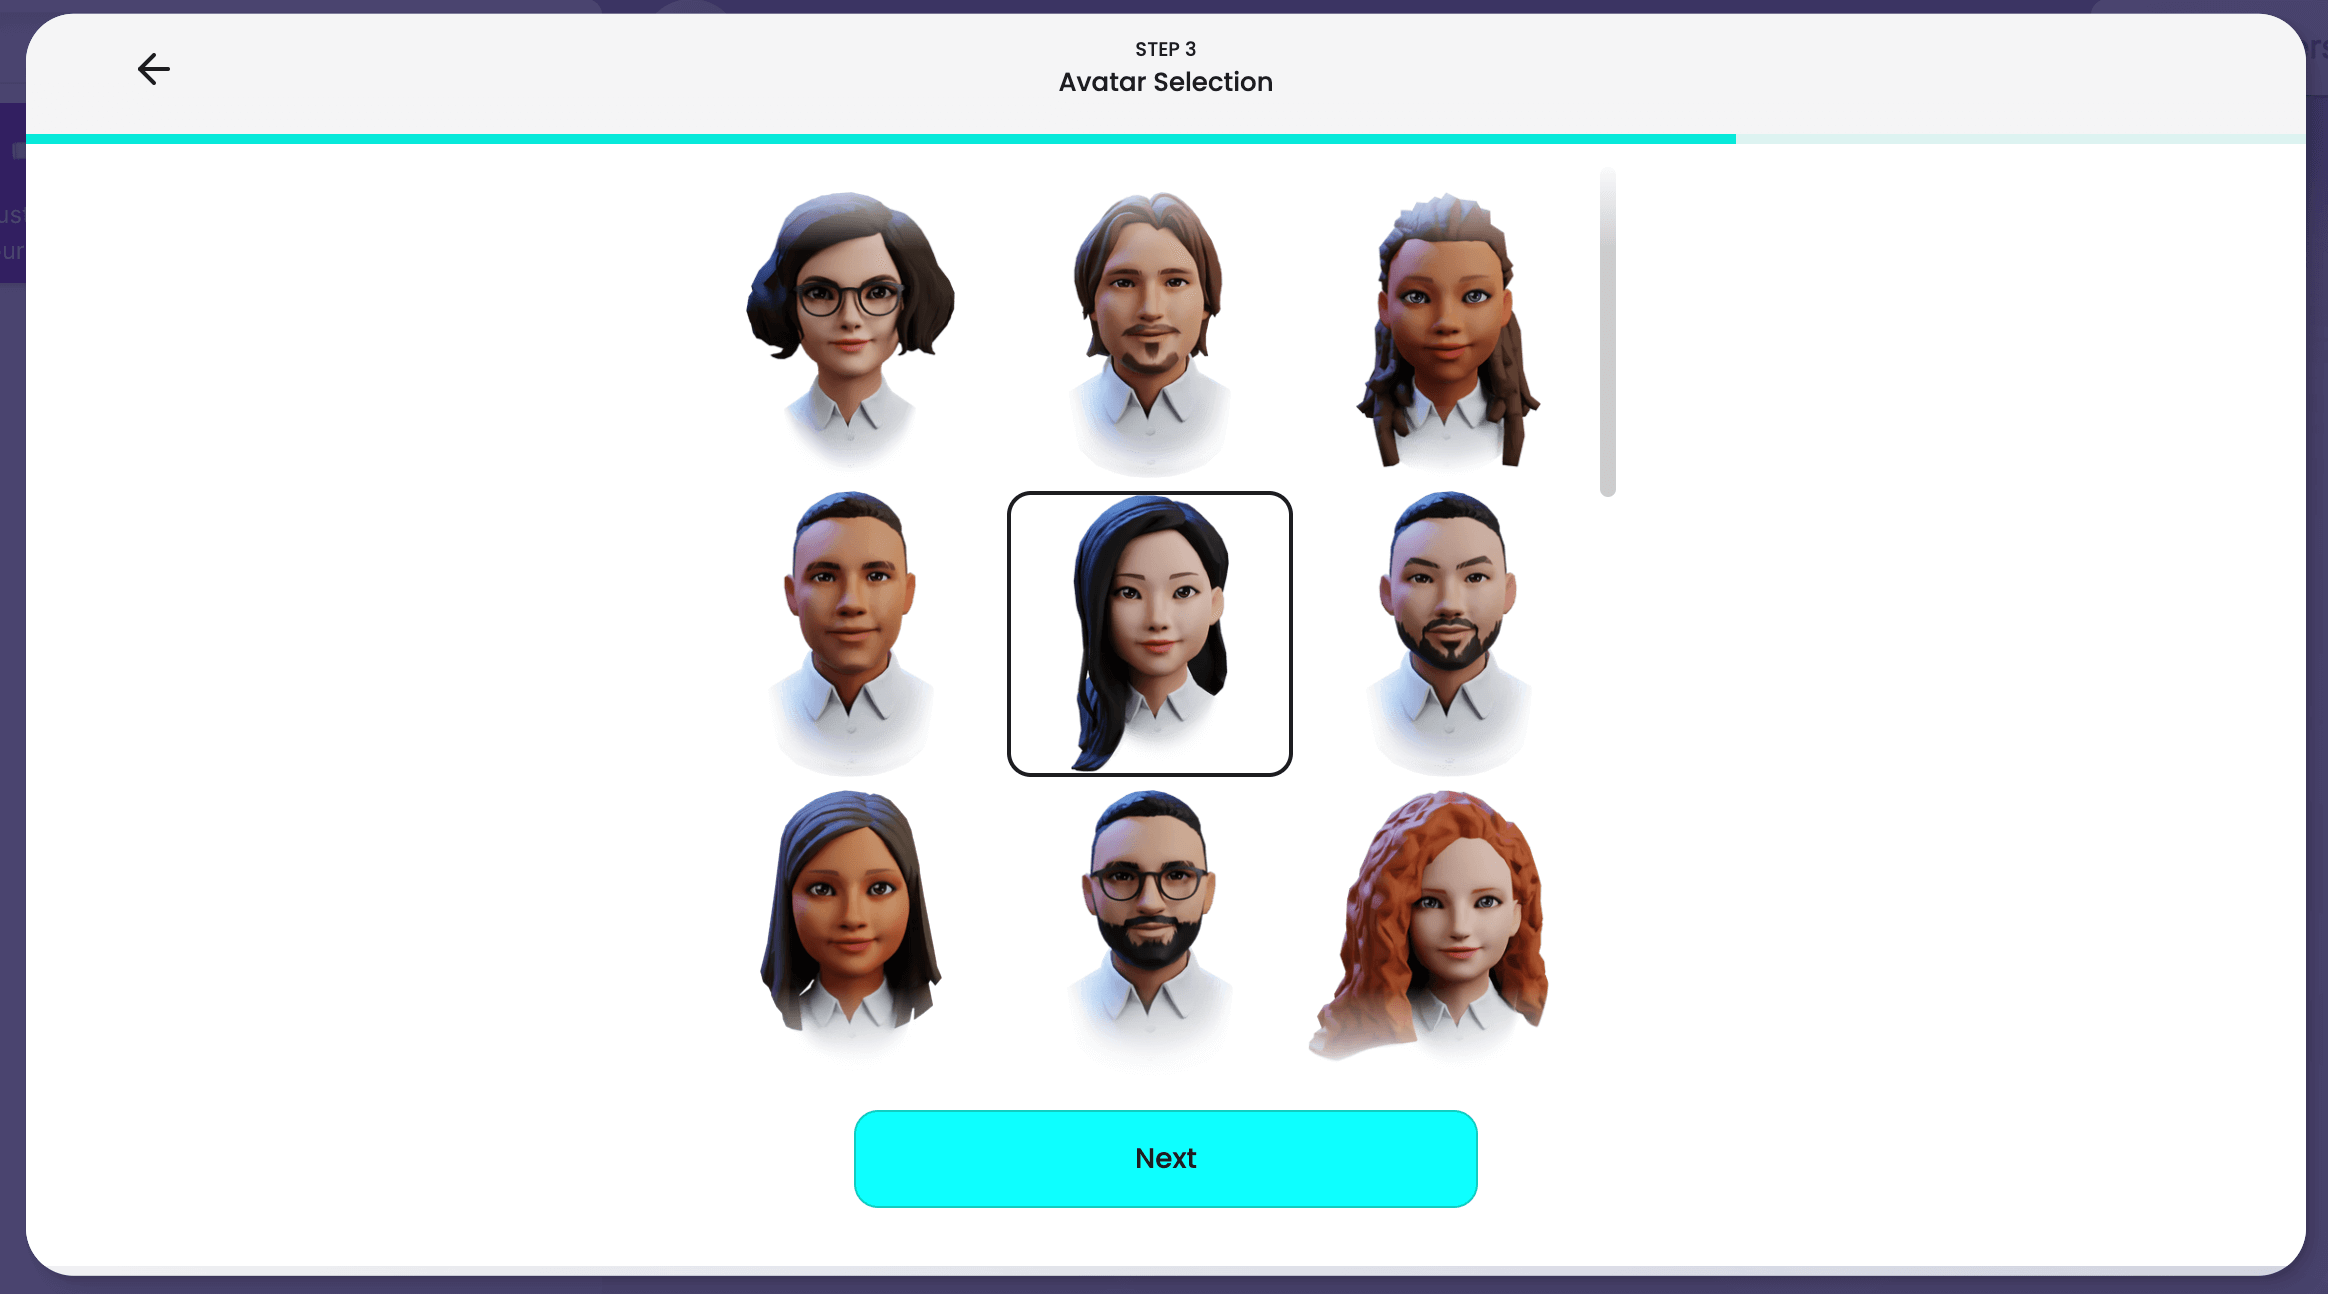
Avatar Selection.
Next, customize your selected avatar.
Choose your avatar’s skin color, facial features, clothing, etc.

Customize
After customizing your avatar and pressing NEXT to proceed, the following text will be displayed.
Enter your email address and click Send to use your avatar in READY PLAYER ME.
If you wish to proceed without registering your email address, click Continue without signup below.
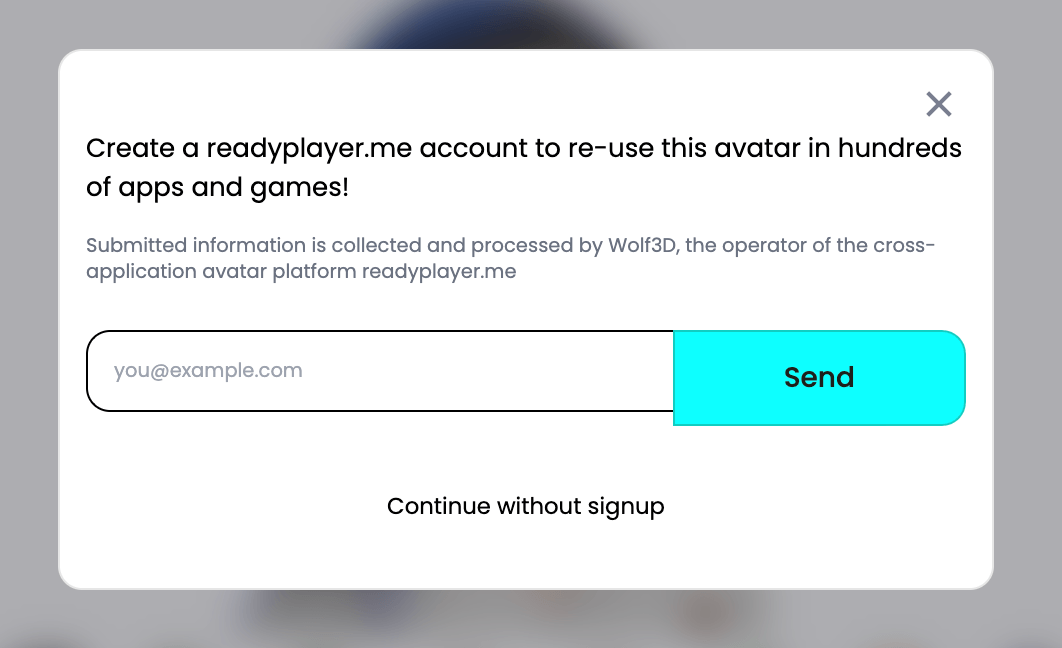
Sign up for READY PLAYER ME.
A URL will be created.
After that, your avatar will be automatically registered and displayed on the screen.

Character created.
If you want to delete a character you have created from your library, you can click on the three-dot symbol in the upper right corner of the icon.
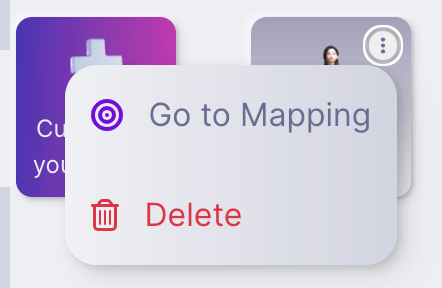
Delete.
Show/Hide/Delete Characters
Click v next to Characters on the upper right corner of the screen to see the name of the currently added character.
Click on the trash can icon next to the name to delete the character, or click on the eye icon to show/hide the character.
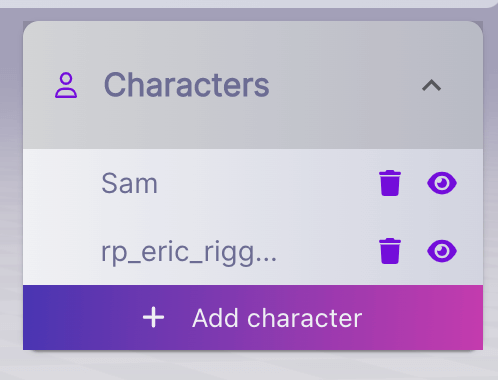
Characters.
Change Scenes
Click on Scene at the top of the screen to place backgrounds and furniture.
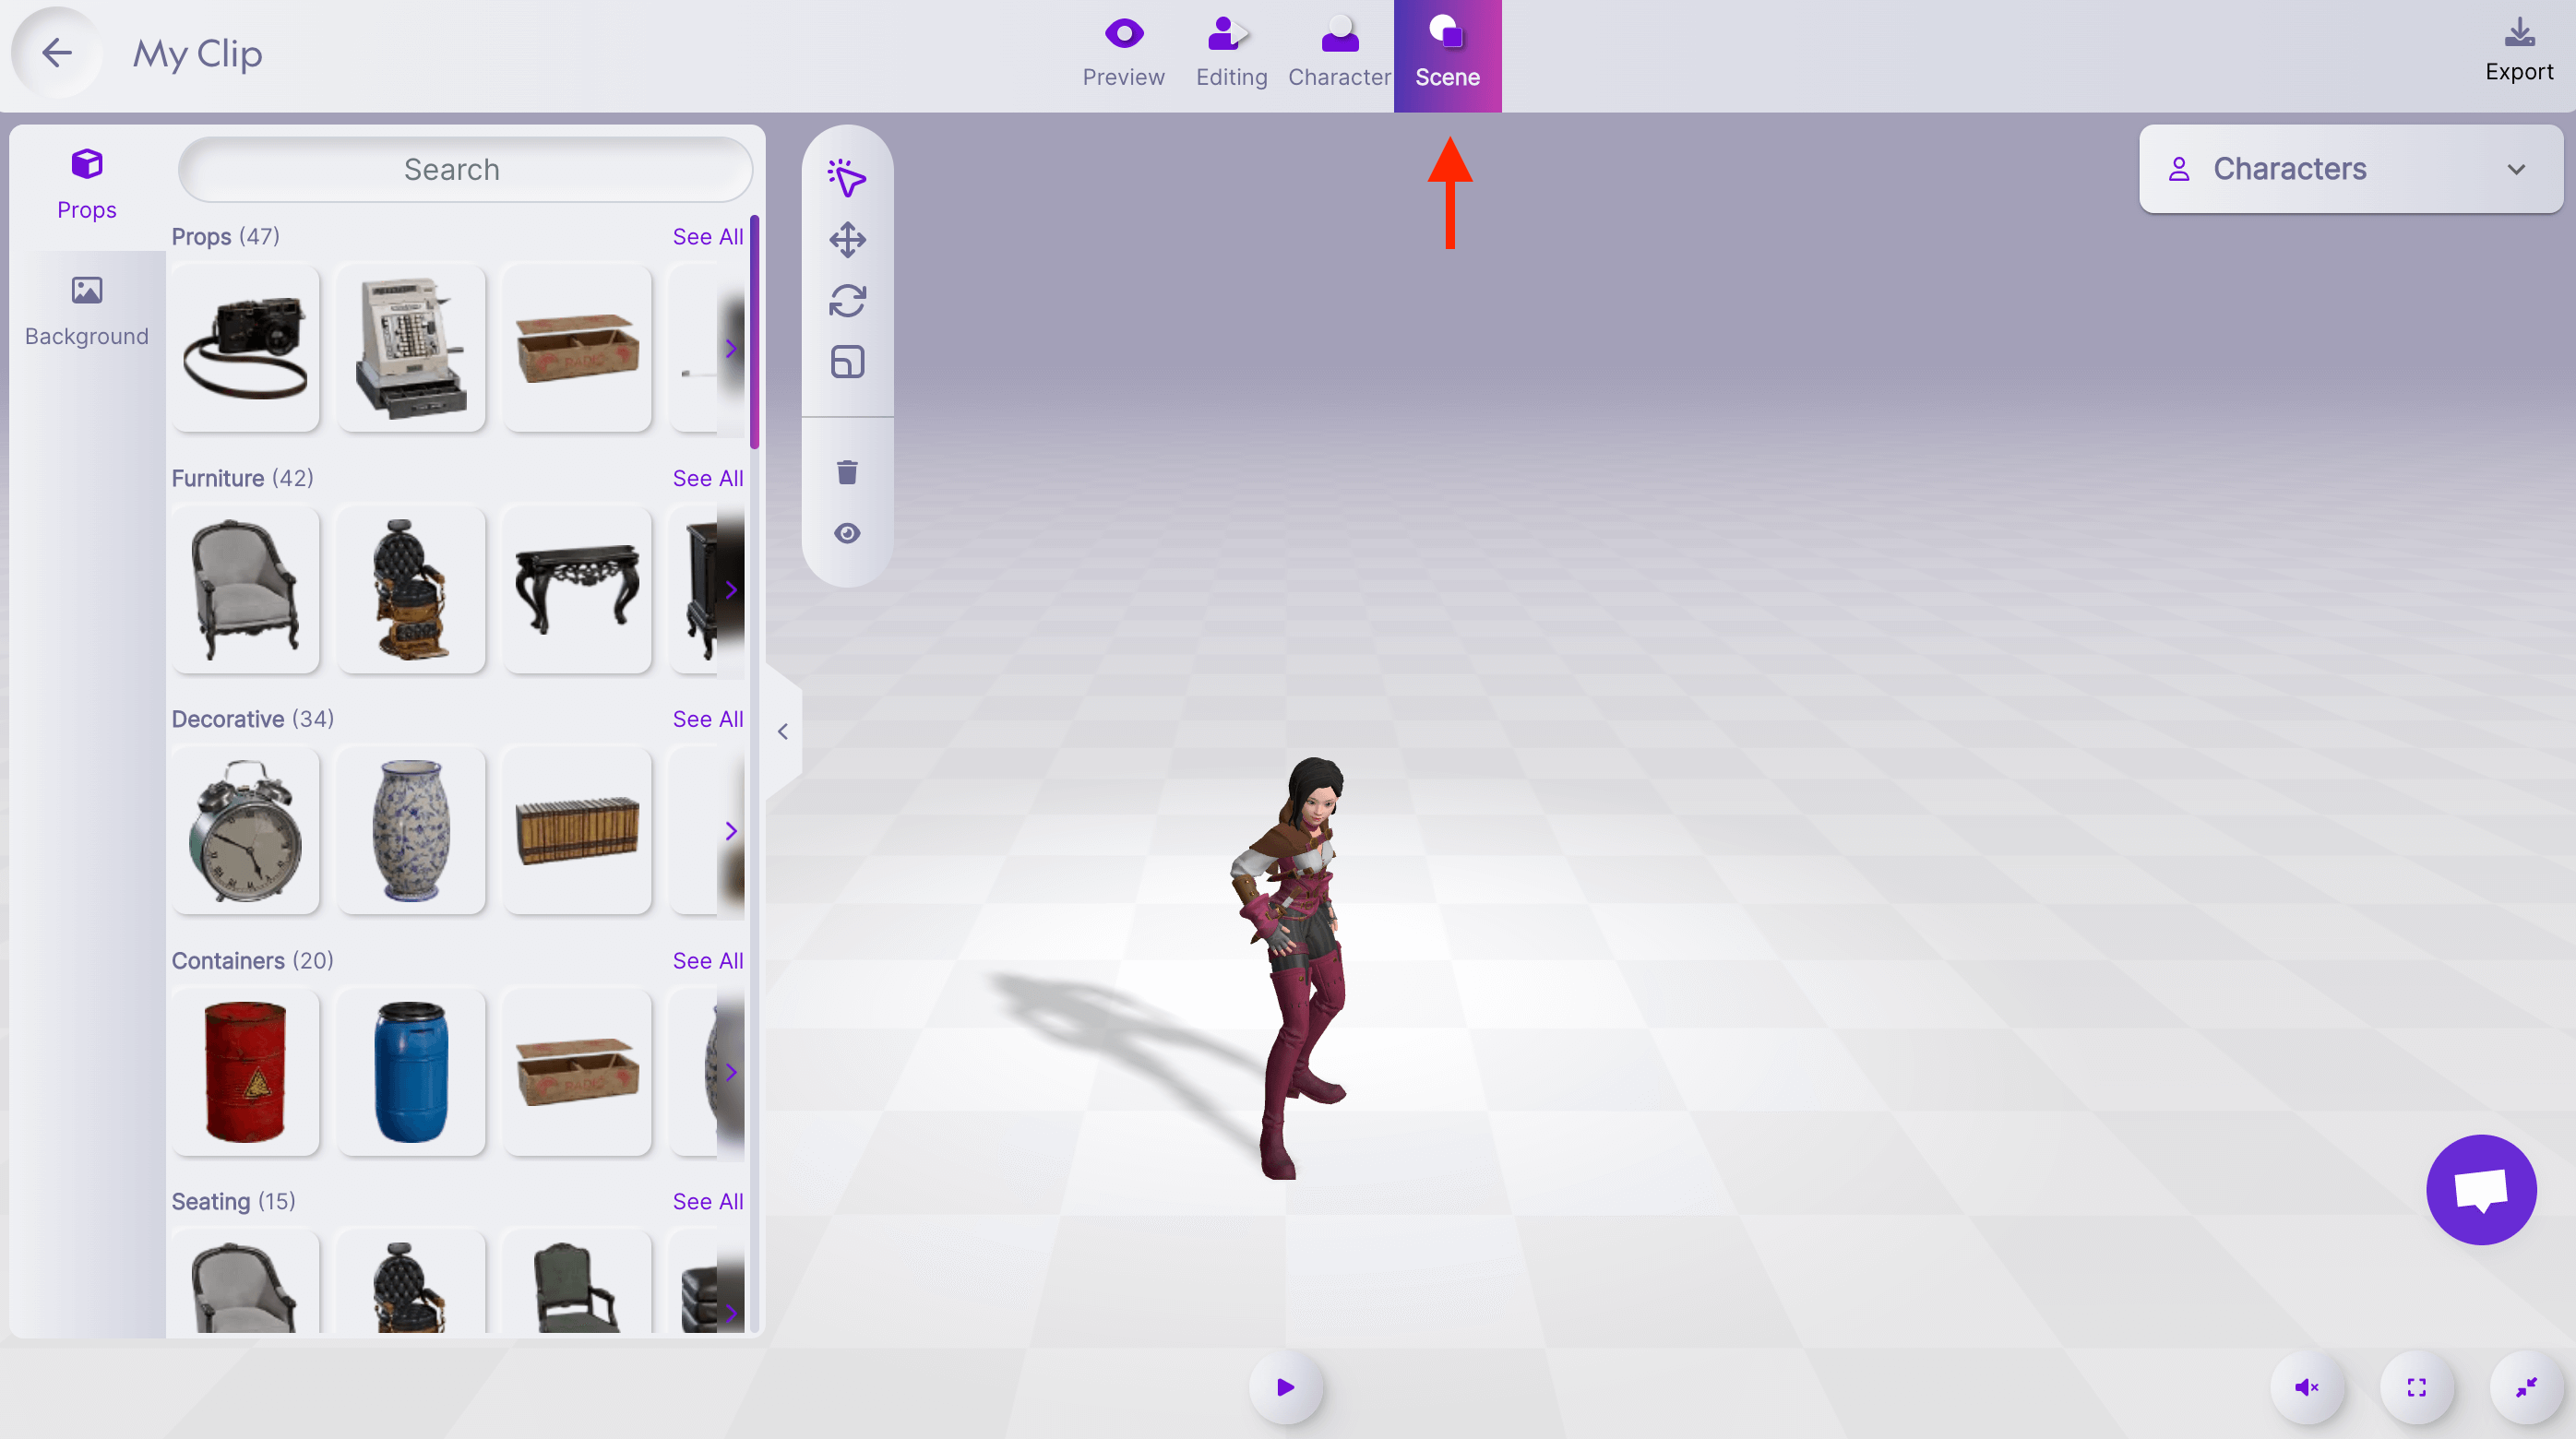
Scene.
Place Props
Click on one of the models from Props on the left side of the screen to place it next to the character.

Props.
All models, including characters, can be moved, angled, and resized.
Click on the crossed arrow symbol in the upper left corner to move a model.
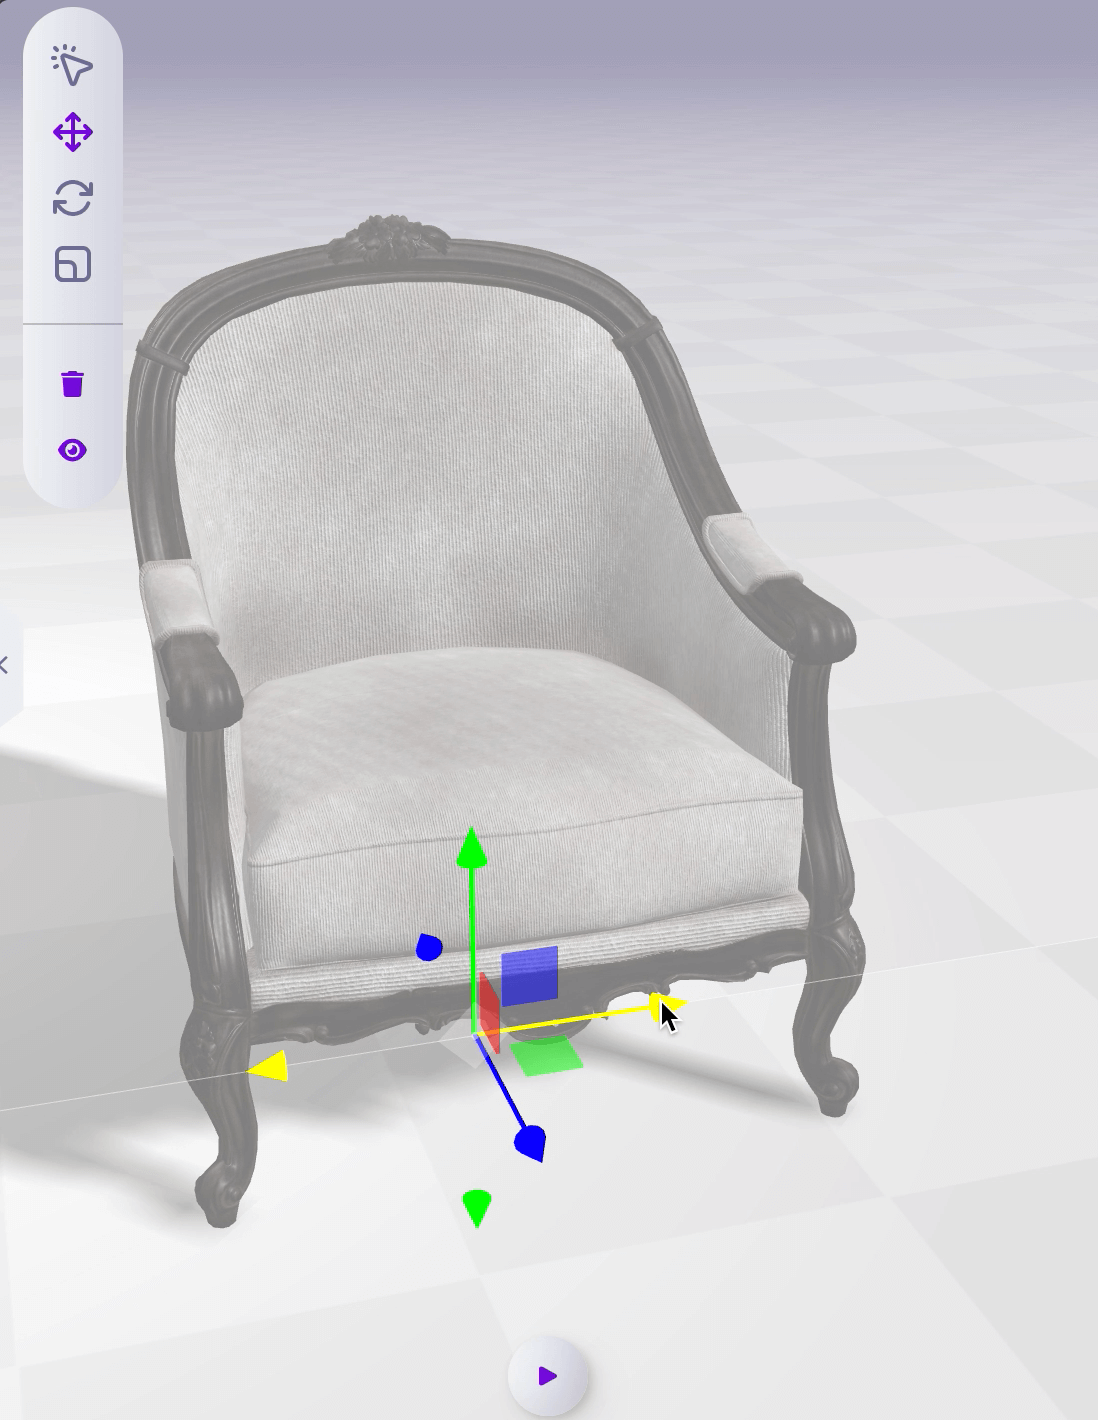
Click on the crossed arrow symbol in the upper left corner to move a model.
Click on the circular arrow symbol to change the angle of the model.
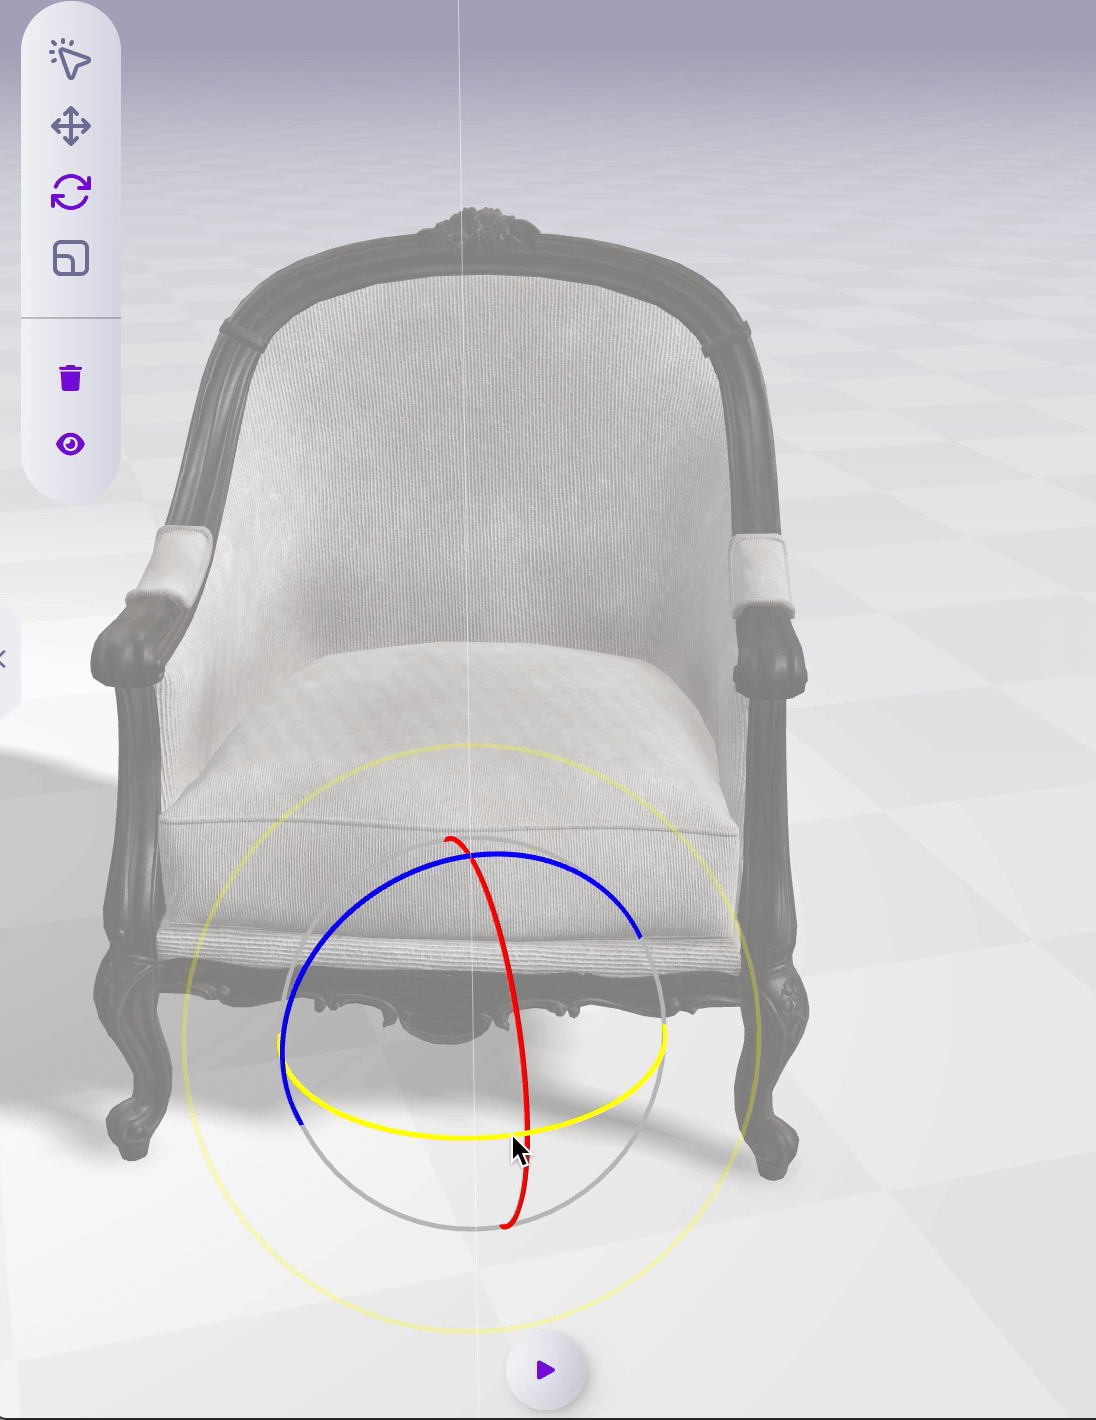
Click on the circular arrow mark to change the angle of the model.
Click on the square to change the model’s size.
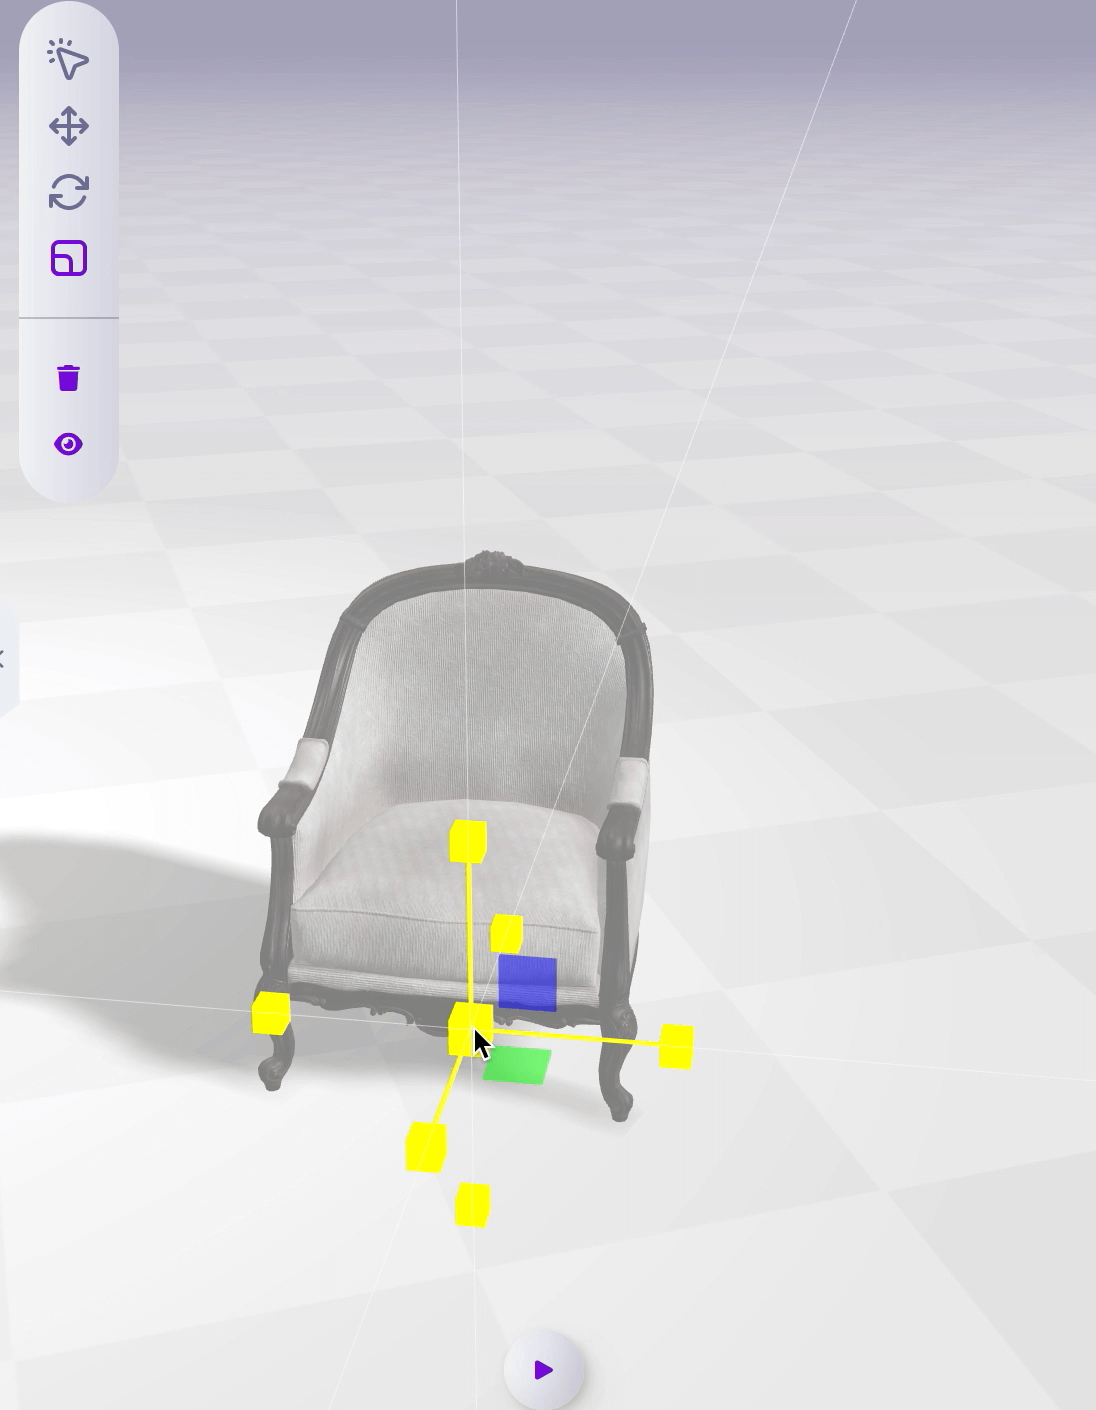
Click on the square to change the model’s size.
Change the Background
As with Props, clicking on any background will add it to the screen.

Background
Export Animations
Click Export in the upper right corner of the screen to export the animation.
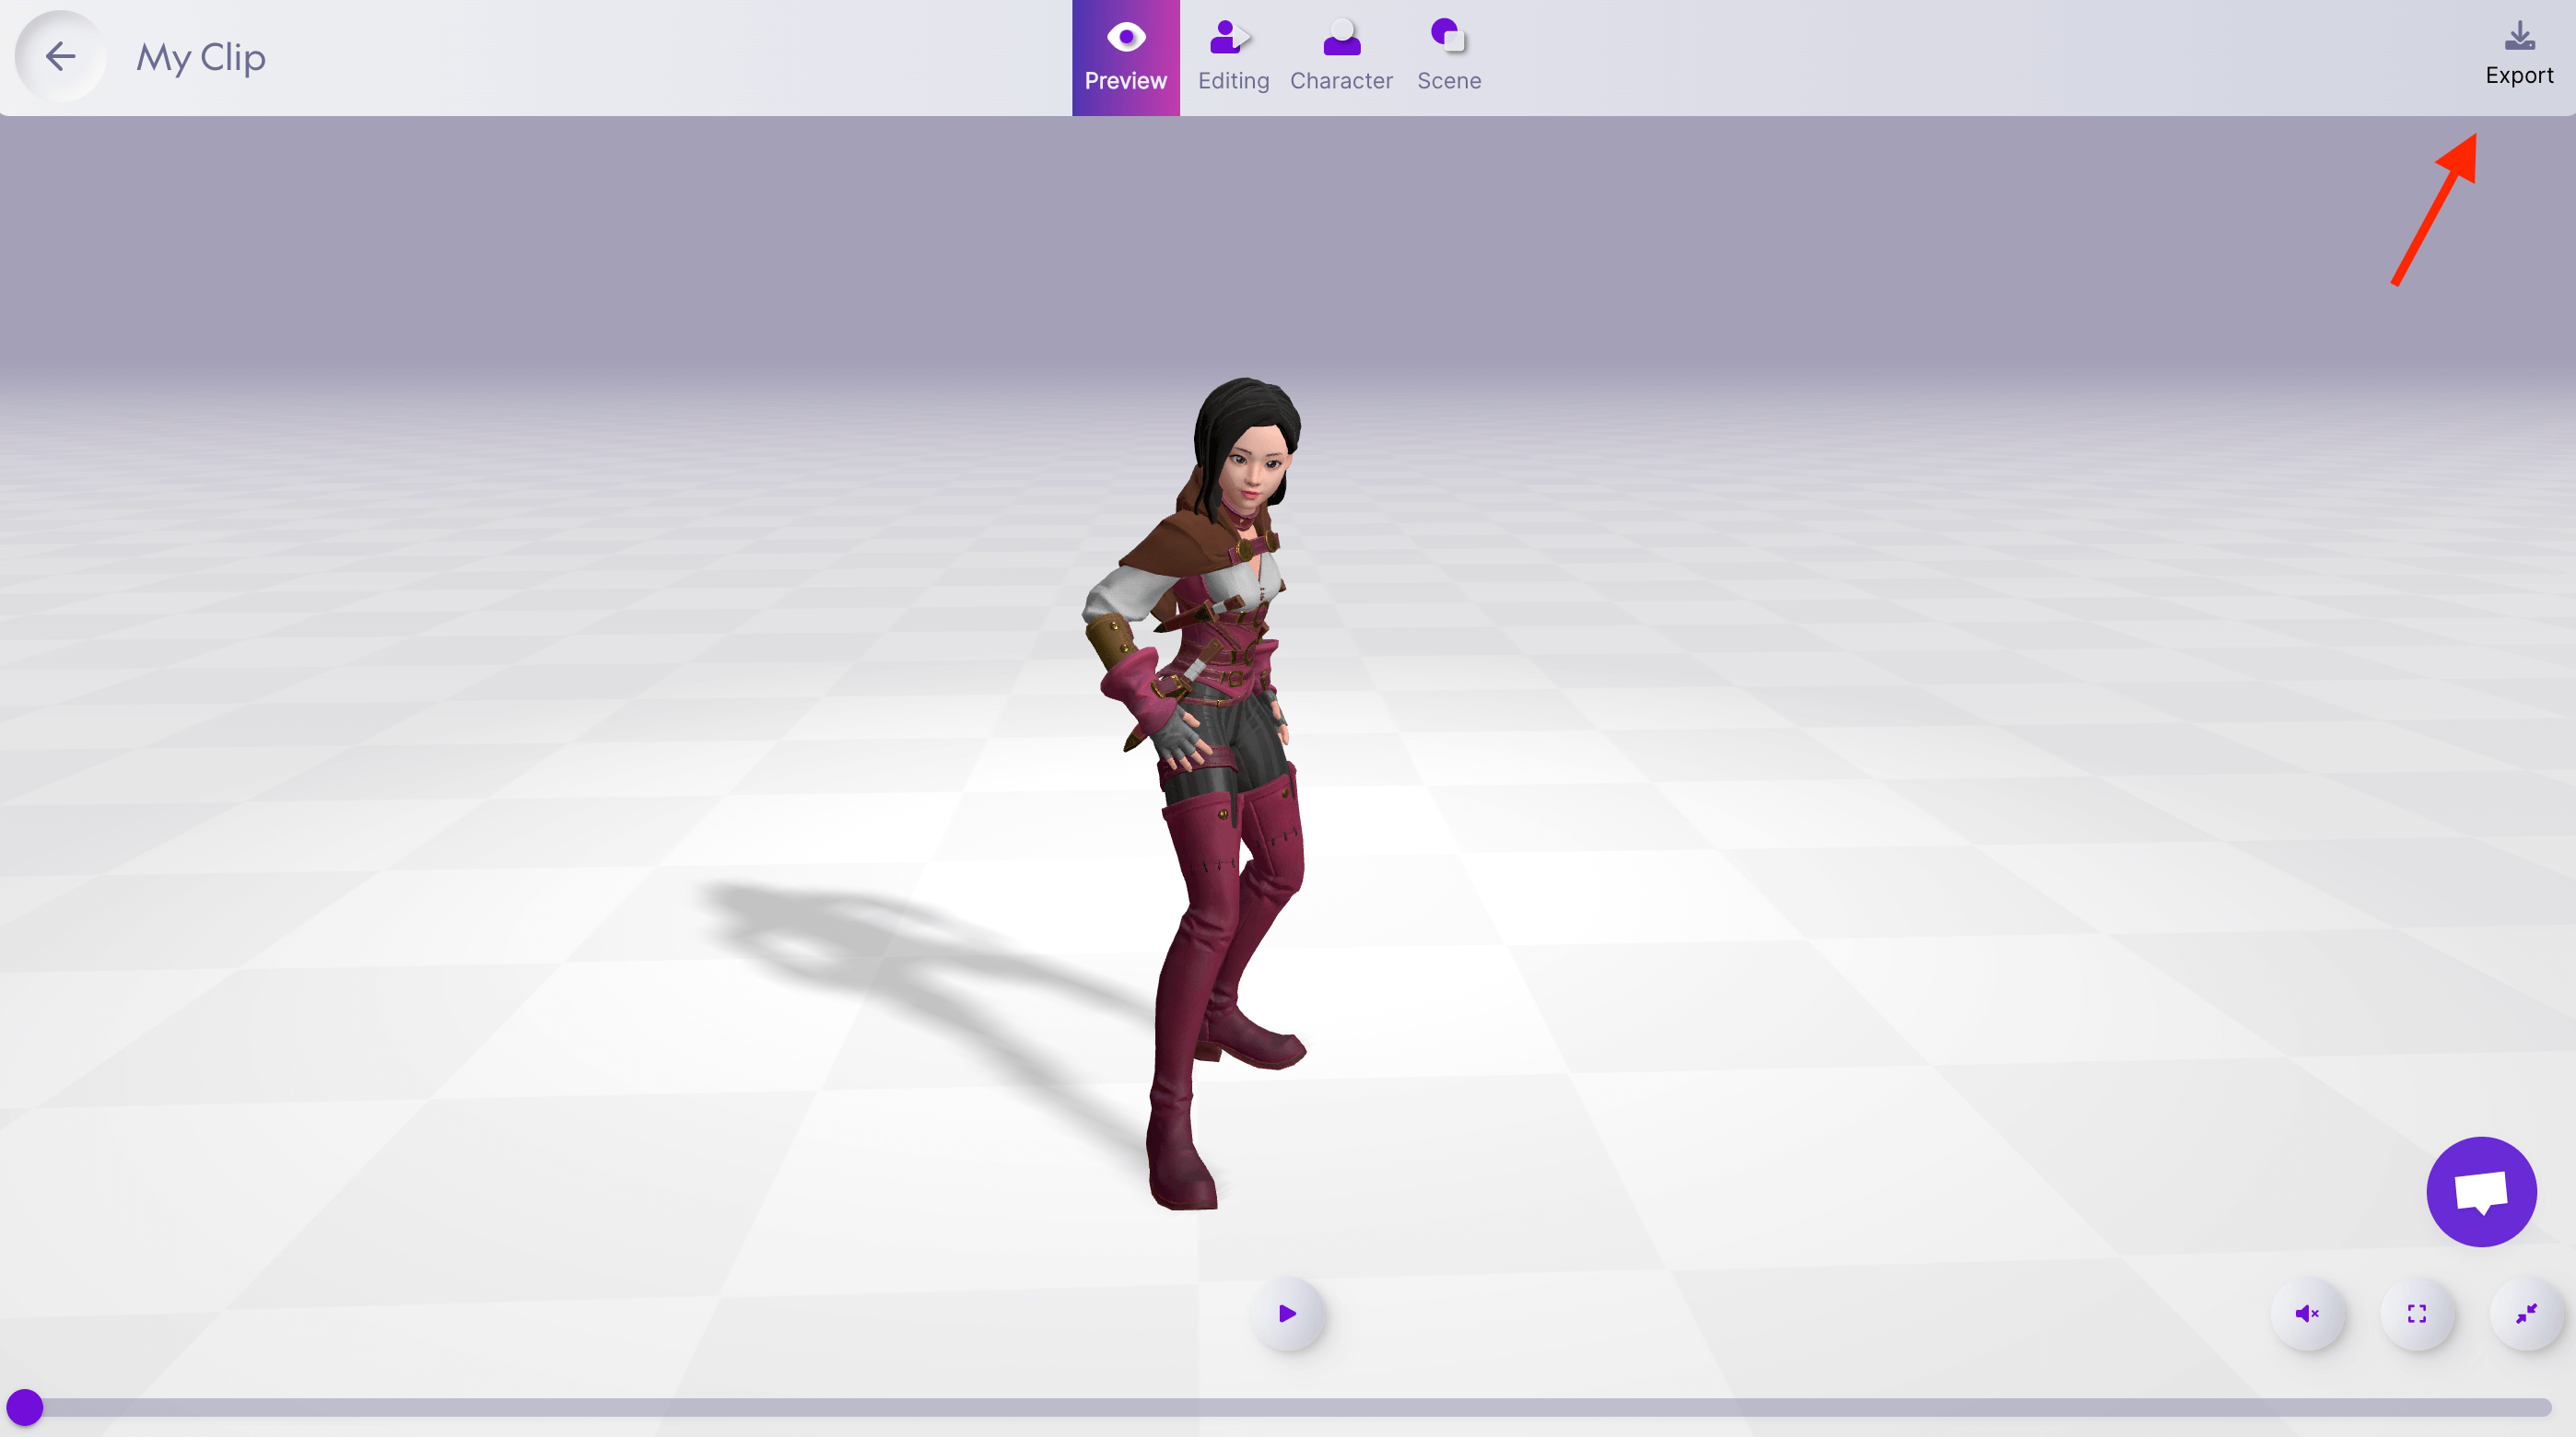
Export.
クリックした後に以下が表示されるので、保存したい拡張子を選択します。
キャラクターの3Dアニメーションを保存したい場合は左のDownload 3D animationを、背景やプロップを含めたビデオをダウンロードしたい場合は右のDownload Videoをクリックしてください。
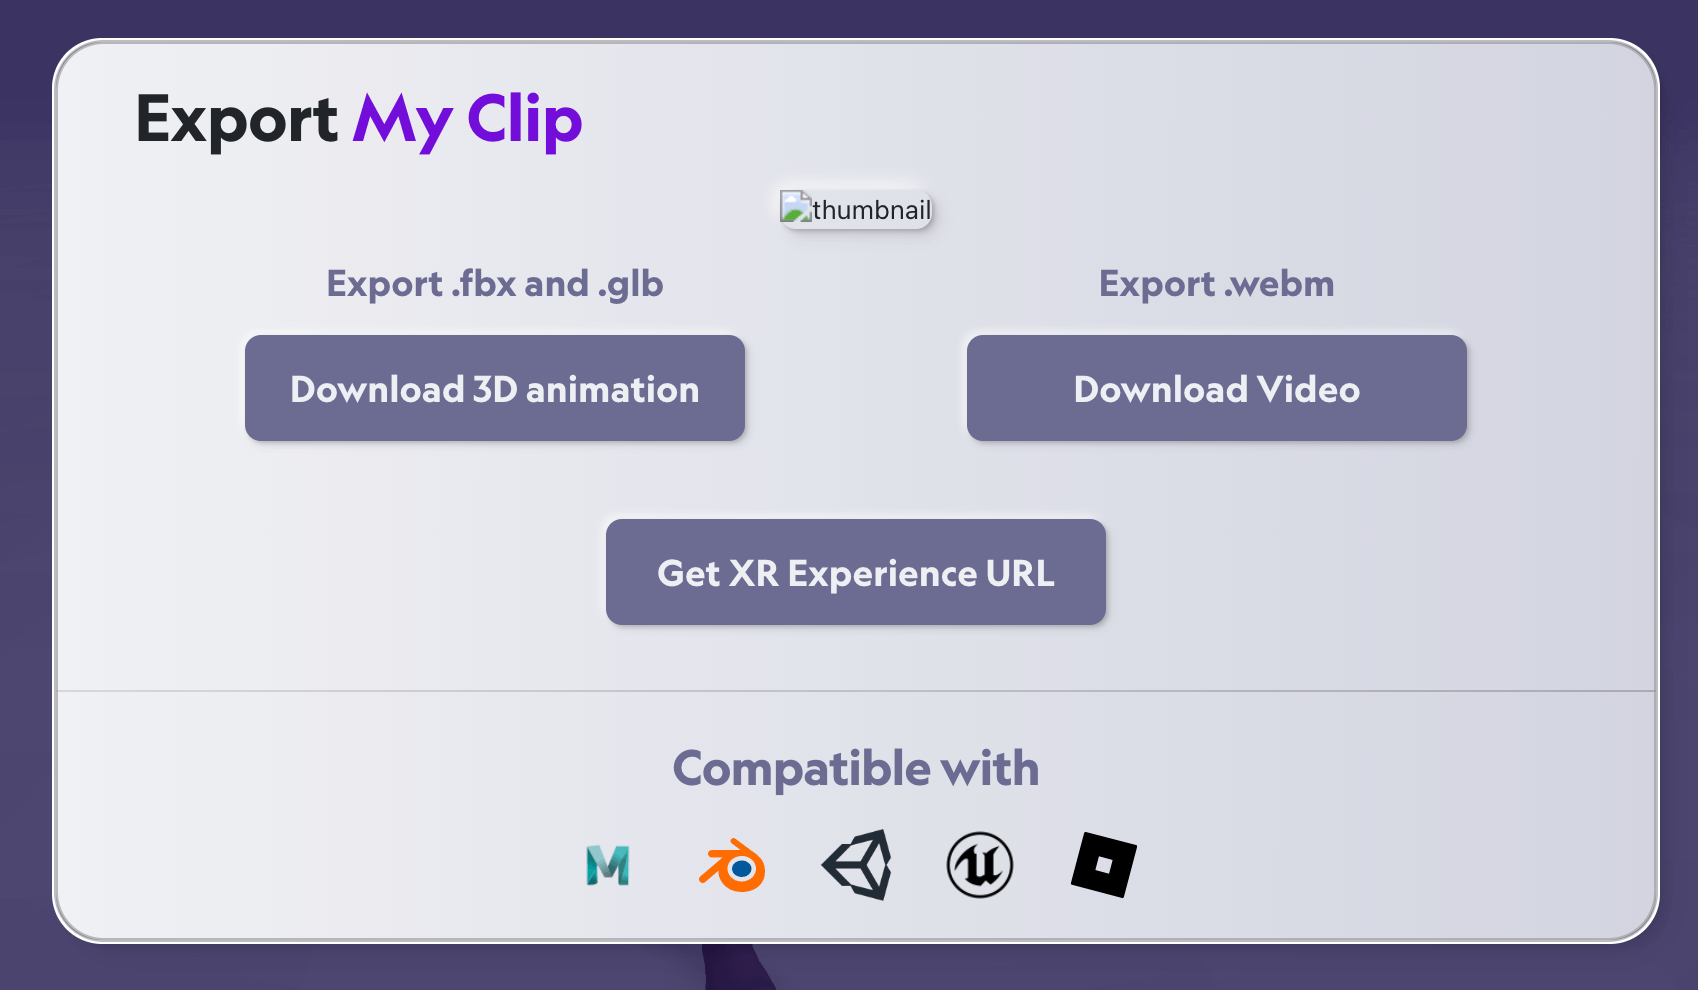
Export.
Click to start the download automatically. After it finishes, a file named kinetix_export.zip will be downloaded.
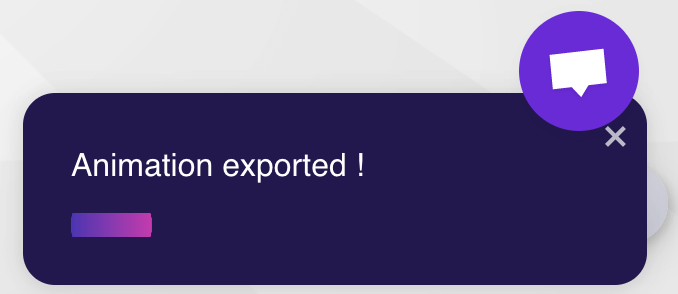
Downloading now.
After unzipping the downloaded ZIP, two files, fbx and glb, will be downloaded.
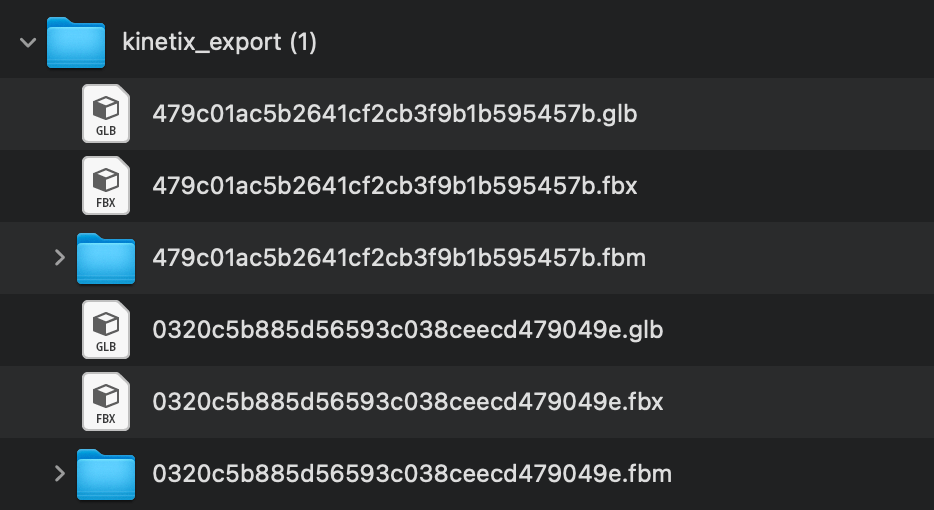
kinetix_export.
Importing into Unity
Since UniVRM is required to upload glb files from Unity to STYLY and shaders must be rewritten, we recommend importing fbx files into Unity and then uploading them from Unity to STYLY.
Import 3D models with animation into Unity
First, drag and drop the extracted ZIP file into the Unity asset.
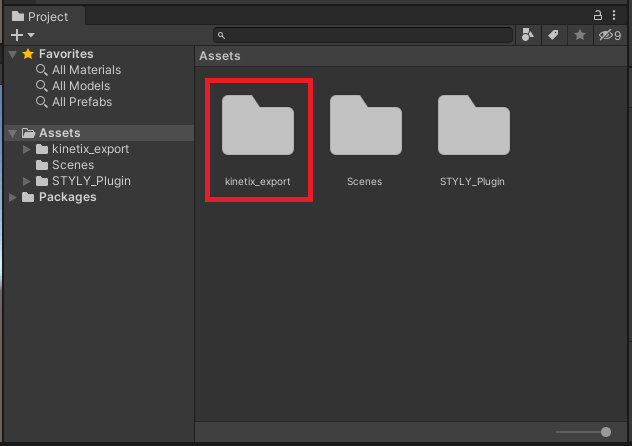
Drag and drop in assets.
Then, drag and drop the fbx file you want to use onto the scene.
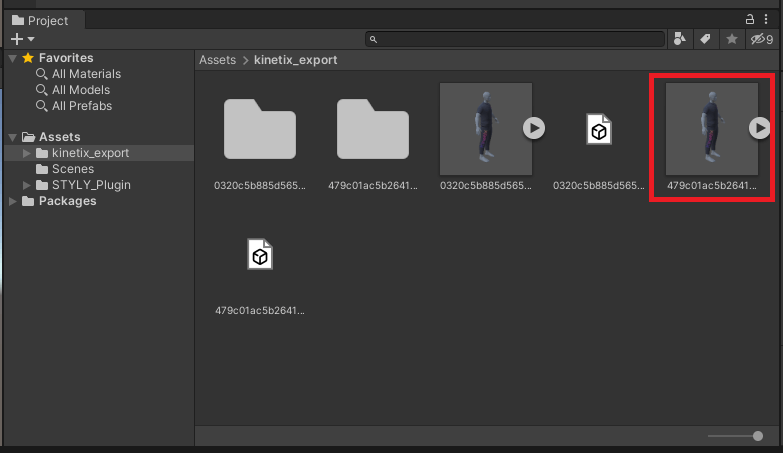
Drag and drop onto the scene.
The imported model will appear, but the animation must be set manually.
Select the 3D model on the scene and add an Animator from Add Component.
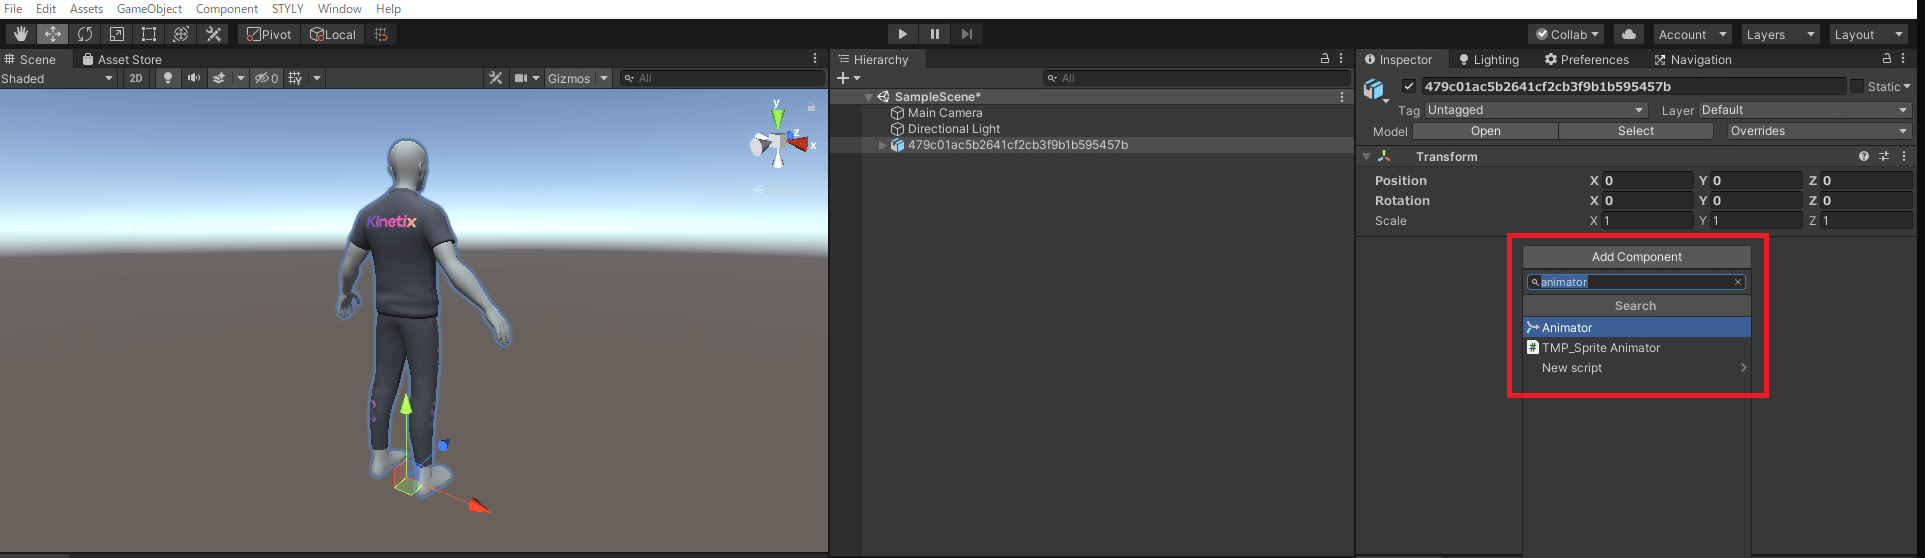
Add Animator.
Drag and drop the animation data from the fbx file you are using in Assets into the Animator’s Controller.

Drag and drop to the Animator’s Controller.
Play the scene in this state and the animation will be reflected in the 3D model.
If you wish to loop the animation, select the fbx file you wish to use, check the Loop Time box in the Inspector, and add the 3D model to the scene.

Check Loop Time.[
How to Upload to STYLY
How to create an account:

How to upload to STYLY:

How to upload from Unity to STYLY:

If you have any questions about STYLY, bug reports, or requests for improvements, please contact the STYLY FORUM.
https://en.forum.styly.cc/support/discussions
Certified by Shota Yoshizawa
Edited by SASAnishiki
Translated by Sho Ishiwata