[Blender Essentials for the Metaverse!] is a series for beginners who want to make 3D models for the Metaverse.
This article describes how to download and install Blender.
- 1 System Requirements
- 2 About the Versions
- 3 How to Install Blender
- 4 Which Installation Method Should I Use?
- 5 Things to Note:
- 6 The Next Step
- 7 Uploading to STYLY
System Requirements
It is generally assumed that Blender can be used on any hardware less than ten years old.
As of version 3.3, the minimum requirements are as follows:
- 64-bit quad core CPU with SSE2 support
- 8 GB RAM
- Full HD display
- Mouse, trackpad or pen+tablet
- Graphics card with 2 GB RAM, OpenGL 4.3
If you are considering purchasing a new computer for Blender, we recommend buying one that has more cores and memory than the minimum requirements.
Note that you may still be able to run Blender even if your environment does not meet all of the above requirements, but it may run very slowly or freeze while rendering large scenes. Furthermore, if your computer is very old or significantly lower than the necessary requirements, you may experience major problems such as screen glitches.
Since Blender is free to use, you can readily try it out.
It can run on multiple platforms including Windows, macOS, and Linux. In this article, we will explain how to download Blender for Windows.
About the Versions
There are two types of Blender; the standard version and the LTS version.
The standard version is constantly updated with minor releases every three months.
Although termed “minor releases,” these often implement major additional features because the software is actively updated.
The LTS version is supported for two years after its release; its updates include bug fixes and similar but have no new added features.
Because of the two-year support period, there can be more than one LTS version supported at the same time. For example, as of September 2022, the supported versions are 3.3 LTS and 2.93 LTS.
The latest standard version is recommended for general use, but some circumstances—such as when working in a team or on a corporate project—may require the LTS version.
How to Install Blender
There are several ways to install Blender, of which we introduce four in this article.
Downloading from the Official Website
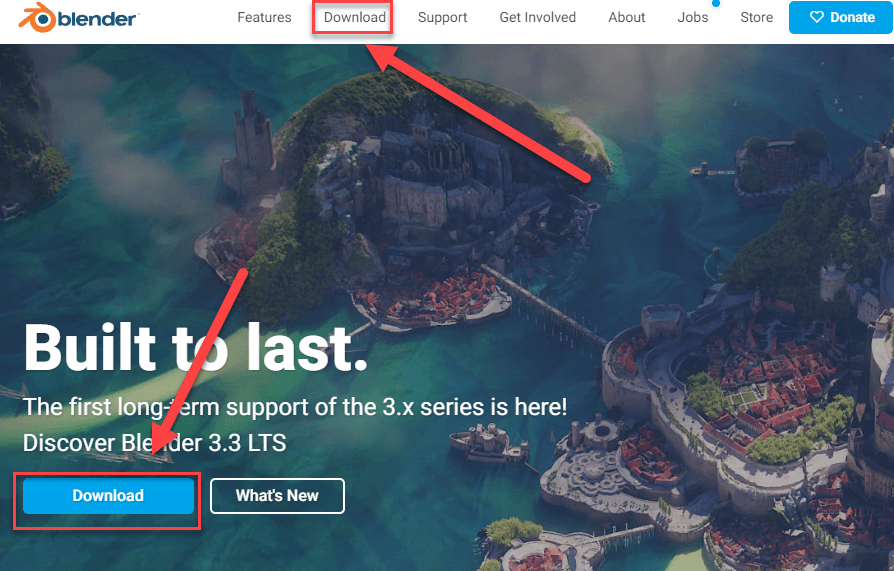
The most common way to download Blender is from the official website.
You can find the download link at the top of the page, and you can also access it in the header area.
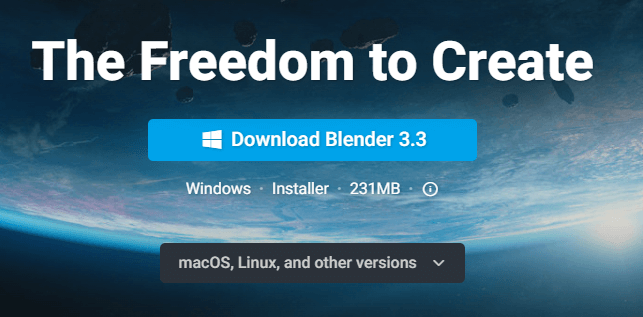
After clicking “Download,” the download button for your current environment should appear.
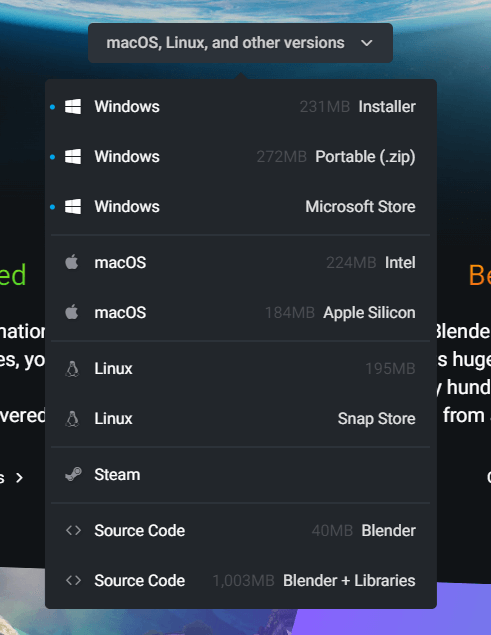
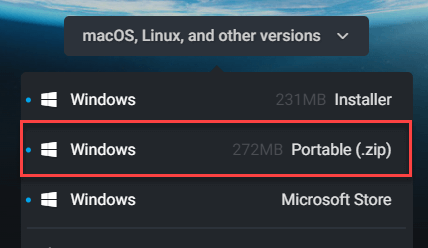
If your environment is not shown or you want to download a different version, click the dropdown button “macOS, Linux, and other versions” to see the other download options.
This menu shows the different types of downloads available for various environments.
In this article, we will explain how to download Blender using the Windows installer.
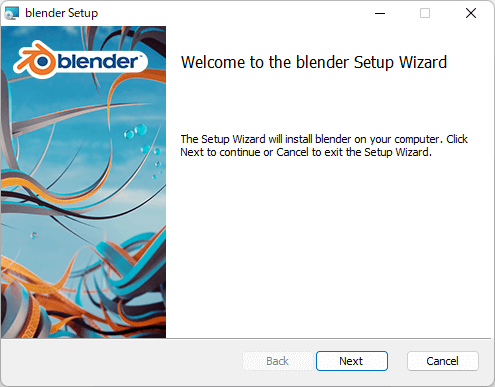
When you start the installer, the following screen will appear:
Click “Next” to continue.
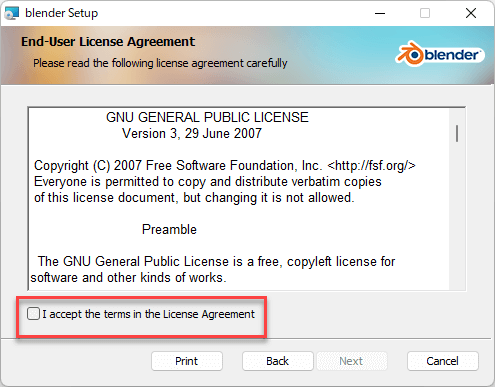
Then, you will be asked to read the license agreement; after reading it carefully, check “I accept the terms in the License Agreement” and click “Next.”
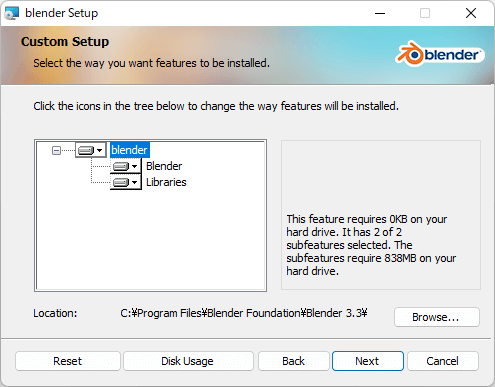
Here, you can select where and how you want features to be installed.
The installation features (Blender, Libraries, etc.) should be left as is.
To change the location of the Blender app, specify a different location by clicking “Browse…” and selecting a different location. Do this if you don’t have enough space in the default install location.
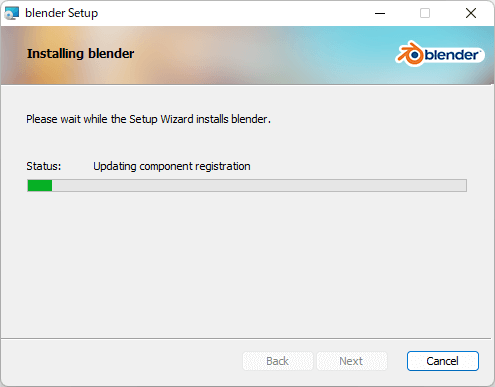
Click “Next” to start the installation.
The installation may take several minutes.
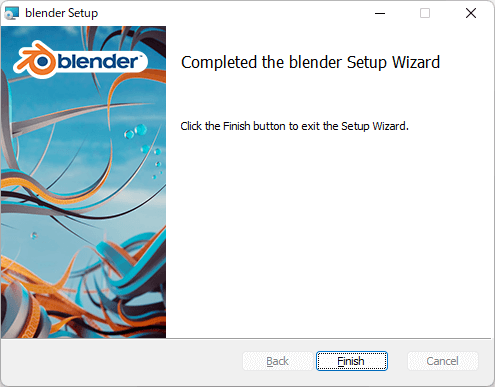
When completed, the following screen will be displayed. Click “Finish” to complete the installation.
Installing the LTS Version
The LTS version can be downloaded from the Long-term Support page at the top of the download page.
The installation procedure is the same as for the standard version.
How to Update
To update Blender, you can install a newer version from the official website.
Furthermore, if you are familiar with using the command line prompt, you can use winget to update Blender.
Winget is a feature included in both Windows 10 and 11 that can be used to update software from the command line.
Enter the script below to update Blender from the command line:
winget upgrade BlenderFoundation.Blender
Note that Blender can also be installed directly using winget without using a web browser, like so:
winget install BlenderFoundation.Blender
Installing from the Microsoft Store
If you have a Microsoft account, you can also install Blender from the Microsoft Store (applicable for Windows 10 and 11).
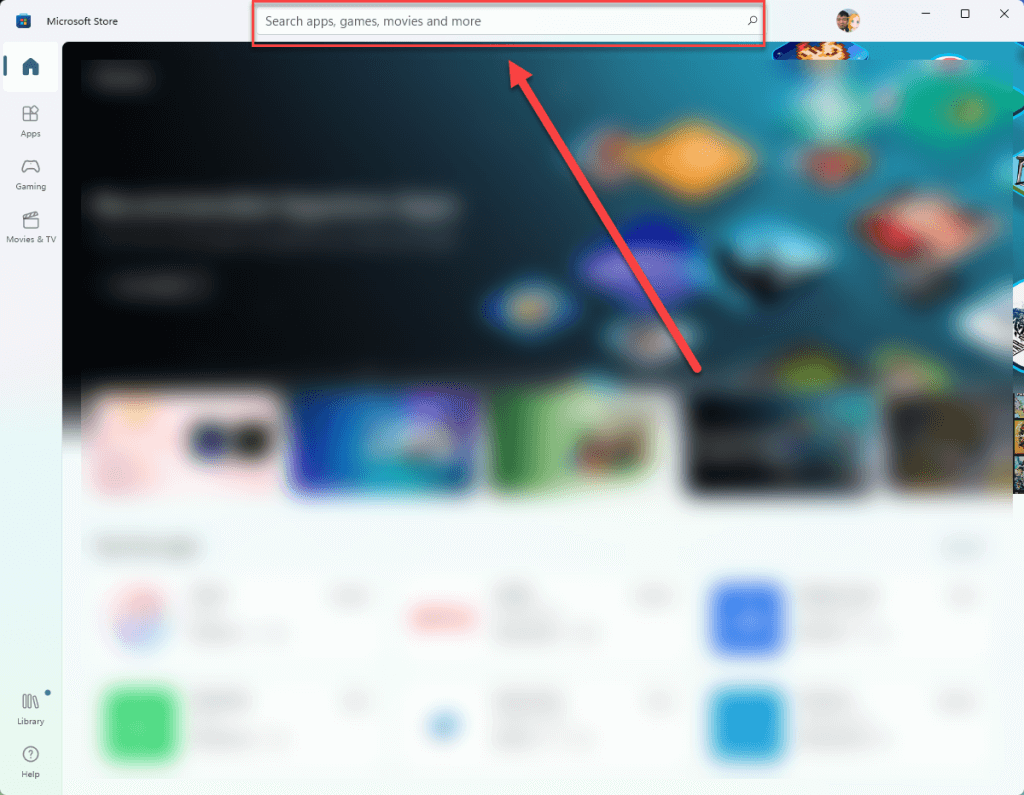
You can search for it using the search window at the top of the Microsoft Store.
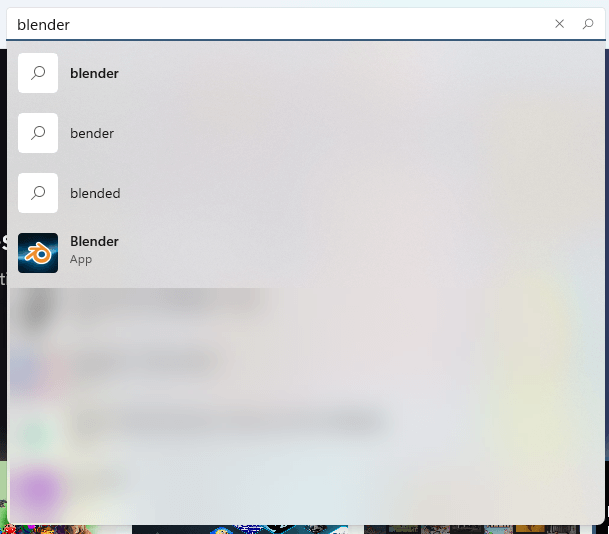
If you search for “blender” the app should come up like this:
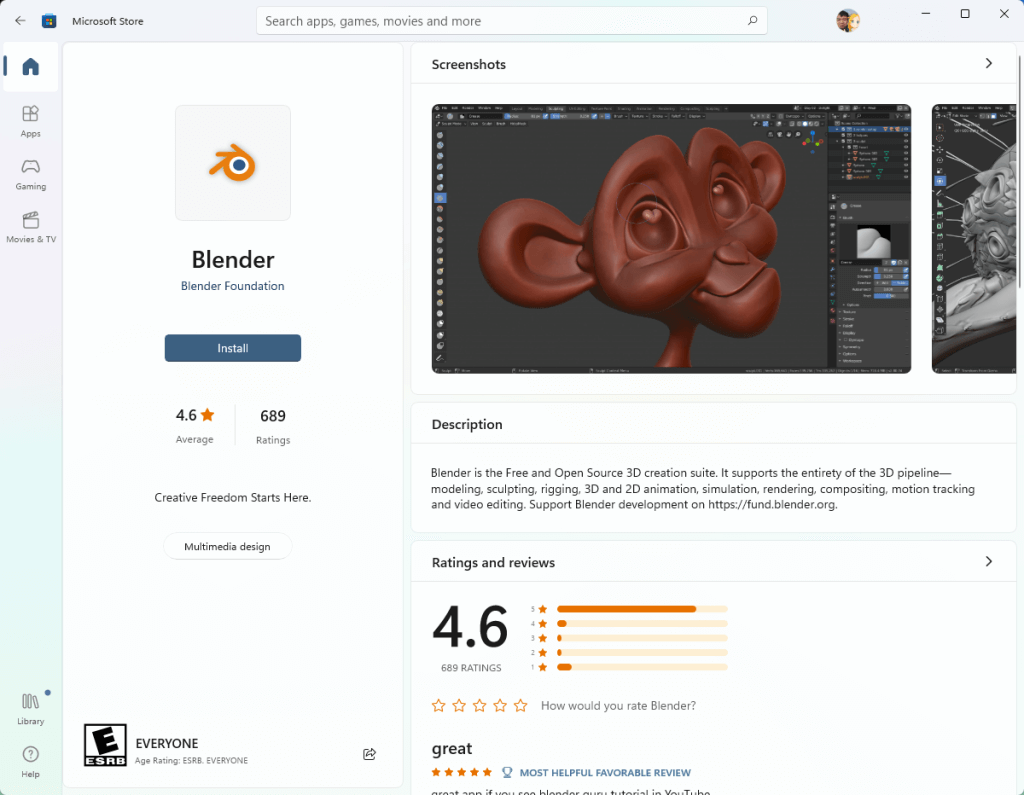
Select the Blender App above to bring up the product page to download Blender’s standard version. You can also access the same page from your browser.
Click the Install button to install Blender to your computer.
If the software has not been previously downloaded, the button will say “Get” instead of Install.
Since Blender is free software, there is no difference between “Install” and “Get.” Due to Microsoft Store specifications, the buttons are different for people who have the software installed already and people who do not.
Once Blender has been installed, it can be launched from the Start menu.
Installing the LTS Version
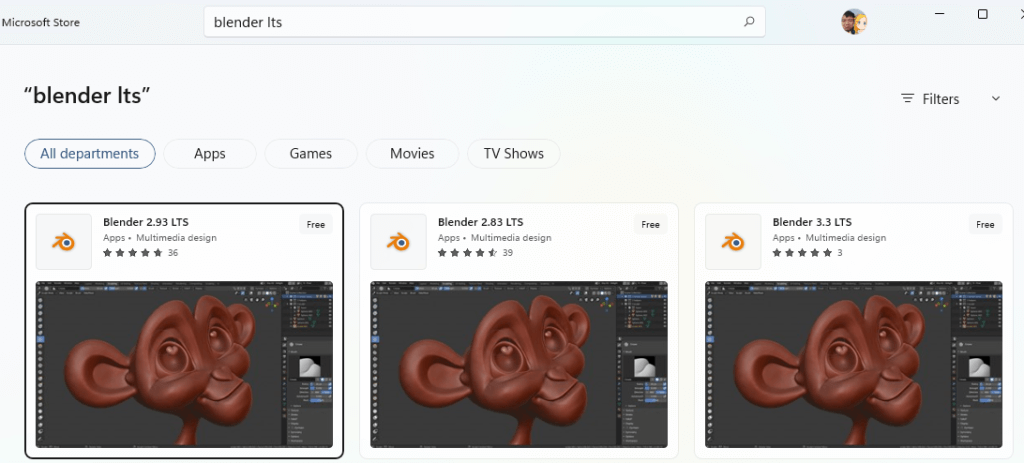
To download the LTS version from the Microsoft Store, search for “blender lts” and the results will look something like this:
From here, you can select and install whichever LTS version you prefer.
How to Update
Updates are automatic for versions downloaded from the Microsoft Store.
If you have the standard version, this is the latest edition with the newest features; if you have the LTS version, the updated version will be automatically installed.
Installing from Steam
Blender is also available on the game distribution platform Steam.
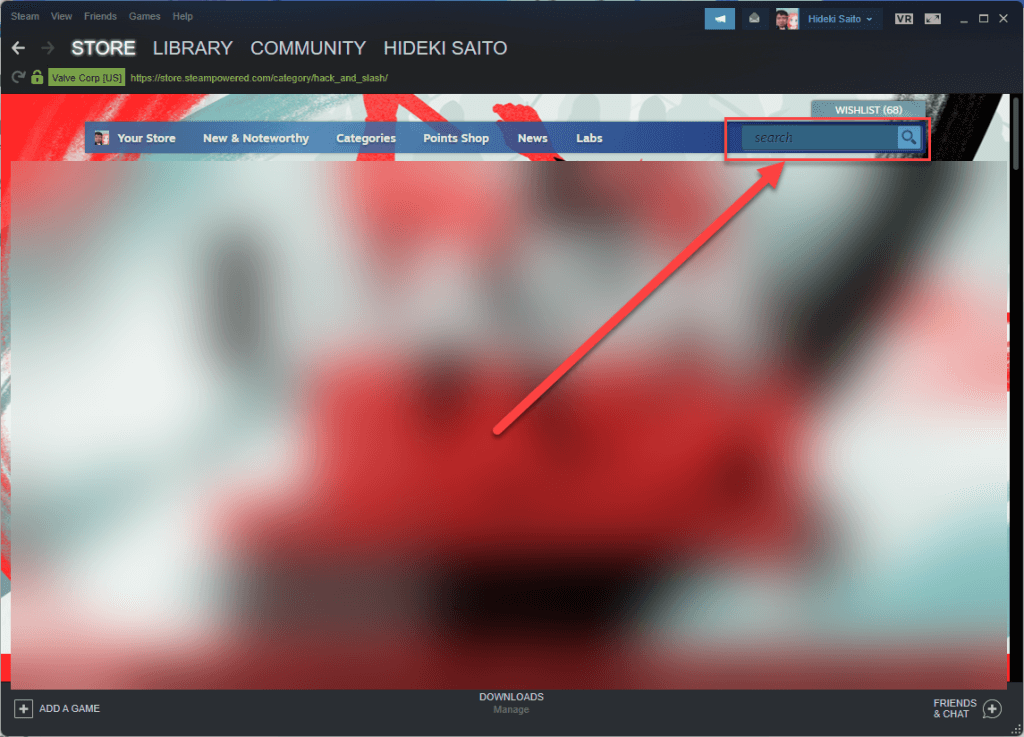
To download Blender for Steam, first search for Blender in the search bar at the top of the window.
The search results will come up, and when you select one, you will be taken to the product page.
On the product page, you will see a button that says “Add to Library.”
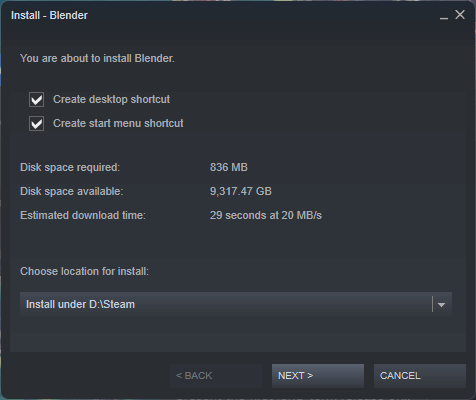
Clicking this will bring up options for installation, so select options such as create a shortcut or add a menu item, and then proceed.
If multiple locations are specified for the install location, they will be listed; if only a single location is specified, you may not see where Blender is installed.
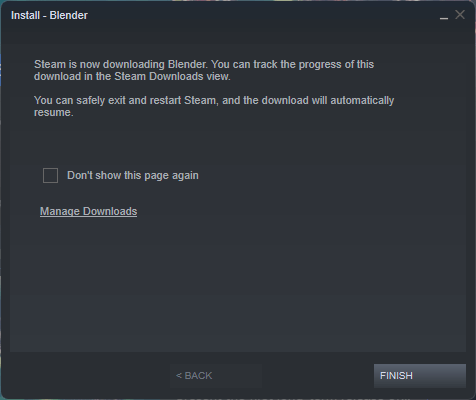
The next screen will display the following and then installation will begin.
Installing the LTS Version
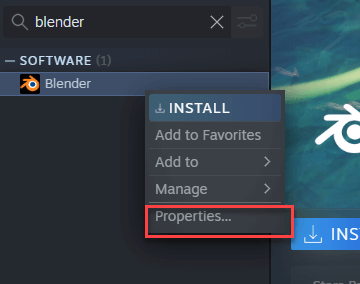
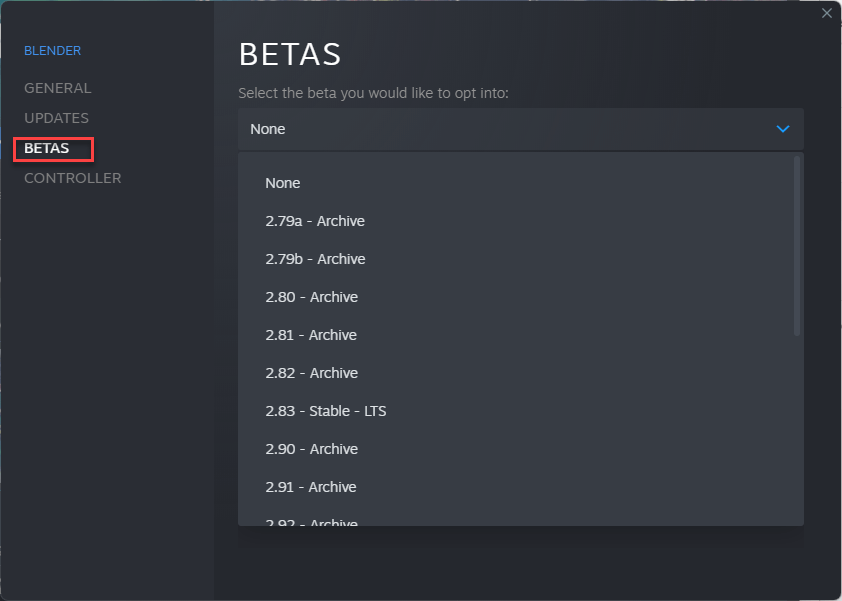
To download the LTS version on Steam, right-click on the library screen and select “Properties…”
Open “BETAS,” and from here, select one of the versions marked “LTS.”
How to Update
While Steam is running, Blender is automatically updated just like other games.
If you have the standard version, this will be the latest edition with the newest features; if you have the LTS version, the updated version will be automatically installed.
Installing the Portable Version (For Advanced Users)
A portable version is also available, but this is intended for advanced users who are relatively familiar with these environments.
Download the portable version as a ZIP file and unzip it in a location of your choosing.
Each unzipped file is treated as an independent version, so you can use it when you want multiple Blender versions to coexist without them overwriting one another.
You can also create a script like the one below, save it under a name such as blender.cmd, and run it in an empty folder to launch a specific version of Blender without affecting other settings.
SET BLENDER_LOCATION="C:\Program Files\Blender Foundation\Blender 3.3\blender-launcher.exe"
SET BLENDER_USER_CONFIG=%CD%
SET BLENDER_USER_SCRIPTS=%CD%
%BLENDER_LOCATION%
In the first line of the script, specify the install location for Blender.
By running the script in a separate empty folder, you can run multiple Blender environments for multiple Blender versions. This is especially useful when you want to test different environments for different projects.
Note that the portable version is not automatically updated, so versions will have to be managed manually.
Which Installation Method Should I Use?
As you can see, Blender can be installed in many different ways.
Since updates are automatic and there is no need for manual setup, the simplest way to start Blender is to install from the Microsoft Store or Steam.
If you want to use it alongside other software such as Unity, we recommend downloading from the official website, as that is how most third-party software works in conjunction.
The portable version can be combined with different installation methods, so there will probably not be many cases where it is necessary to use it alone.
However, since the portable version does not require administrator privileges to use, there may be situations where the portable version should be downloaded to a relatively restricted environment such as someone else’s computer or at an internet cafe.
Things to Note:
Blender is licensed under the GPL license, which means that it can be sold if certain conditions are met, and there are cases in which sales do take place.
However, using paid versions of Blender are not recommended by the official developers and there is no reason to pay for the software without a specific reason.
When you download Blender, make sure that it is provided by the Blender Foundation and that it is distributed free of charge.
The Next Step
After installing Blender, play around with it and have some fun!
In the next article, we will introduce some of Blender’s key features and things you can create with it.
Uploading to STYLY
Let’s upload your 3D model to STYLY.
Create a STYLY account:
How to upload to STYLY:
How to upload from Unity to STYLY:
For questions about STYLY, bug reports, and improvement requests, please contact the STYLY FORUM:
https://en.forum.styly.cc/support/discussions
Certified (QA) by Shota Shawn Yoshizawa
Edited by SASAnishiki
Translated by cpnnn
