In this article, I will introduce how to use following functions.
- Build (Build)
- Decimate (Reduce polygon count)
- Edge Split (Edge Separation)
*The version of Blender used in this article is 2.92.
This article is a continuation of the previous introduction article, so if you haven’t read the previous article yet, please go ahead and look at that one first.
![[Introduction to Blender] Using modifier tools (1) Introduction – Generate(Array/Bevel/Boolean)](https://styly.cc/wp-content/uploads/2021/06/eye-160x160.png)
Build
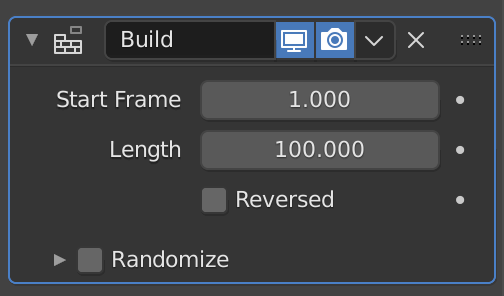
Build is a function to make an object appear gradually in an animation.
Build
Build
| Start Frame | Start frame |
| Length | Length of the animation |
| Reversed | Play backwards |
| Randomize | Display randomly |
The value of Length is displayed as the number of frames.
For example, if you set this to 100, the animation of the object appearing will be played over 100 frames.
Reversed plays the animation in reverse.
Reversed
Checking the Randomize checkbox will randomize the appearance of objects.
Changing the seed value will change the order in which the polygons are randomly displayed.

Randomize
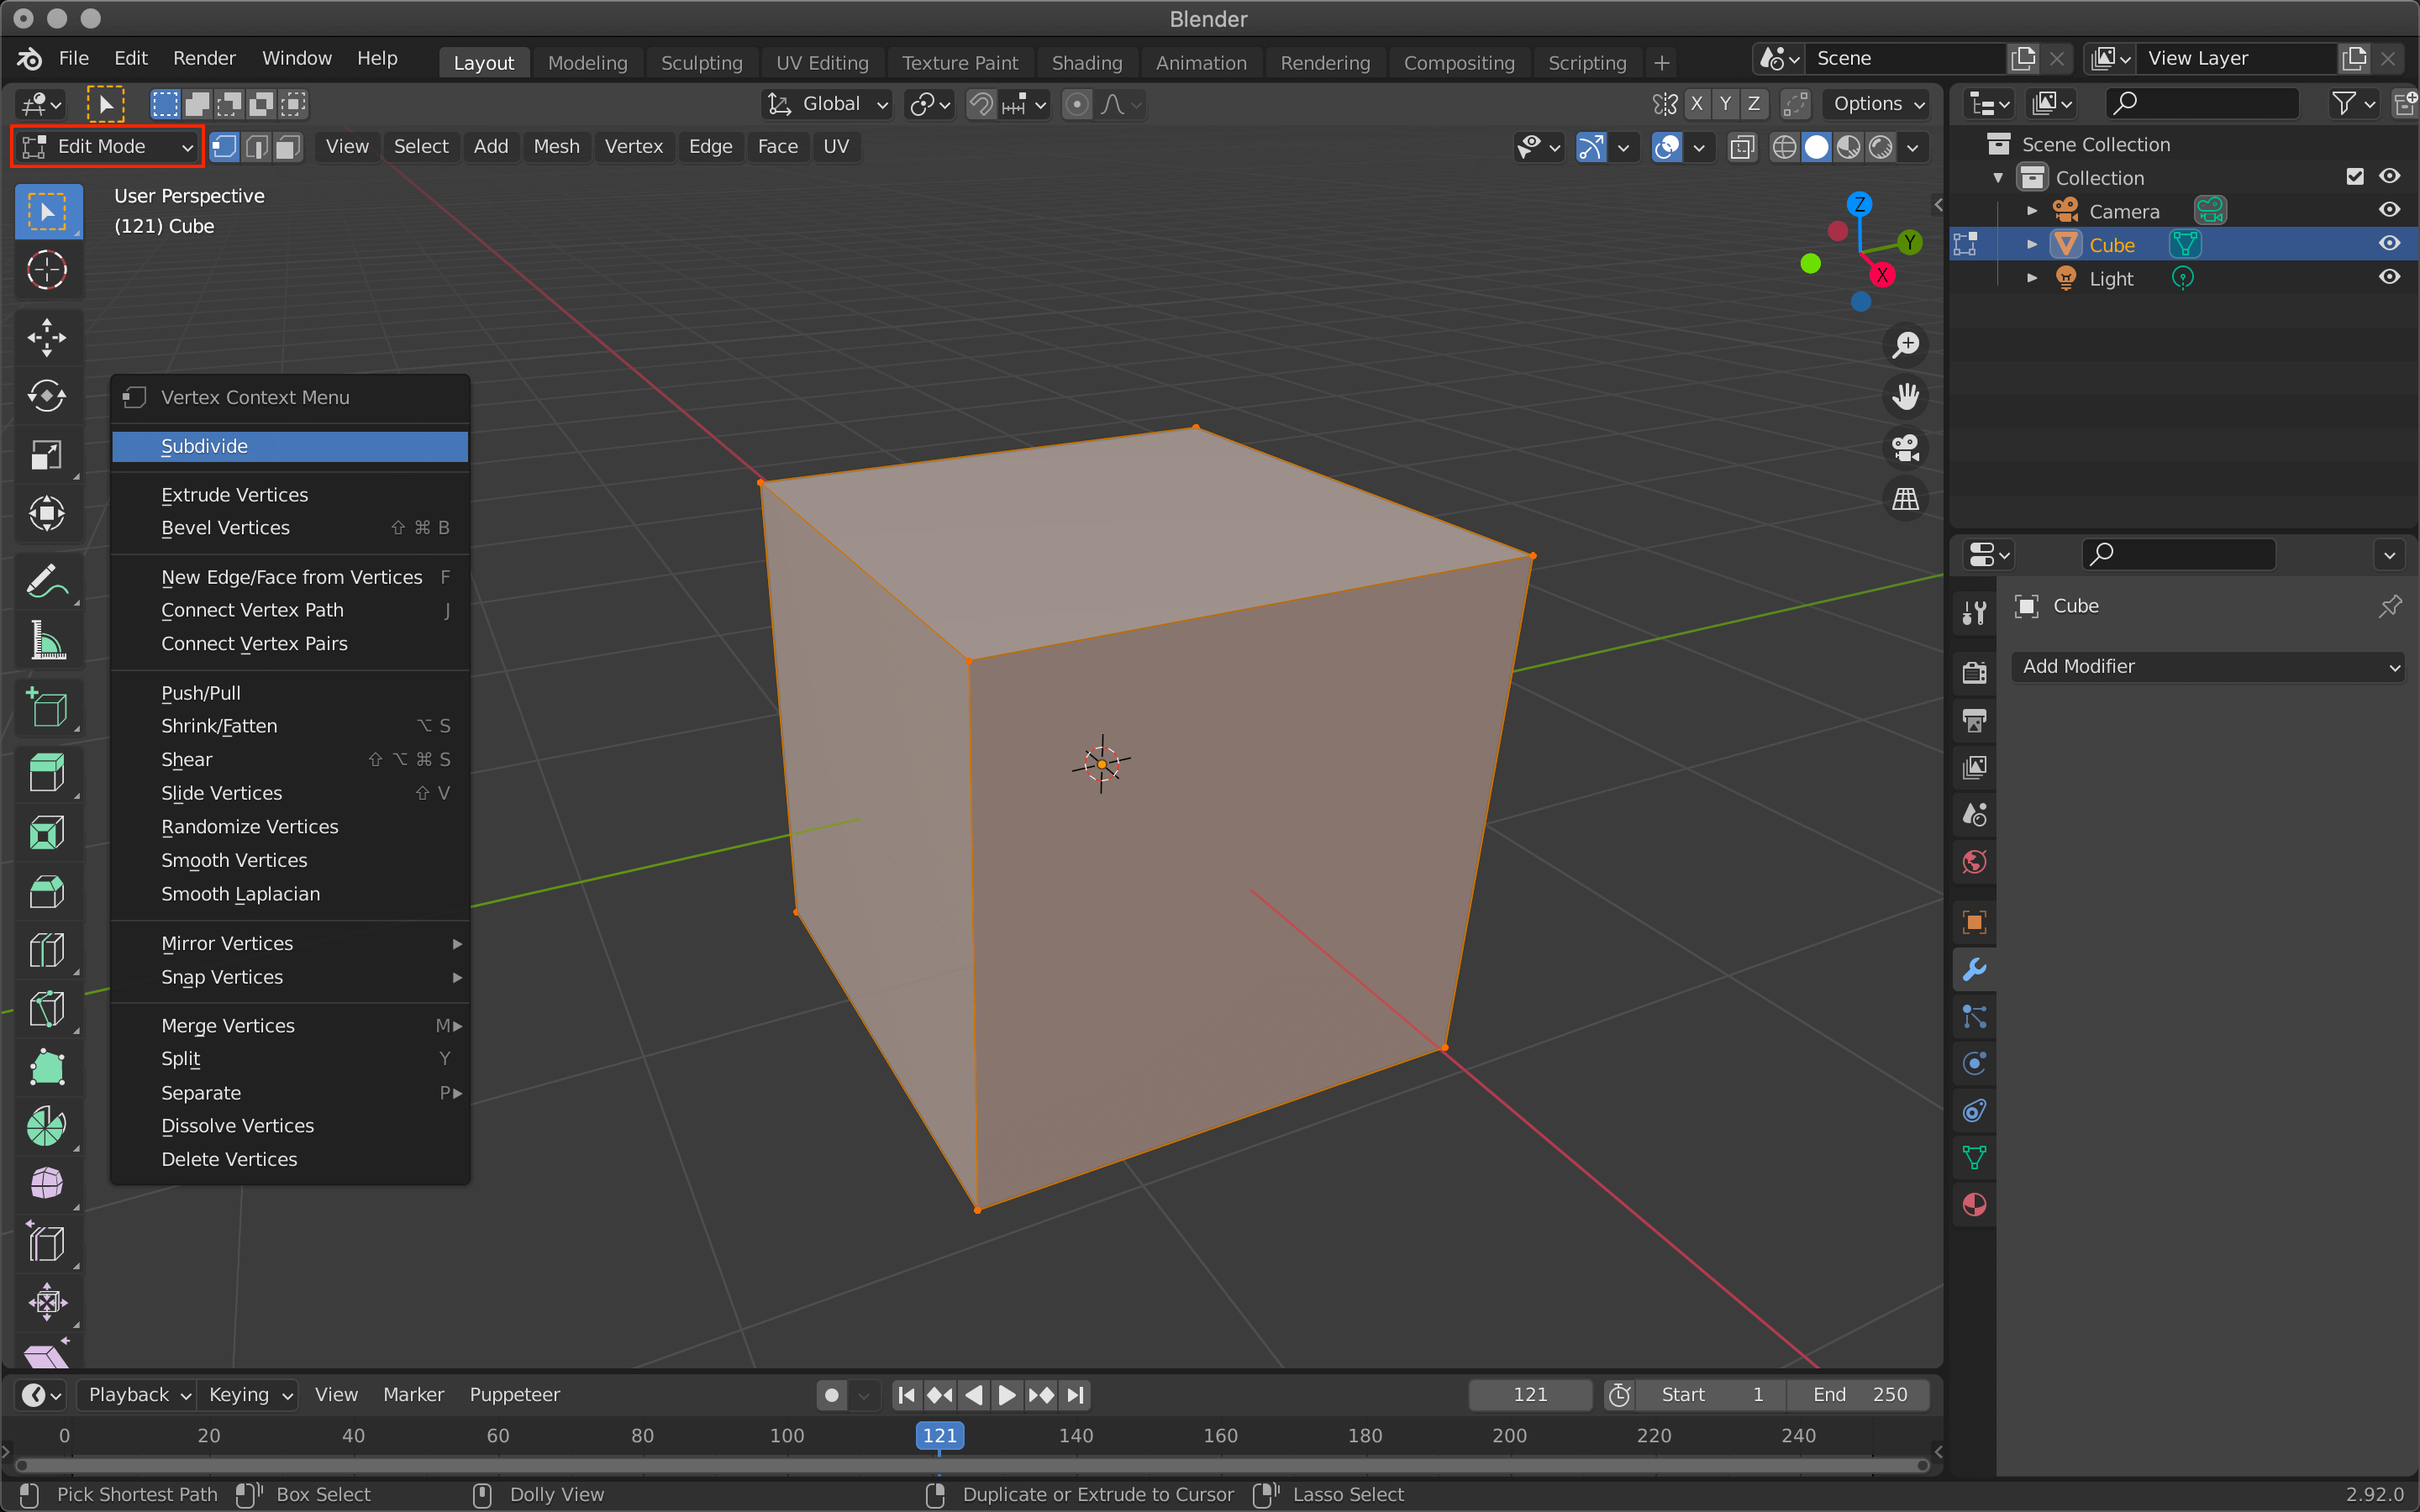
Since the granularity of the objects appearing in the animation depends on the number of polygons, this cube has been subdivided in advance using the Subdivide function.
Subdivide is also present in the modifier, but it can be easily applied by switching to Edit Mode with the tab key, then right-clicking and selecting Subdivide.
Note, however, that this method does not use the modifier tool and cannot be re-edited.
Subdivide
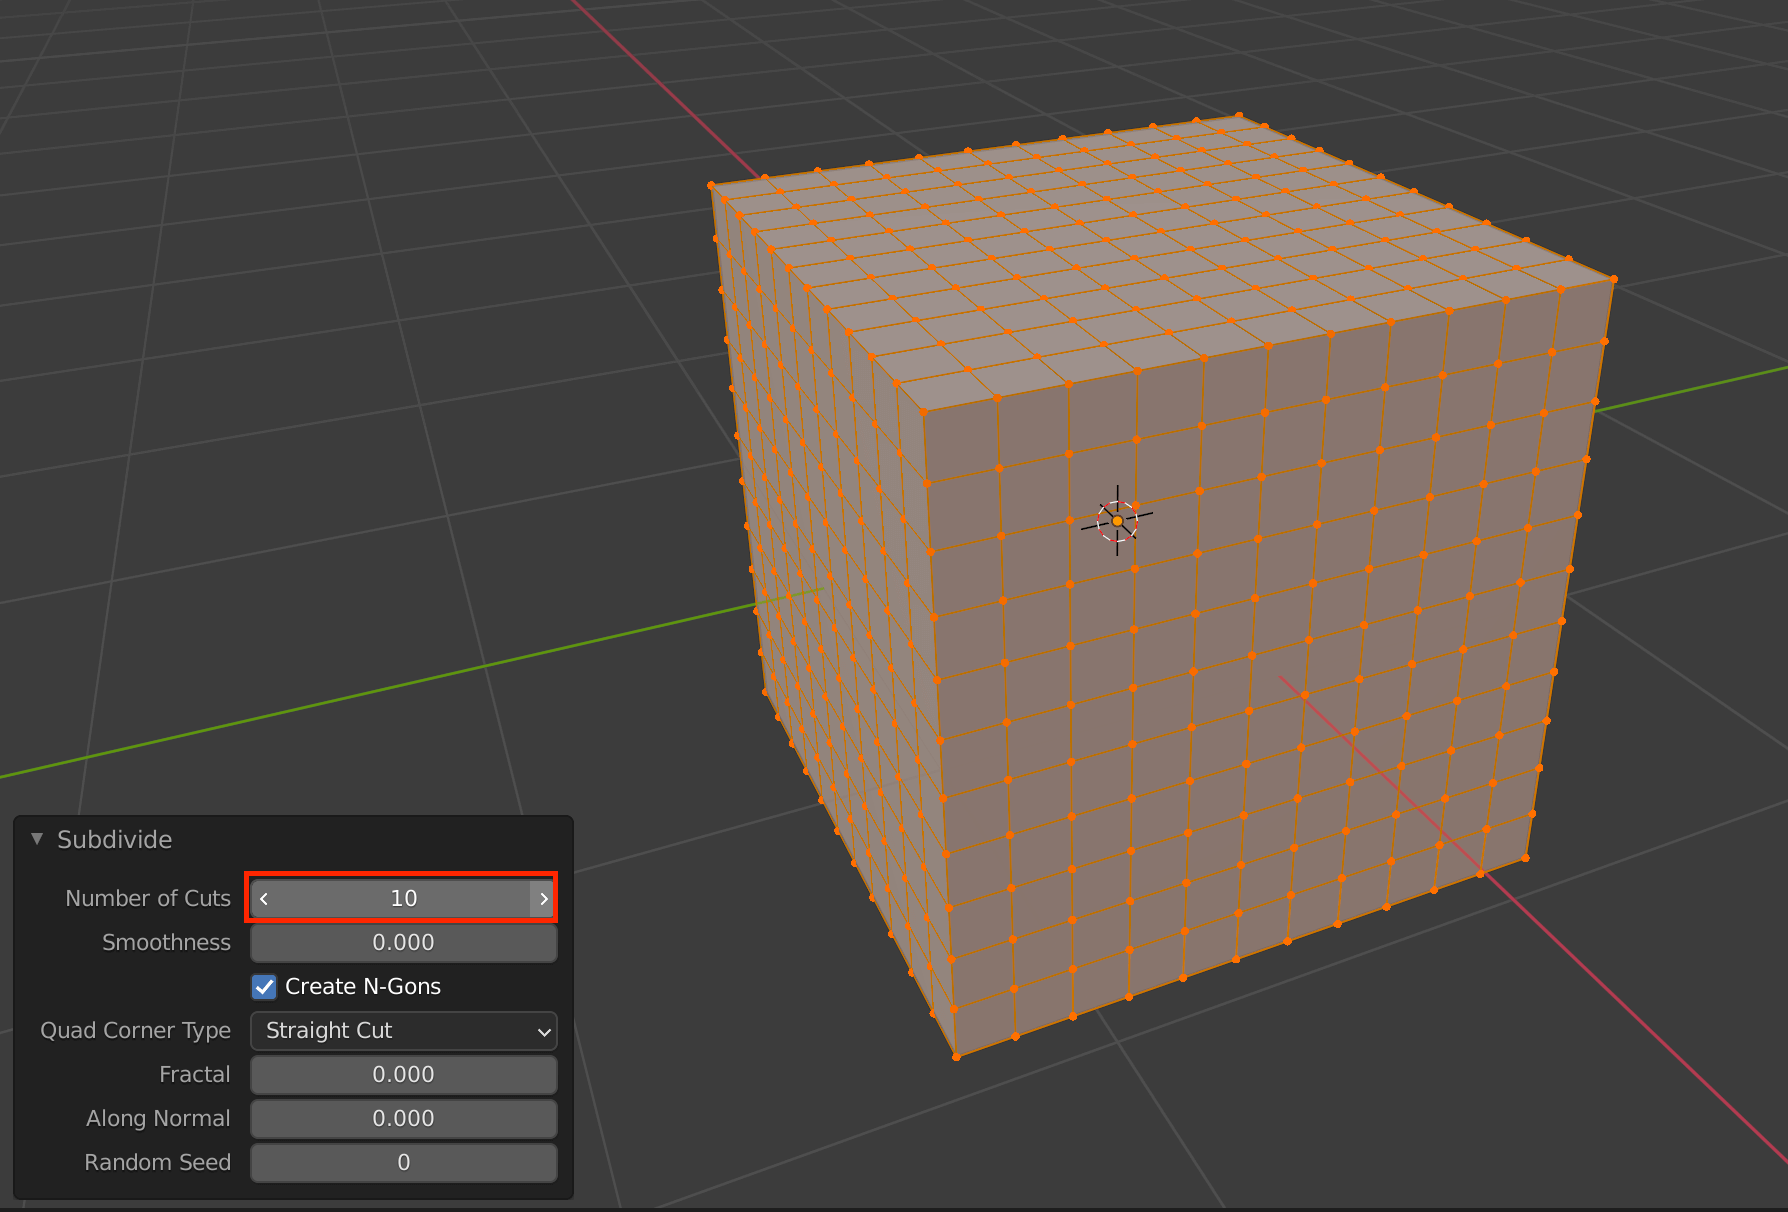
Subdivide
Decimate
This function allows you to reduce the number of polygons and vertices in an object with a large number of polygons.
Decimate
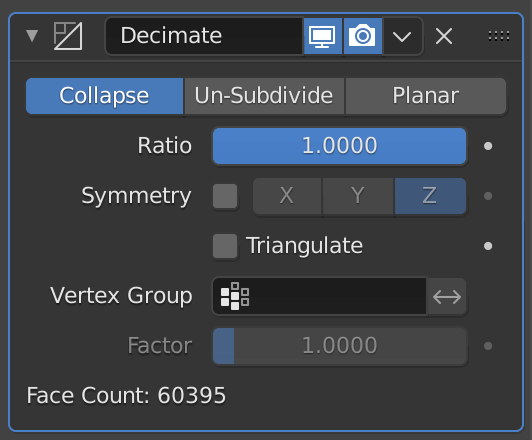
Decimate
| Collapse | Apply almost evenly to the entire object |
| Un-Subdivide | Reverse subdivision |
| Planar | Planarization |
| Ratio | Ratio to apply |
| Symmetry | Symmetry around a specified direction |
| Triangulate | Triangulate polygons |
| Vertex Group | Specifies a vertex group |
The Face Count item shows the number of polygons.
In this case, I downloaded a model of the sculpture from Sketchfab and used it.
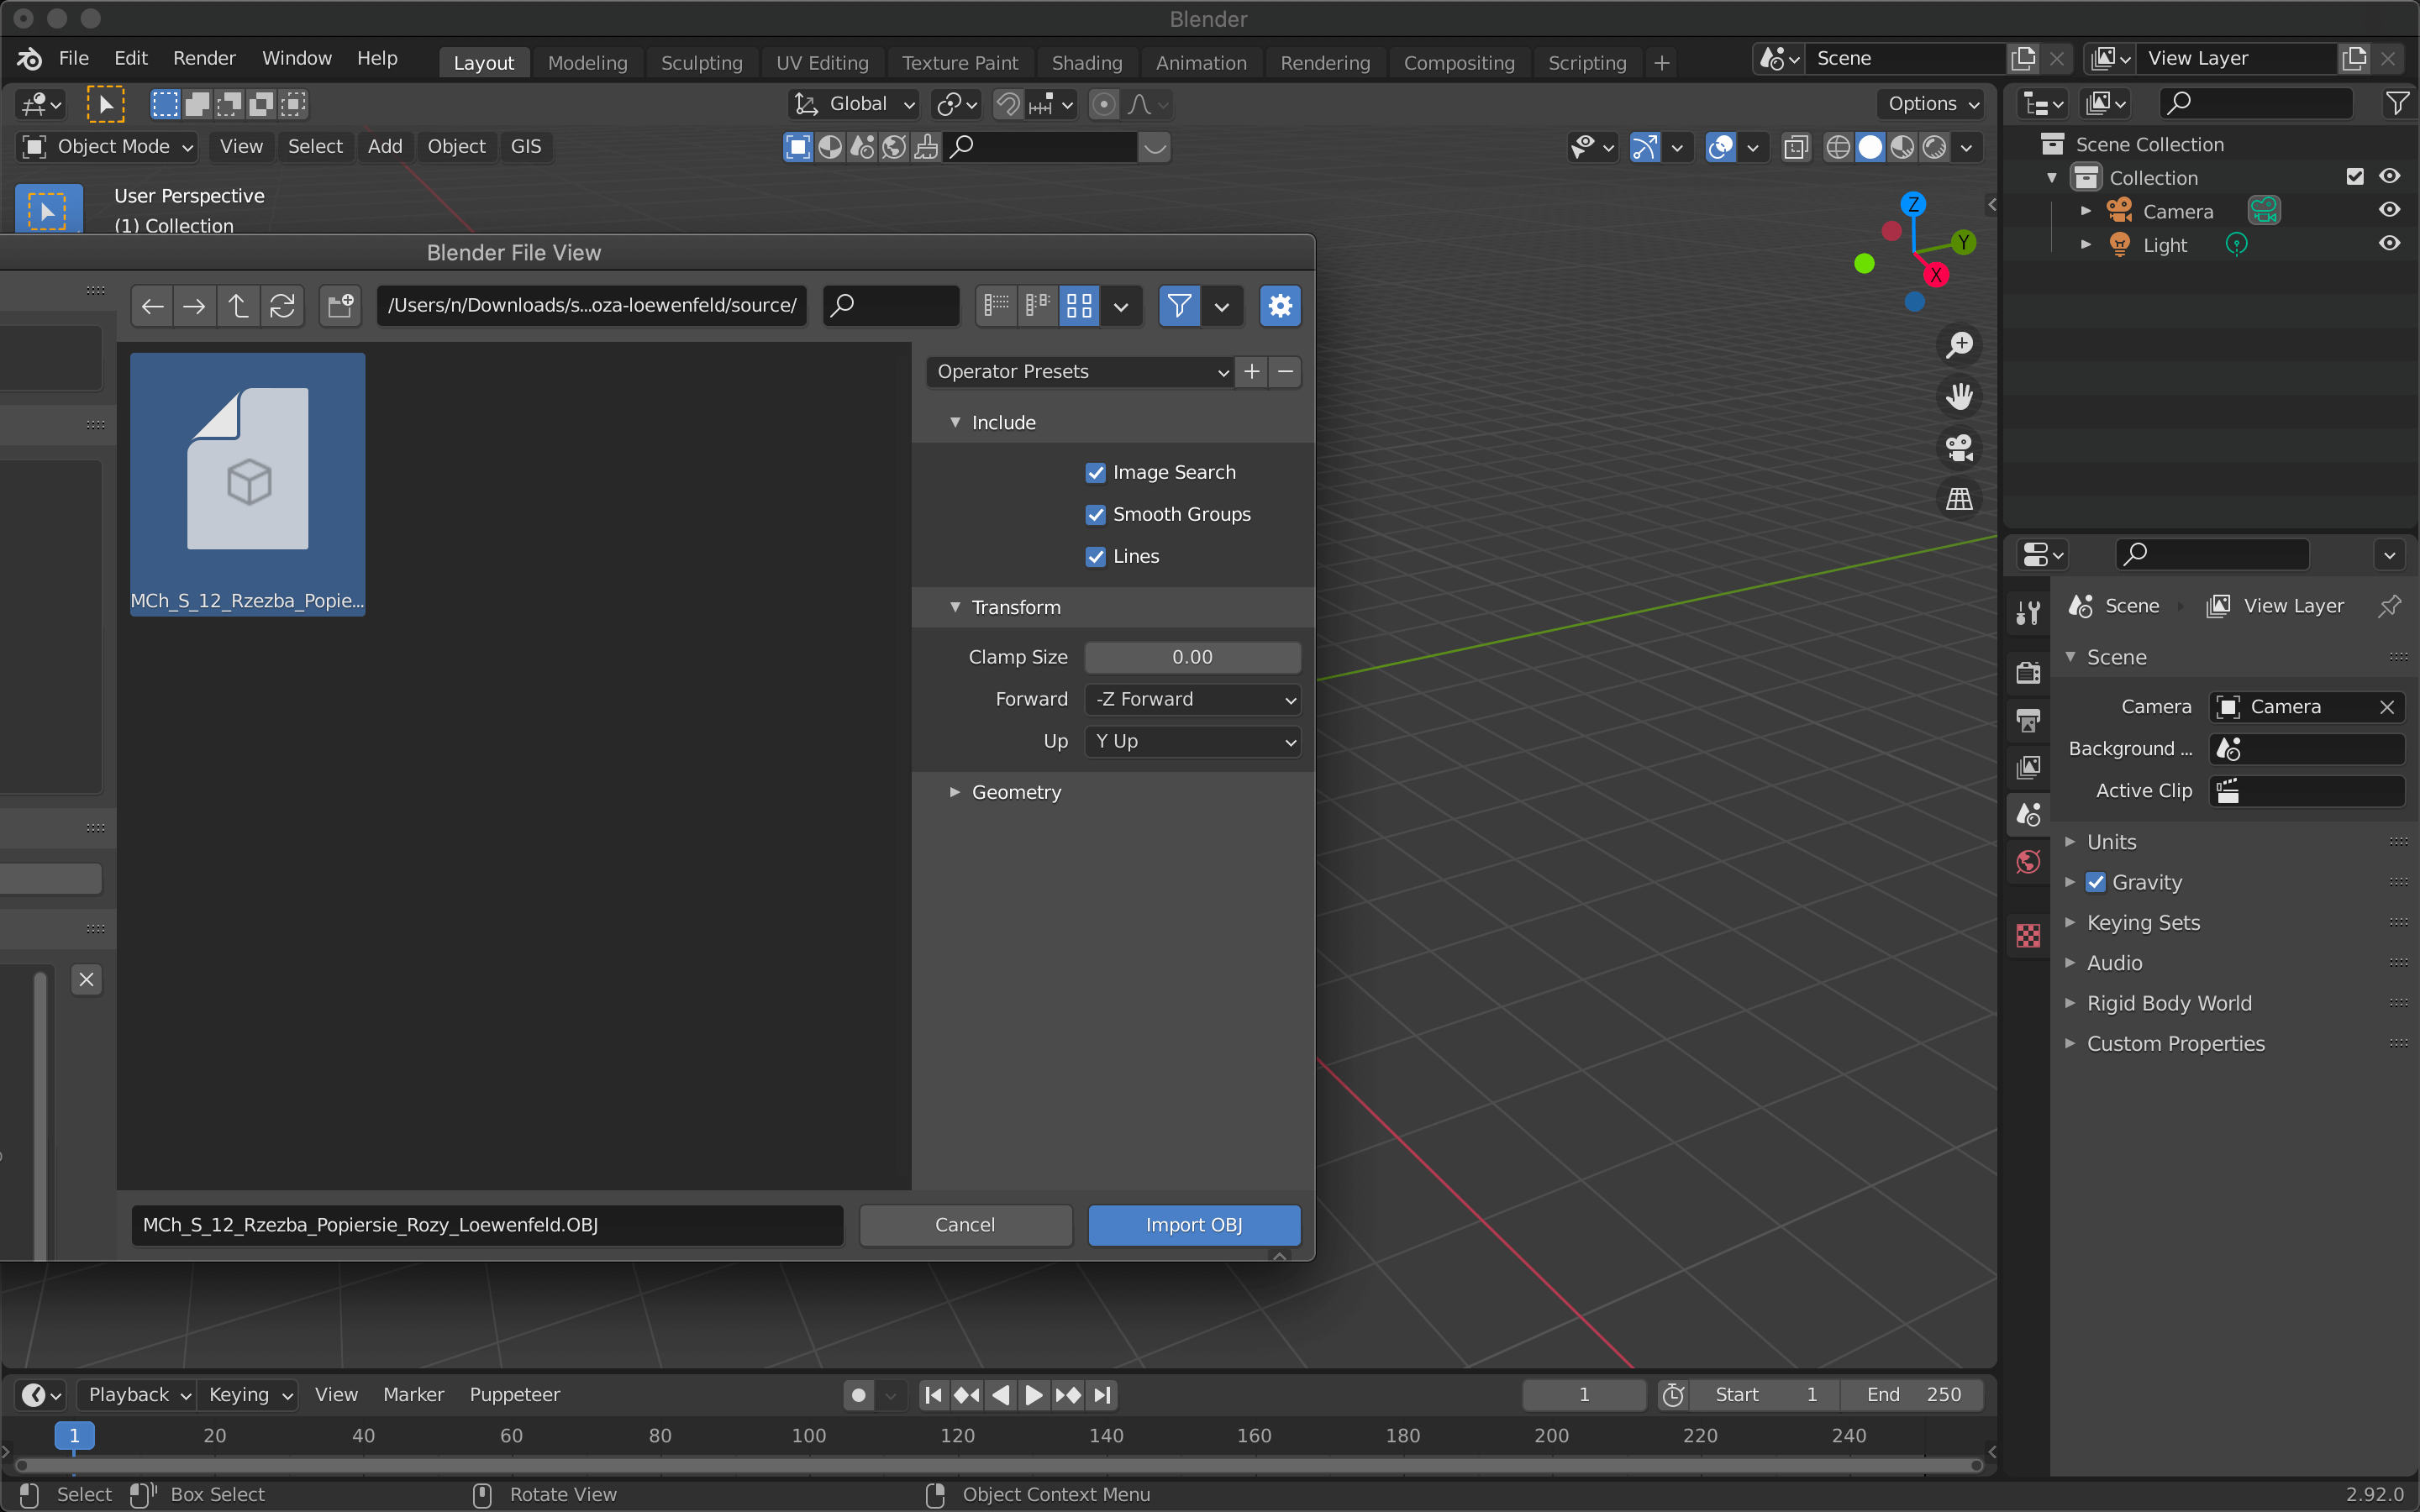
Select the model you downloaded and click Import OBJ.
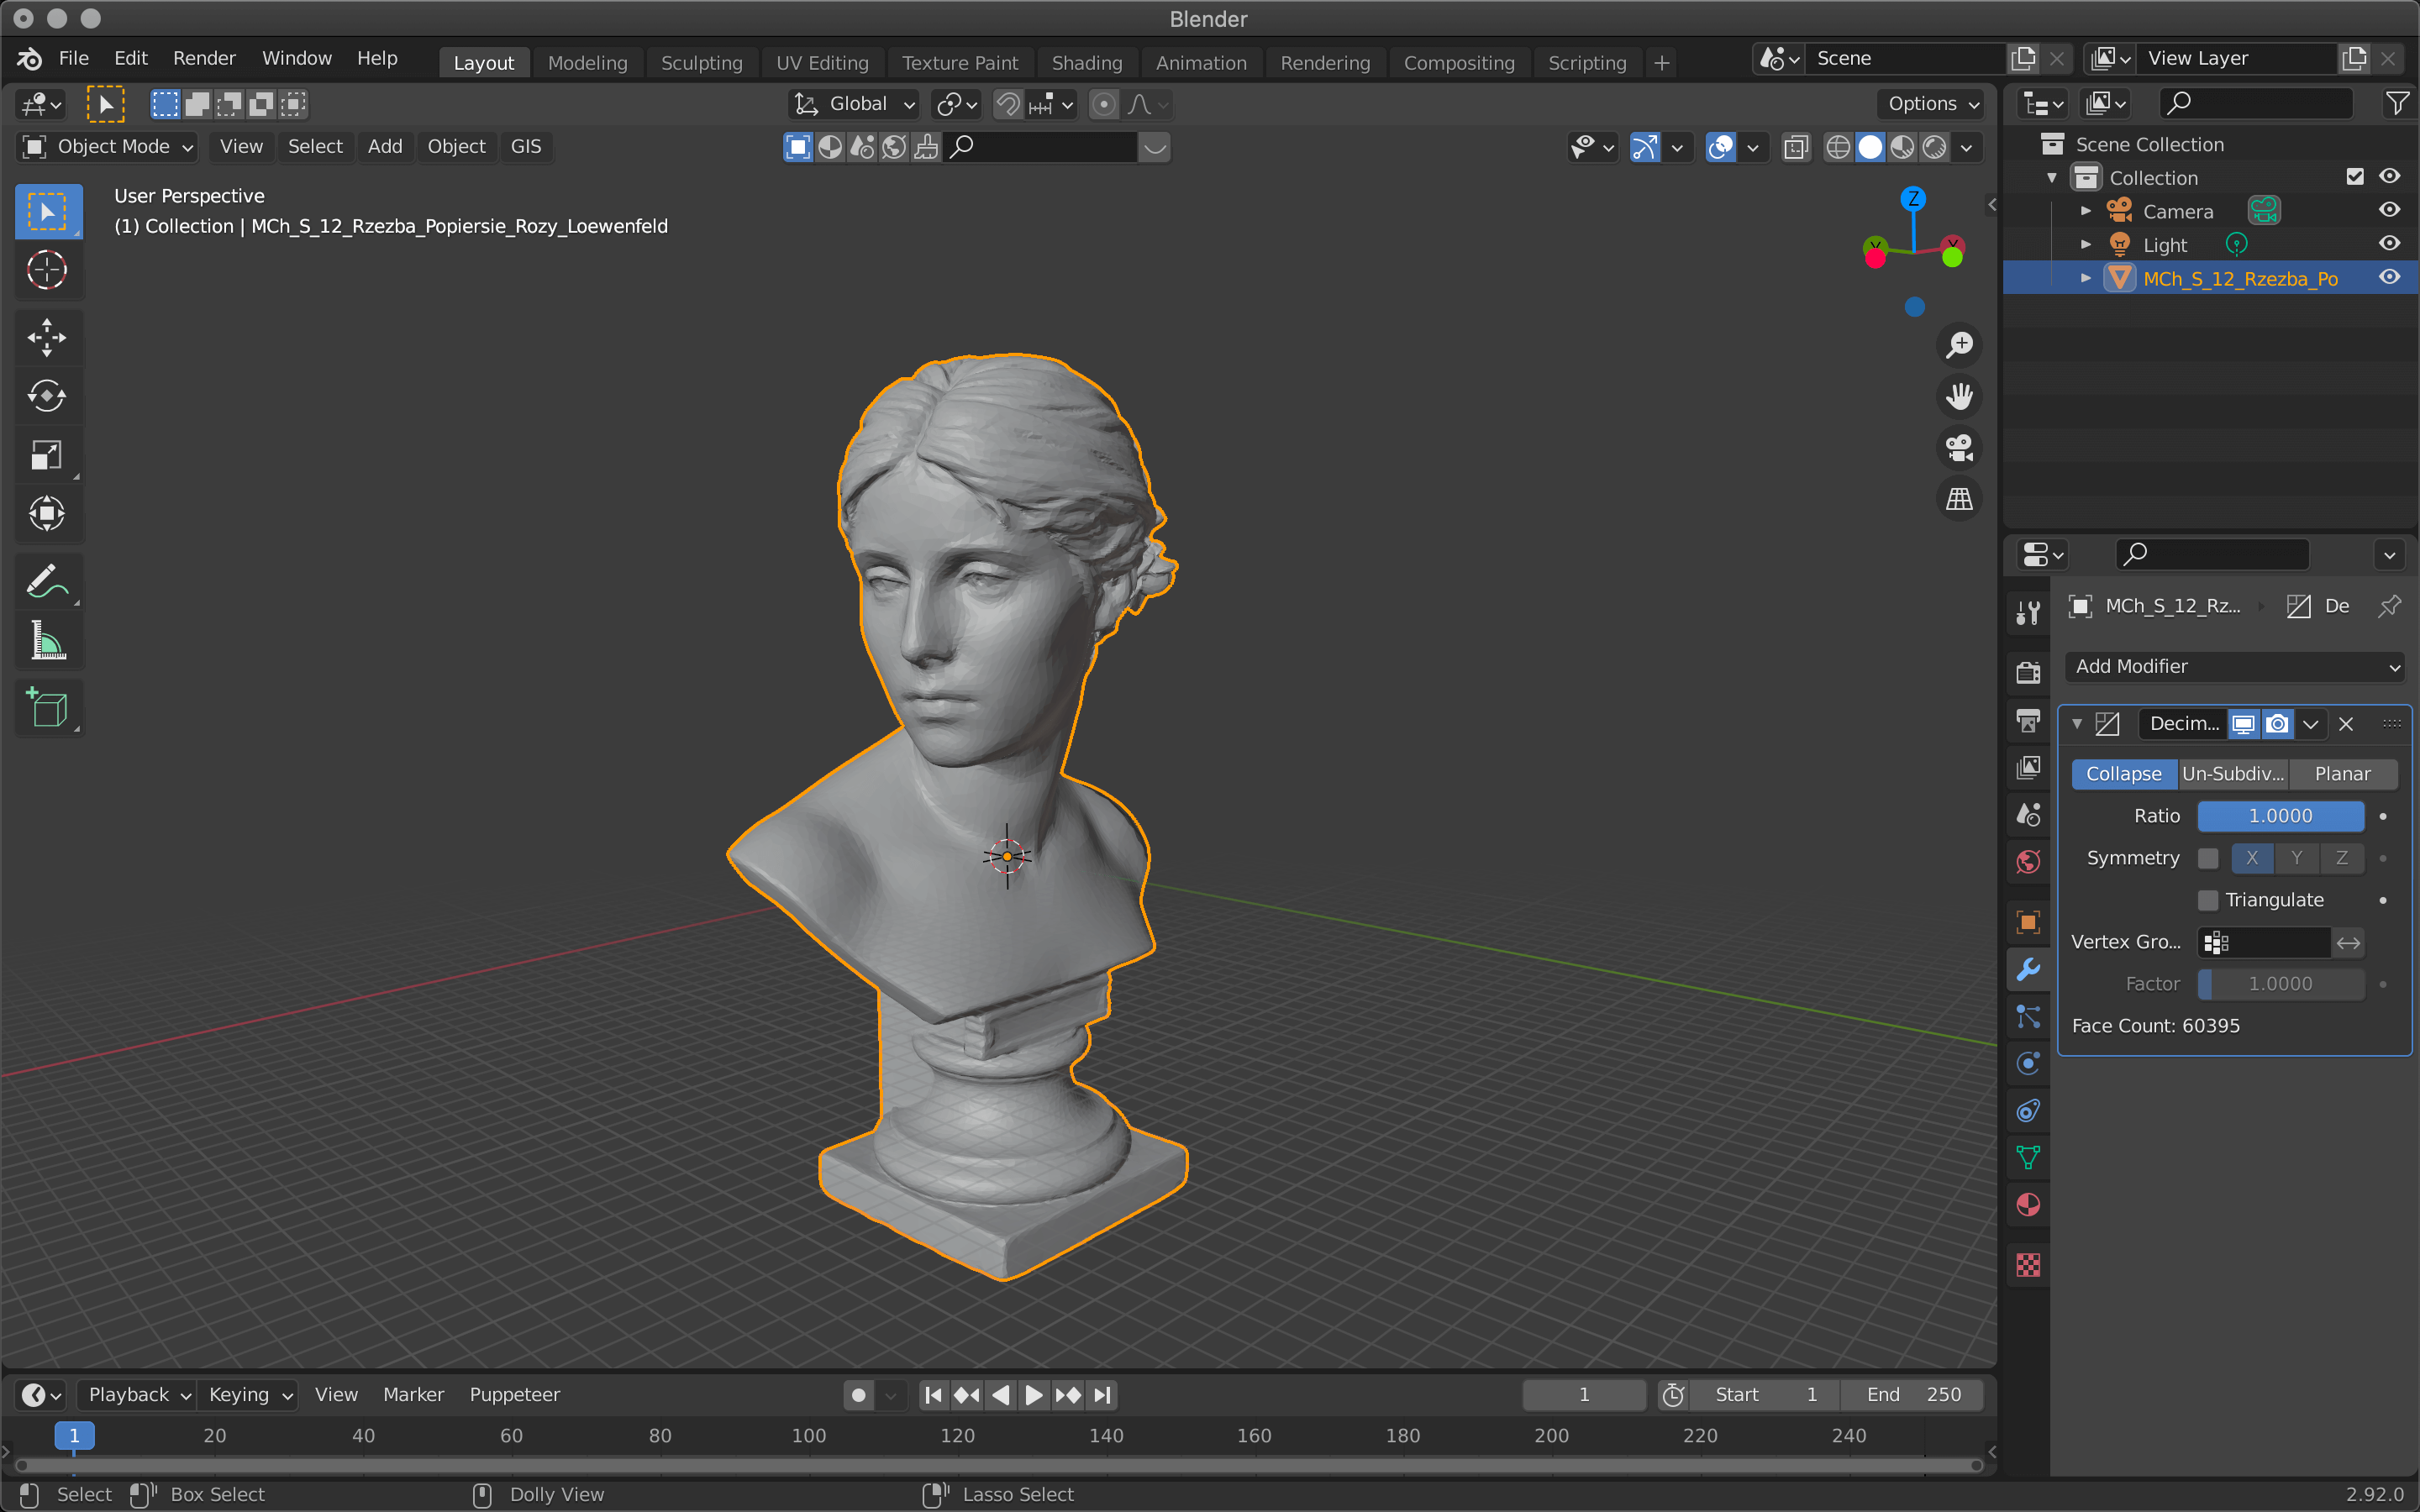
Add Decimate from Add Modifier on the right side of the screen.
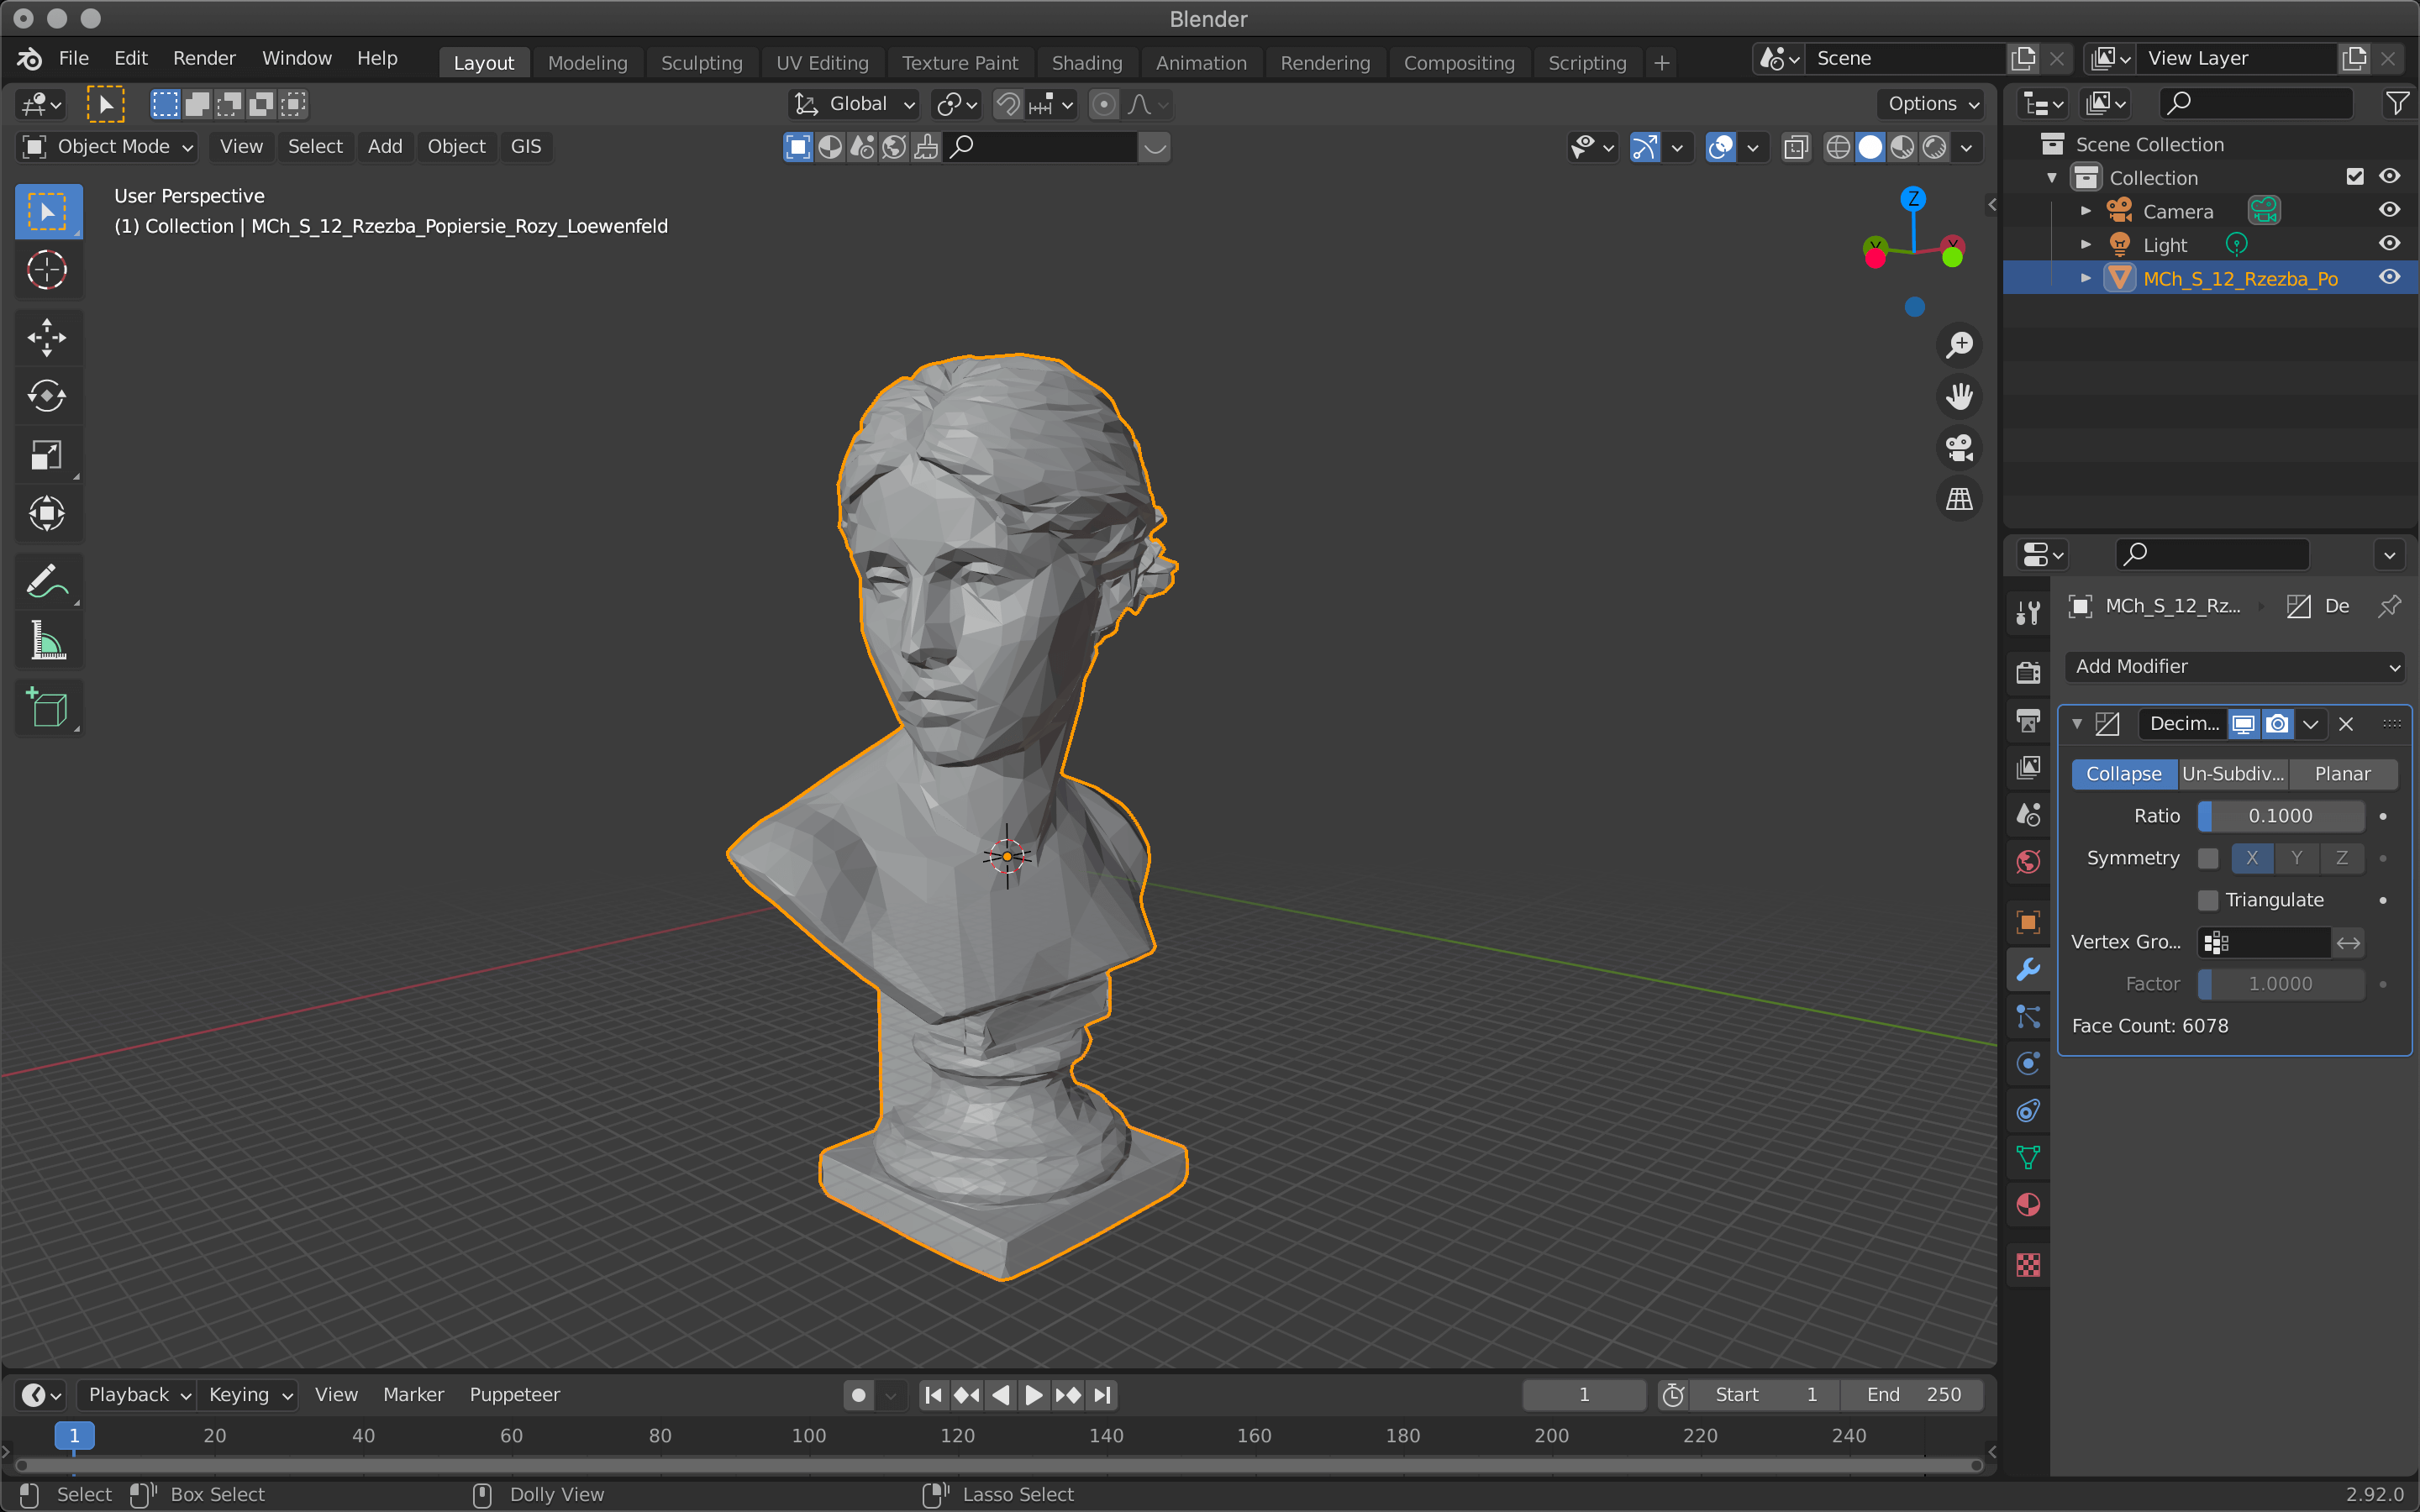
Changing the value will also change the polygon count.
Adjust the Ratio value between 1.0 and 0.0 (one polygon).
The more you reduce the number of polygons, the rougher the surface will be, so it’s best to keep an eye on it and change the value little by little.
Edge Split
As the name implies, this function allows you to split edges. If you use this function on a cube by default, all edges will be split, but you can change the setting to apply it only to some edges.
Edge Split

Edge Split
| Edge Angle | Applies to angles less than or equal to the specified value |
| Sharp Edges | Apply to sharp edges |
Sharp Edges allows you to use the edge separation function on only a portion of the edges specified by the Sharp function.
To do so, simply select a specific edge, right-click, and then click Make Sharp.
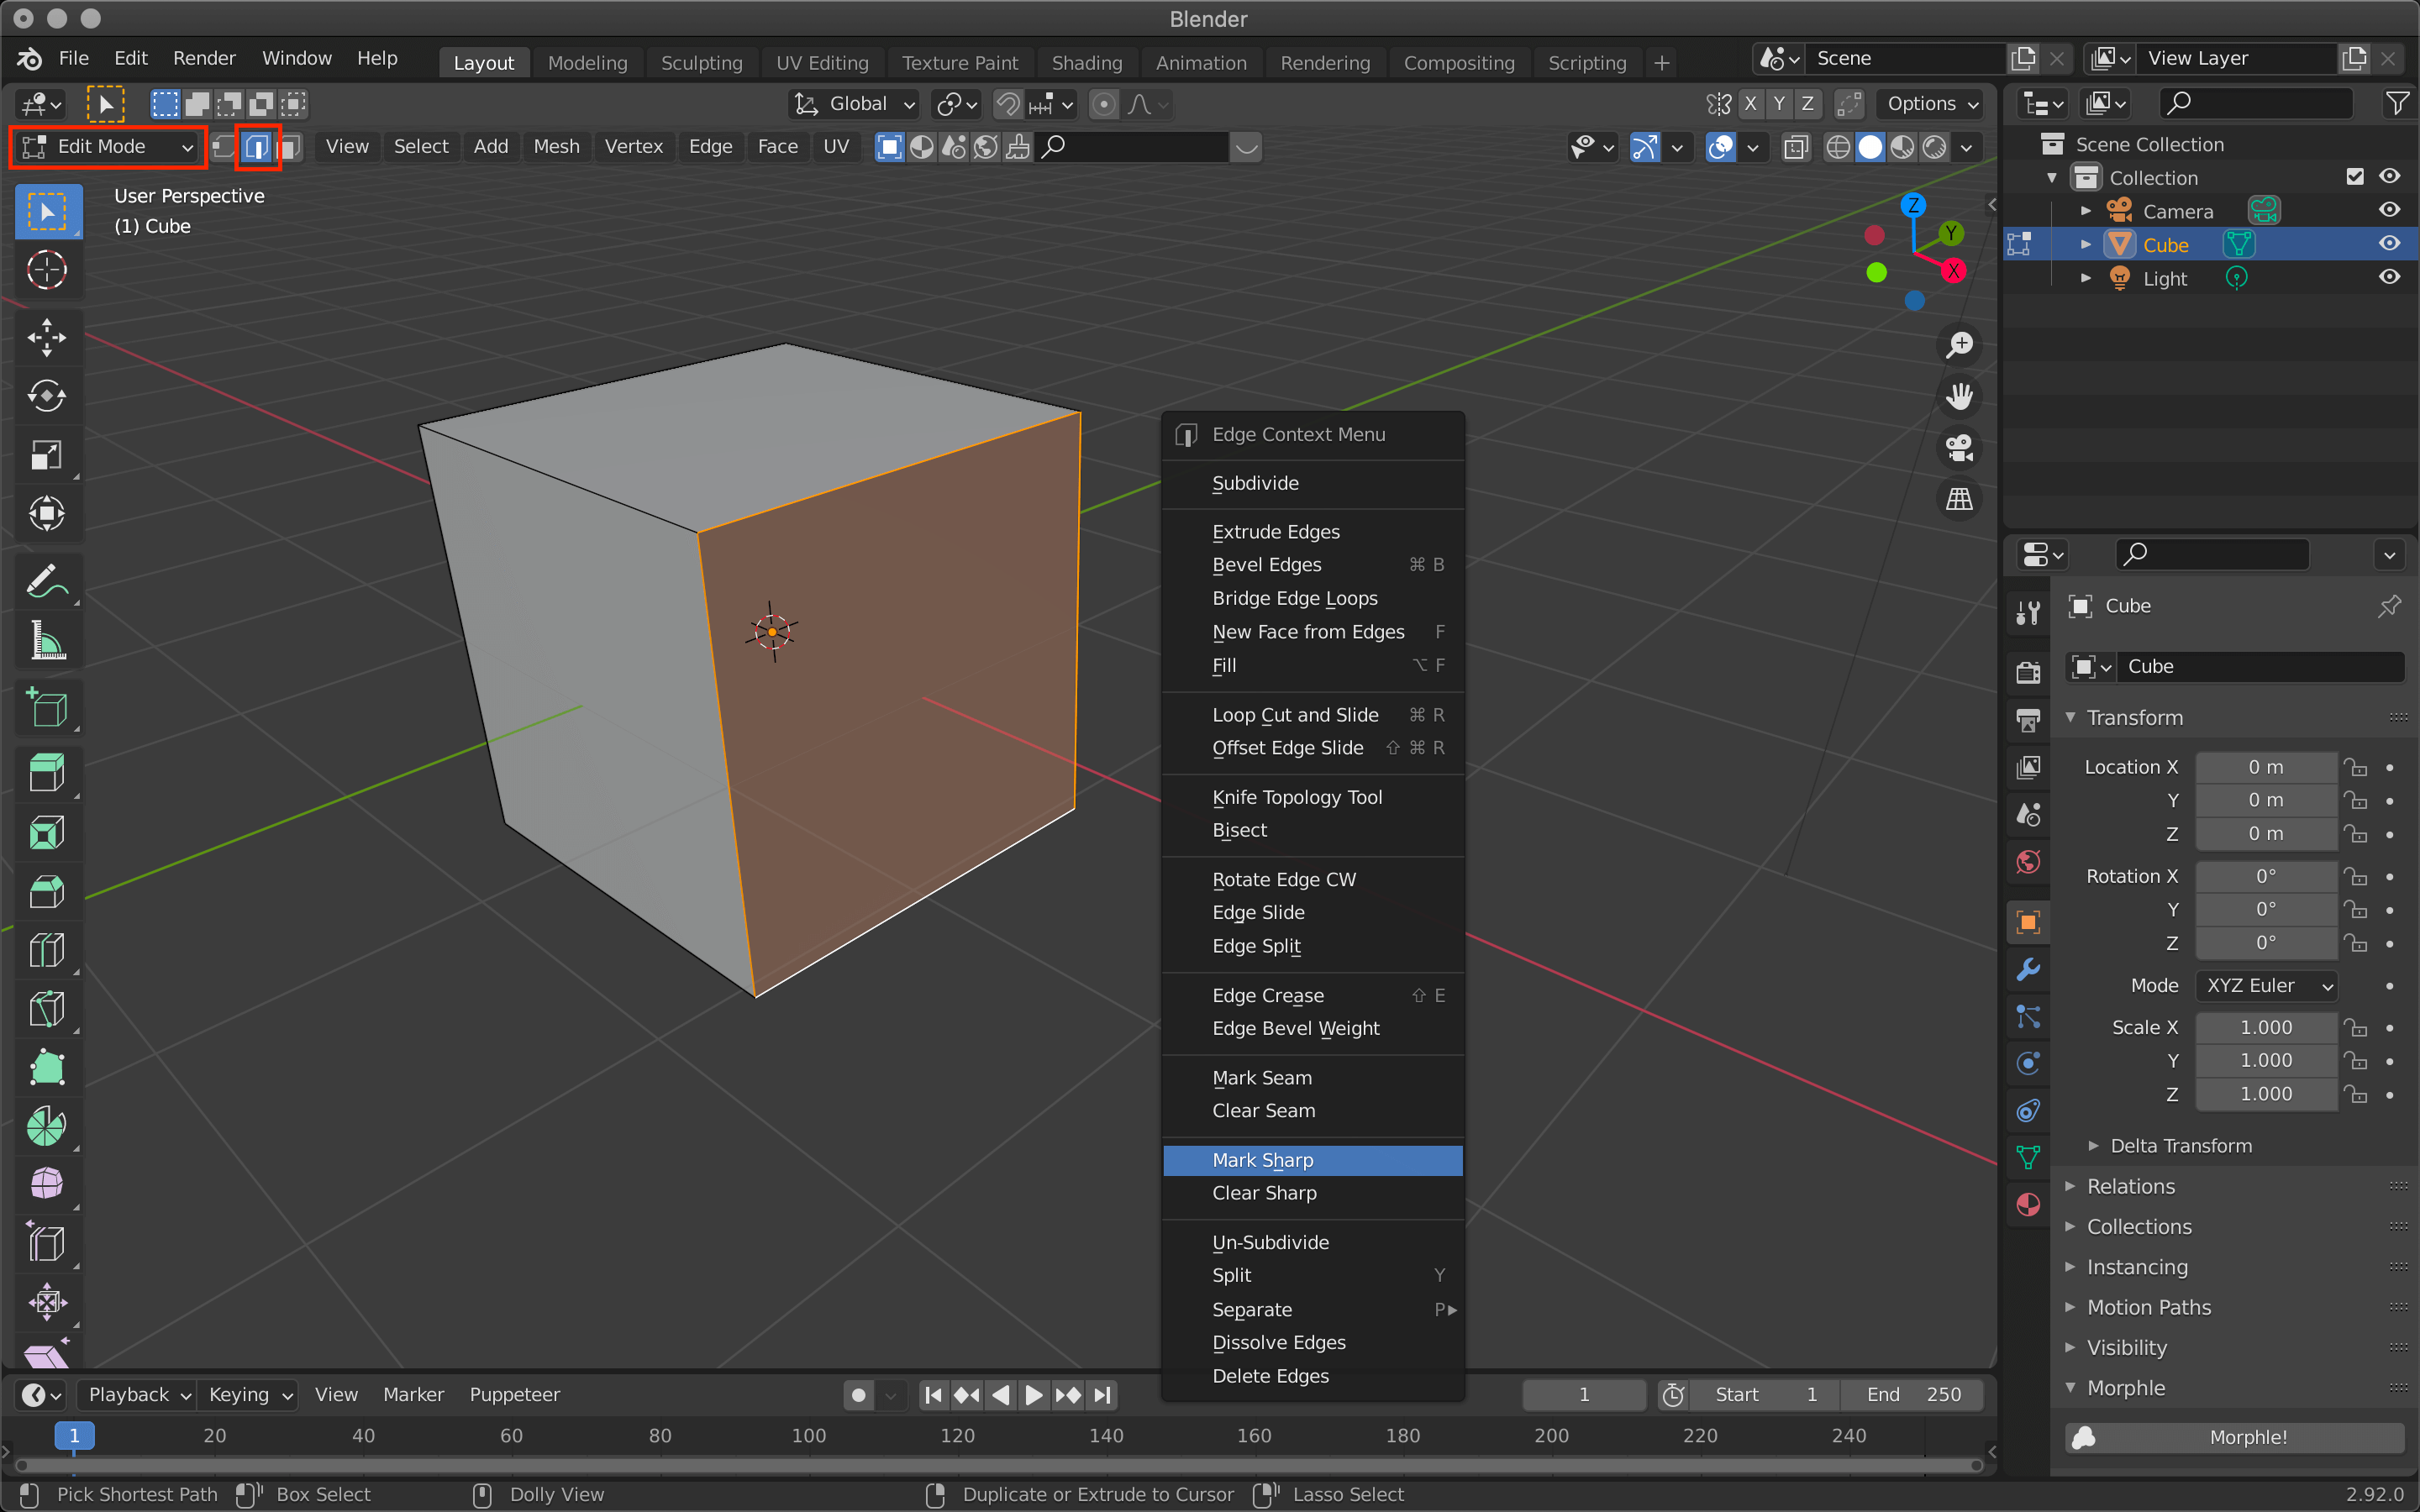
Use the tab key to switch to edit mode, use the icon next to it to set the edge selection, and then select a specific edge.
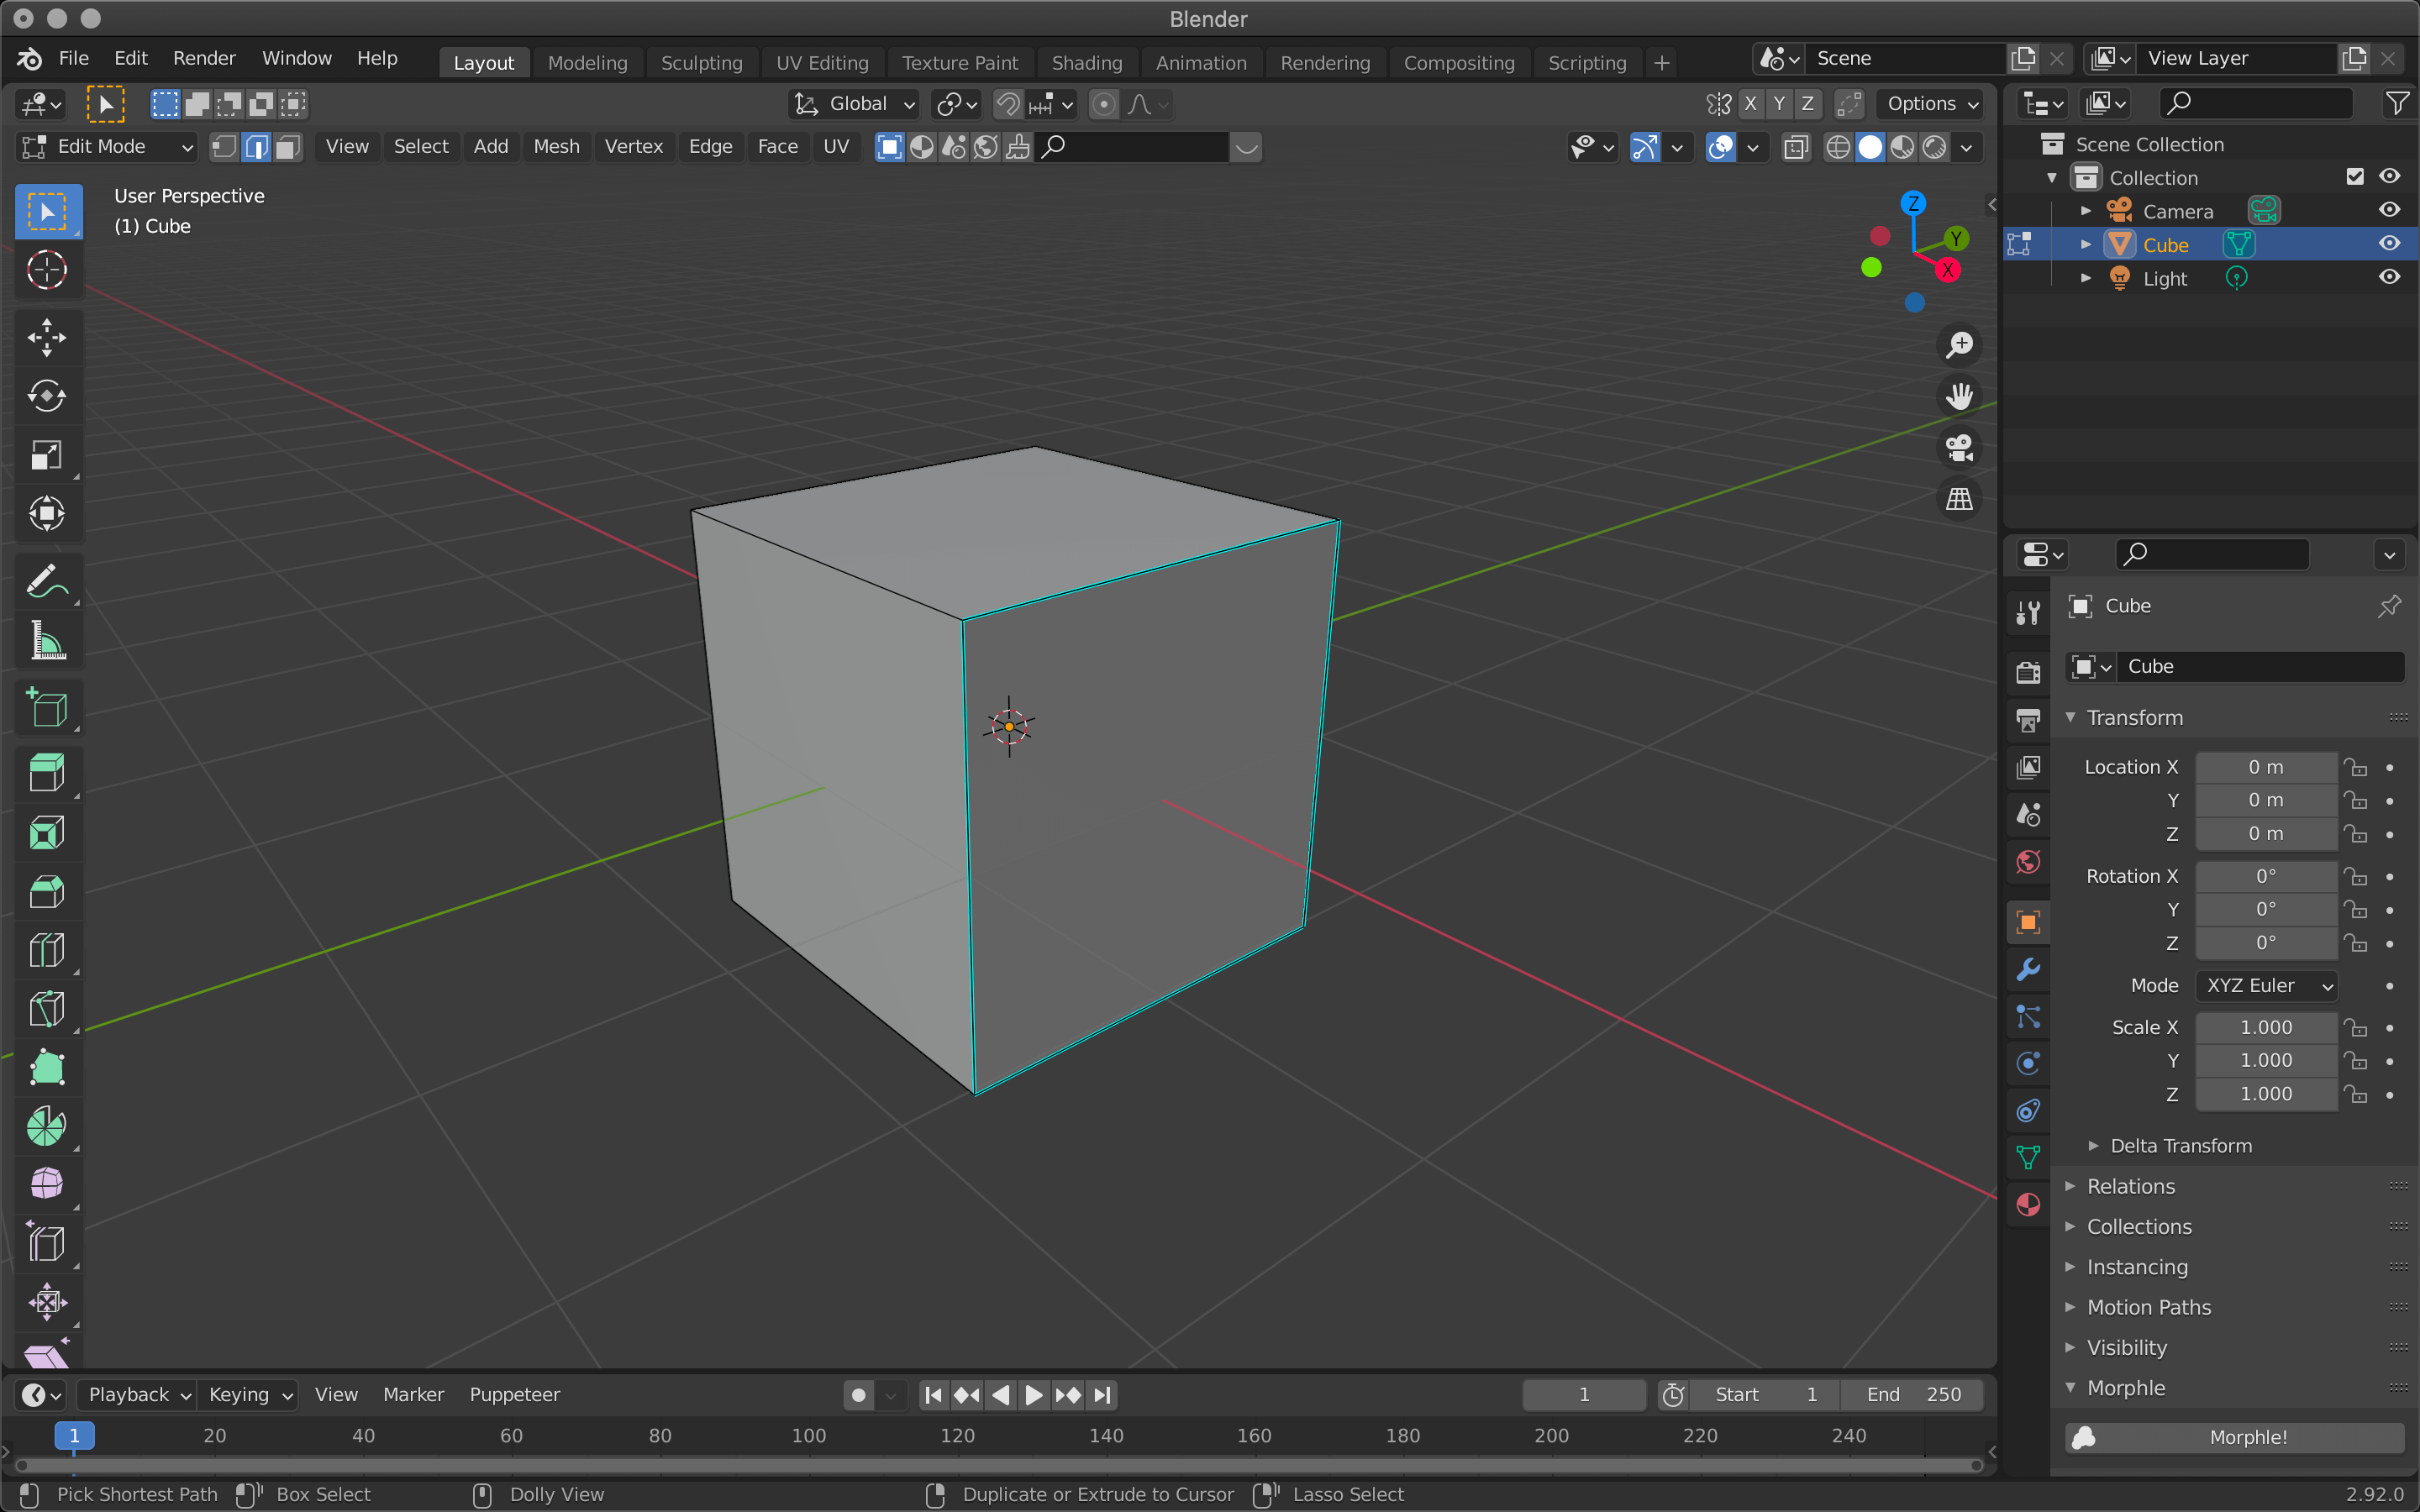
A sharp is created and the color of the edge is changed.
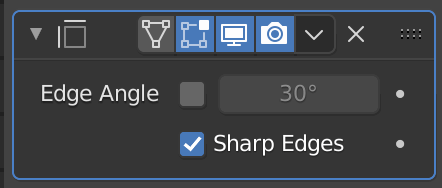
Check “Sharp Edges”.
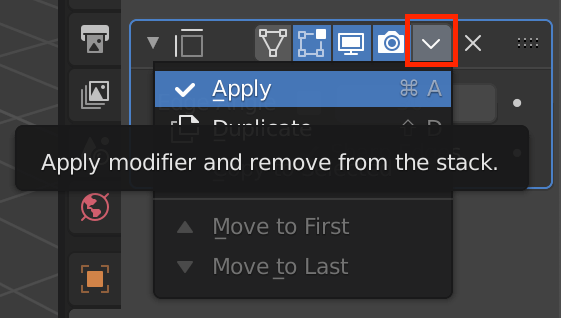
Apply in object mode
Switch to edit mode with the tab key, select an edge, and then G (Move) → Move the cursor to see the separated edges.

Only edges with Sharpen applied will be separated.
In the next article, we will introduce the basic operations of Generate Geometry Nodes.
![[Introduction to Blender] Using modifier tools (3) Generate (Geometry Nodes)](https://styly.cc/wp-content/uploads/2021/06/IMG_9201-160x160.png)