Have you ever heard of “DAZ Studio”?
DAZ Studio allows you to create a variety of human models with different ages, body types, races, and so on.
In this article, I introduce how to download DAZ Studio and the basic operations for creating human models.

Example of a human model created with DAZ Studio
What is DAZ Studio?
DAZ Studio is a human body modeling software provided by Daz 3D.
In addition to DAZ Studio, you can download materials and add-ons from the Daz SHOP.
Downloading
First download Daz Central, then download DAZ Studio.
Daz Central is a management application that allows you to download Daz Studio itself and the bridges it shares with other modeling software, as well as update add-ons.
After entering your membership information from this page, click GET STARTED FOR FREE.
The page will automatically download as it moves.
Once the download is complete, extract the zip file and install it.
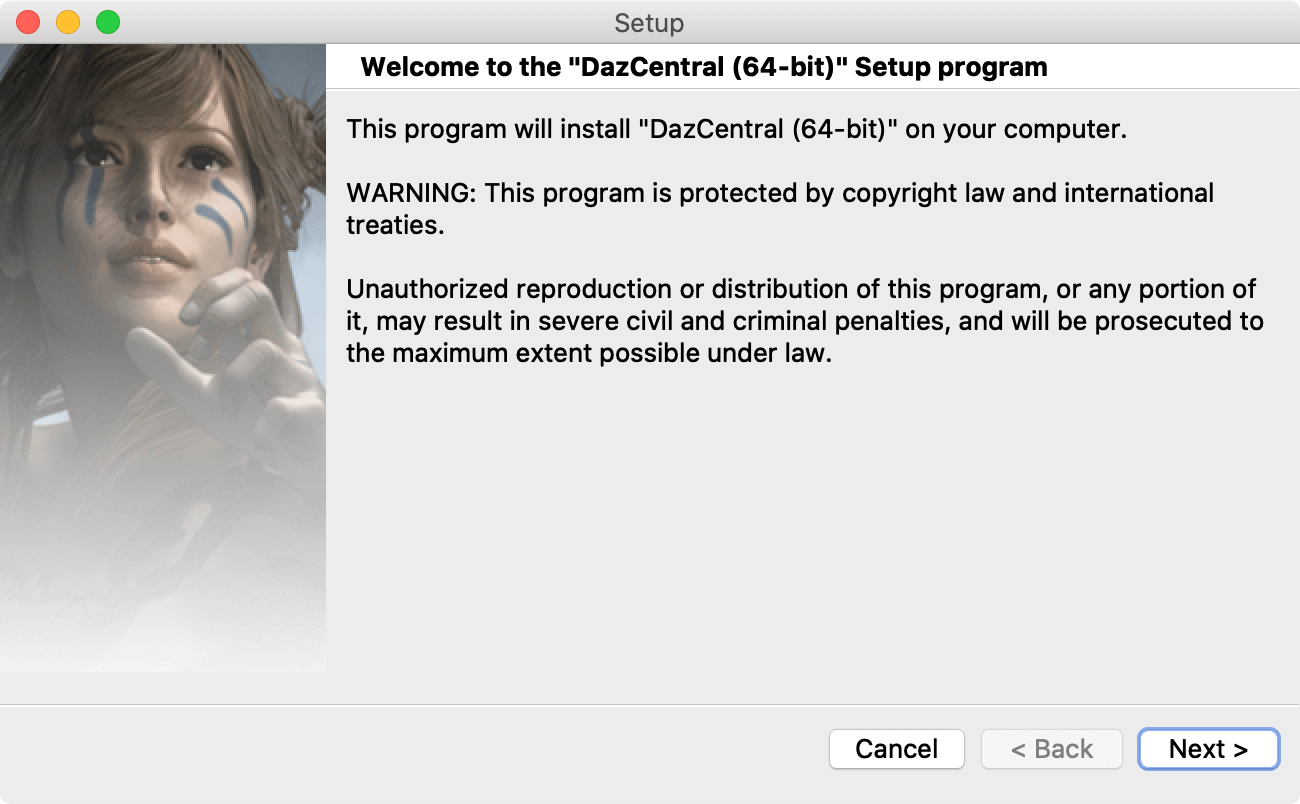
Daz Central Setup
Click “Next” twice to start the installation.
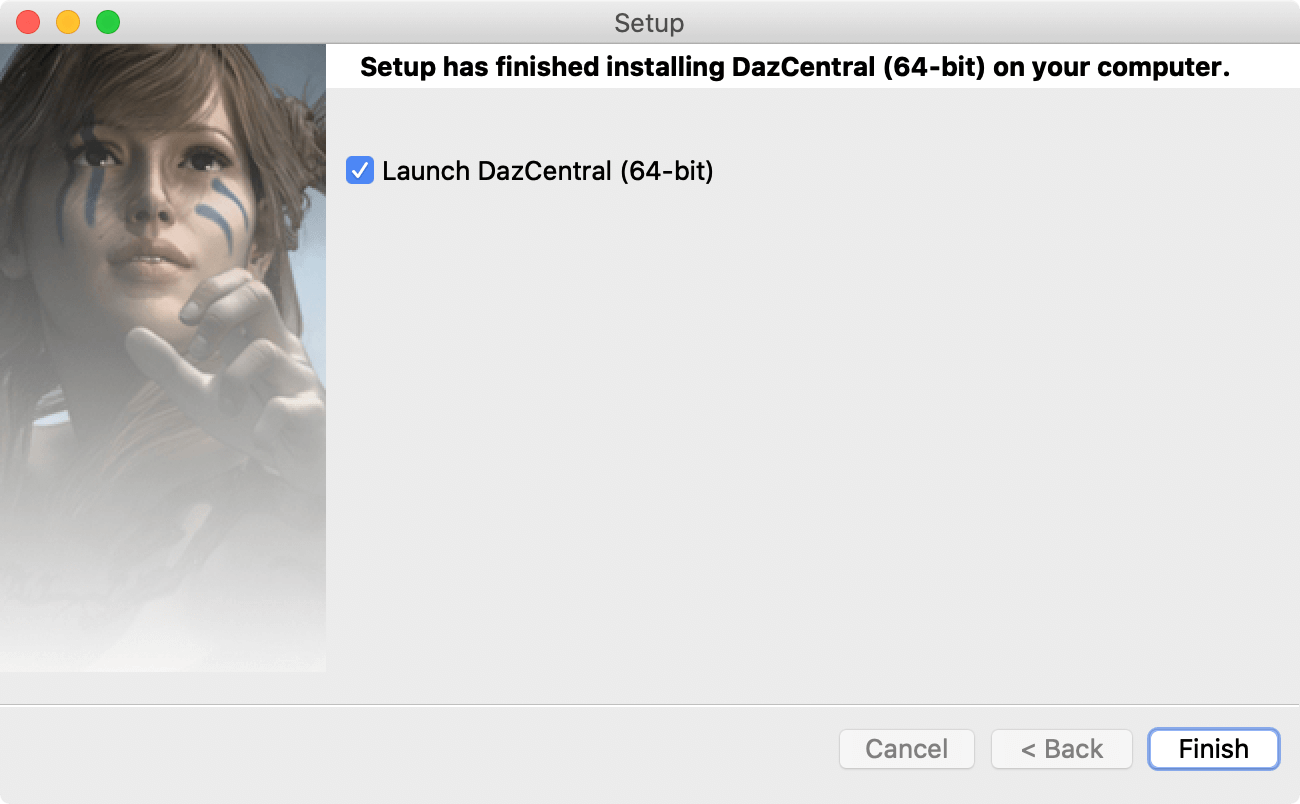
Daz Central Setup
Click “Finish” to finish the setup and open Daz Central again.
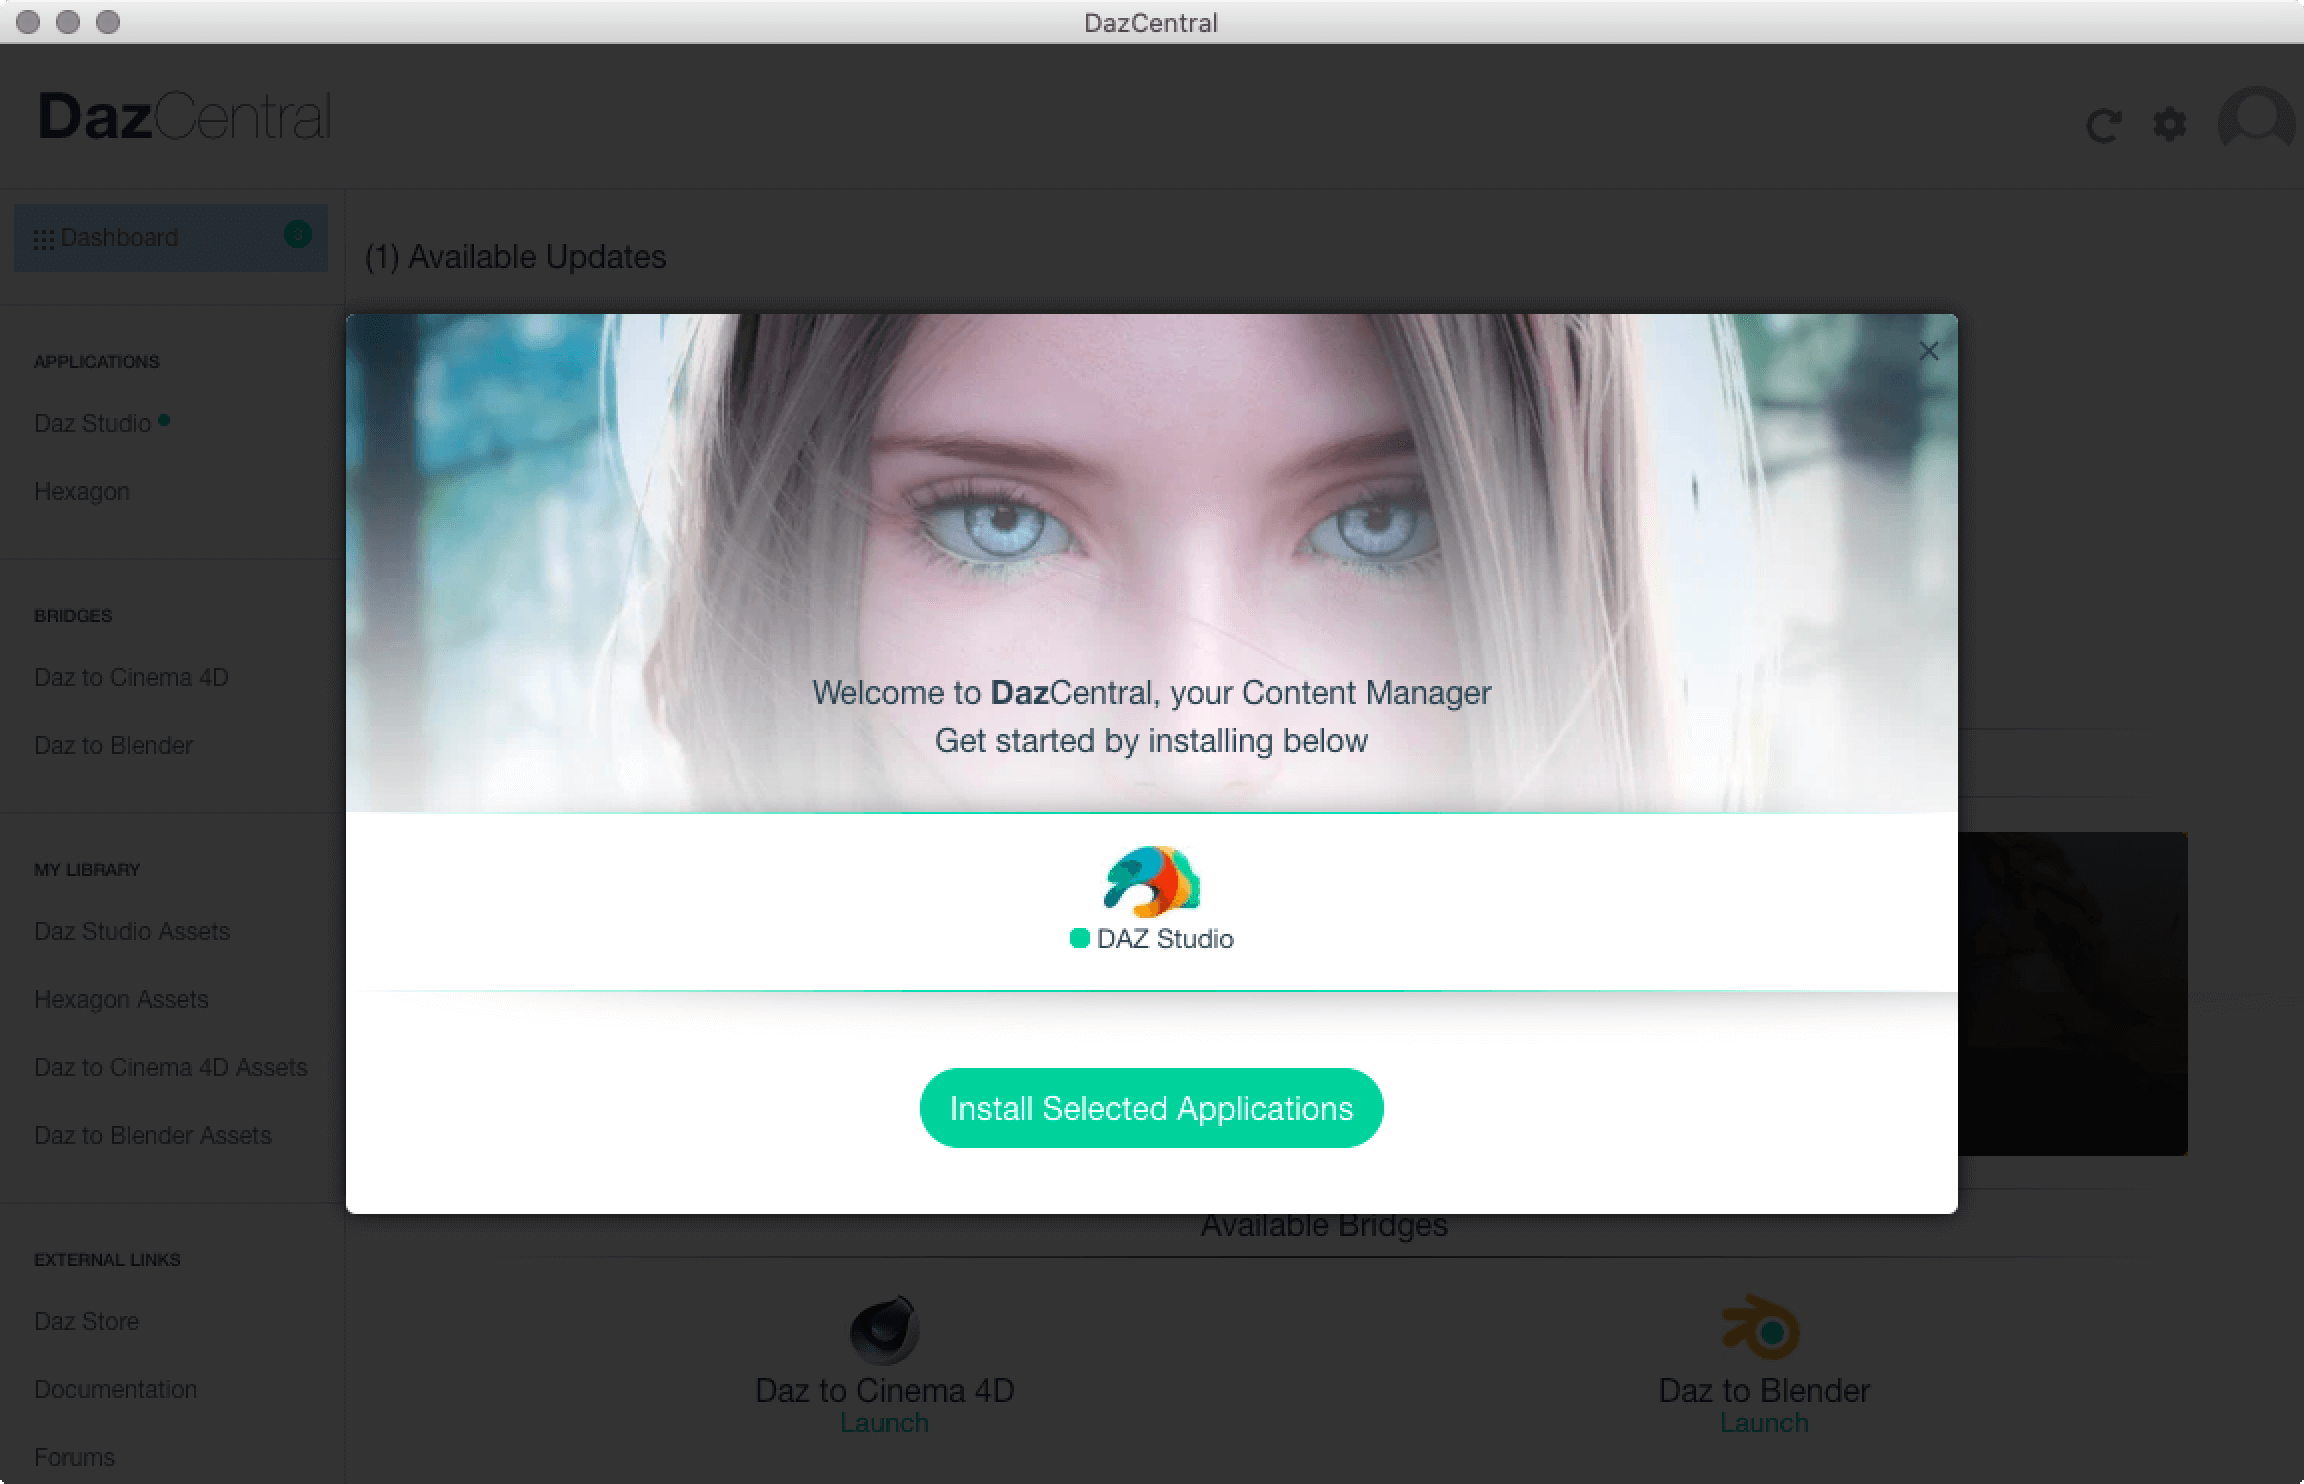
Daz Central
Click “Install Selected Applications” to install DAZ Studio.
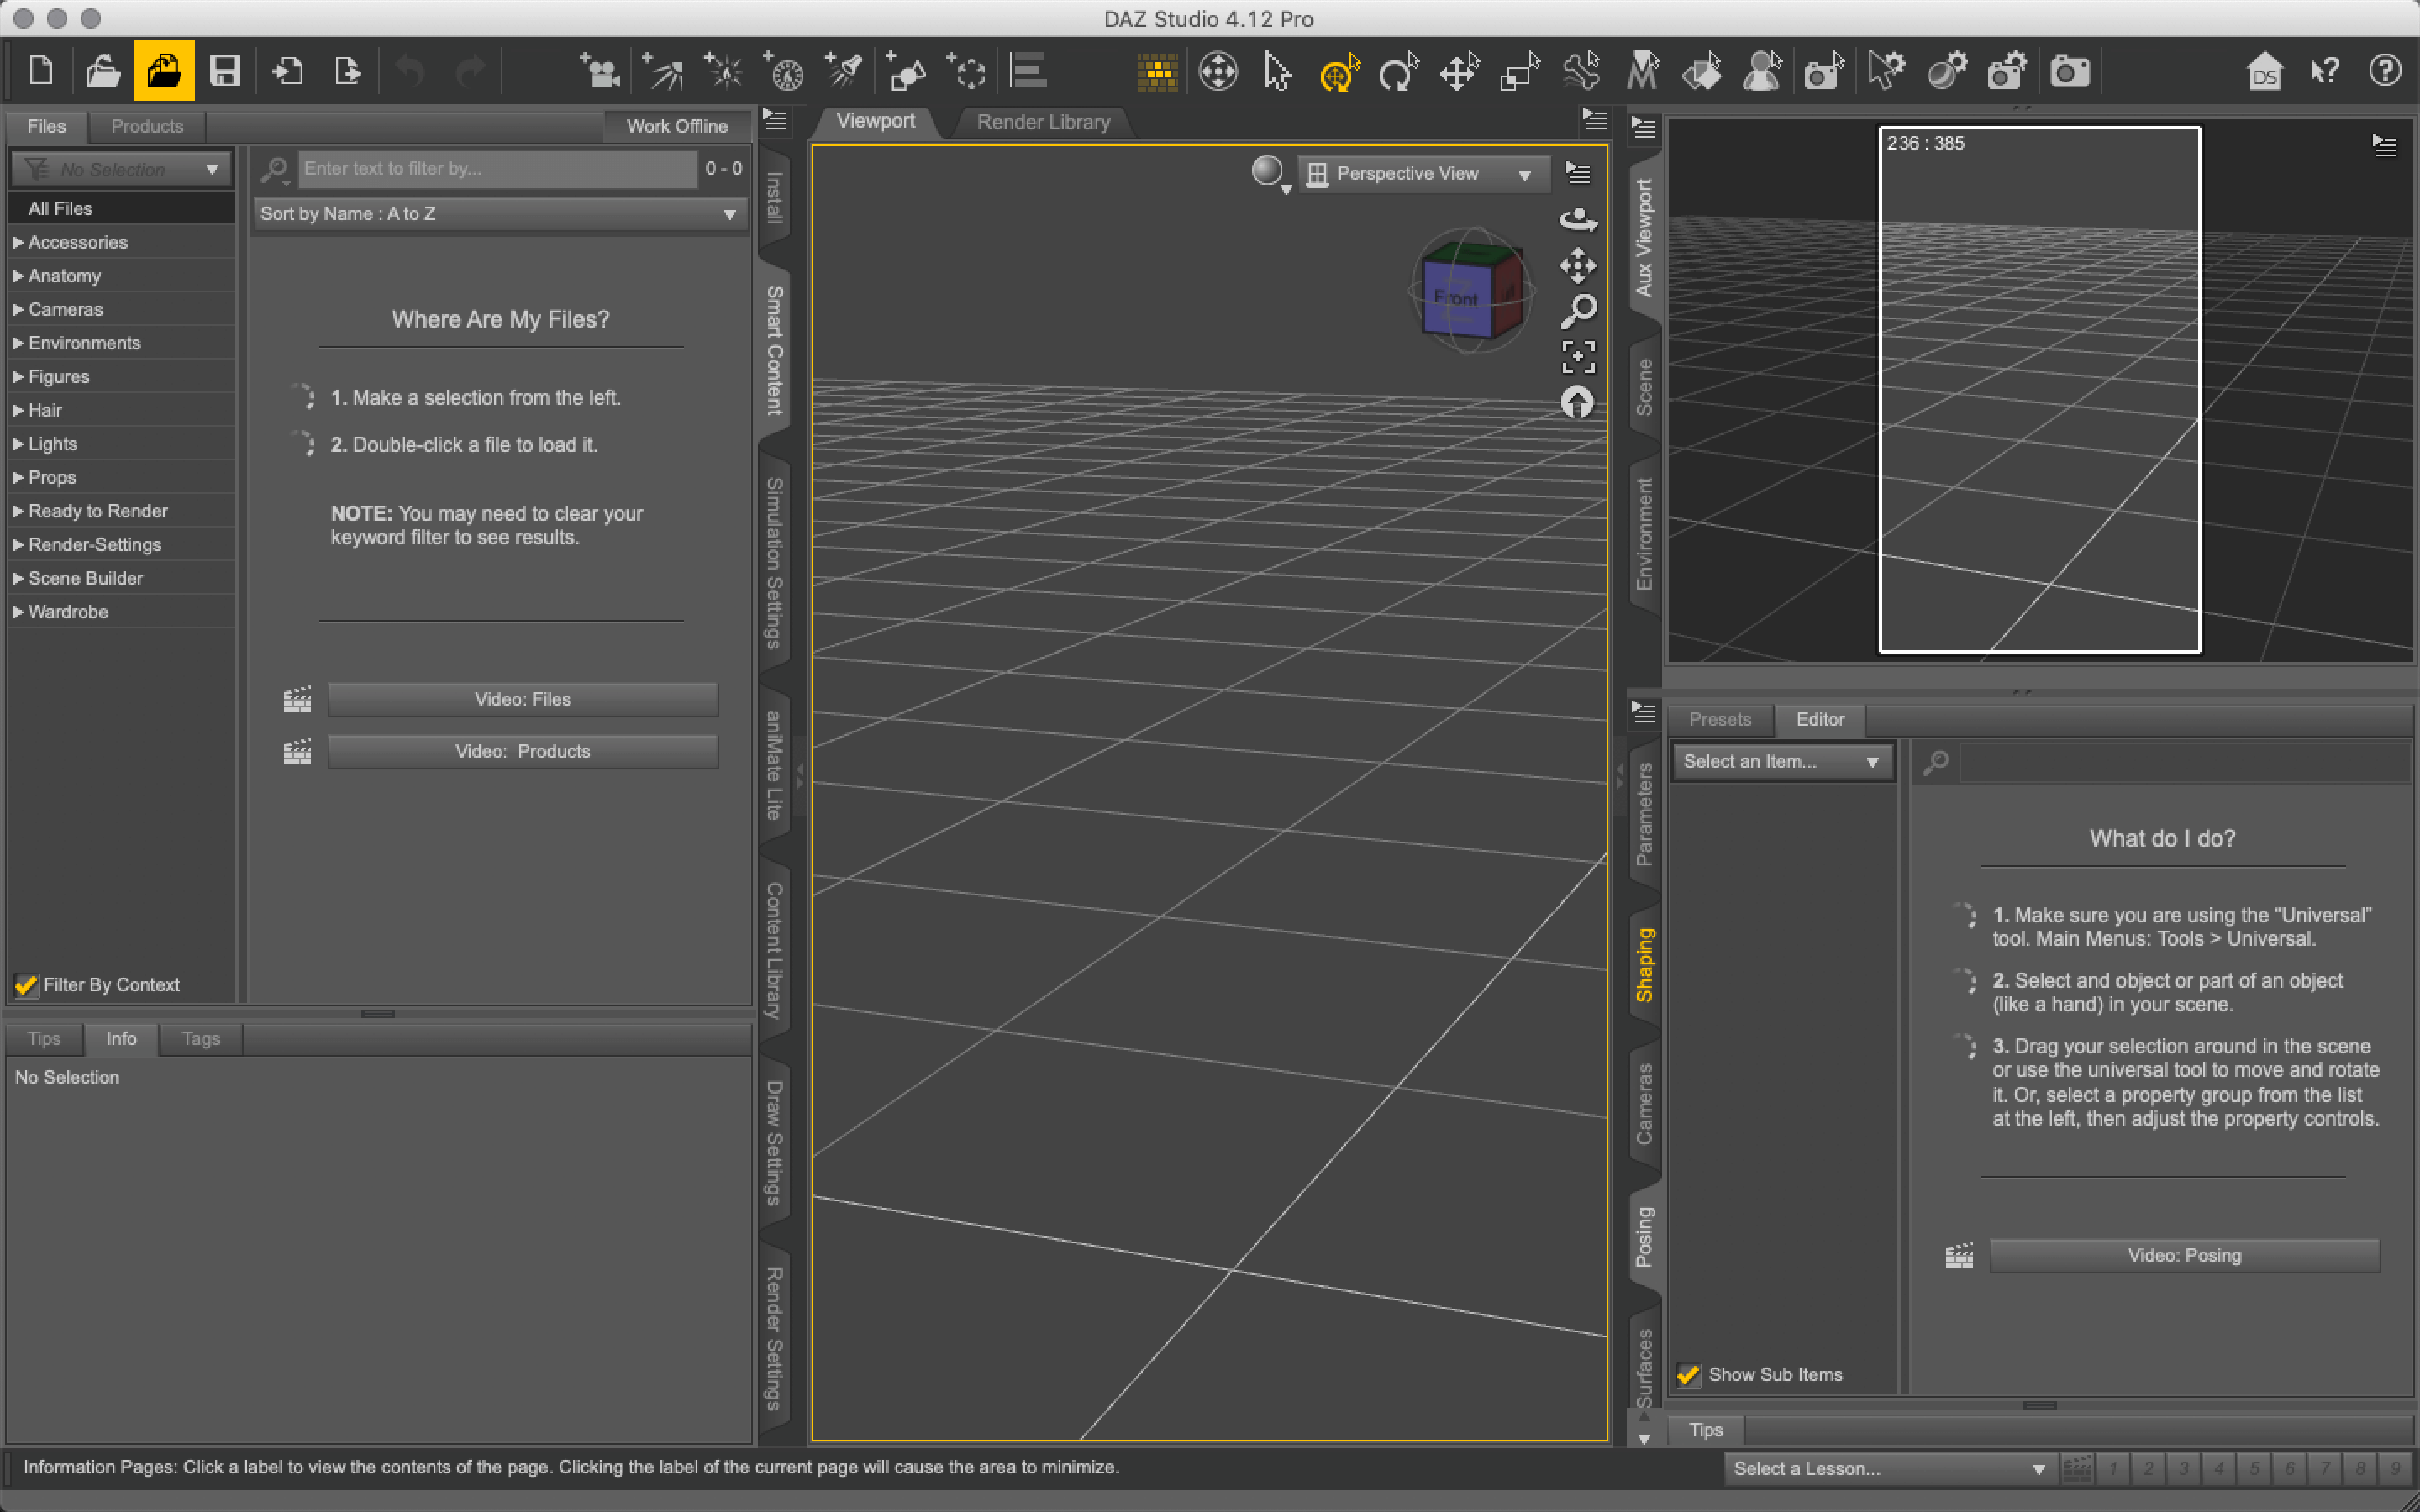
DAZ Studio
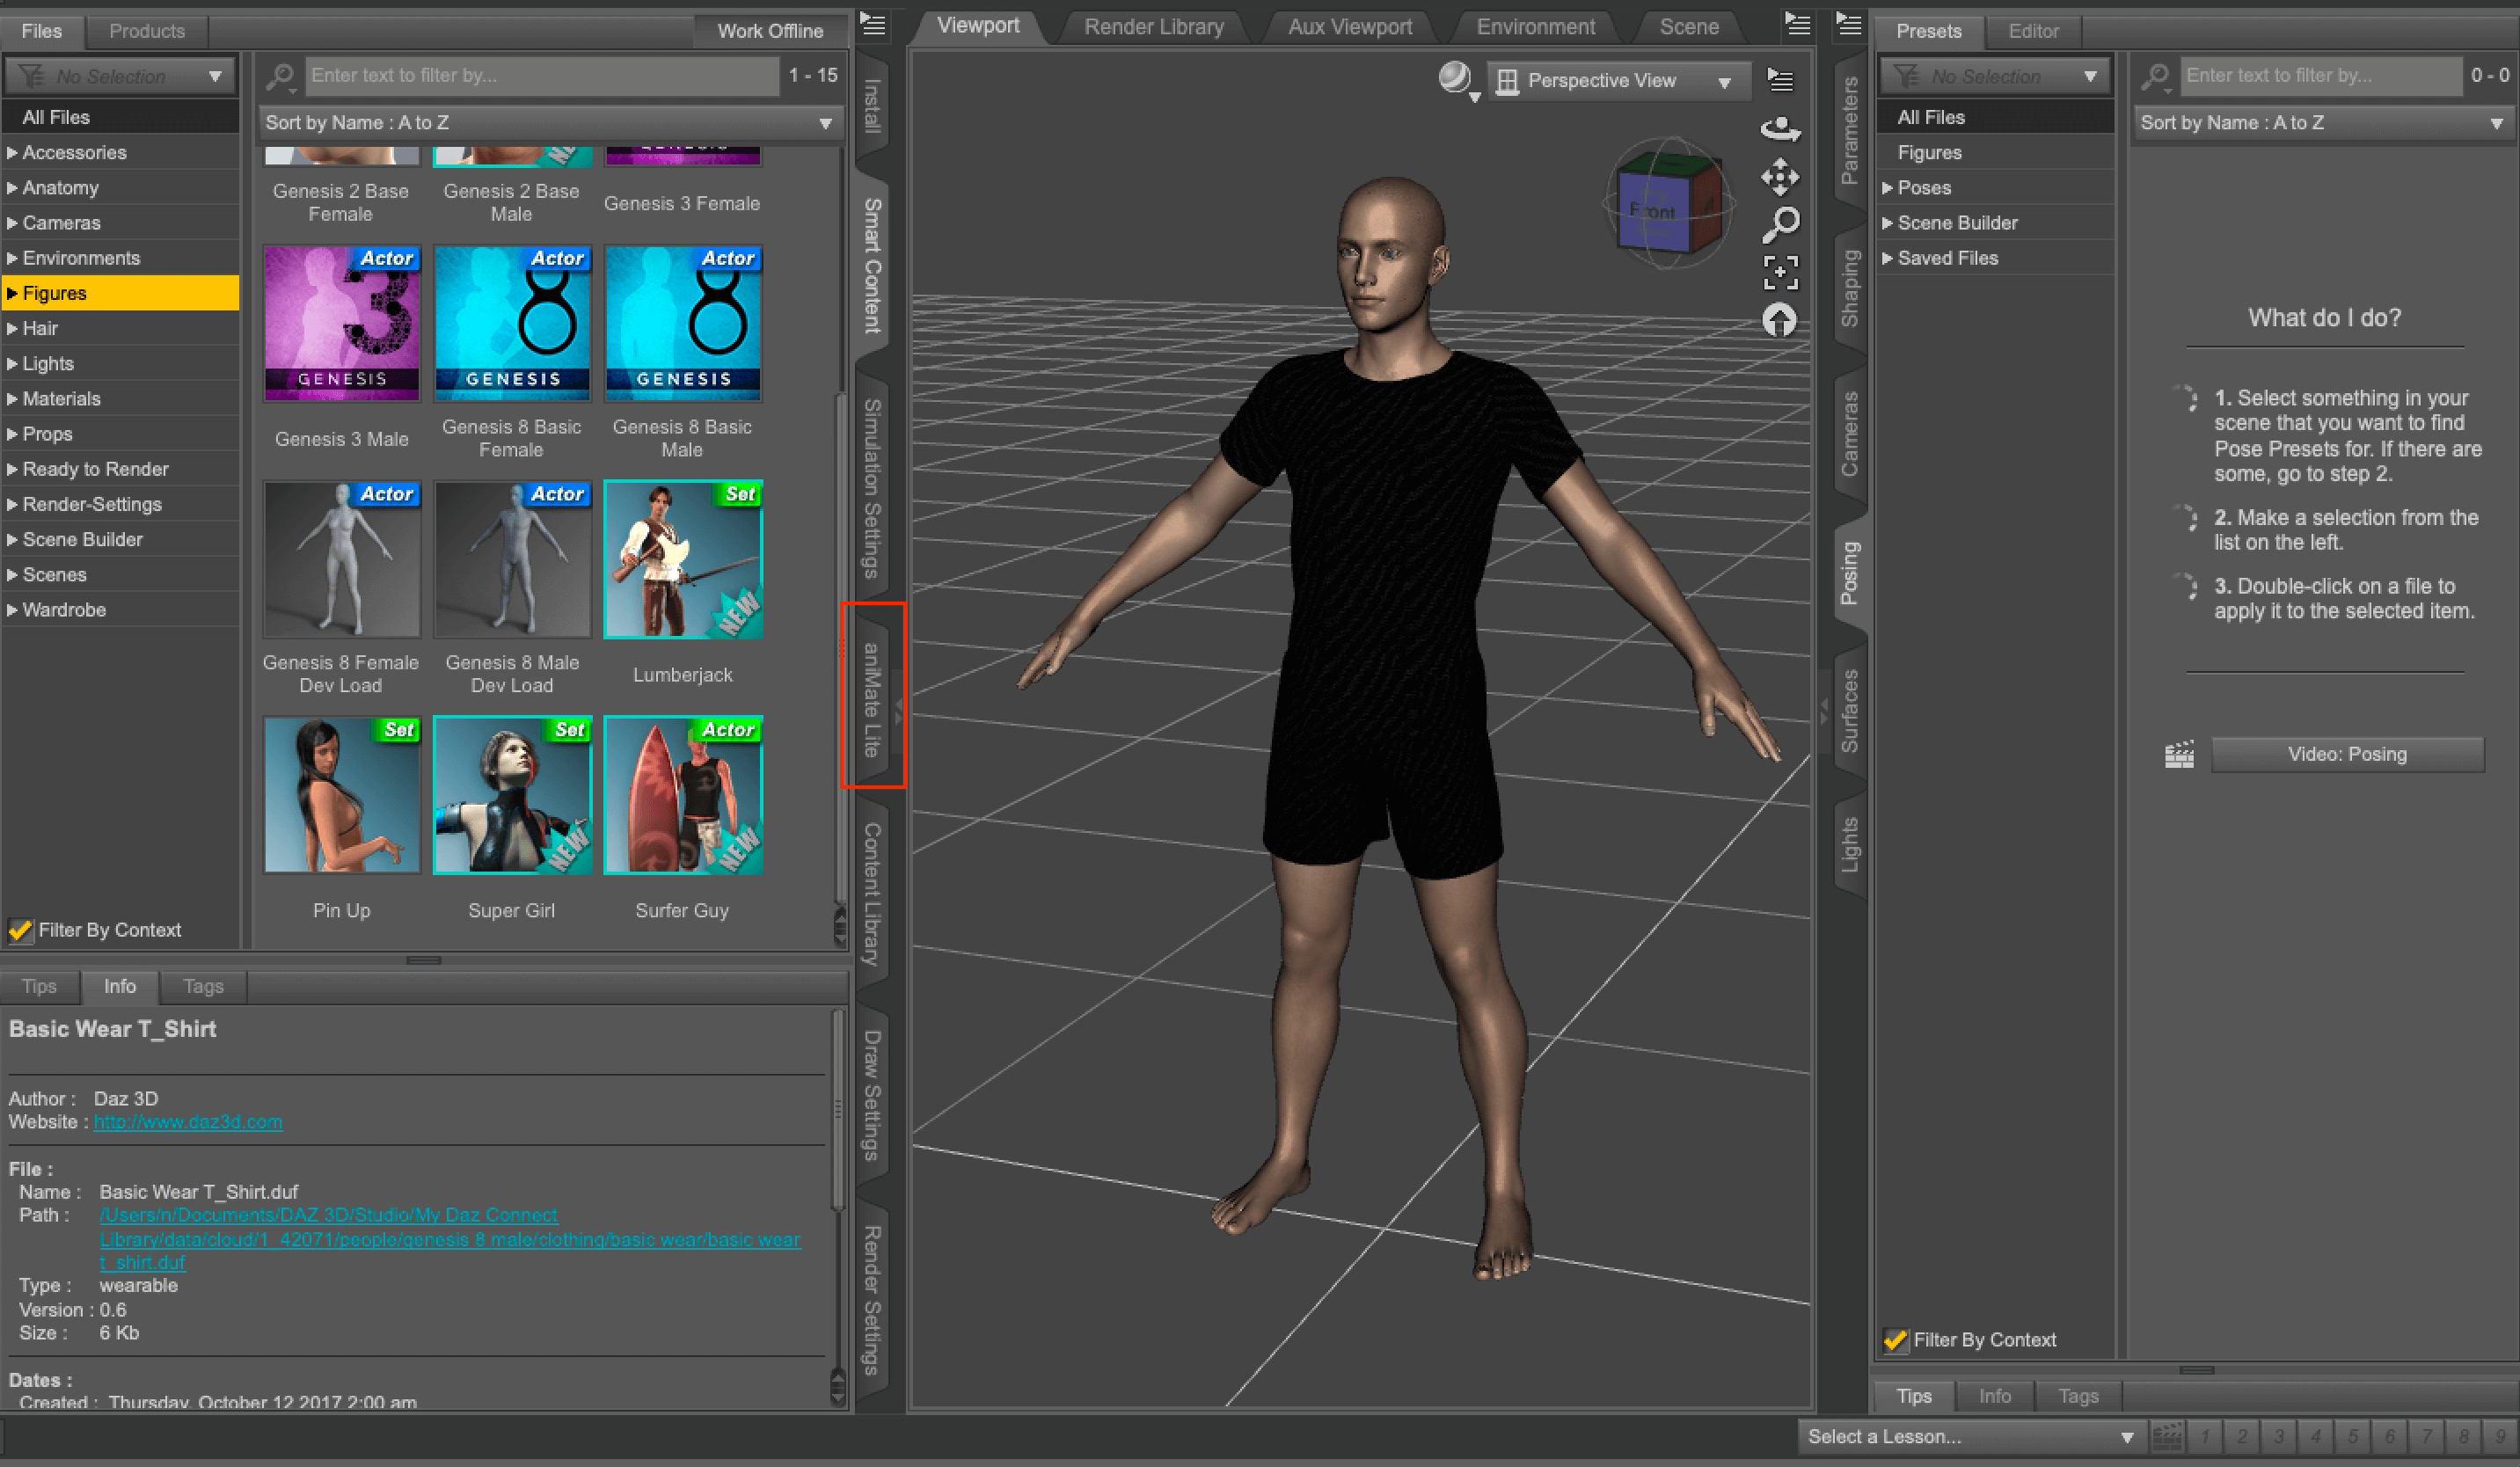
Create a human
Click on Figures in the Products tab on the left side of the screen and you will see a list of figures.
If you are an initial user, please install Genesis 8 Starter Essentials.
Double-click on the figure to add it to the viewport.
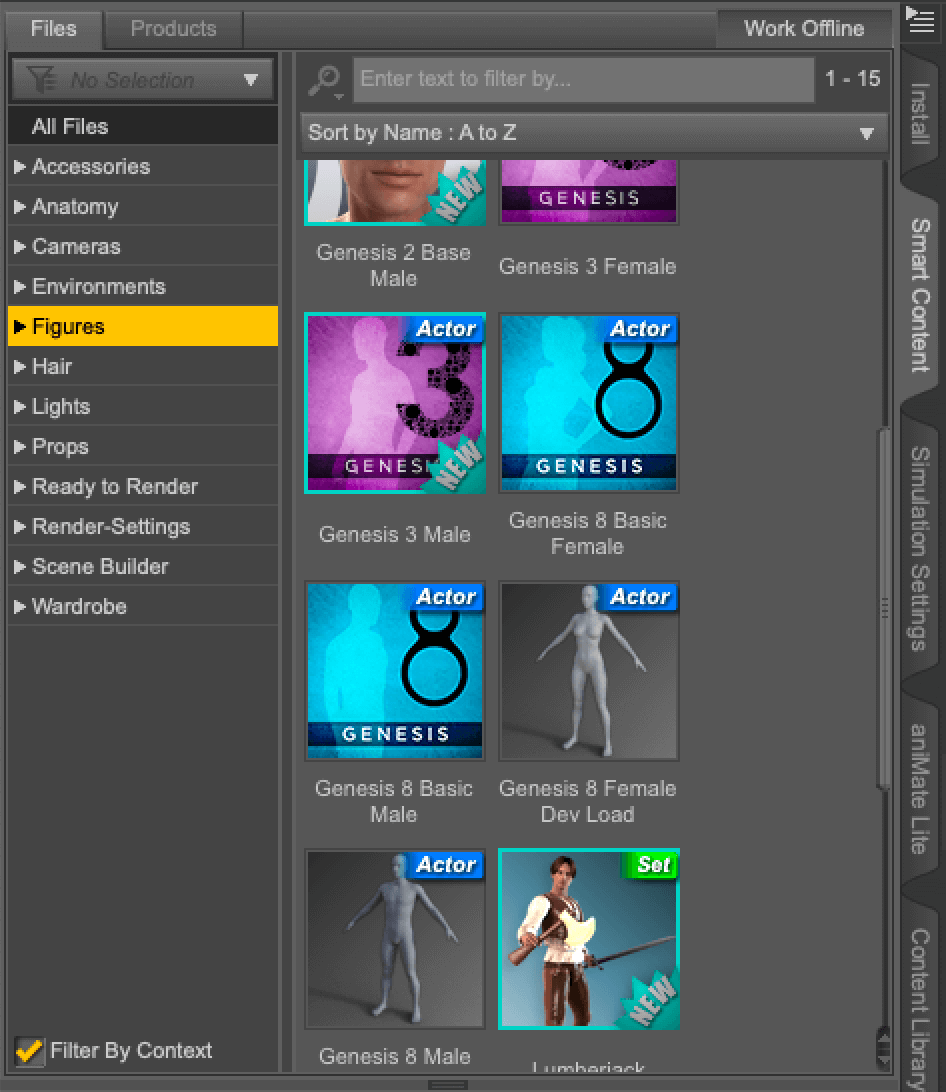
Figures
“Genesis” is the name of the human body type, and the number after it is the version number.

Genesis3 & Genesis8
When purchasing clothing or add-ons for the human body in the SHOP, be sure to choose the ones that are compatible.
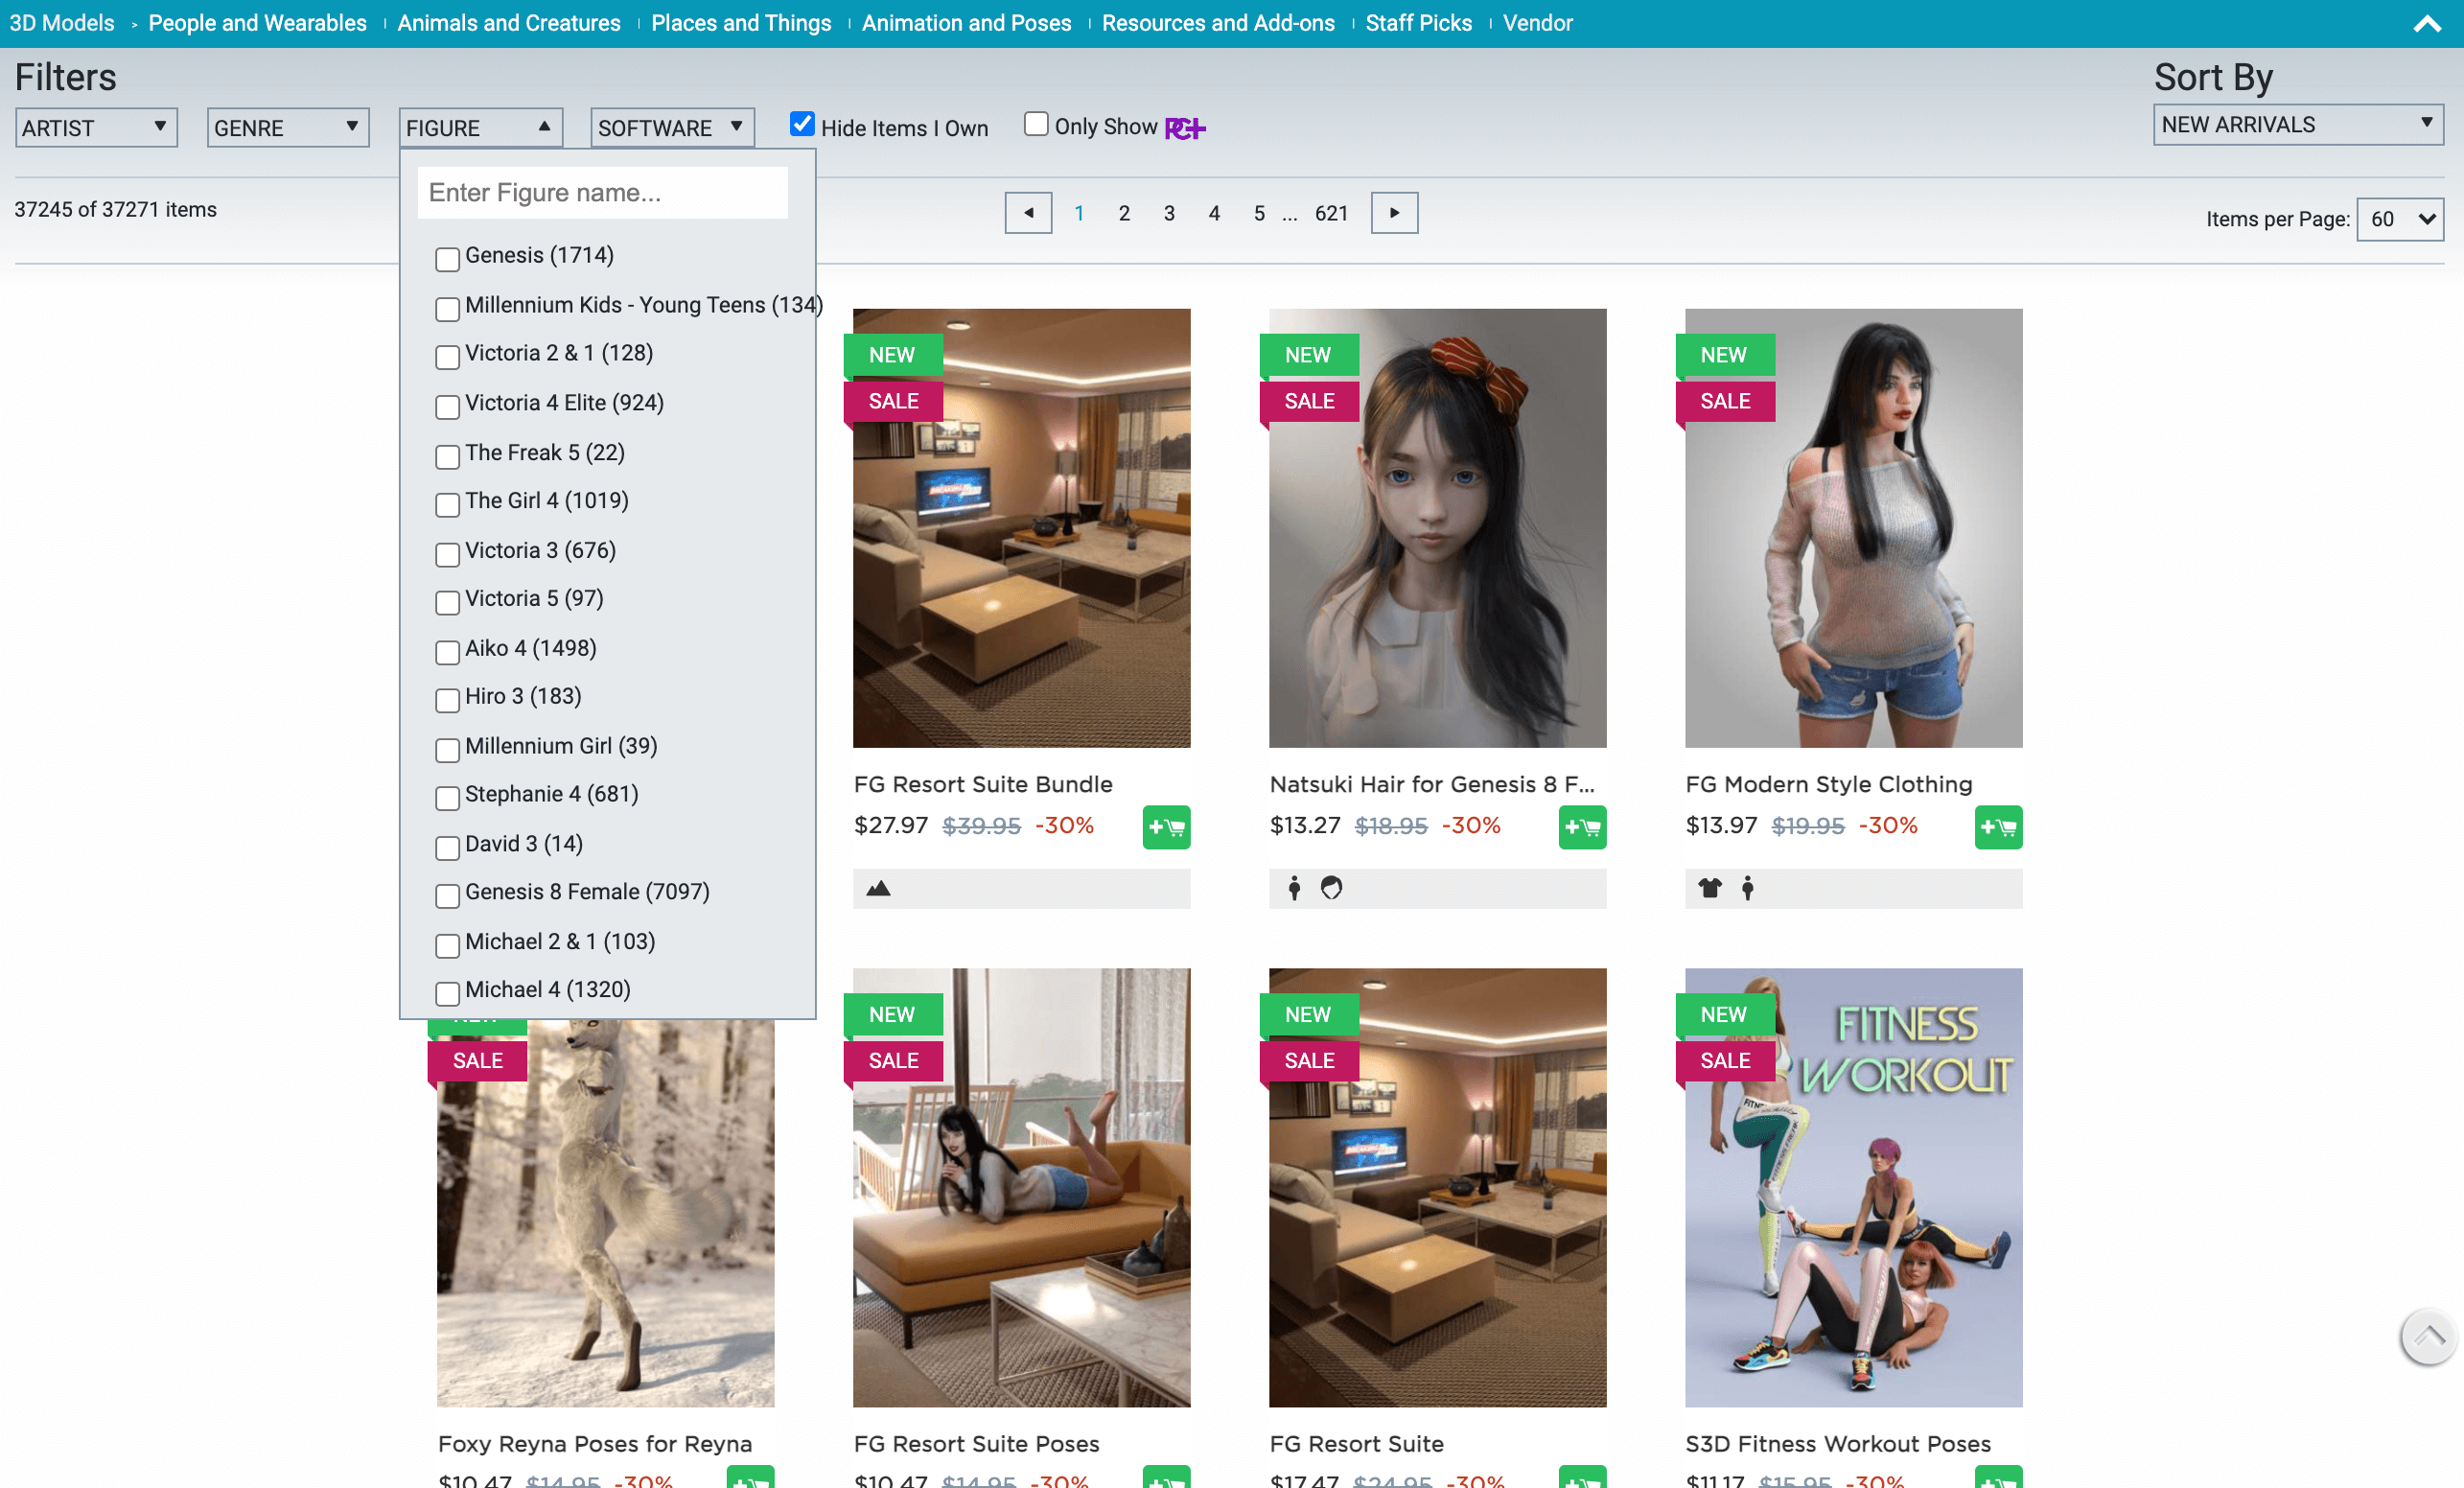
Daz SHOP
Changing its appearance
I use Genesis 8 Basic Male.
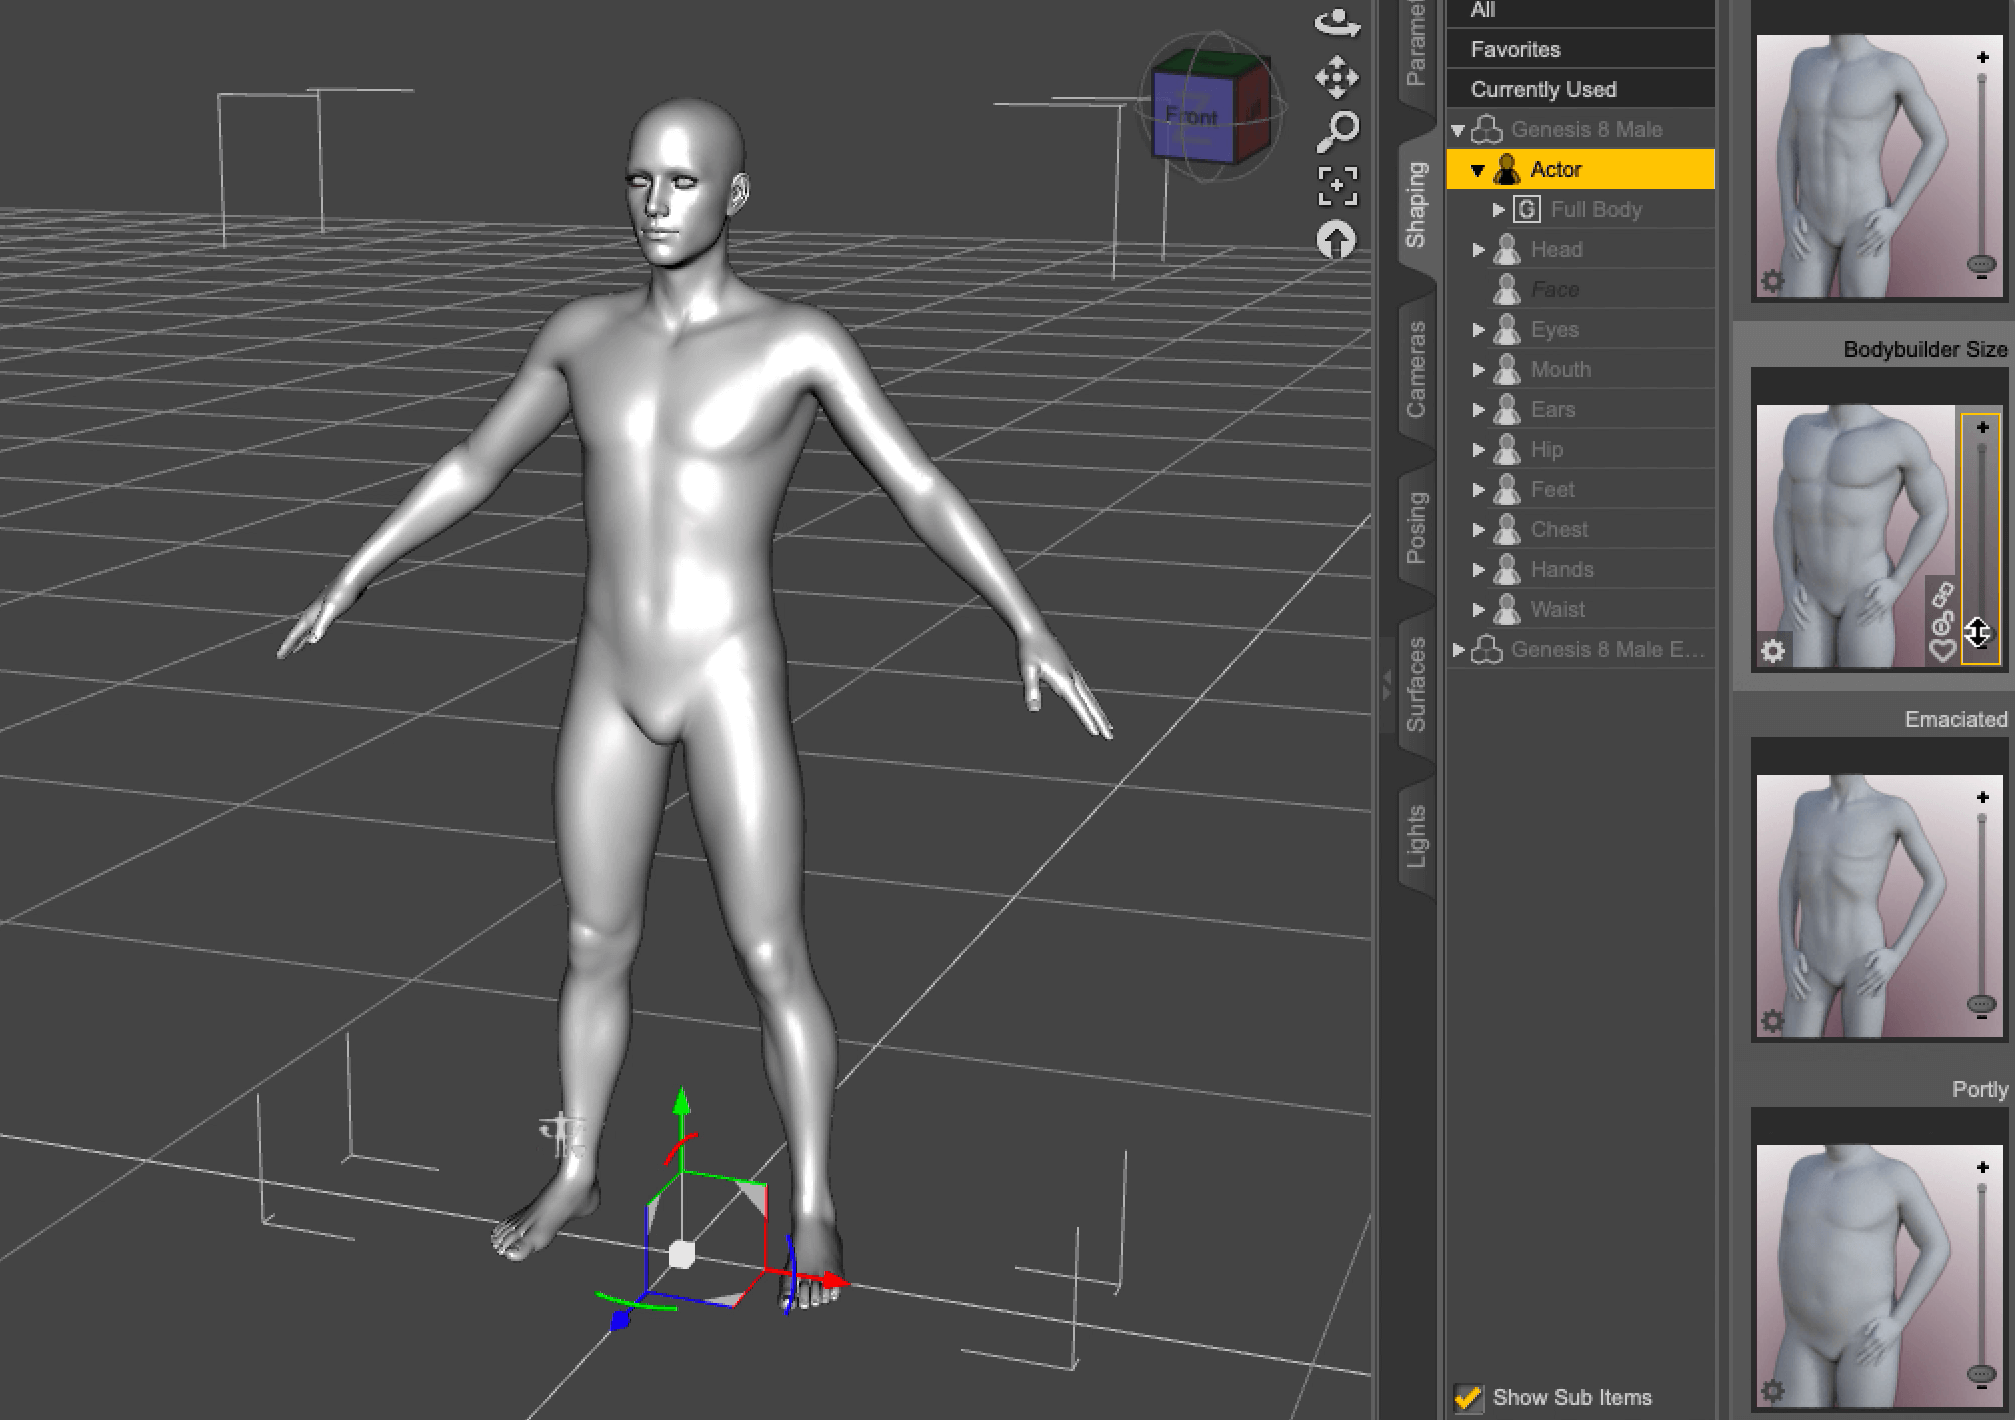
Genesis 8 Basic Male
Changing its physique
We can change its physique by clicking Shaping on the right side of the screen.

Shaping
In addition to changing the body shape, we can also make the ears pointy like an elf, or make some parts of the body bigger or smaller to create a character that is not just a real human.
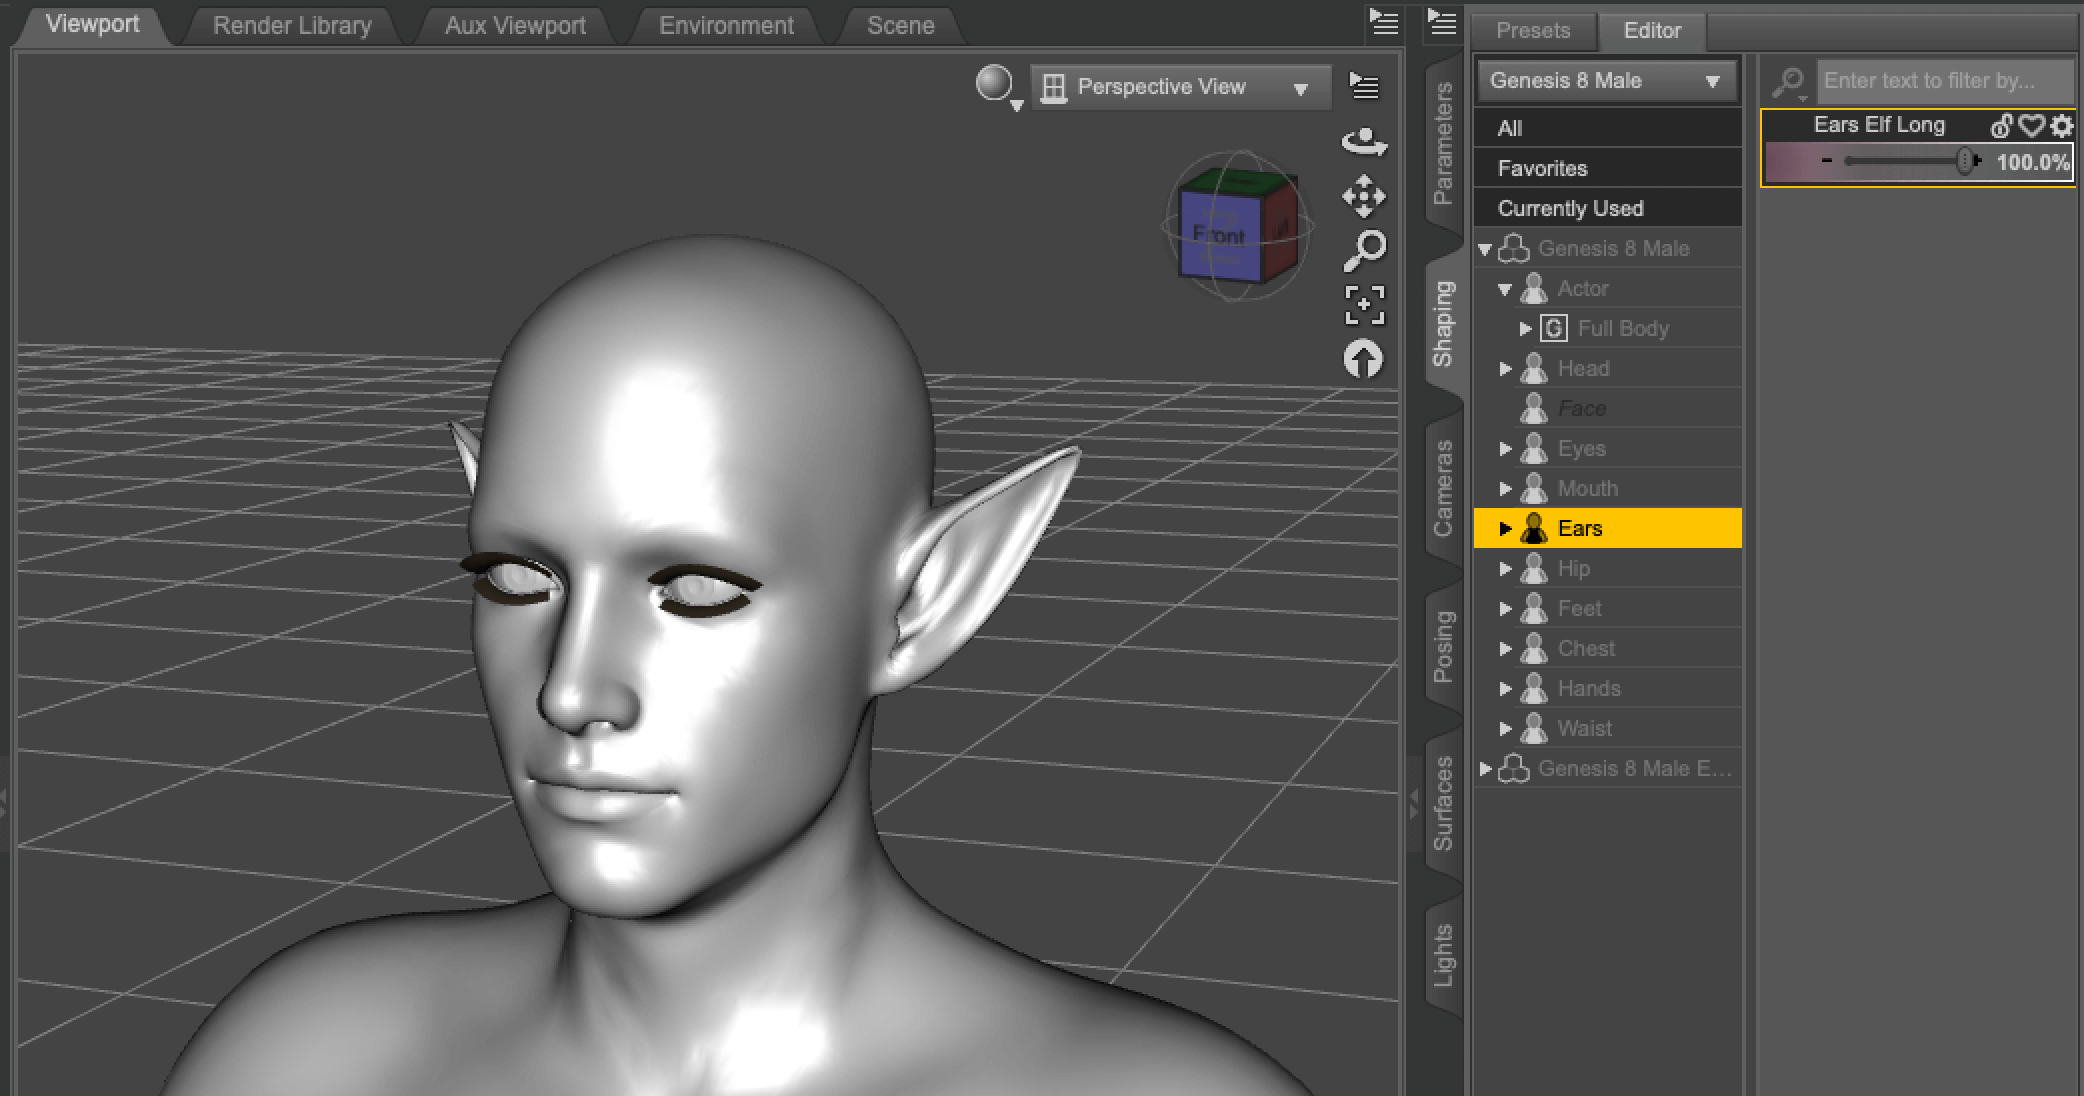
Elf ears
SHOP also has several assets that allow you to change the size of the eyes, the shape of the nose, and other details of the face, so check it out.

Imaginary human
Click on the Aux Viewport or the circle icon in the Viewport to preview.

Preview
Changing facial expressions
Click on the head to display the Posing tab, which allows you to change the facial expression.
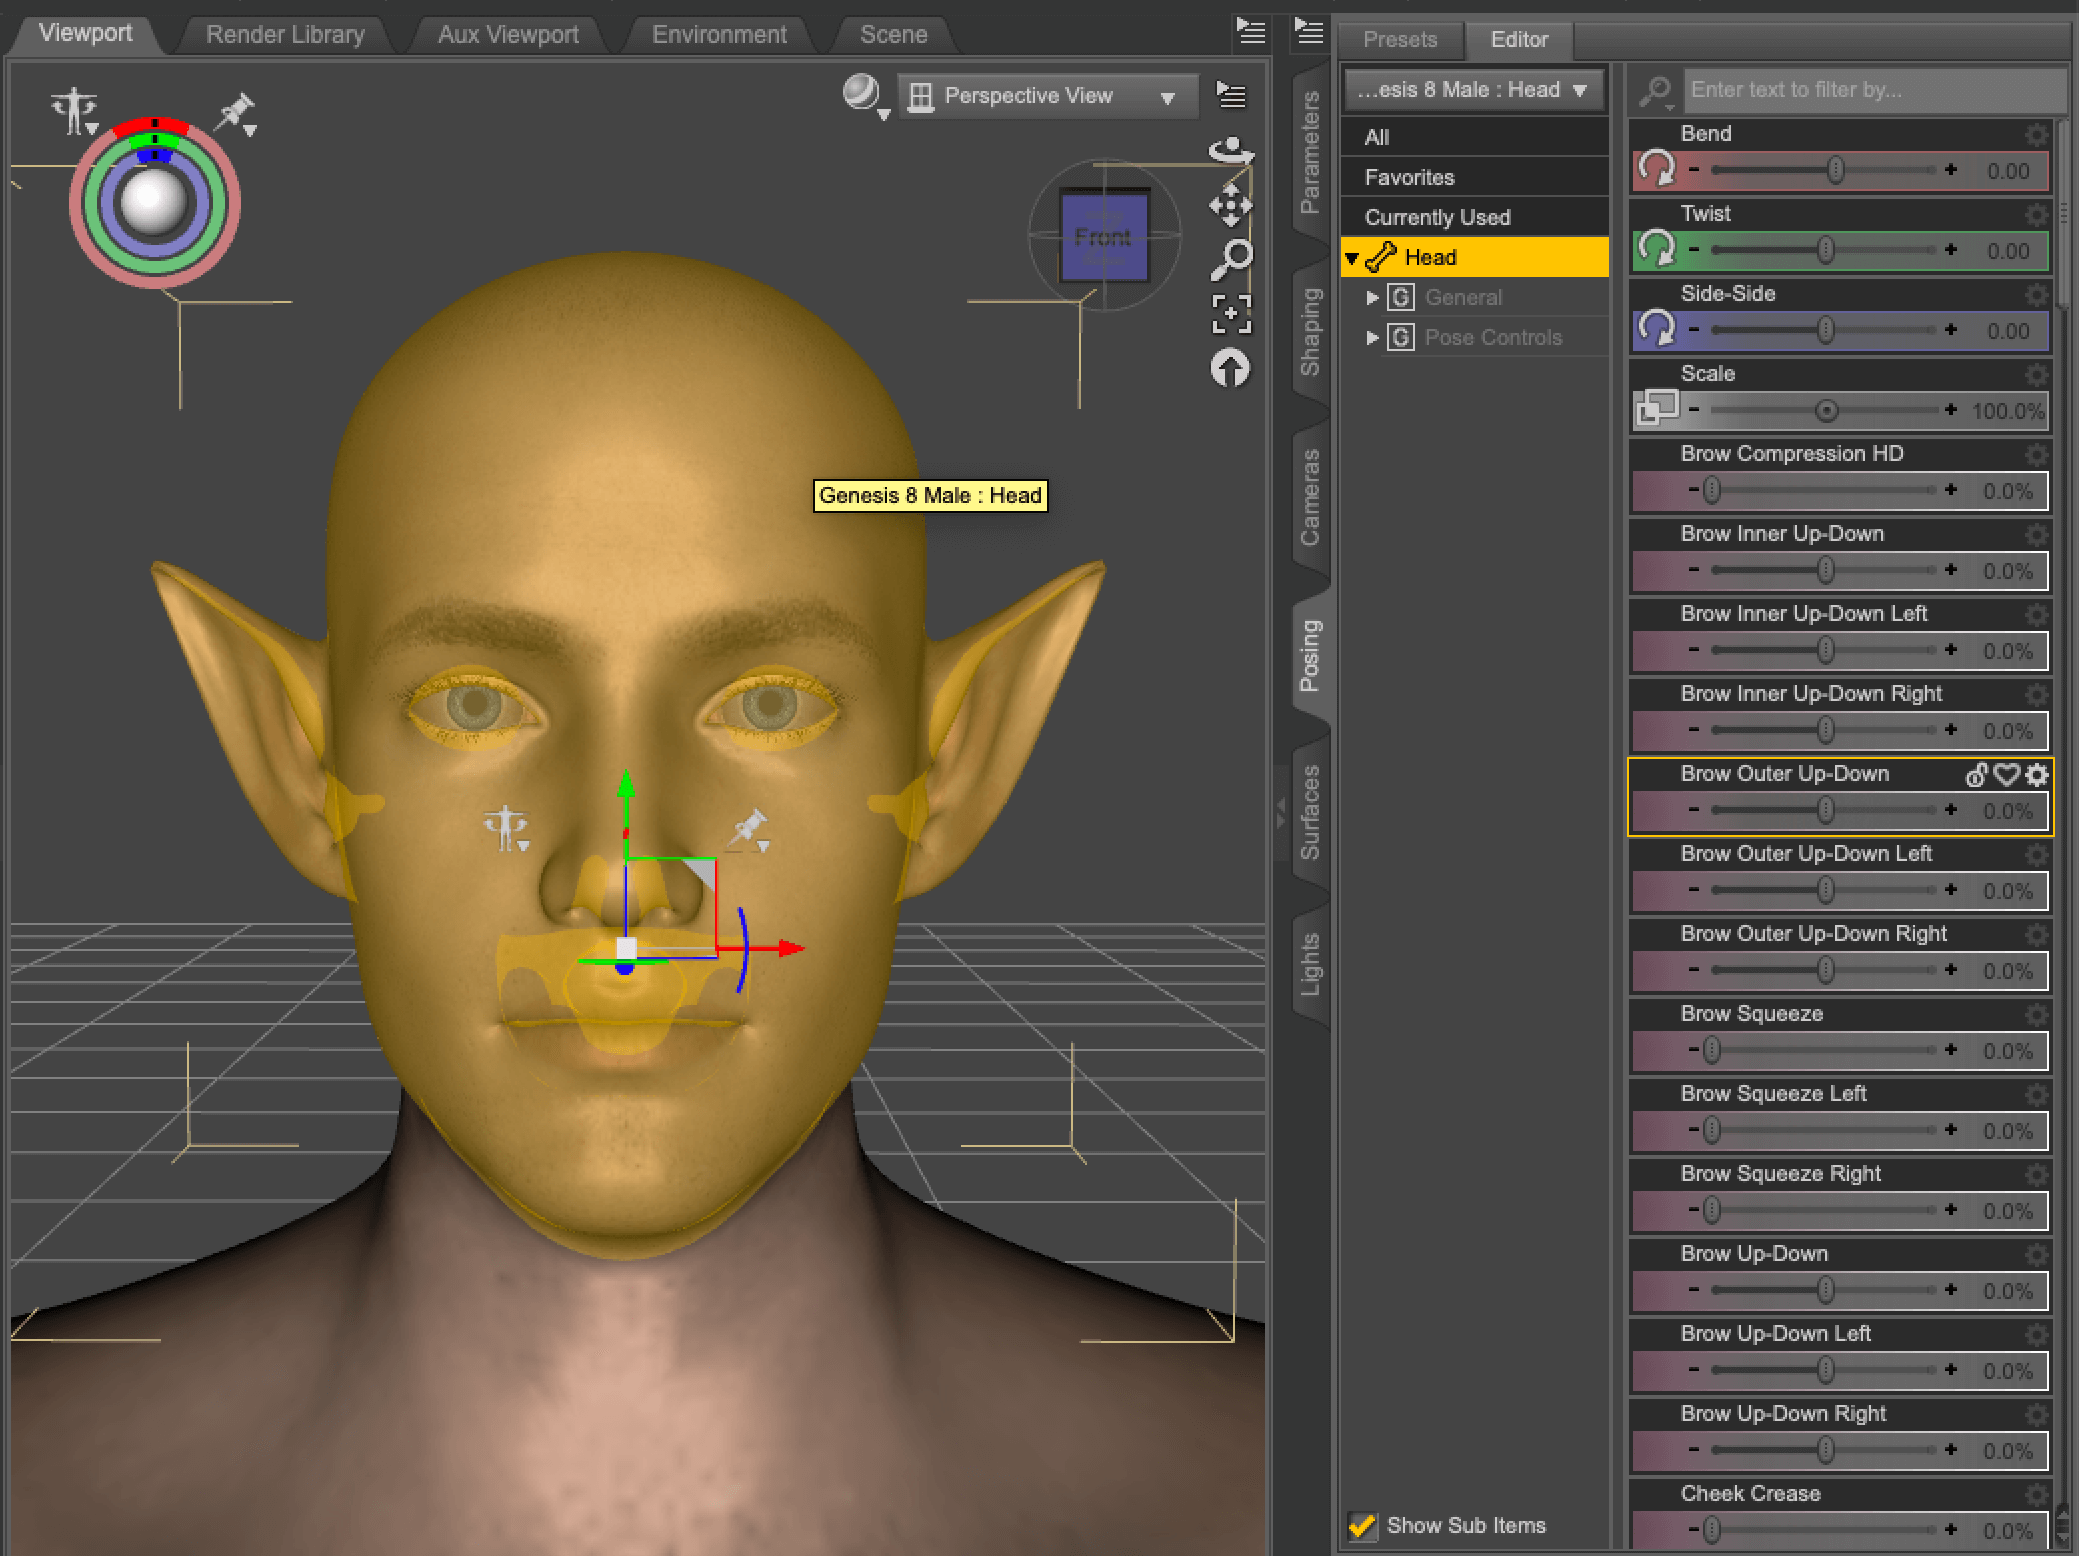
Posing
Some adjustments can be made, such as closing the eyes and opening the mouth.
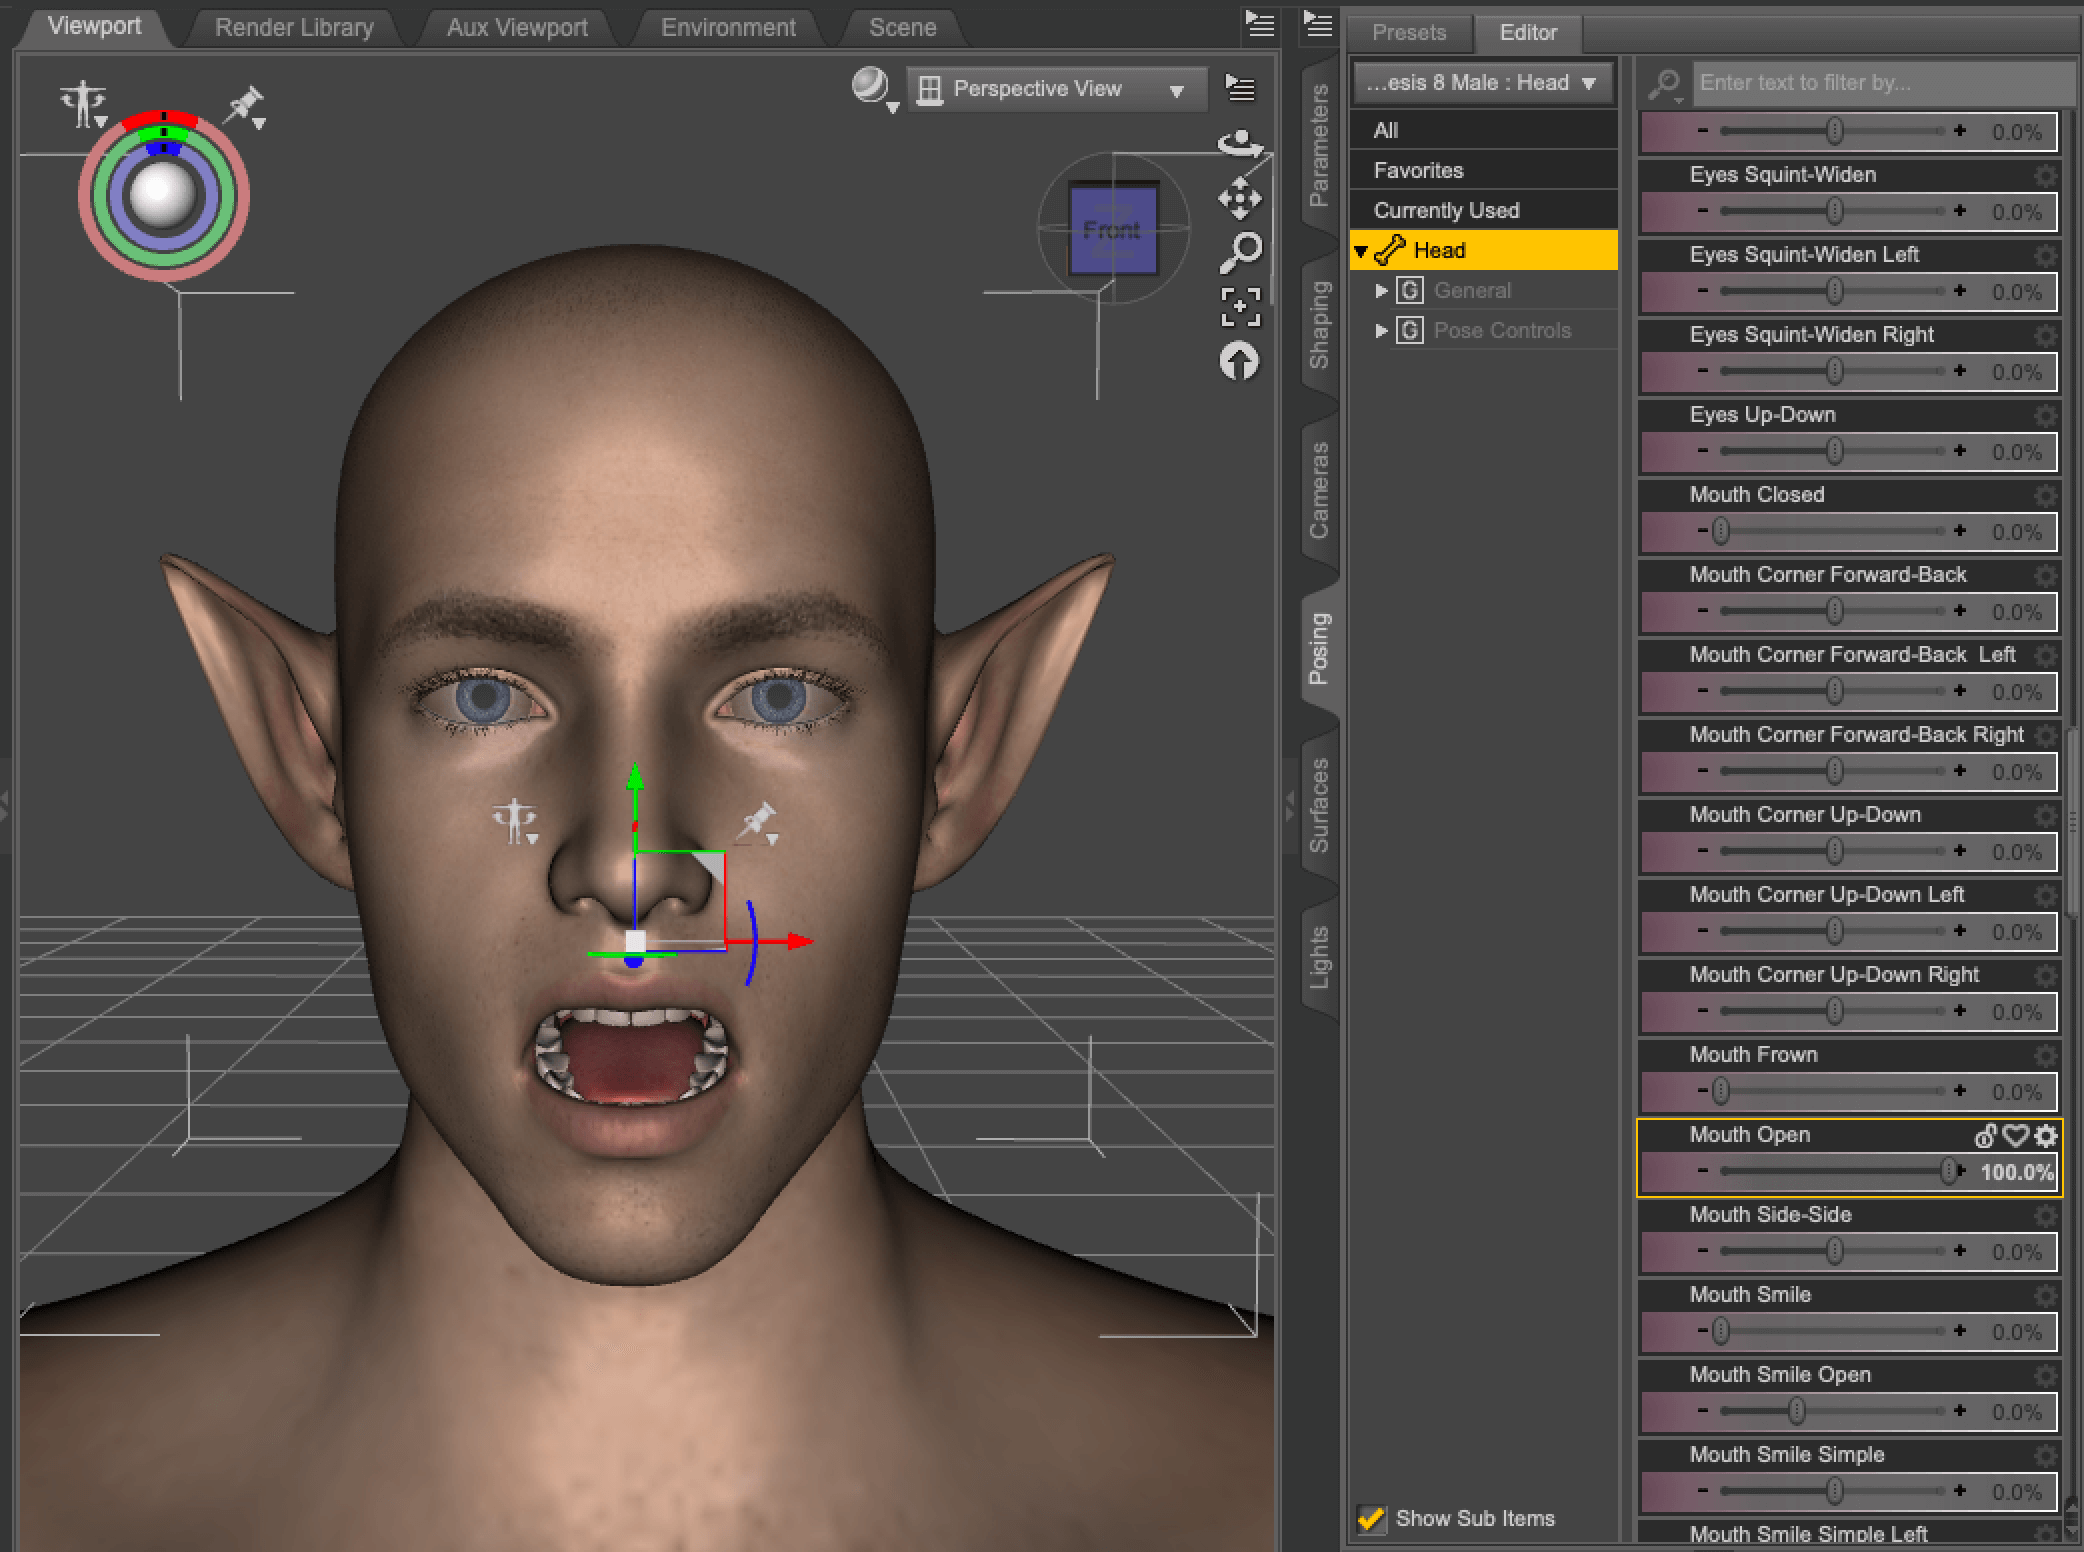
Mouth Open
There are also other settings that can be made in one step, such as an angry expression (wrinkles between the eyebrows + lowered corners of the mouth) or a smile (smiling eyes + showing teeth + raised corners of the mouth).

Smile Open Full Face
Add movement
Add Poses
Select a body and open Poses on the left side of the screen to pose it in various ways.
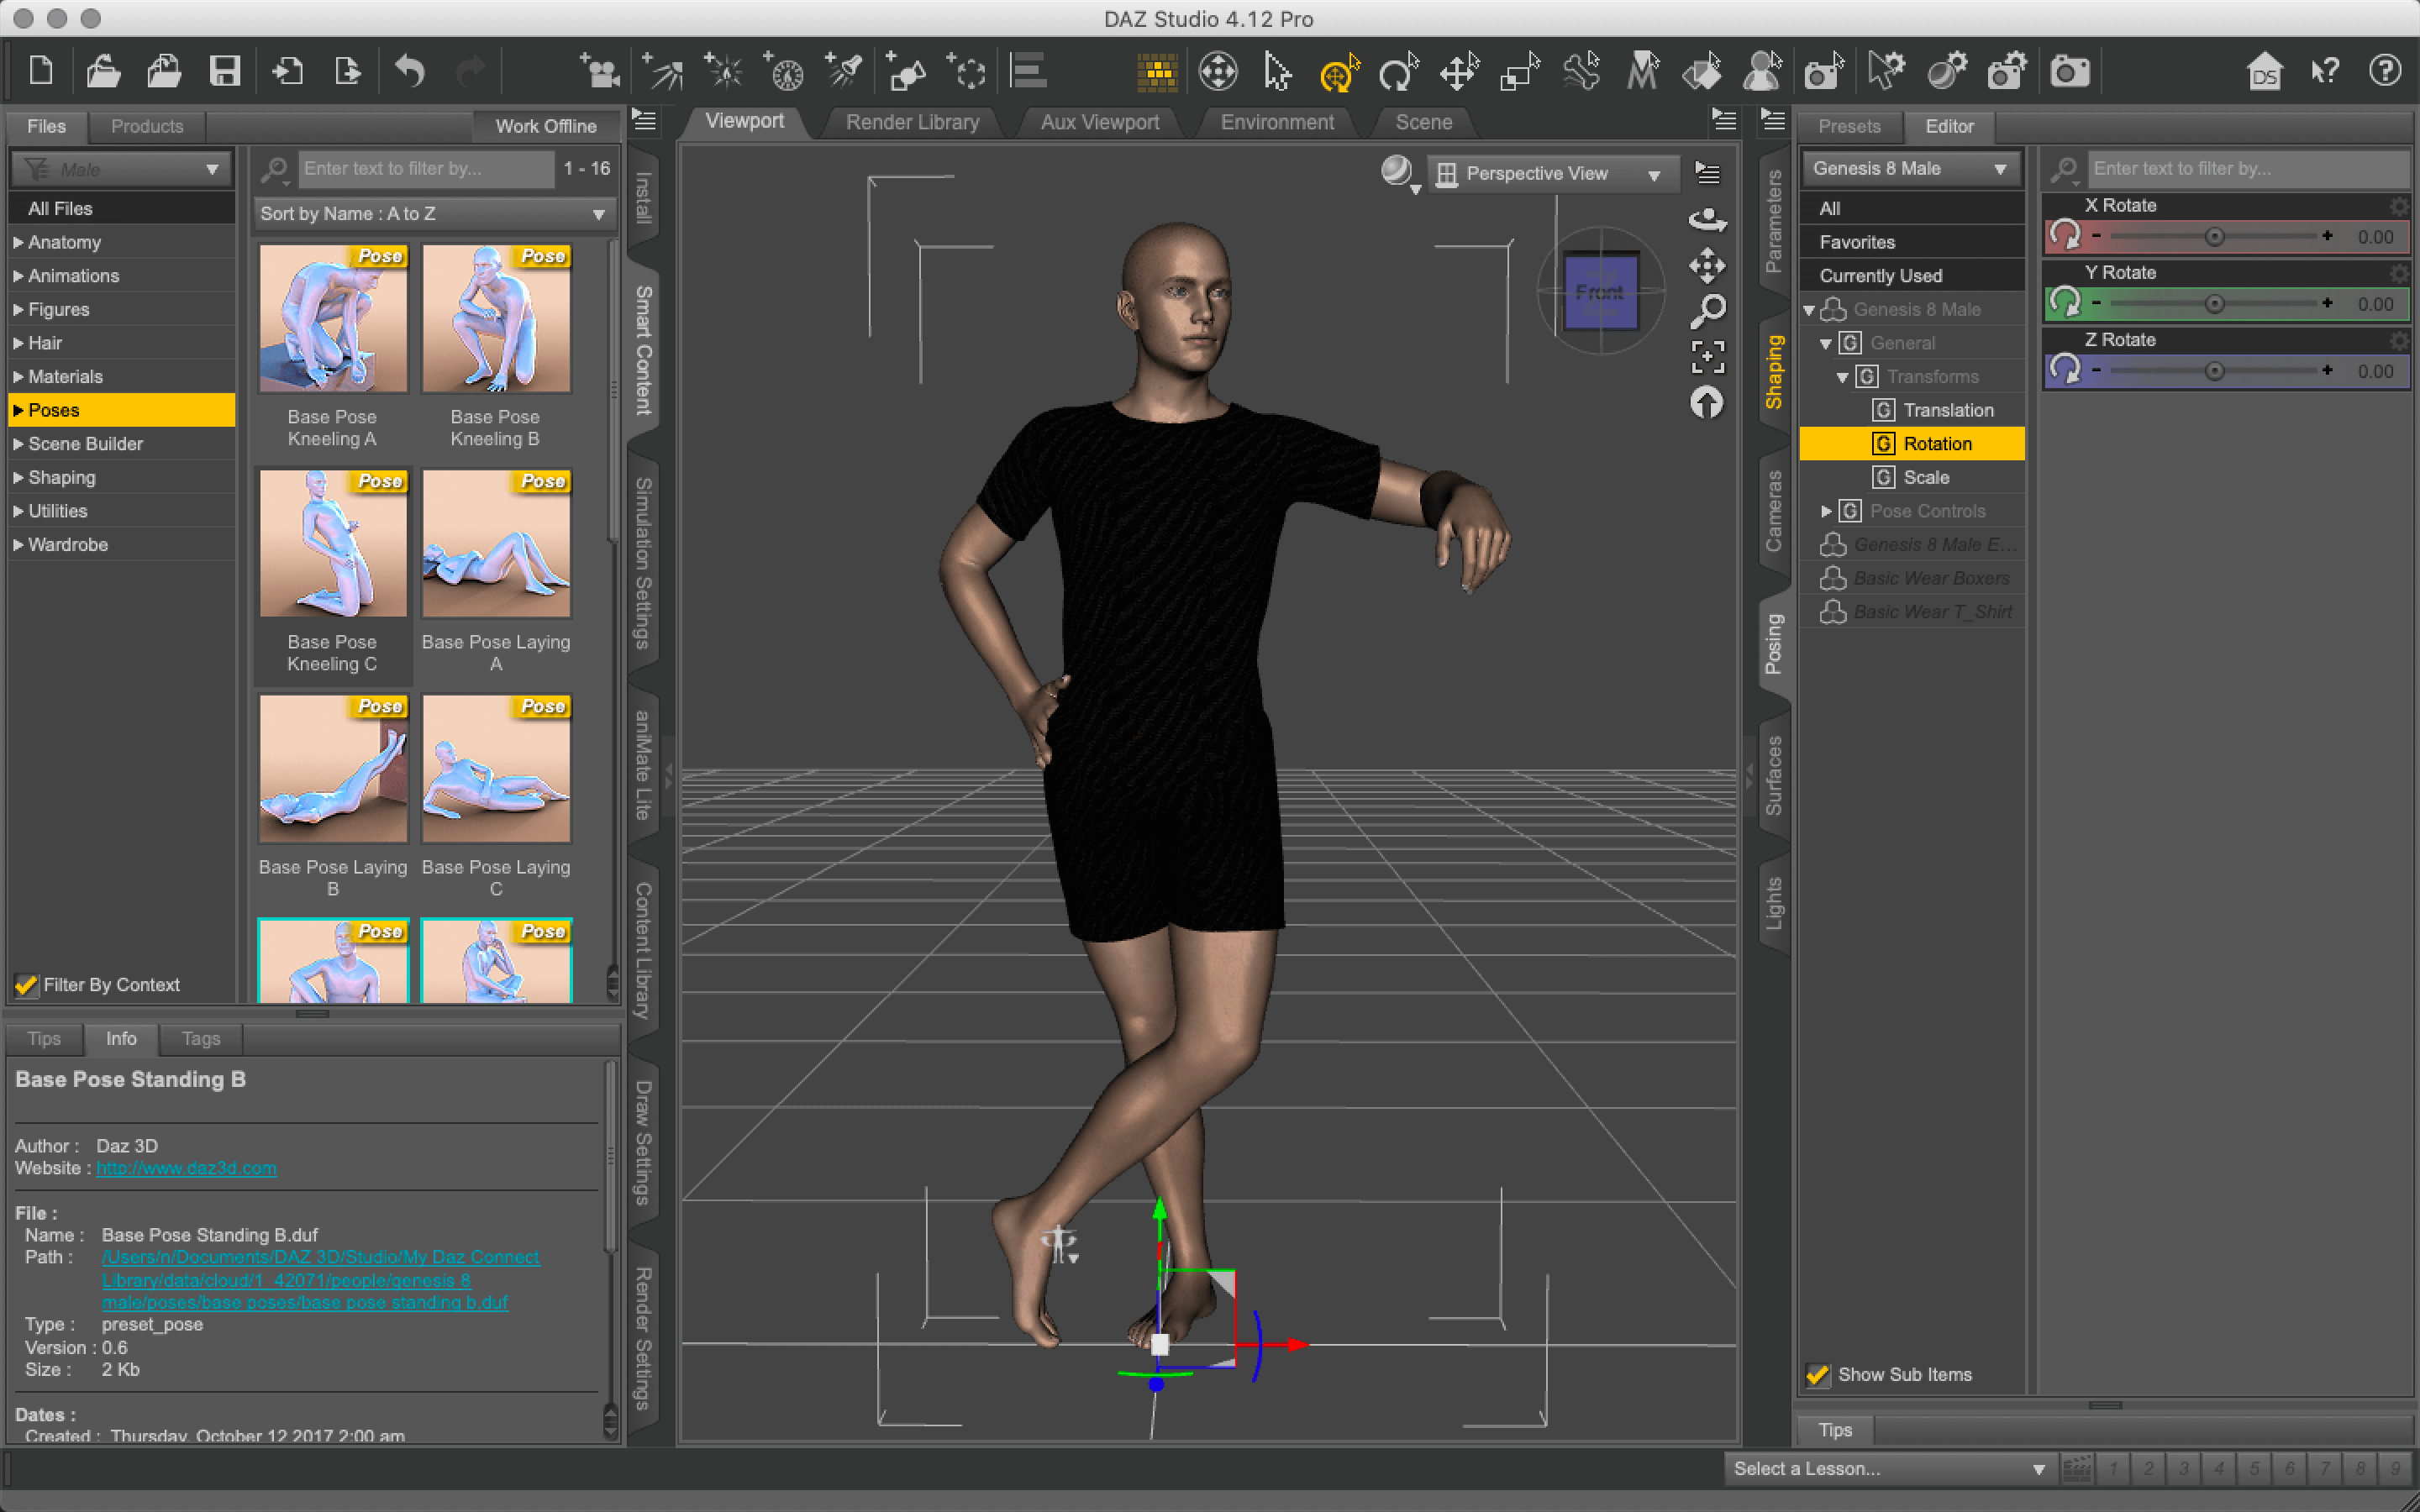
Pose
Click on a body part and drag the arrow to change its position, or drag the circle to change its angle.

Rotate / Translate
Add animation
The poses described above are only static, but you can also animate them using the aniMate Lite (aniMate2 in version 4.15 or later) function.
aniMate Lite
Open the aniMate Lite tab.
Click on the bottom left to display the animation categories.
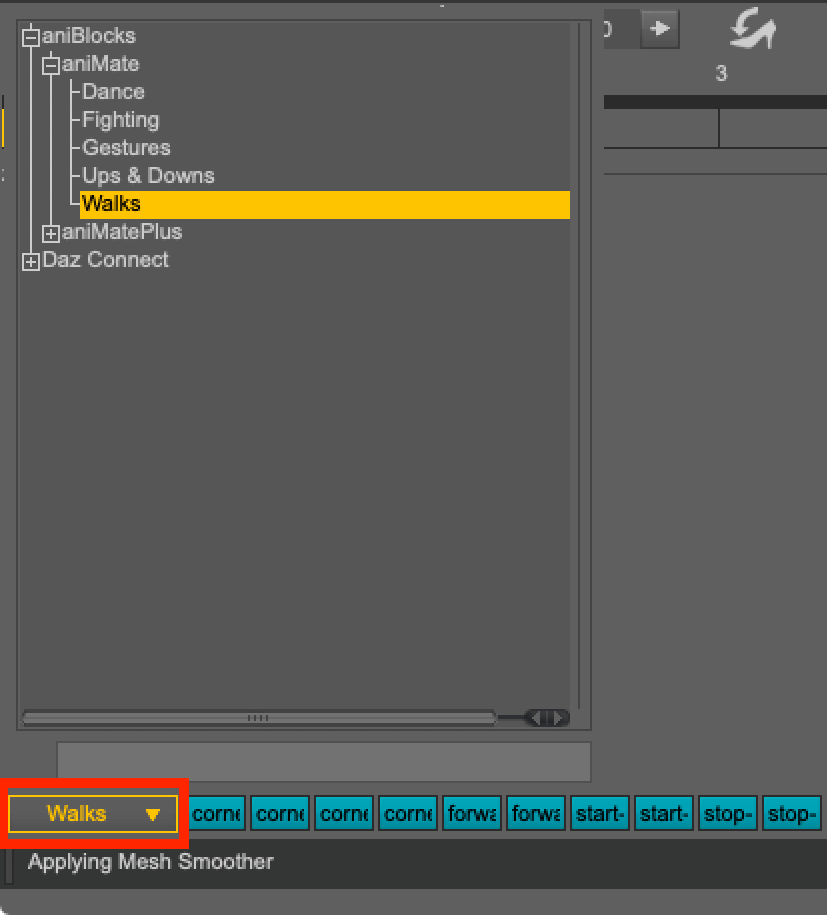
aniMate Lite
The blue line is the list of animations, and you can preview the animation by hovering over it.

Animation Preview
Once you have decided on the animations you want to use, drag and drop them onto the timeline at the top to add them.
You can also connect different animations together.

Connect Animations
To delete an animation, click on it, right-click on it, and then Delete it.
Delete Animation
If you open aniMate Lite tab and the original tabs such as Smart Content disappear, you can hide them by going to the top window -> Panes (Tabs) -> click on aniMate Lite.
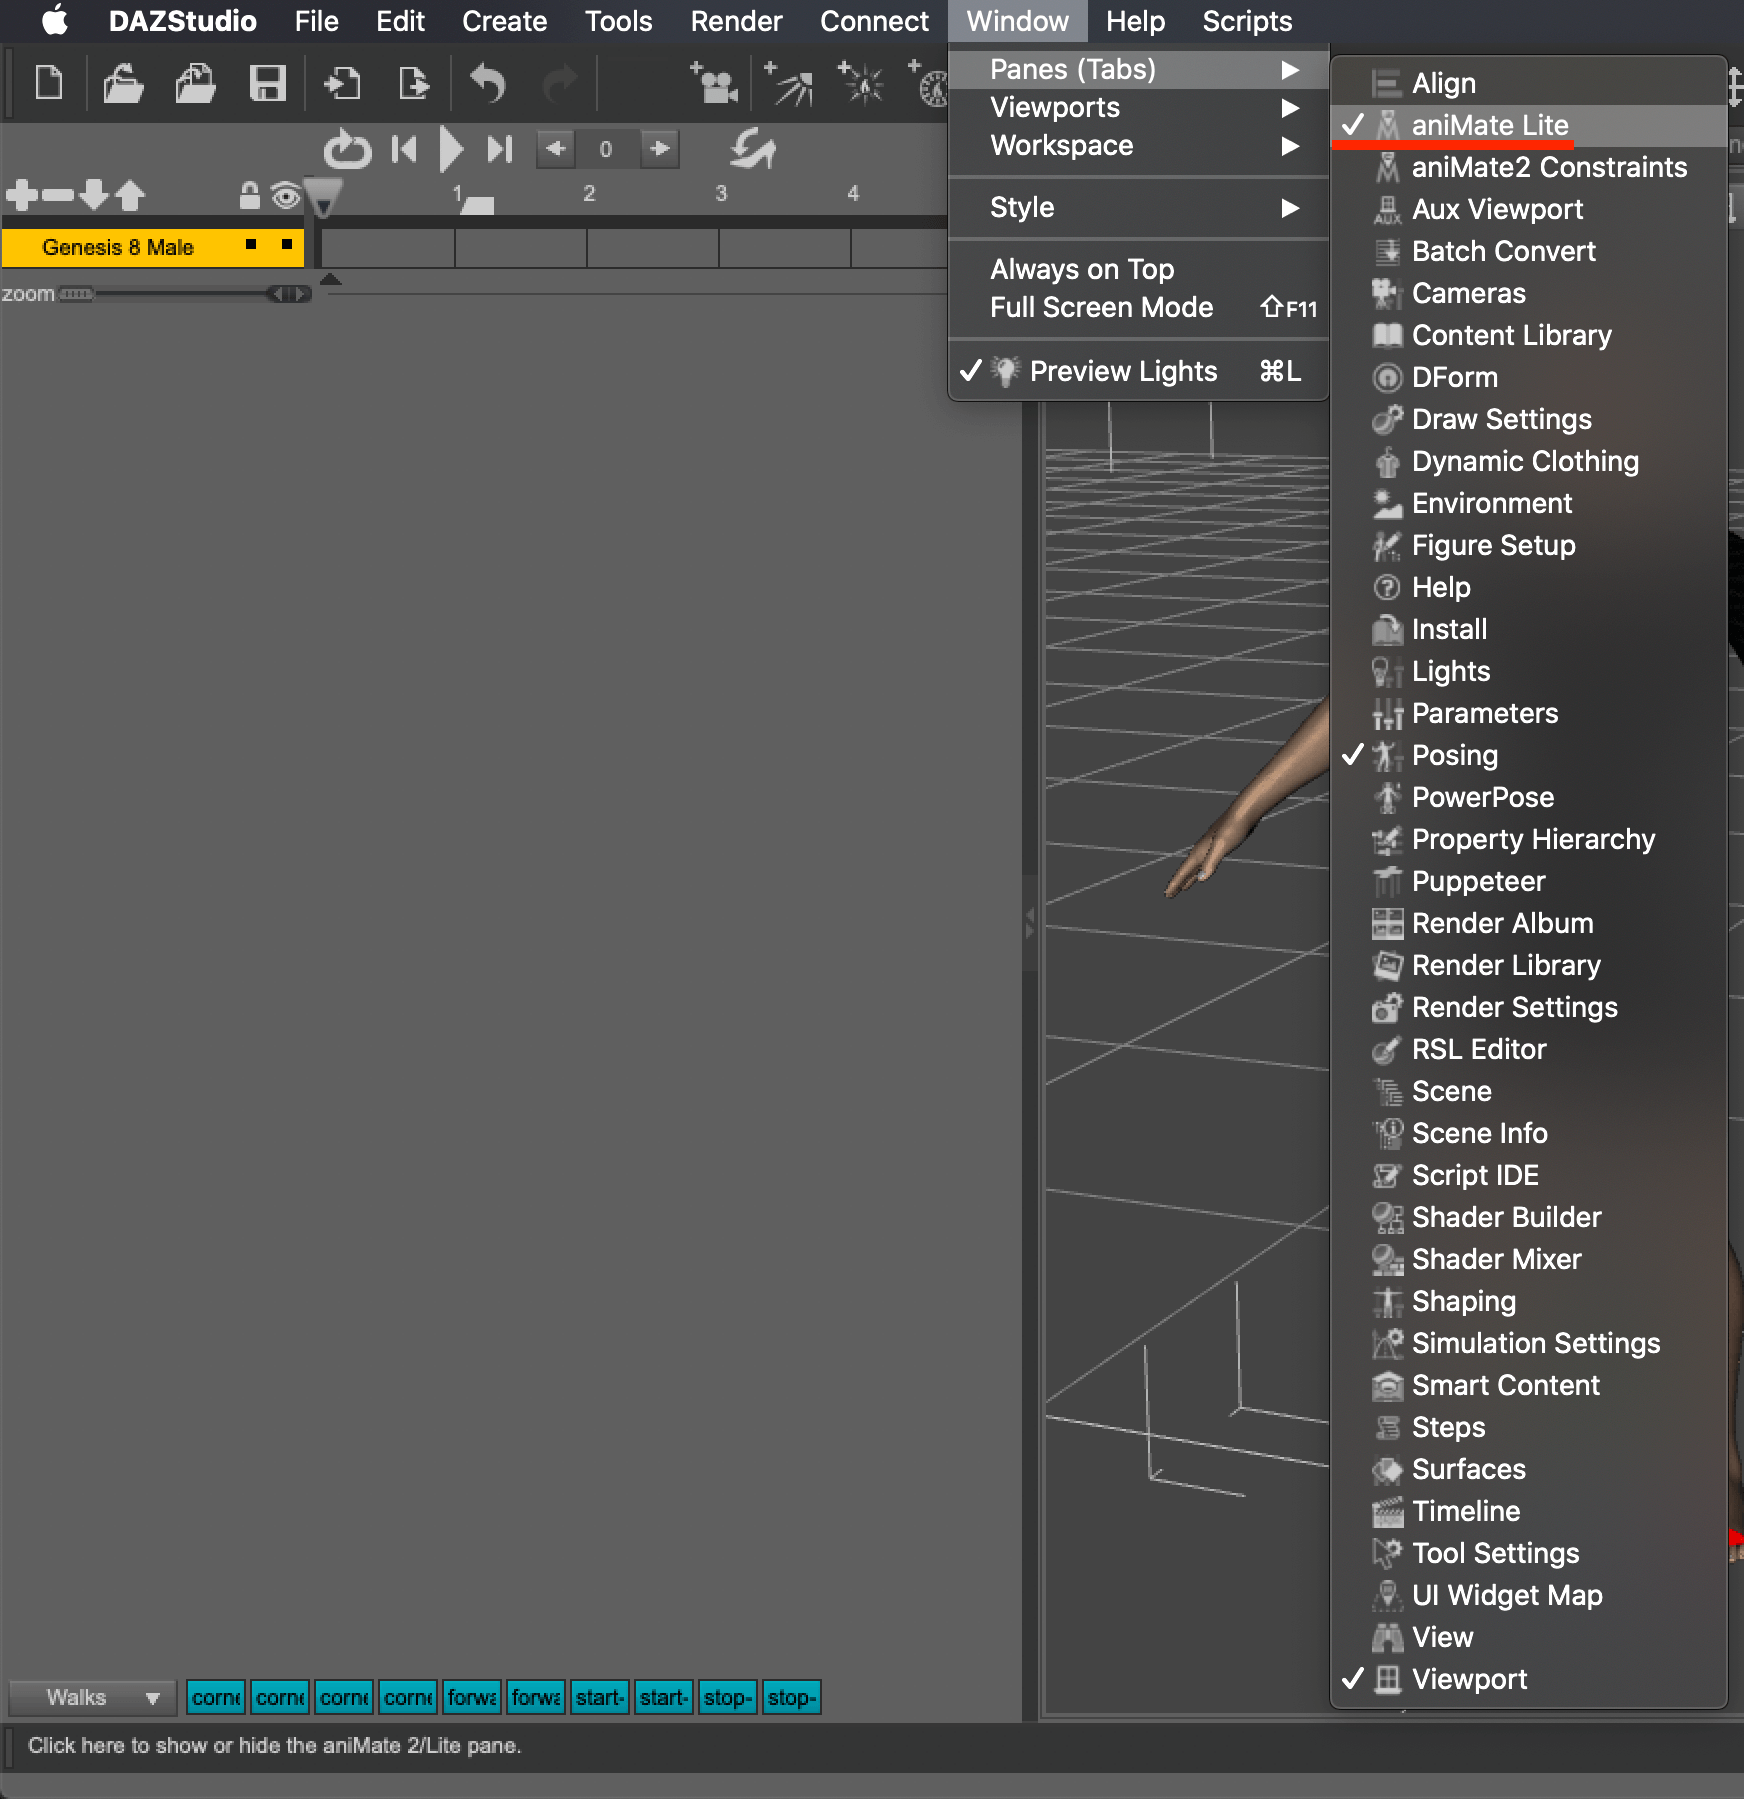
Click on “aniMate Lite”
Finally, to bake the animation, right-click in the Viewport and select Select All.
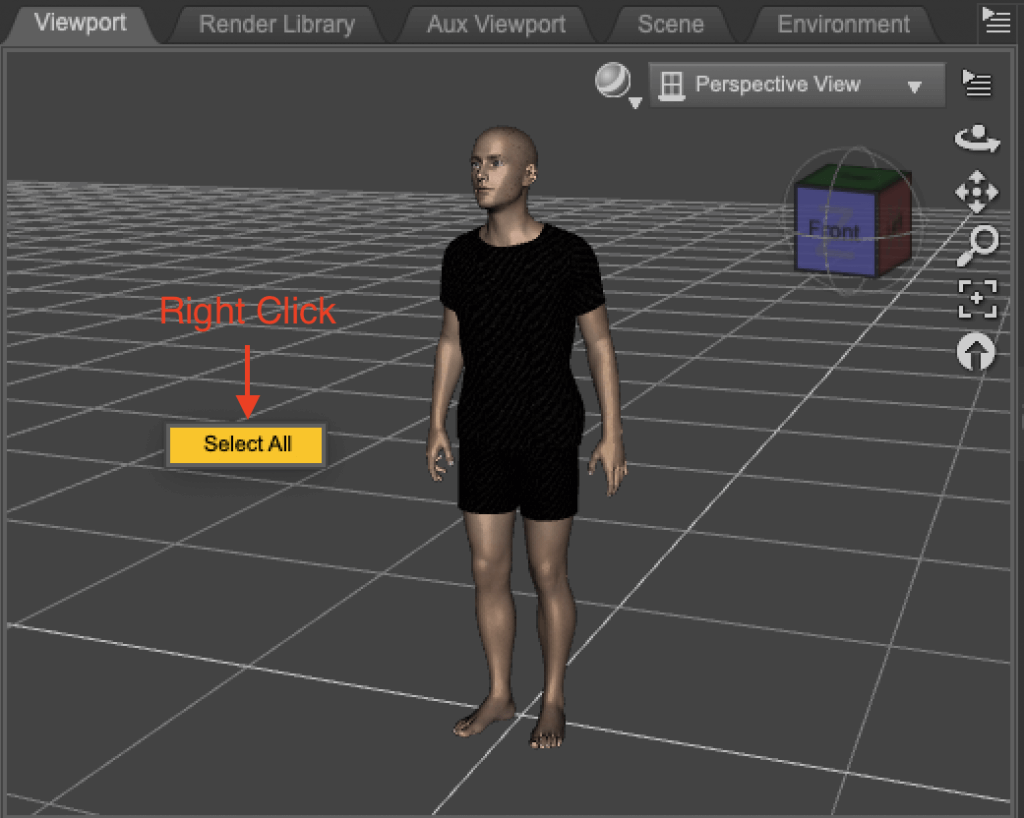
Viewport
Once all the human models are selected, right-click in the aniMate Lite tab and select Bake To Studio Keyframes.

Bake To Studio Keyframes
Exporting
If you want to export to Blender
Daz to Blender Bridge (Windows only)
When exporting to Unity
But this time, I will describe how to export to Unity without using any add-on as follows.
Exporting to Unity
Select File→Export from the top menu.
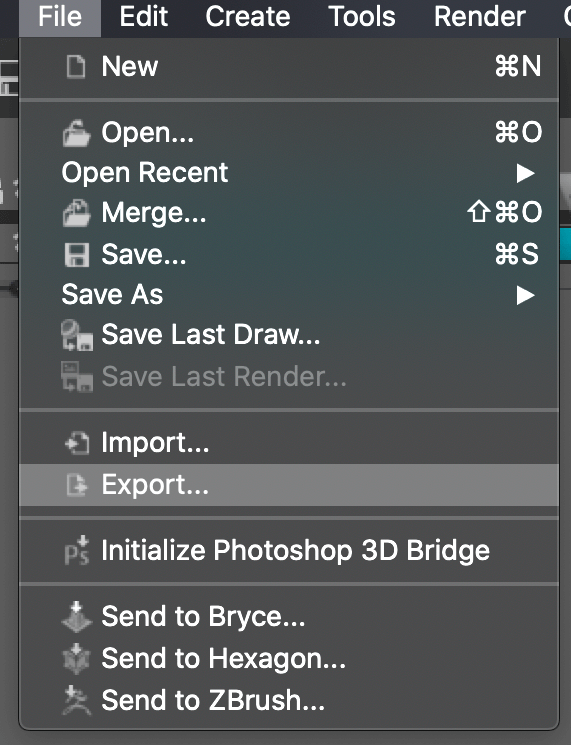
File / Export
After setting the name and save destination, select FBX and save the file.
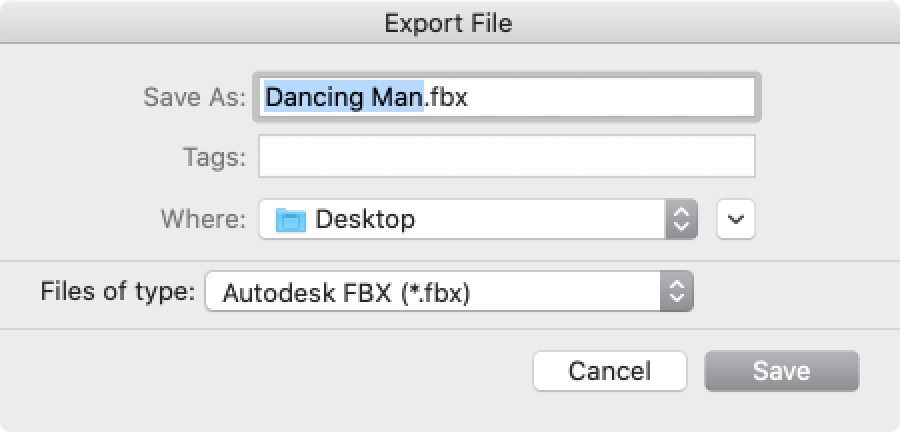
Export File
If you don’t want to use animation, check the Base Figure Pose Only checkbox instead of Animations.
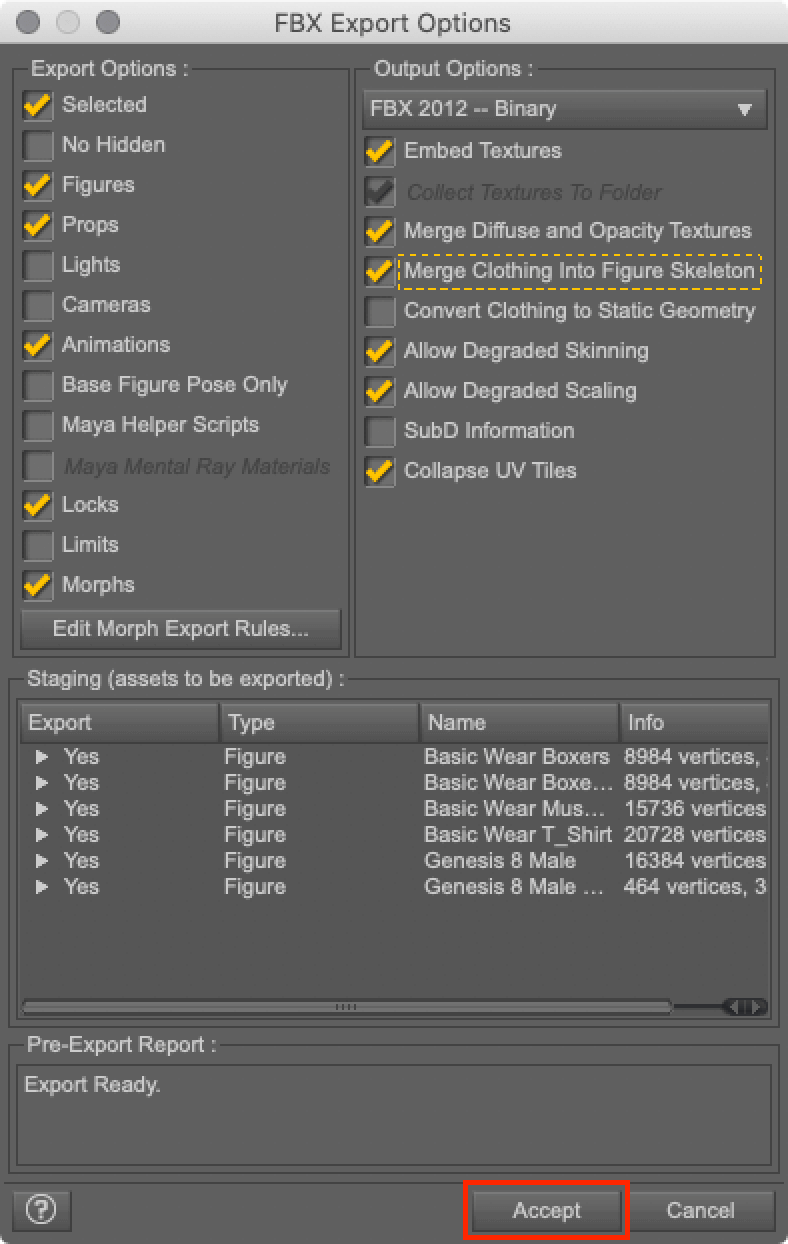
FBX Export Options
The fbx and texture have been saved.
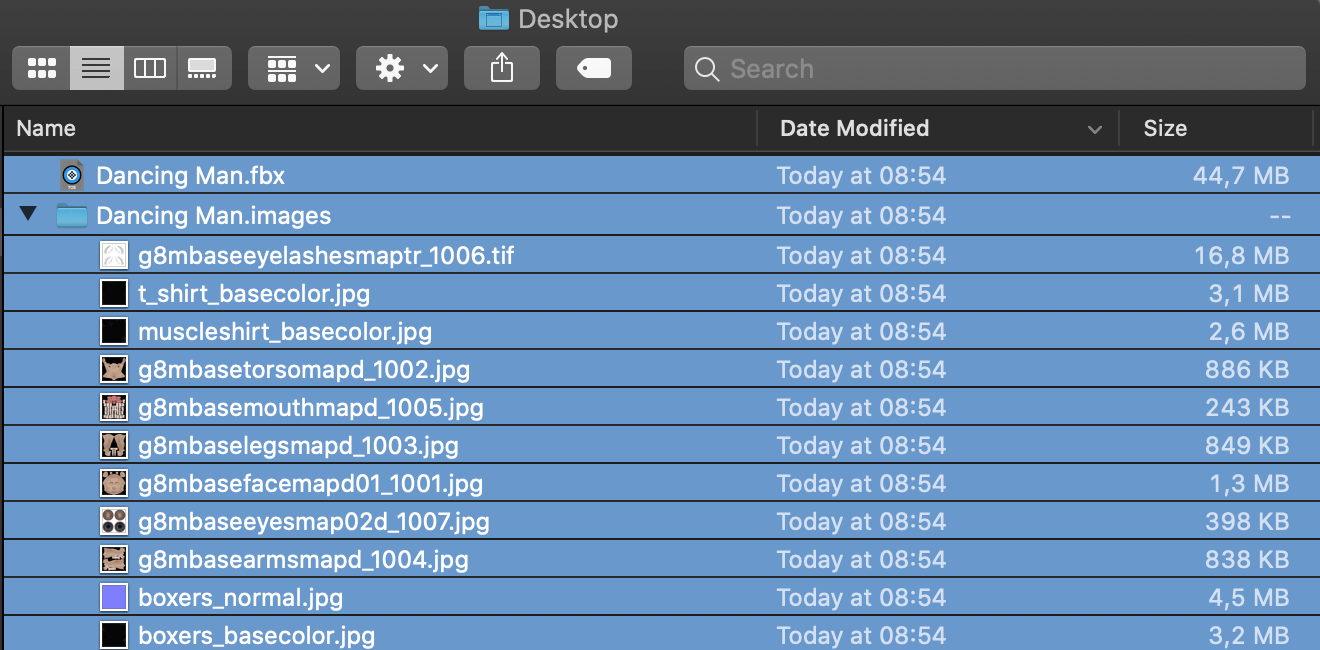
FBX Exported
Open Unity and drag & drop them into the assets folder.

Drag & Drop
Configure the Materials settings from the Inspector window.
Add them to the scene and expand the prefab from the Hierarchy window.
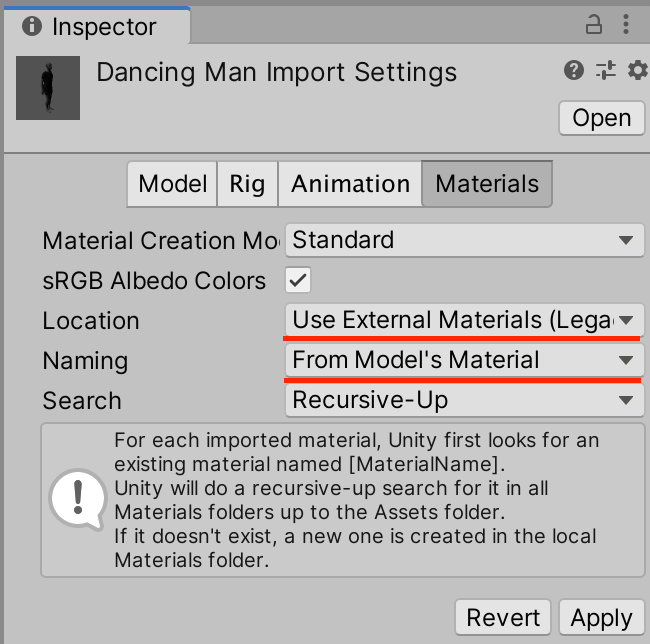
Setting Materials
Change the texture settings for the eyelashes and eyes.

Eyelashes
Select Eyelashes, and from the inspector that appears, click on the texture assigned to Albedo to display it in the asset.
Once the texture is selected, check the Alpha Is Transparency checkbox in the inspector and apply it.

Alpha Is Transparency
Once applied, go to the Eyelashes material’s inspector and set the rendering mode to Fade.
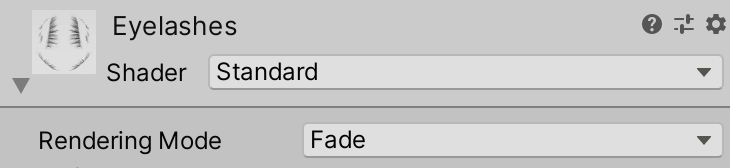
Rendering Mode
The eyelashes are now reflected, but the eyes (EyeMoisture and Cornea) are still white, so we’ll assign a texture to each and set the transparency.
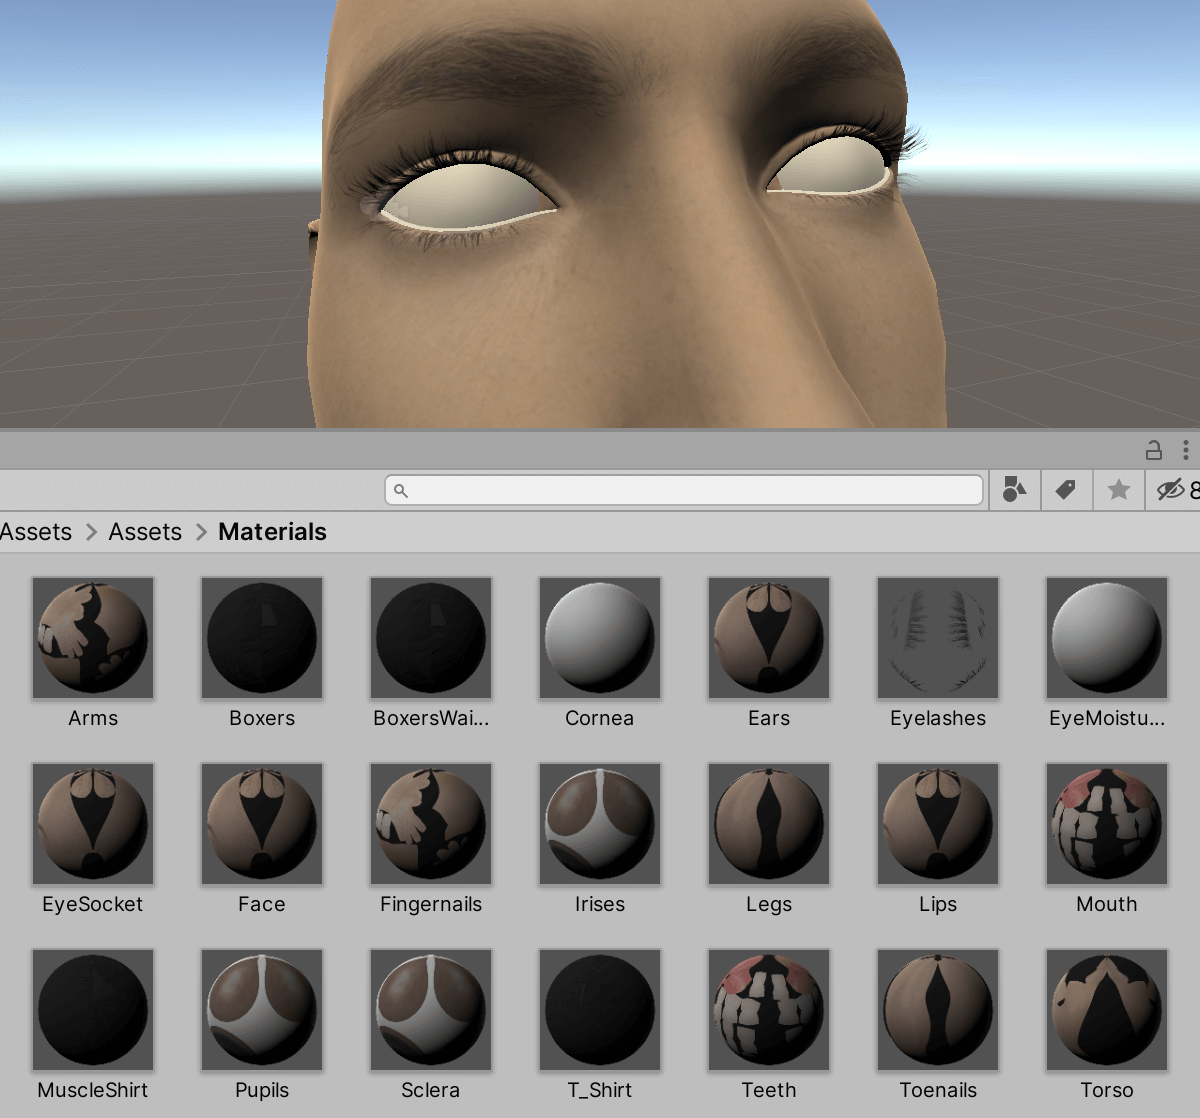
Applied Eyelashes
After selecting Cornea, click on the key in the upper right corner of the Inspector to lock the window.
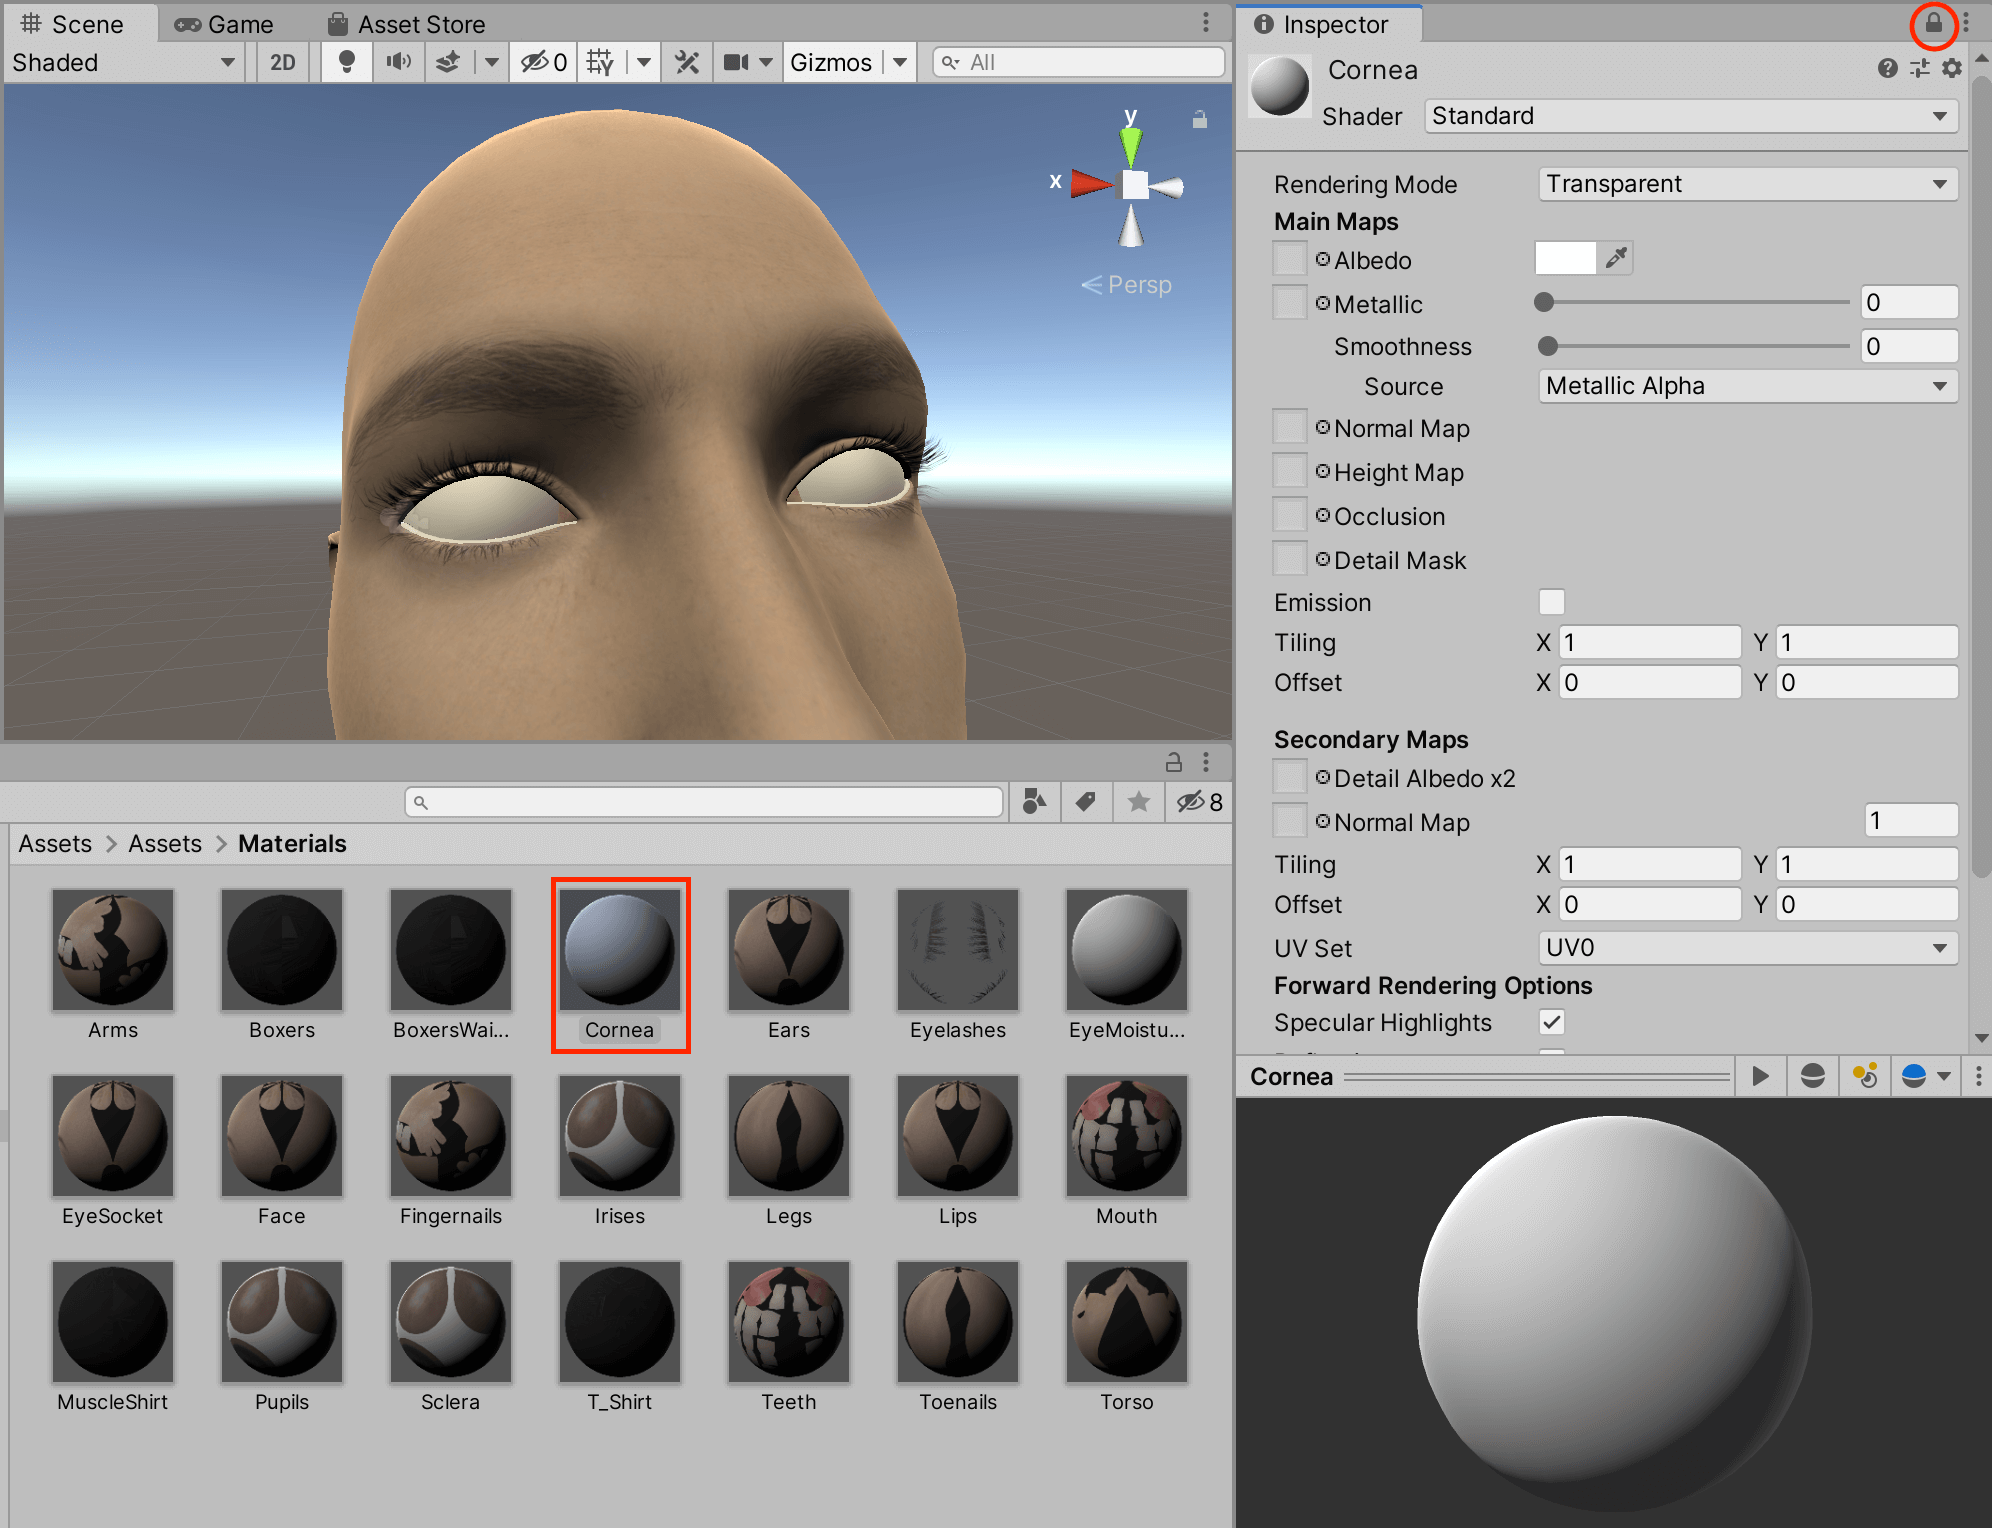
Cornea
Open the textures folder (file name .images) in the assets section, assign the eye texture to Cornea’s Albedo, and set A to 0 in the color selection.
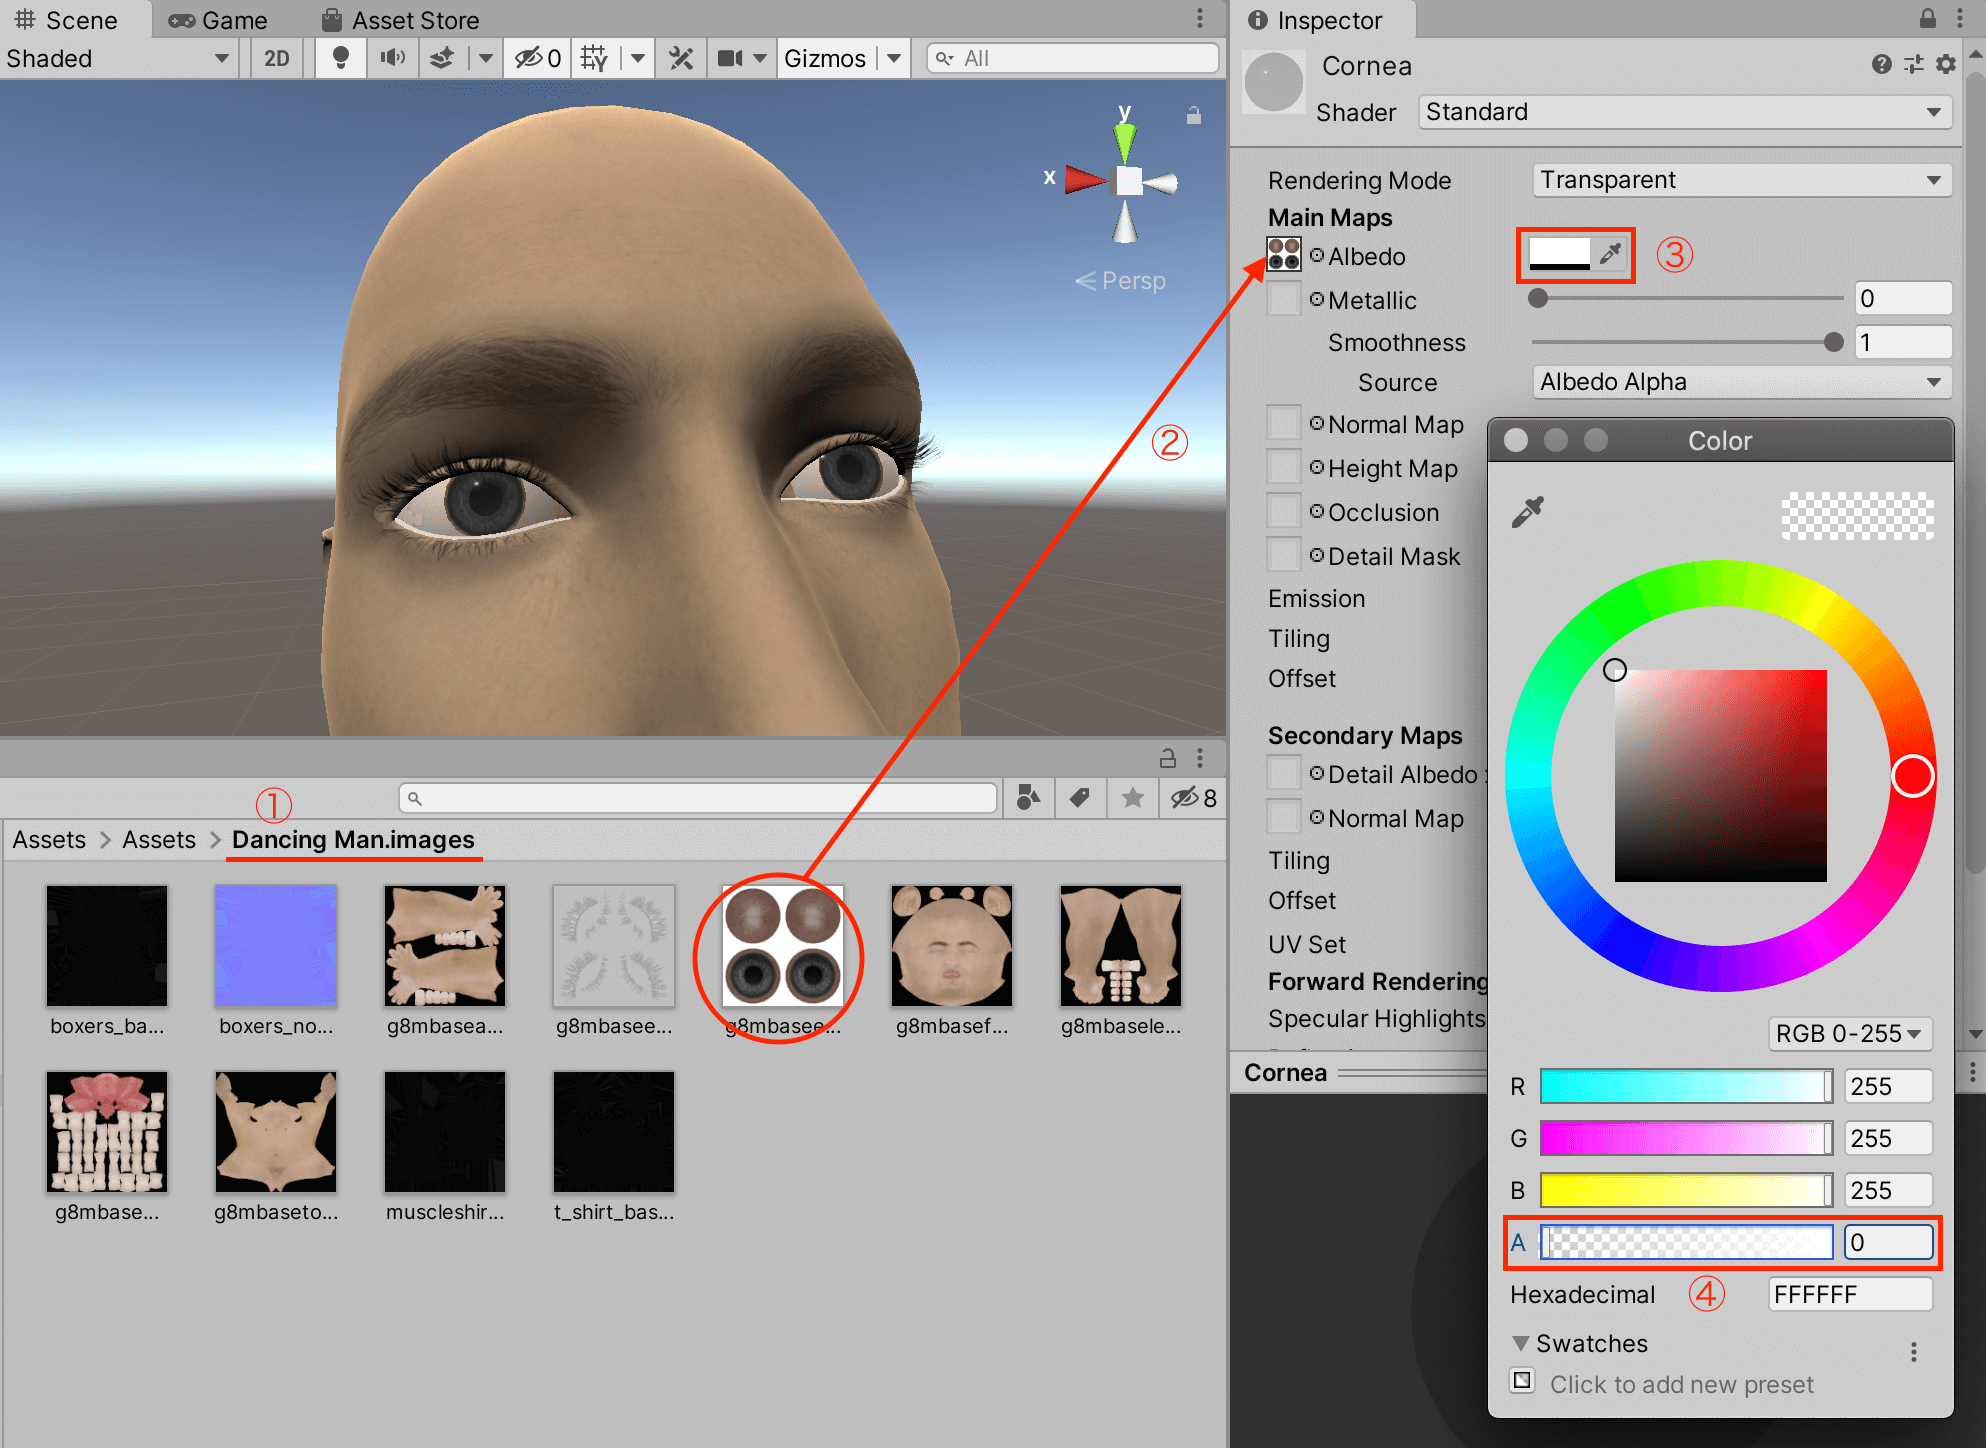
Cornea
EyeMoisture is the same texture and is set in the same way.
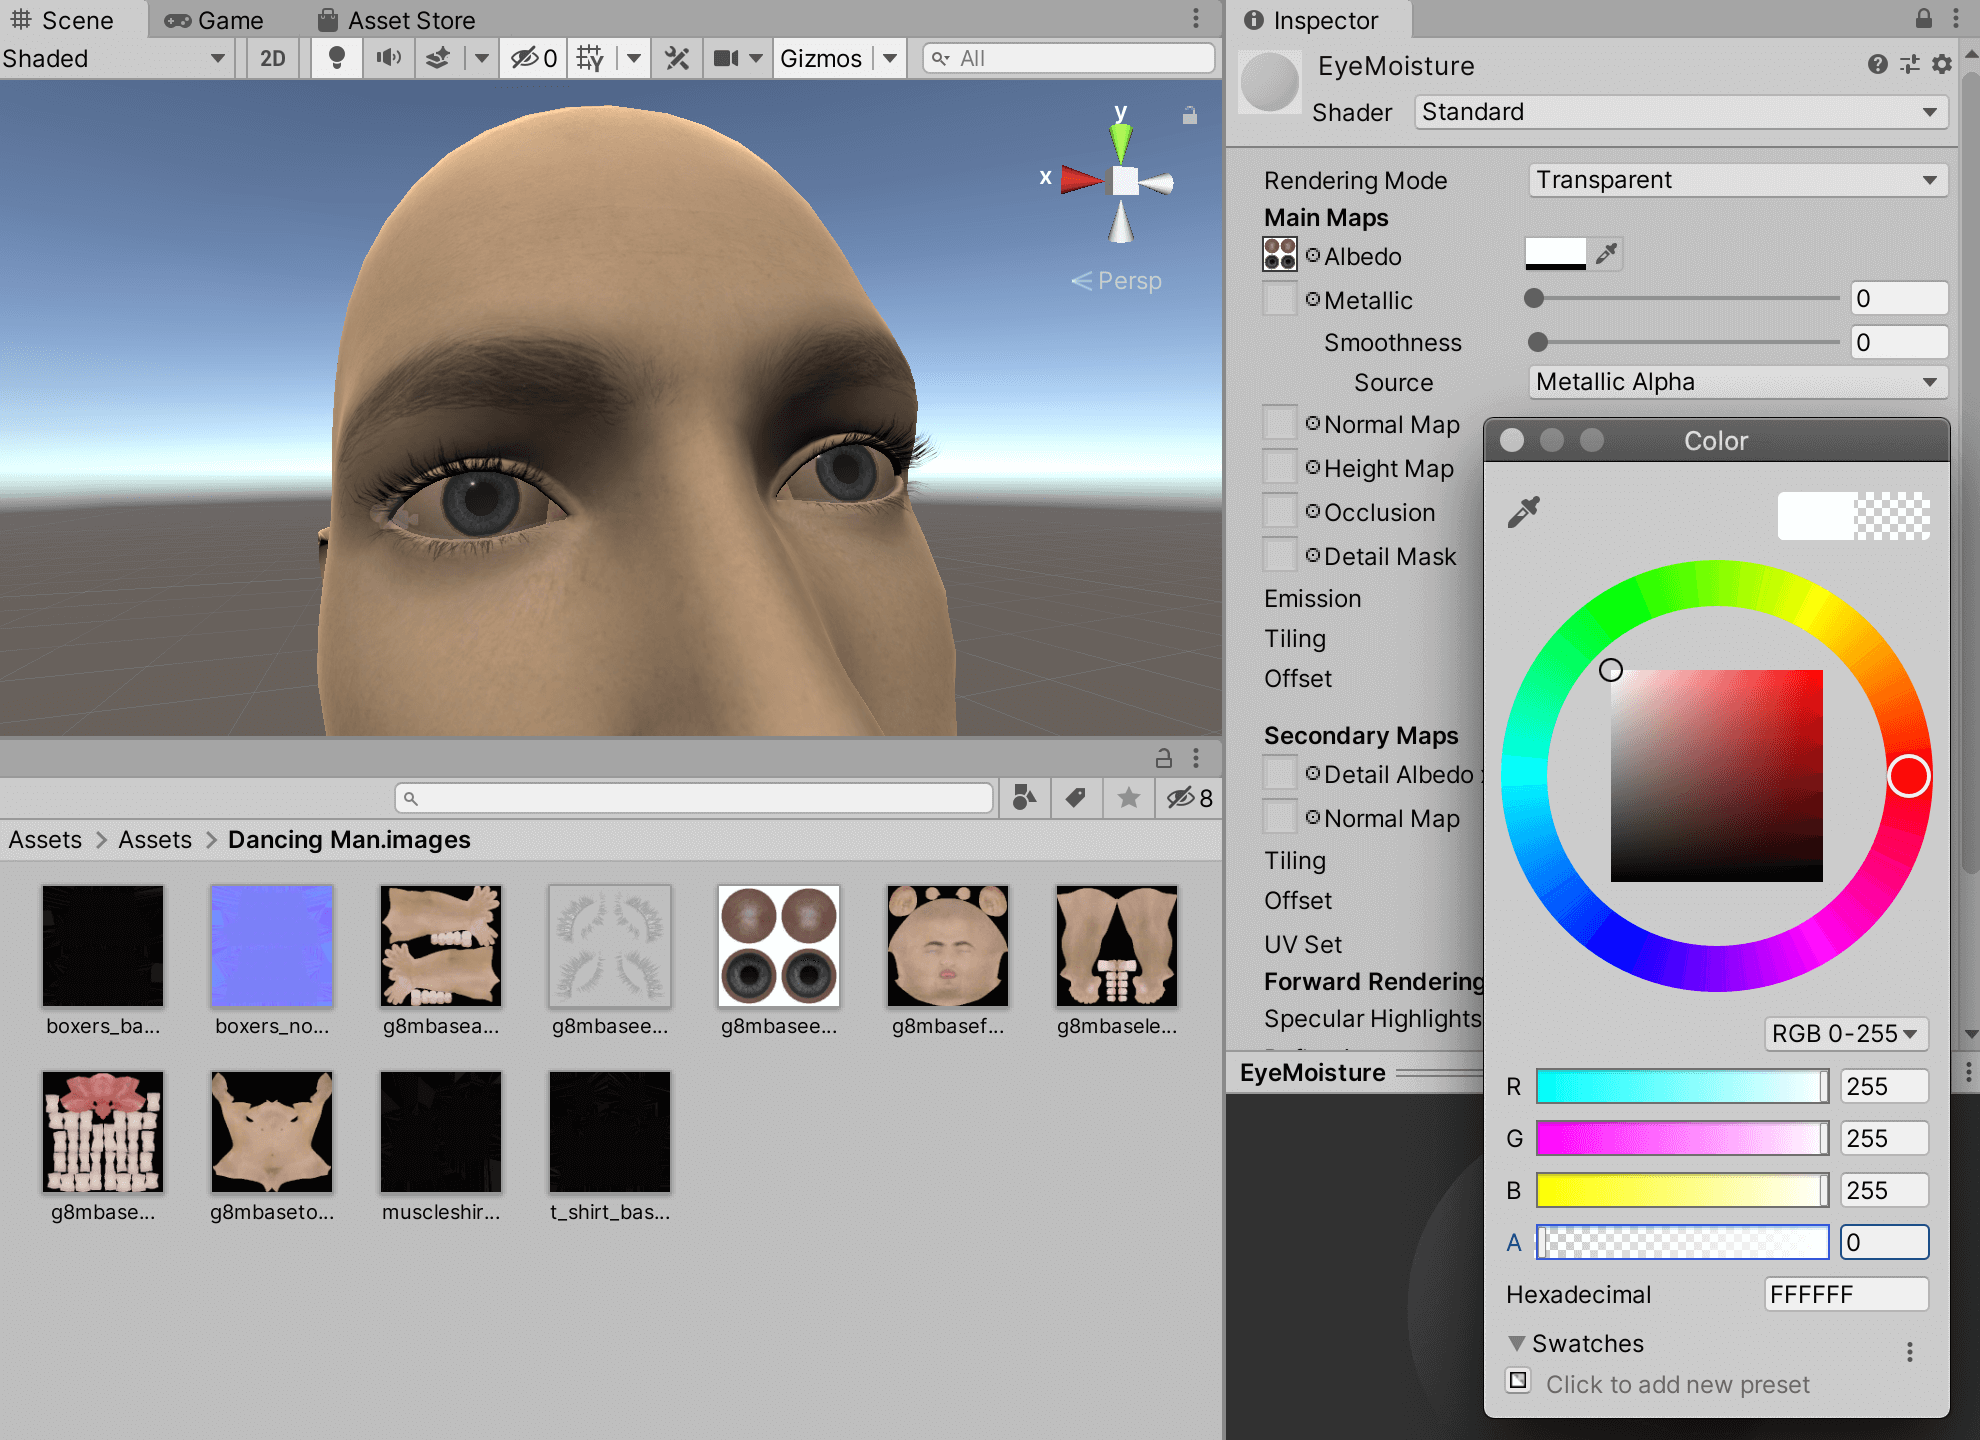
EyeMoisture
The next step is to set up the animation.
Select the body from the Hierarchy window, and drag and drop Animation from the assets into the inspector.
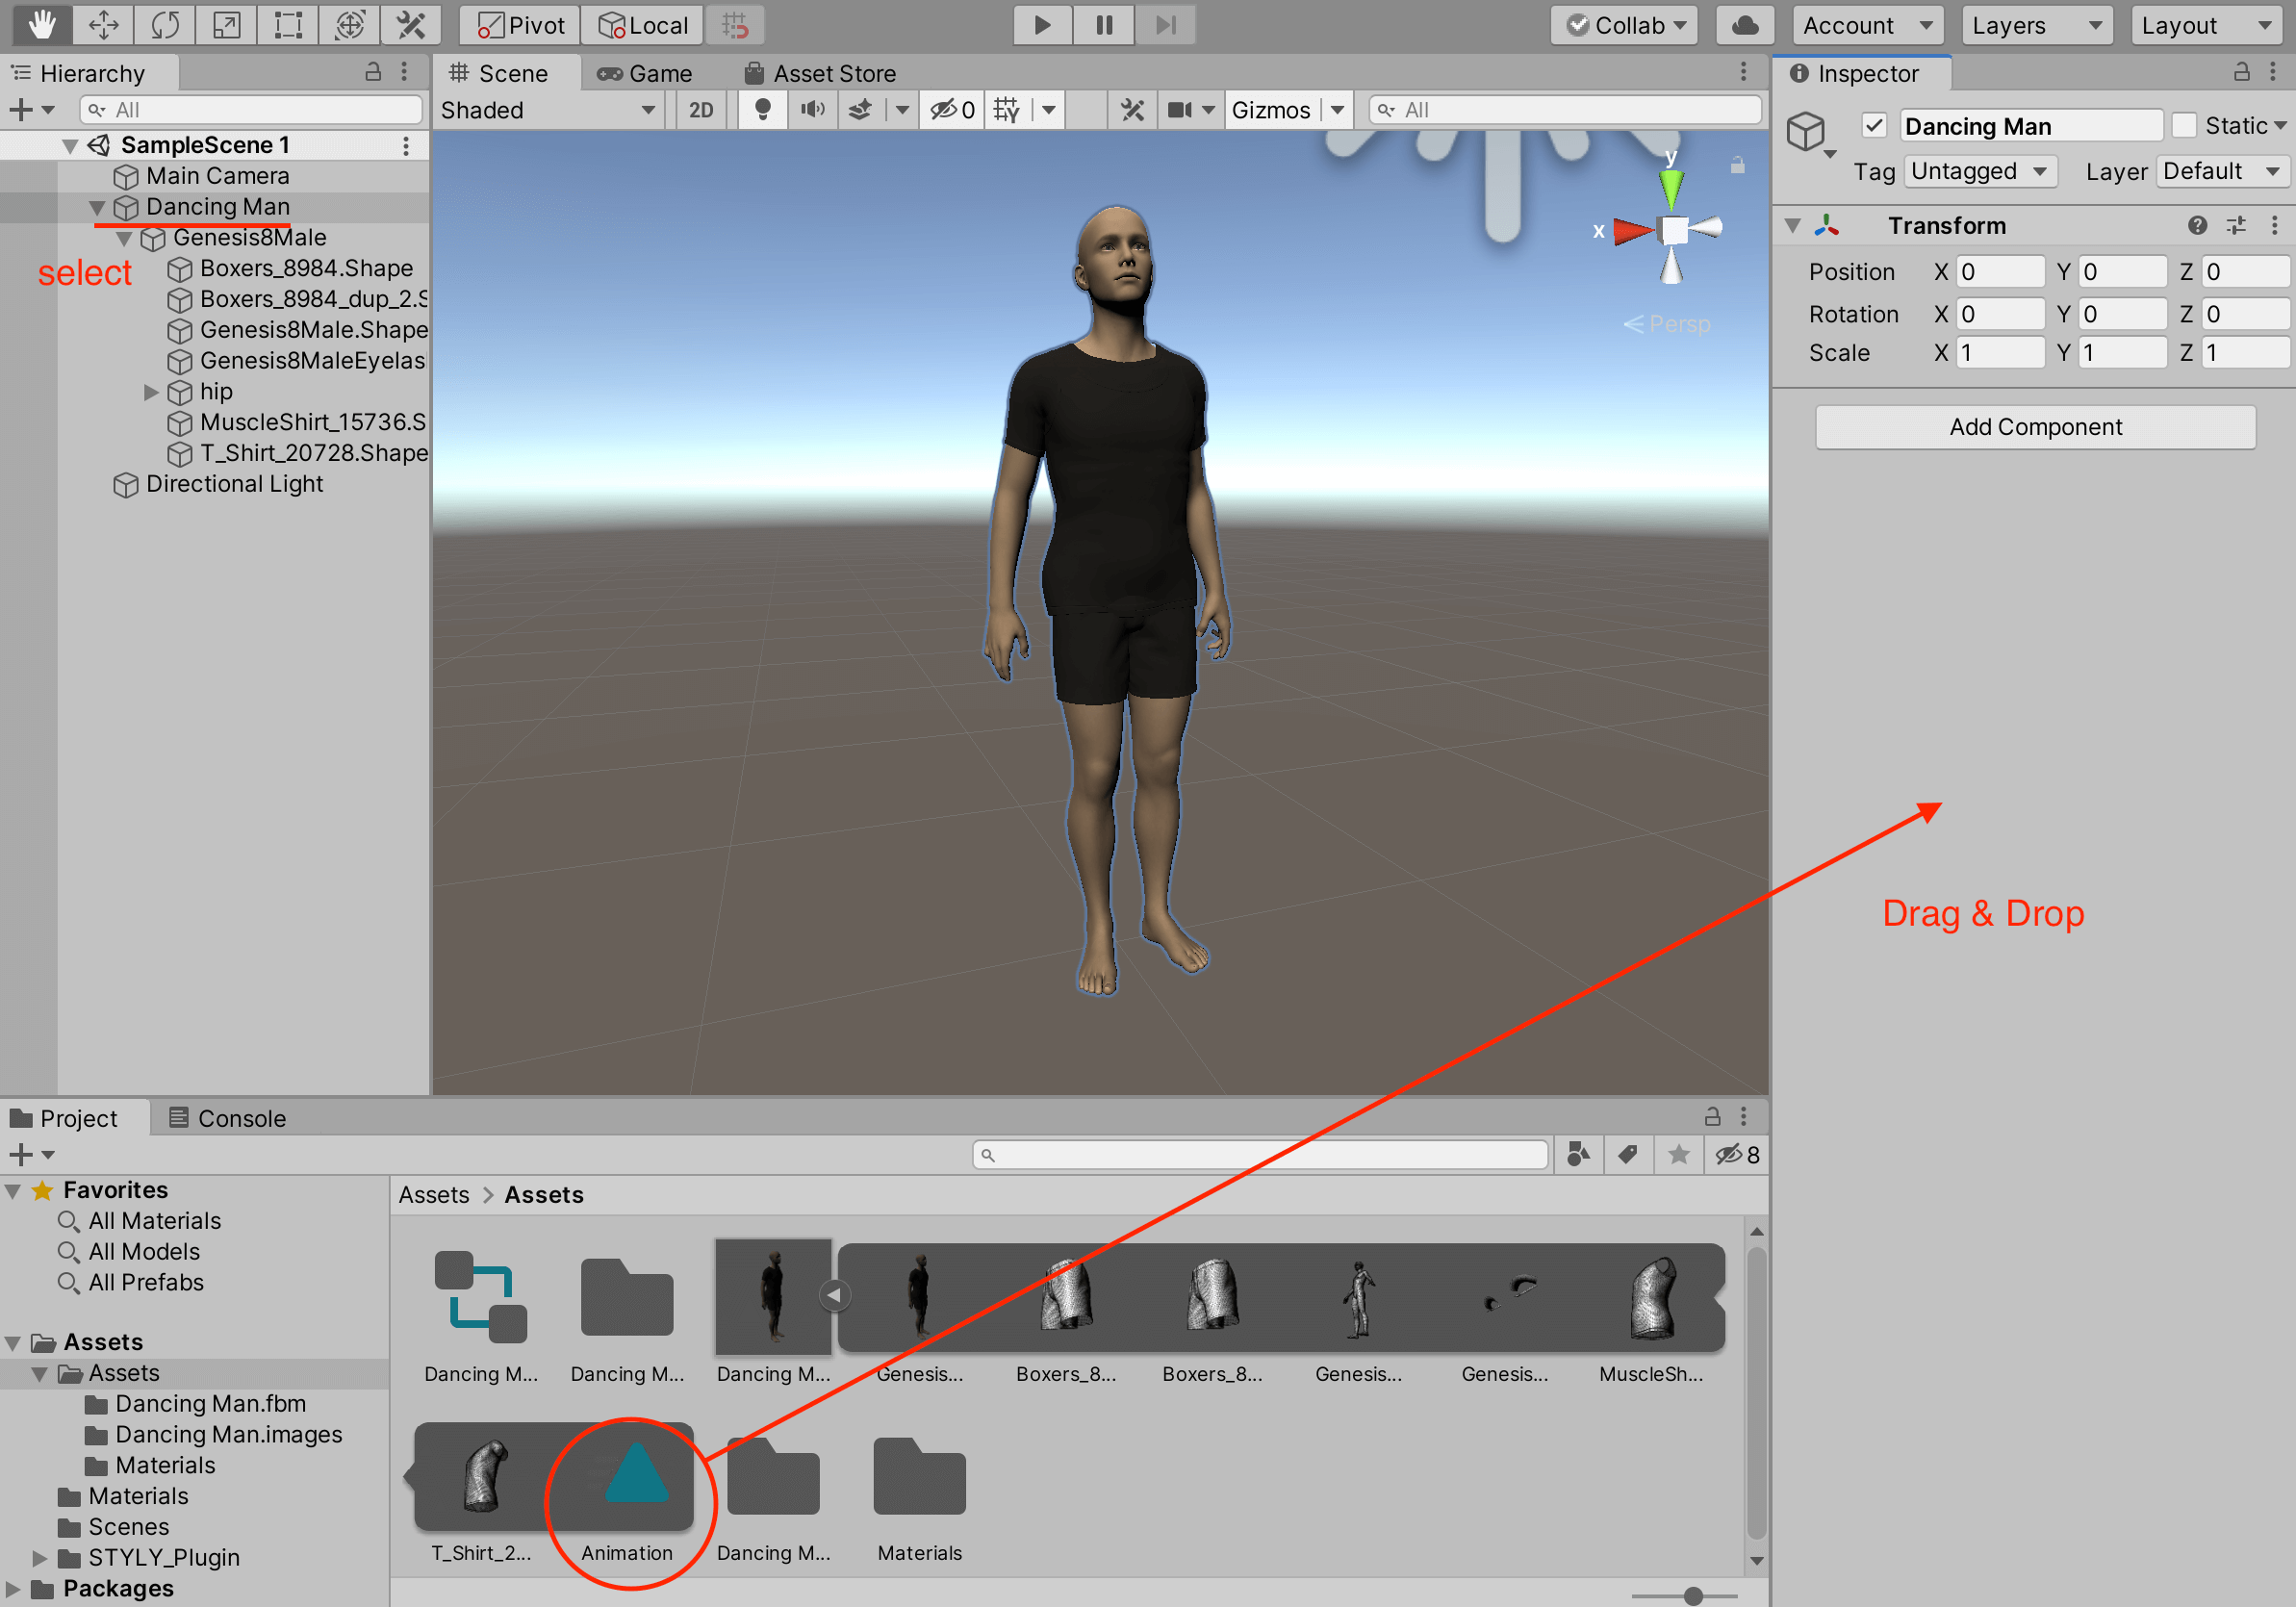
Animation
The animation has now been added and is ready to move.
Animation
How to upload assets to STYLY
Click here to learn how to upload your human model from Unity to STYLY.

That’s it for the basic operations.
We will be customizing textures in the next article, so check back for that.
Introduction to NEWVIEW SCHOOL ONLINE
NEWVIEW SCHOOL ONLINE is now open! Learn the basics of Unity and PlayMaker, necessary for creating VR/AR content, and learn the process (and creation techniques) for developing attractive content available on STYLY.
- Create VR/AR content without writing any programming code.
- Professionally supervised Unity courses available.
- Explore additional elements, such as photogrammetric production methods and content lightening.
- Learn the concept of creating VR/AR content.
