In this article, I will show you the process of “baking” a texture from the original model for a model after retopology.
Why do we need to bake?
In a previous article, we explained how to retopologize to reduce the number of vertices.
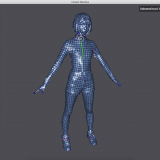
![[Blender 2.8] Manual retopology using BSurfaces](https://styly.cc/wp-content/uploads/2020/03/スクリーンショット-2020-03-02-18.10.58-160x160.png)
The model after retopology has no texture.
It will have a different UV placement than the original model, so applying the original model’s texture as is will not work.

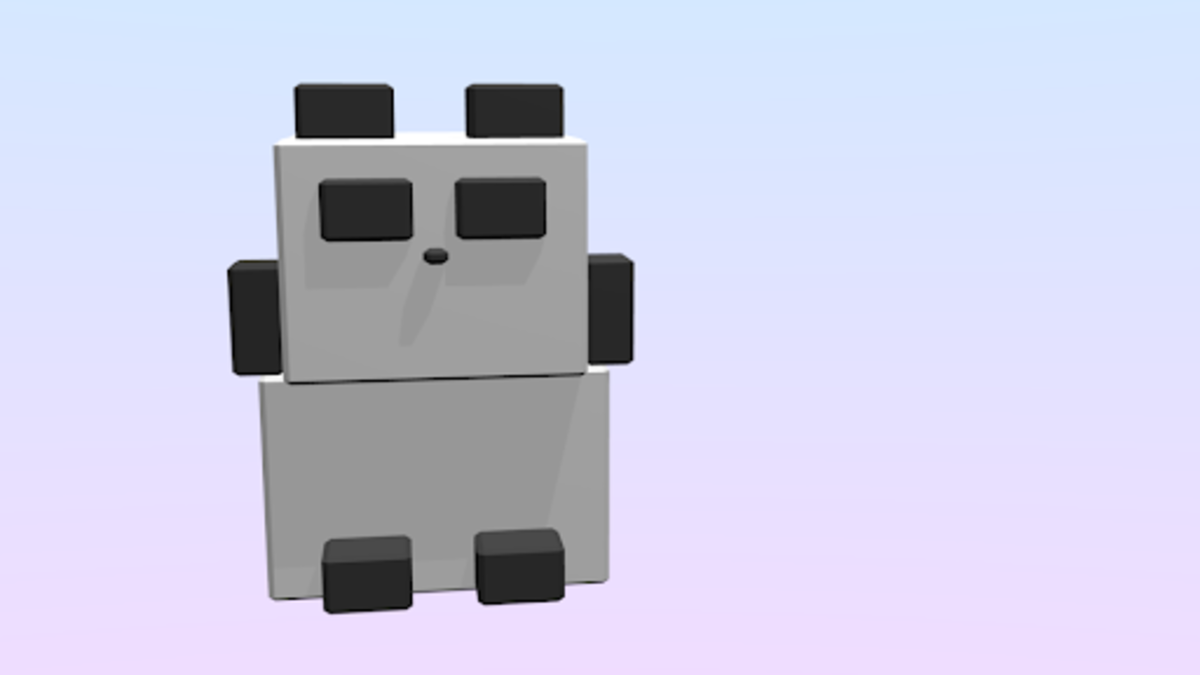
The low-poly model (right) with the texture of the high-poly model (left) applied as is.
This is where Blender’s “Bake” function comes in.
Baking is often used to eliminate the burden of heavy computation such as light processing by baking the shade as a texture on the model in advance.
In this article, we will use this function to bake the texture of the original model into the texture of the model after retopology.
Working Procedure
*Let’s say the original model is a high-poly model and the retopologized model is a low-poly model.
Load the low poly model and expand the UVs
Import the low-poly model from “Import” under “File”. We will use a model with about 3,000 vertices using Instant Meshes.
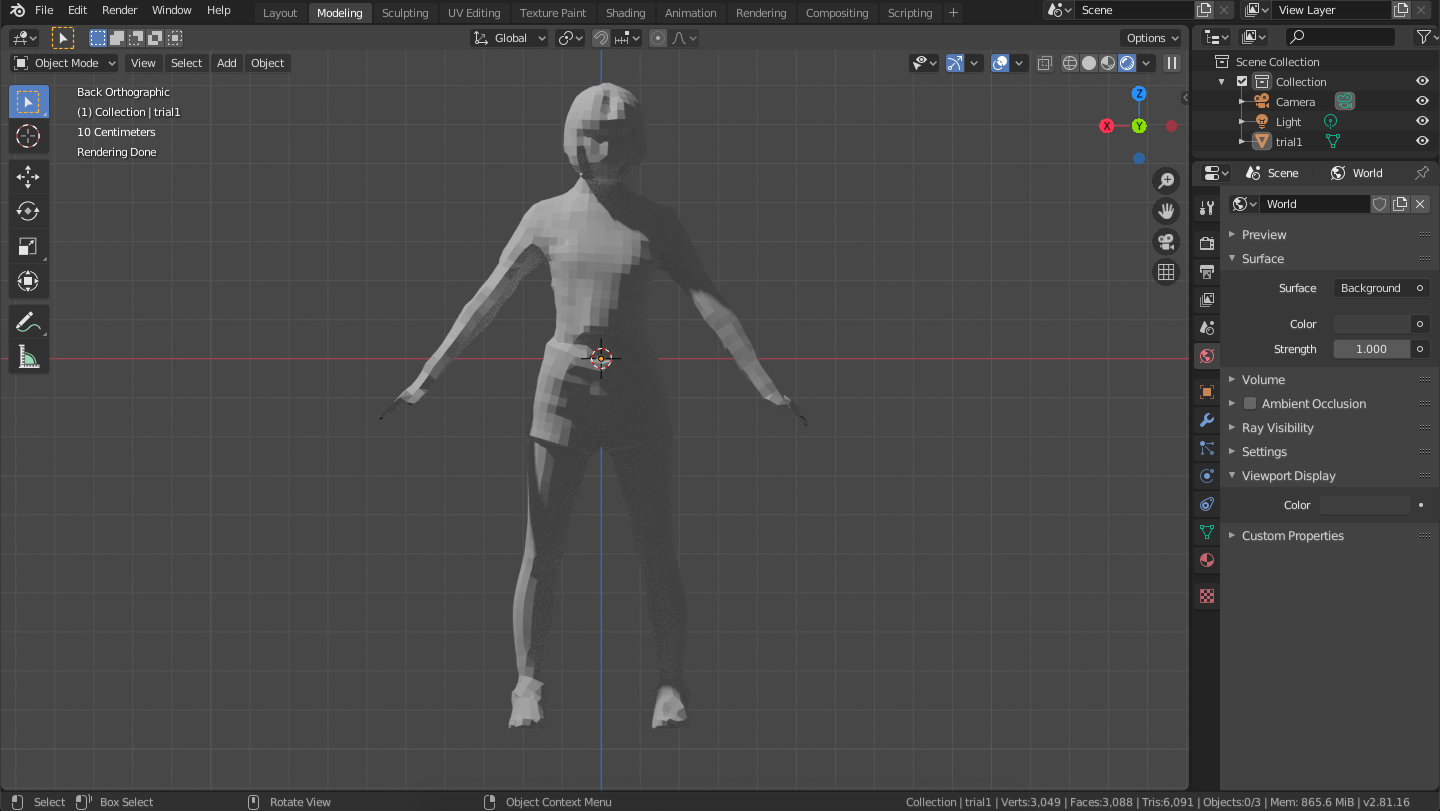
Importing a low-poly model
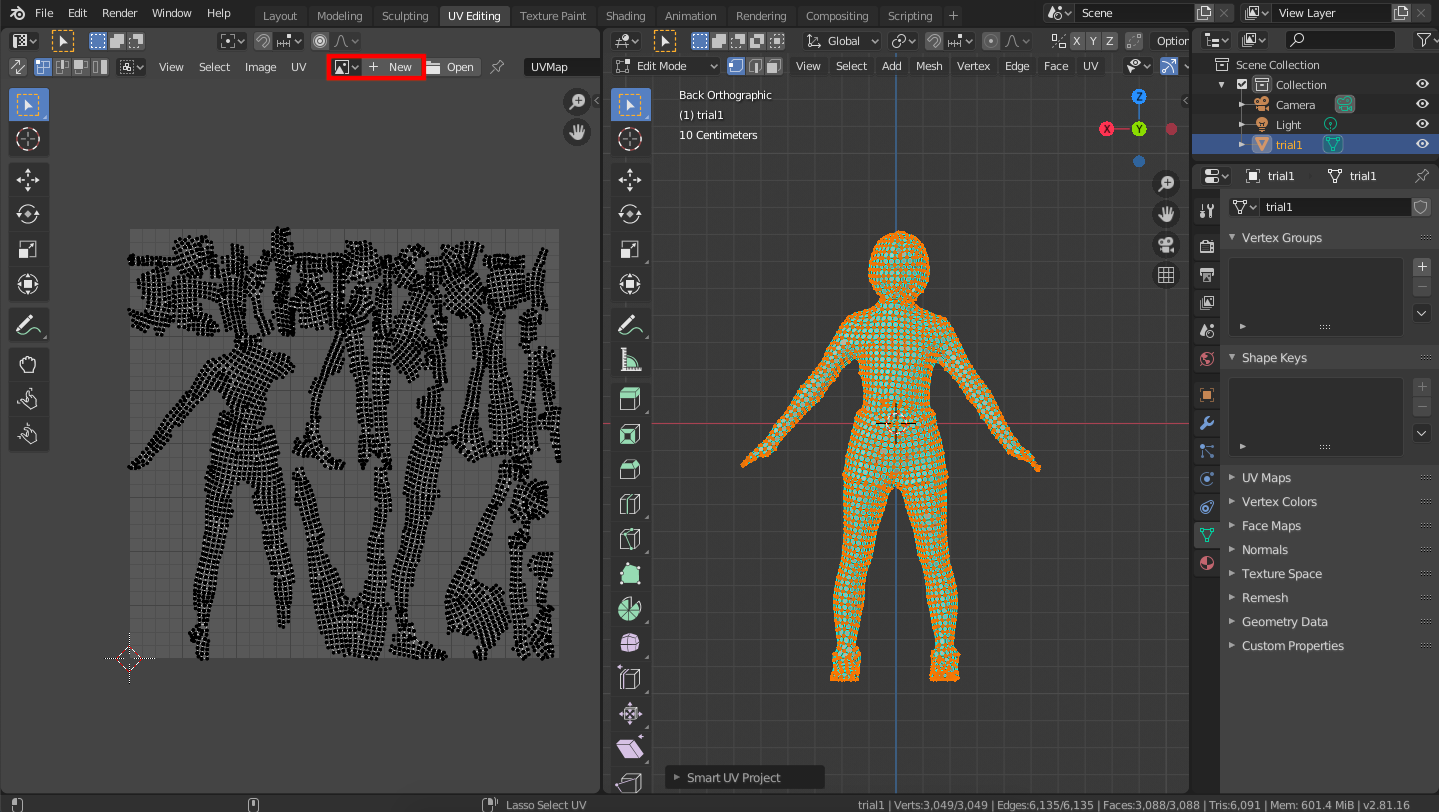
Next, let’s perform the UV expansion. Go to the UV Editing tab, switch to edit mode, and select all vertices. Select Smart UV Project from UV Editing.

Smart UV Project
Create a new texture for the low-poly model. Click “New” on the left side of the screen.
Create a new texture under the UV.
The image size should be the same as the texture size of the high-poly model.
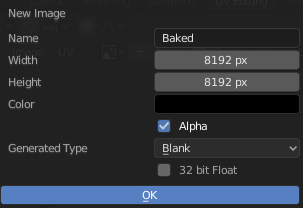
Texture Settings
Add a texture node to the material
Go to the “Shading” tab. In this tab, you can edit the material nodes.
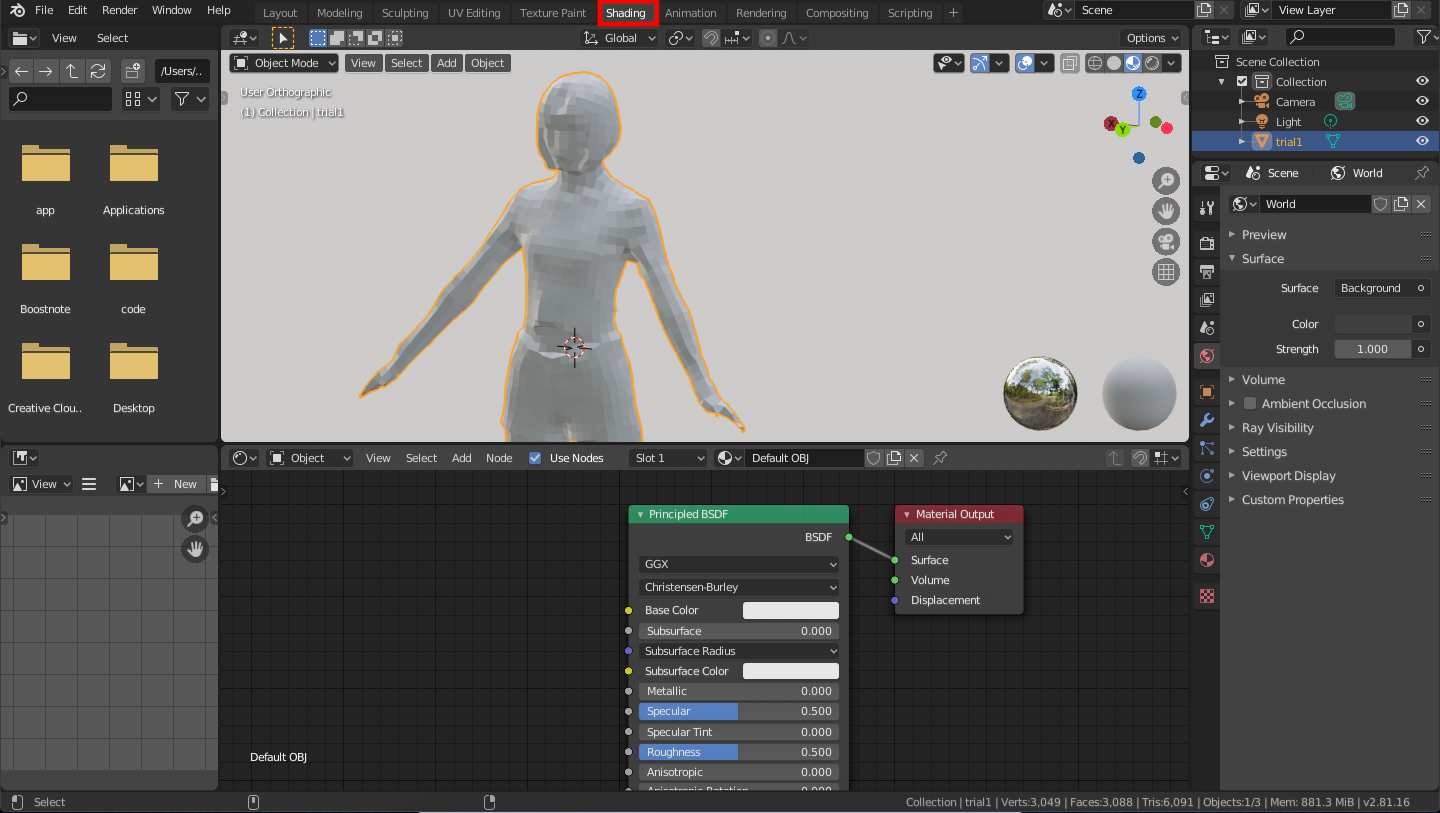
Shading tab
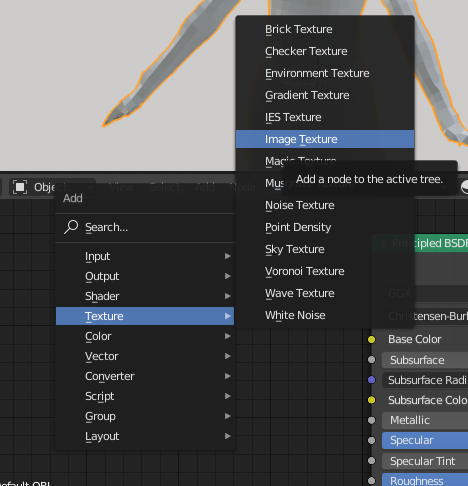
On the bottom screen (Node Editor), press Shift+A and select “Image Texture” from “Texture”.
The Image Texture node is now added. Click on the image icon to the left of “New” and select the name of the texture you just added.
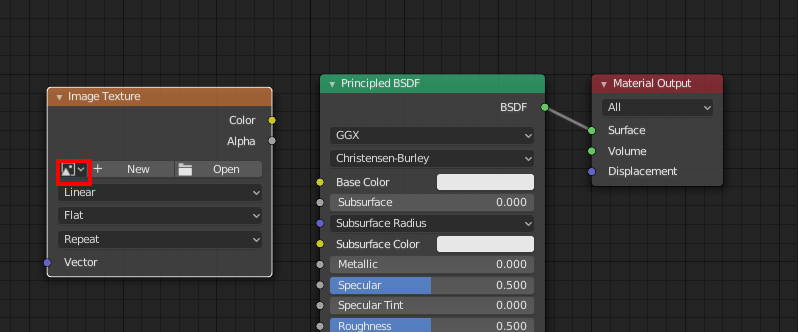
Selecting a Texture
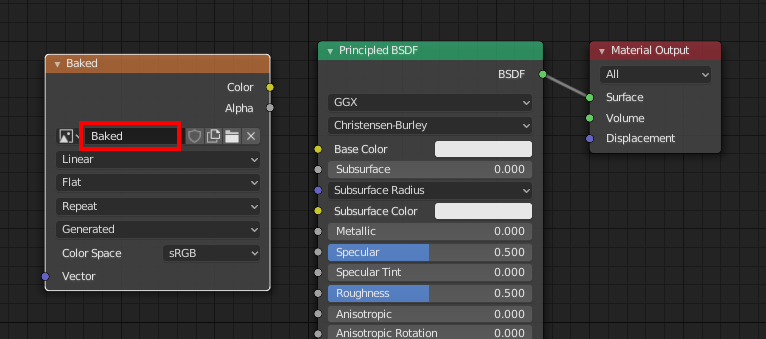
The texture is selected
There is no need to connect the texture node to the material node (Principle BSDF).
Importing a high-poly
Import a high-poly model from [Import] under [File].
The high-poly model is now loaded on top of the low-poly model. Make sure to position the two models so that they overlap.

A high-poly model is superimposed on a low-poly model
Select “Shade Smooth” from the menu that appears when right-clicking on both the high-poly and low-poly models.
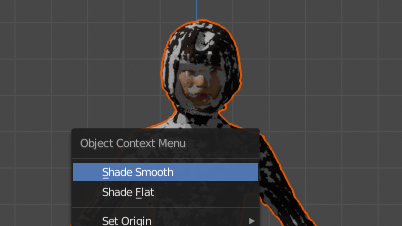
Apply Smooth Shade
We are now ready to bake.
Bake
In Object mode, select the high-poly model, then the low-poly model, and click the camera icon on the right side of the screen.
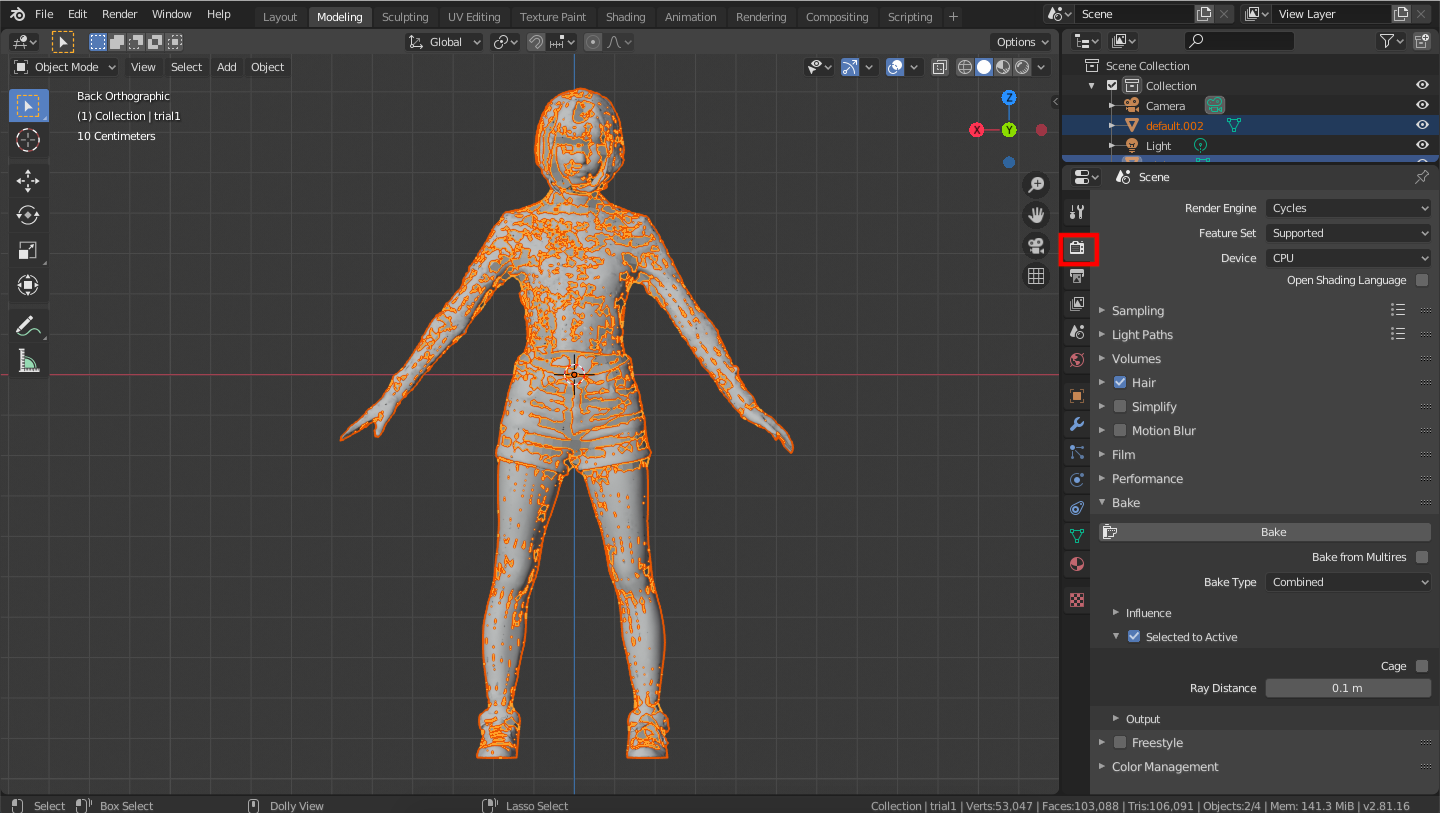
Select the two models
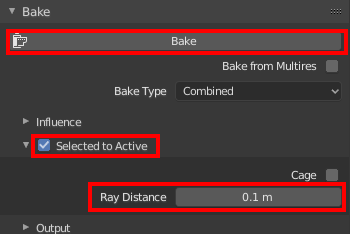
Select “Selected to Active” in the “Bake” section. Select “Ray Distance” to determine how high or low the bake should be. If the bake does not work properly, you can try increasing the value. In this case, we will set it to 0.1m.
Bake Settings
Click “Bake” to start the baking process. Make sure that the progress bar appears at the bottom of the screen.
Progress bar at the bottom of the screen
When the progress bar reaches 100%, the bake is complete. Check the UV Editing tab to see the texture that has been created.

Baked texture
Connecting texture nodes
Select “Save As…” from “Image” in the left screen to save the texture as an external file. Saving as an external file ensures that the texture will not be lost inside the file.
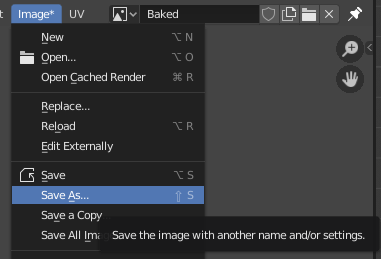
Saving textures externally
Connect the texture node to the material node. From the file icon of the texture node, load the texture file that you just saved externally.
*In Blender 2.80, make sure that the item above “Linear” is set to “Color”.
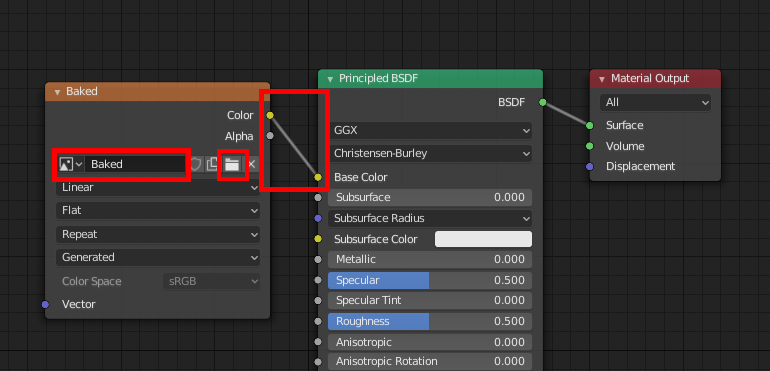
Connect the texture node to the material node
The texture is now reflected!

Bake successful!
Compared to the high-poly model (left), we can see that the texture has been applied without any discomfort.

High-poly model (left) and low-poly model (right)
Thank you for your time. Baking is now complete.
You can upload the 3D model on Blender to STYLY. Please refer to the following article for how to do so.