After modelling and UV mapping, we make textures next.
Making textures is one of my favourite tasks as I can see the change in the final quality.
I don’t like the previous task, UV mapping, so I am now excited by this phase!
From this point onward, we make textures by using ‘Substance Painter’ and ‘Substance Designer’.
Import fbx file by Substance Painter
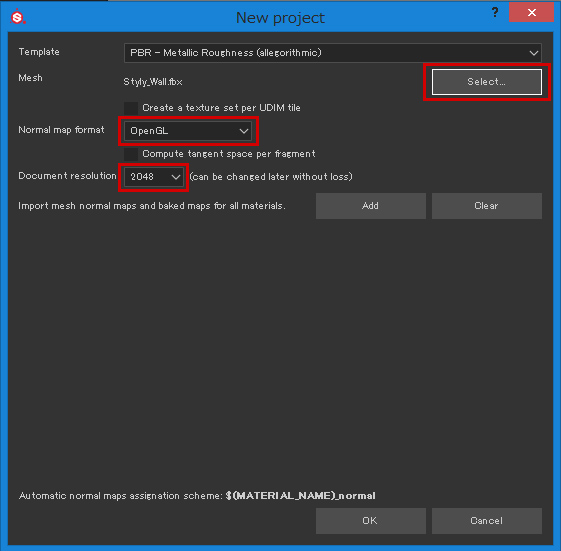
Click the ‘Select’ button to specify the fbx file to import.
It’s recommended to uncheck the box of ‘Compute tangent space per fragment’ for Unity.
Set ‘Normal map format’ to ‘OpenGL’.
I set ‘Document resolution’ to 2048.
Click ‘OK’ to create a new project.
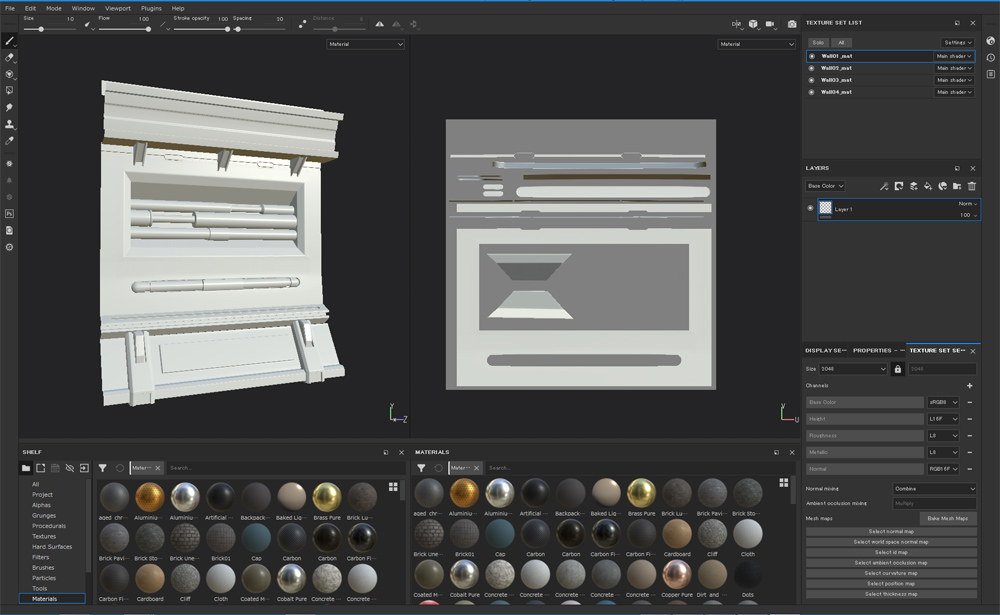
The fbx file has been imported to Substance Painter.
Draw texture by Substance Painter
The first task is Baking.
Although we didn’t prepare the high-polygon mesh, we still need to bake to enable Ambient Occlusion.
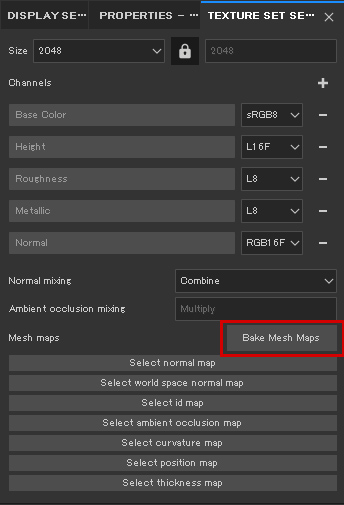
Click ‘Bake Mesh Maps’ and the menu of ‘Bake’ pops up.
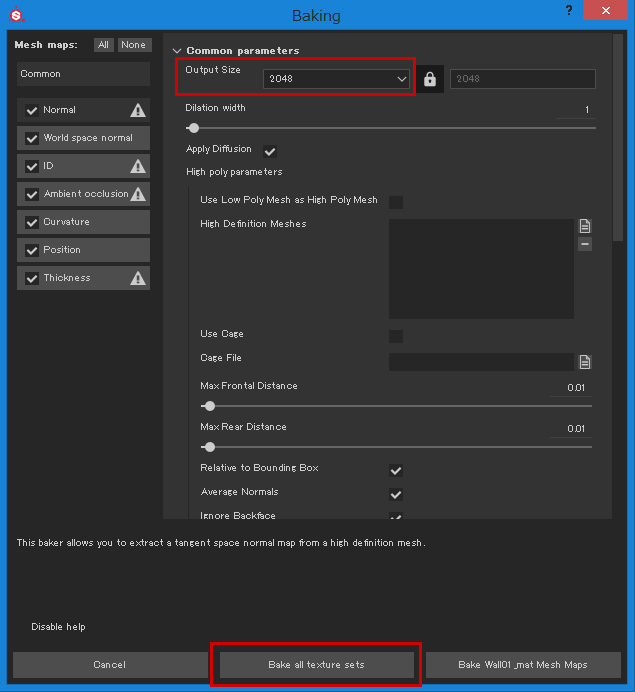
Click ‘Bake all texture sets’ with ‘Output Size’ set to 2048 and the other parameters left as default.
After a while, the texture will be baked with the Ambient Occlusion Map assigned.
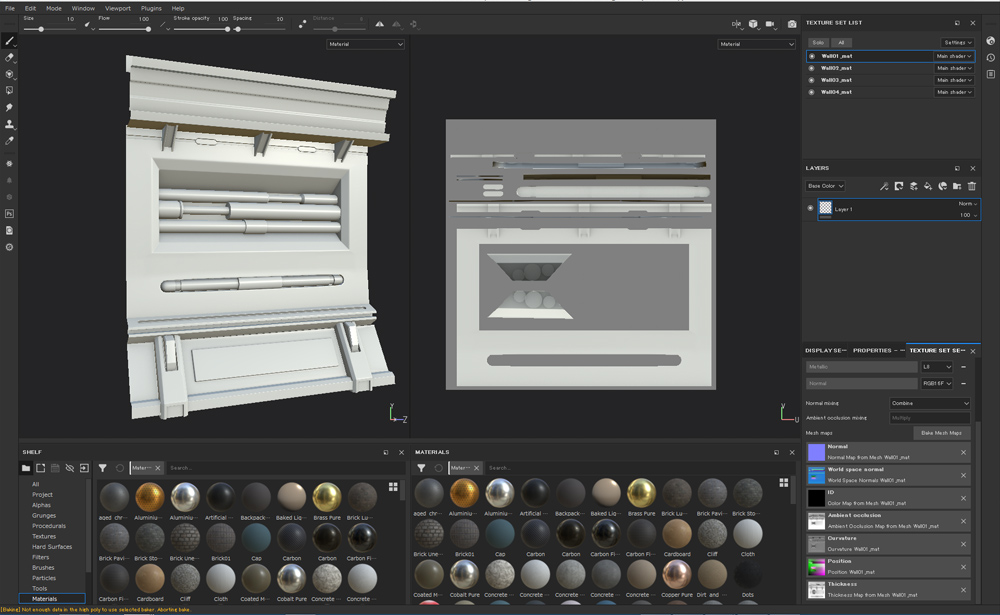
Ambient Occlusion Map seems to highlight the details a bit.
Now draw textures on each channel.
Firstly, add ‘Basecolor’ and ‘Metallic’ all over the UV map.
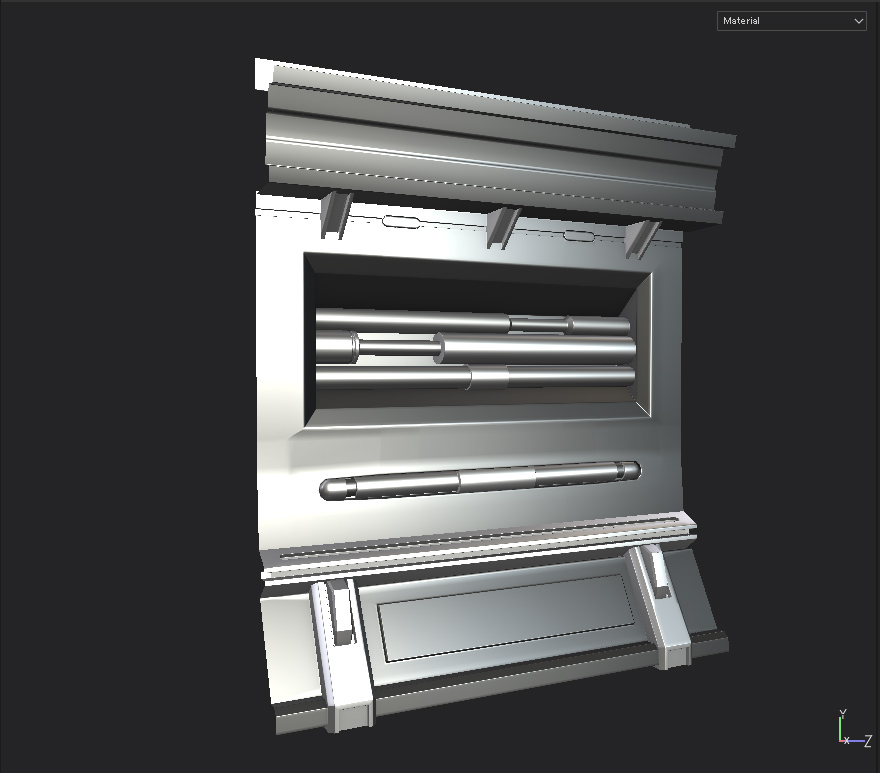
Then, add ‘Roughness’. I applied a strong ‘Roughness’ this time.
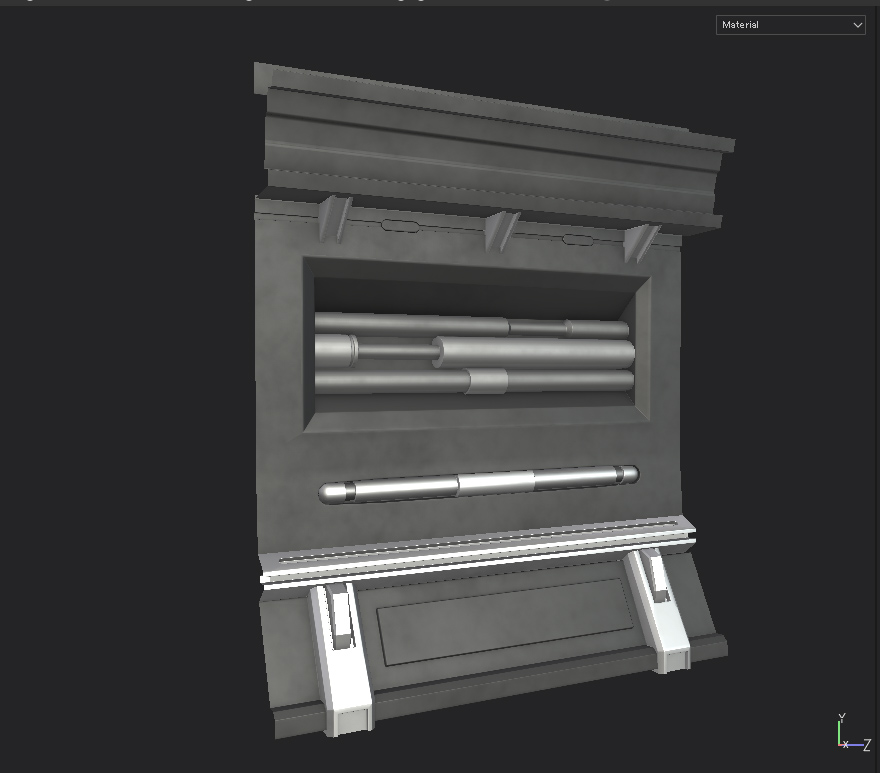
Add ‘Emissive’ to have more ‘Sci-fi’ taste.
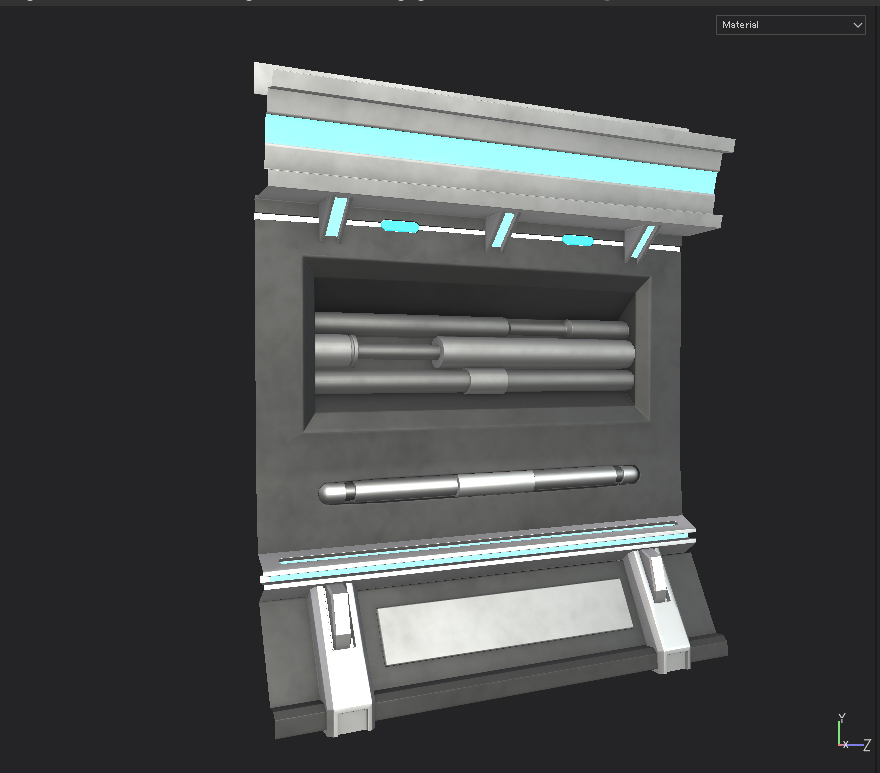
As a final touch, adjust ‘Height information’ to add the details.
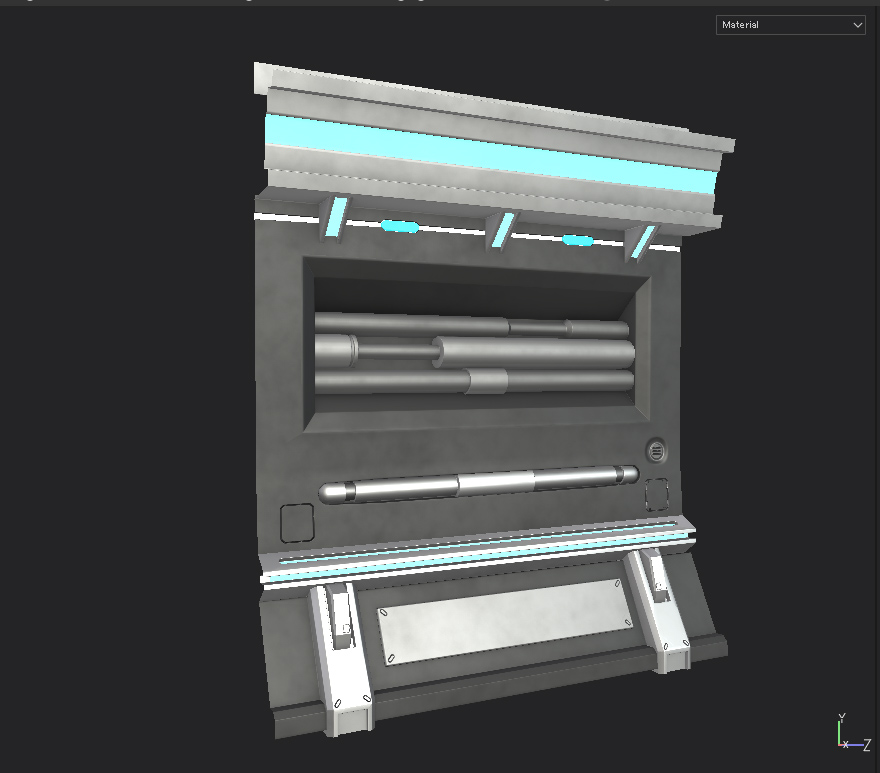
The wall part is completed as shown above.
It’s very handy to finish up most of texturing task just by ‘Fill Layer’ in Substance Painter.
Export textures for Unity by Substance painter
Export the textures to use in Unity.
Set the parameters by ‘Export Textures’.
Firstly, change the preset for Unity by selecting the ‘CONFIGURATION’ tab.
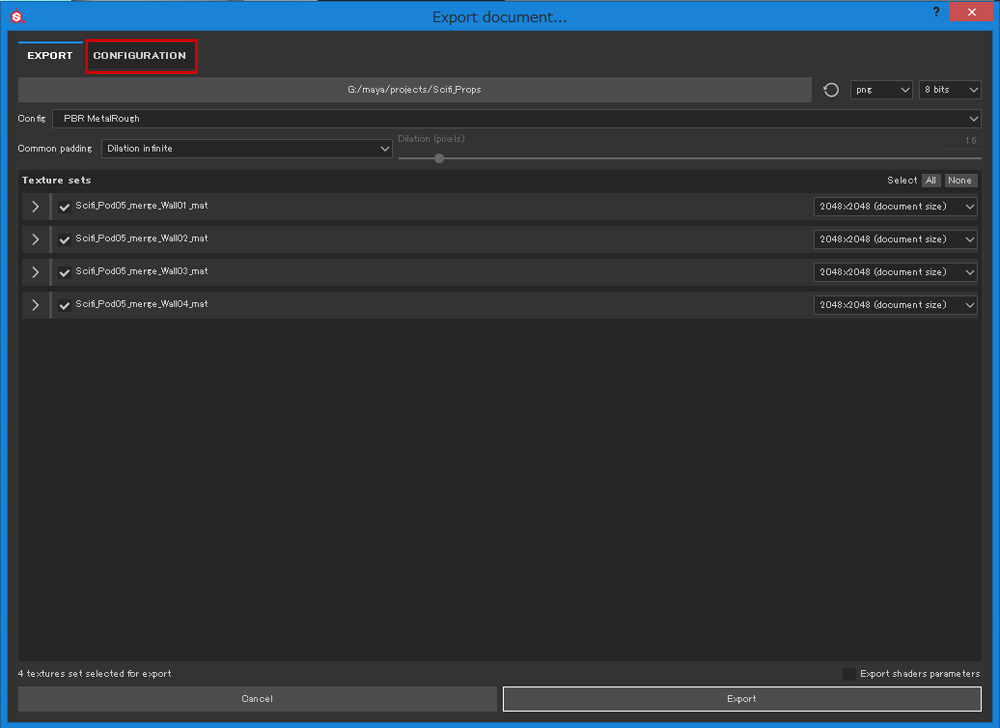
Add ‘Ambient Occlusion’ to export.
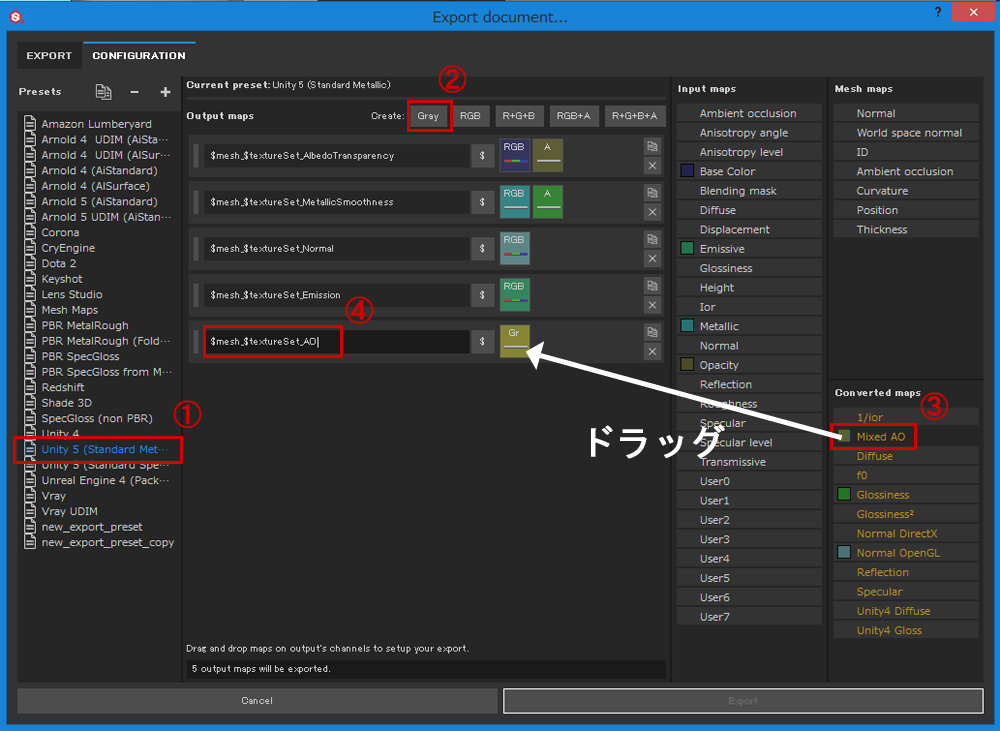
① Select ‘Unity 5 (Standard Metallic)’.
② Click ‘Gray’ channel.
③ Drag ‘Mixed AO’ to ‘Gray Channel’ to connect them.
④ Name the map ‘$mesh_$textureSet_AO’.
As the changes have not been applied yet, close the export window and open it again.
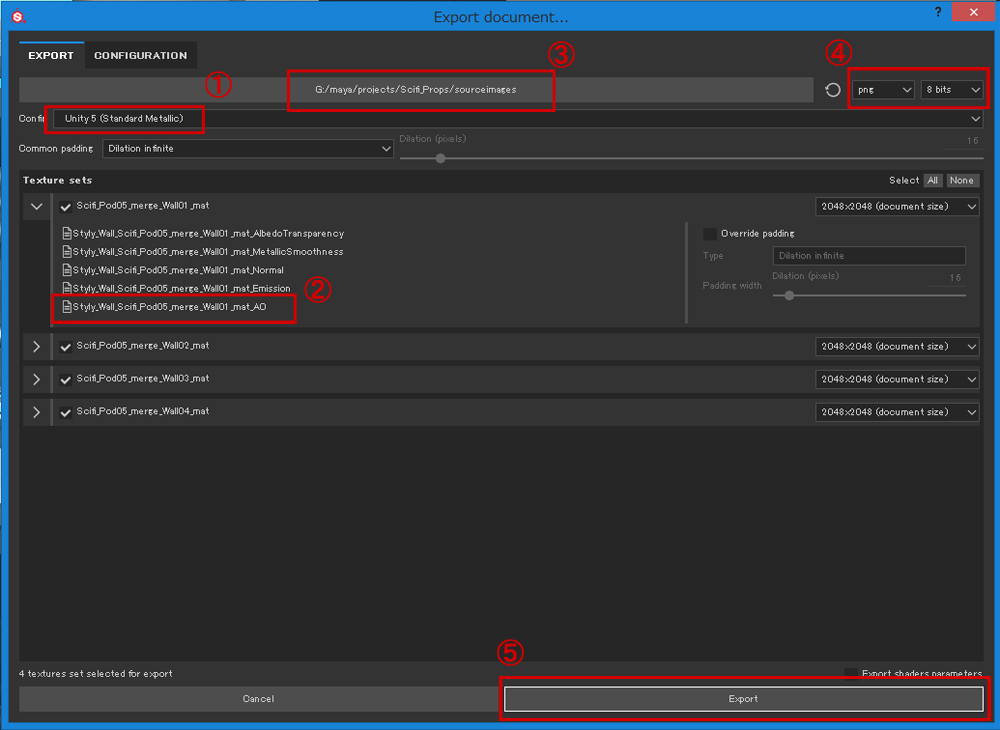
① Select ‘Unity 5 (Standard Metallic)’.
② Make sure there is the AO (Ambient Occlusion) you added earlier.
③ Set where to save the textures.
④ Select the type of texture to export.
⑤ Create the texture by clicking ‘Export’.
Create a texture by Substance Designer
I made a kind of panel with a ‘Sci-fi’ taste.
This is just a polygon plate I put a texture on.
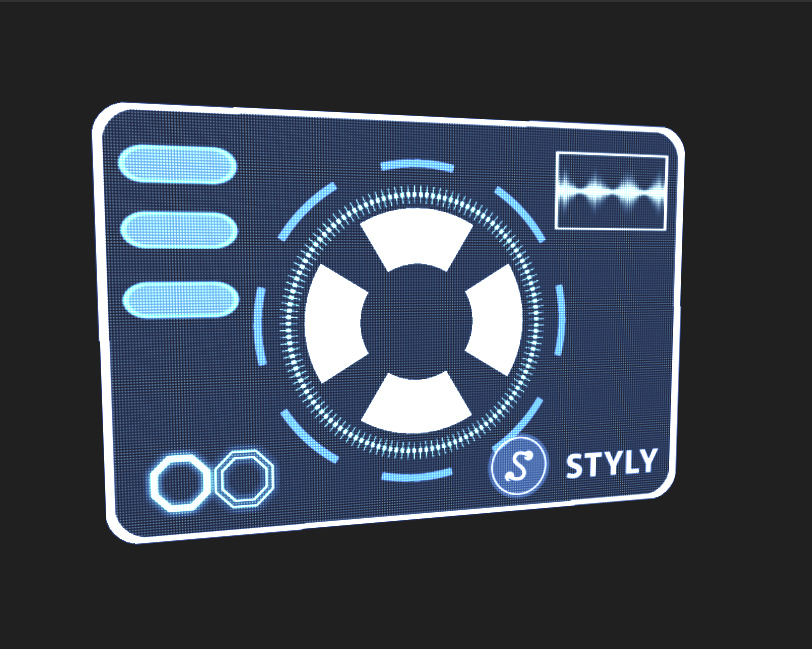
I made it by Substance Designer.
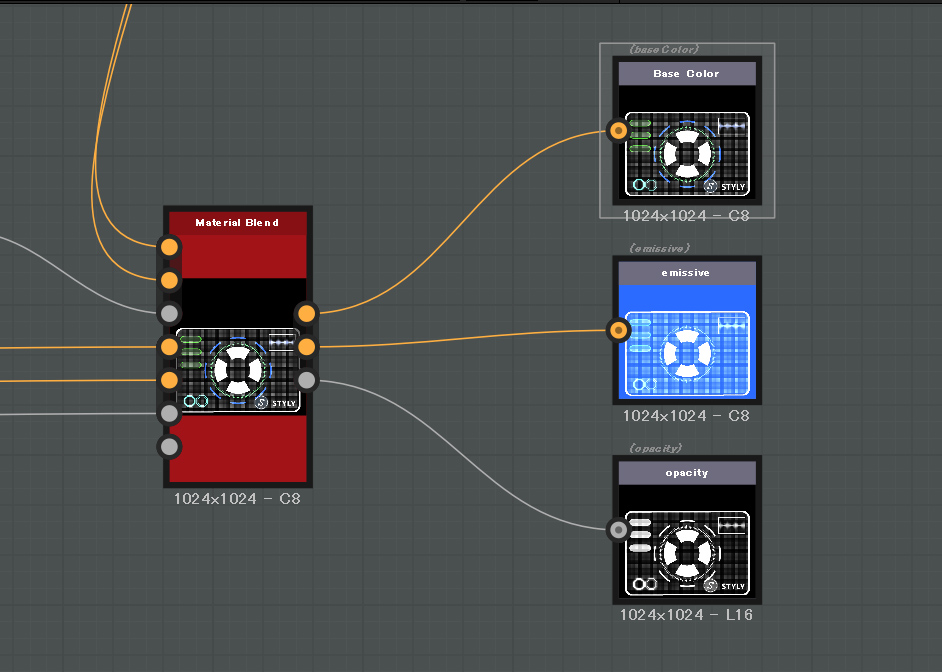
I used only three channels, ‘Basecolor’, ‘Emissive’ and ‘Opacity’.
The whole construction is shown below.
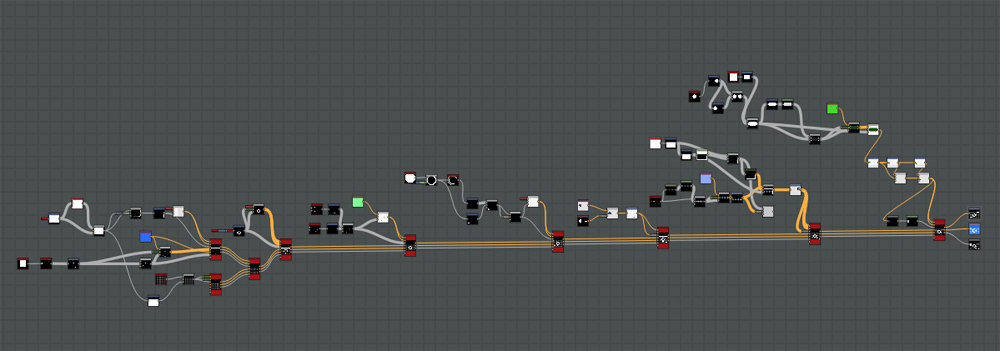
I overlapped the Shapes by connecting to ‘Material Blend’.
Unity can import sbsar file exported by Substance Designer.
Although it can be used as Material, I found it’s not displayed in STYLY. So I exported it as a bitmap file.
‘Substance’ is robustly compatible to game engines such as Unity, and has many useful presets. So it’s very attractive to artists.
We build up the Scene from here.
The work:Scifi Laboratory
Links
・A VR space with the theme of a secret laboratory for mechanical engineers, ‘Scifi Laboratory’ design process #1 Modelling
・A VR space with the theme of a secret laboratory for mechanical engineers, ‘Scifi Laboratory’ design process #3 Unity