This article explains the basic use of “shaders” for arranging the look and feel in Unity, what are the best ways to get them, and how to create your own.
What is a shader?
Unity uses “shaders” to depict objects on the screen, whether they are 2D or 3D.
Let’s try it out by creating a Cube from the 3D Object section of GameObject and checking the Material section of Inspector.
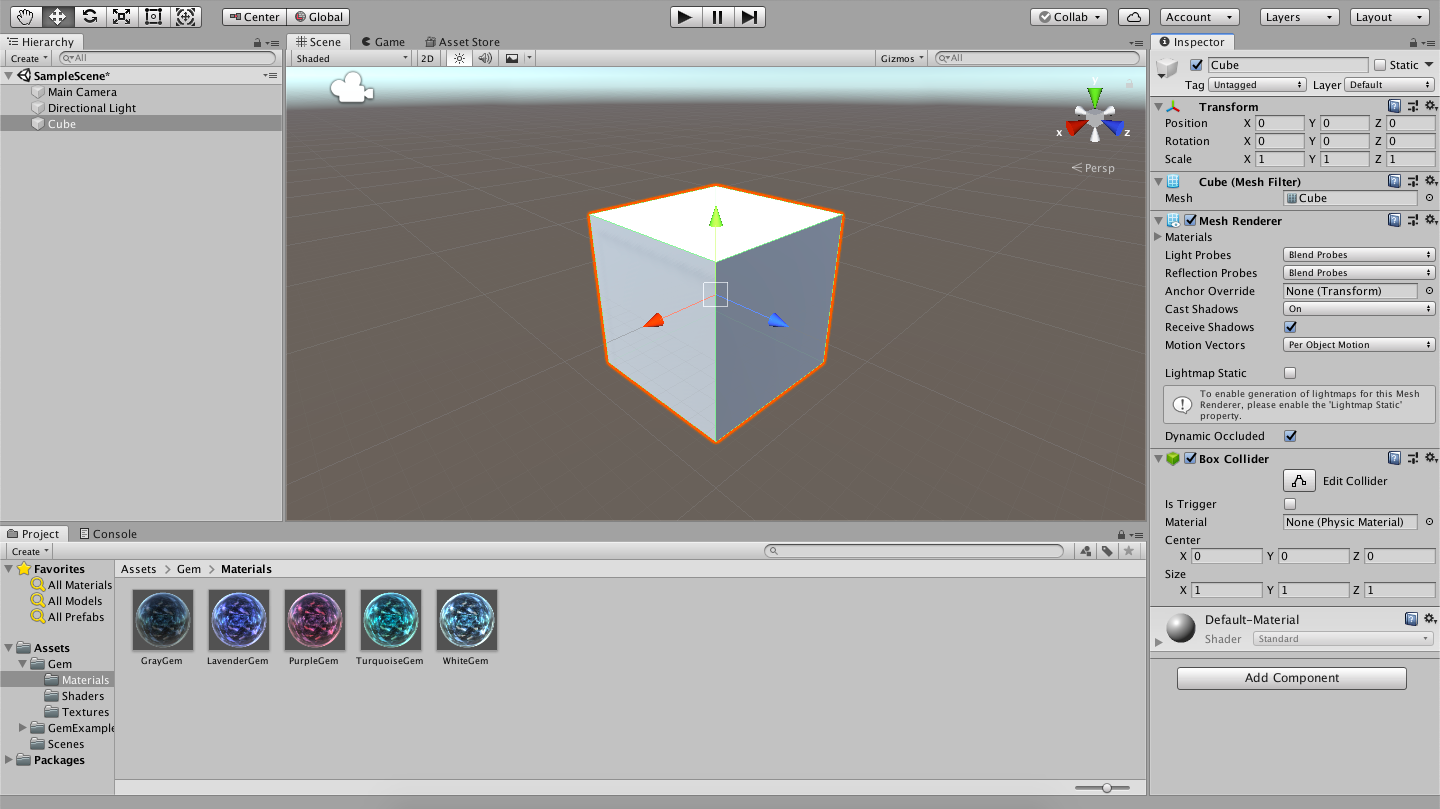
Place the Cube
Materials and Shaders Information
Materials are used to link the shaders to the 3D model. They are also responsible for storing the numerical data to be set in the shaders. They contain information such as: “Which shaders are set to which 3D model, and at what value.
By default, the Default-Material material is applied to the 3D model, with the “Standard” shader applied to it.
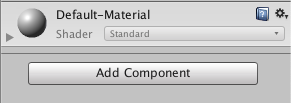
For example, if we apply a material called WhiteGem from the “Gem Shader” downloaded from the Unity Asset Store to the Cube, it will look completely different.
Applying WhiteGem
This is because there is a shader called “Gem” that is tied to WhiteGem.
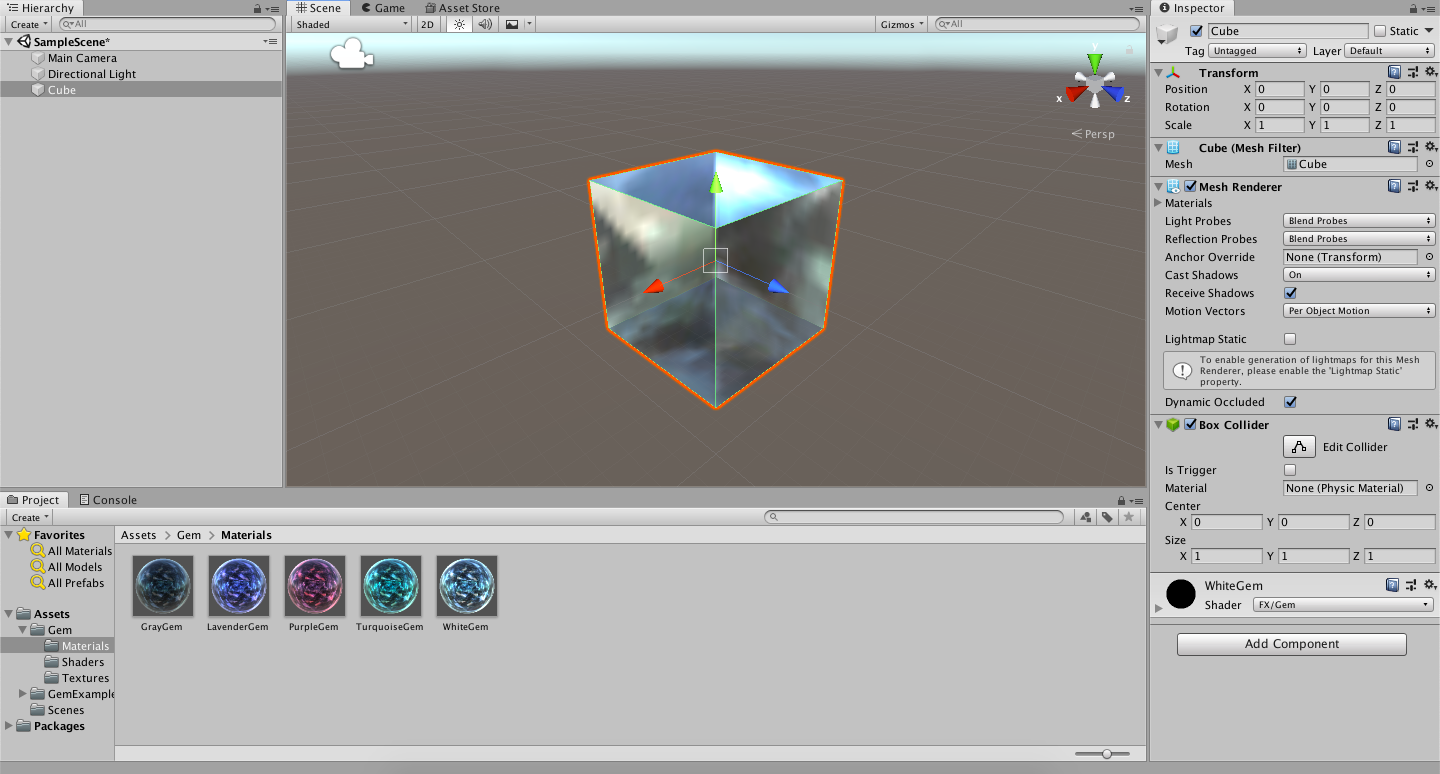
A shader is a code file that appears as a rainbow-colored file icon in Unity. If you double click on them, you can see what’s in the code.

Shader file
What’s in the Code
By the way, shaders are not just for adding texture to a 3D model, but can also be used to implement tricks like the following
How to prepare a shader
Use what’s already in Unity
Unity is a PBR (Physics-Based Rendering) engine, so several shaders can be used to create a realistic look and feel.
Shaders
We often use the Standard and Unlit shaders.
Standard” and “Unlit” shades are automatically applied to the light, as shown below.
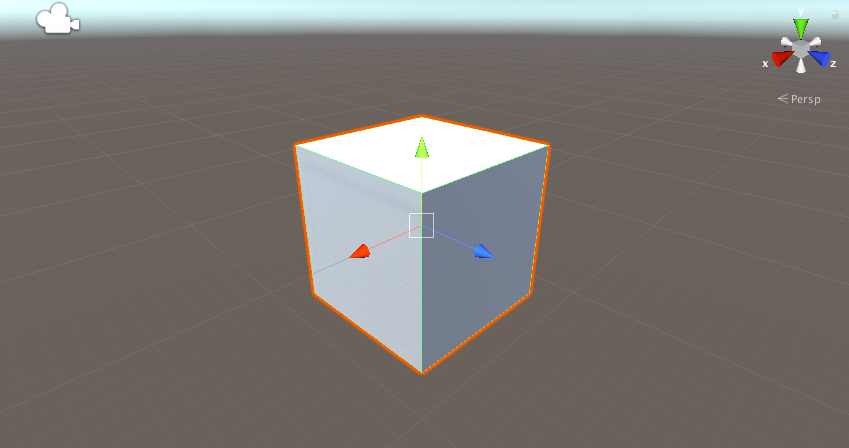
Standard Shaders
The Unlit shader, on the other hand, is unaffected by light.
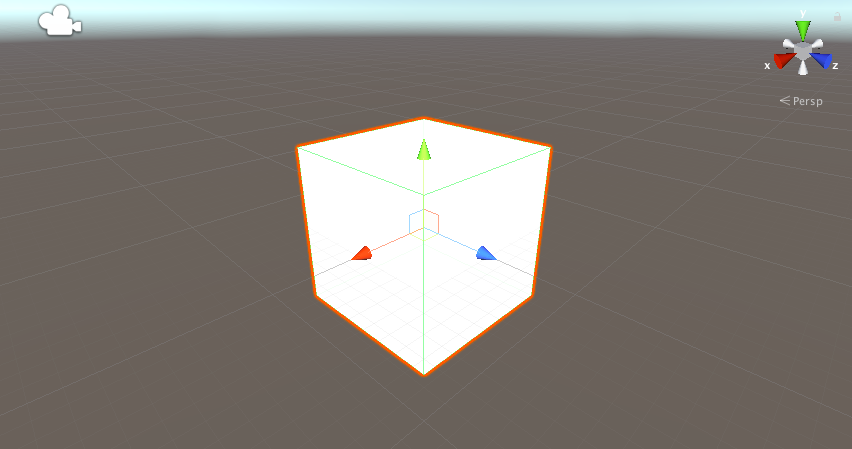
Unlit Shader
For models such as photogrammetric models with pre-shaded textures, we use the Unlit shader, as using the Standard shader will result in unnatural shadows.
You can use these standard shaders by default, but there are no special shaders available, so you’ll need to either use the ones already created by the method described below or create your own.
Download from the Unity Asset Store
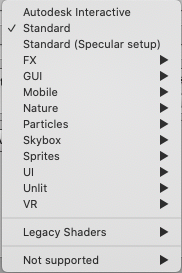
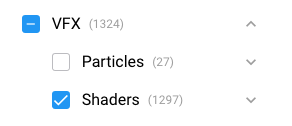
The Unity Asset Store offers a variety of free and paid shaders in the “VFX” category under “Shaders.”
Select a category
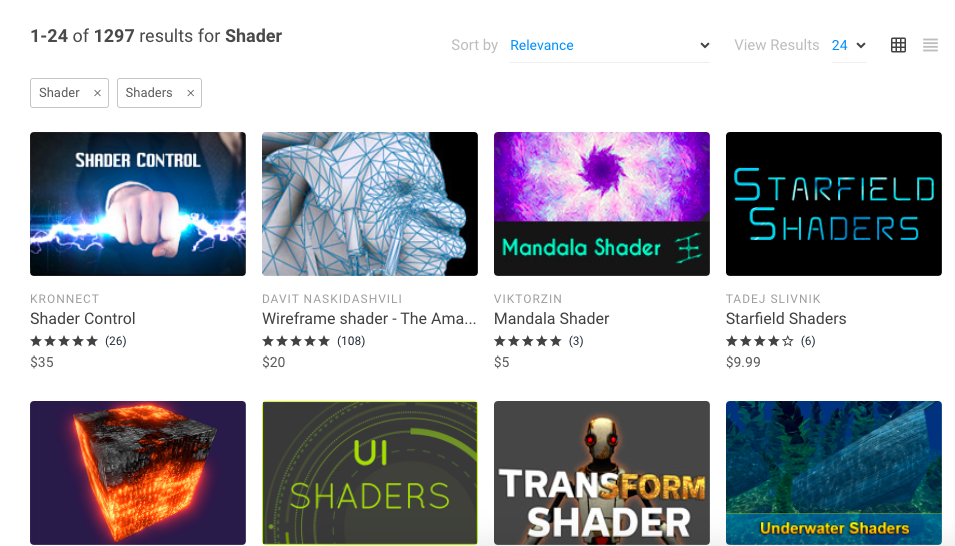
Search results
For more information on how to use the Unity Asset Store, check out the following article.

The following article shows some of the shaders in the Unity Asset Store.
Download at BOOTH
In some cases, shaders are available on the BOOTH site, not the Unity Asset Store.
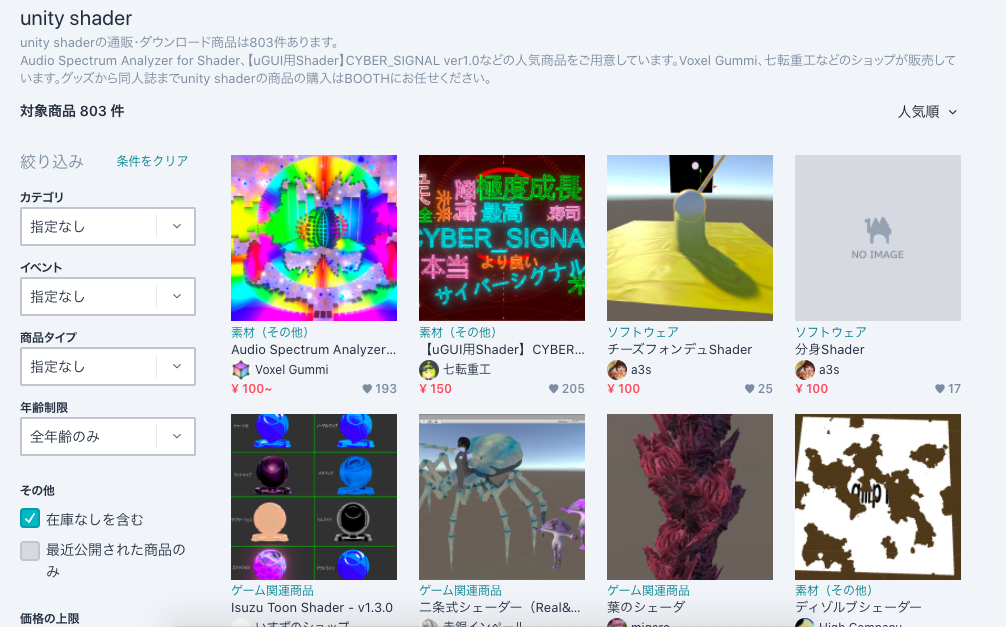
Search results for unity shader
This one is also free and paid for, but it is often cheaper than the Unity Asset Store.
However, there is a case that it is not for Unity, so please download it after checking the description well.
Writing your own program
Shaders are written in pragmatics called the Shader Language (HLSL).
There are three types of shader programs
- Fixed-function shaders
- surface shader
- Vertex and fragment shaders
The most commonly used are the Vertex and Fragment shaders, which are the most flexible of all. Most of the shaders available in the Unity Asset Store and elsewhere are also of this type.
Vertex and fragment shaders
The general structure of vertex and fragment shaders is as follows code. Please refer to it when looking at shader articles.
Shader "Unlit/NewUnlitShader"
{
    Properties
    {
        //Properties
    }
    SubShader
    {
        Pass
        {
            CGPROGRAM
            #pragma vertex vert //declares to use the vertex shader
            #pragma fragment frag //declares to use the fragment shader
            //Describe the shaders

            ENDCG
        }
    }
}
Using the vertex and fragment shaders, you can create the following It is. (An introductory article is in preparation.)
![[Unity] The ‘Polygon Destruction’ Shader – Explosion As the Camera Approaches](https://styly.cc/wp-content/uploads/2019/05/PolygonDestuctionShader-160x160.jpg)
Create with a node-based editor
If you don’t like to code, you can also use a node-based editor to create your shaders intuitively.
The advantage of node-based editors is that you can build your shaders while avoiding the tedious parts of shader code writing, making it easier to understand the basic structure of your shaders.
There are three types of node-based editors
- ShaderGraph
- ShaderForge
- Amplify Shader Editor
ShaderGraph
If you are in Unity 2018.3 or later, you can use the ShaderGraph in Unity. You can use a function called “ShaderGraph.”
Please refer to the following article about the basic usage of ShaderGraph.
ShaderForge
ShaderForge is a node-based editor that is distributed for free here.
With ShaderForge, you can create the following.
Amplify Shader Editor
Amplify Shader Editor is a paid node-based editor available on the Unity Asset Store.
Although it is expensive, its extensive sample demos and easy to use UI are part of its appeal.
For more information on the basic use of Amplify Shader Editor, please refer to the following article.
![[Unity] Introduction to Node-Based Shader [Amplify Shader Editor]](https://styly.cc/wp-content/uploads/2019/04/ASE1.10-160x160.gif)
That’s what shaders are and how to get them.
Try them out and enjoy shaders in a way that works for you.