This time, I introduce basic operations of a VR paint software, ‘Tilt Brush’ (for htc VIVE).
Please don’t be scared even if you are new for VR illustration or you gave up it because you found it ‘difficult’ before.
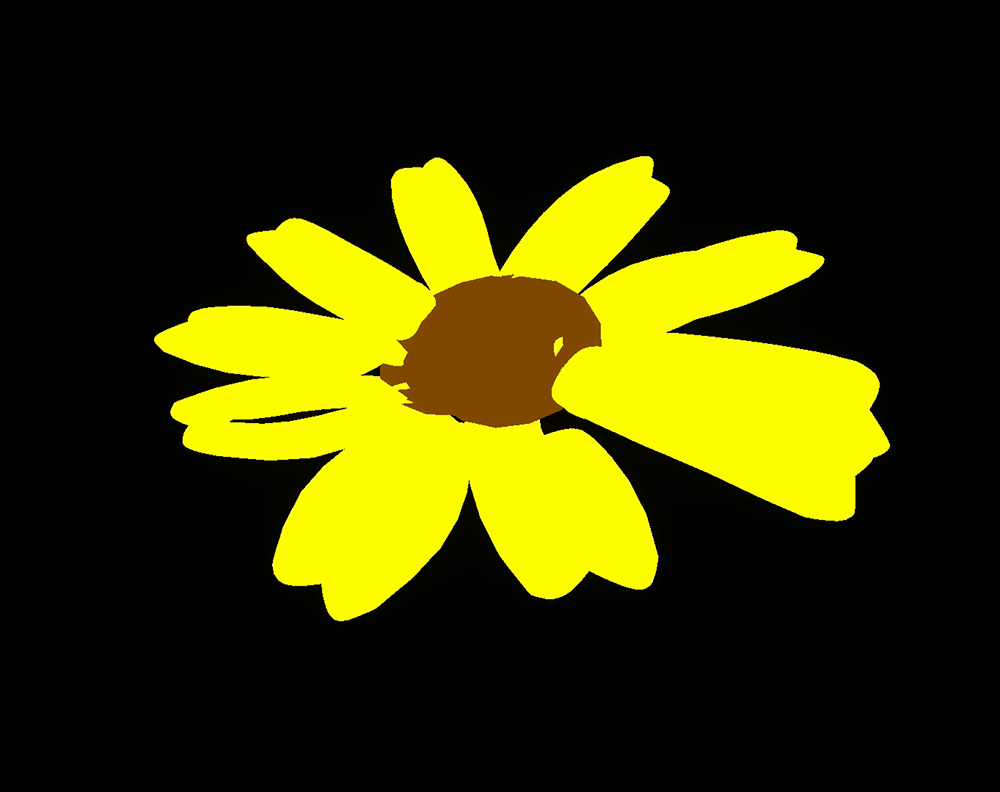
Let’s learn the basic operations of Tilt Brush by drawing a ‘flower’.☺️
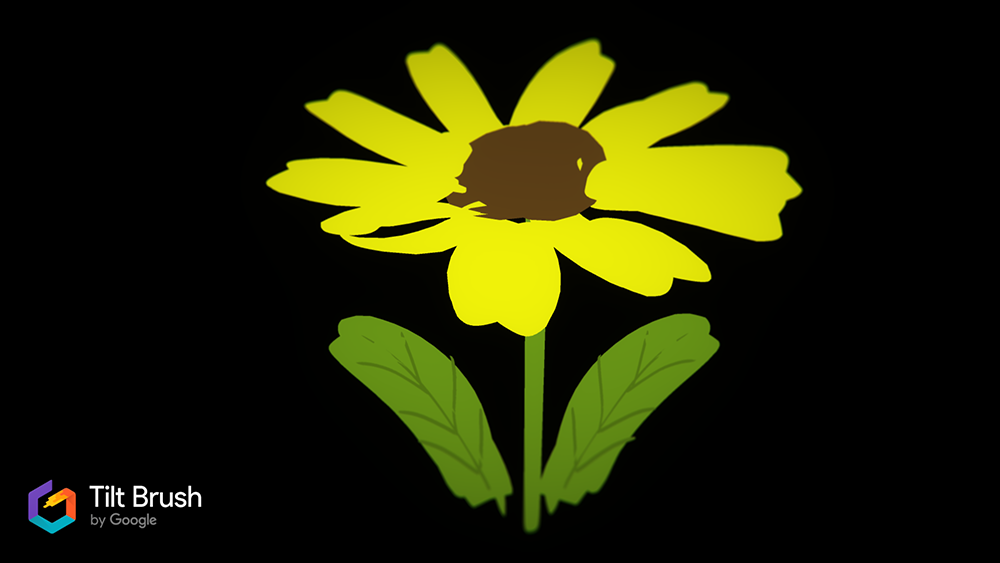
Expected completion image
Tilt Brush is very handy software to make VR space, as you can export your drawing to STYLY easily.
As this is just an introduction, I will explain how to use Tilt Brush with ‘Beginner Mode’ as default.
I don’t use any difficult tools! Let’s enjoy drawing (^o^)/
Set Environment
Firstly, change the backdrop (Environment) to suit to what you are going to draw.
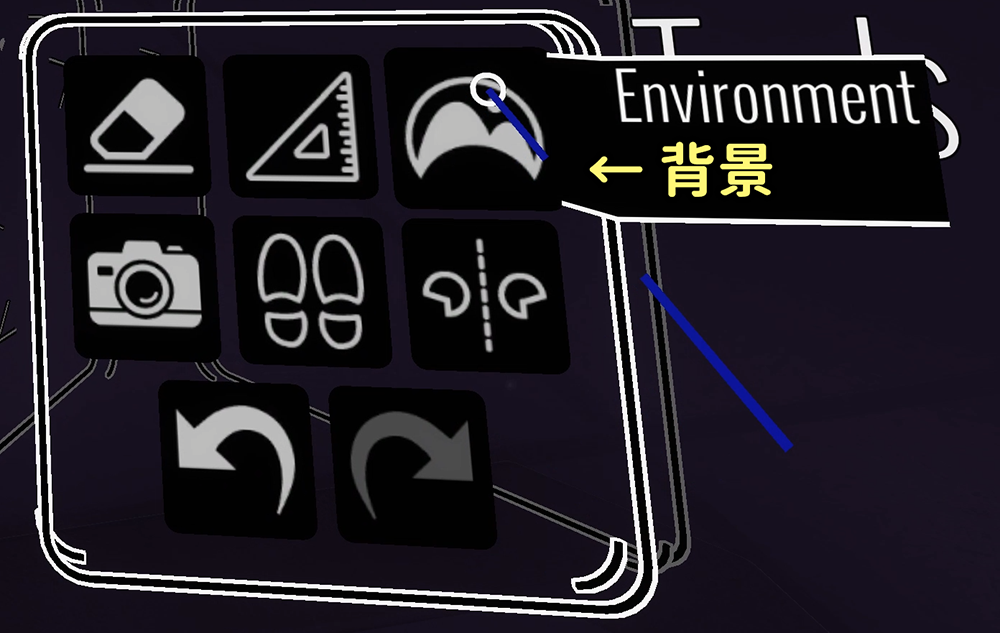
The tool for Environment
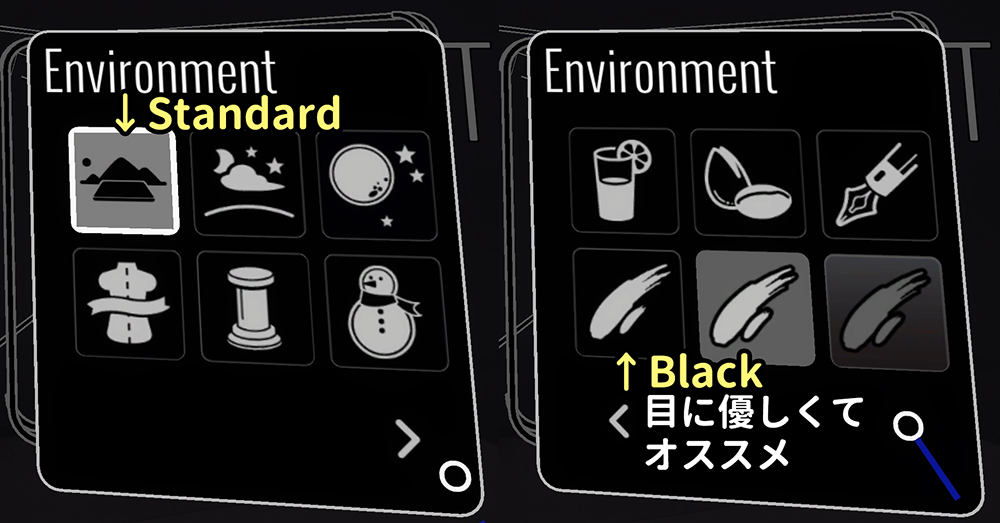
Leave it ‘Standard’ if you didn’t decide what to draw.
Let’s adjust it after you finish drawing as you can change it anytime.
I recommend ‘Black’ to reduce eye strain.
Select ‘Environment’.
Select Brush
Next, select Brush.
Roughly speaking, you can classify the brushes into ‘oil painting brush’, ‘flat brush’, ‘brush for polygon’ and ‘brush with effect’.
Since there are too many brushes, taste a new brush little by little while drawing a picture.
Let’s be familiar with drawing in VR space by a straightforward “flat brush” as a starter.
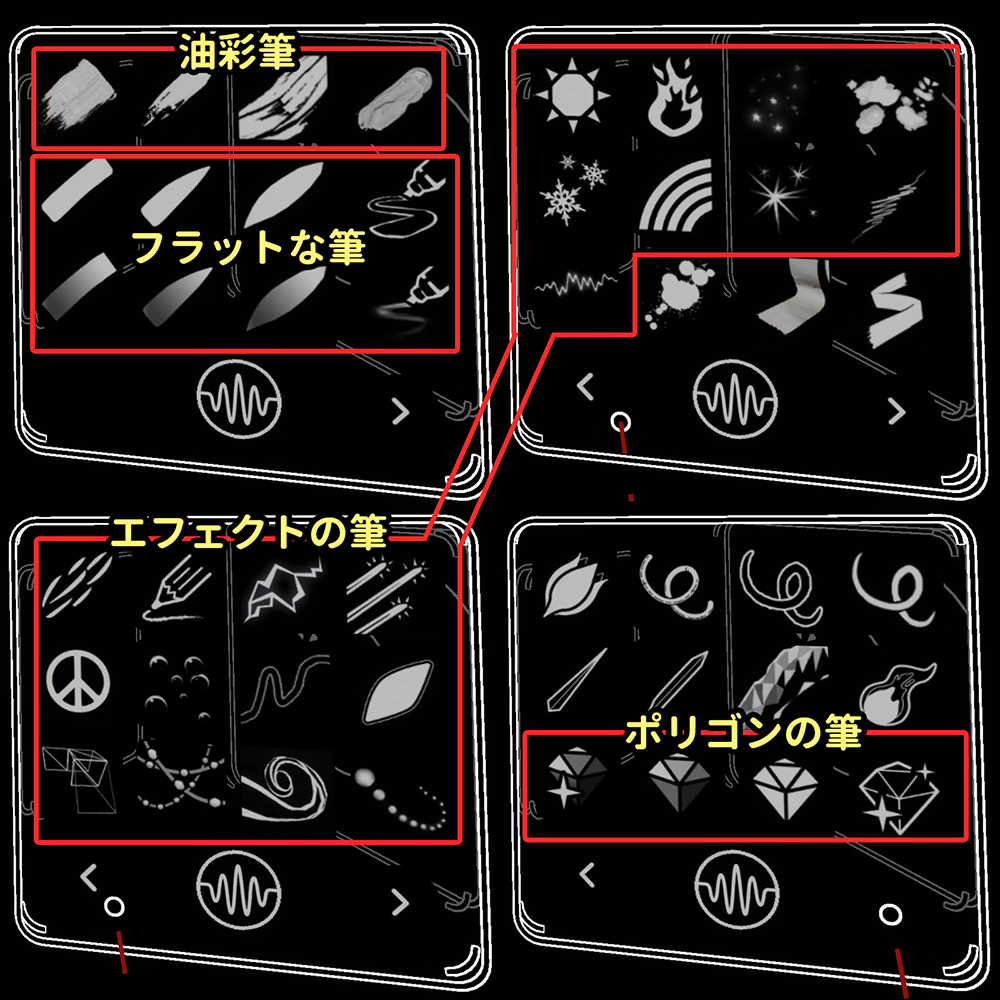
The list of brushes
Select colour
Next, select a colour.
It’s handy to save the frequently-used colours to the palette.
(Note that they will be cleared when you start as new).
As the colour sometimes look different under a certain condition of brush or light, adjust it while drawing.
I have chosen yellow as I draw from the petals this time.
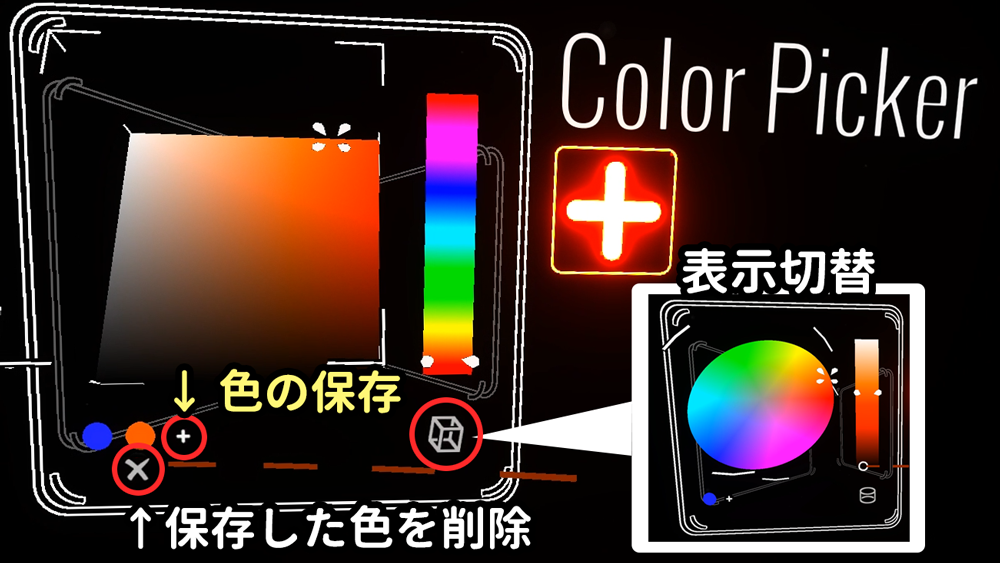
The palette to choose a colour
Let’s draw
Then, let’s start drawing a flower.
At first, adjust the width of your brush stroke by sliding your thumb from side to side along the brush-side(※1) trackpad.
Change the width of your brush stroke
You can draw a curve by pulling the brush-side trigger. Now draw with a dynamic stroke by using body motion.
Draw a curve.
※1++++++++++++++++++++++++++++++++++++++++
Hereinafter, I call the controller used as brush ‘brush-side’ and the controller with Tool window ‘palette-side’.
They can be swapped by getting the bottoms of both contorollers touched.
+++++++++++++++++++++++++++++++++++++++++++
Draw petals
Firstly, we draw the petals.
An example of petals.
In the case for ‘Whoops! I made a mistake’ situation, use ‘Undo’.
To take a shortcut, you can press the left side of the palette-side trackpad for ‘Undo’, and press the right side for ‘Redo’.
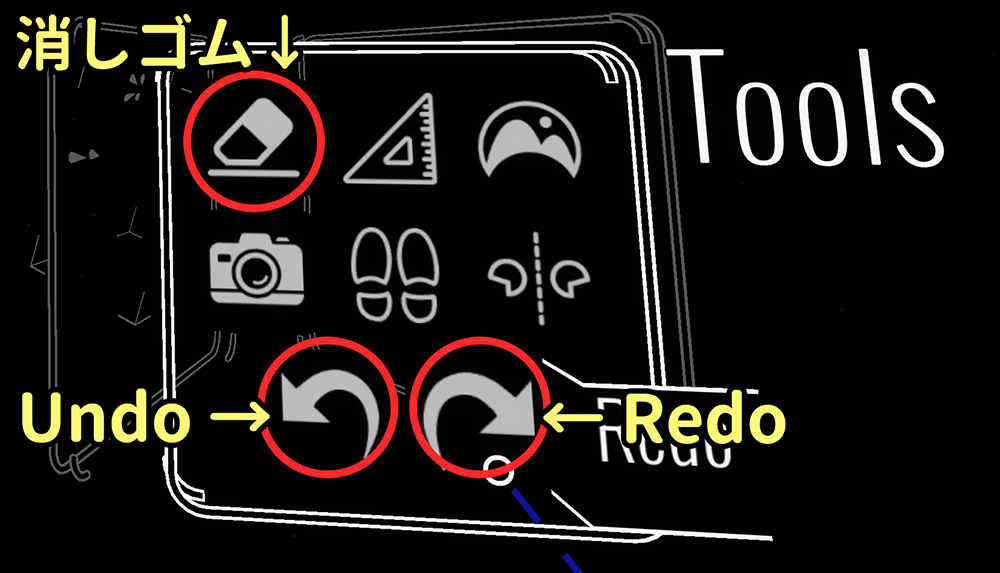
Eraser, Undo and Redo
You can also delete the curves you don’t need by ‘Eraser’.
With Eraser selected from the palette, touch a curve by the brush-side controller with the trigger pulled to delete it.
Draw a stalk
Draw a stalk next.
An example of a stalk
Let’s try to use the ‘Straightedge‘ tool.
Select the set square icon to draw a straight line.
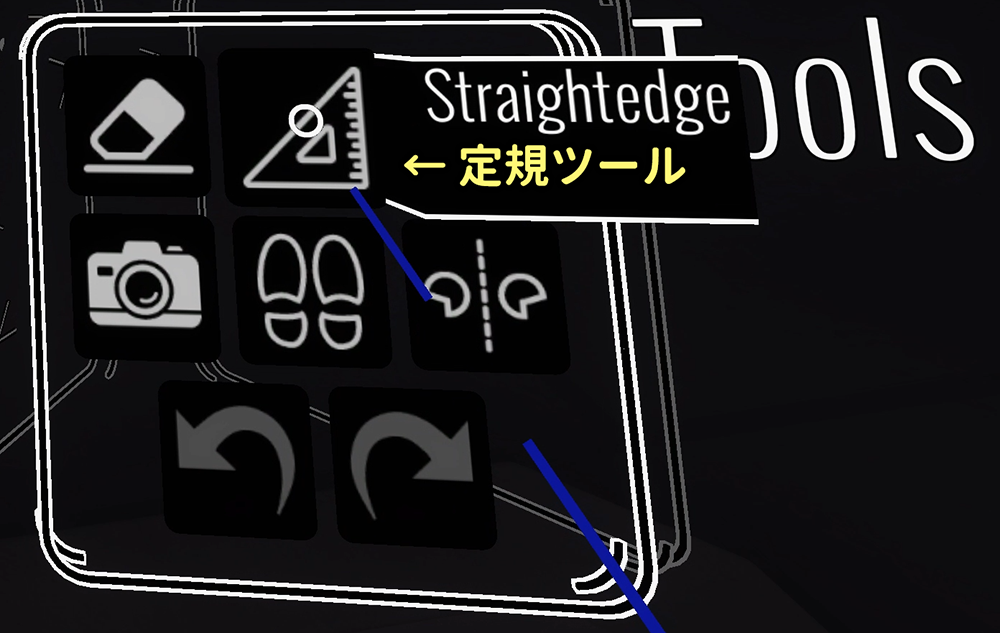
‘Straightedge’ tool
You can rotate the line with 45-degree step precisely by holding the brush-side trackpad while drawing it.
Use it when you want to draw a precise straight line vertically or horizontally, for example, when drawing a building.
Release your finger from the trackpad to deactivate it.
Rotate a line with precise 45-degree step
Press the set square icon again to exit from Straightedge tool.
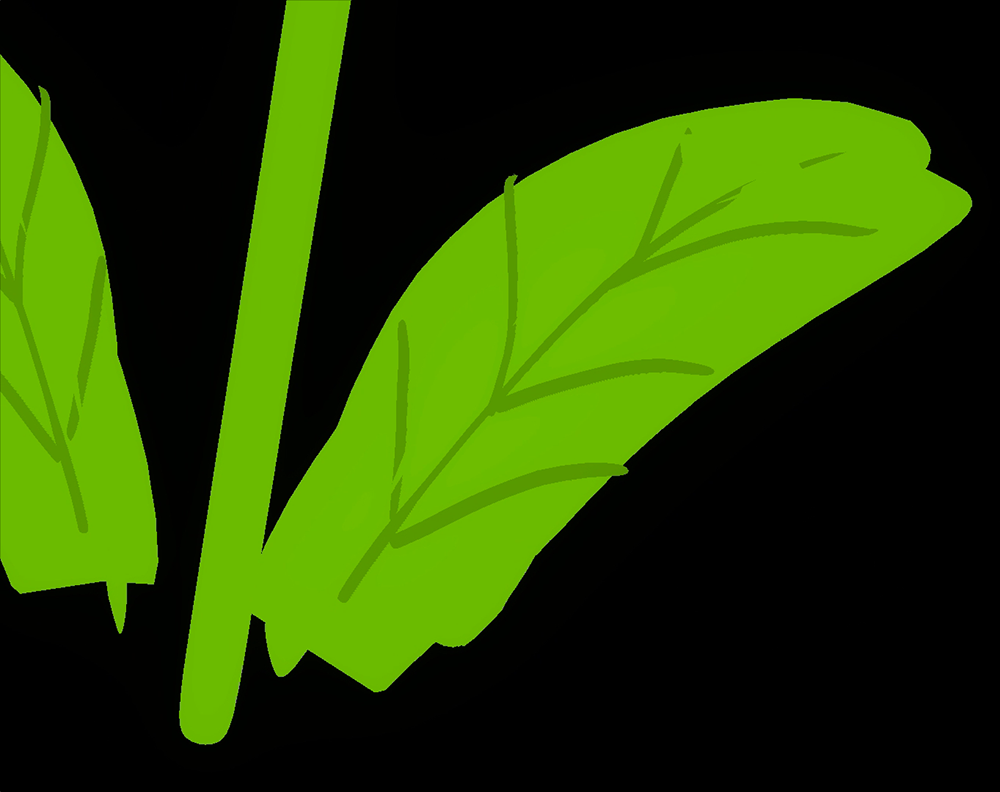
Draw leaves
Next, draw the leaves.
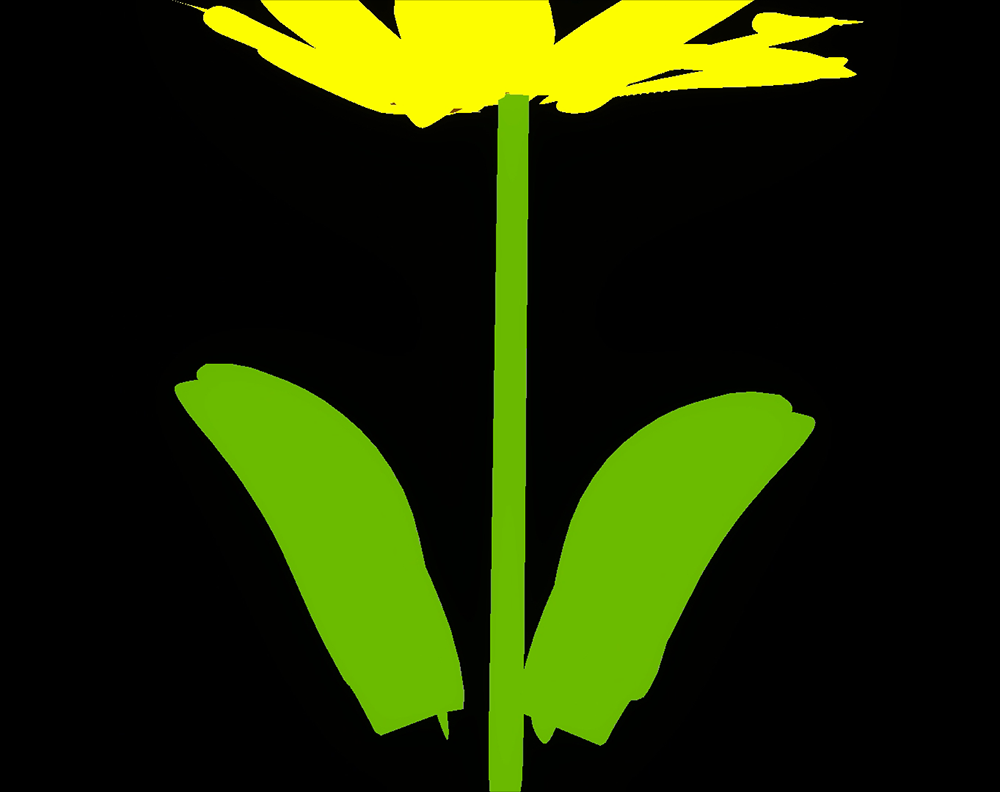
An example of leaves
Let’s draw the leaves by ‘Mirror’ tool.
A cross line is displayed when you select Mirror tool.
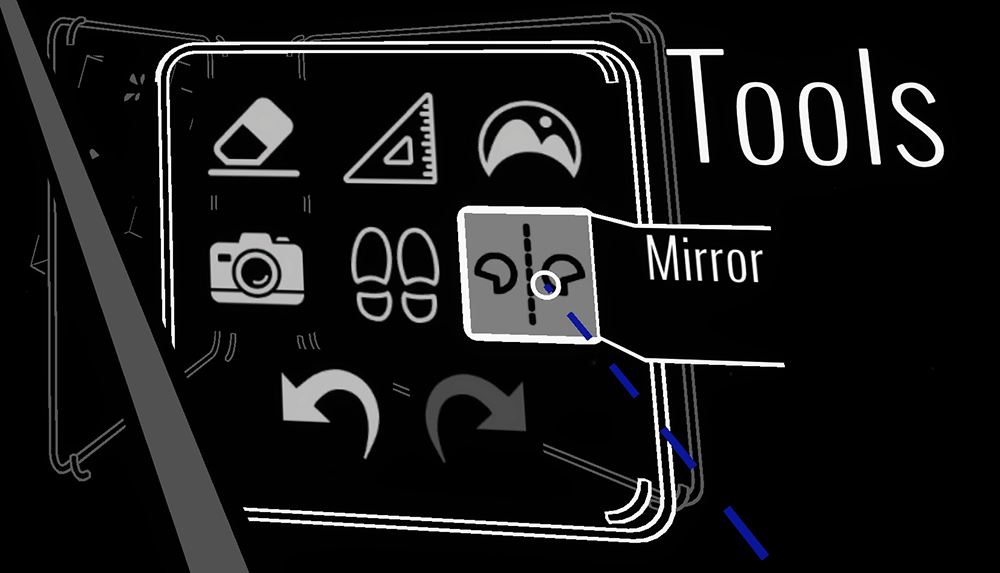
Mirror tool
Hold the box at the centre of the cross line by holding the grip of the controller and then move it to the centre line of the stalk.
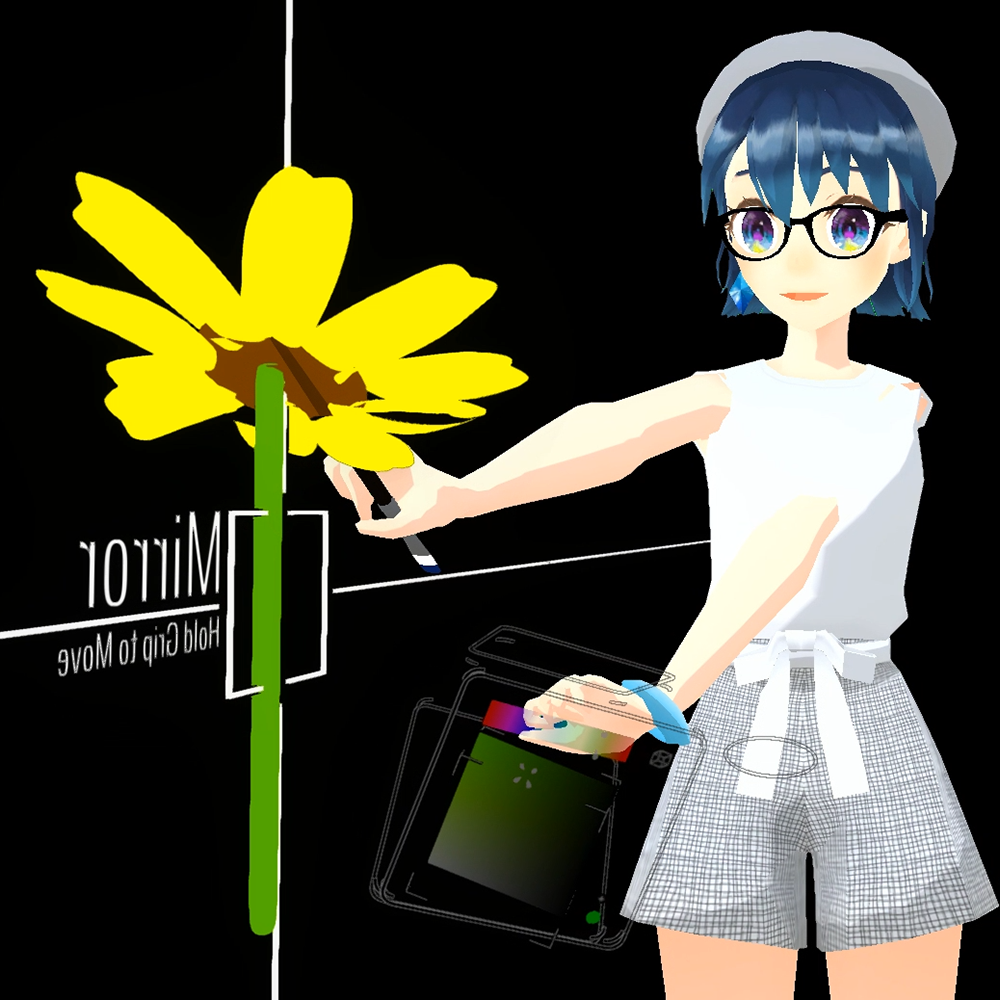
Move Mirror tool to the centre line of the stalk
Now, when you draw a leaf on one side, the same leaf is drawn on the opposite side.
Remember it to save your time.
Draw symmetrically by Mirror tool
A final touch
To finish it up, draw the veins of the leaves.
An example of leaf veins
When you draw finer details like this, scale the picture and move it closer to make drawing easier.
【Scale】
Narrow or stretch your arms with the grips of both controllers held down.

Scale a drawing
【Move】
Move your arms together with the grips of both controllers held down.
Move a drawing
【Rotate】
With the grips of both controllers held down, move the right hand forward to rotate counterclockwise and move the left hand forward to rotate clockwise.
Rotate a drawing
By 3D nature of VR illustration, you often find your drawing misaligned with what you meant when viewing from another angle.
Check frequently from various angles by those operations.
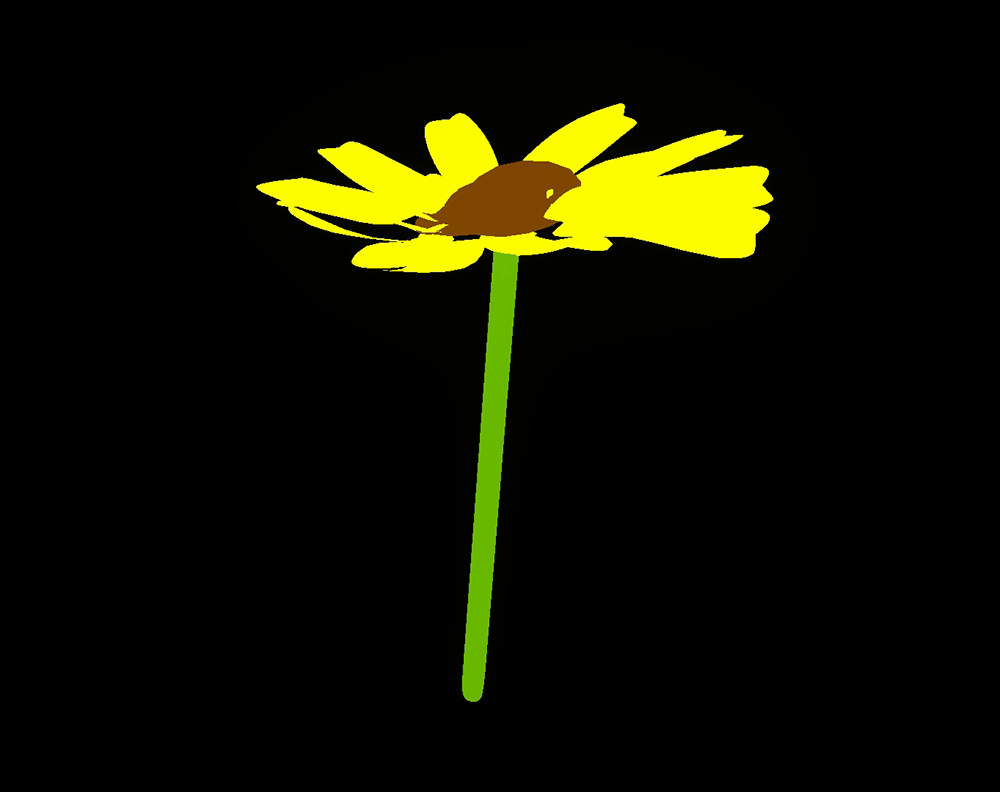
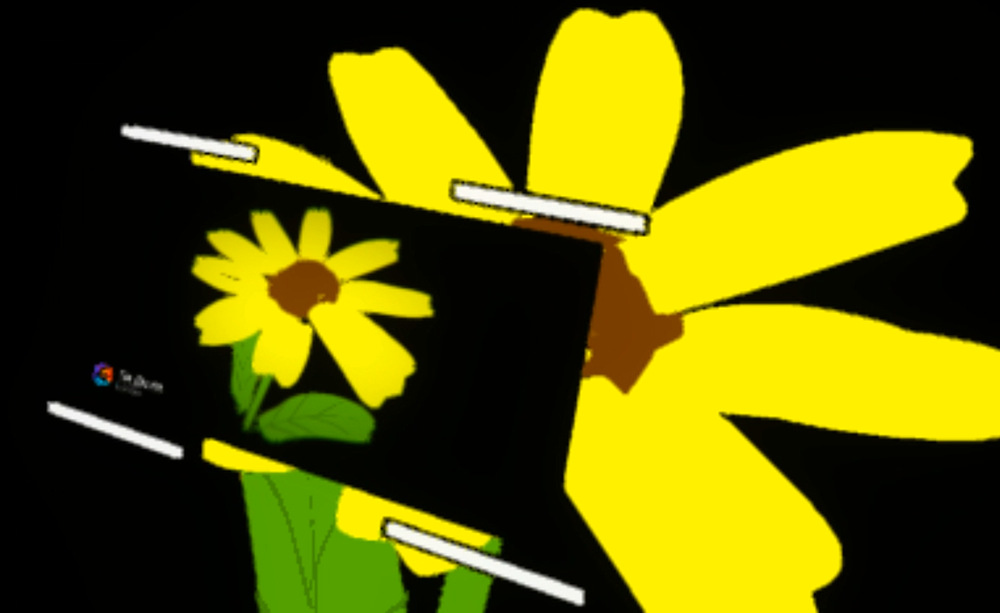
The completion image
It’s done now. Congratulations!
Save and load
Don’t forget to save your work whenever you completed your drawing or suspended your work.
You can find ‘Save Sketch’ below the palette.
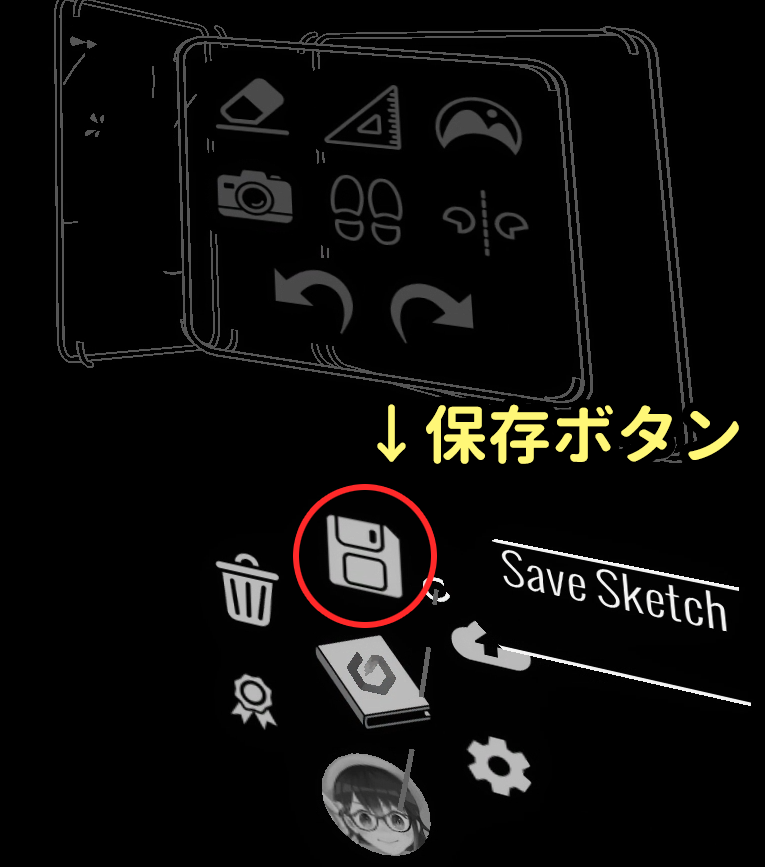
The ‘Save Sketch’ icon
Take a thumbnail image and save the sketch.
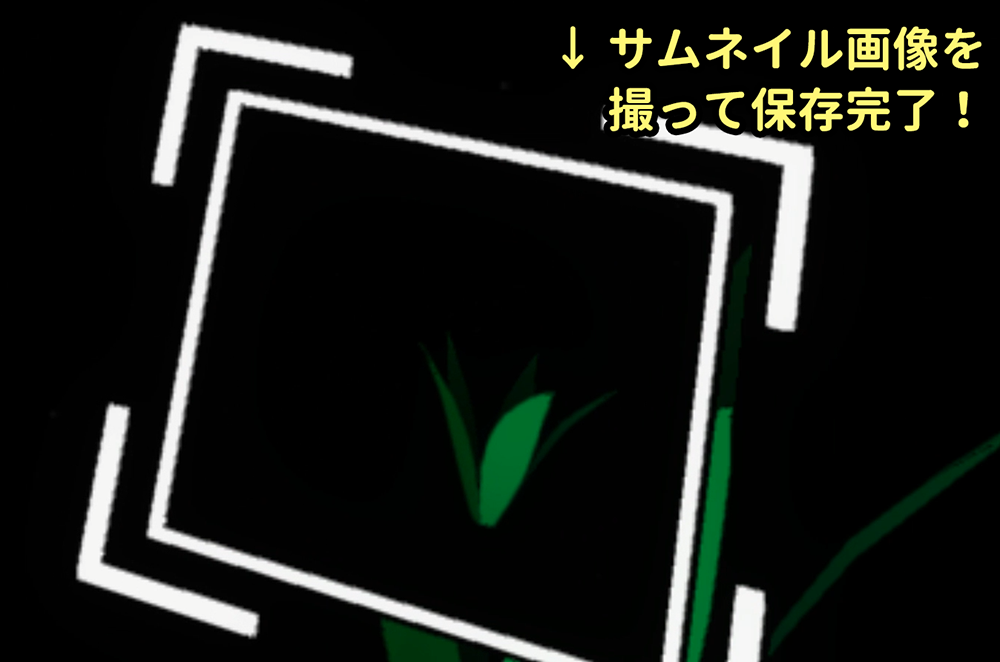
Take a thumbnail image
You can open the saved sketch from ‘Sketchbook’.
You can also open the sketches by other people from the same place so let’s learn by viewing various drawings.
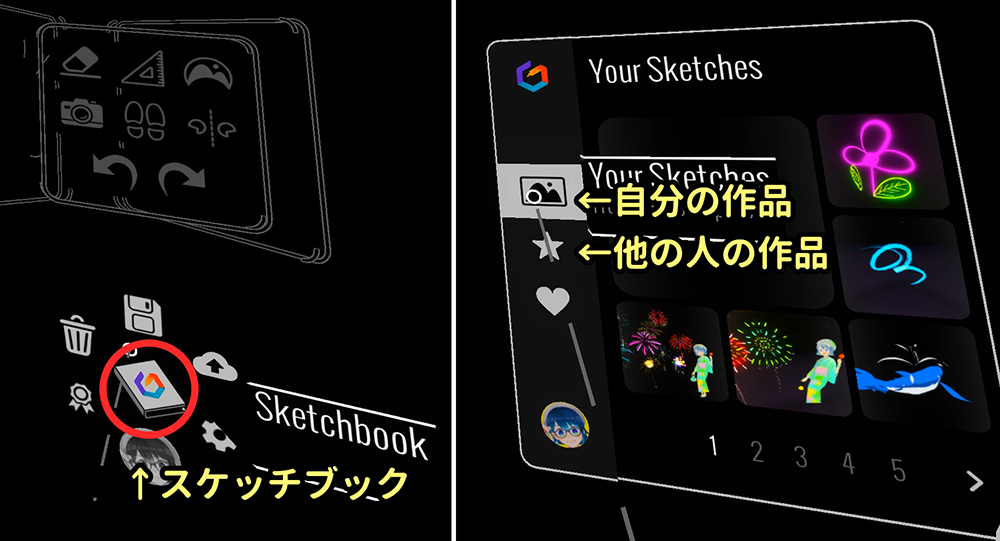
“Sketchbook”
Let’s take a photo by Camera tool and share it with other people by SNS.
If you want to take a photo in a long shot, you can move far by Teleport.
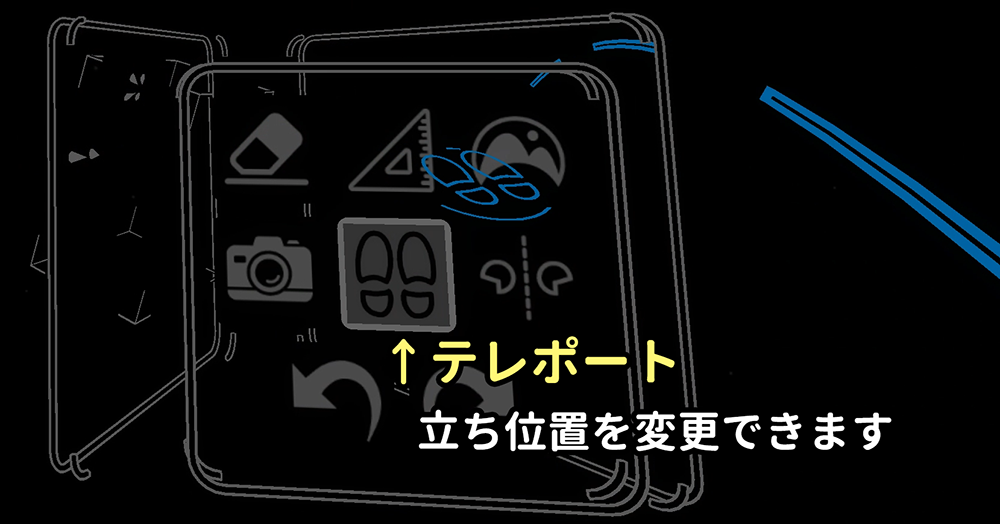
Teleport tool
A finder appears when you select ‘Cameras‘. Now, pull the brush-side trigger with the drawing kept in the finder.
The finder of ‘Cameras’ tool
The photo taken is saved to Tilt Brush > Snapshot under Windows’ document folder.
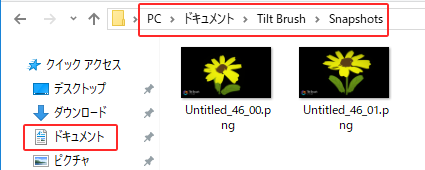
Where the photo data is saved
Please share your masterpiece on Twitter and etc.!
You can find the sketches by others under the Tilt Brush official account,@tiltbrush, or by #TiltBrush tag.
The completion image
For Tilt Brush beginners, I introduced how to use basic tools by drawing a sample picture.
Starting from here, please try to draw various pictures!
Please refer to the article below to upload a VR illustration to STYLY.
→Let’s display a VR illustration by Tilt Brush in STYLY!
Please refer to the following, “Advanced course” if you want to learn advanced techniques of Tilt Brush.
→Let’s draw VR illustration by Tilt Brush ~ advanced
Please refer to the video material below to watch the drawing process and other details in this article.