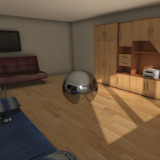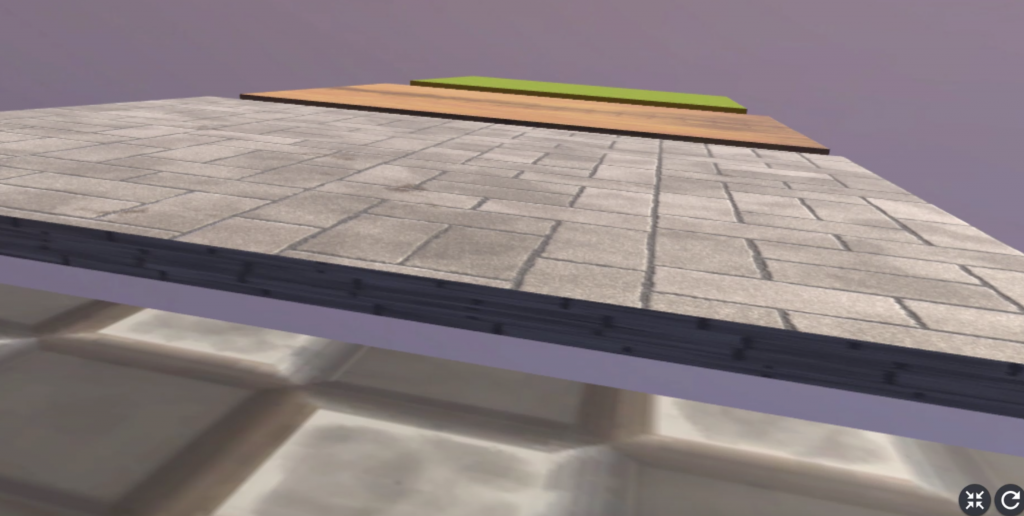
How it looks on STYLY for VIVE
In this article, I would like to recommend some Unity assets usable for STYLY.
This time, I introduce free collections of textures.
By default, STYLY has the ‘Ground’ textures shown below.
But, if you want to create your original ground or wall, you need to import some texture assets.
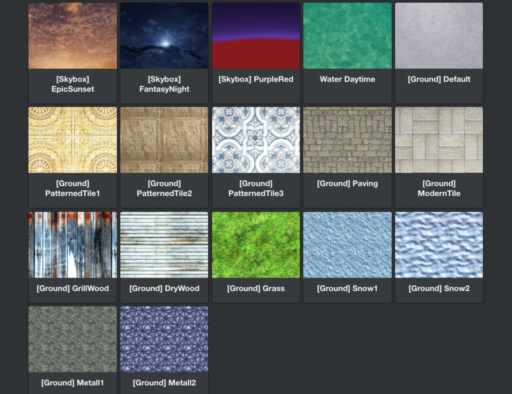
The list of the Ground textures available in STYLY
In this article, I explain how to download free collections of the texture assets and how to upload them to STYLY.
Sample
You can view the texture assets in STYLY GALLERY.
Texture #1 – 10 Texture Sets ‘Industrial 02’
It contains 10 variations of the floor materials such as cyberspace-like metal tile, mortar floor, anti-slipping mat.
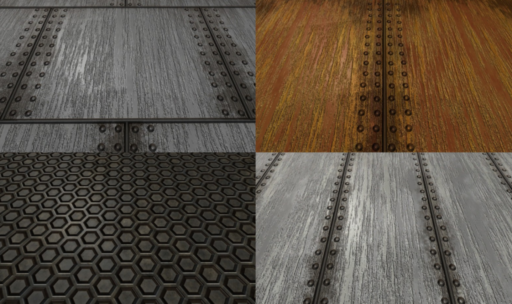
Texture collection #1 – 10 Texture Sets ‘Industrial 02’
Total file size: 30.8MB
Supported Unity Version: 4.2.2 or later
The website
https://assetstore.unity.com/packages/2d/textures-materials/10-texture-sets-industrial-02-17624
Texture #2 – 20 Man Made Ground Materials
It contains 20 variations of the textures for ‘floor & ground’ such as bricks, flooring, panels.
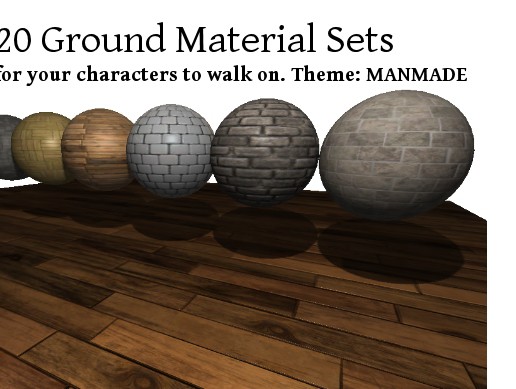
Texture collection #2 – 20 Man Made Ground Materials
Total file size: 99.8MB
Supported Unity Version: 4.2.2 or later
The website
Texture #3 – 20 Texture Sets ‘Industrial 01’
It contains 20 variations of the PBR materials specialized for ‘metal, plastic and rubber’.
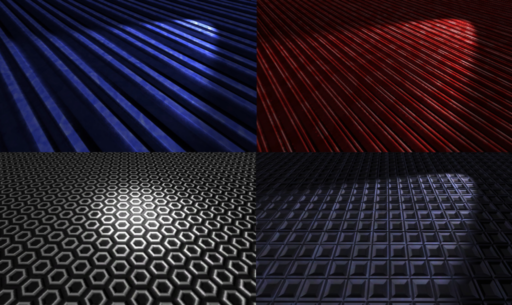
Texture collection #3 – 20 Texture Sets ‘Industrial 01’
Total file size: 32.8MB
Supported Unity Version: 4.2.2 or later
The website
https://assetstore.unity.com/packages/2d/textures-materials/20-texture-sets-industrial-01-17541
Texture #4 – 20 Ground Material Sets SCI FI
It contains 20 variations of Sci-Fi ground material such as a planet surface, the floor of a cave.
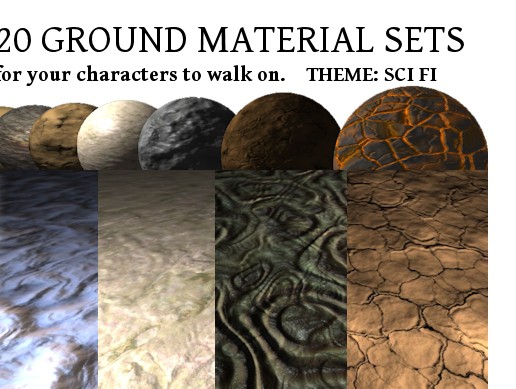
Texture collection #4 – 20 Ground Material Sets SCI FI
Total file size: 290.7MB
Supported Unity Version: 4.22 or later
The website
https://assetstore.unity.com/packages/2d/textures-materials/20-ground-material-sets-sci-fi-12401
How to download and import assets to Unity
I explain how to access ‘Unity Asset Store’ from Unity, and then how to download and import textures.
Please read the article below to learn how to use Unity Asset Store.
If you already know how to use Unity Asset Store, find one of the texture collections introduced earlier and click it.
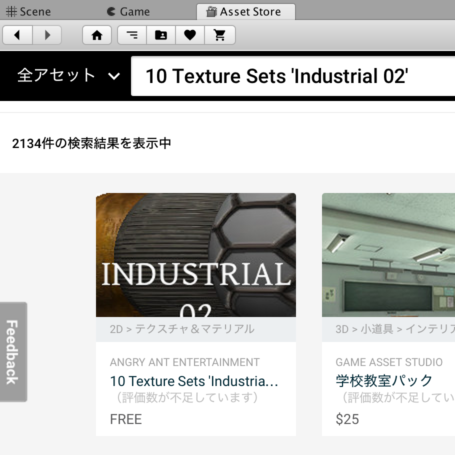
Find an asset in Unity Asset Store
Assign the texture to an object
Let’s assign the imported texture to an object.
Firstly, right-click on the Hierarchy window and select ‘3D Object > Cube’ to create an object in the Scene.
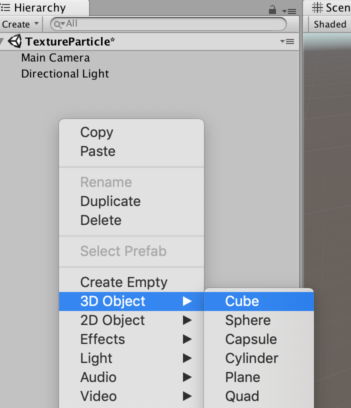
Create an object
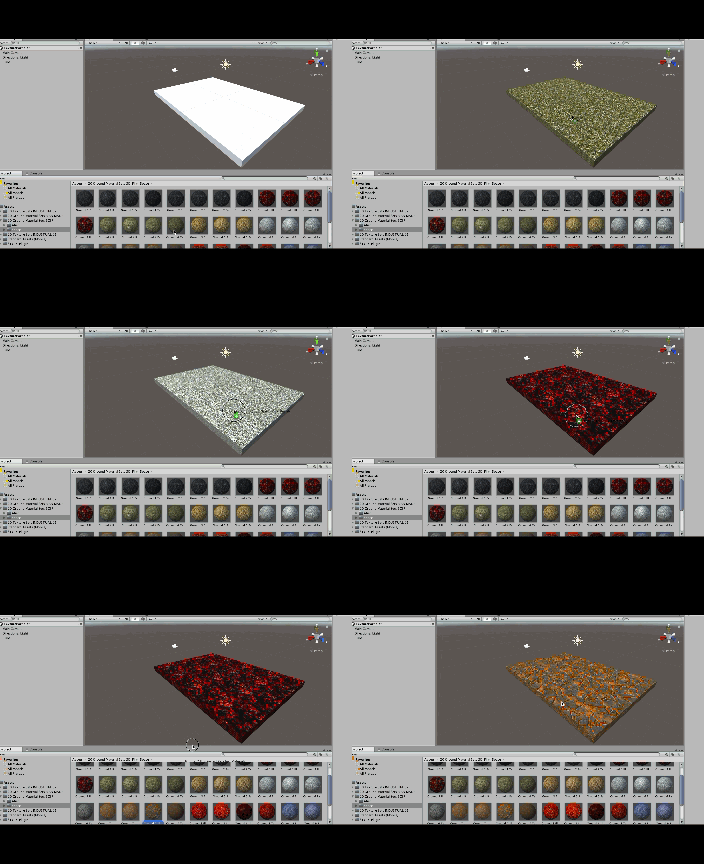
GIF – assigning the texture
Open the Project window and drag the texture into the object.
Now the texture has been assigned.
How to upload it to STYLY
I explain how to upload the object with the texture assigned, from Unity to STYLY. Please read the article below to learn how to upload an object from Unity to STYLY.
Please read the article below, if you want to upload the whole Scene to STYLY at once.
※When you upload the whole Scene at once, you need to delete the Main Camera in the Scene.
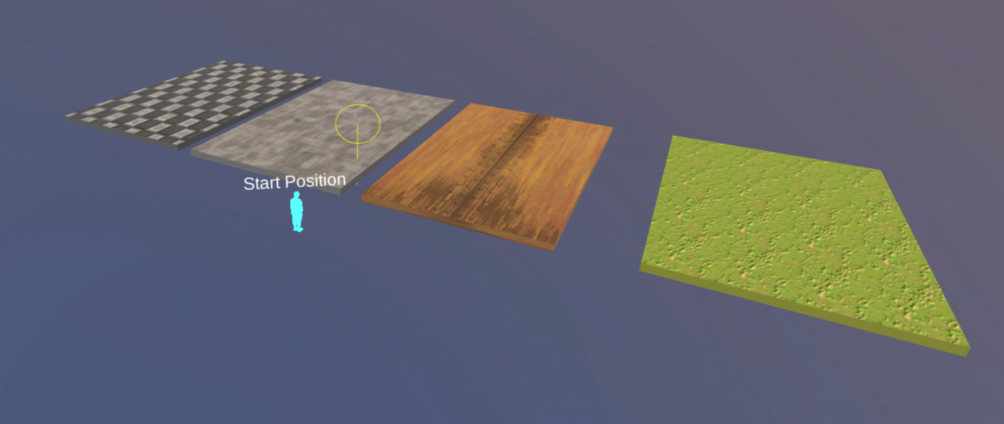
Place the assets in WebEditor
Now the object with the texture assigned has been placed in WebEditor.
It’s a painful task to find out the texture you like.
But, once you imported those texture collections to Unity, you will be able to find the one more easily.
So, please make good use of them when you looking for texture.
