One way to integrate motion and sound functions in STYLY is through Unity’s Event Trigger component.
You can use Event Trigger with your interaction software development kit (SDK) to create sound-motion interactions in your STYLY scene by clicking a mouse or entering a trigger button on a virtual reality (VR) goggle controller.
In this article, we’ll explore how to use Event Trigger to create a sound interaction by creating a simple piano as a foundation.
Sound Interaction
Sample Scene
Here is a sample scene featuring the object we created with Event Trigger, in this case a piano.
Click on the piano to hear its sound.
About Event Trigger
Event Trigger is a Unity component, which can be added to an object to easily implement interactions in a STYLY scene without coding.
Refer to the following articles for more information.
![[Unity] Learn the basics of Event Trigger in STYLY](https://styly.cc/wp-content/uploads/2020/08/EYECATCH-1-160x160.png)
Sound Interaction of Interaction SDK
For more information on the basics of the Interaction SDK, please refer to the following articles.
The sample object in the STYLY Interaction SDK has built-in motion-sound interactions.
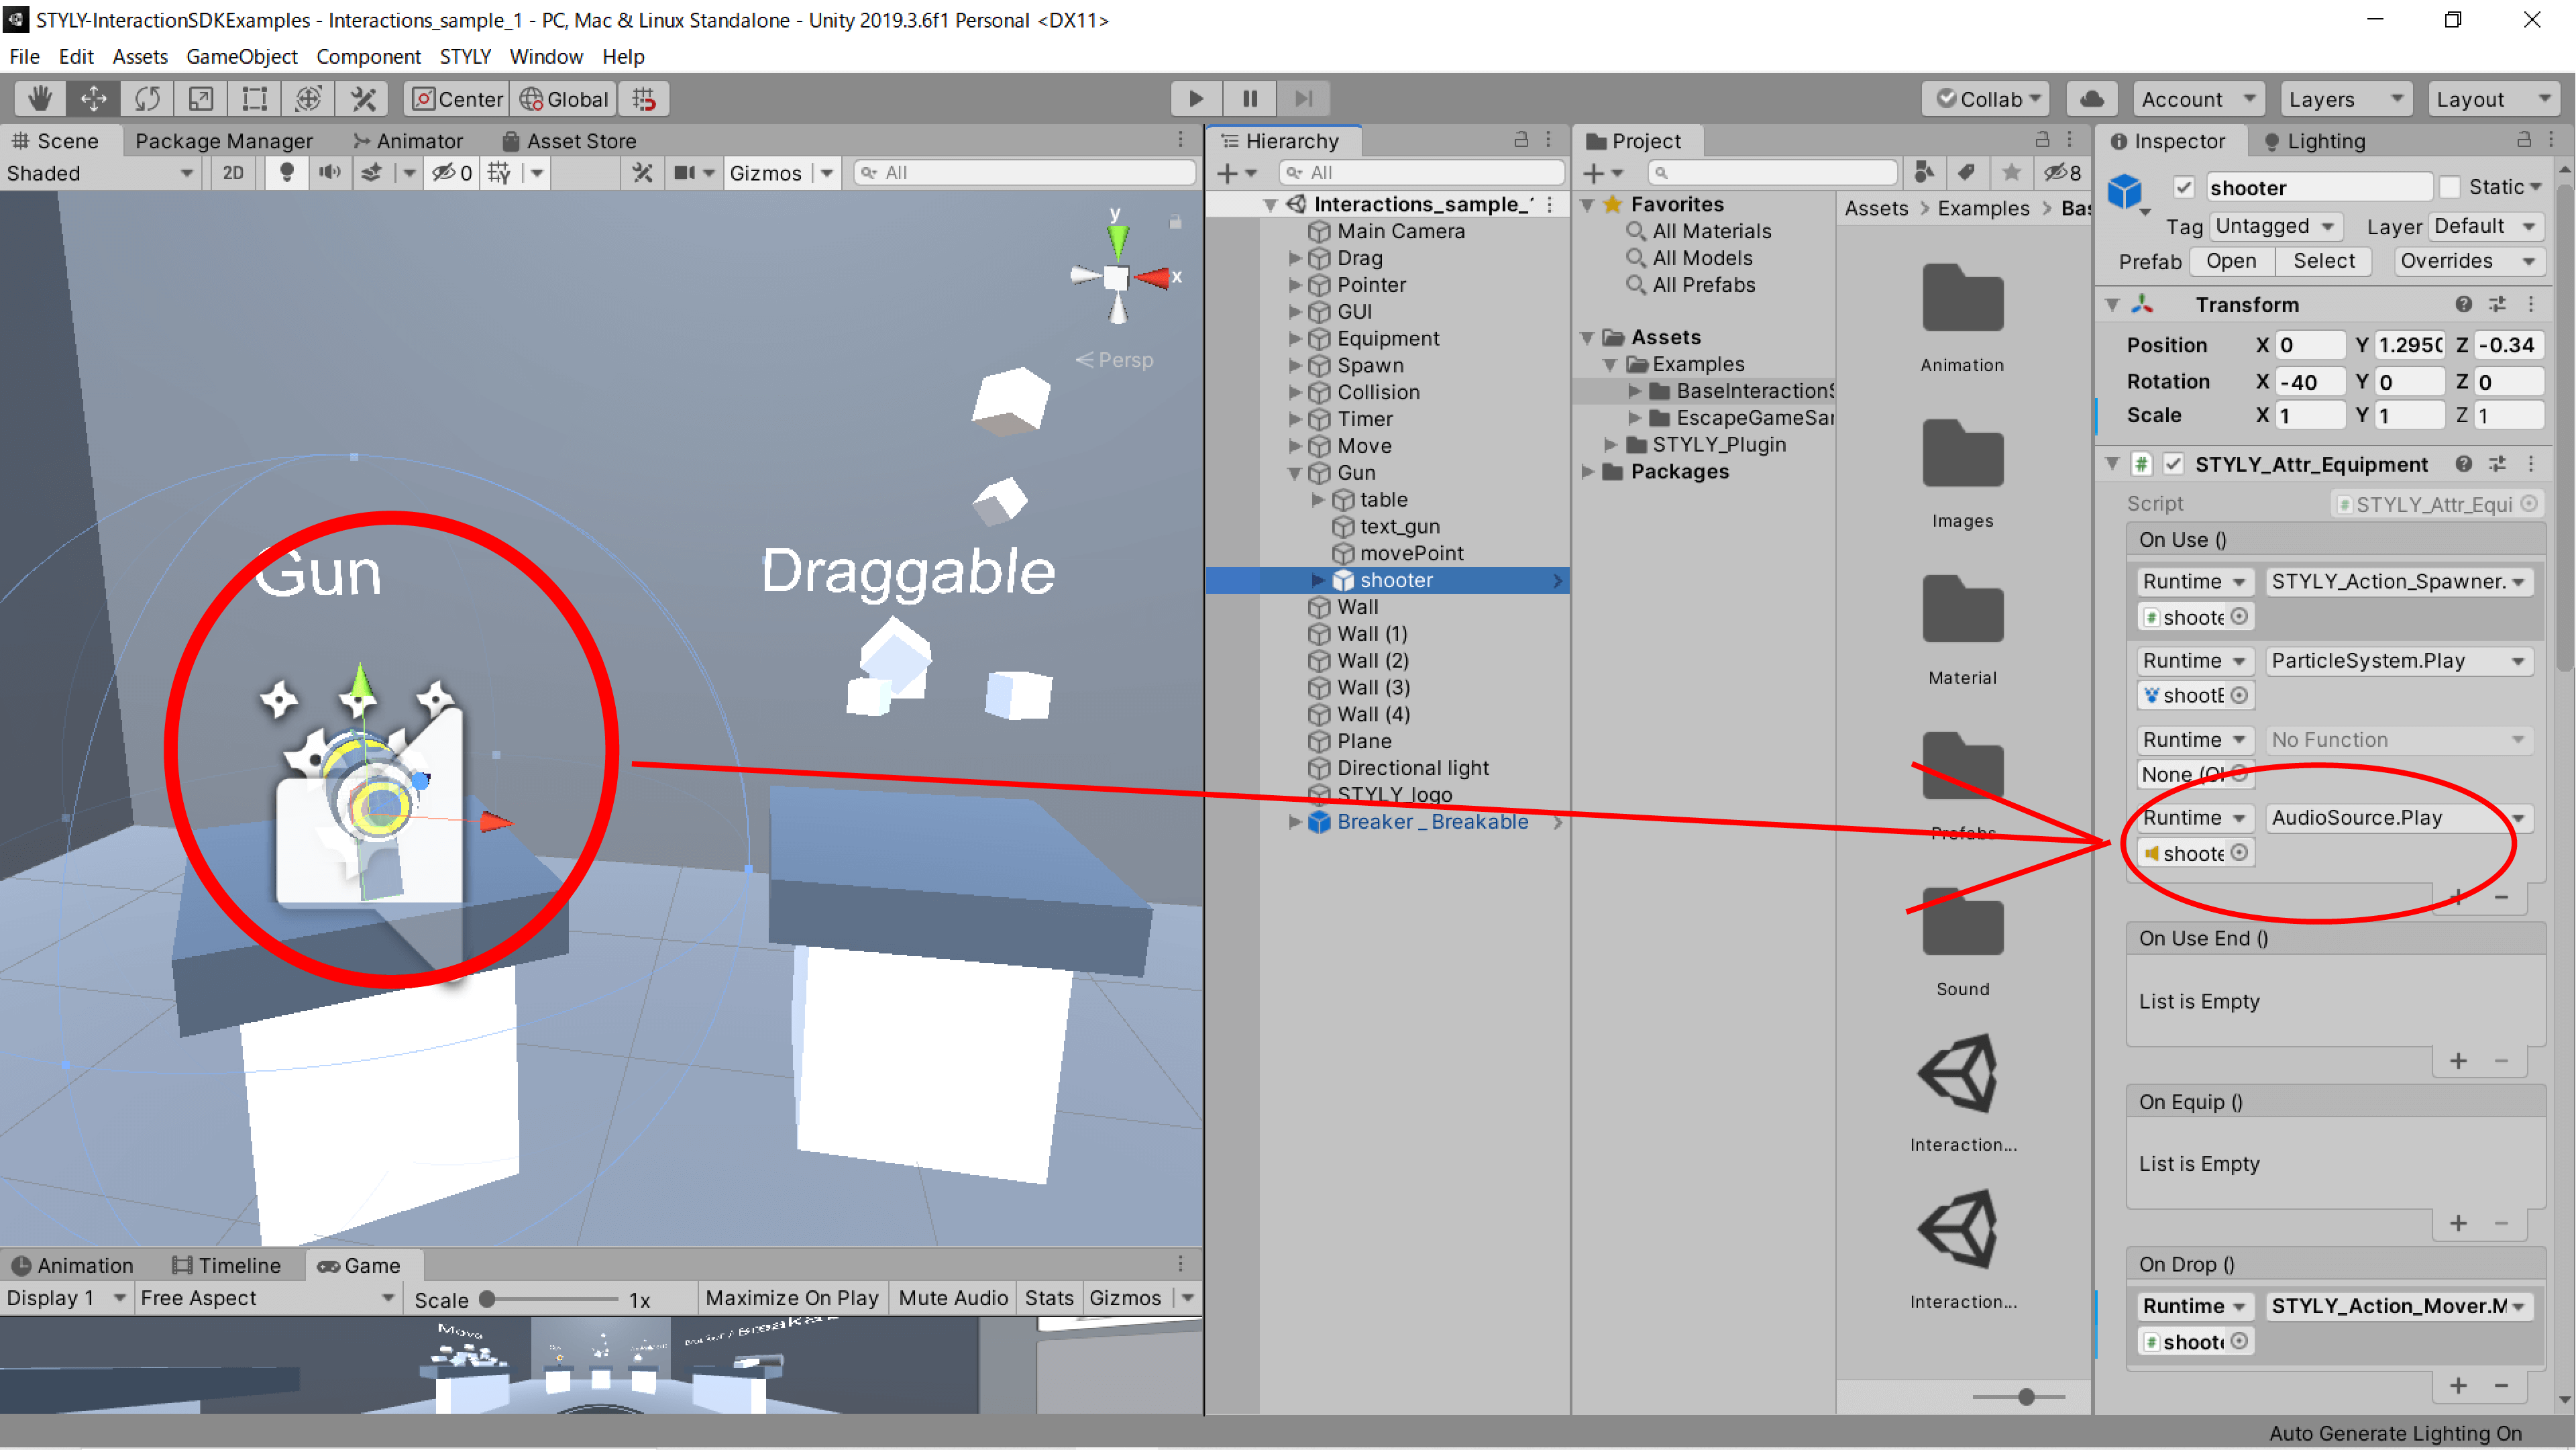
For the GUN object, the component “STYLY_Attr_Equipment” is attached to a controller. The sound effect is triggered by the event “On Use” (click the mouse /enter the trigger button while equipped).
This kind of event-triggered sound is also implemented in several STYLY Interaction SDKs.
In this article, we will create an object that implements a sound interaction based on Event Trigger.
Create a Piano
Preparation
Download an Audio File
We will create a simple piano as a basic study of sound interaction.
First, we will prepare an audio file.
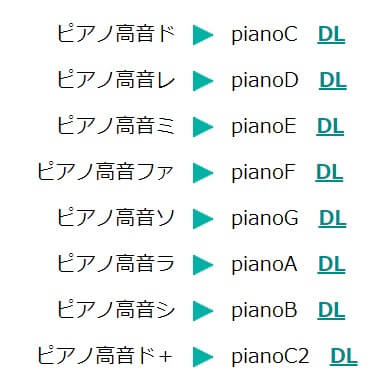
In this case, we will download a piano audio file from the website, “Let’s Play with Free Sound Effects!” for our sound.
Here’s what you should know about “Let’s Play with Free Sound Effects!”: It’s OK to process and convert files. / It’s OK for commercial use. / It’s OK to embed in products. / There are NO restrictions on the content of the work. / There is NO prior or subsequent notification required. / There are NO copyright notices or links required. / It’s OK to use in works intended for overseas markets. / You can use it freely!
Please read the Terms of Service carefully before downloading.
Once you have read and agree to the Terms of Service, click here to download the audio file “pianoC2” from the file name “pianoC” and save the file to an arbitrary location.
Prepare Unity
Next, let’s launch Unity. You can create a new project or open an existing one.
Install the STYLY Plugin for Unity DOWNLOAD into your project.
For an introduction to this plugin, please refer to the following article.
Import an Audio File into Unity
Now, import the audio file you just downloaded into your Unity project file.
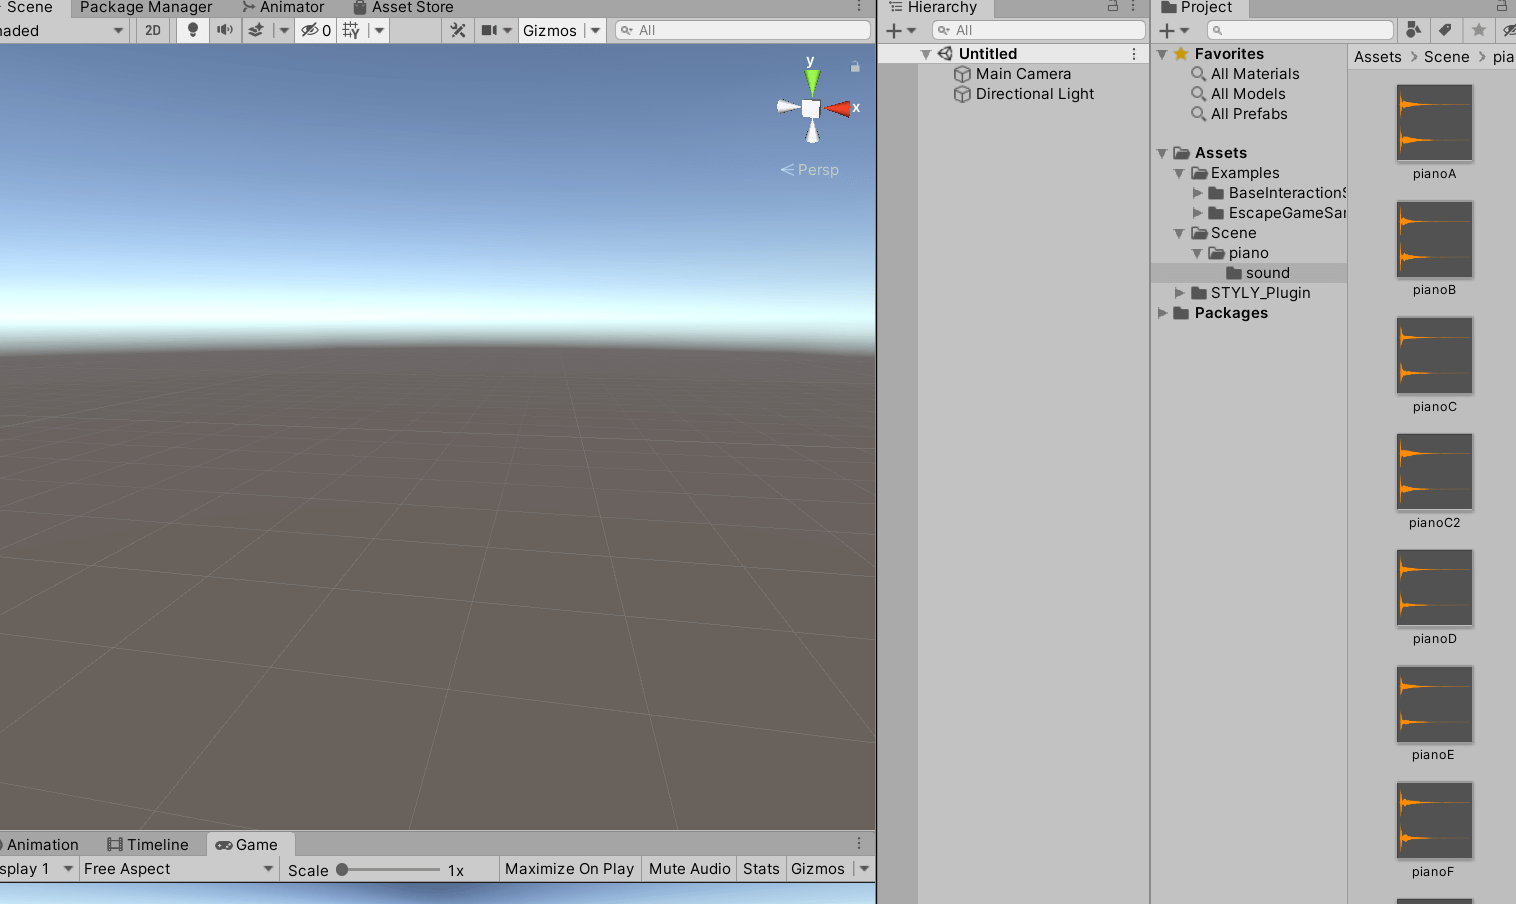
We are ready to go.
Create a Sound Object
As a mechanism for sound objects, we will trigger an event on an object, such as a 3-D model, to execute the action of the transition destination. Here are the steps:
(1) Click the object, either with the mouse on the web player or by entering the trigger button on the VR controller.
(2) Sound of audio source mechanism.
See below for a description of the actual procedure.
Prepare Objects
Now, let’s create a piano object in the scene.
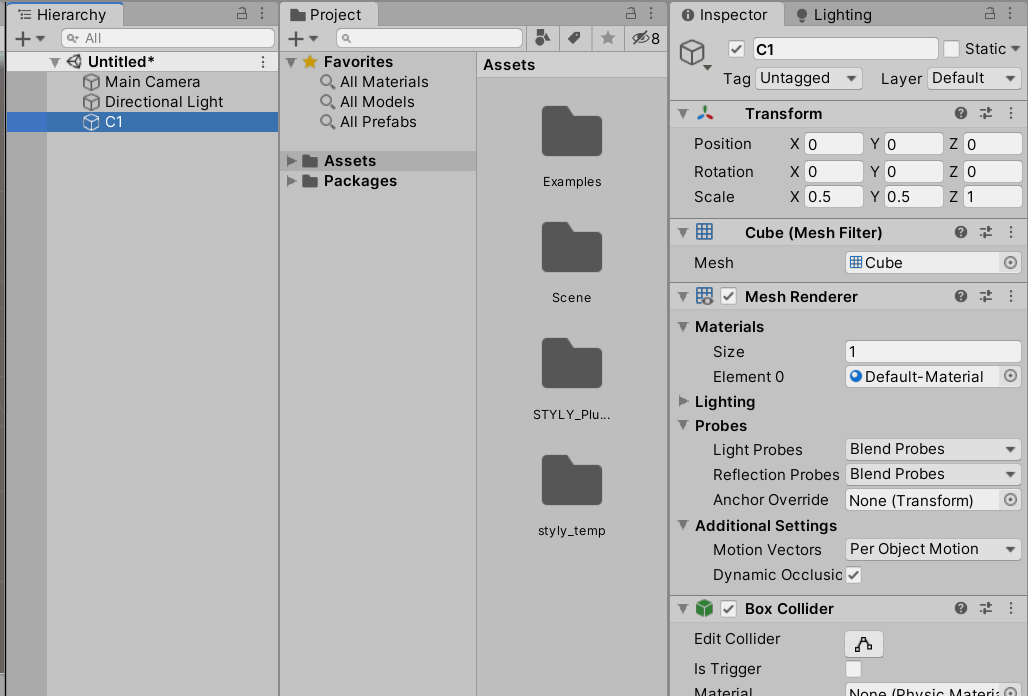
Right-click on the Hierarchy window to create a Cube.

Set the Transform of the Cube as follows.
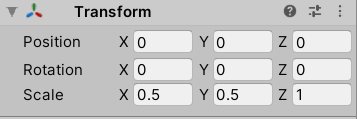
We’ve created a piano object that looks like a piano keyboard with a slightly longer depth.
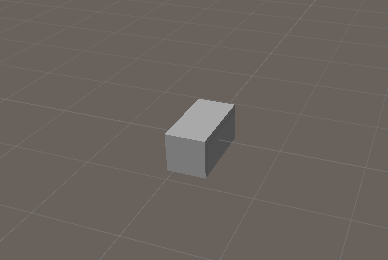
Let’s name the piano object “C1.” In this case, the name of the Cube is “Do-Remifa-Solatido.”
Do = C
Re = D
Mi = E
Fa = F
Sol = G
La = A
Ti = B
The first note on the piano will be C, so let’s call it C1. Set this C1 to play the “pianoC” sound, which you just downloaded.
Configure the Audio Source
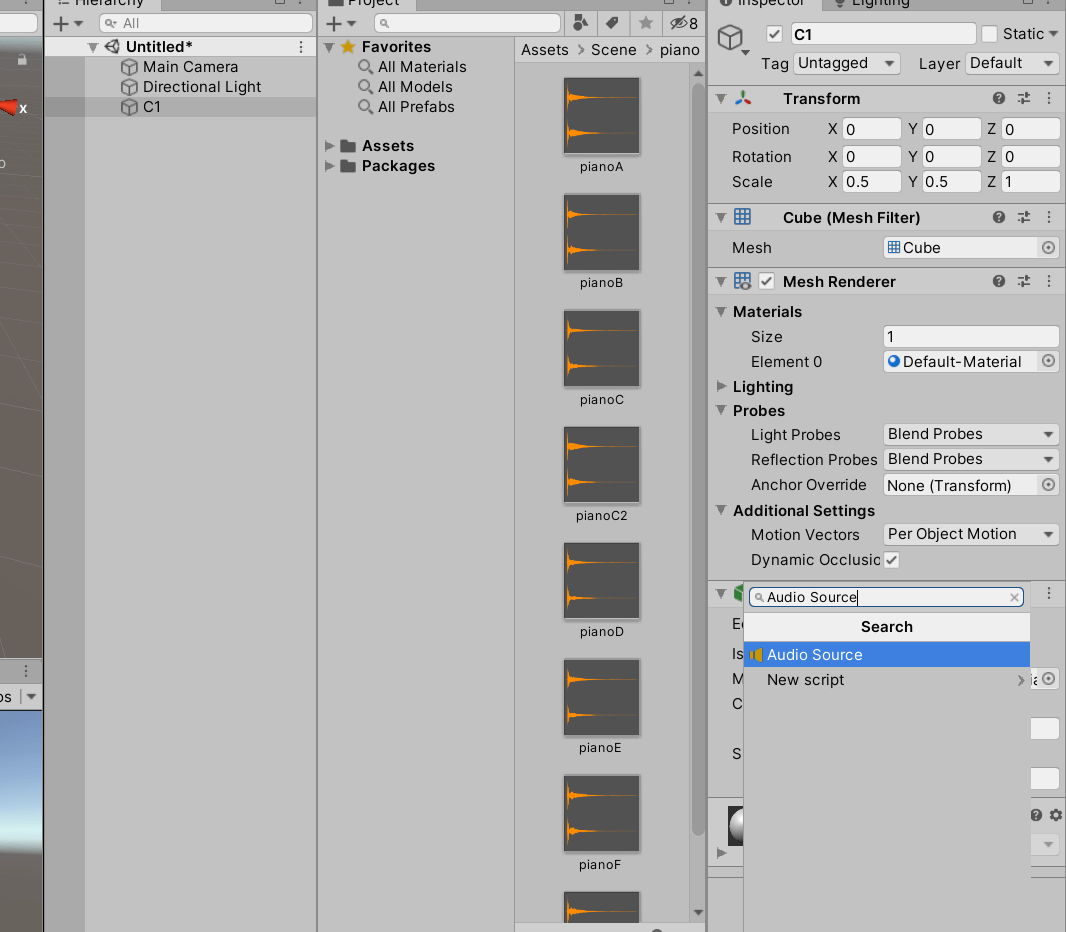
Use “Audio Source” as a component to play the sound.
Add the Audio Source to C1.
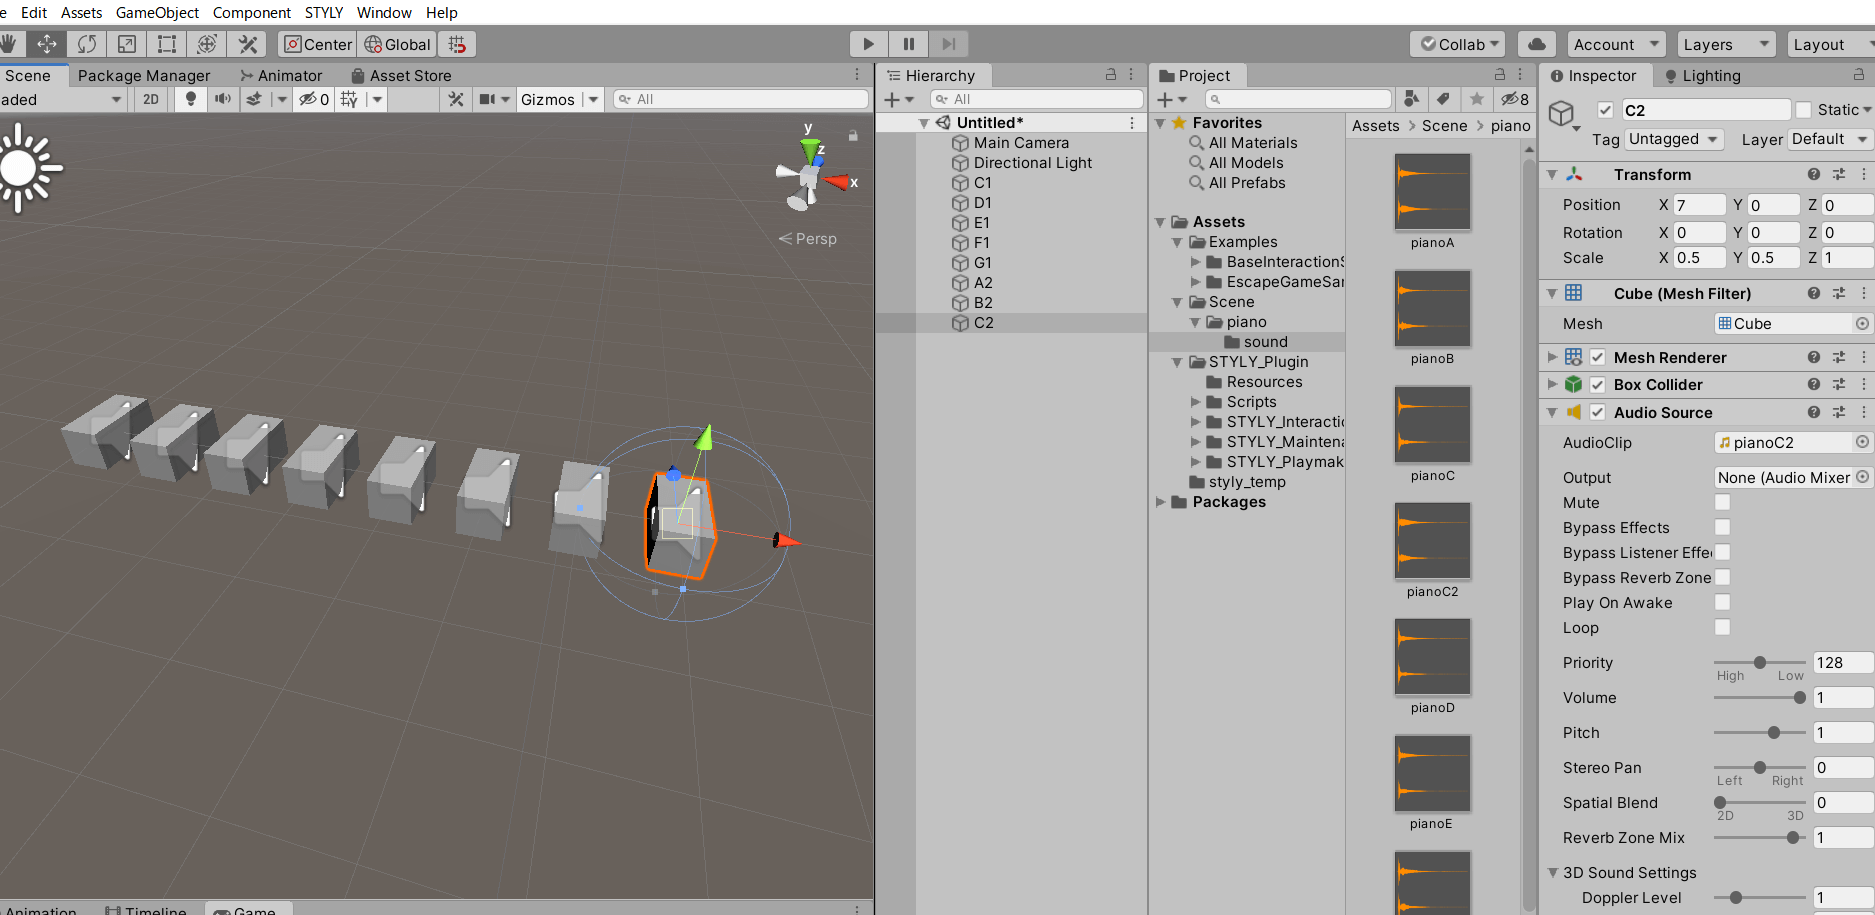
Select C1 and add the Audio Source from “Add Component” at the bottom of the Inspector window.
To set up the Audio Source, drag and drop the downloaded audio file to the “AudioClip” of the Audio Source component.
Make sure to uncheck the “Play On Awake” checkbox.
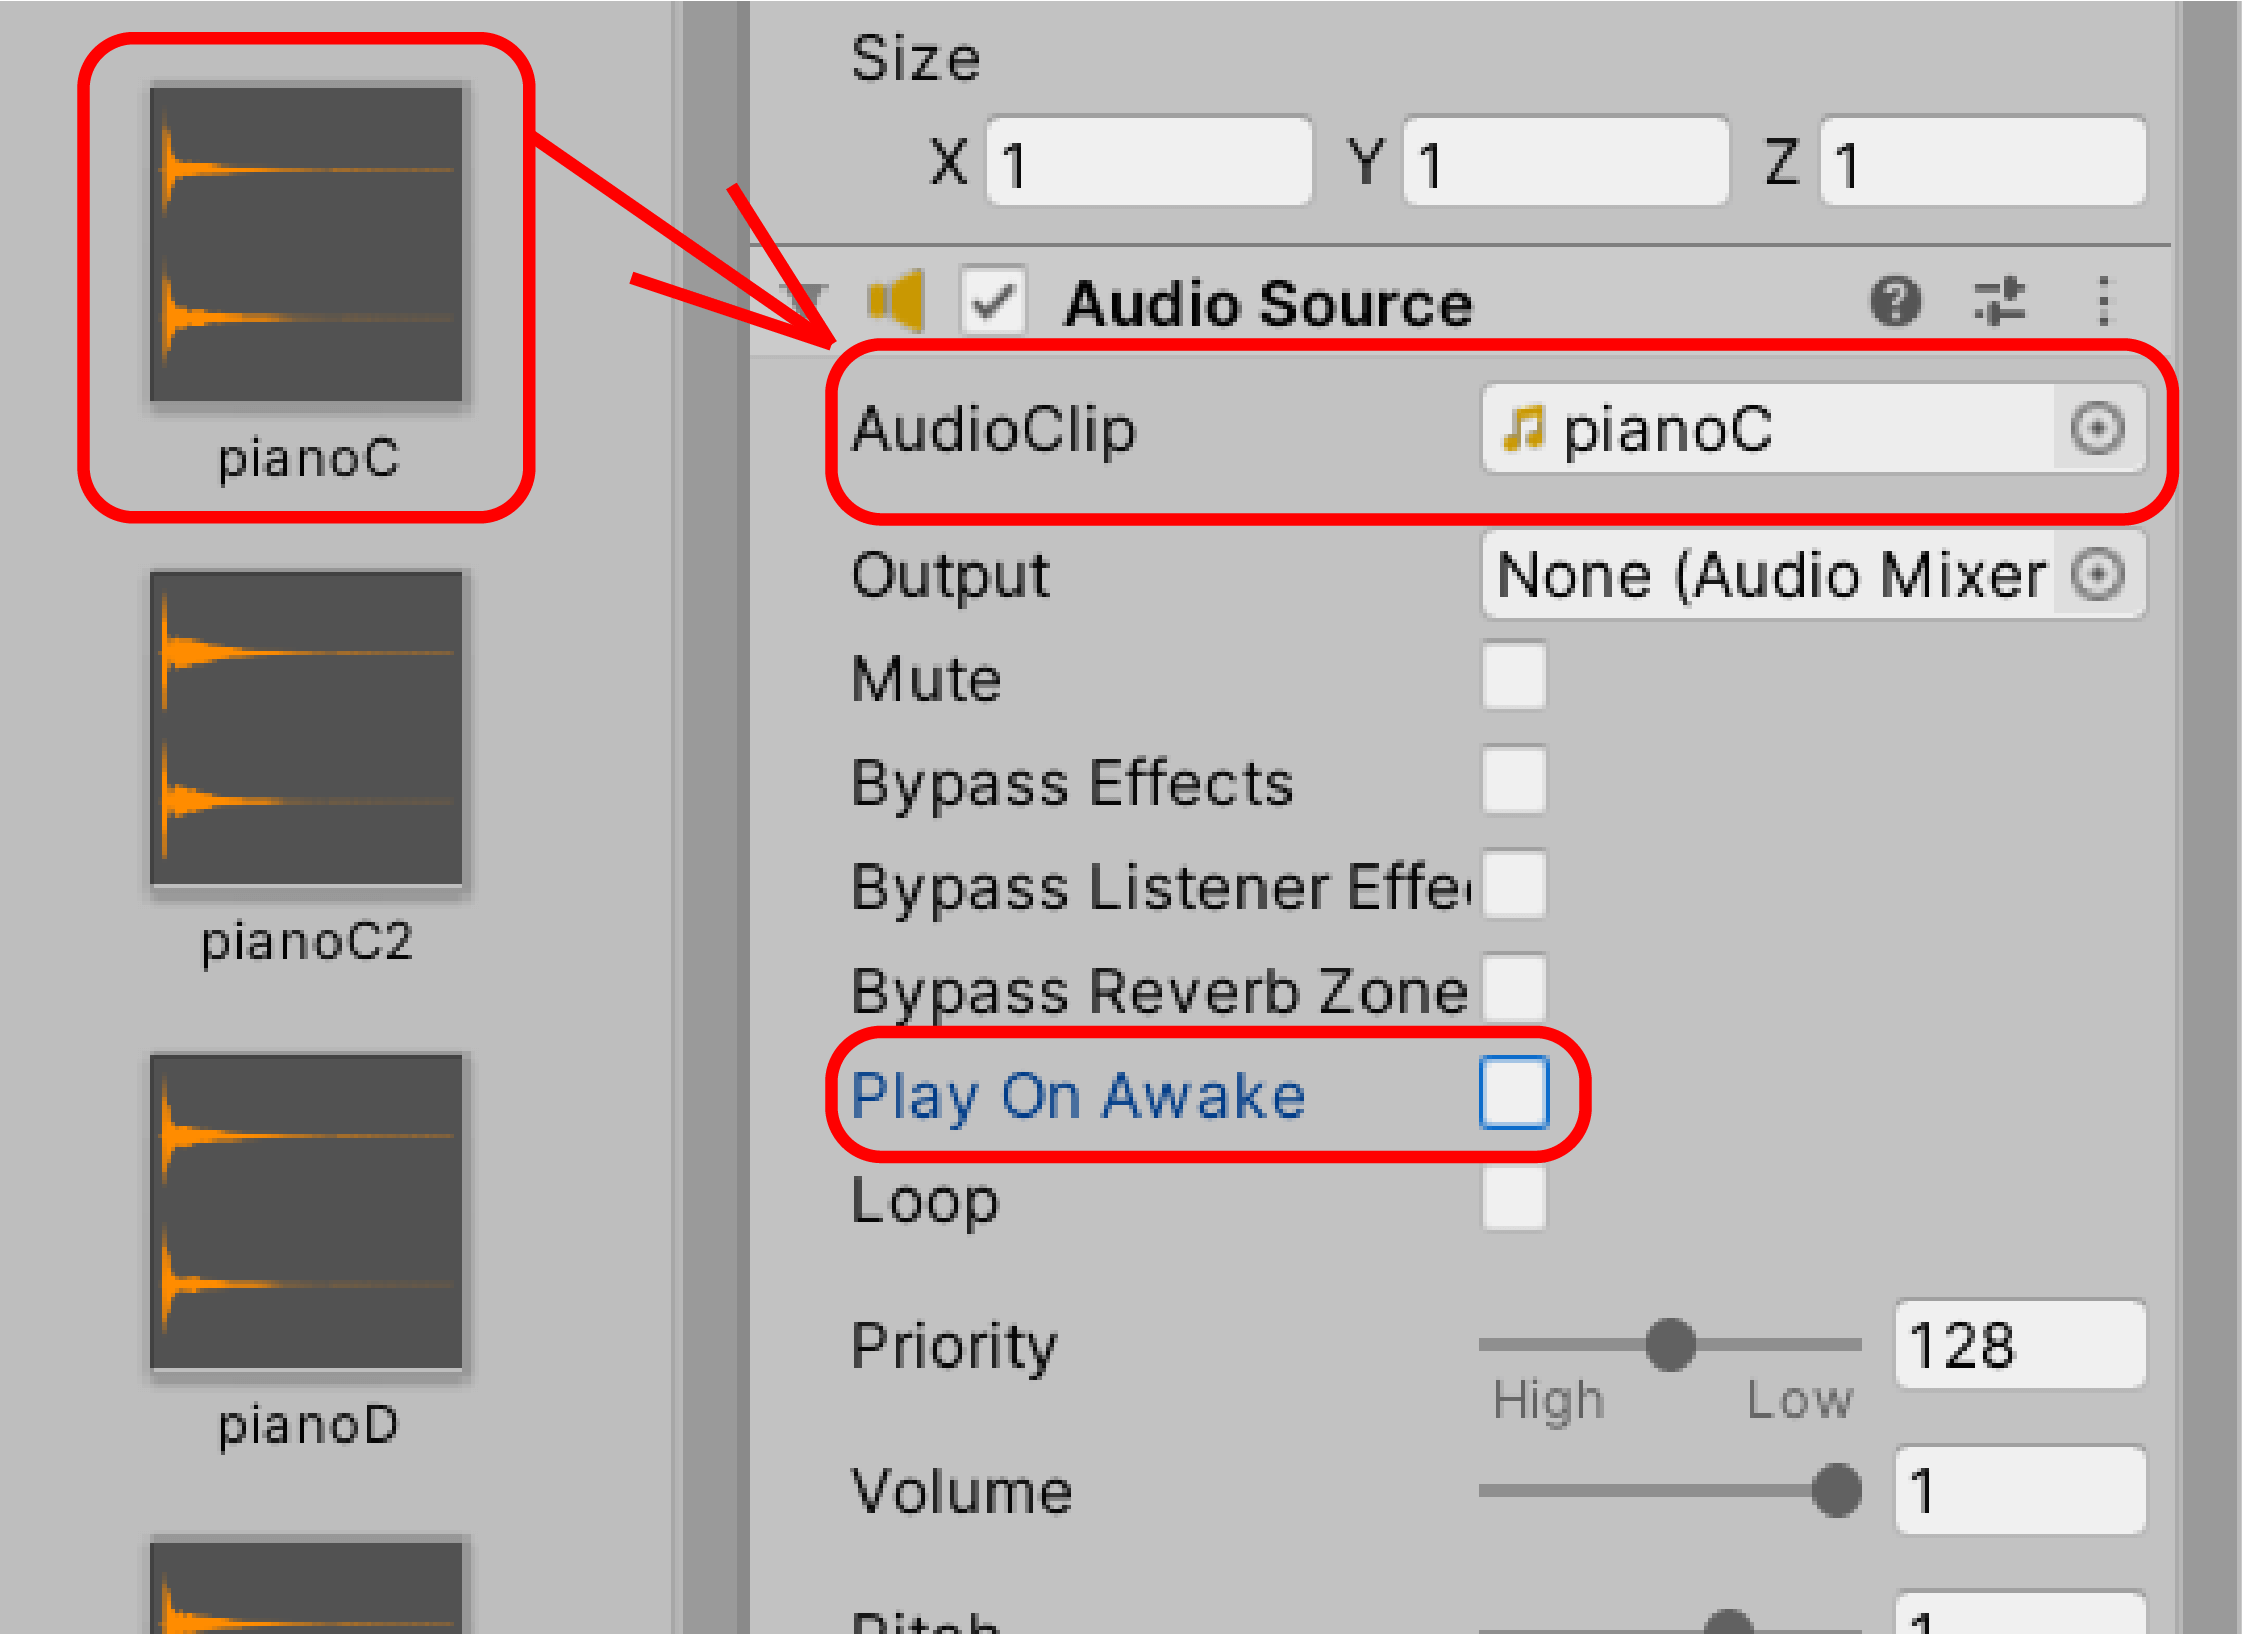
Your Audio Source settings are now complete.
Configure Event Trigger
Let’s add an Event Trigger component to the C1 object.
Select the C1 object and add “Event Trigger” in “Add Component from Inspector.”
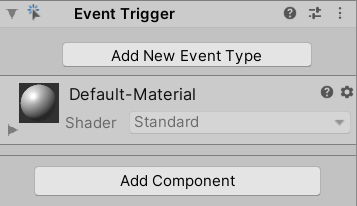
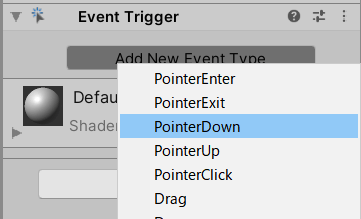
Add the Event Type for Event Trigger; select “Add New Event Type” to bring up the list.
In this case, we want to create a system that makes a sound when you click the trigger button on the VR controller or when you click on the object with your mouse, so we select “Pointer Down” as the Event Type.
Select “+” at the bottom right of the list to add the Pointer Down List.
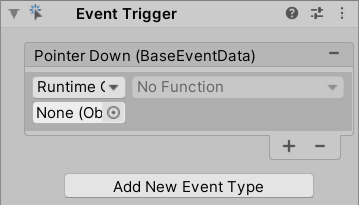
Next, we will set up the list.
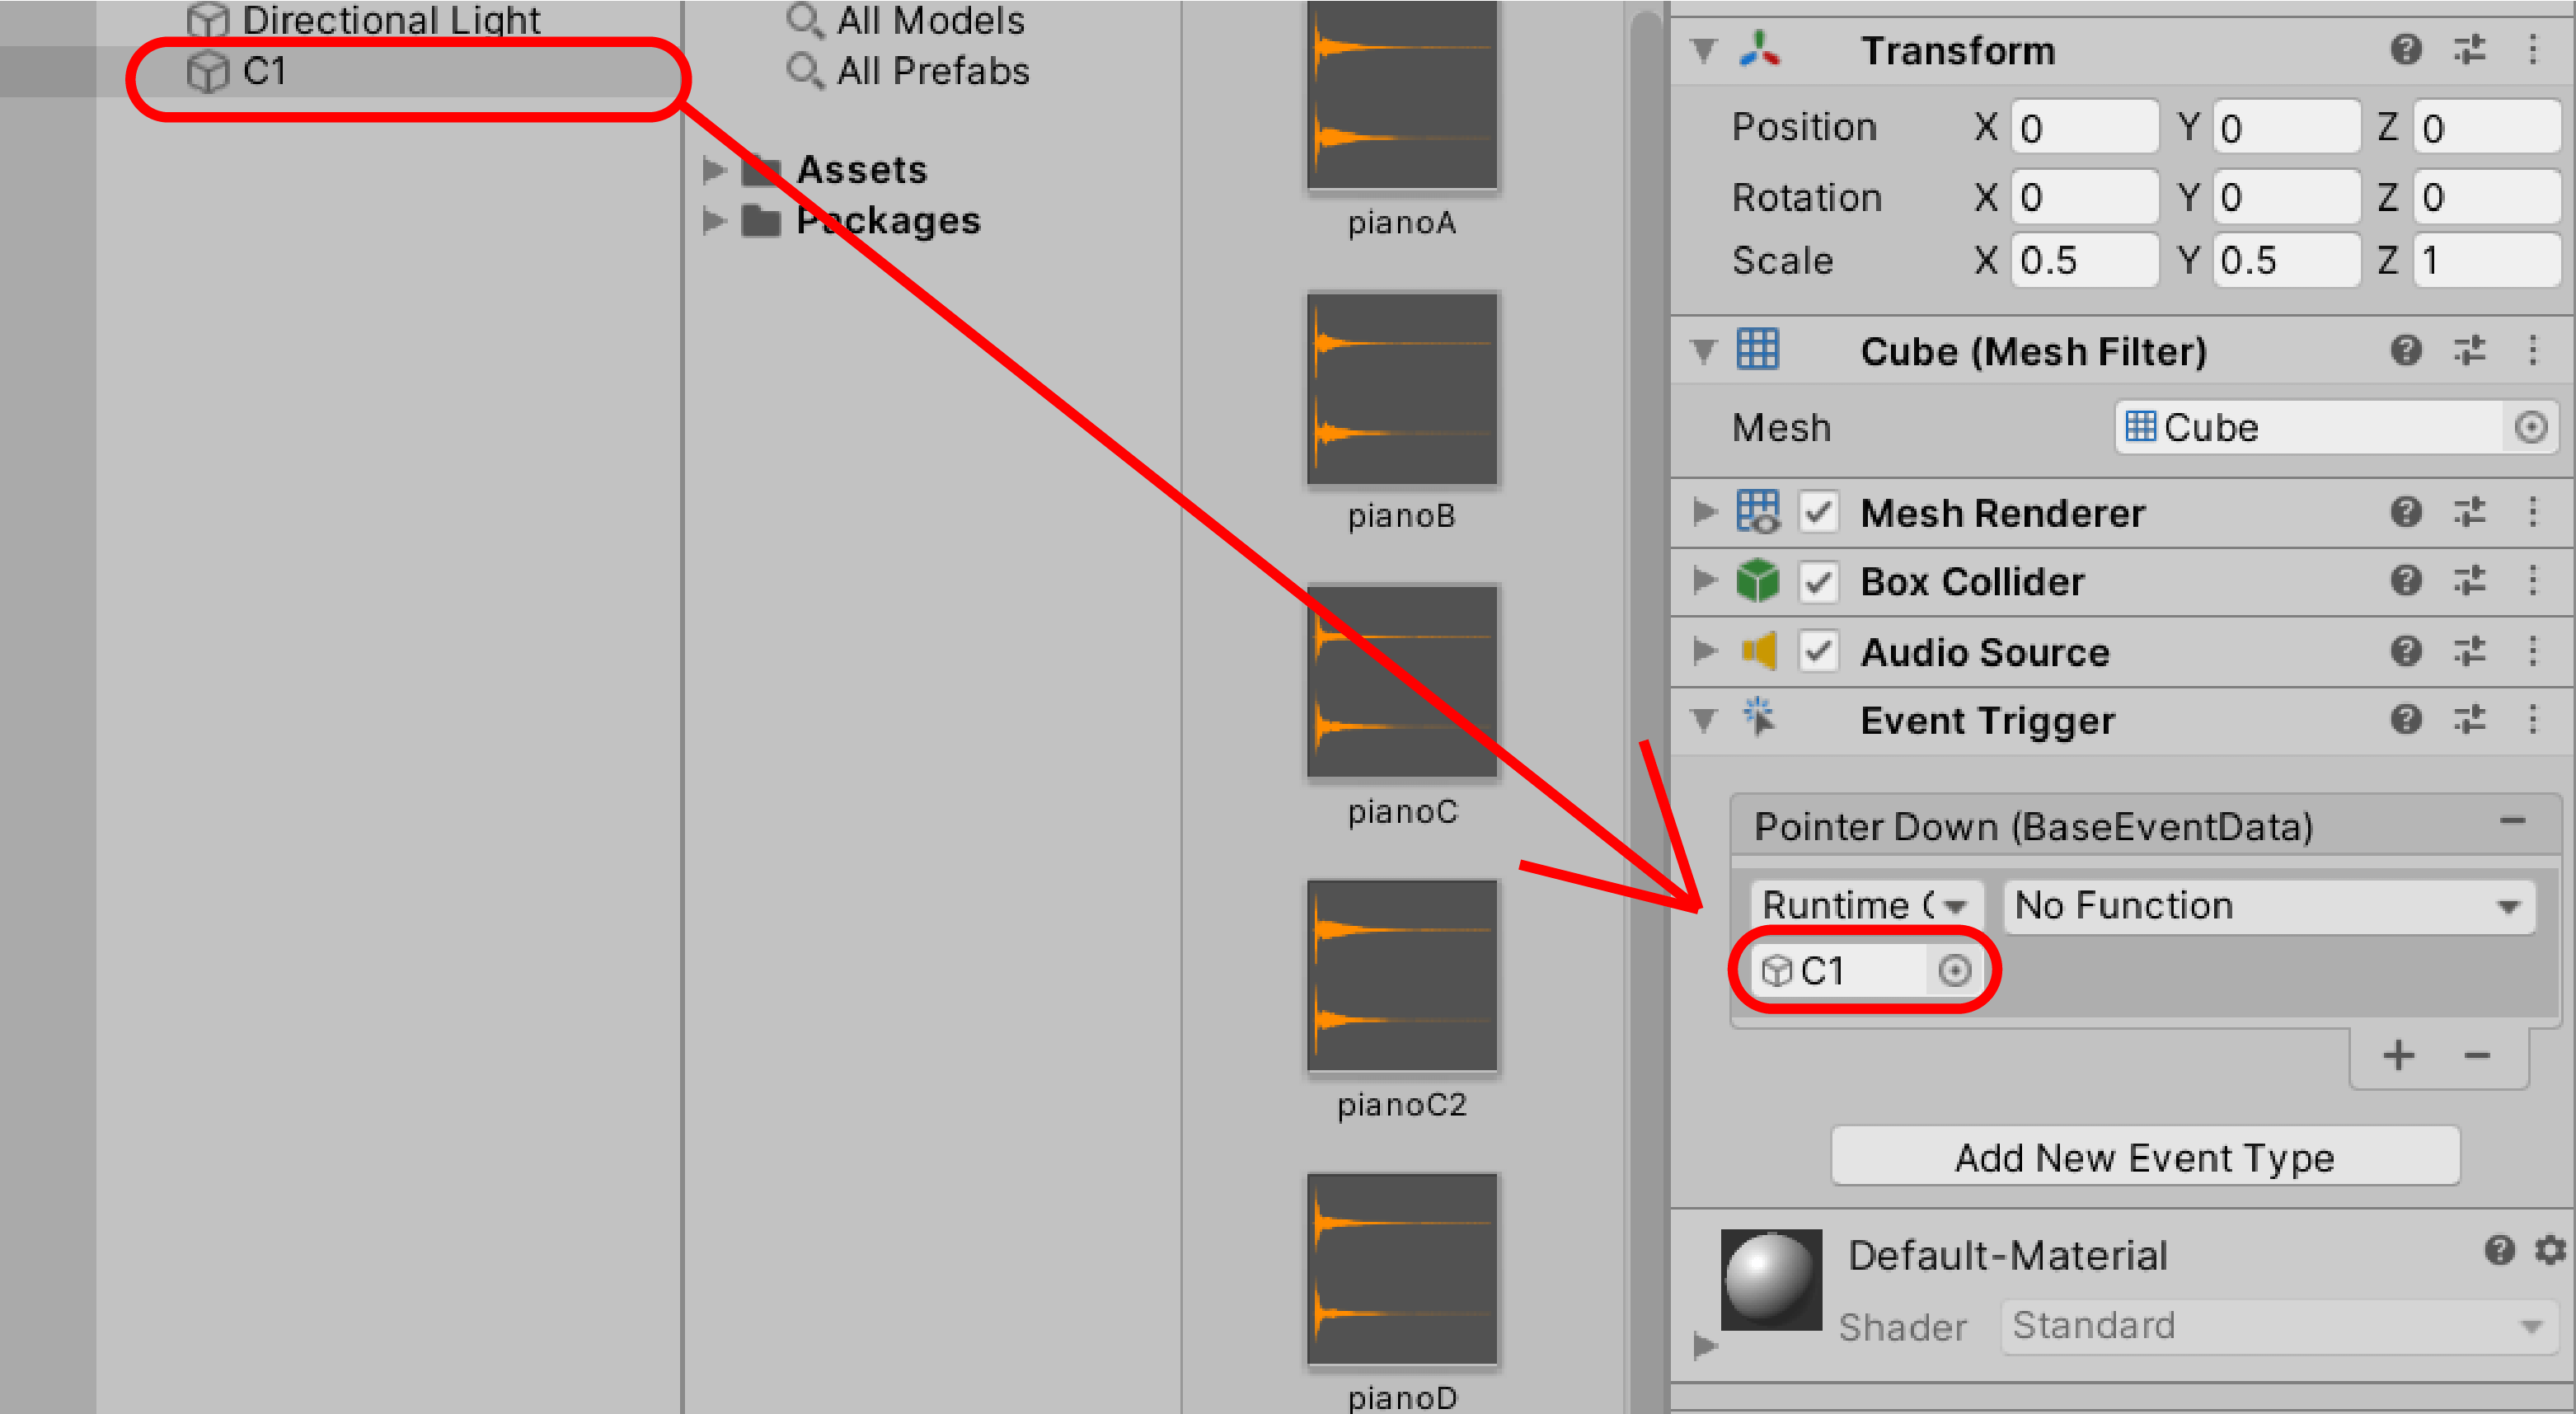
Select C1 from the Hierarchy and drag and drop it into the “None (object)” column of the Pointer Down list.
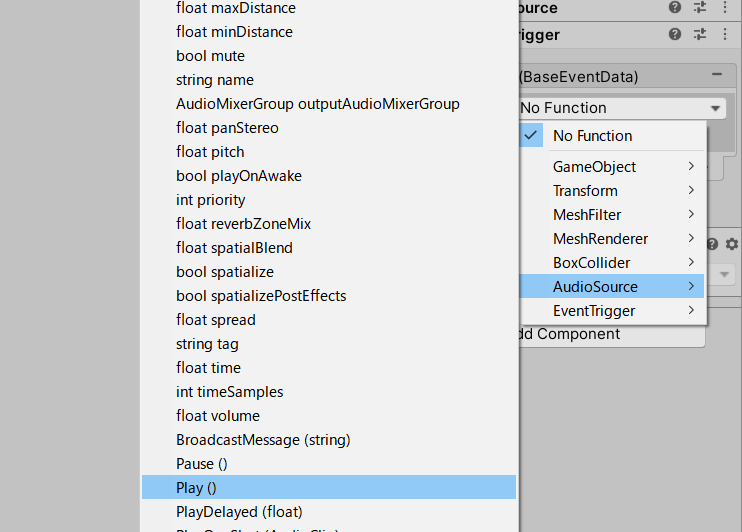
Select “AudioSource > Play()” in the “No Function” column.
Now, you can set up the Event Trigger and the piano itself!
Confirm Playback
Next, playback the piano in Unity to see if it works.
You will find that the piano will not respond as it is, so add one of the components of the STYLY Interaction SDK for confirmation.
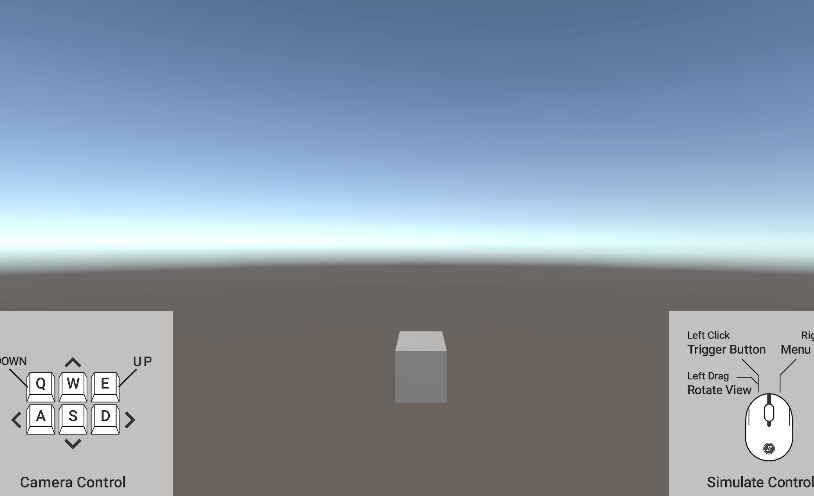
If you include at least one object with a component from the STYLY Interaction SDK into your scene, the Unity Editor Simulator will run automatically.
Running the Unity Editor Simulator enables you to see STYLY in action in Unity.
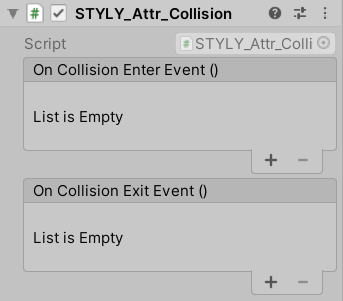
In this case, we will add the “STYLY_Attr_Collision” component to C1, just for the sake of confirmation; we won’t set up any other events for now.
Let’s play Unity!
If you click on the piano and hear the sound of “do,” you’ve succeeded.
You can upload it as it is, but remove components such as Draggable, which directly affects the object, before uploading.
Create All Sounds
Next, let’s create all of the piano sounds based on the above method.
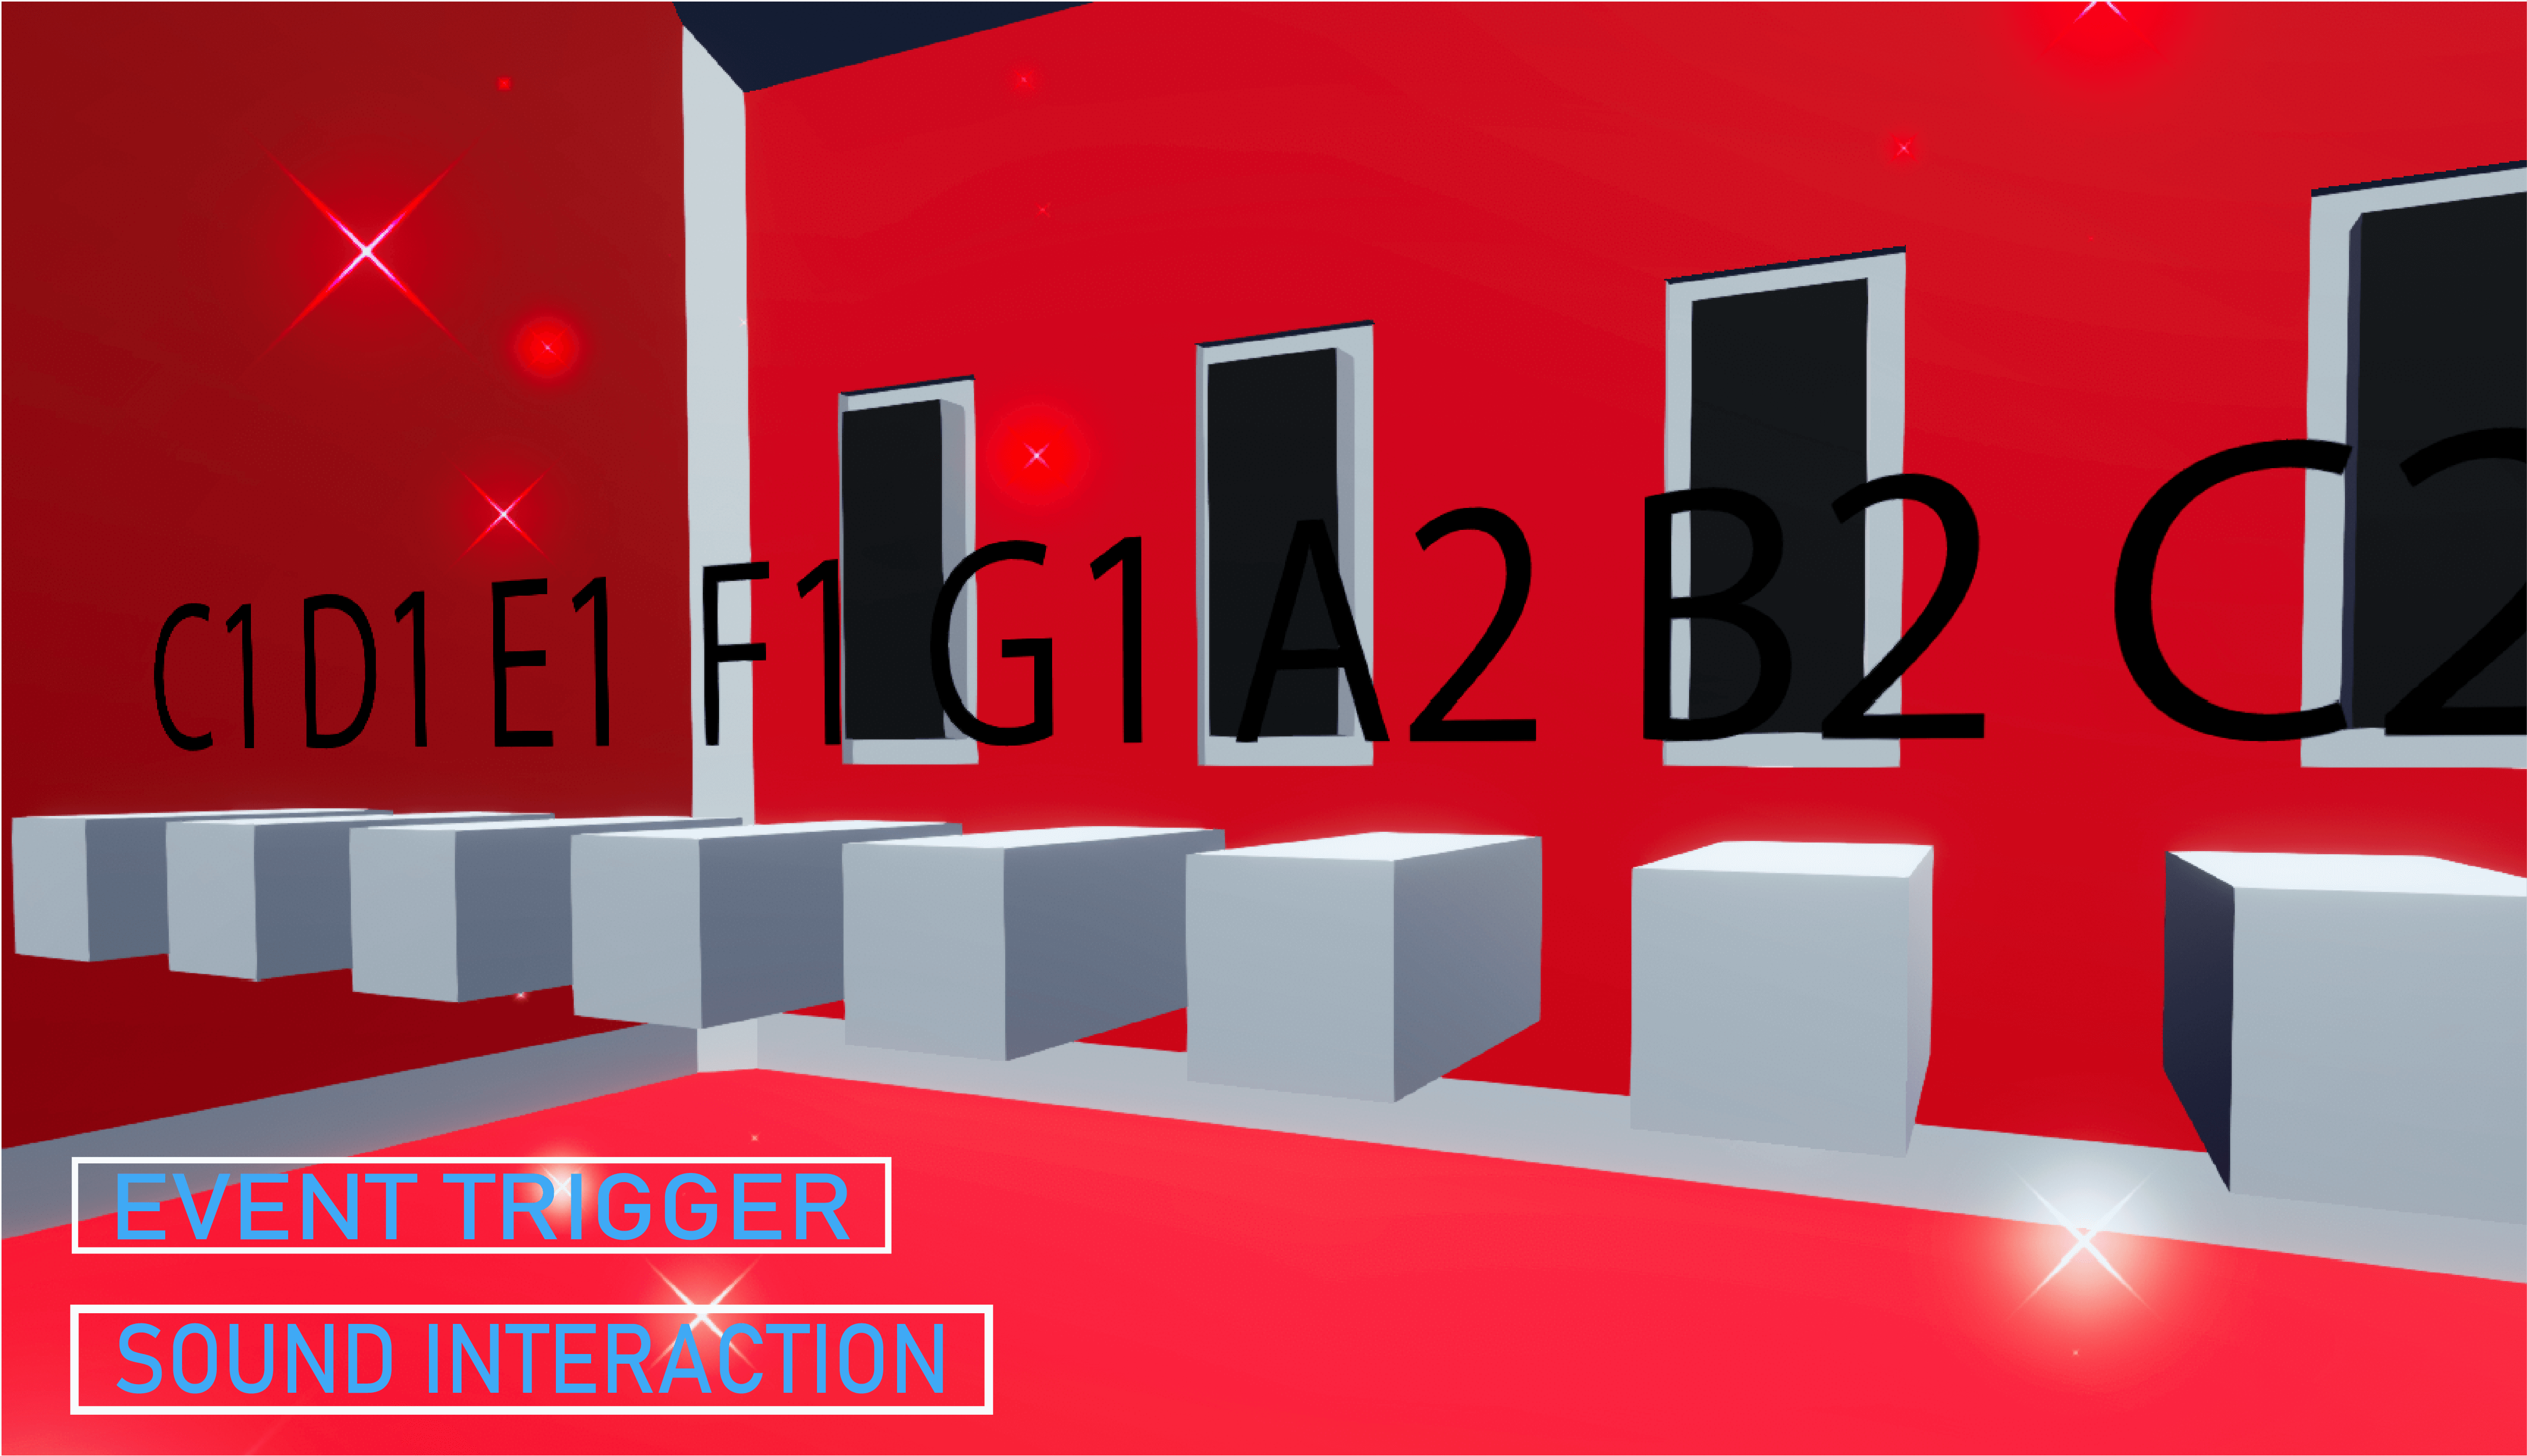
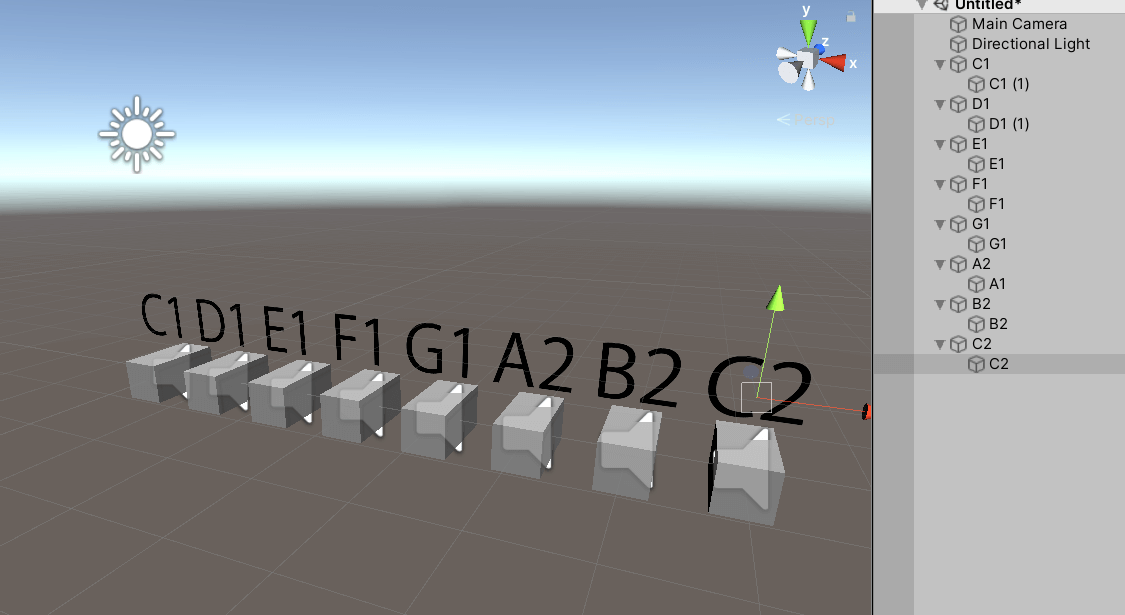
Your object will look like this image.
Transforms are arranged with the x-axis shifted by 1 per note, where X of C1 is 0 and C2 is 7.
Add an Optional Ornament
You can add an image of the sound name of the PNG, such as a child’s object, to identify which object is generating which sound.
Upload to STYLY
When you upload to STYLY, upload as a scene or prefab. When uploading by prefab, remember to group “Create Empty” as the parent object because uploading a single-sound object will take a long time.
In this case, we created a parent object named PIANO and put it together!
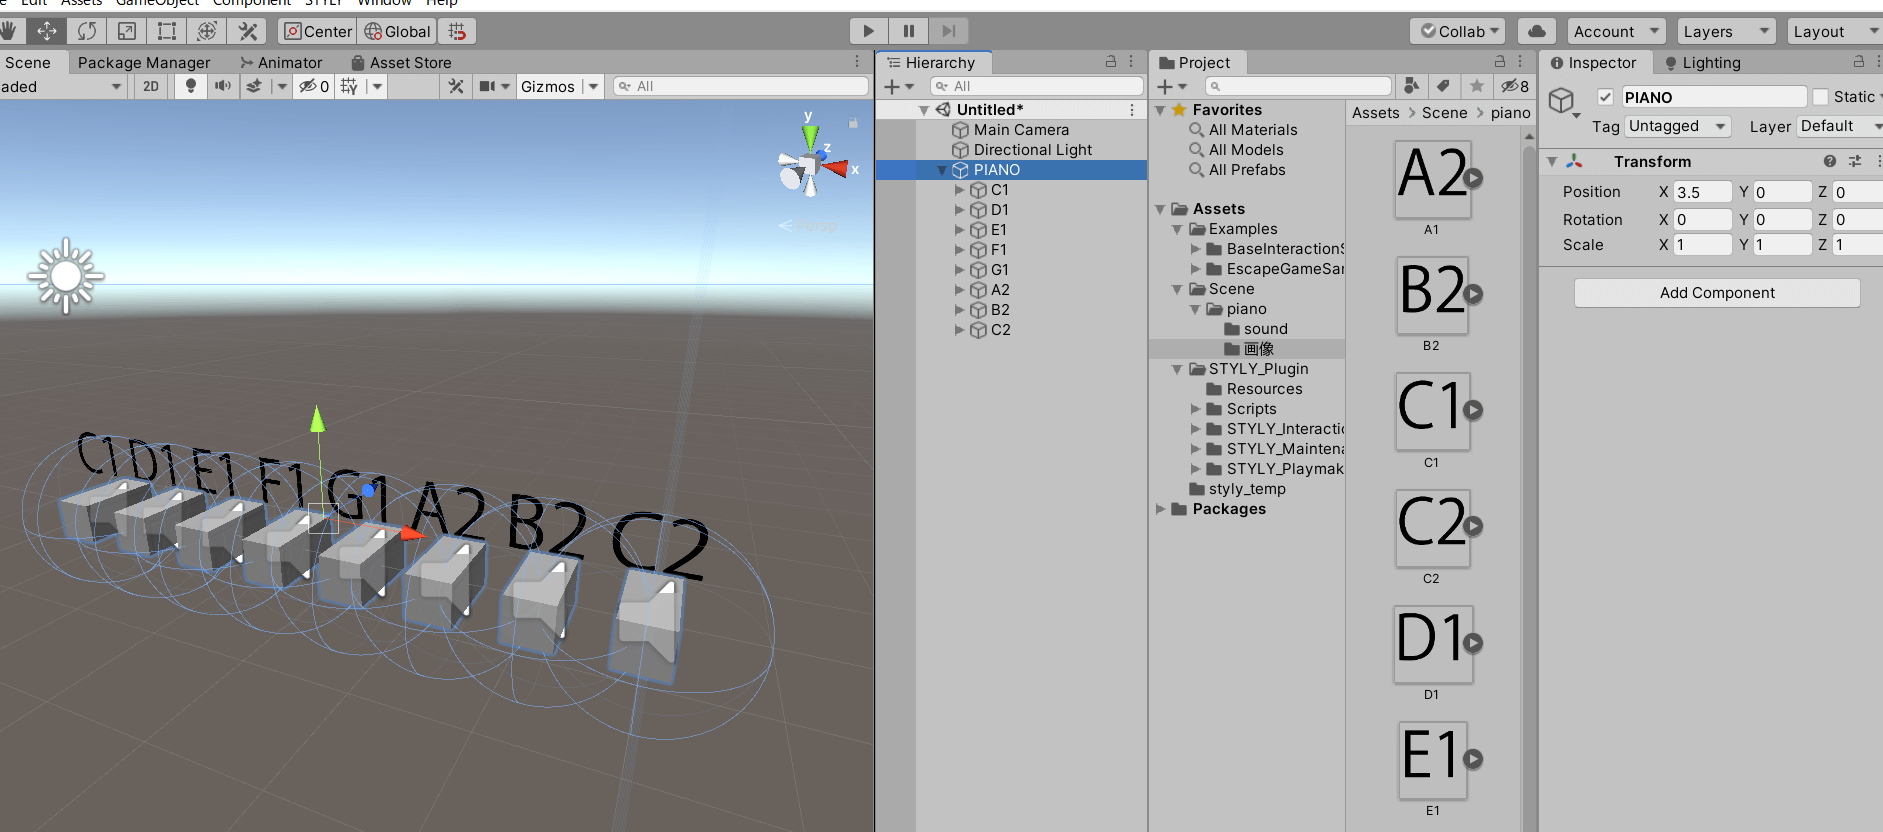
PIANO
Now, let’s upload your 3-D model to STYLY.
How to create an account.

How to upload to STYLY from Unity.

We hope you enjoyed this brief introduction to the basics of sound interaction! We’ve created this interaction in the simplest way, though the combinations of interactions and sounds are infinite.
Let’s use different methods and ideas to pursue a wider range of expressions!
Introduction to NEWVIEW SCHOOL ONLINE
NEWVIEW SCHOOL ONLINE, where you can learn the basics of Unity and PlayMaker necessary for creating VR/AR content, from the basics to the application of PlayMaker, and learn the process of creating the fascinating content available on STYLY (we’ll also expose the production techniques).
