In this article, we will introduce how to create a STYLY account, how to log in, and how to use the STYLY Studio home screen to create a VR / AR space.
On the STYLY Studio home screen, you can start STYLY Studio and change your account information.
Let’s create a STYLY account right away. If you have already created an account, please see the STYLY login method.
How to create a STYLY account
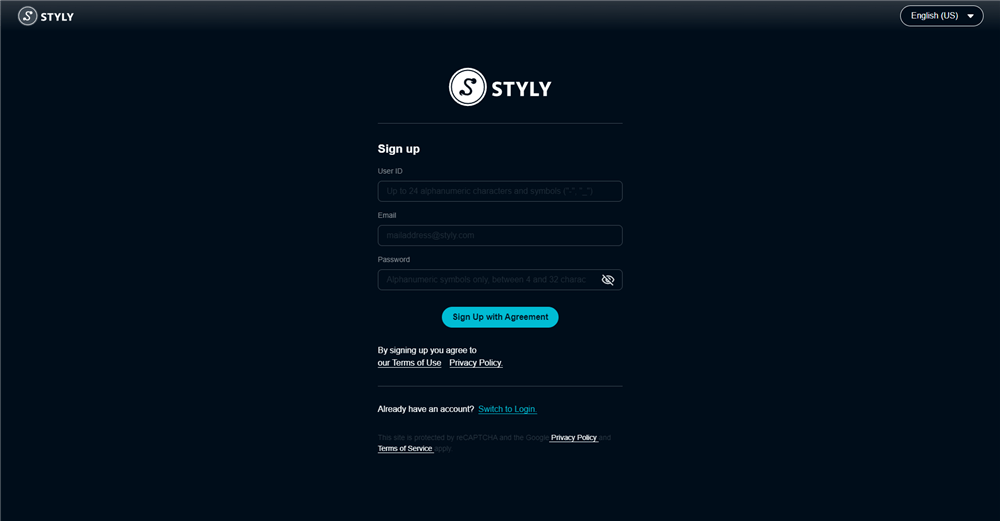
You can create an account as soon as you register your user name, email address, and password.
First, click “SIGN UP” at the top right of the STYLY top page .
Moves to the account creation screen.
Enter the registration information in each item.
There are three input points below.
- Username * Please note that it cannot be changed after registration.
- Password
After entering, click “SIGN UP” to complete the account creation.
Sign up screen menu description
| User name | The artist's name as it appears on the gallery page. Please note that you cannot change it after registration. |
| You can change it on the STYLY Studio home page after registering. | |
| Password | After registering, you can change it on the STYLY Studio home page. |
| Terms of Use | Go to the Terms of Service page. |
| Privacy Policy | Go to the privacy policy page. |
| Switch to Login | Goes to the login page |
How to login STYLY
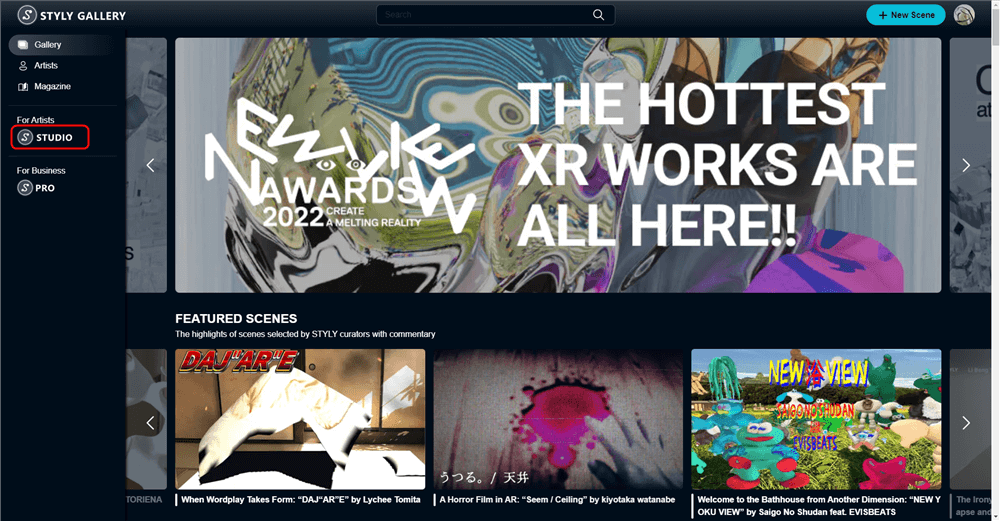
After creating an account, or if you have already created an account, click “STUDIO” on the STYLY top page.
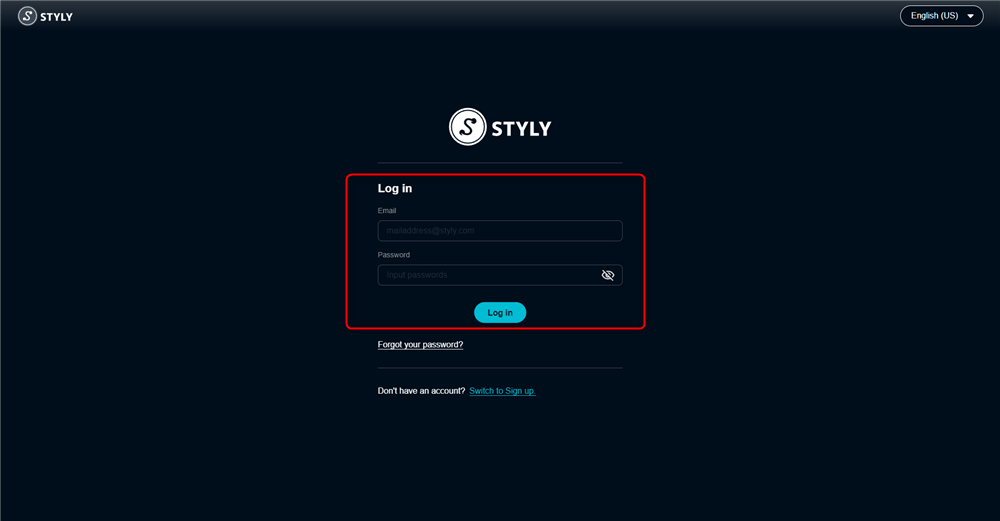
As I moved to the login screen, I used the
- Password
and click on “LOGIN” in the bottom .
Login screen menu description
| Please enter your login email address. | |
| Password | Please enter your login password. |
| Forgot your password? | You will be redirected to the New Request for Password screen. |
| Switch to Sign up | Go to the Sign up screen. |
How to use STYLY Studio home screen
Introducing how to start STYLY Studio, how to check / change account information, and how to check API Key.
In How to check / change account information, we will show you how to register your full name and company name (optional), how to change your email address, and how to change your password.
How to start STYLY Studio
After logging in, the STYLY Gallery screen will appear.
In Gallery, you can see Scenes created by yourself and others, but it is also a page where you can start STYLY Studio and check your account information.
Click “STUDIO” in the upper right.
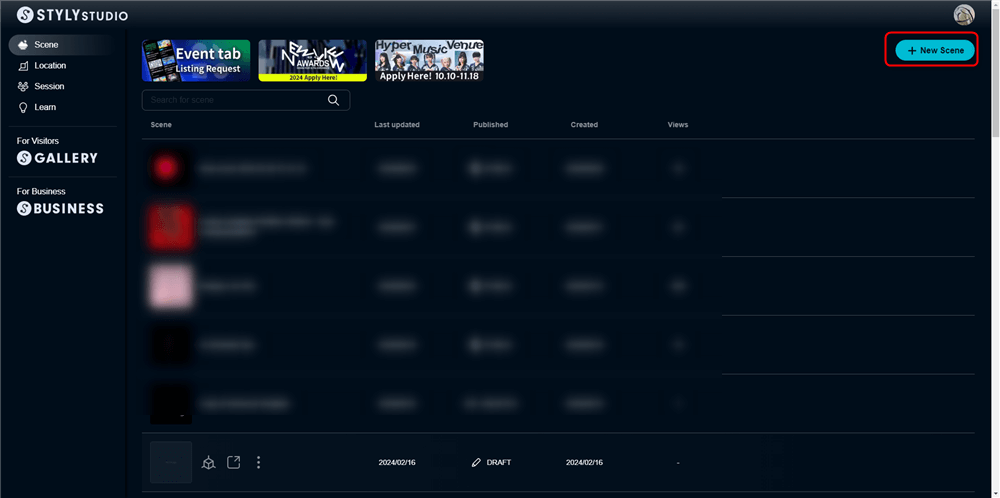
This is the STYLY Studio home screen.
You can create a new scene from “NEW SCENE” on the upper right.
After starting STYLY Studio, let’s create your own VR / AR space and publish it to the world by referring to the tutorial that you can learn how to create and publish Scene.
STYLY Studio home screen menu description
| Menu | (your icon in the upper right corner) Displays your profile screen. |
| CREATE | A new scene is created. |
| MY SCENES | A list of the scenes you have created is displayed. |
How to check / change account information
On the Account screen, you can change your profile information (such as linking your SNS account), change your email address and password, and check your API key.
The following information can be set on the PROFILE tab. The setting is optional.
- Website
- YouTube Channel
You can change your email address and password on the ACCOUNT tab.
You can change your e-mail address from “CHANGE EMAIL”.
You can change your password from “CHANGE PASSWORD”.
On the PLAN tab, you can check and change the plan you are currently using.
STYLY offers paid plans for companies that produce XR content.
Please check the link below for details.
STYLY Business:https://gallery.styly.cc/business/
How to get API Key
The API Key is used to upload a prefab or entire scene from Unity to STYLY.
I will show you how to get the API key.
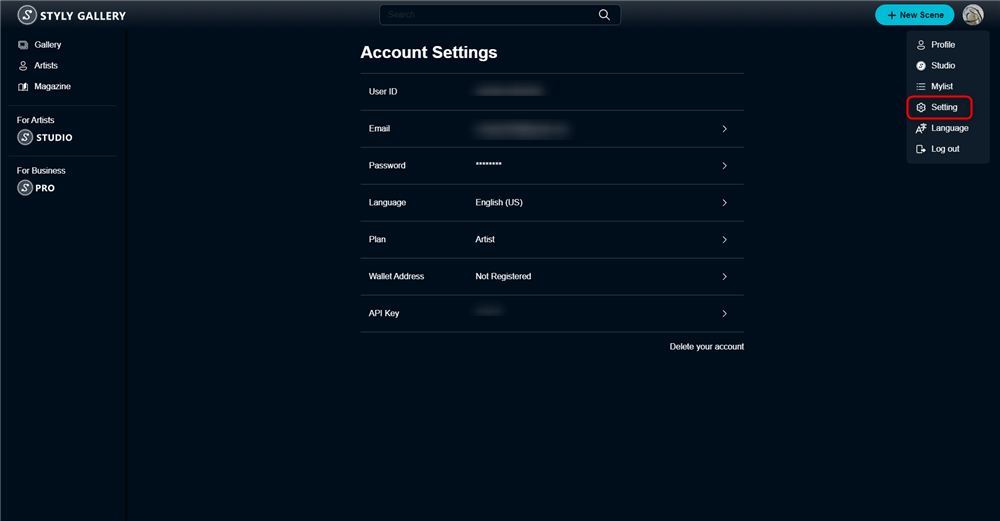
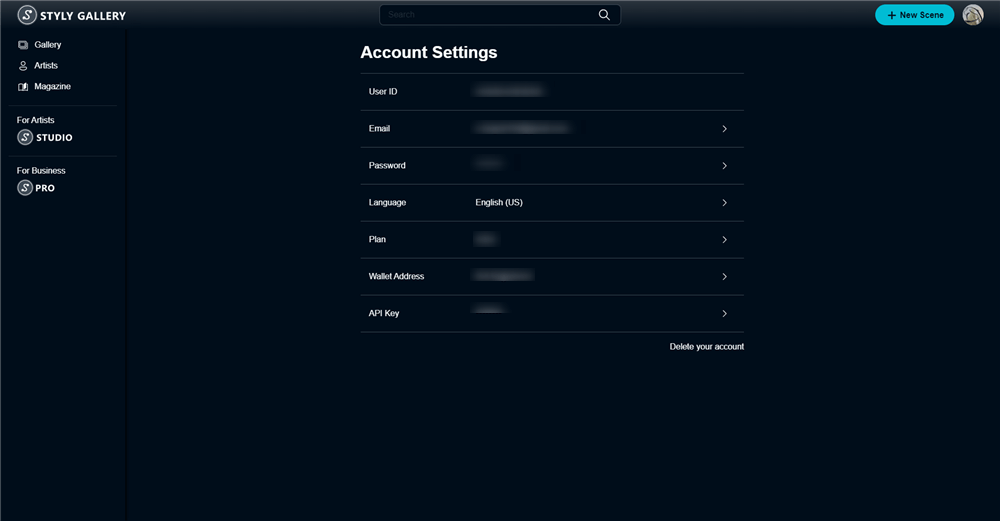
Log in to STYLY Studio and click on your account icon.
When the pop-up appears, click “Setting”.
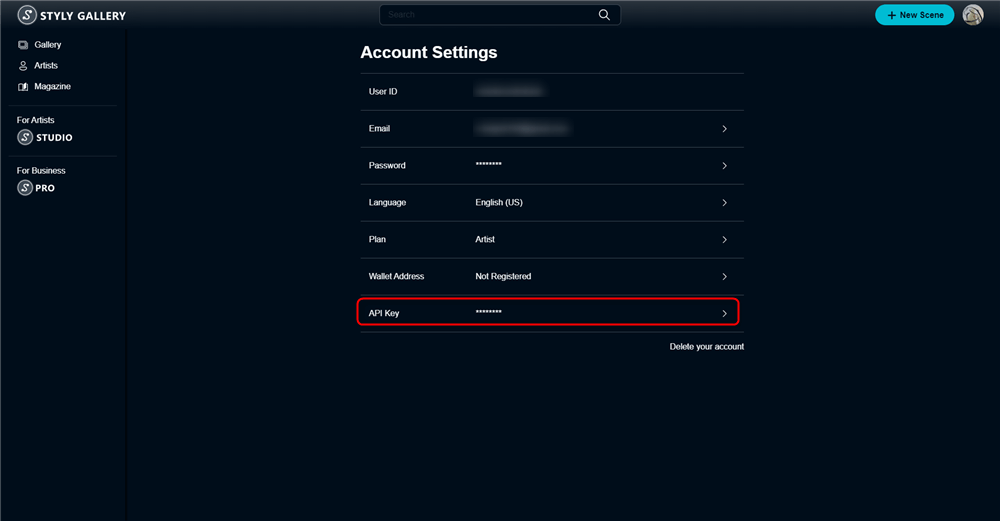
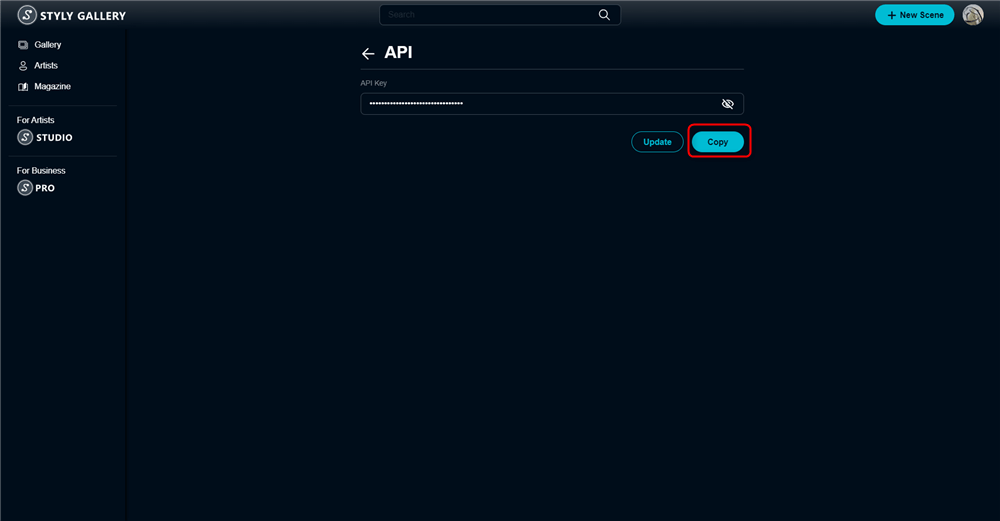
There is an API key on the Account tab, so click the copy button on the right.
Click the [Refresh] button to refresh your API Key.
If you install the Unity plugin for STYLY on Unity, you can upload Unity prefabs and the entire scene to STYLY.
Click here for details on Unity plugin for STYLY
Thank you for your hard work. This concludes the introduction of how to create an account, how to log in, and how to use the STYLY Studio home screen.
Let’s start STYLY Studio immediately.
Then, refer to the manual for creating and publishing Scene, create your own VR / AR space, and publish it to the world.


