This article explains how to download/install STYLY for Nreal and experience VR/AR scenes.
NrealLight is a MR glasses jointly developed by KDDI and Nreal Ltd. of China.
It enables you to experience XR scenes merged with real space.
In STYLY for Nreal, you can use NrealLight to experience VR/AR scenes published on STYLY or scenes created with STYLY Studio.
Notes
Compatible devices for NrealLight
For a list of compatible devices, please visit the following website
https://www.nreal.ai/compatibility-list/
Android OS versions on which STYLY for Nreal runs
Android 11/12: Works OK
Android 13: Not applicable (currently supported as of 2023.5.12 )
Nebula / STYLY for Nreal Installation Instructions
To experience STYLY for NrealLight, you need to install the following two applications on your Android device.
・Nebula
・STYLYLY for Nreal
Installation procedures for Nebula and STYLY for Nreal follow below.
Installation of Nebula
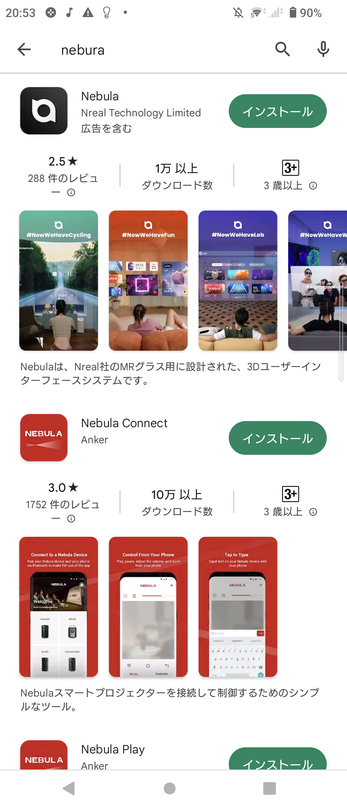
Download Nebula from the Google Play Store.
Search for “Nebula” in the Google Play Store or download the application from the following URL:
https://play.google.com/store/apps/details?id=ai.nreal.nebula.universal
Search for “nebula” and install Nebula which appears at the top of the list.
Installing STYLY for Nreal
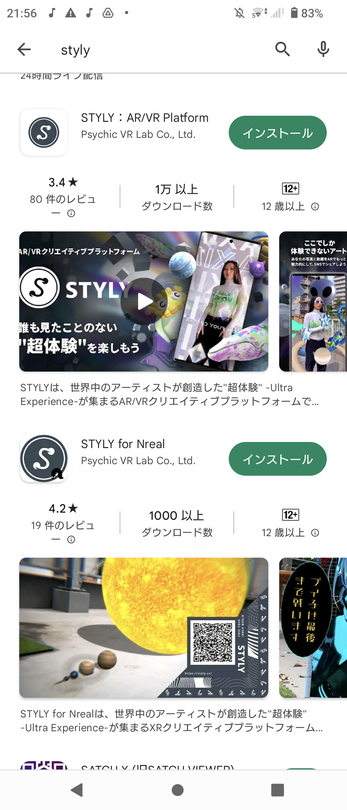
Download STYLY for Nreal from Google Play Store.
Search for “STYLY” from the Google Play Store or download the application from the following URL:
https://play.google.com/store/apps/details?id=com.psychicvrlab.styly.Nreal
Search for “STYLY” and install the app listed as “STYLY for Nreal”.
Nebula Setup Instructions
This section describes how to setup Nebula.
Start Nebula with the NrealLight cord connected to your Android device.
The setup screen will follow. Please follow the steps below.
Do you want to start Nebula to handle USB Camera?
Check Always start Nebula when USB Camera is connected and tap OK.
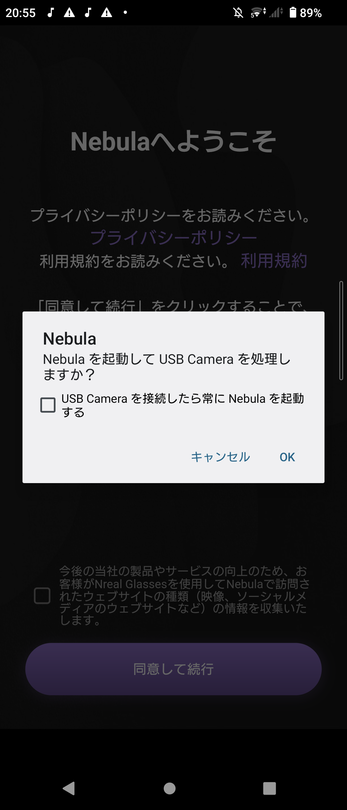
Read the Privacy Policy and Terms of Use, and then tap the “Agree and Continue” button.

Nebula setup process will proceed.

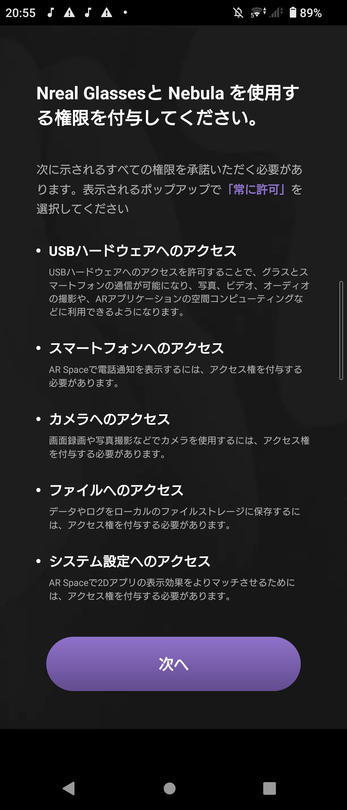
Please authorize to use Nreal Glasses and Nebula
Tap the Next button.
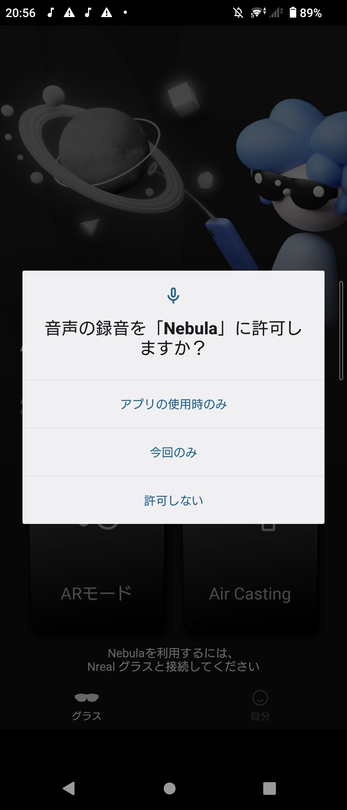
Allow “Nebula” to record audio?
Tap Only when using the app.
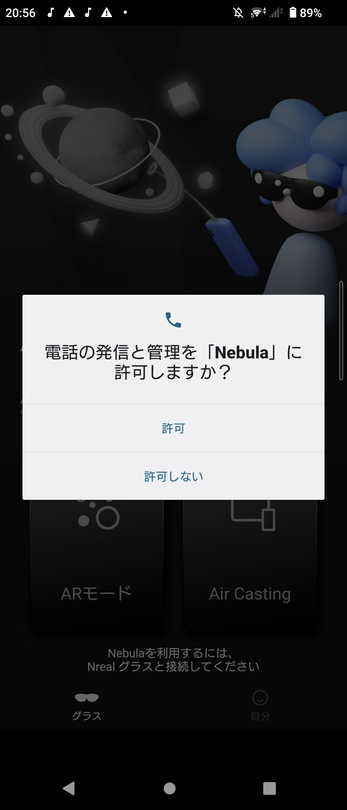
Allow “Nebula” to make and manage phone calls?
Tap Allow.
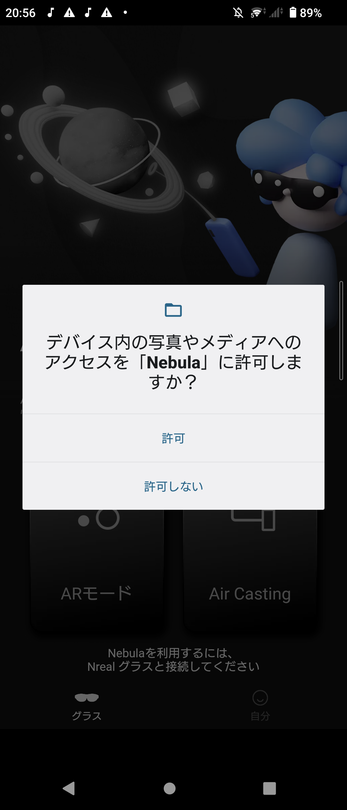
Do you want to allow “Nebula” to access photos and media on your device?
Tap Allow.
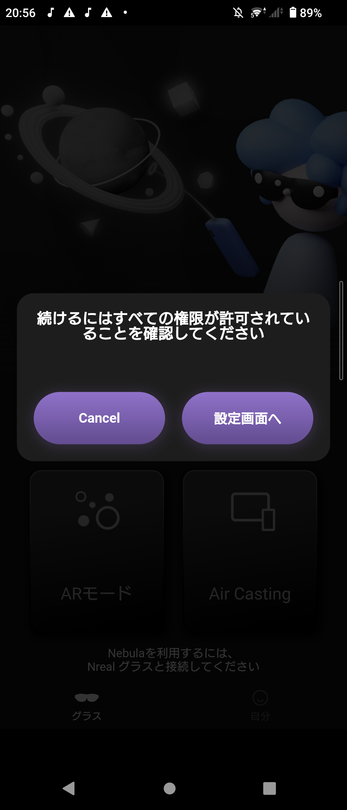
Make sure all permissions are granted to continue
Tap Go to Settings screen.
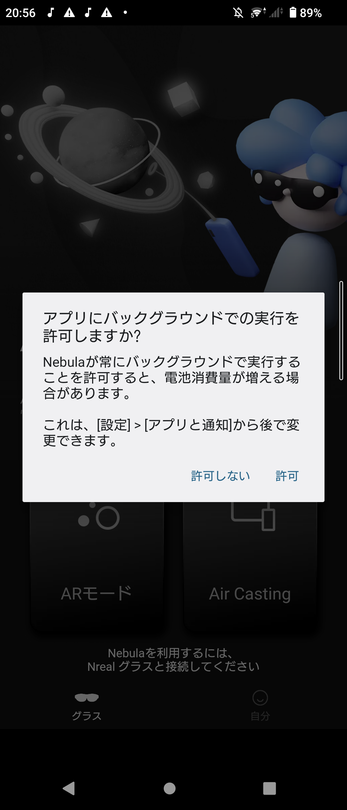
Do you want to allow the app to run in the background?
Tap Allow.
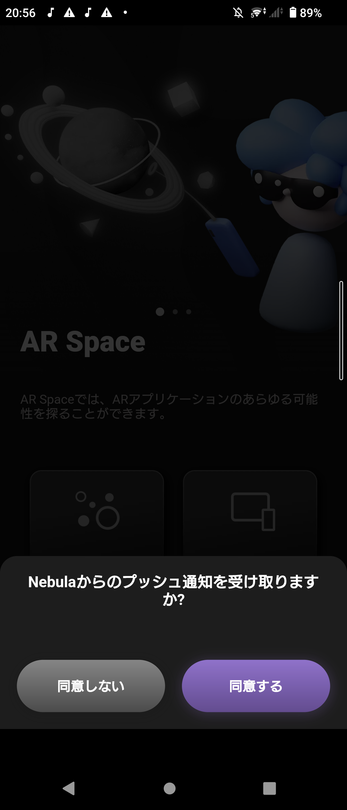
Do you want to receive push notifications from Nebula?
Tap either
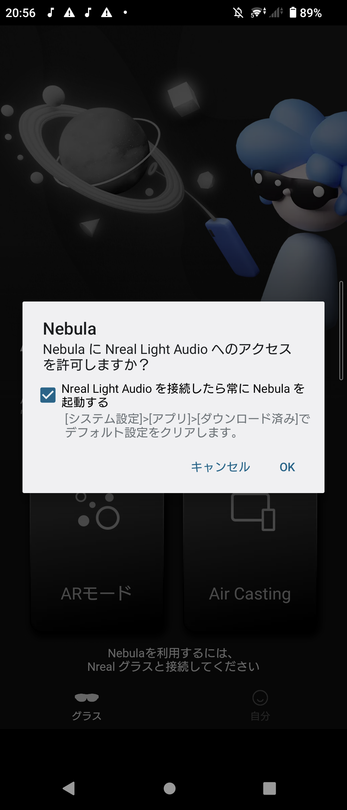
Do you want to allow Nebula to access Nreal Light Audio?
□Check Always start Nebula when Nreal Light Audio is connected and tap OK.
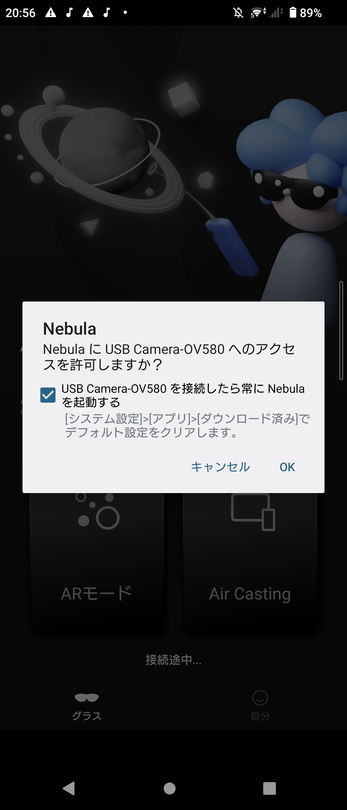
Do you want to allow Nebula to access the USB Camera-OV580?
□Check Always start Nebula after connecting the USB Camera-OV580 and tap OK.
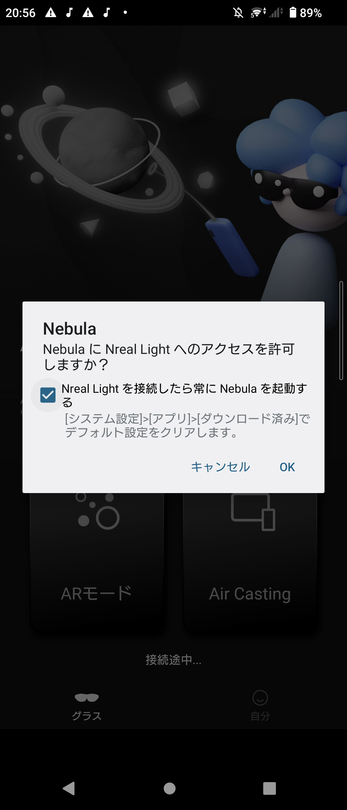
Do you want to allow Nebula to access Nreal Light?
□Check Always start Nebula when Nreal Light is connected and tap OK.
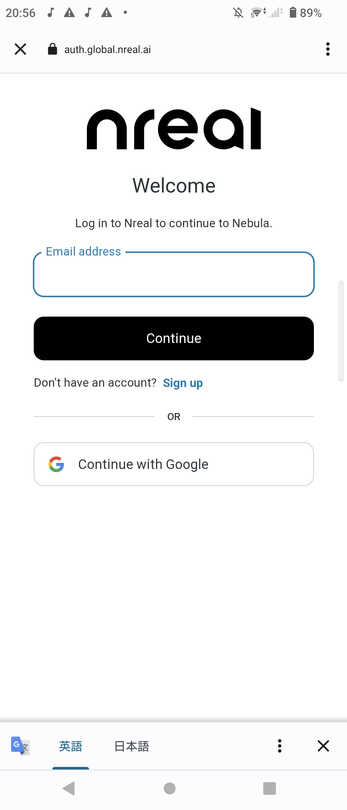
The Nreal Log in screen will appear. Sign up if you do not have an account.
If you have an account, log in.
Nebula will start up.
The Nebula startup screen will appear through the lens and the tutorial will begin, so please proceed.
Once the tutorial is complete, the Nreal home screen will appear.
Once the home screen appears, Nebula setup is complete.
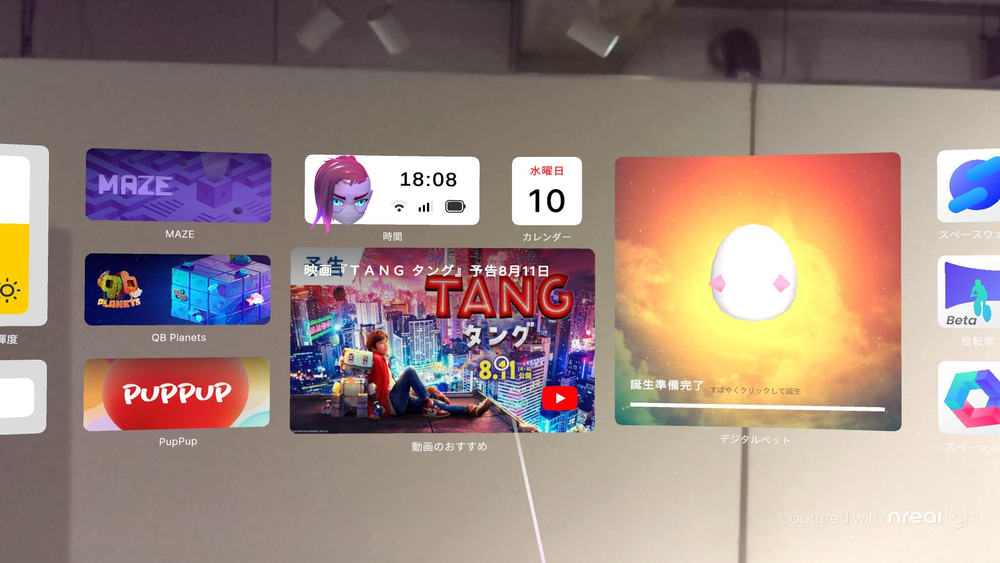
Nreal Home Screen
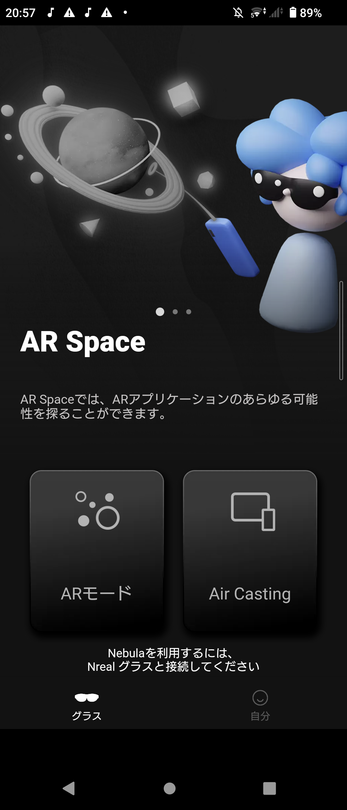
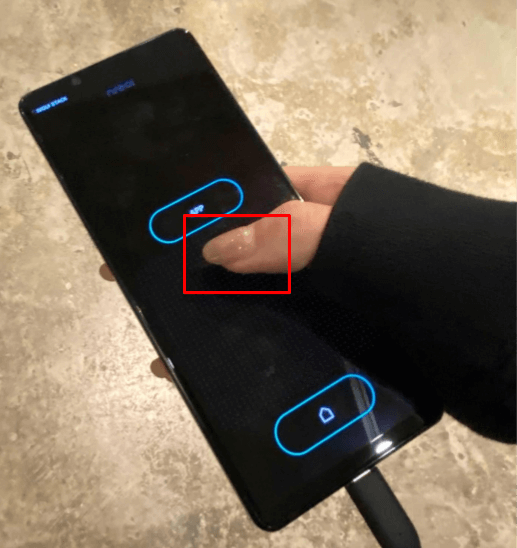
If you do not see the Nebula startup screen, reconnect your Android device to the NrealLight and tap AR mode.
In the future, please “Connect your Android device to NrealLight and tap AR mode” when you want to start the Nreal Home screen.
How to experience VR/AR scenes with STYLY for Nreal
How to experience a VR/AR scene
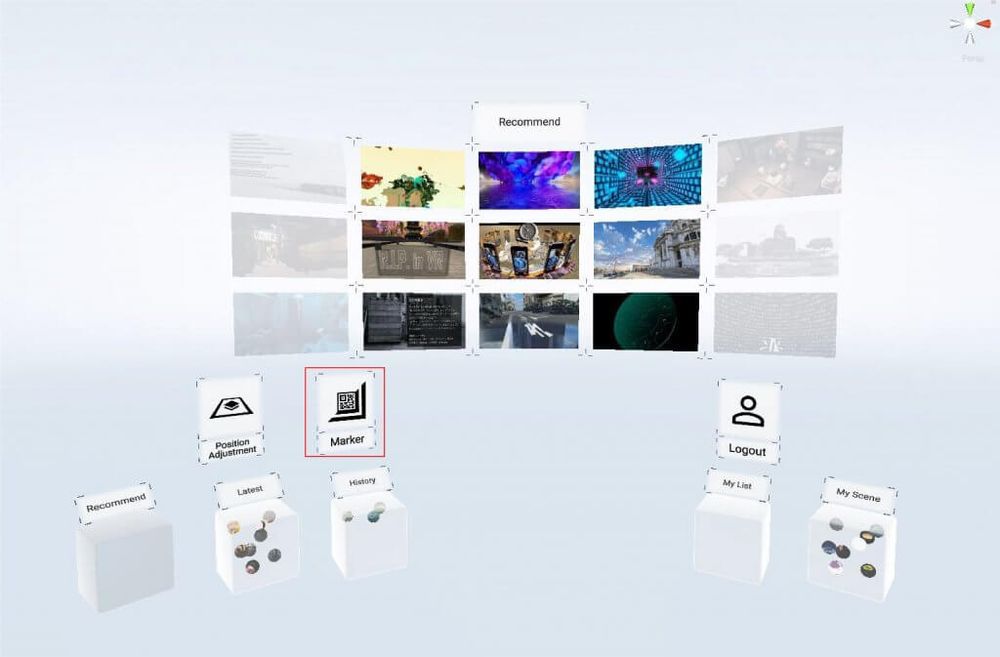
Display the Nreal home screen, turn to the right side and tap STYLY for Nreal.
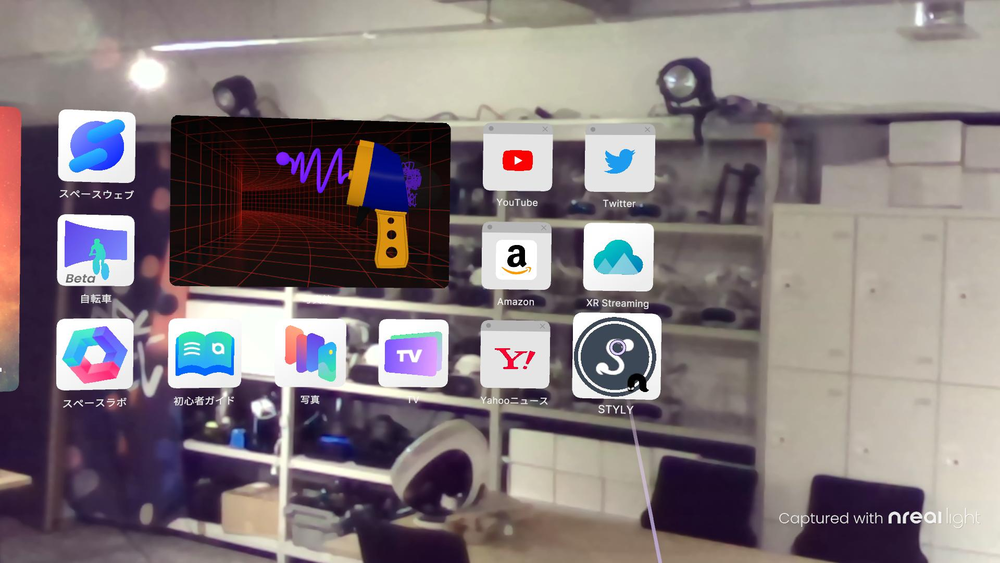
The STYLY home scene will appear.

The background will appear transparent in the Nreal experience
.
In STYLY for Nreal, your Android device is the controller.
A ray (yellow-green laser) appears on the home scene.
Focus the ray on each icon and tap (select) to use.
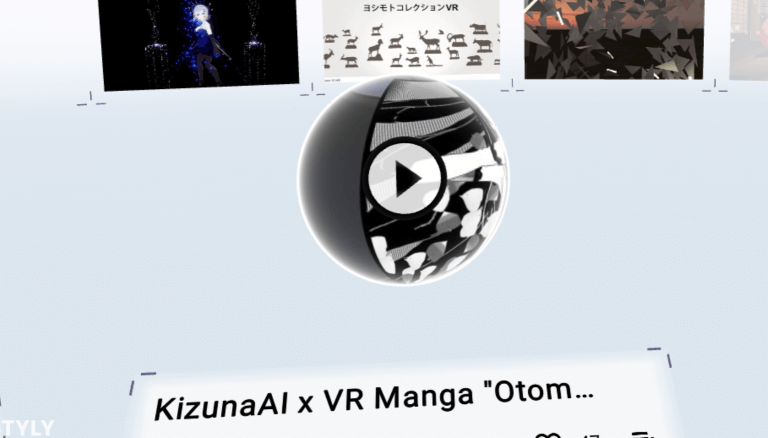
Select a Recomend scene.
Align the ray with the center playback mark and tap the controller to begin experiencing the scene.
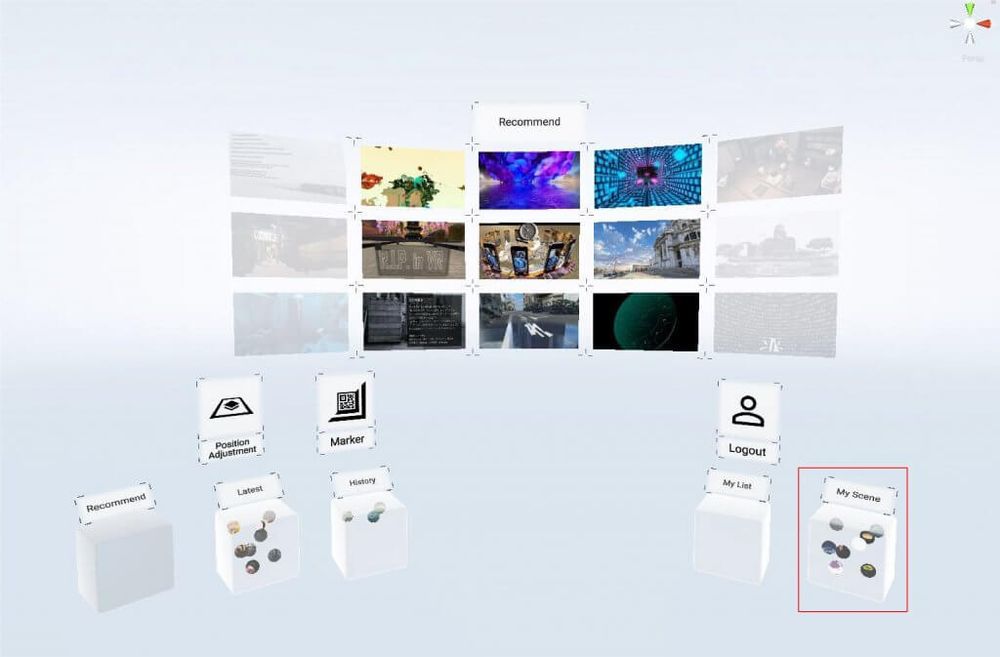
How to experience a scene you created
Log in and tap the My Scene box.
A list of scenes you have created will appear in front of you.
How to experience a scene from a STYLY Marker (QR code)
You can activate a scene by reading the STYLY Marker (QR Code) of the VR/AR scene.
Select Maker and bring Nreal close to the STYLY Marker to load the scene.
Depending on the size of the QR Code, you may need to bring the STYLY Marker and Nreal about 10cm closer together to proceed with the loading process.
How to move VR/AR scenes
In case of AR scene, please move by yourself to experience the scene.
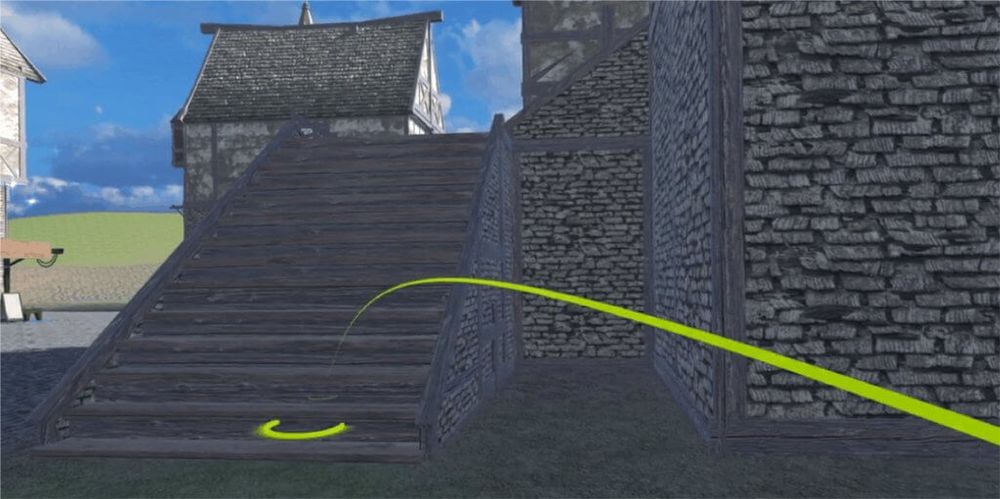
For VR scenes, tap the controller and a ray will appear in space.
Point the controller in the direction you want to move and tap the controller to see a parabola.
Release your finger from the screen and the viewpoint will move to the circular area at the tip.
When the parabola is movable, the color of the parabola turns green as shown in the image.
When the parabola is not movable, the parabola turns gray.
Controller Menu List
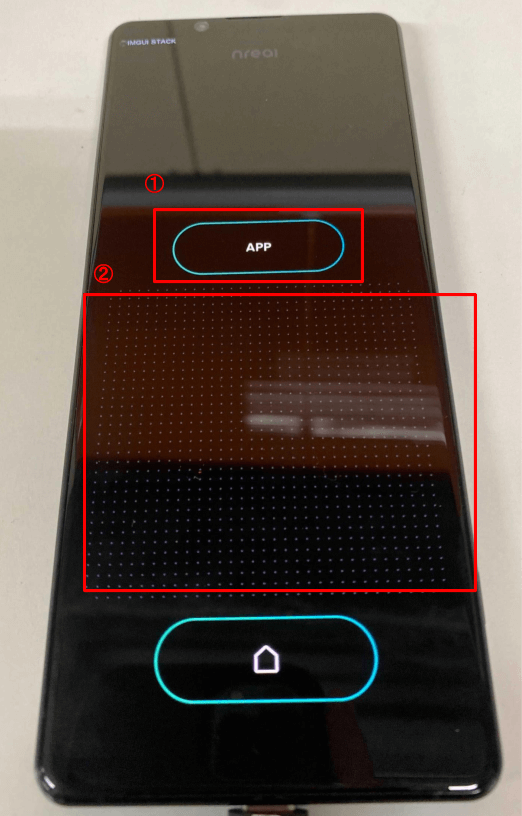
Controller Screen
(1) APP button – Tap to display the home scene.
Also, press and hold to calibrate the controller.
② Button for moving (VR only) – Tap between the APP button and the house icon.
Tap the right or left edge to rotate the viewpoint in that direction.
If you keep tapping the tip, a ray will appear and removing your finger will move the viewpoint to the radiation tip.
STYLY for Nreal Recording Manual
You can also record the STYLY for Nreal screen and save it to your smartphone.
Please refer to the following article for instructions on how to record.

How to create a VR/AR scene
Create your scene in STYLY Studio and experience it in STYLY for Nreal.
To create a scene in STYLY, you need to create a STYLY account.
If you are new to STYLY, read the following article and start by creating an account.
*You need an account to create a scene, but you don’t need an account if you just want to try it out.

The basic method of creating a scene is the same as creating a VR/AR scene.
AR scene creation manual
VR scene creation manual
Please send bug reports and improvement requests to STYLY FORUM