I am Ryu Lilea (Ryu Fujiwara@lileaLab), the creator of Zeniarai Benten VR.
In the previous article, I wrote about ‘PC system requirement / 3DF Zephyr’.
This time I will write about ‘Post-processing’ and also summarize how to adjust the generated 3D model.
※You can experience the VR space here:
Themes in This Series
- #1 Photographing
- #2 PC system requirement / 3DF Zephyr
- #3 Post-processing (This article)
- #4 Converting into VR (Coming soon)
Post-Processing
I will explain how to adjust the model with a DCC tool (CG software).
※This time I will use CINEMA4D.
Combine the Divided Parts
This time I generated the model with division processing, so I need to combine the parts.
If there is a difference in height, there will be a gap between the parts. In that case, you need to correct it with an FDD tool (a tool to transform objects). I don’t go into the details on how to use this tool. Basically, transform the parts to match their ends as follows.
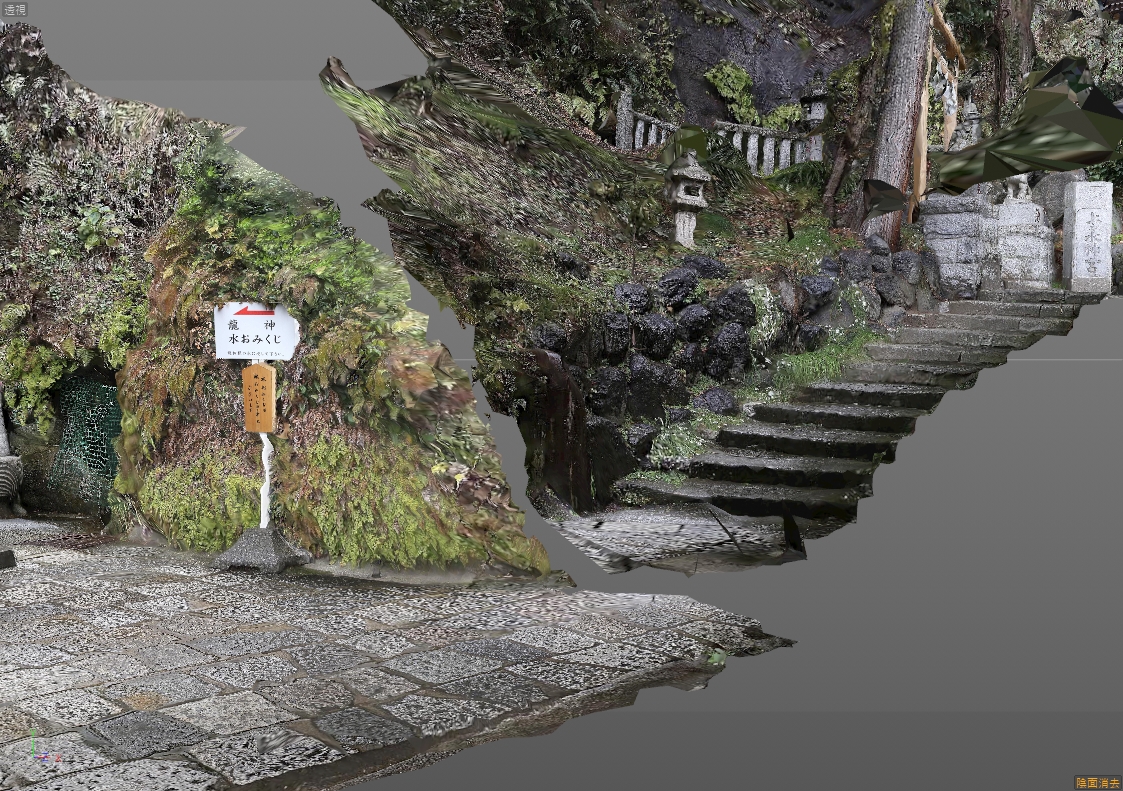
※There is a gap.
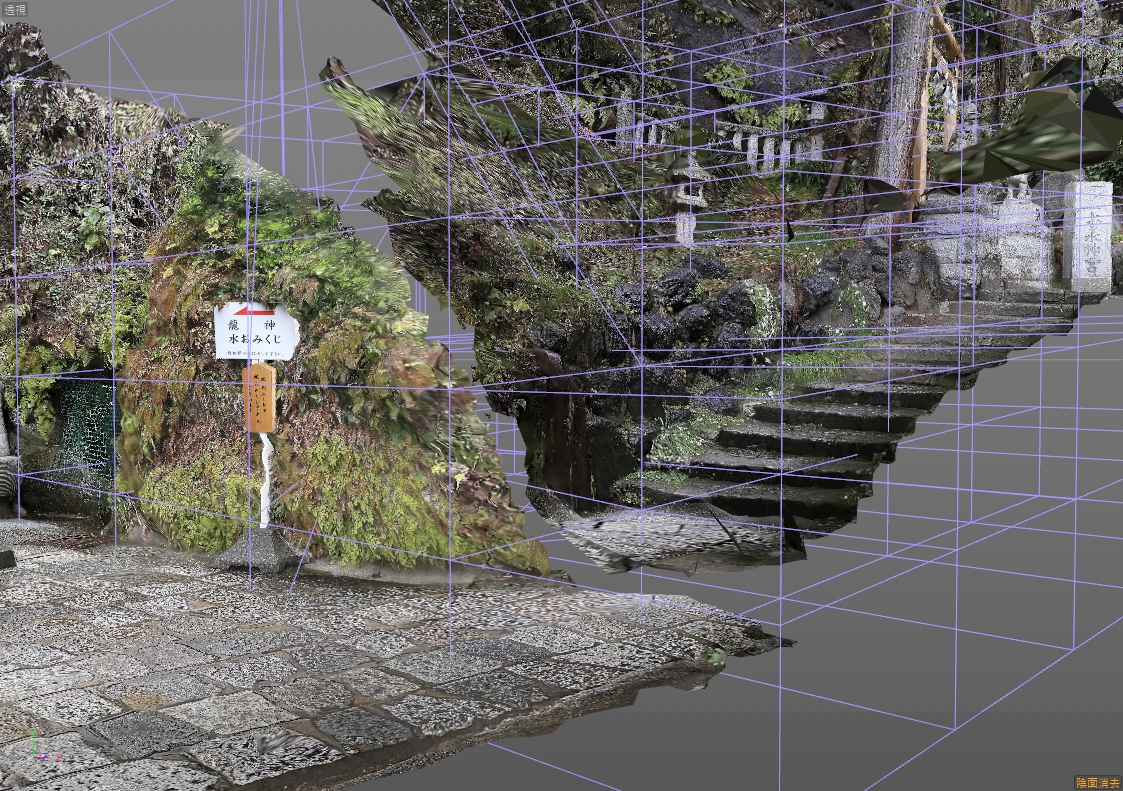
※Transform only the stairs and slope by using FFD tool (which is shown as a purple wireframe).
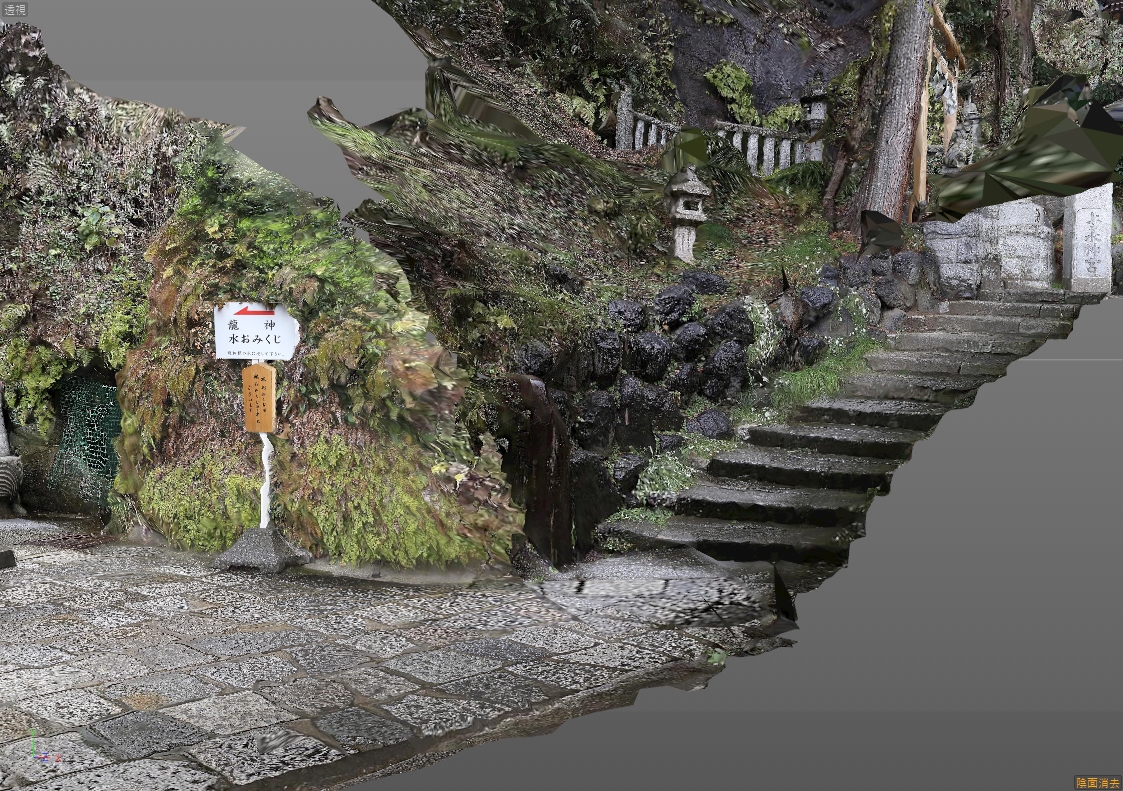
※ How it looks after adjusting the positions
Correct the Broken Parts
Photogrammetry cannot exactly reproduce reflection and transparency, so the shape will break down or have holes. For Zeniarai Benten VR, I corrected the broken parts according to the type of problem:
- Move vertices to fill the gap.
- Place a flat object to fill the gap.
- Hide by trees
- Block the path
Move Vertices to Fill the Gap
This is the easiest way. For a small hole, you can fill it by moving the vertices of polygons.
Place a Flat Object to Fill the Gap
When shooting the photos for Zeniarai Benten VR, the roof was wet because it was drizzling. Therefore, the roof doesn’t have its surface generated due to the reflection.
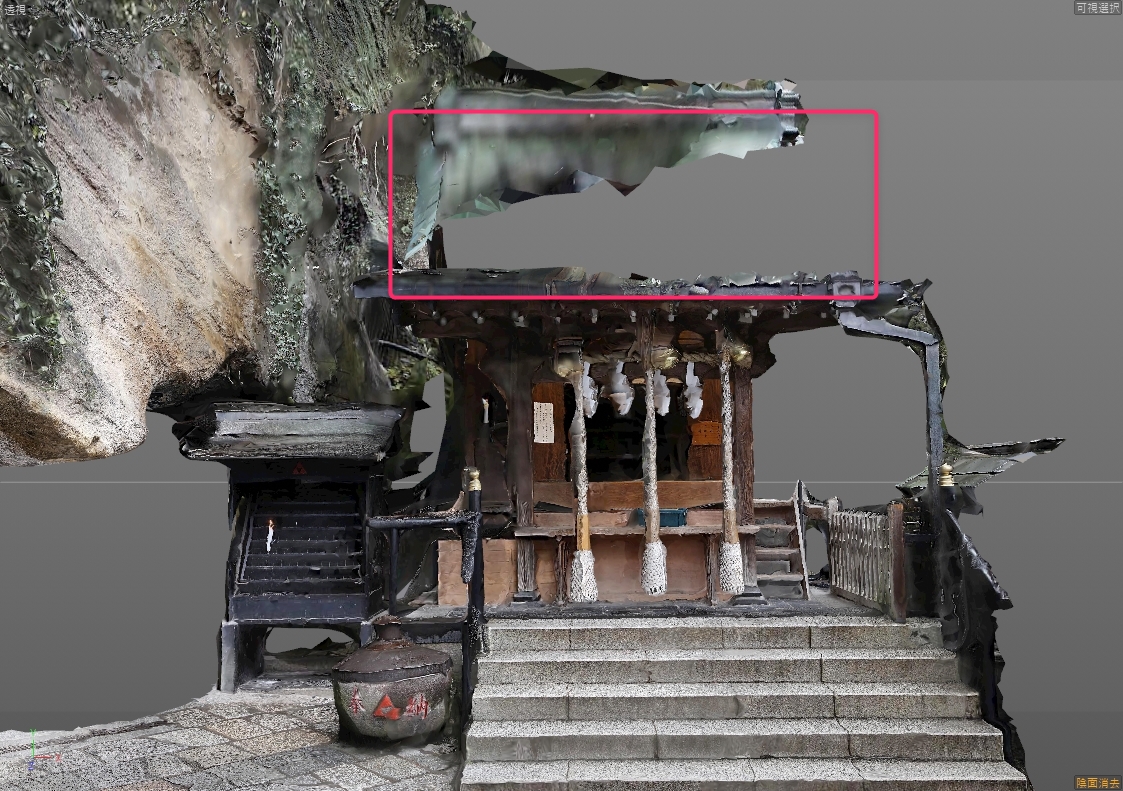
※There is a large hole in the roof.
This kind of problem can be fixed by making up new polygons with textures.
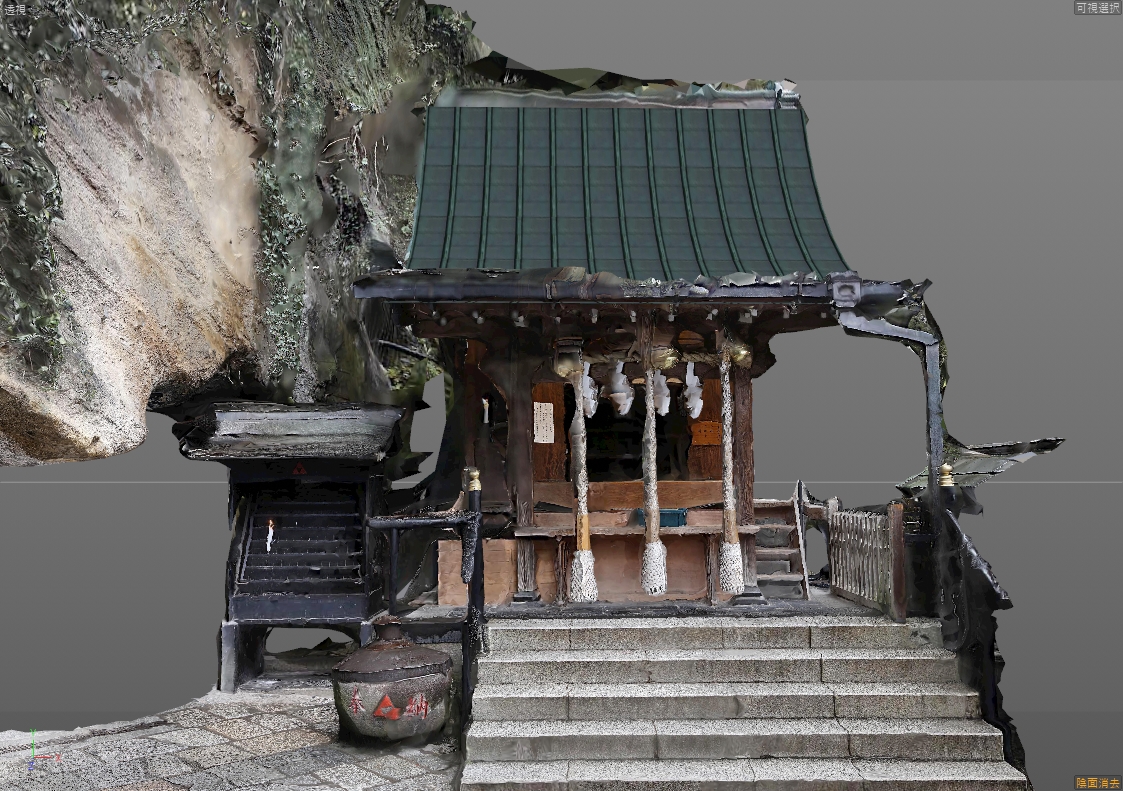
※Corrected by adding the polygons with textures.
The following is an example of correcting the ground in the same way.

※The texture of the stone-paved road is poor due to the lack of photos, and the asphalt floor has not been generated.
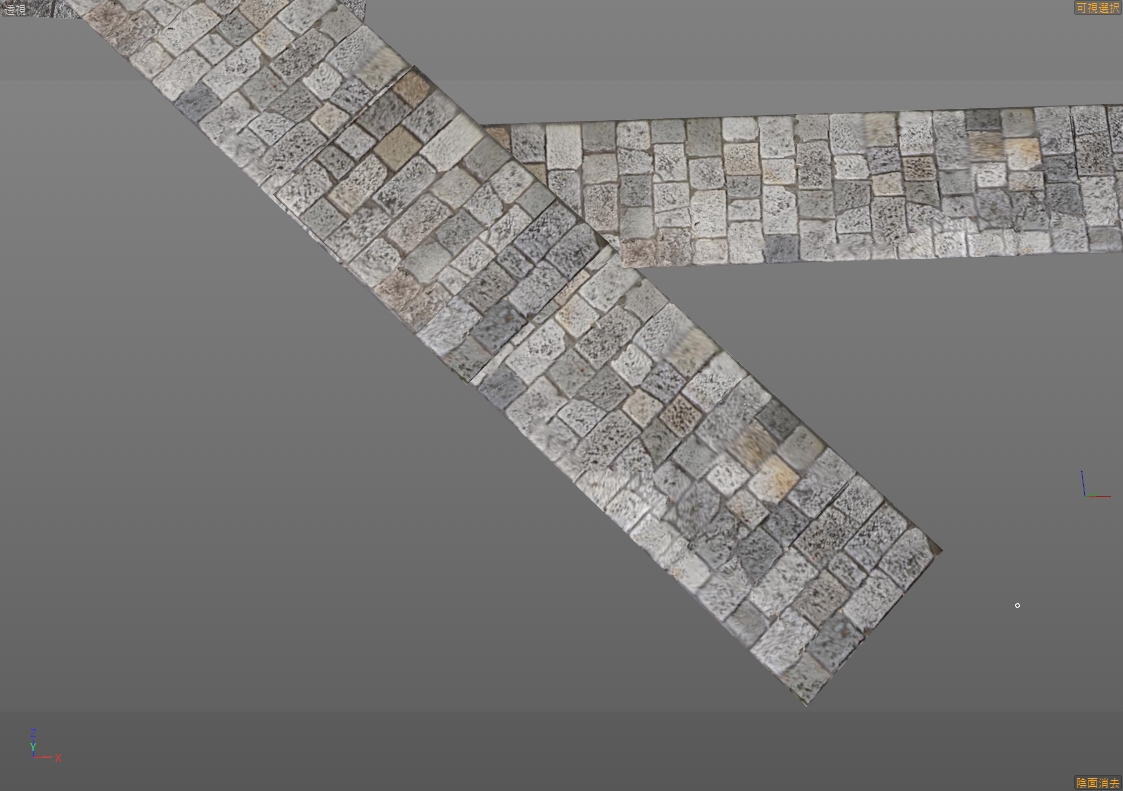
※Prepare the texture.
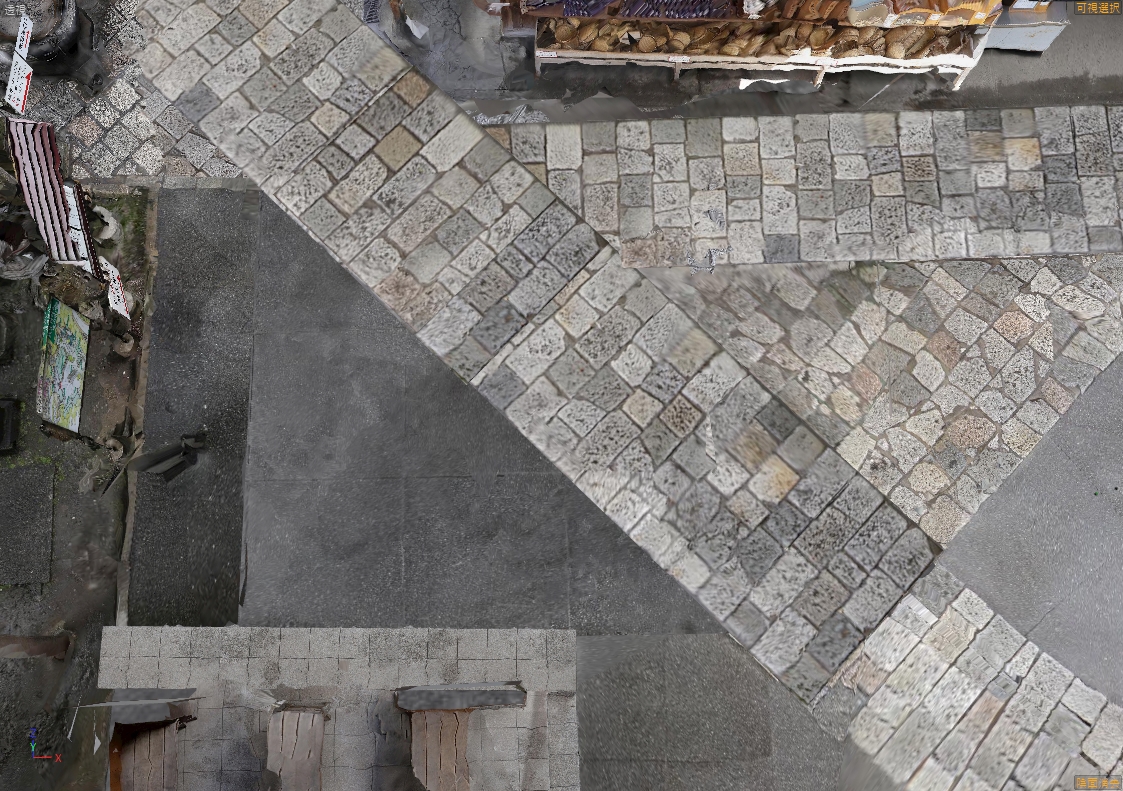
※ The state after the correction.
This ‘replacing the ground’ approach is useful if the model is not broken. Photogrammetry uses a lot of polygons because it converts a flat floor into fine meshes. So, you can save polygons by replacing the floor with a flat object.
Hide by Trees
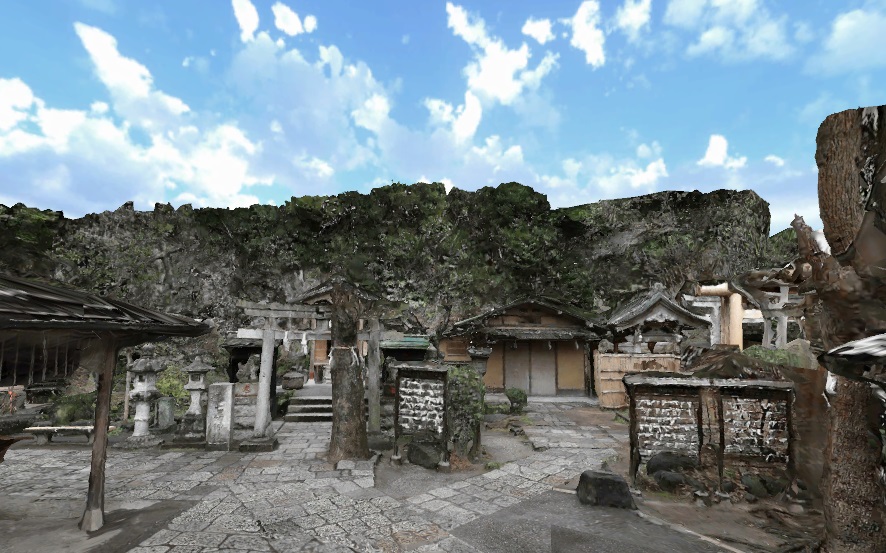
The northern part of Zeniarai Benten is elevated and all the photos had to be taken at my eye level. So, the photos show a bird’s-eye view, however, this also highlights some of the problematic parts. It is not realistic to correct all these problems, so I hid them by placing trees.
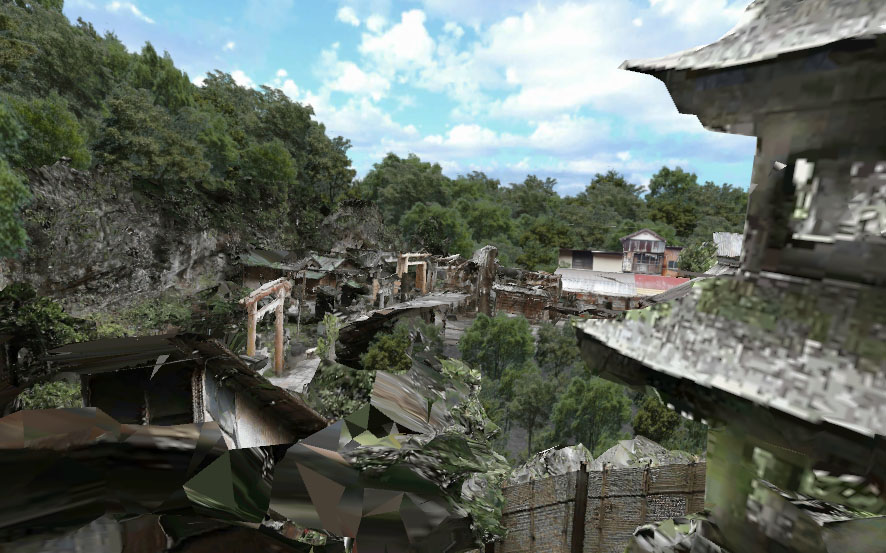
※The problematic parts are widely visible
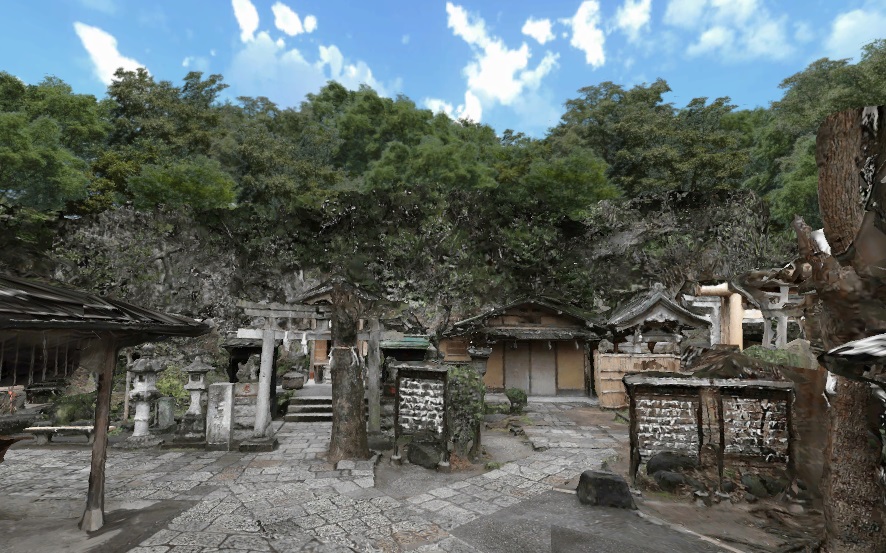
※I hid them by placing trees (In reality, there are a lot of trees, so this correction looks natural).
Make the Broken Parts Not Noticeable
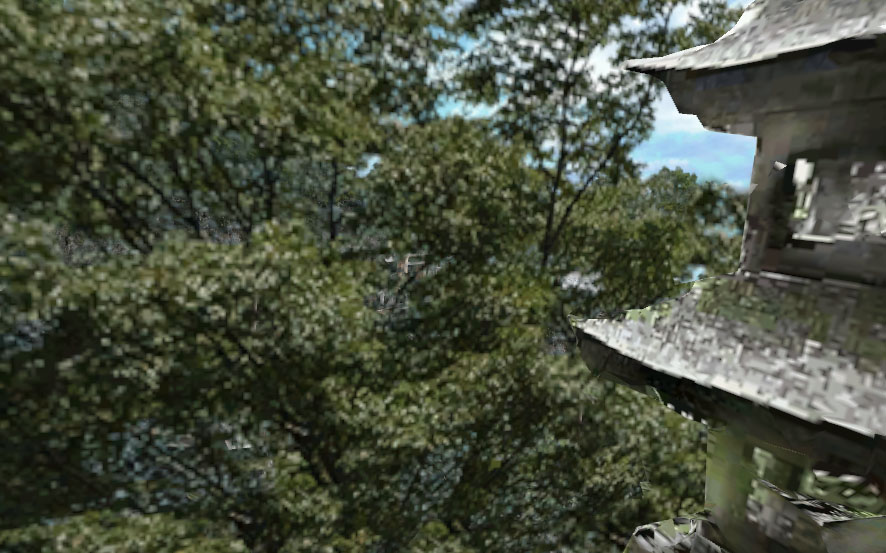
The site is surrounded by cliffs. But, Photogrammetry didn’t cover the top part of them, so it left a fairly visible boundary. I made it less visible by placing trees on it. You can make trees blend with the cliff by matching the color tone and brightness of the trees with the color of the cliff.
※The upper part of the cliff is cut off unnaturally.
※Place the trees with its brightness and saturation adjusted to the color of the cliff to make the boundary less noticeable.
Block the Path to the Broken Part
For an excessively broken part, block the path to it.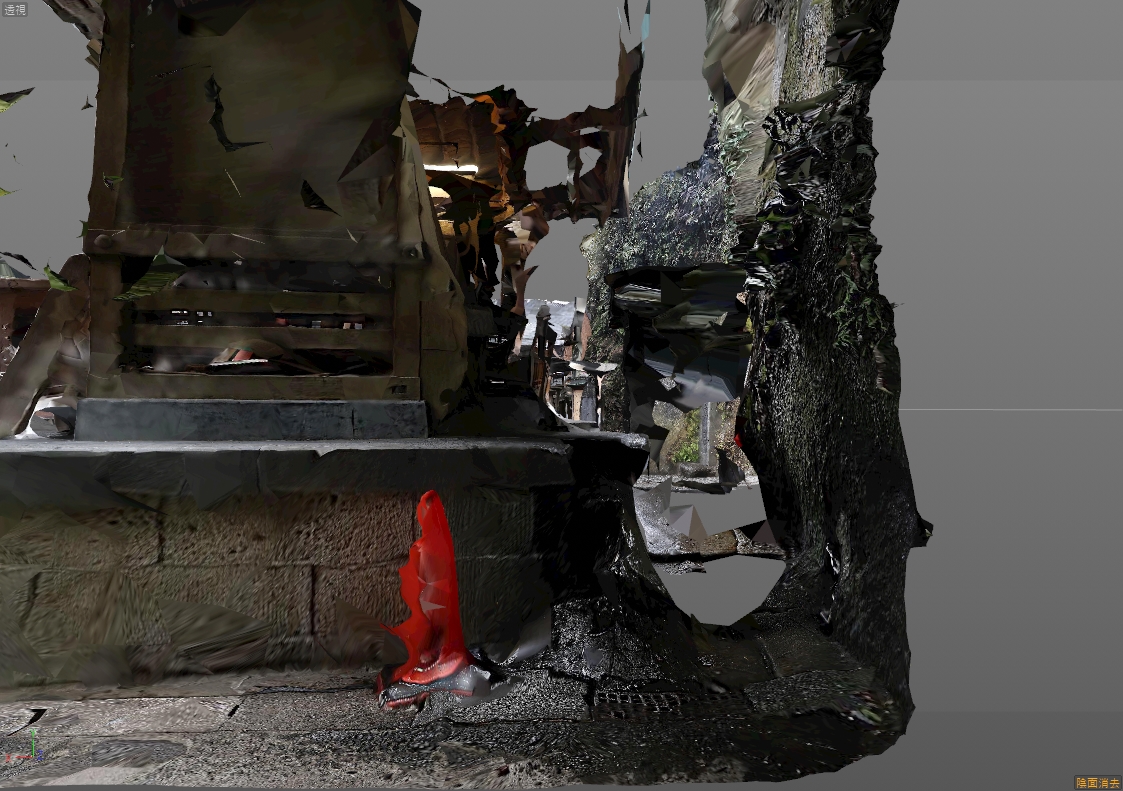
Shown above is a cul-de-sac behind ‘Ryujin-Sui Mikuji’. It’s too narrow and dark to take decent photos. So, the model breaks down excessively. However, there isn’t anything attractive in this area, so I simply blocked the path by placing a transparent wall around the traffic cone.
(We will set up a collider there when converting into VR).
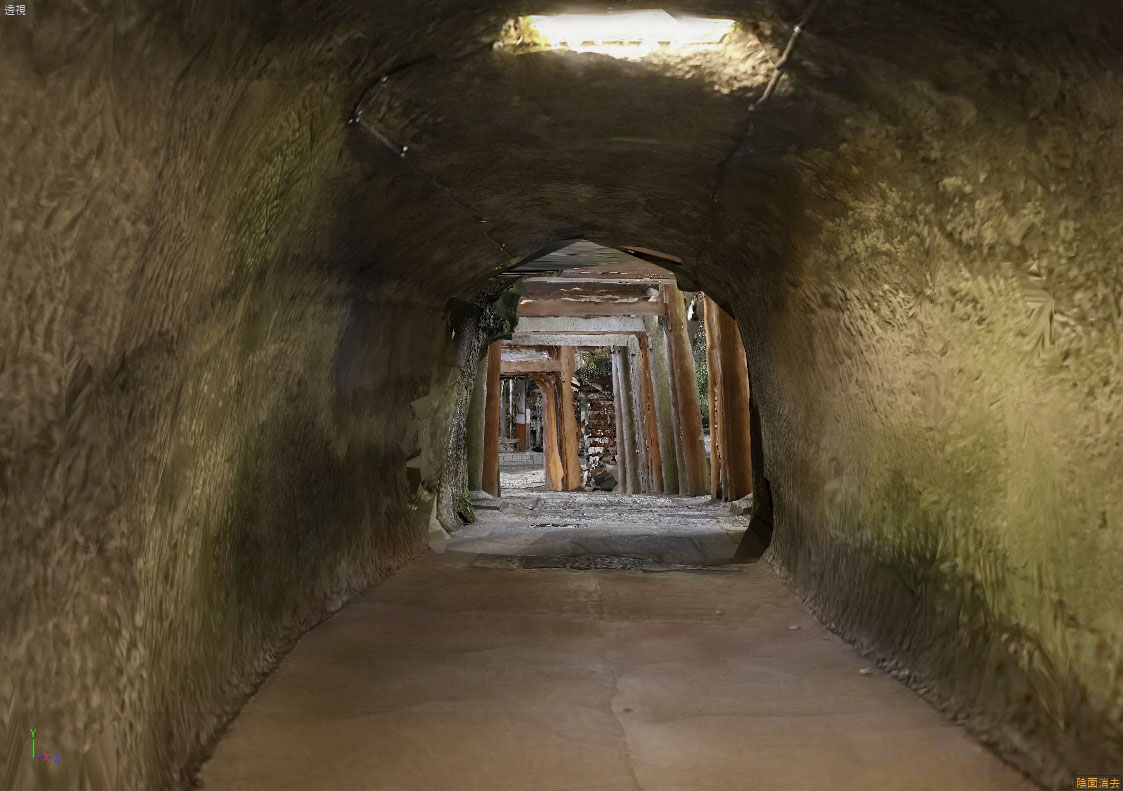
Adjust Textures
The inside of the tunnel was generated from the video, and the exit of the tunnel was generated from still images. But, these have been taken at different times, so the brightness of the floor has a gap at the boundary.
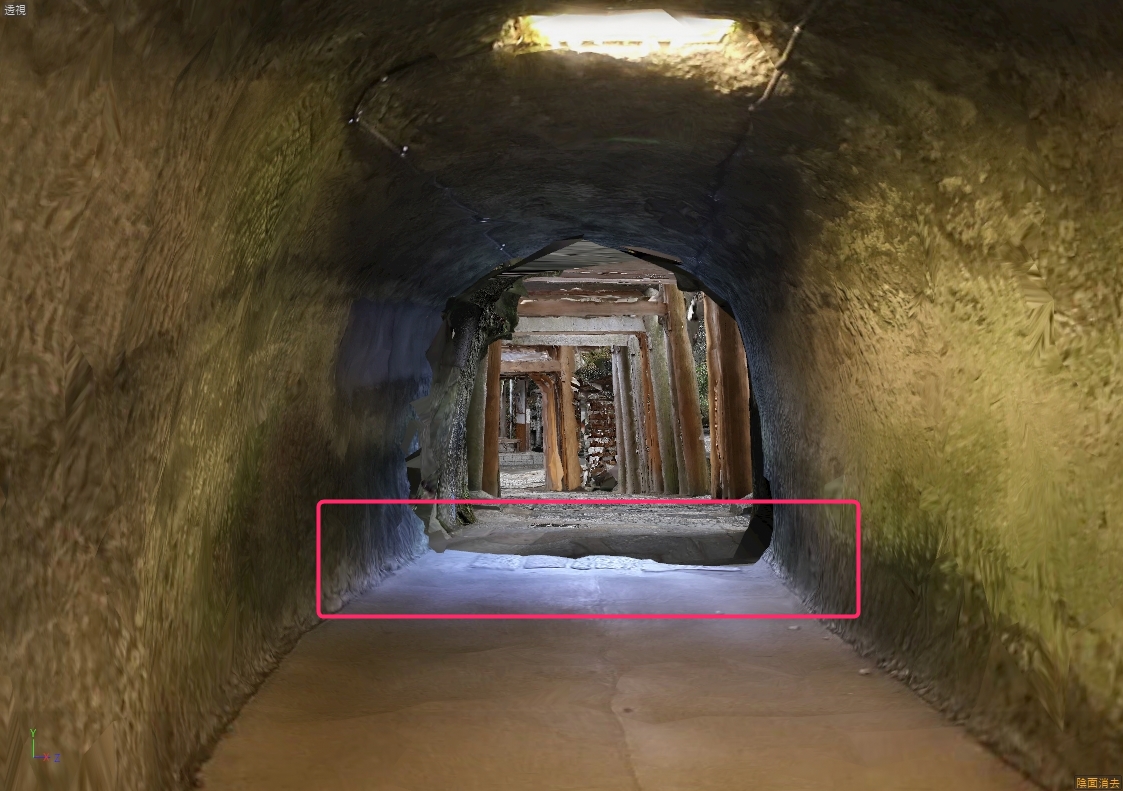
Adjust the texture to correct this gap.
The following image is the texture generated by 3DF Zephyr.
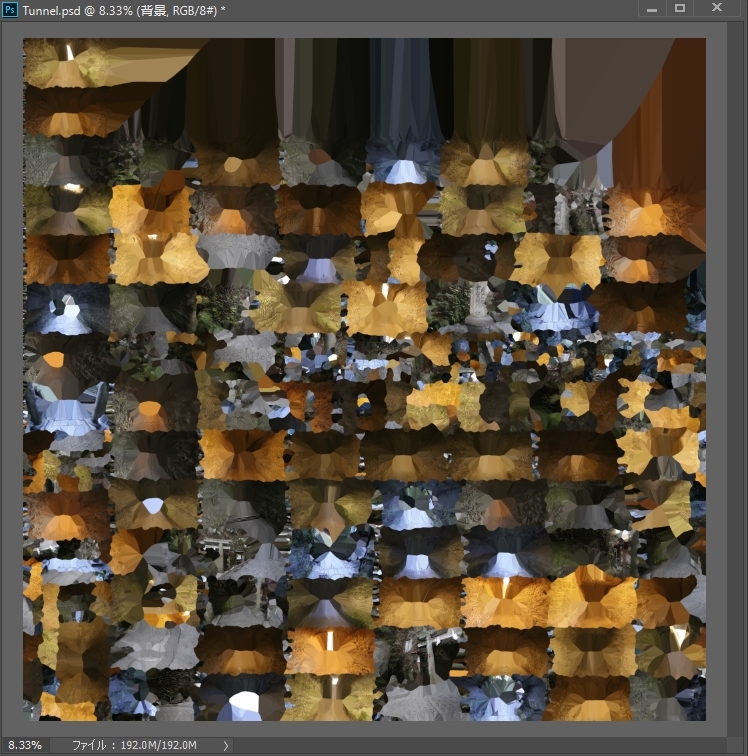
In order to correct the gap, I want to change the pale-blue area at the tunnel exit to grey. But it’s a bit painful to select the target area as it’s scattered all over the texture. So, I adjusted the texture with Photoshop as follows.
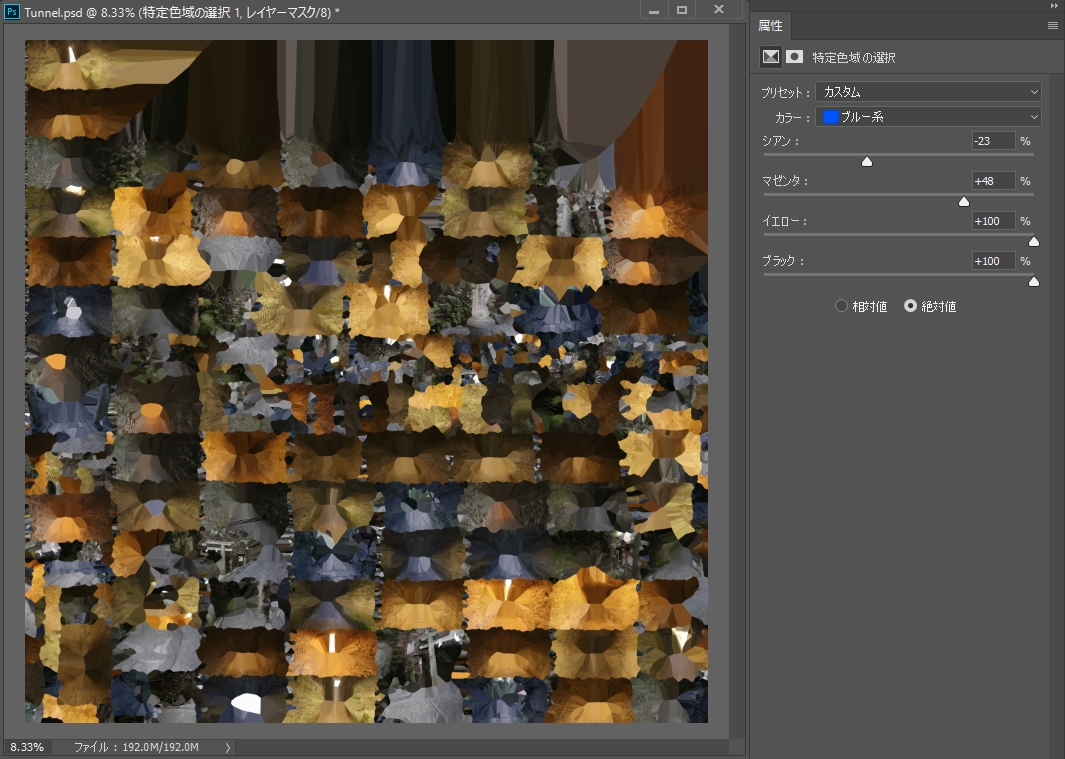
Select ‘Selective Color’ and set ‘Preset’ to ‘Blues’.
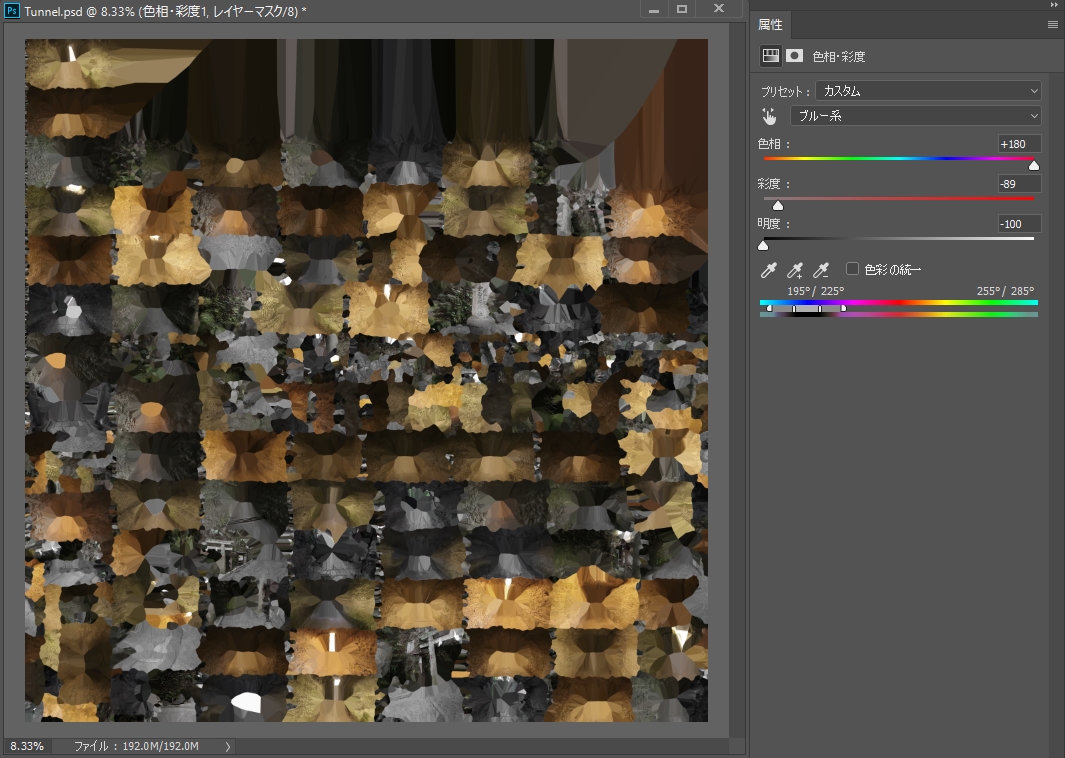
Then select ‘Hue/Saturation’ and decrease the ‘Saturation’ and ‘Lightness’ for Blues and Cyans.
Now, only the pale-blue area has been adjusted and blended with the surroundings.
Prepare Signboards and Information Boards Separately
Prepare the separate textures for signboards and information boards to improve their visibility and readability.
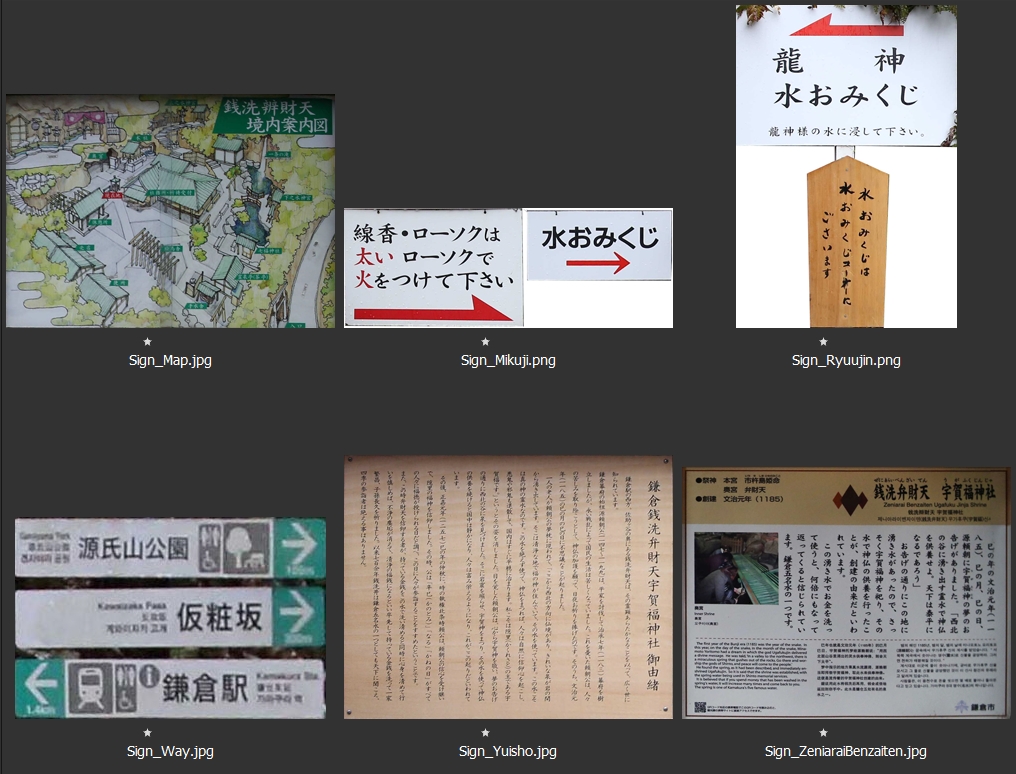
Attach these textures to flat objects and position them.
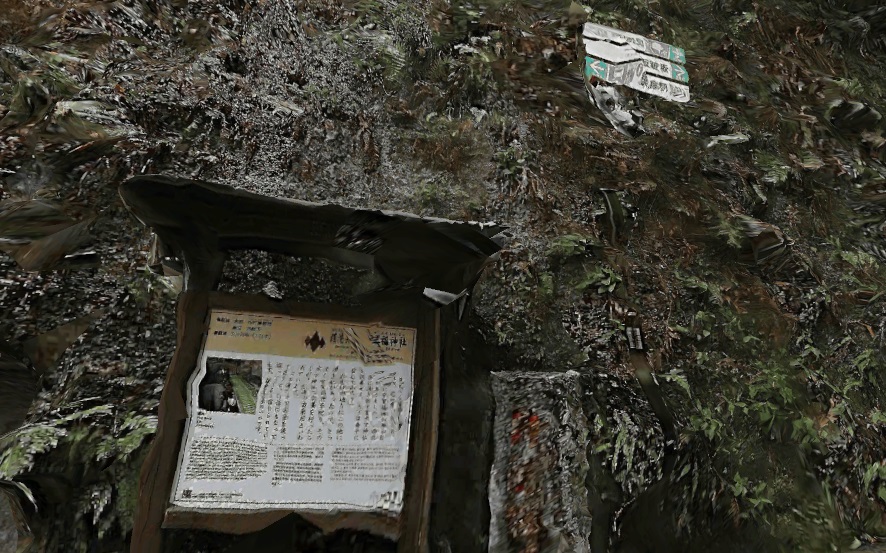
※Examples of a signboard and information board – The model was distorted and the characters collapsed. This made the signboard illegible.
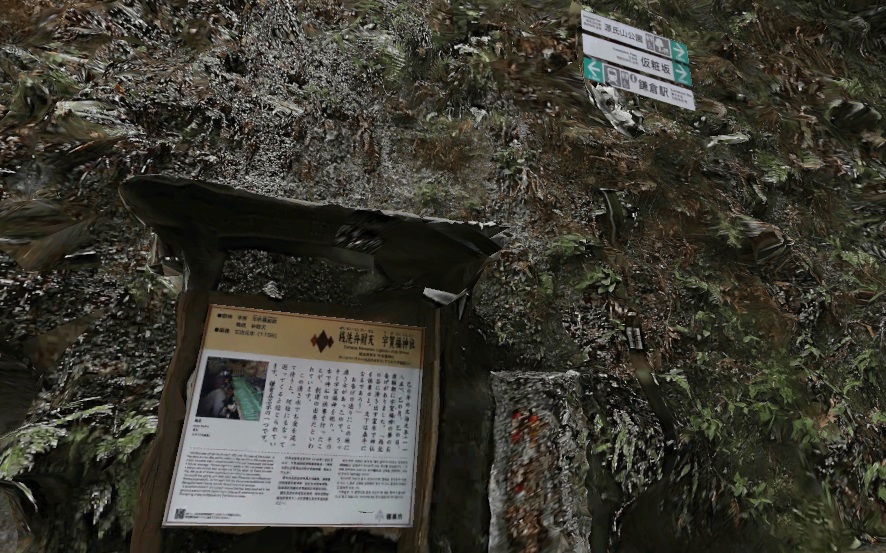
※I placed the flat objects with the high-resolution textures attached.
As seen in the above, it is a good practice to take close-up photos to make readable textures.
The Theme in the Next Article
Thank you for reading through this tutorial.
If you have any questions, please don’t hesitate to contact me via Twitter (use Reply or a Direct Message).
In the next article, I will write about ‘Conversion into VR’, summarizing the tips to make the model into a VR content.
Written by Ryu Fujiwara (Ryu lilea)