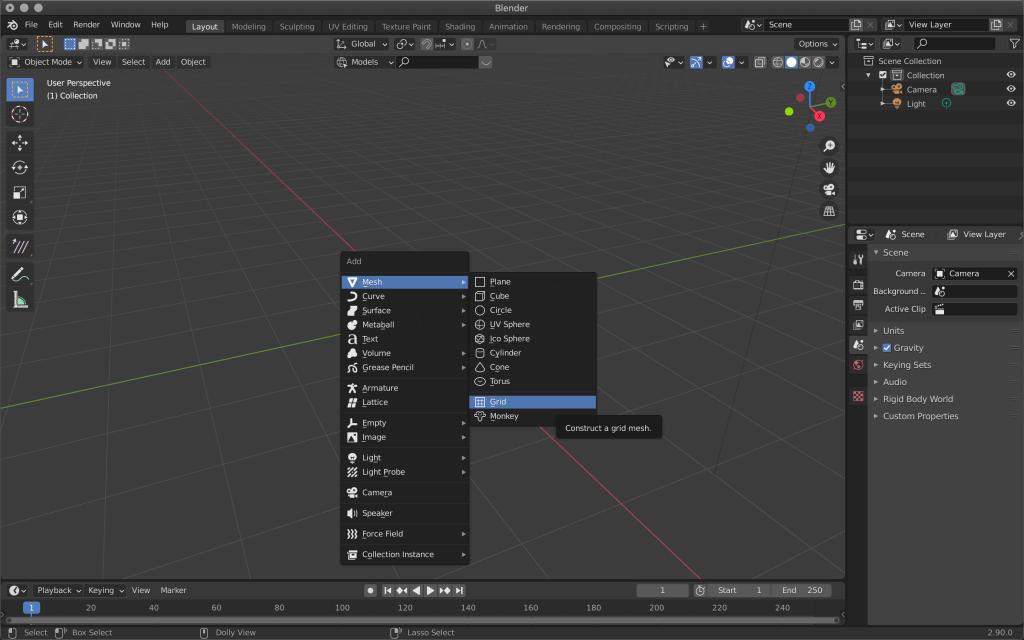
How about creating a maze game using the Mesh Maze add-on?
With this add-on, you can create an intricate maze with a single click, using an algorithm that automatically generates a maze from a selected mesh.
In this article, I will show you how to operate Mesh Maze and how to make a 3D maze as an arrangement.
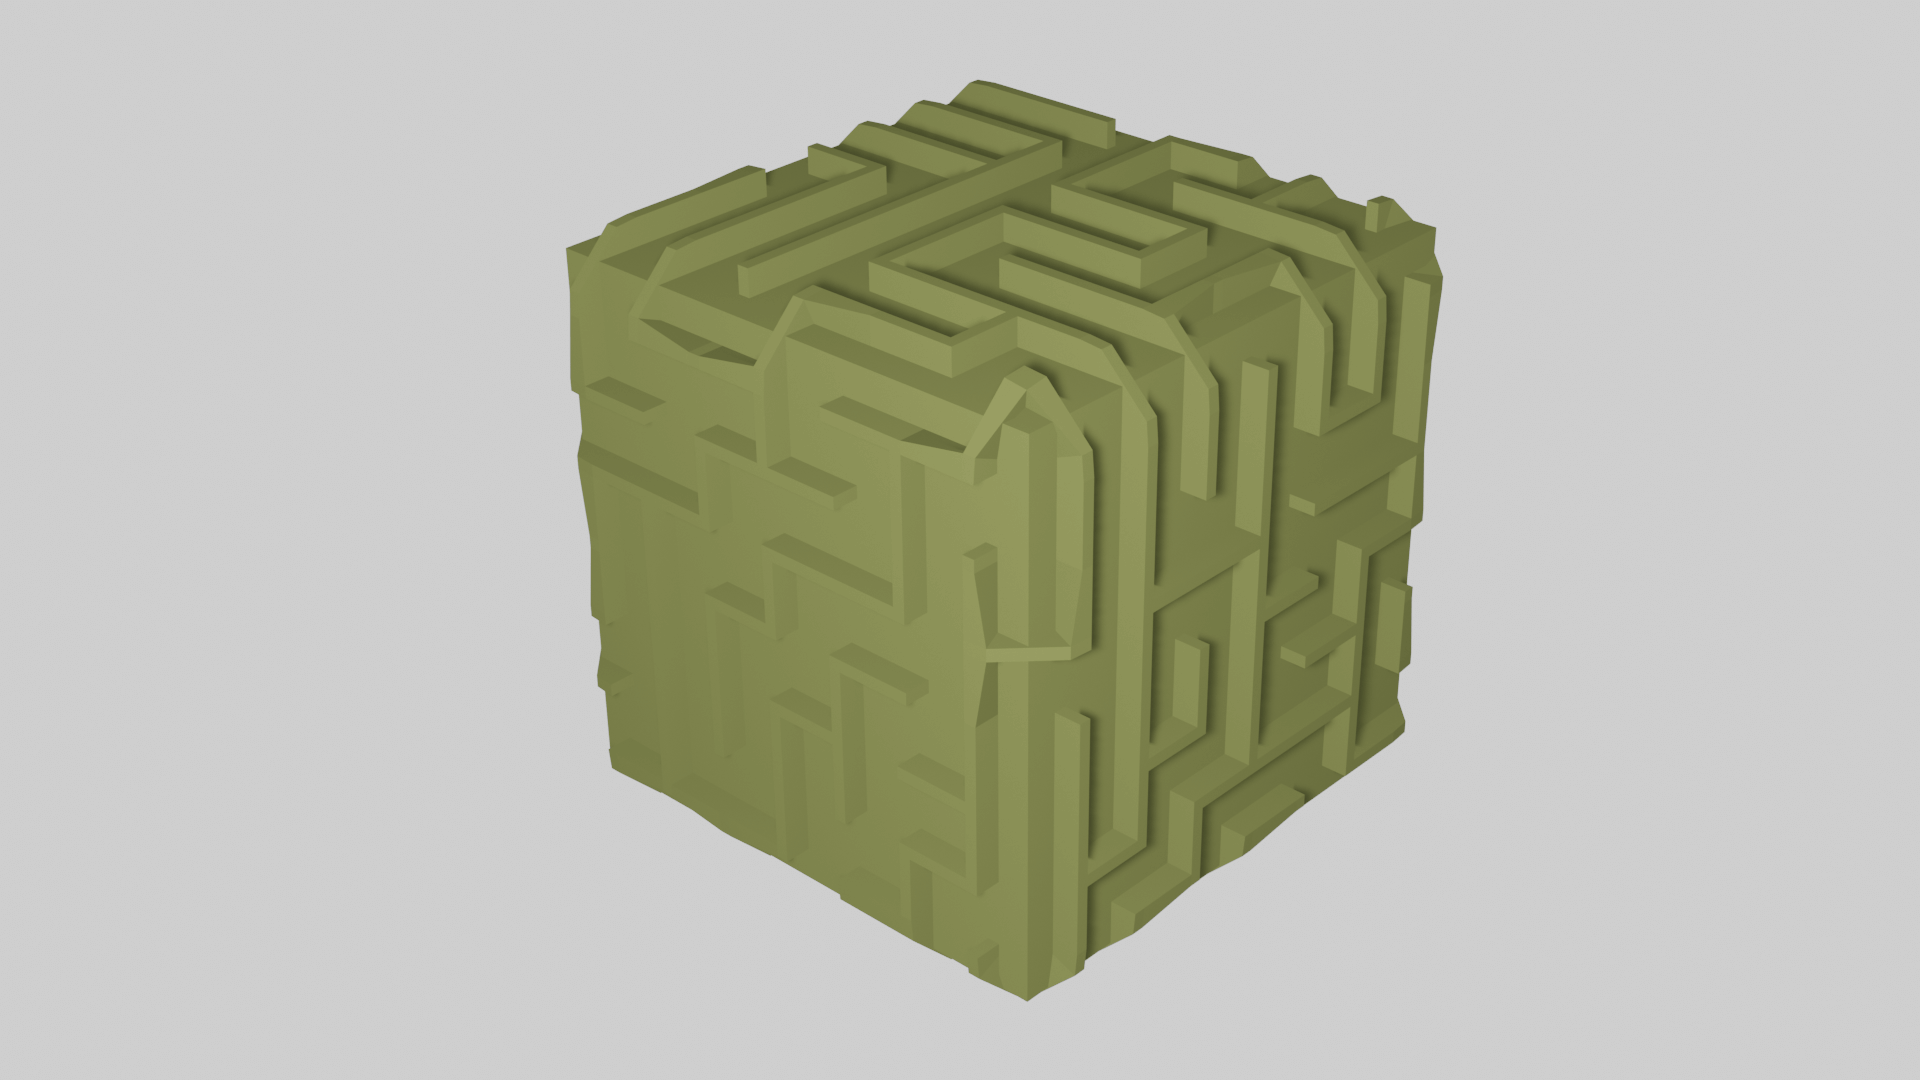
Completed image
The version of Blender used in this article is 2.92.0.
Download and install
Download the ZIP file from Github.
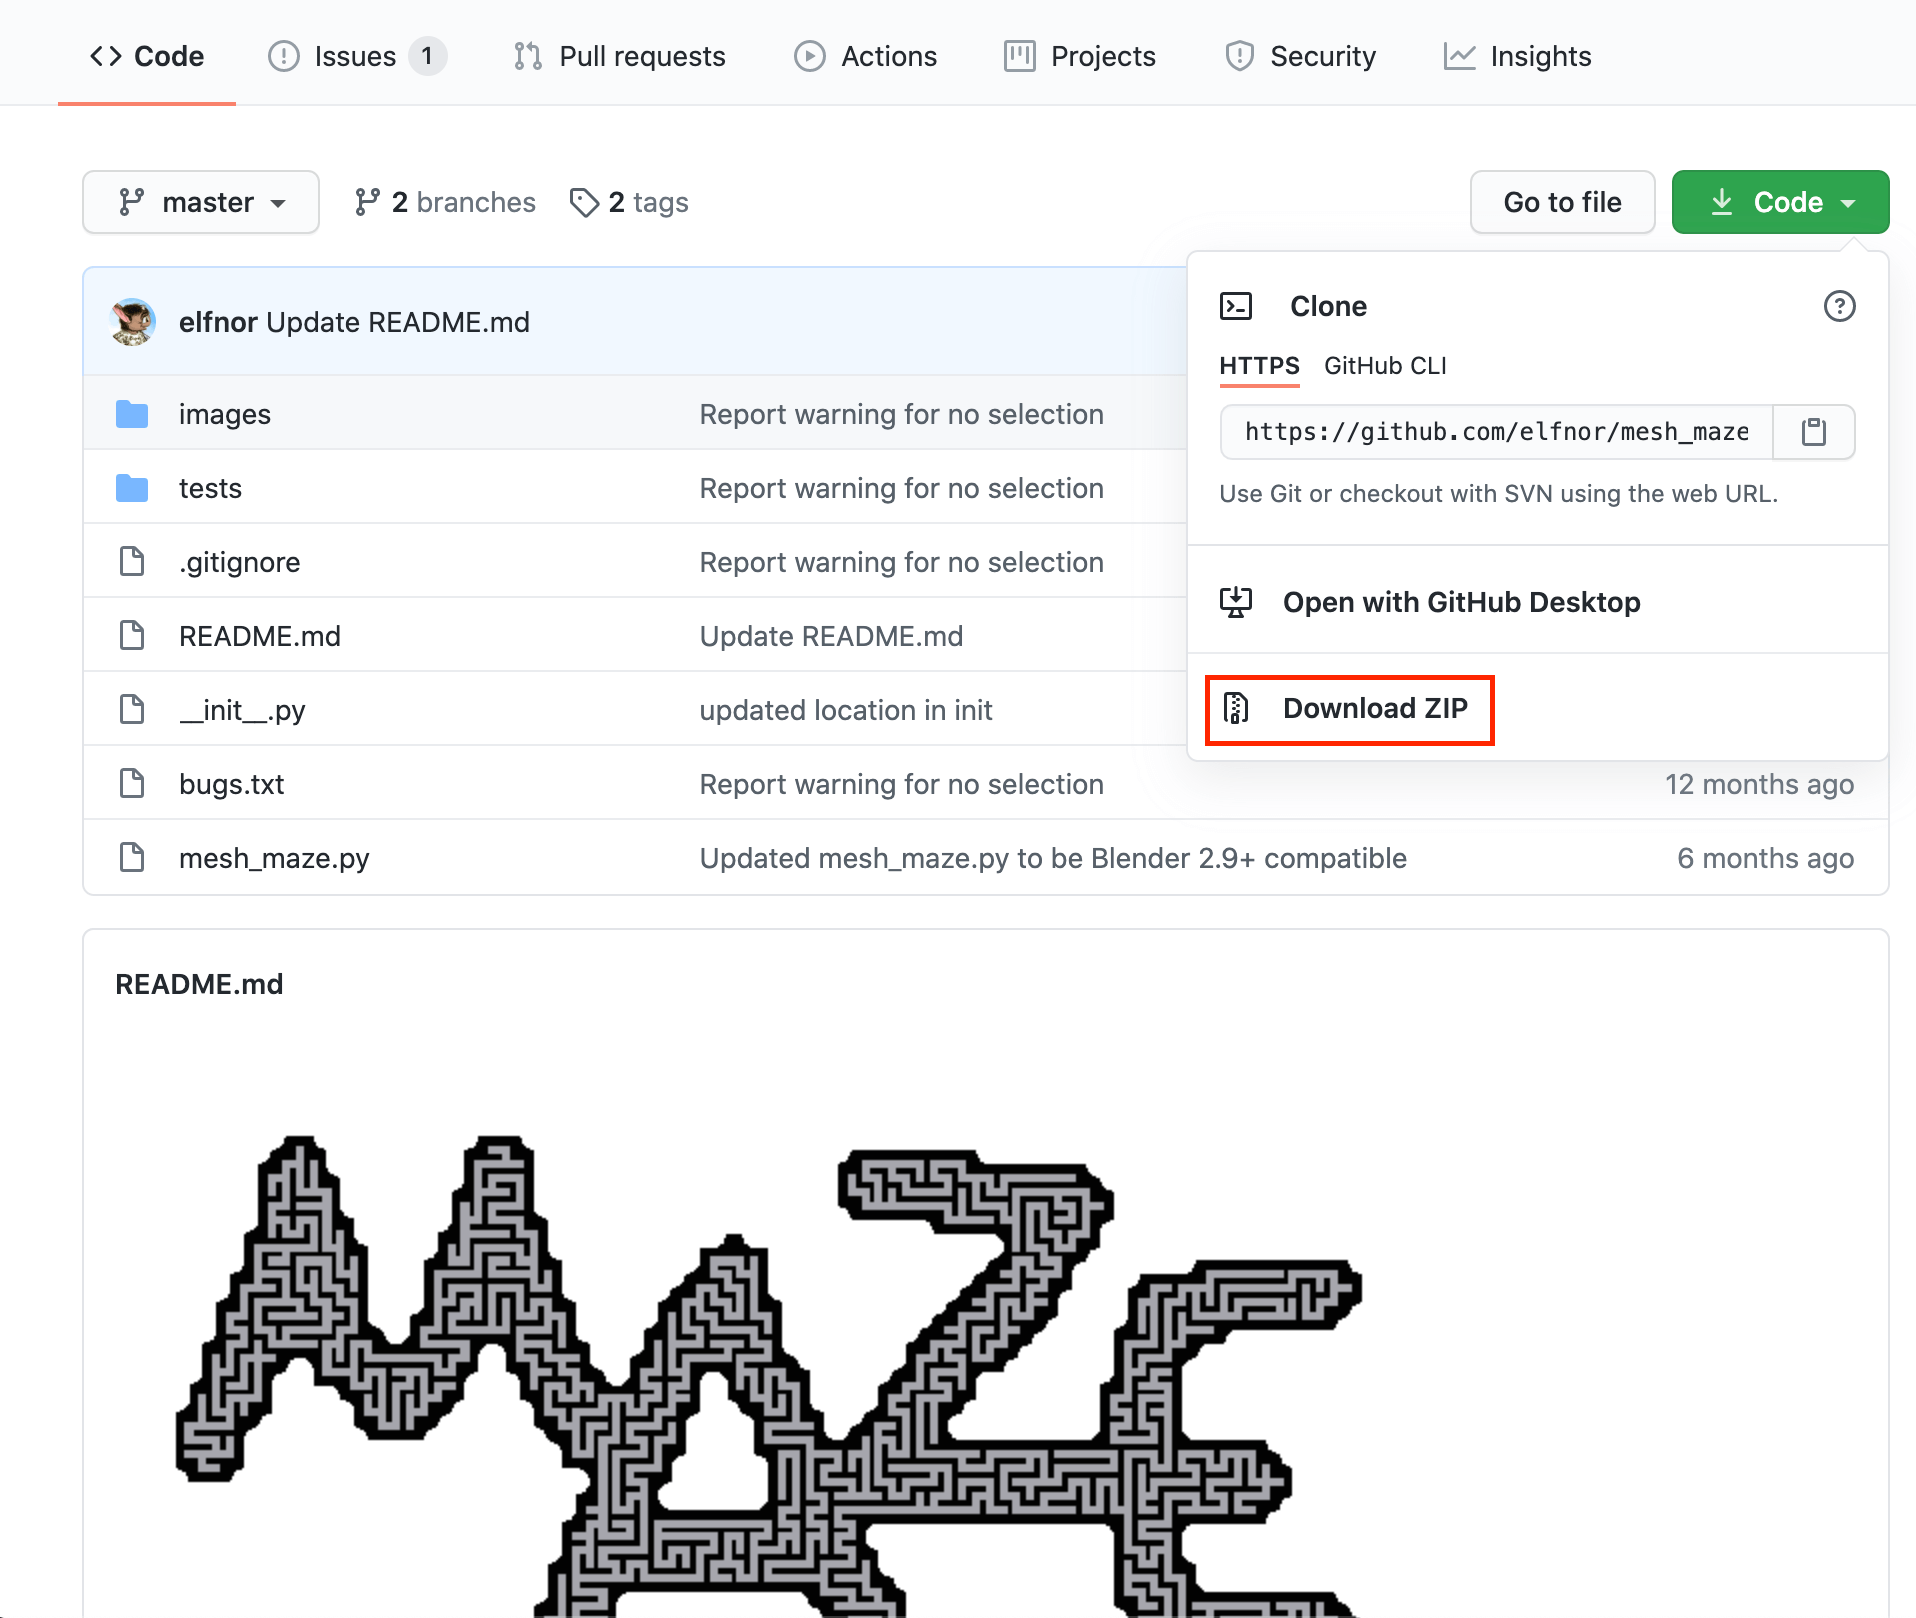
Code on the top right -> Download ZIP
After downloading, open Blender, select the downloaded ZIP from “Install” in the top right corner of Preferences, and click “Install Add-on”.
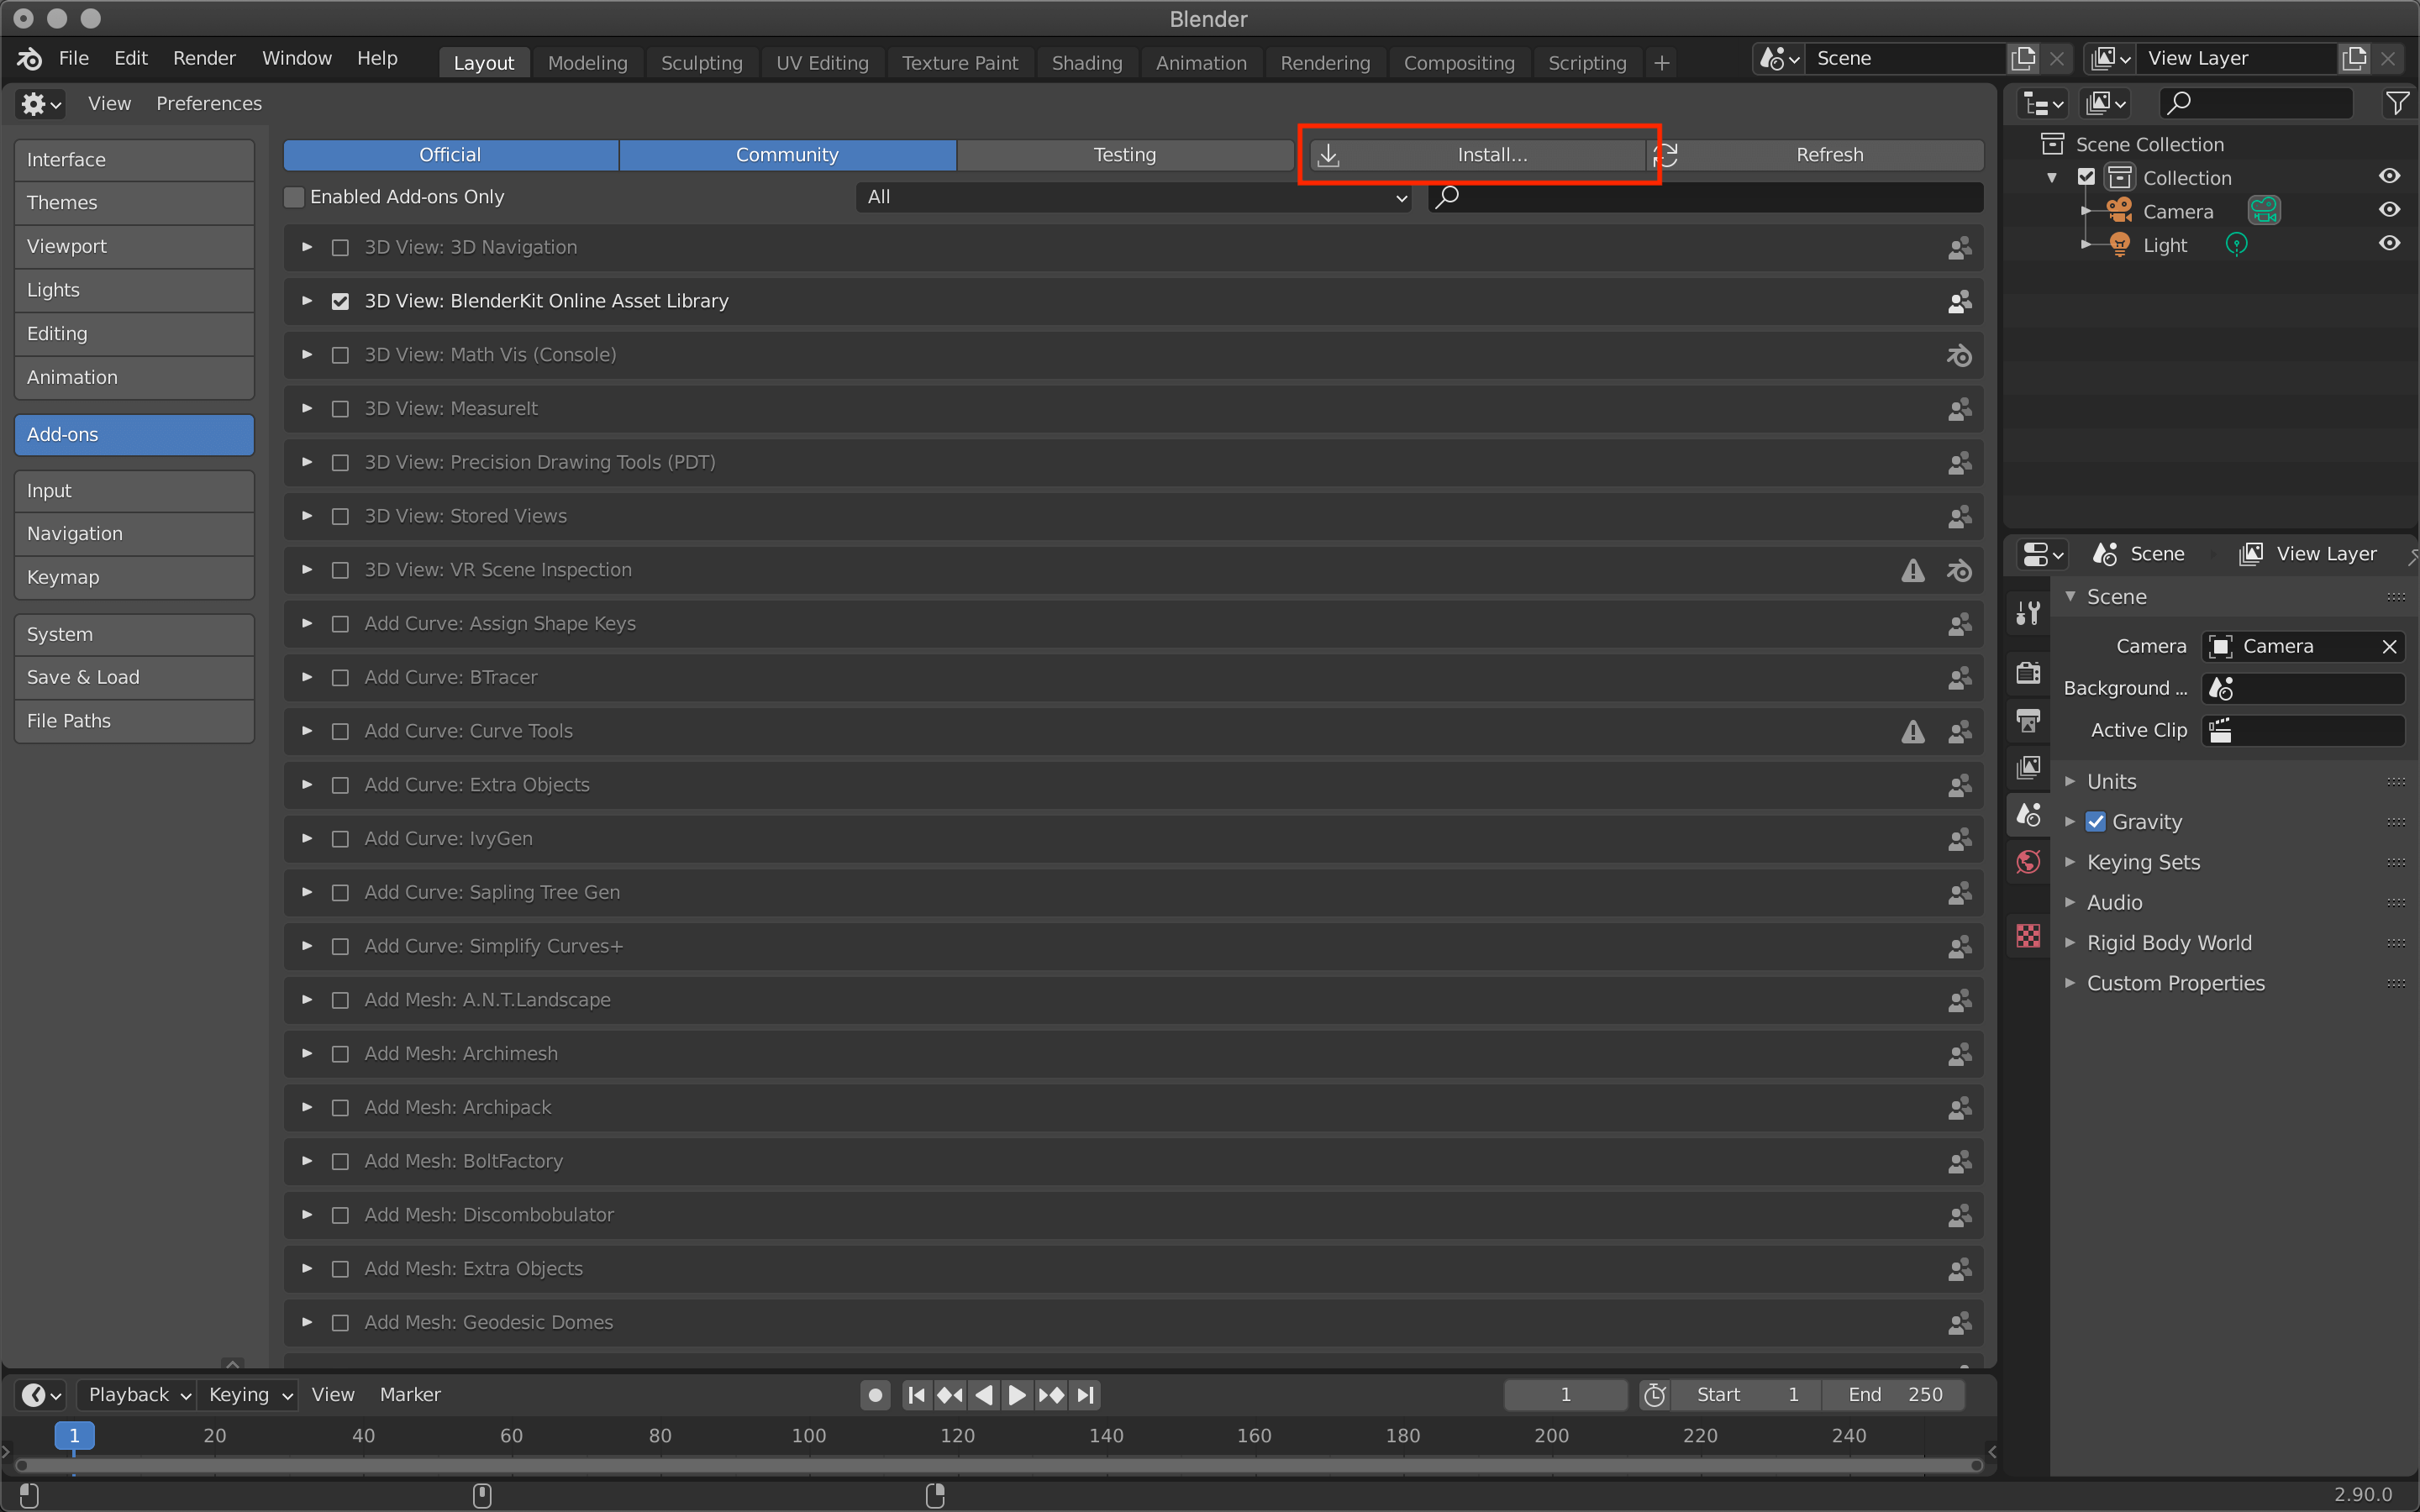
Install Add-on

Check the box after installation
Switch to edit mode, and if “Maze mesh selection” is included in the Mesh menu, the installation is complete.
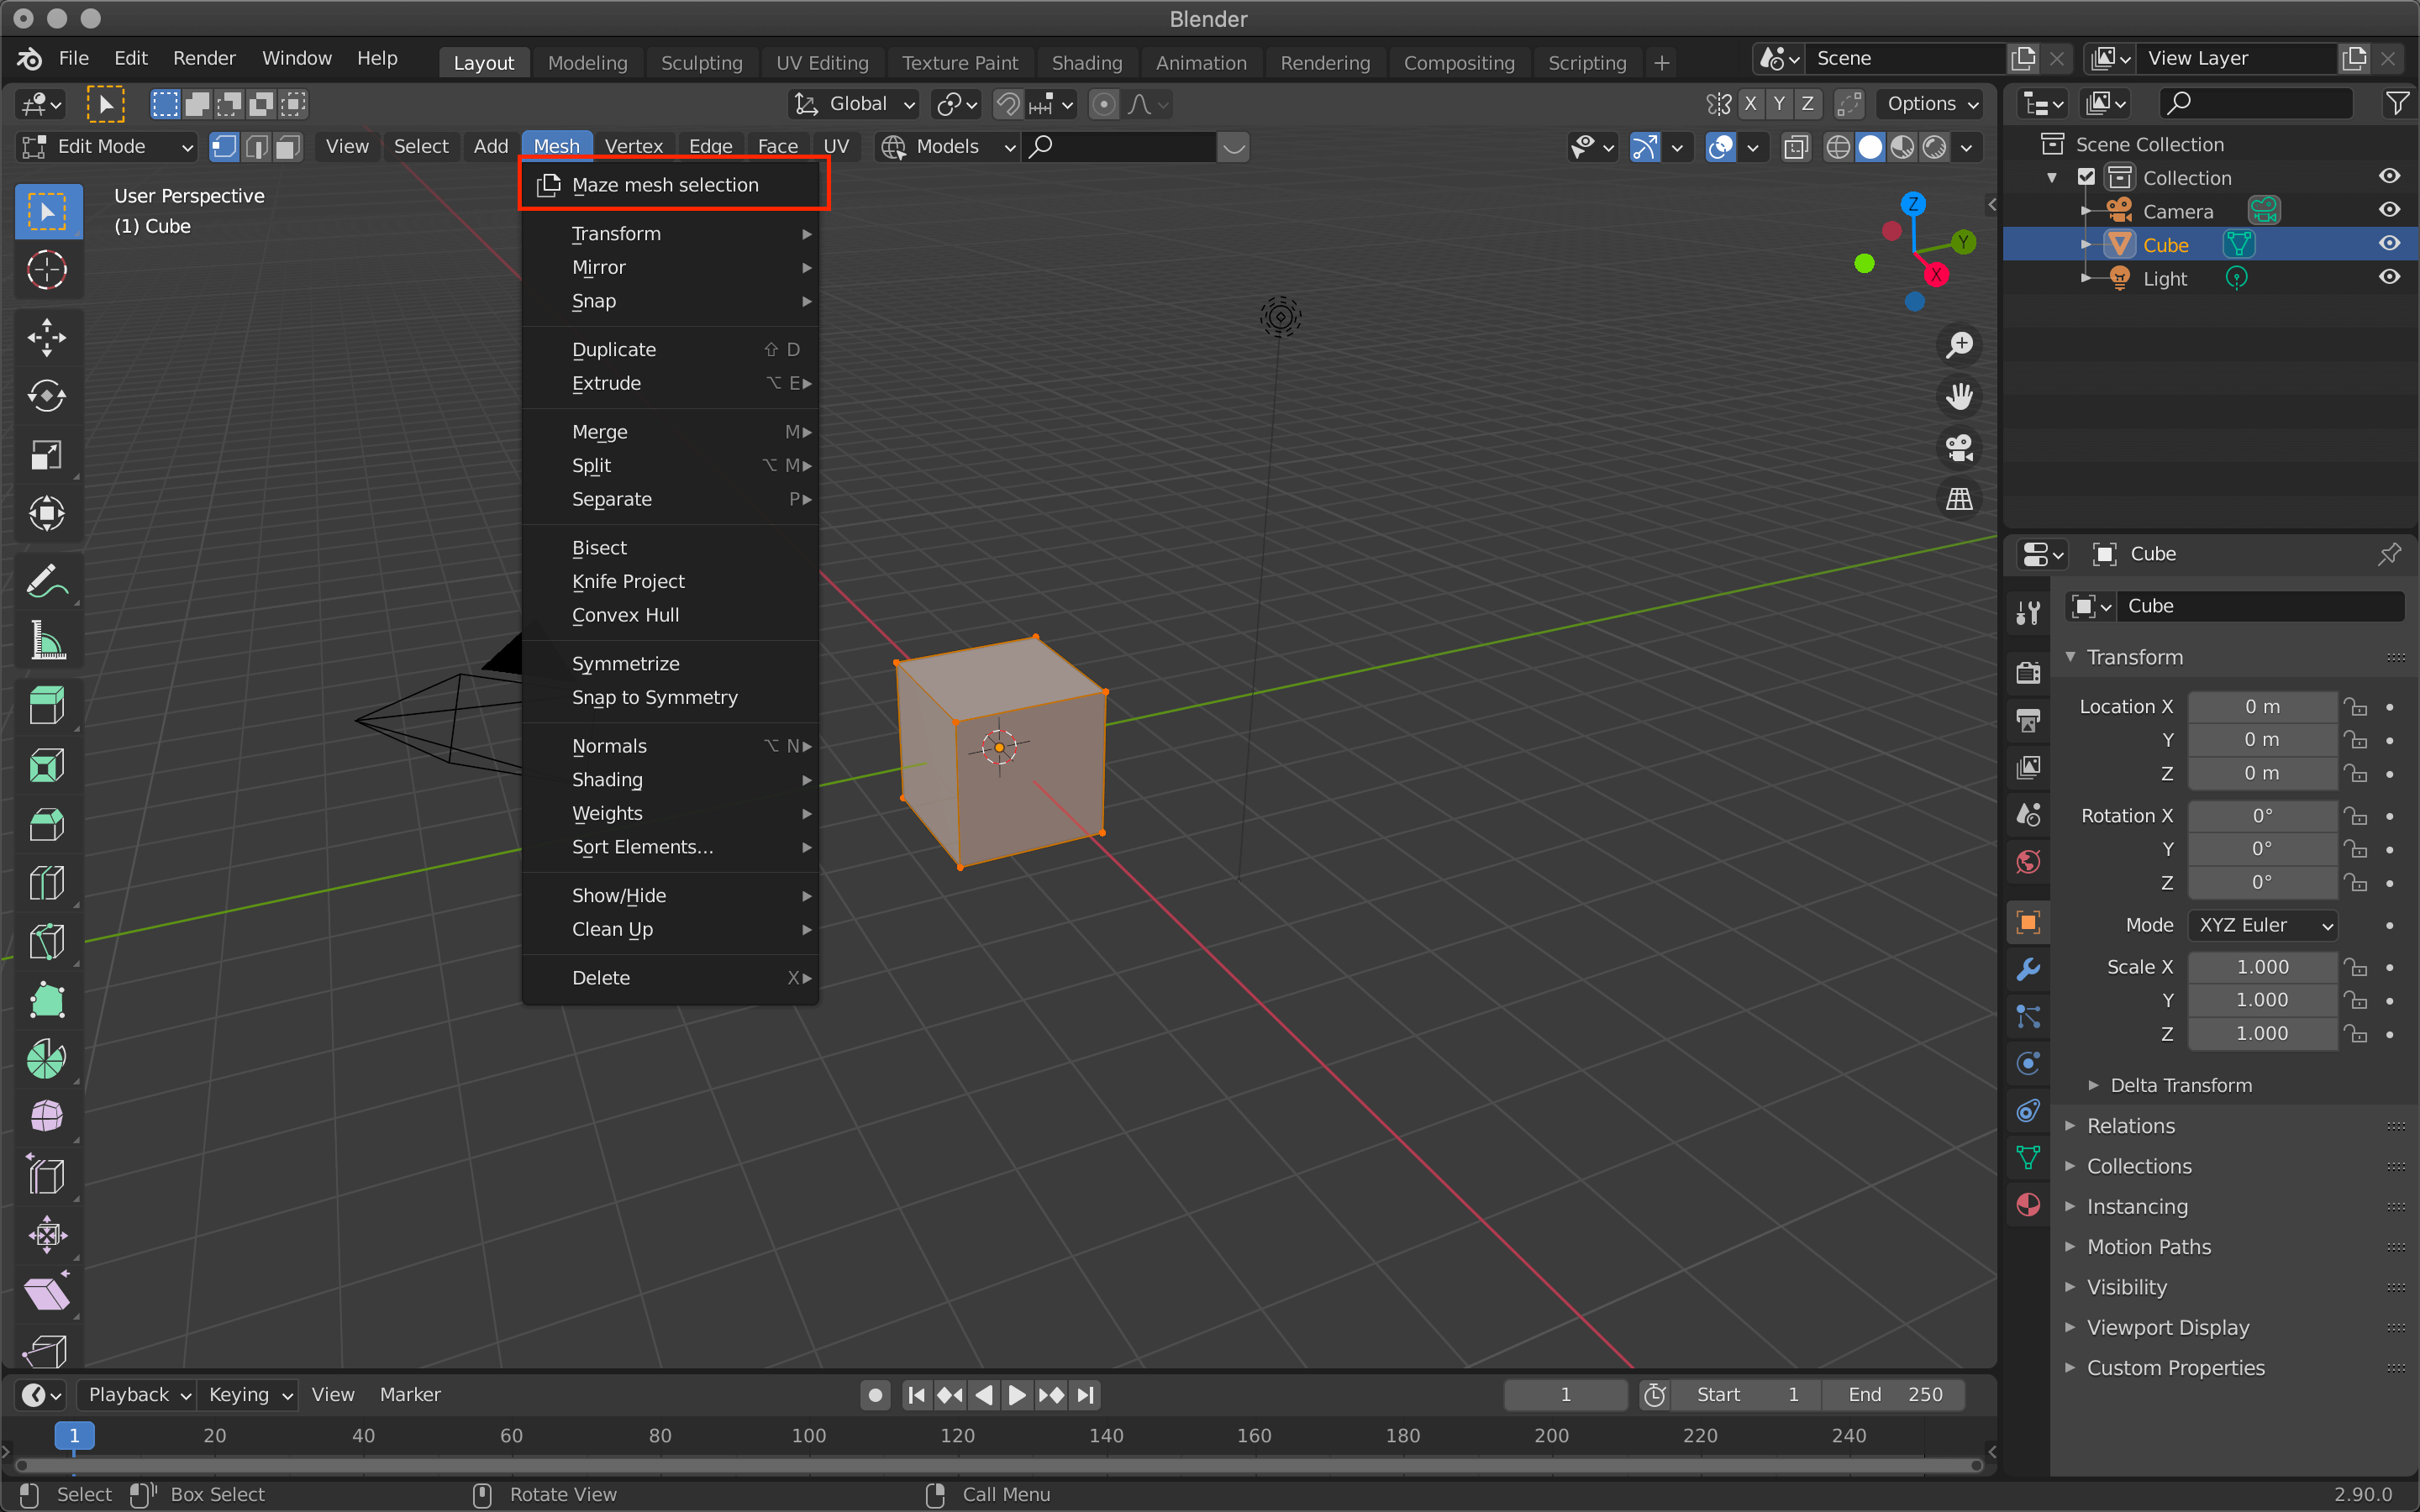
Maze mesh selection
Basic operation of Mesh Maze
Delete a cube and add a new grid.
Shift+A→Mesh→Grid
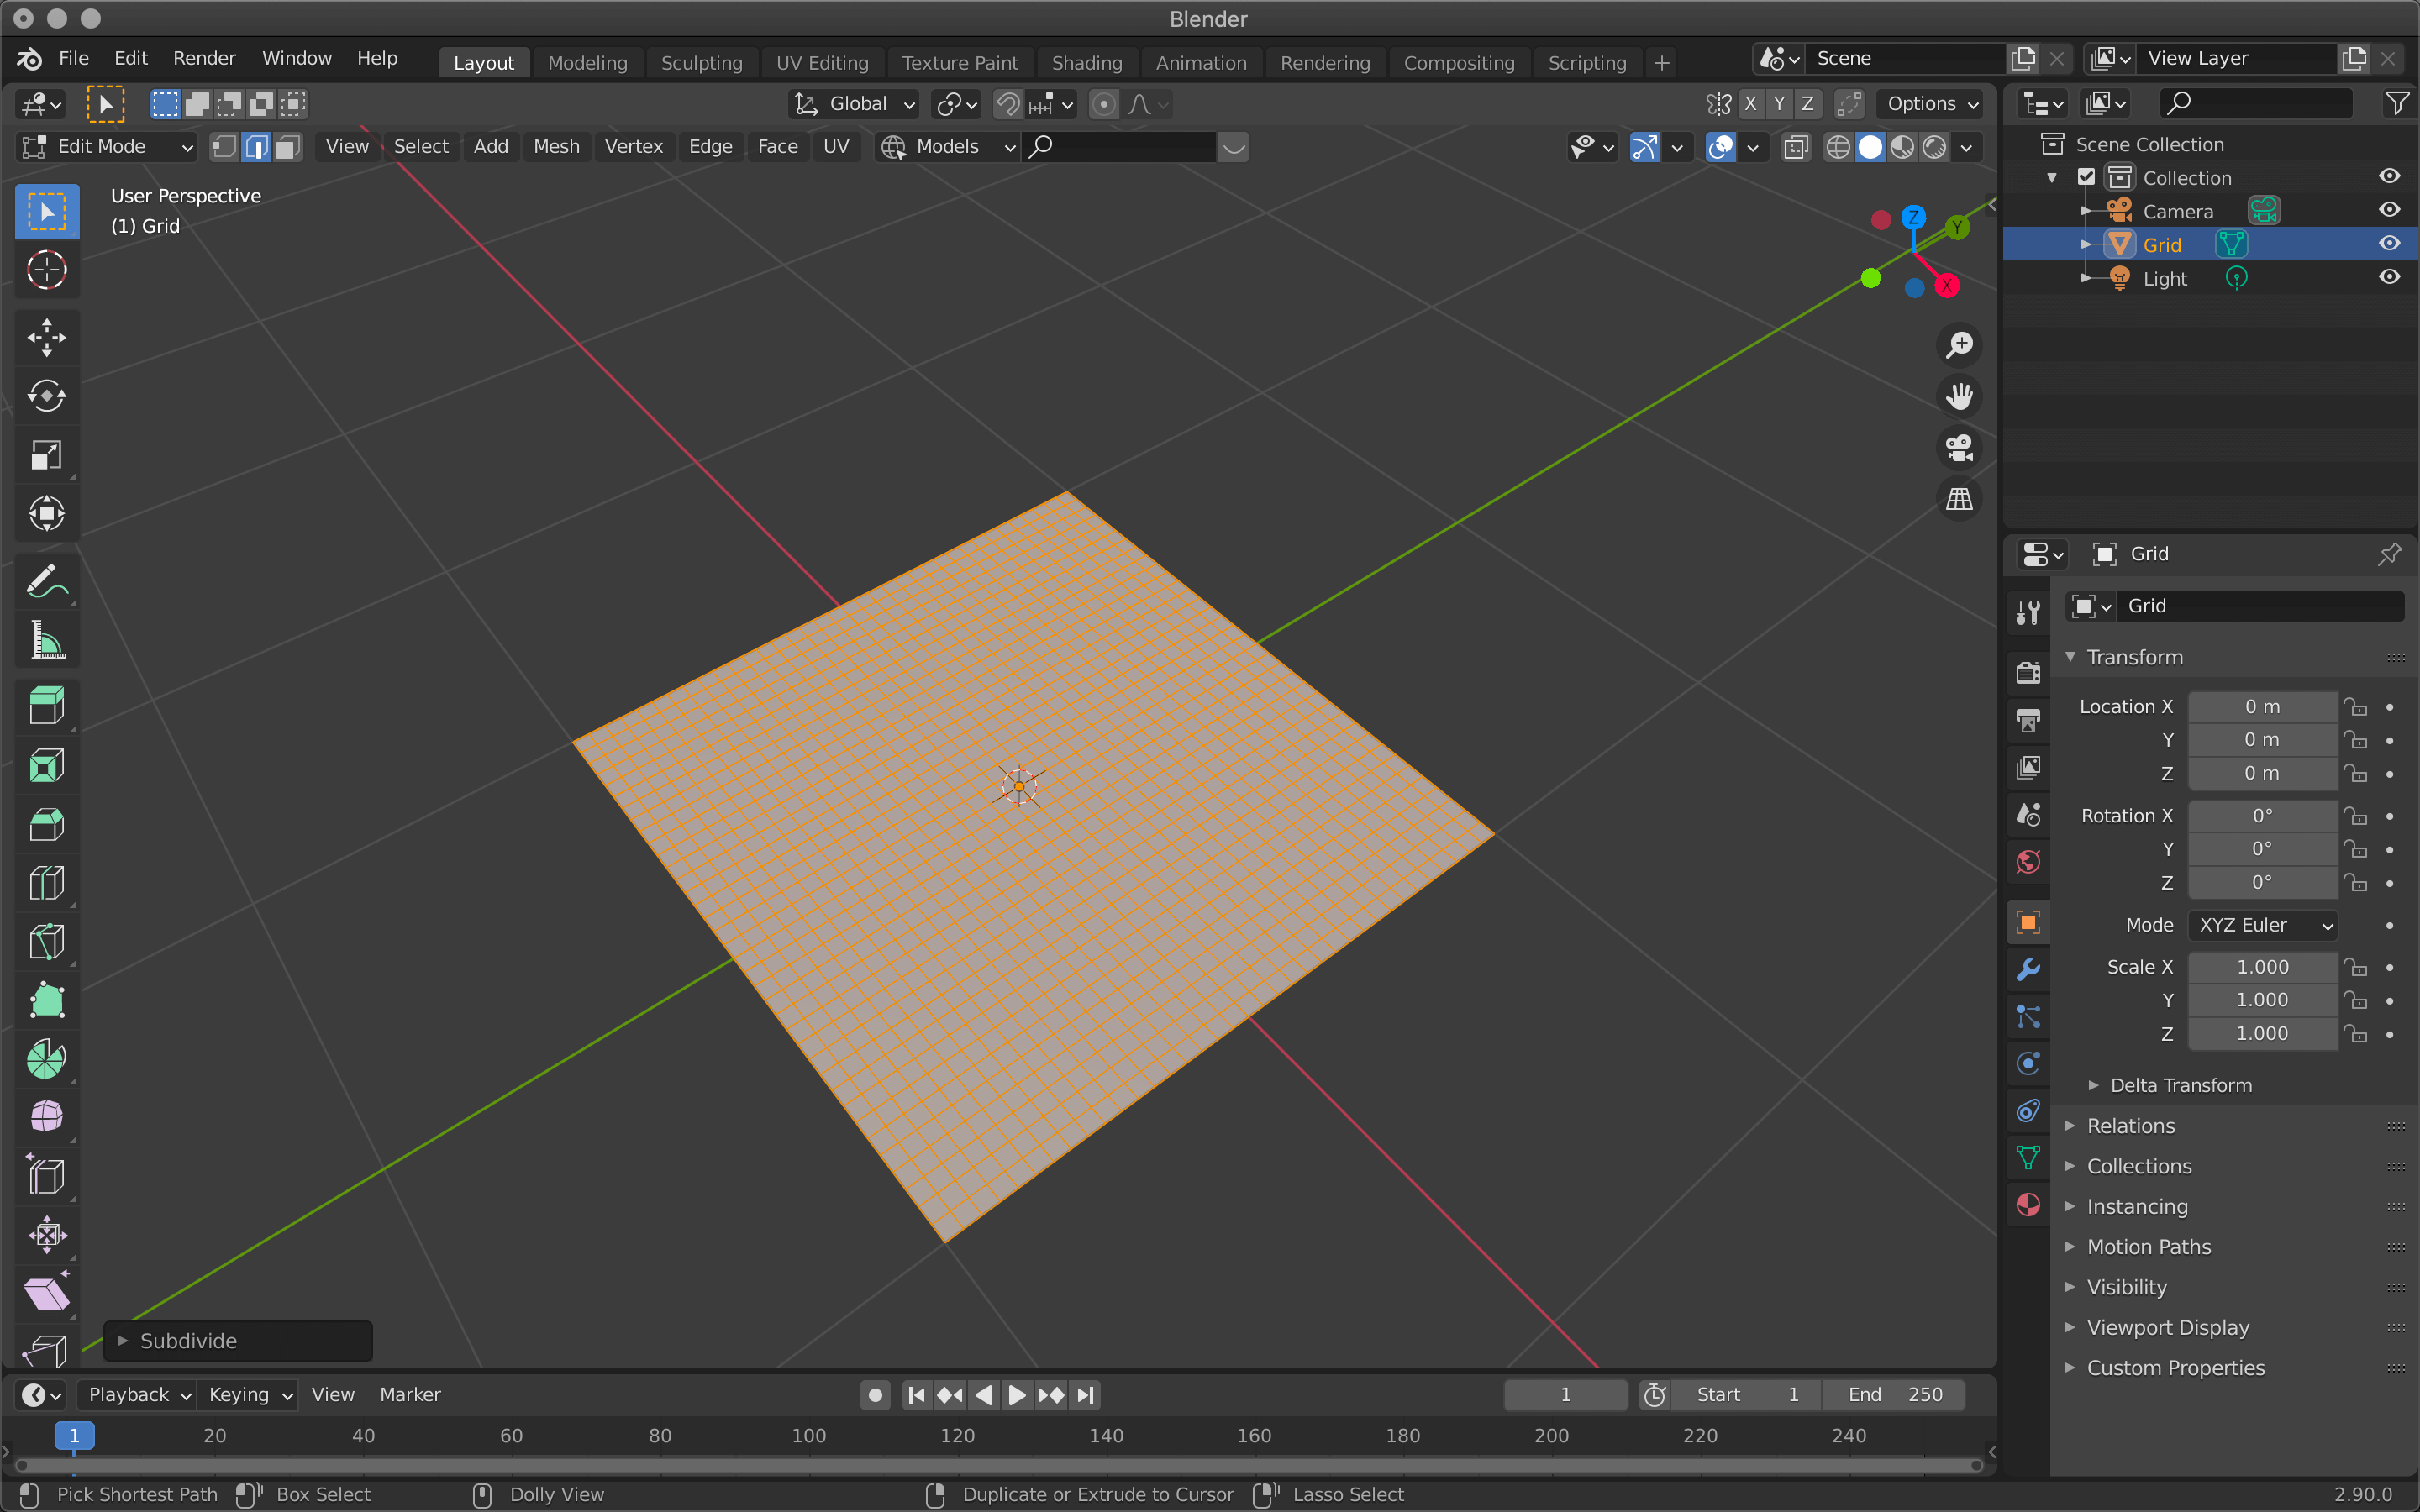
Switch to edit mode and select all, then select “Maze mesh selection” from the Mesh menu.
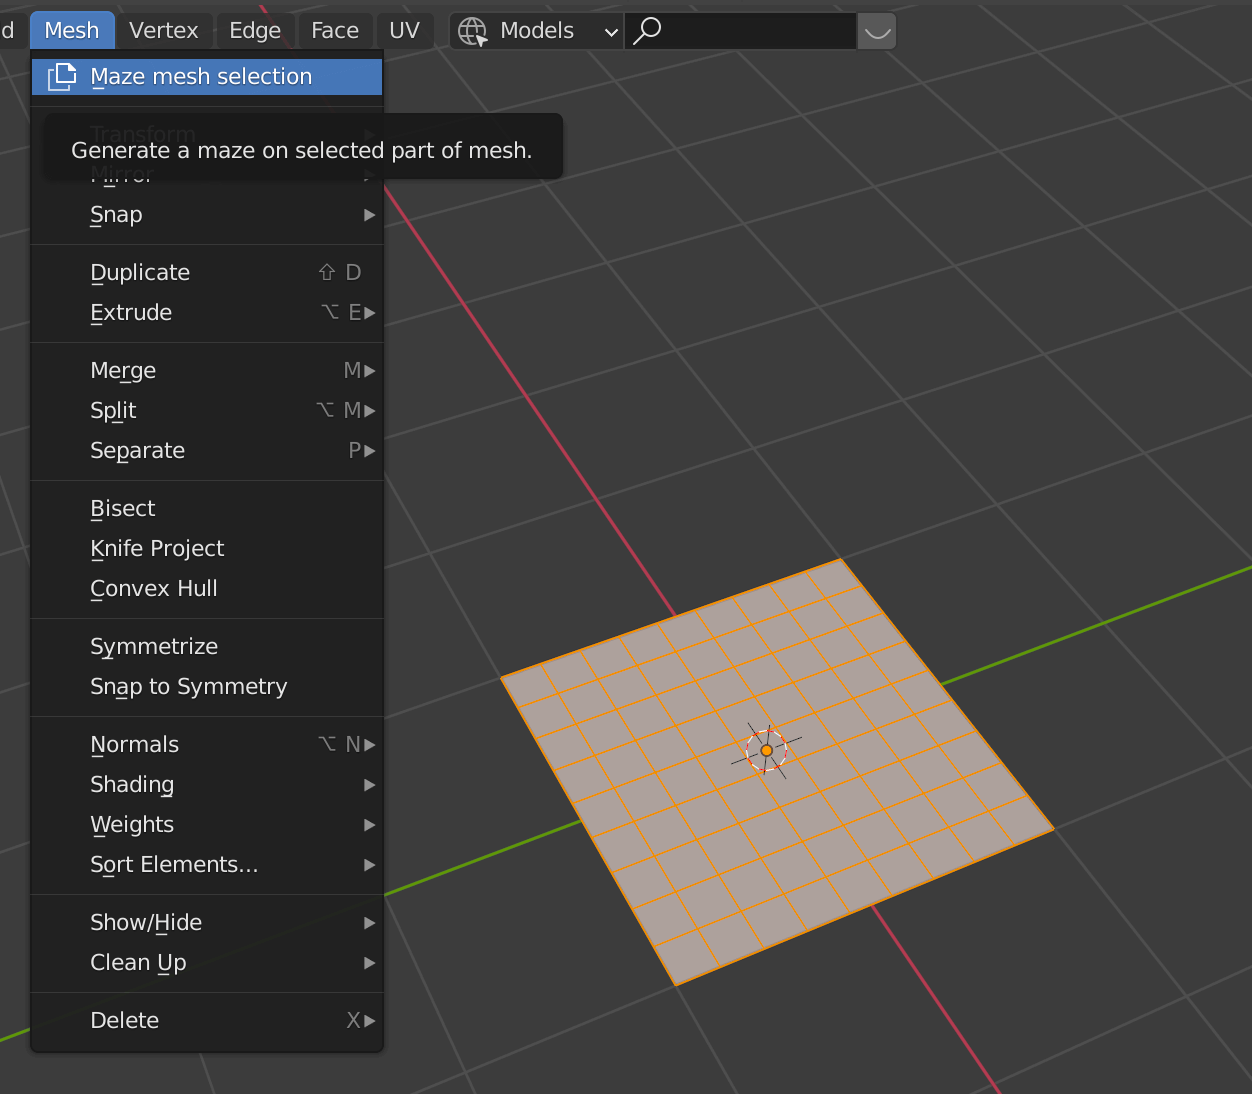
Maze mesh selection
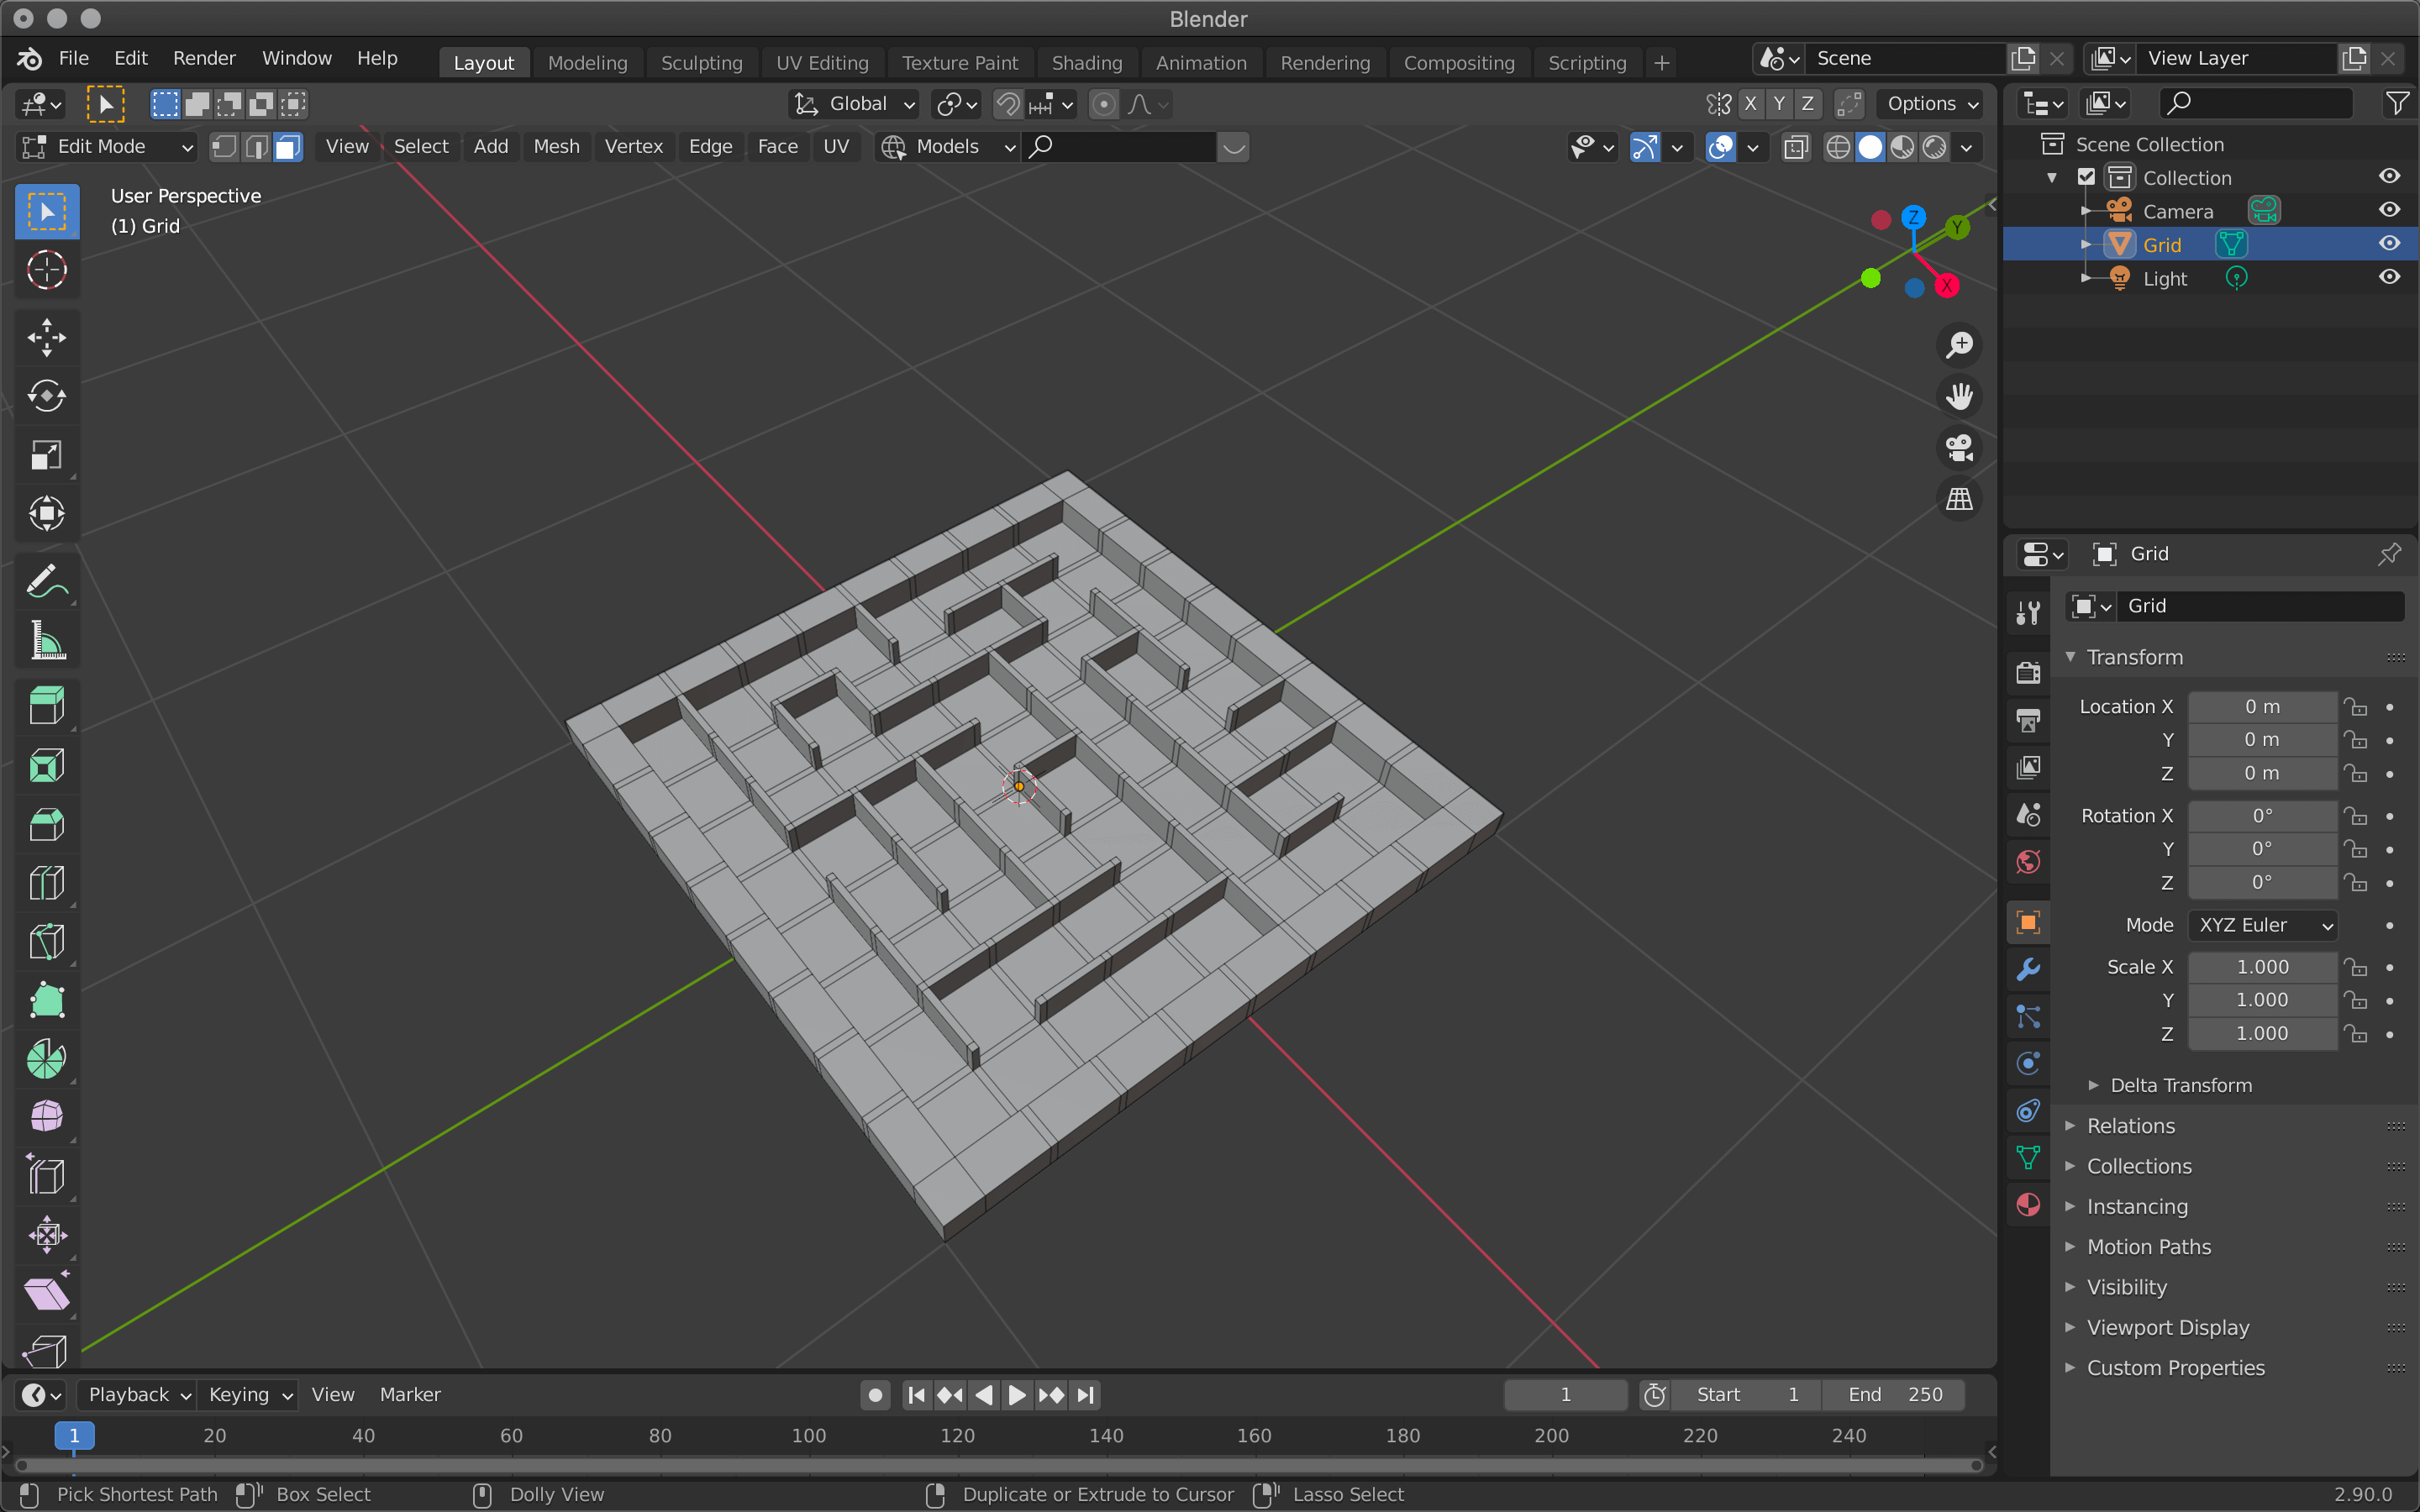
In no time at all, a maze has appeared
If you subdivide the grid mesh, the maze will also become finer, but the mesh may collapse when it is reflected.
Subdivide×2

Maze mesh selection
In such a case, adjust the mesh from the menu at the bottom left.
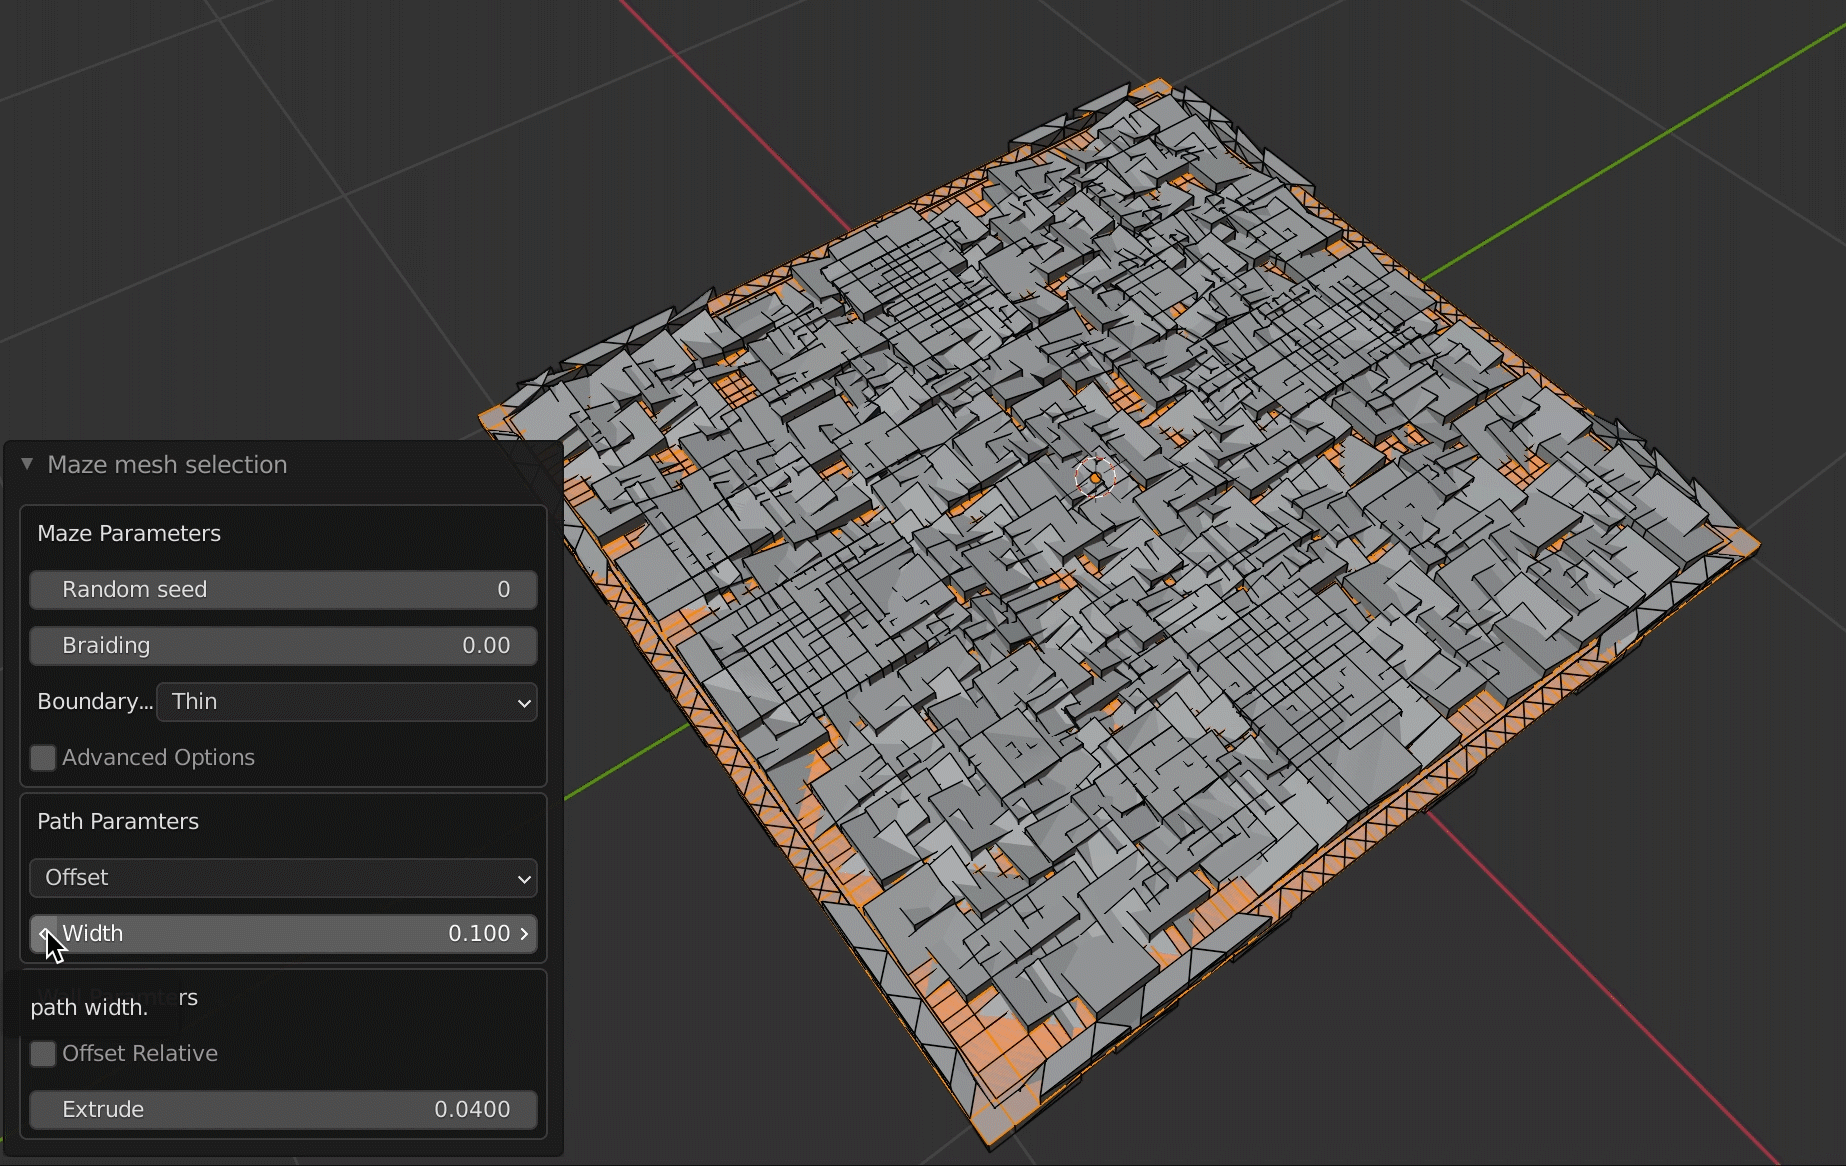
Width to adjust the width of the wall

Extrude to change the height of the wall

Random Seed to change the shape of the maze
Arranging and creating a 3D maze
You can create not only flat mazes but also three-dimensional mazes such as spheres and cubes as described in the basic usage.
Switch to edit mode and select all the default cubes (or add new cubes by Shift+A→Mesh→Cube) with A.

Cube
Right-click and select “Subdivide” to subdivide the entire cube.
If you change the value of “Number of Cuts”, the object will be subdivided by that value.
The difficulty level of the maze will change depending on the subdivision, so set it as you like.
If the subdivision is too fine, the mesh will collapse when the maze is created.

Subdivide
After that, select “Maze mesh Selection” from the upper Mesh menu.

Maze mesh Selection
Change the Width value to create a maze.
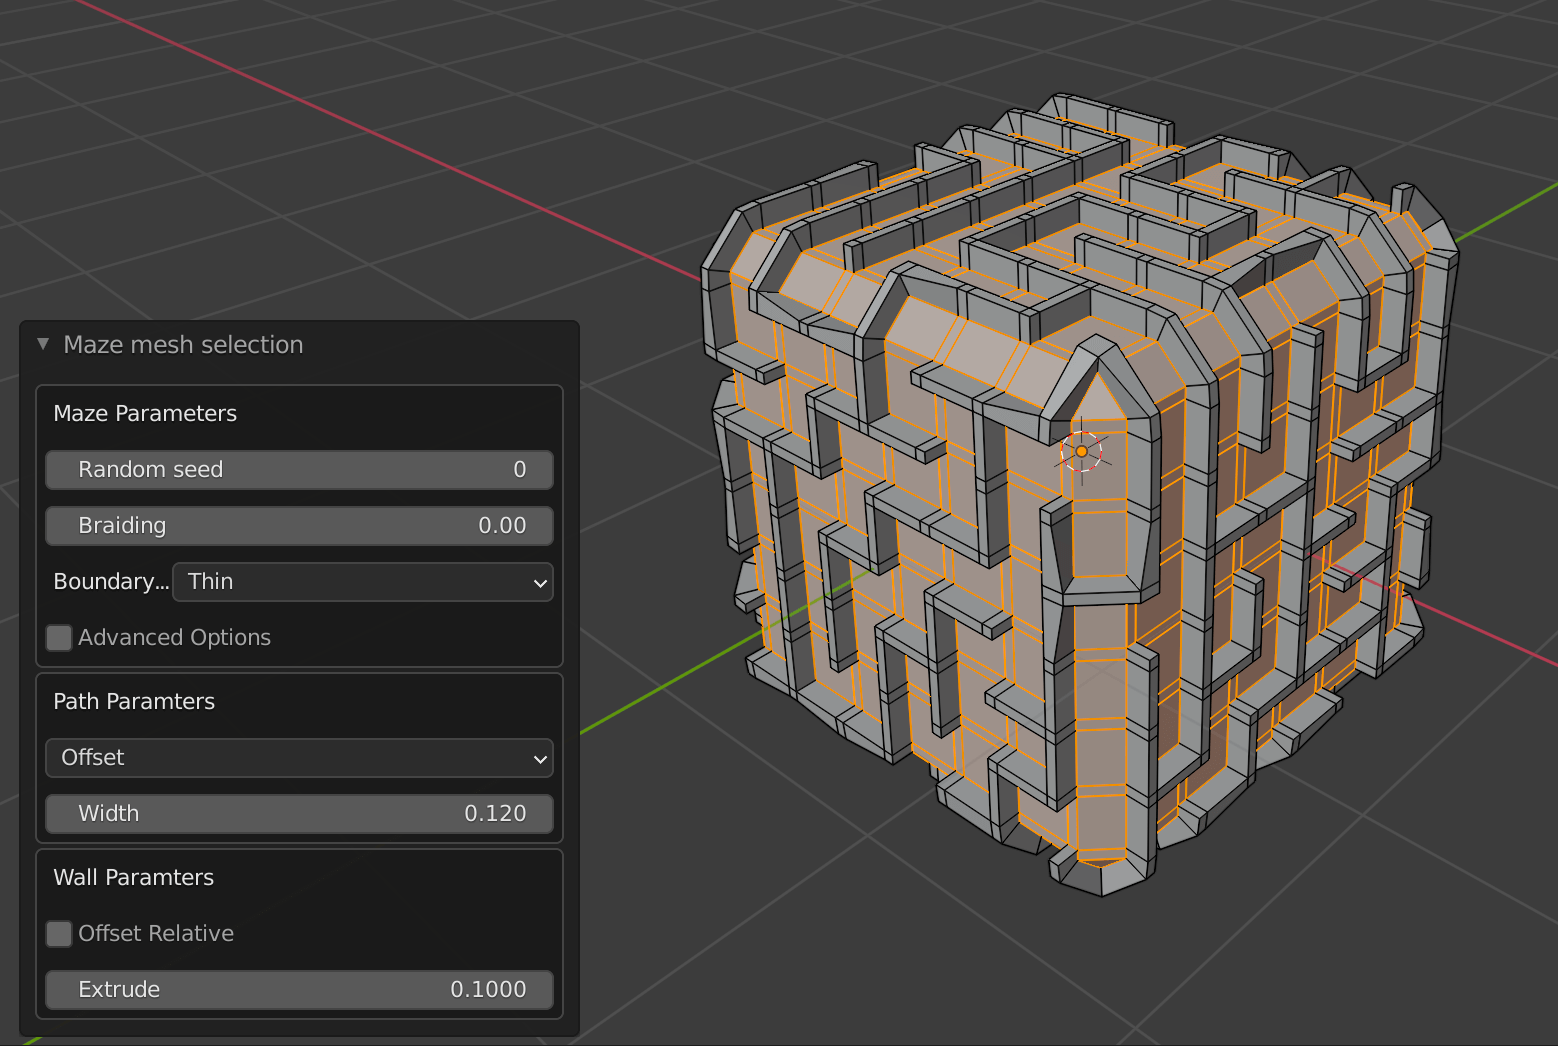
Maze mesh Selection
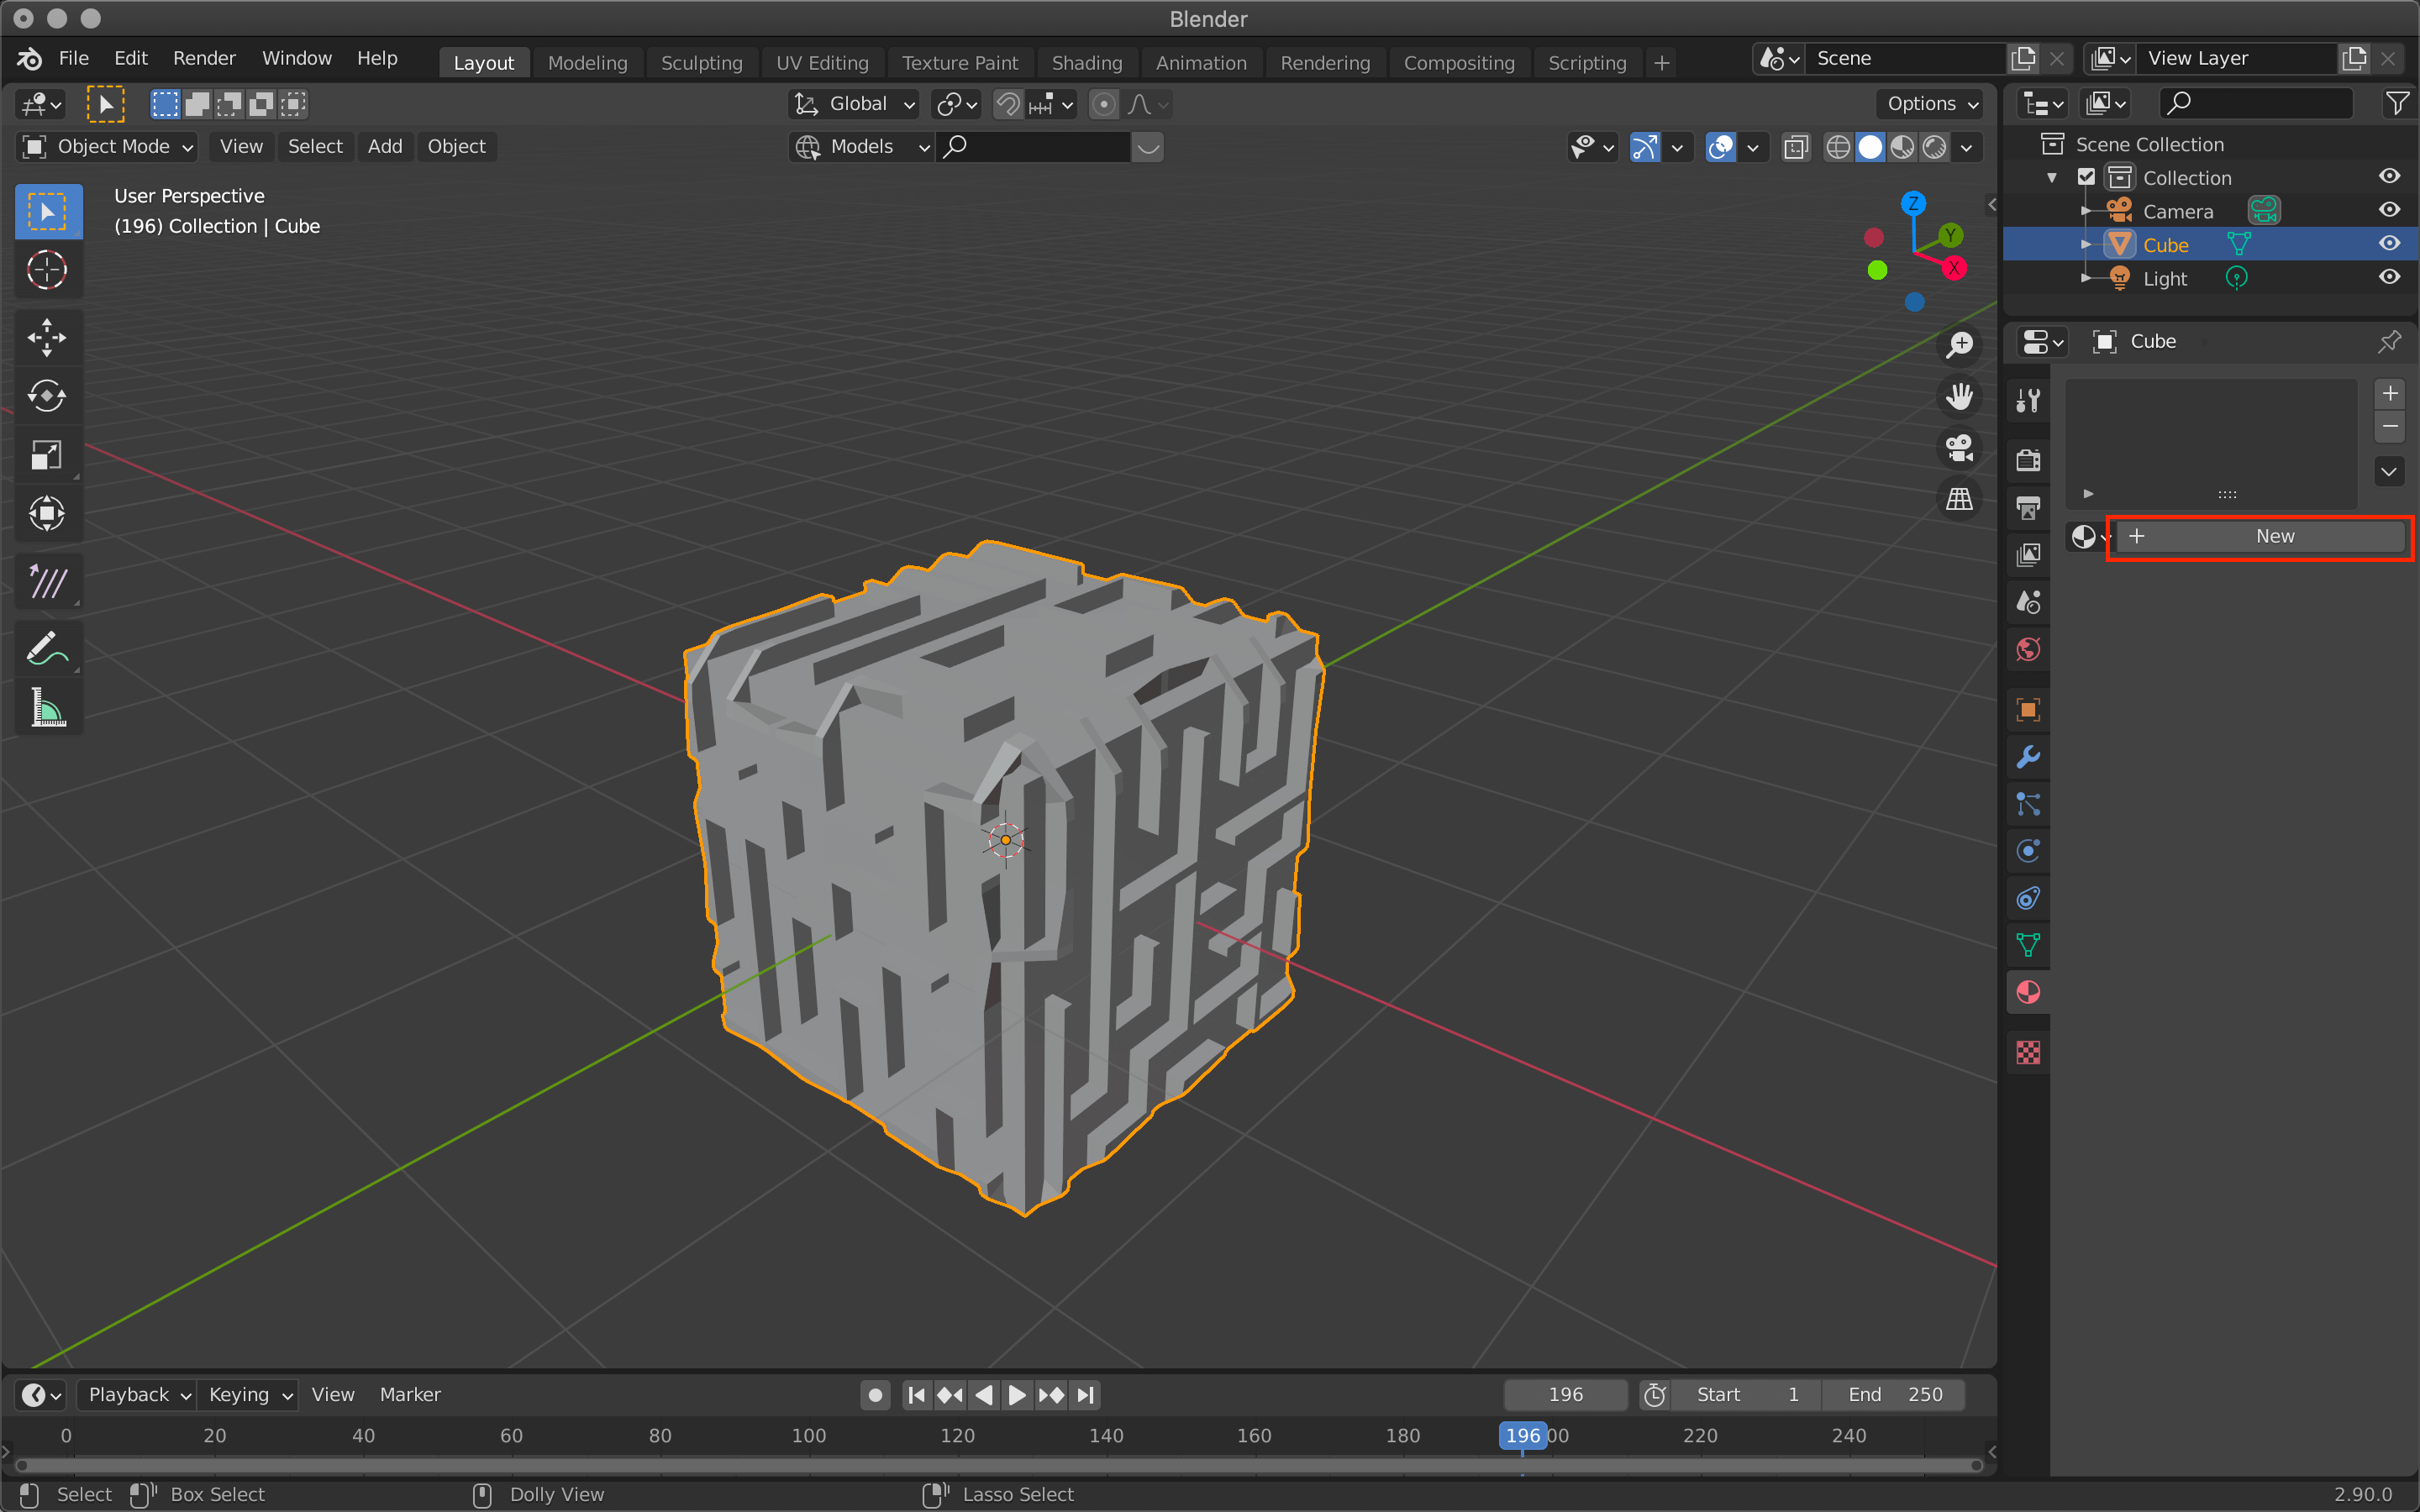
Let’s add some color here.
Change to Object mode, and with the cube selected, go to Material Properties and select New → Create New Material.
Material Properties
Change the Base Color.
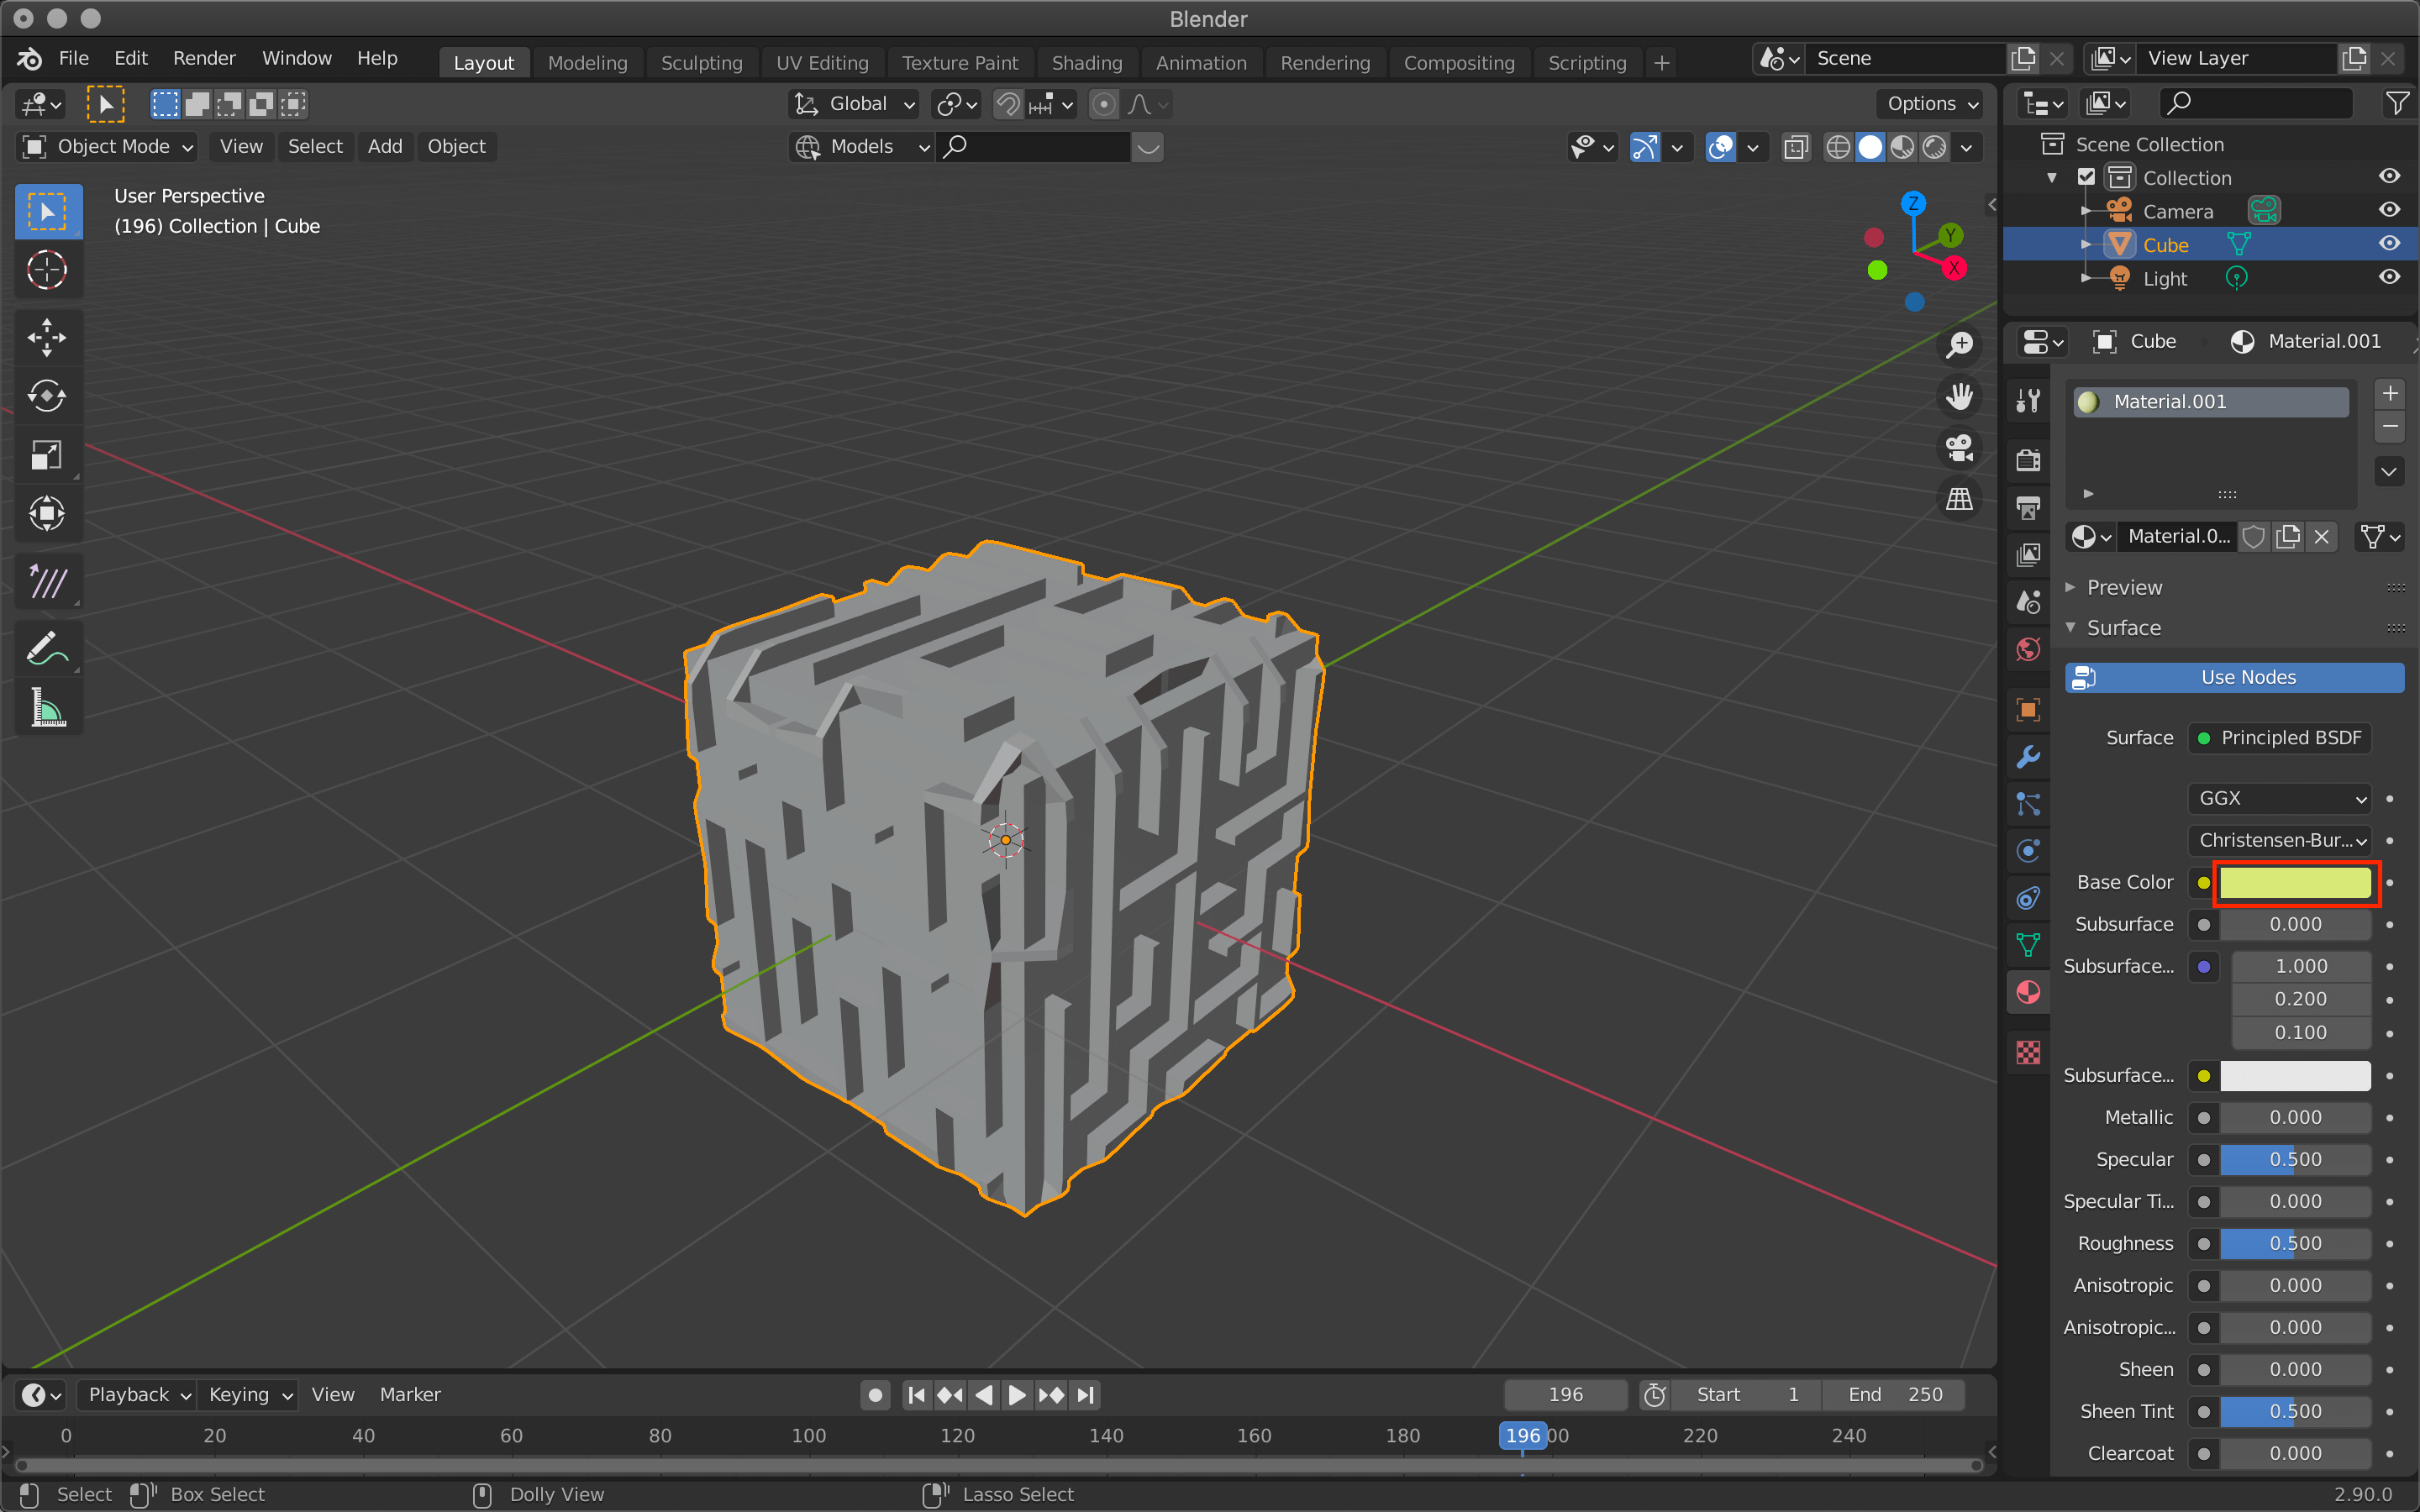
Base Color
Select “Material Preview” (or “Rendered”) in Z to see the tint.
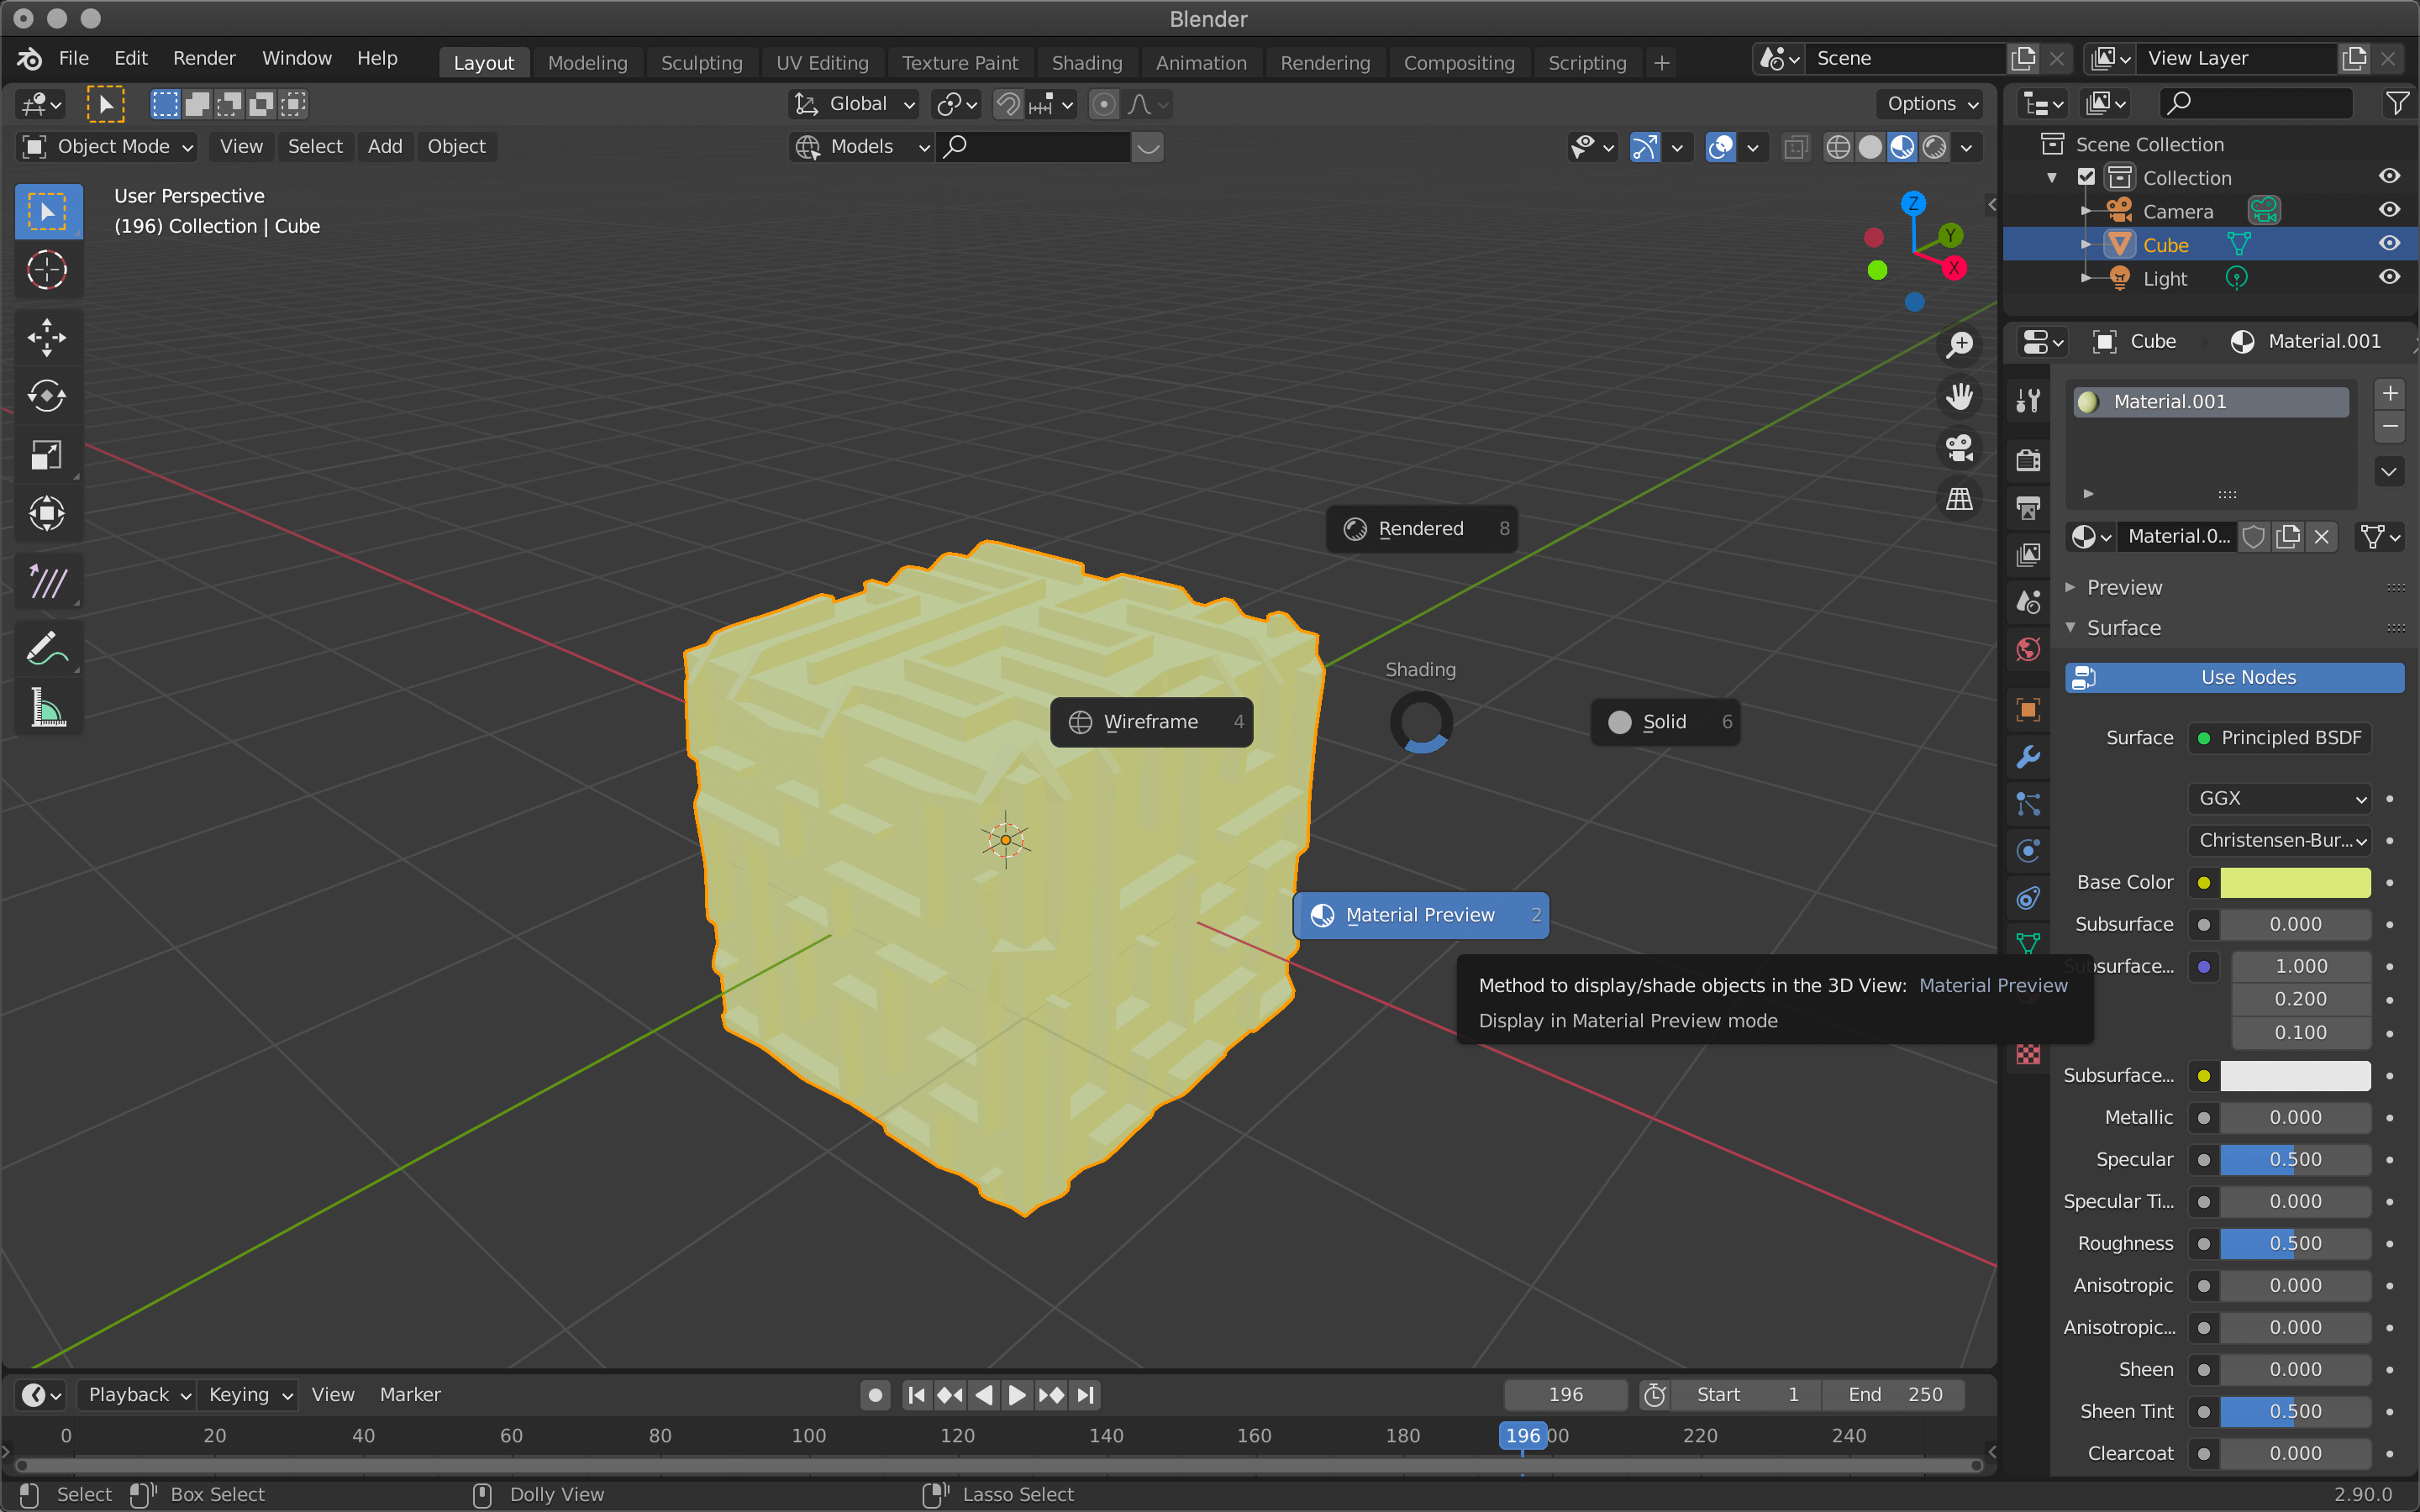
Material Preview
The maze is easy to use, and you can create a variety of mazes depending on your ideas.
You can create not only a maze with a start and a goal, but also a treasure hunt game by combining it with VR, or use it as a mysterious object.
How to upload 3D model to STYLY
Let’s upload your 3D model to STYLY.
How to create an account

How to upload to STYLY

How to upload from Unity to STYLY
