This article outlines how to create wrinkles in fabric using the Cloth Brush, which is implemented in Blender 2.83 Alpha.
Wrinkles are easy to create.
What is Cloth Brush?
Cloth Brush is a sculpting brush that will be implemented in Blender 2.83. It can transform a mesh into a cloth-like texture.
The Alpha version of Blender 2.83 is now available and can be downloaded from
https://builder.blender.org/download/
Basic Usage
First, prepare the mesh you want to transform (flat in this case) and add a subdivision surface modifier to make the vertices as fine as possible.

Divide it into smaller pieces.
Switch to object mode and “apply” a modifier.
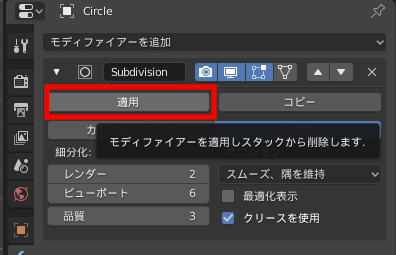
Applying a Modifier
Switch to sculpting mode from the Sculpting tab at the top of the screen.
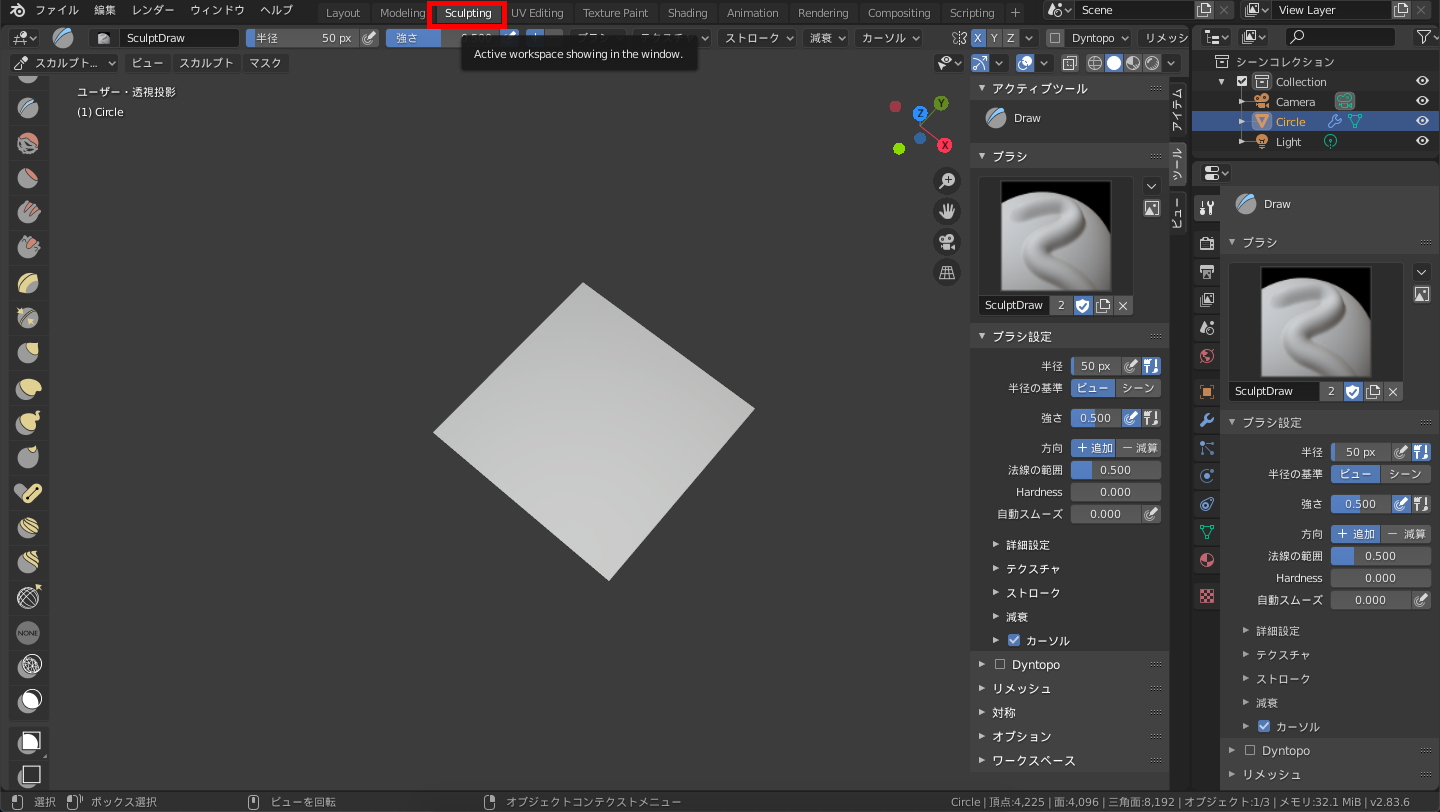
Switch to Sculpting Mode
The brushes are lined up on the left side—select “Cloth” from these options.
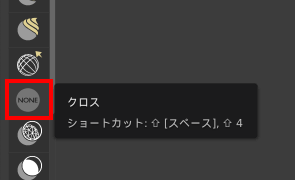
Cross brushes
If you hover the cursor over the mesh with a “Cloth” brush selected, you will see multiple circles.
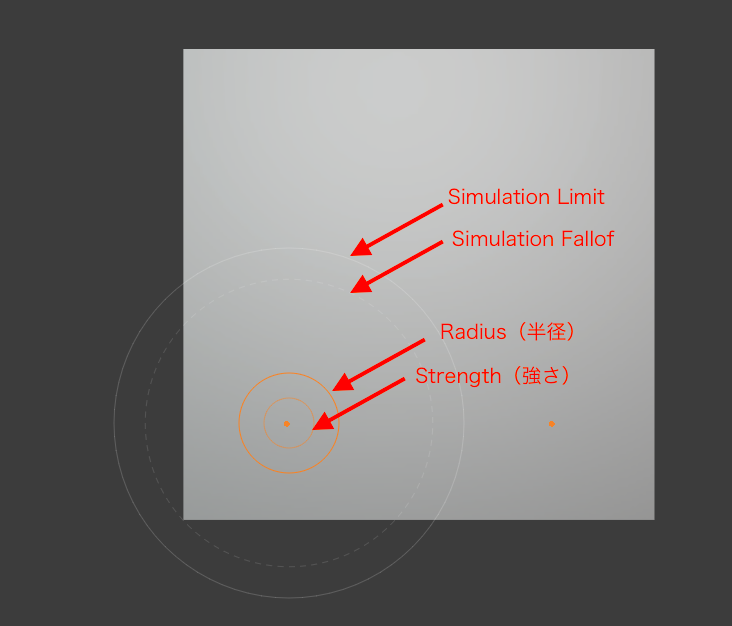
Cross brush circles
These values can be changed from “Tools” in the Properties panel that appears when you press the N key.
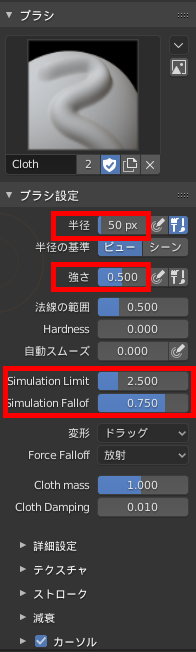
Brush settings
- Radius: specified in px number
- Strength: specified by the ratio of the radius to 1
- Simulation Limit: specified as a ratio of the radius to 1
- Simulation Falloff: ratio of the Simulation Limit to 1 and the radius to 0
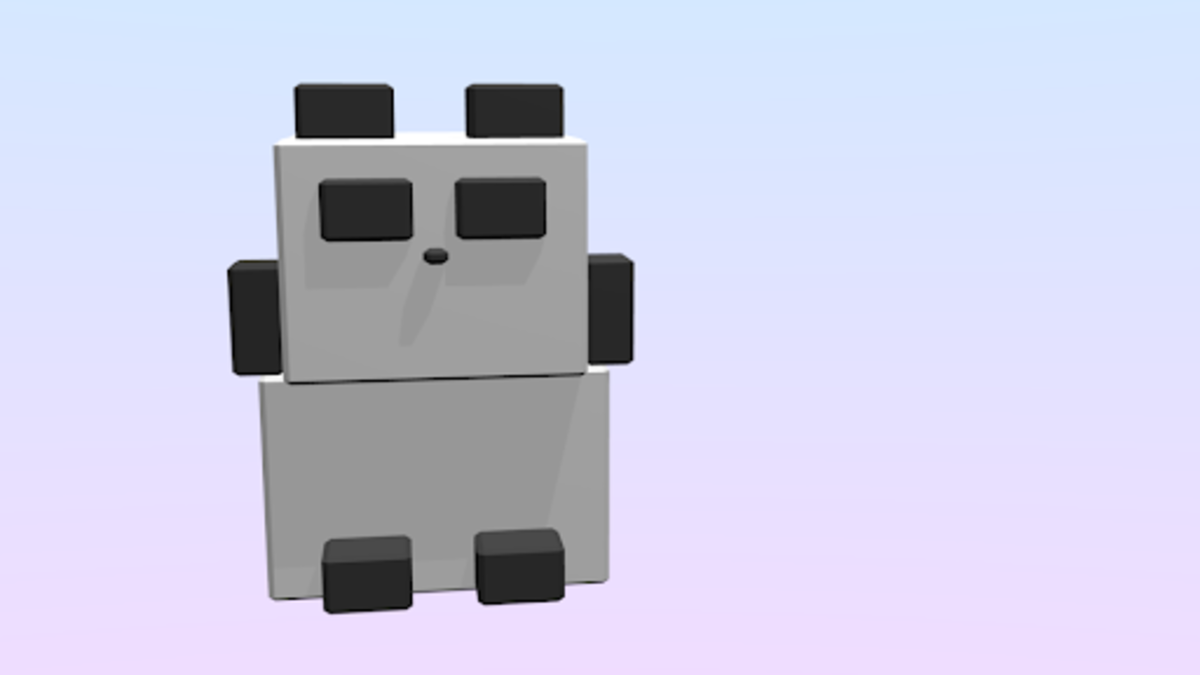
Let’s drag it over the mesh, and you will see that it moves like cloth.
Experiment with different cloth representations
Let’s explore some of the ways you can use these brushes with the help of a video tweet from Pablo Dobarro, the developer of Cloth Brush.
The Cloth Brush is now in Blender 2.83 #b3d #devfund https://t.co/IPQDFshP6k pic.twitter.com/clbCohh1N7
— Pablo Dobarro (@pablodp606) February 28, 2020
When working, divide the mesh of the object to be deformed into smaller pieces so that it is as even as possible.
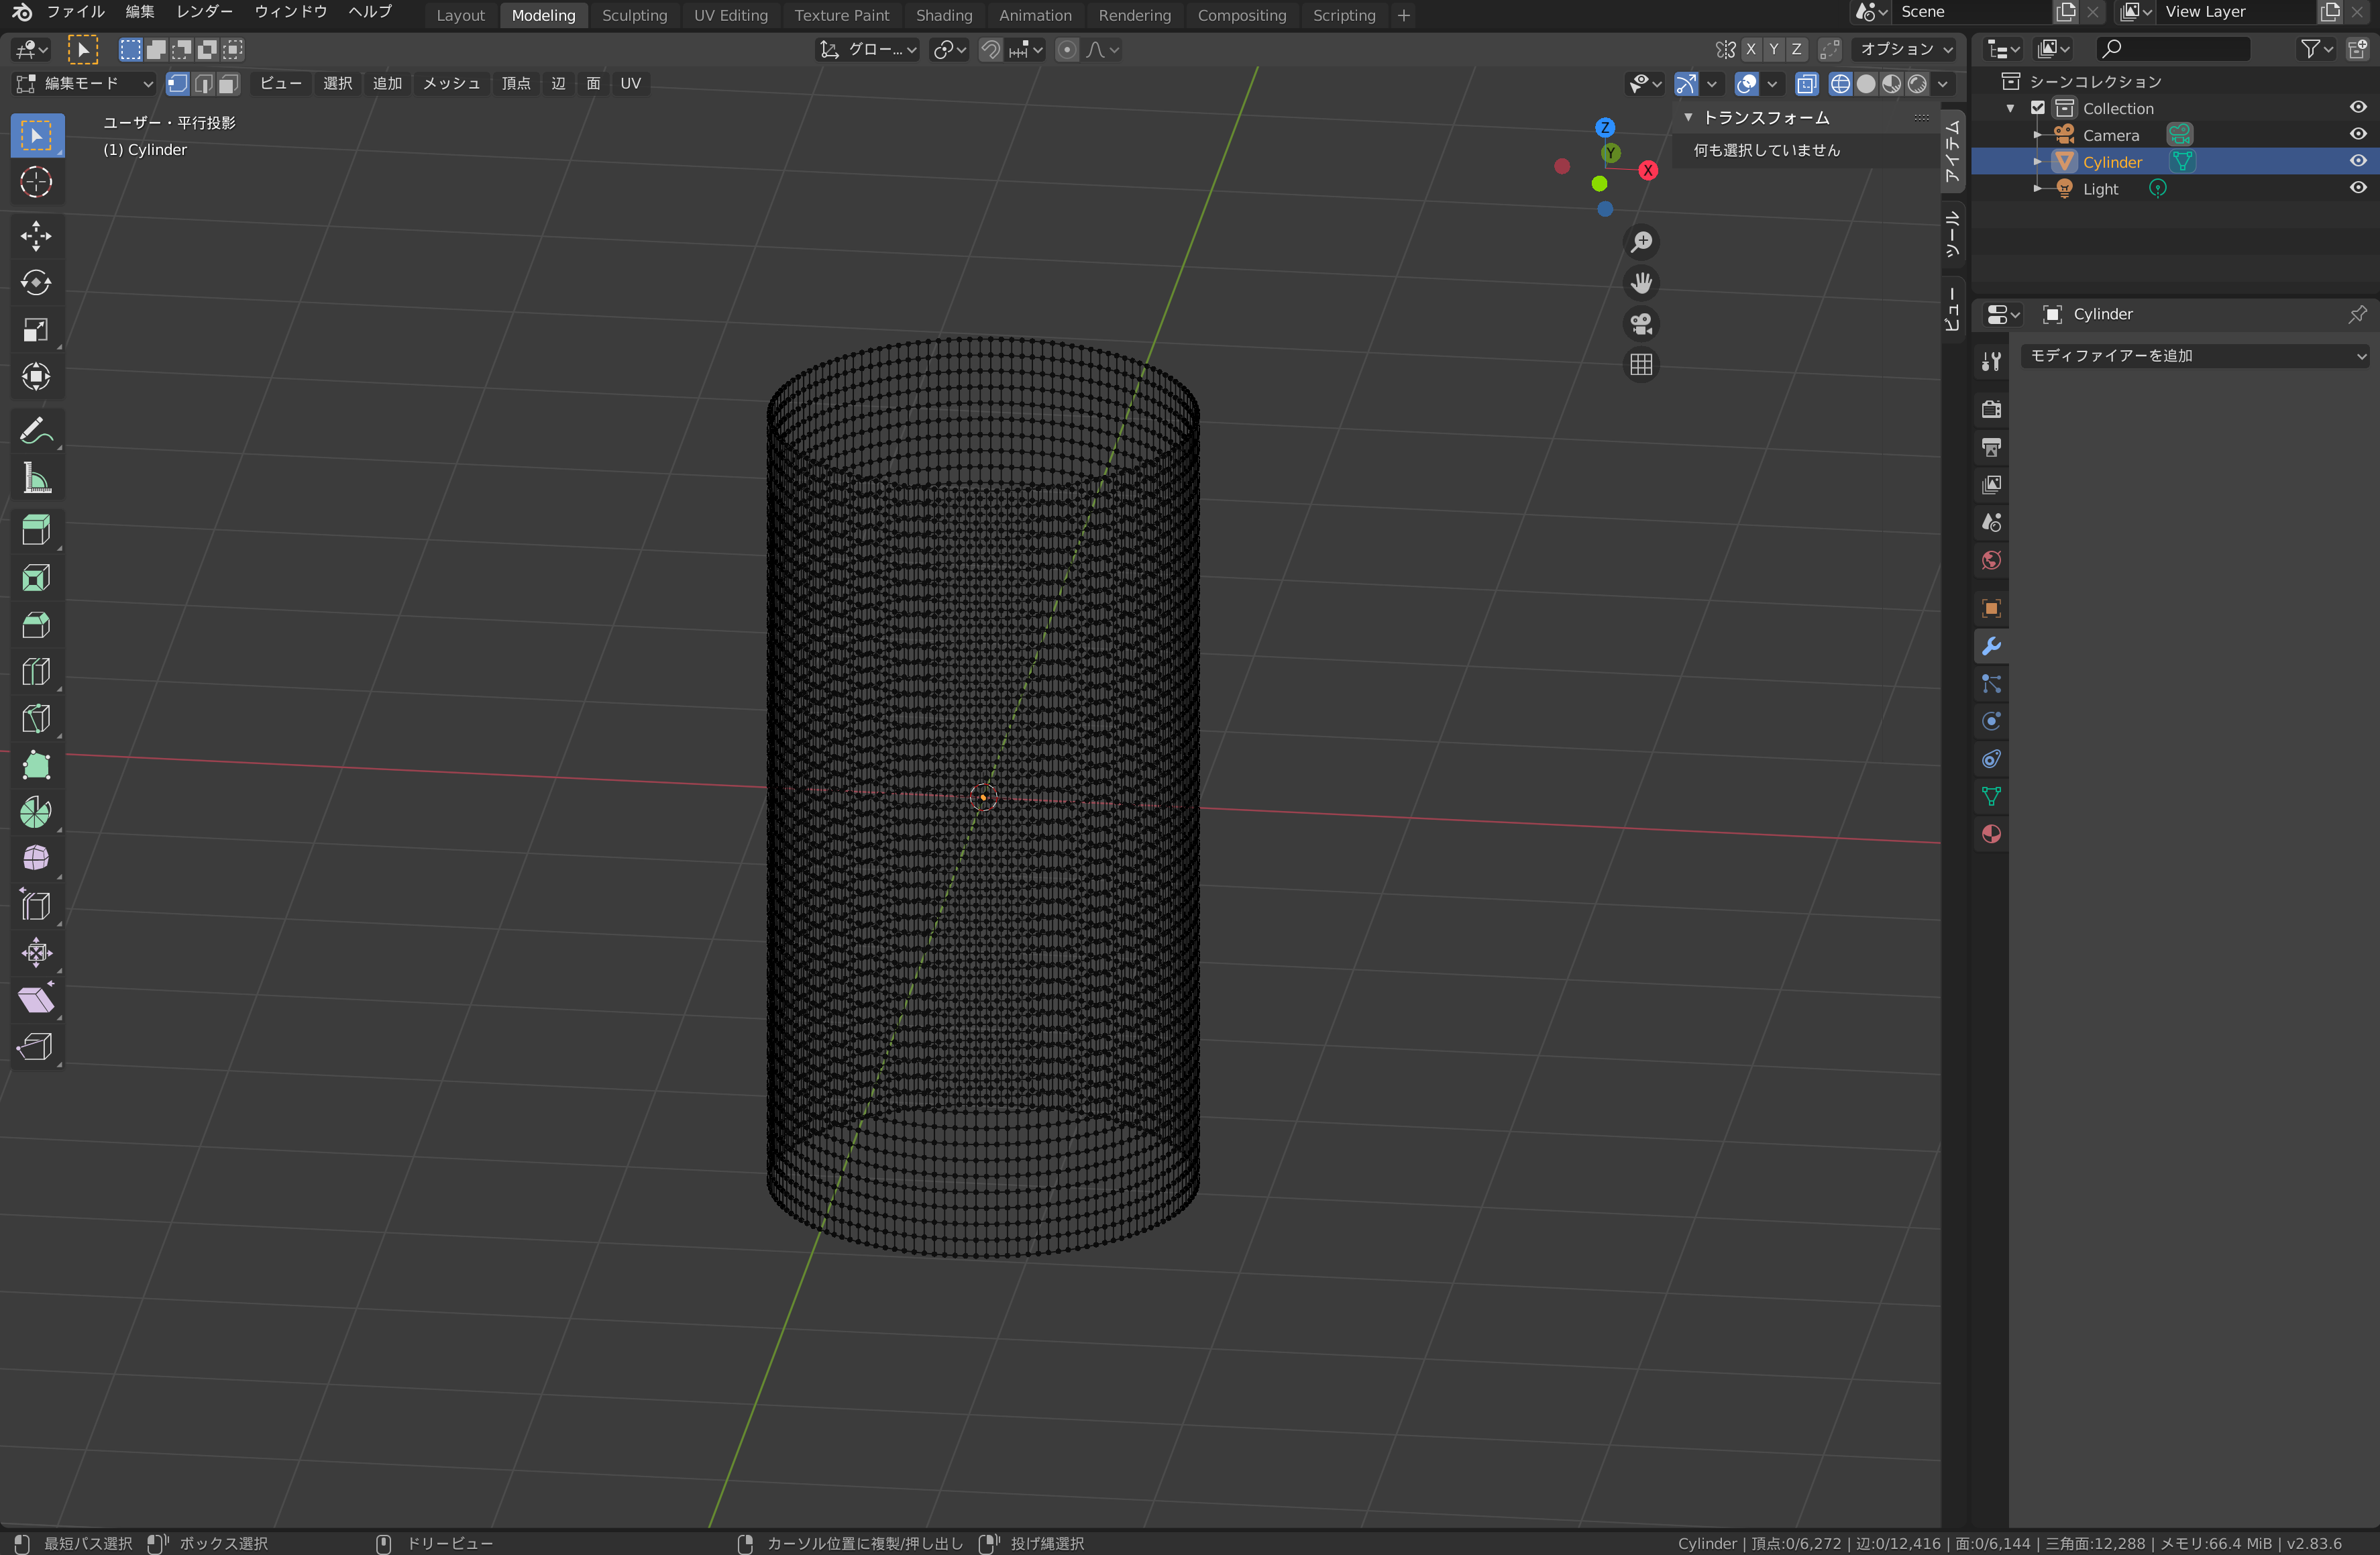
Use a loop cut to divide it vertically as well.
By default, it is set to transform symmetrically, but you can also remove it from the “Symmetry” section.
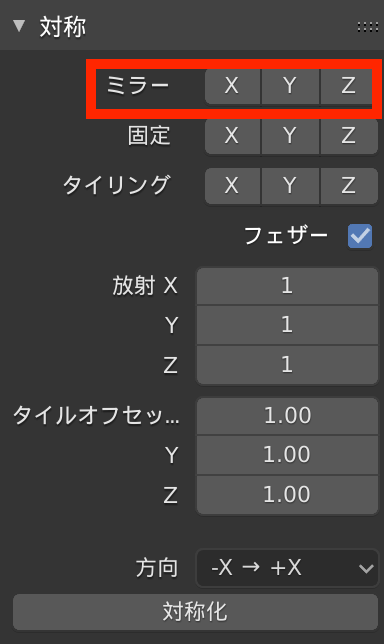
Remove the mirror settings
The values of each parameter are shown in the video, but the effect varies depending on the object’s shape and size, so please try it for reference only.
Pinch the cloth – Pinch Point (Radiant)
If you change the Transformation to Pinch Point and set the Farce Falloff (Force Attenuation) to Radiate underneath it, you will get a pinching effect on the fabric.
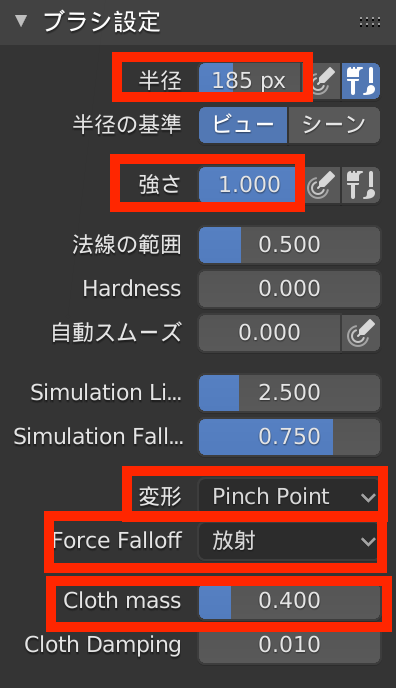
Brush setting

Pulled up
Wrinkles – Pinch Point (flat surface)
If you change the Transformation to Pinch Point and set the Farce Falloff (Force Attenuation) to Flat underneath it, you can deform the crease of the sleeve, as just one example.
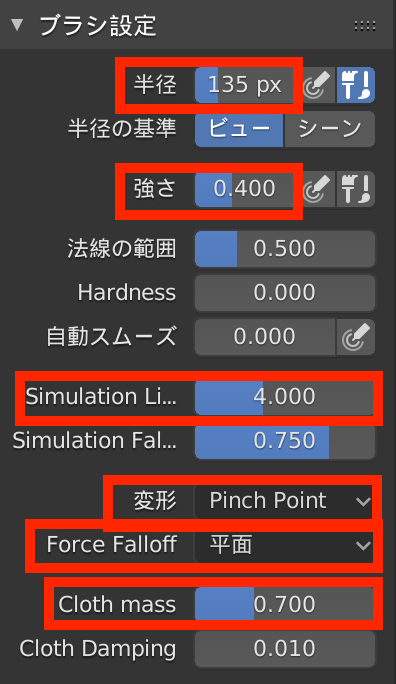
Brush setting
Wrinkles both above and below by dragging up and down
Inflate (radiate)
If you change the Transformation to Inflate and set the Farce Falloff (Force Attenuation) to Radiate underneath it, you will get a deformed look as if the fabric has been inflated with air.
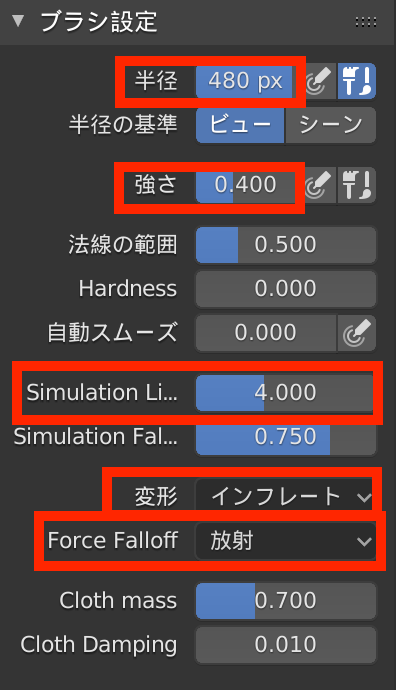
Brush Settings

Inflated
Upload to STYLY
You can then upload your deformed objects to STYLY.
To find out how to upload objects from Blender to STYLY, refer to the chapter “Import your models to STYLY” in the following article.