This article shows how to import PlayMaker into Unity and use Slider to adjust the image size in AR space, detailing the steps to create a Slider, get its value, set up the gimmick to resize the image, upload it STYLY and place it in AR space!
Importing PlayMaker
Import PlayMaker into Unity.
See the following article for details.

Overview
Slider is a type of UI that allows you to select values from a given range by dragging.
In this article, we will explain how to use Slider to adjust the size of an image in Smartphone AR.
It is divided into three steps.
- Slider creation: Use UI Slider
- Gimmick part: Use PlayMaker’s “UI Slider Get Value” action
- Image part: Use PlayMaker’s “Set Scale” action
Let’s get started!
Creating a Slider
To create a slider, right-click on the hierarchy and select UI → Slider.

After clicking on the slider, look at the game view and you will see an object like this in the center of the screen.
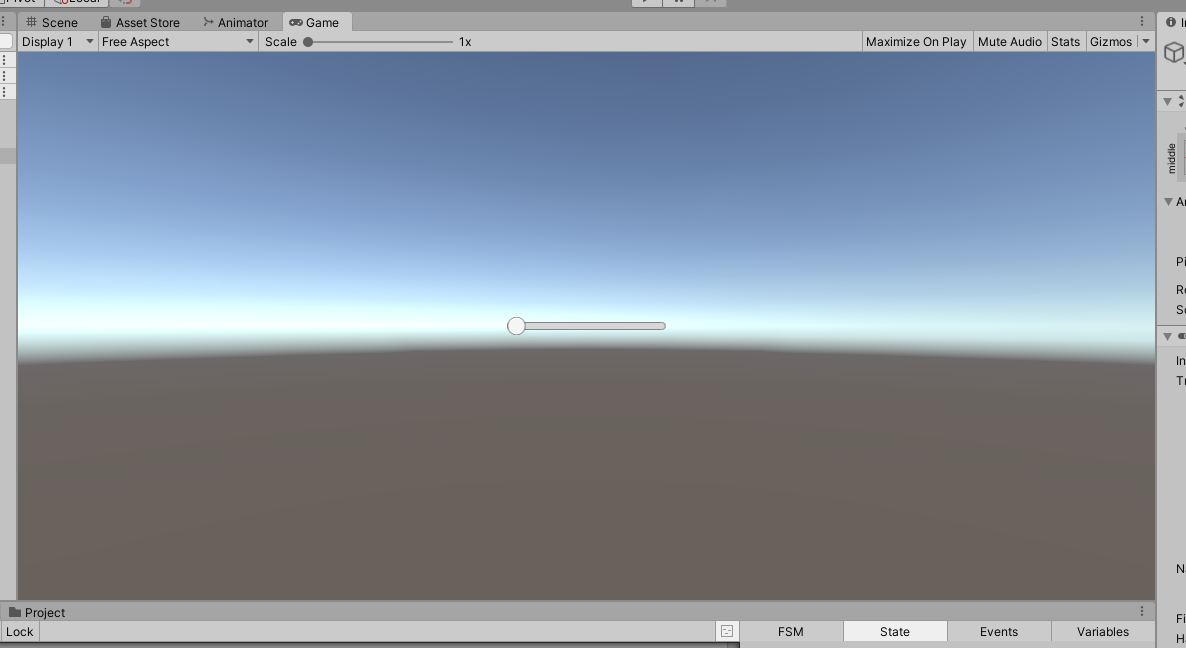
This object is the Slider
.
Let’s put it in playback mode once: drag the circle -> move it to the right.
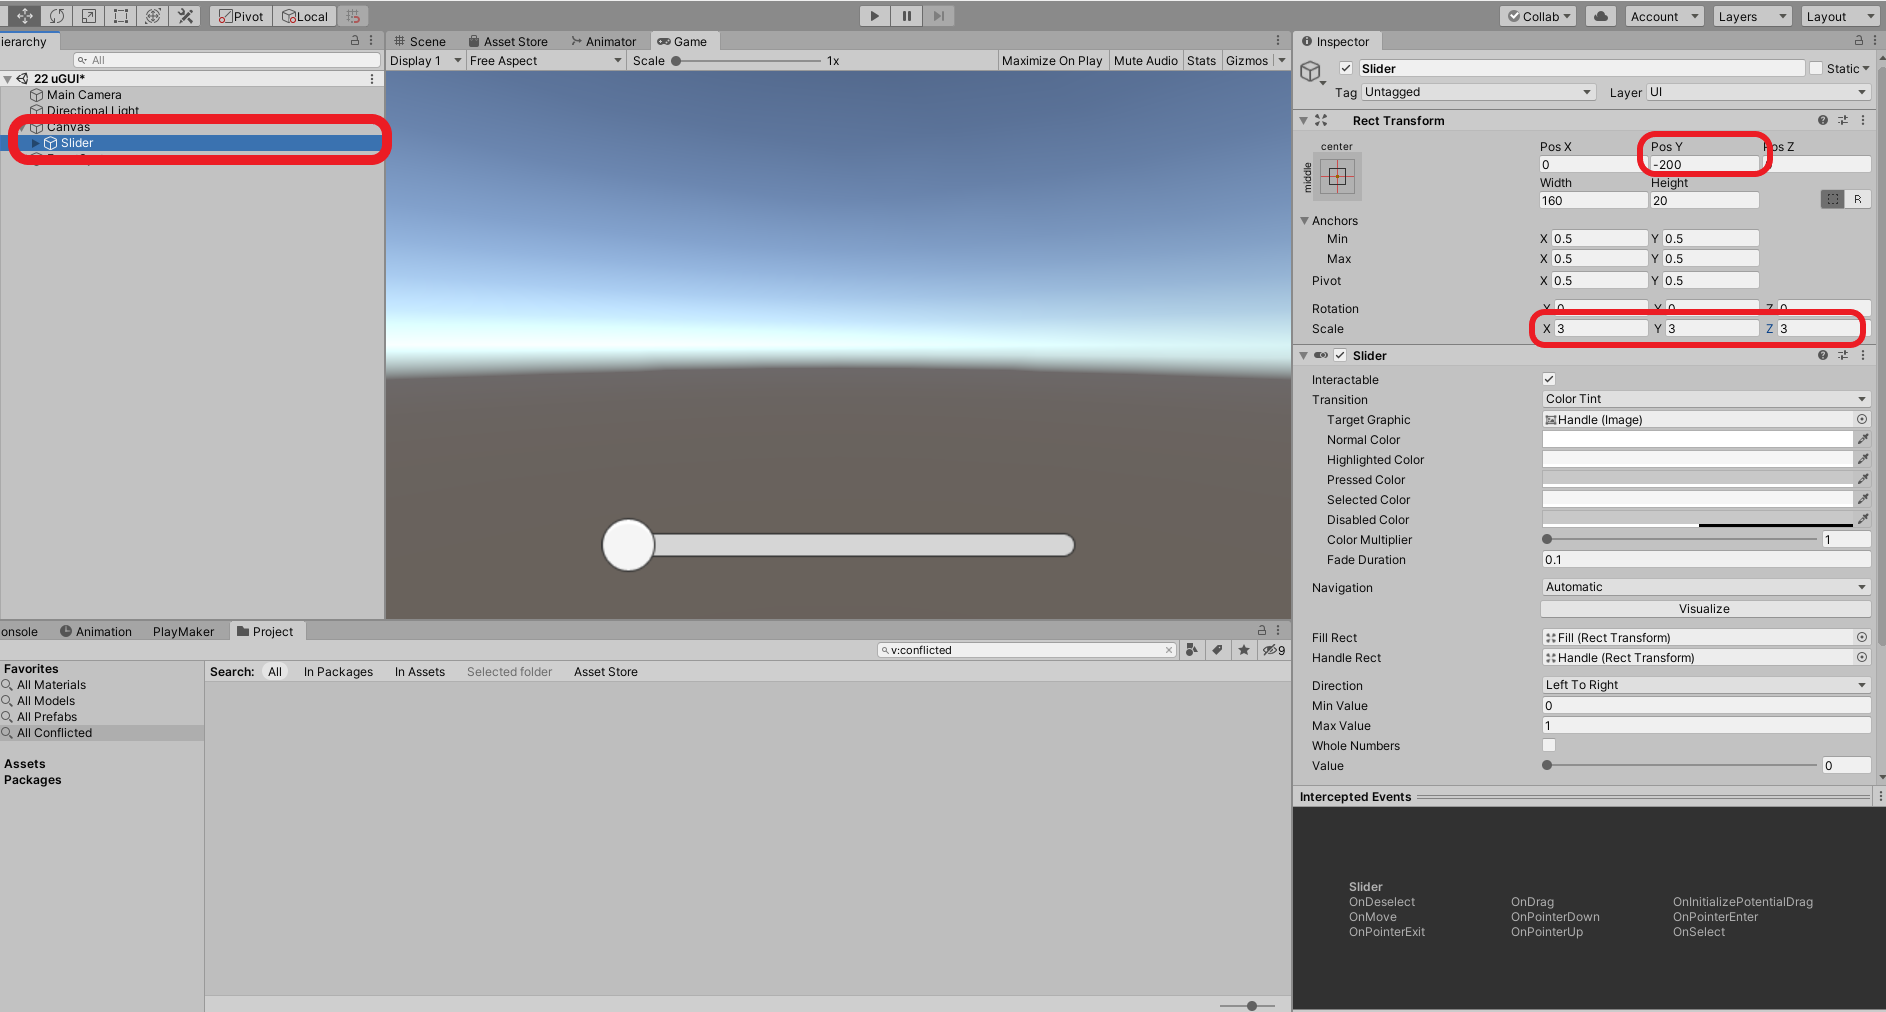
Stop playback mode and adjust the location and size of the Slider.
Select the Slider→ lower the Y in Position in the Inspector window (hereafter referred to as the Inspector) to the desired location (change to -200 for the image).
Change Scale to the desired size.
Select Anchor on the left side of Slider’s inspector > Select the preset in the red box
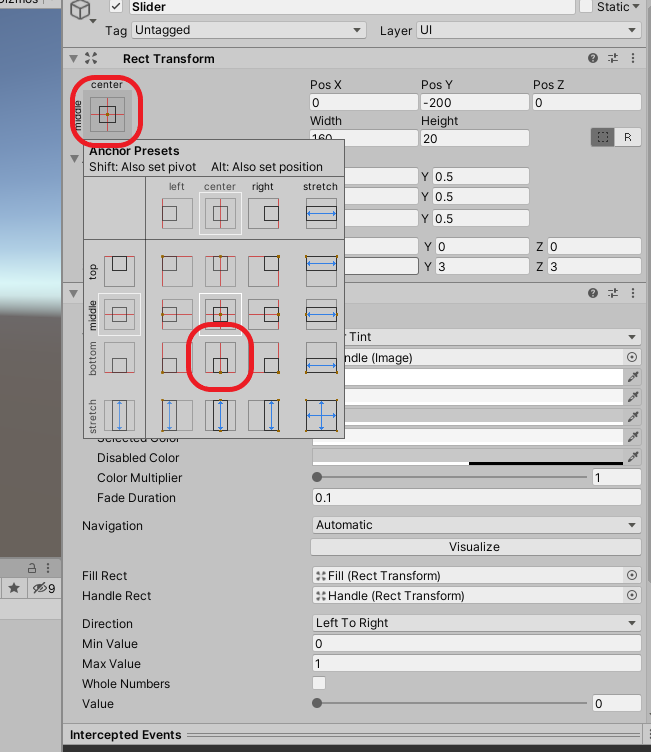
Change the window size of the game view; if it is set up well, the Slider will be attached to the window as shown below.
By setting the Slider in this way, the Slider can be placed in the specified position without being affected by the resolution of the smartphone.
This completes the creation of the Slider section!
Creating the Gimmick
Next, create the gimmick part.
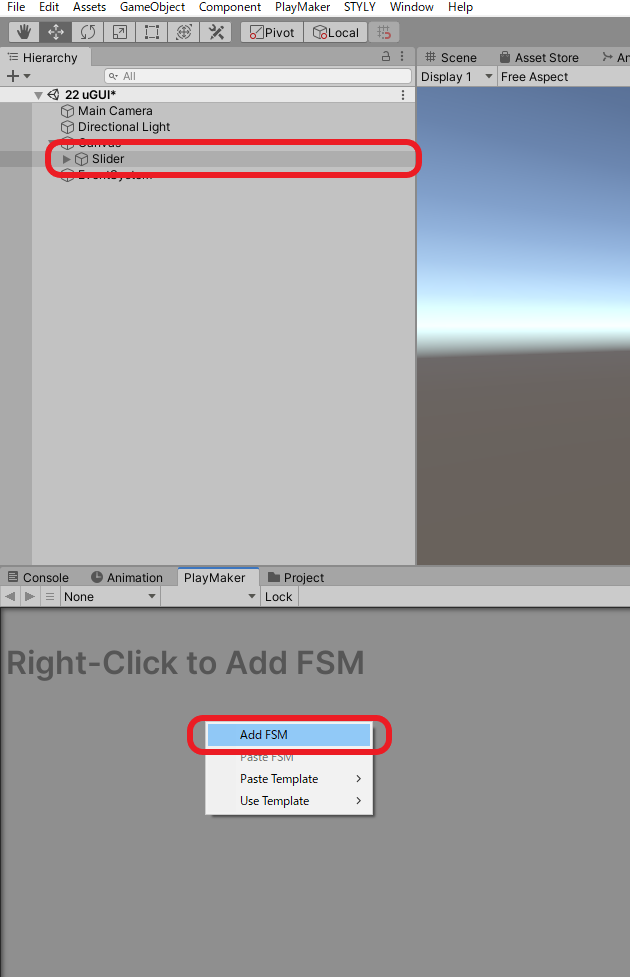
Select the Slider > Right-click on the PlayMakerEditor window > Select Add FSM.
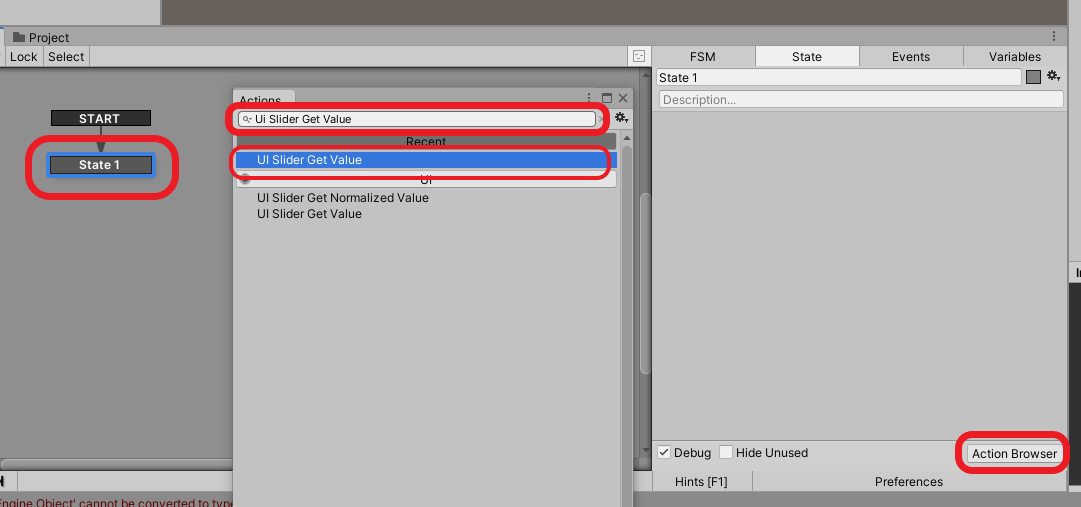
Select the generated State1 > Click Action Browser > Type “UI Slider Get Value” in the search bar that appears, then click UI Slider Get Value and add it to State1.
What is UI Slider Get Value?
This action allows you to get the value of a UI Slider component > save it as a variable, in this case the value of the Slider is saved as a Float type variable and assigned to Transform’s Scale to change the image size.
This can be applied, for example, to create a volume control bar by saving the volume of an AudioSource as a variable, or to manipulate an AR filter in real time by manipulating the shader value, or to adjust the rotation of a light with the Slider to direct a shadow in any direction.
Select Value in the UI Slider Get Value action and enter “Scale” in the New Variable field.
Next, after typing Set Scale in the ActionBrowser search bar, add the Set Scale action to State1.
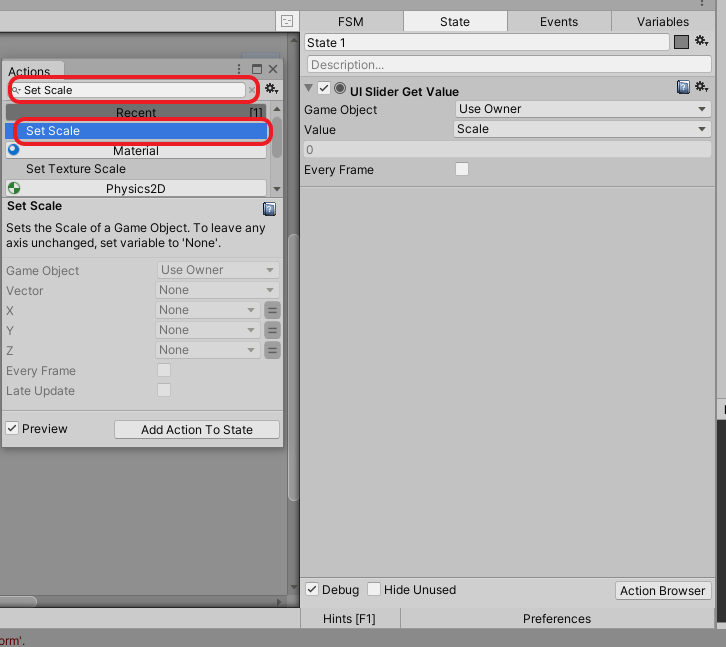
Set the UI Slider Get Value and Set Scale actions.
Select Specify Game Object in the Set Scale action’s GameObject, set the “X,” “Y,” and “Z” items to the Scale you just set, and check the Every Frame checkboxes in the two actions.
This completes the creation of the gimmick.
Creating the image
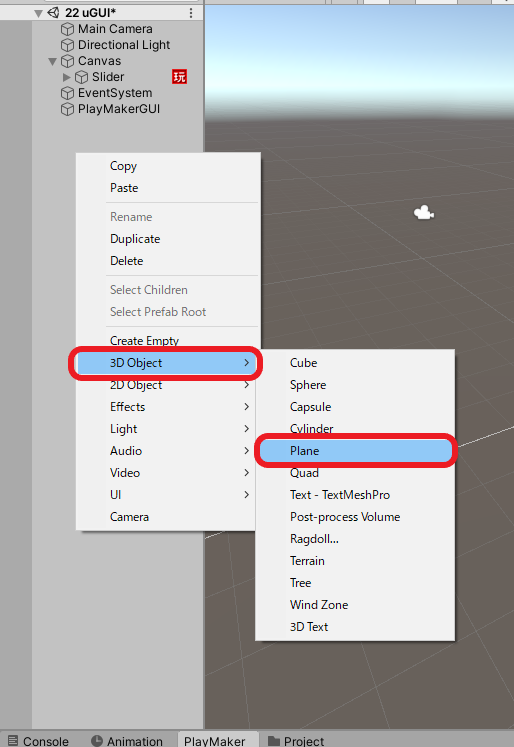
Next, create the object that will be the source of the image: right-click on the hierarchy and select Plane from 3D Object.
Drag and drop the image you wish to display onto the project window.

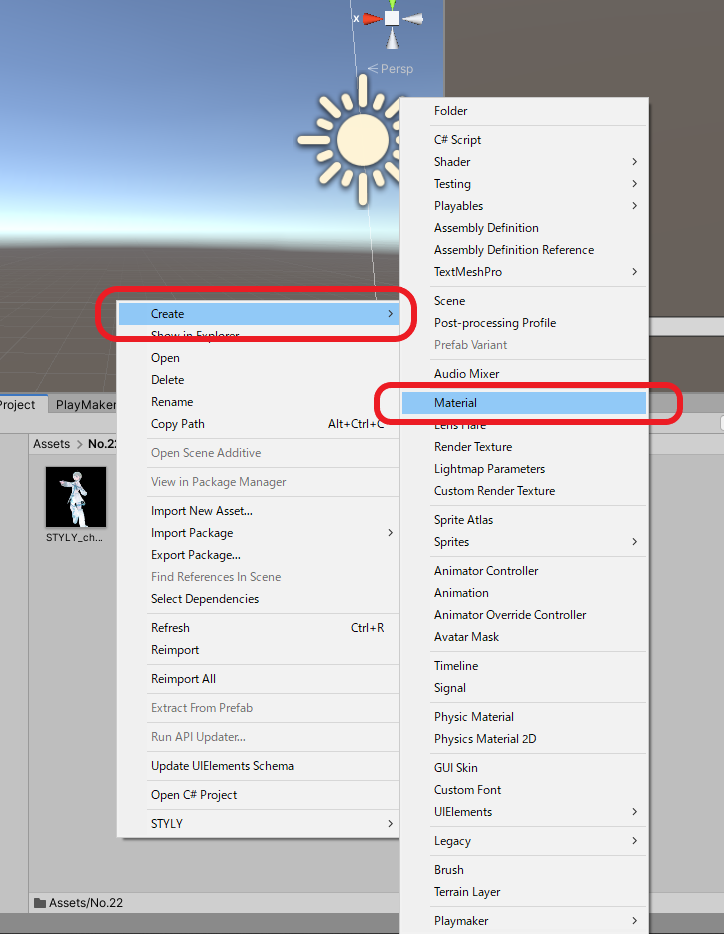
Next, create a Material by right-clicking in the project window and selecting Create > Material.
Select the created Material, change the Shader to Unlit/Transparent, drag and drop any image into the Texture slot, and drag and drop the Material onto the Plane.

Drag and drop the Plane with the image set to the GameObject of the Slider’s Set Scale action.
Once you have completed this step, put Unity into playback mode, and you will be able to change the size of the image by manipulating the Slider in the game view with the mouse.
The gimmick is now complete, but in playback mode, the scale of the Plane is set to 0.
This is because the Slider’s Value is set to a minimum of 0 and a maximum of 1 by default; by changing this value, you can change the minimum and maximum size of the image.
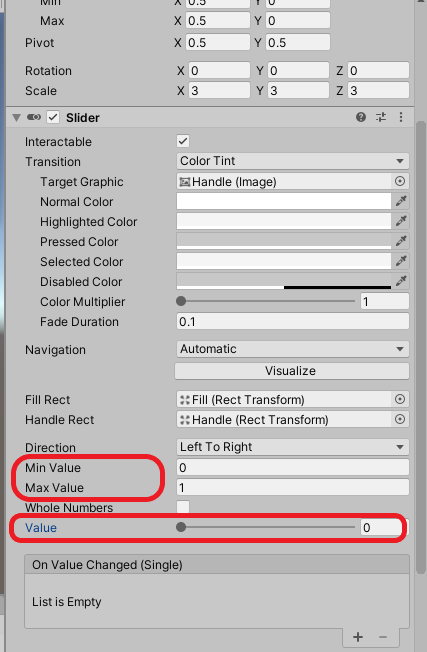
Min Value: Enter the minimum value that can be set by Slider.
Max Value: Enter the maximum value that can be set by Slider.
Value: You can set the default value.
If you set Min Value:3, Max Value:7, and Value:5, it will look like this.
This completes the creation of the image part.
Prefab it and upload it to STYLY
Right click on the hierarchy and click Create Empty.
Rename the generated GameObject to Picture.
Drag and drop the Canvas and Plane objects onto the generated Picture object to create a parent-child relationship.
Drag and drop the Picture object into the project window to make it a prefab.
Upload the prefab to STYLY.
Right click on the prefab in the project window→STYLY→upload prefab or scene to STYLY.
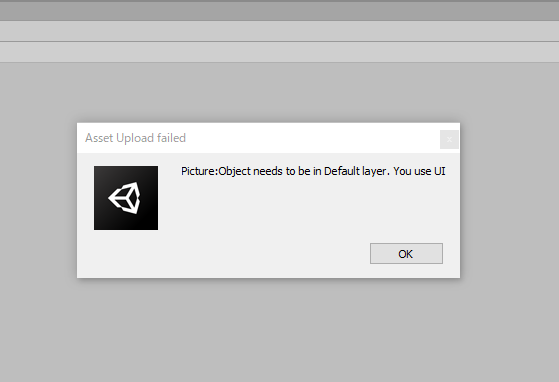
This display looks like this
The prefab you are uploading contains a layer other than Default, which is “UI”.
It is “UI”.
The layer used STYLY must be “Default”.
The layers below Canvas are UI layers, so change them to Default.
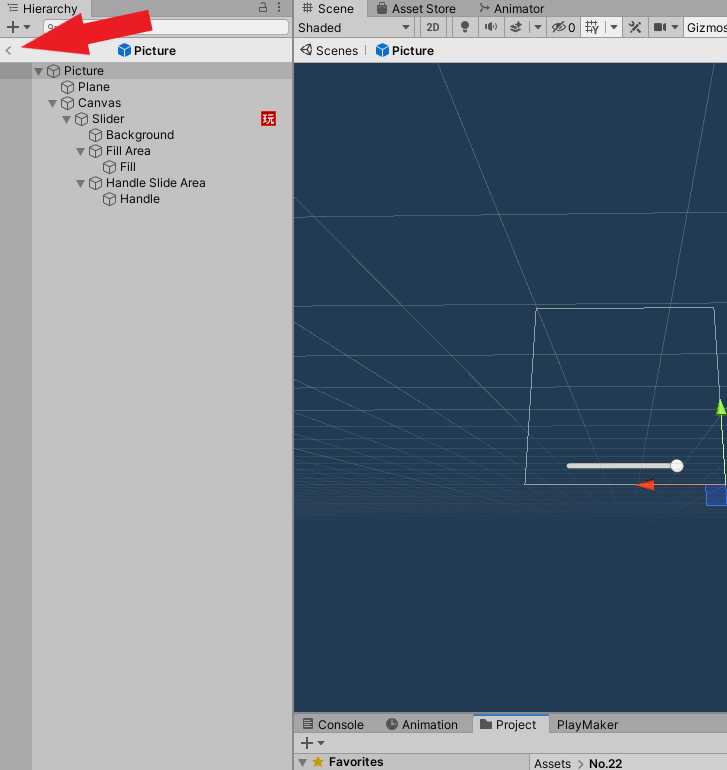
Double-click the Picture prefab in the project window to enter prefab mode and open the Picture prefab.
Select Canvas in the prefab and change the layer in the inspector from UI to Default.
Then the window “Do you want set Layer 〜” will appear, which means do you want to change the layers of the objects in the child hierarchy as well, so select “Yes,change children” on the left.
After making the changes, click on the arrow in the upper left corner of the inspector to exit prefab mode.
Then right click on the Picture prefab again -> STYLY -> Upload prefab to scene to STYLY to upload.
After the upload is complete, place the prefab in STYLY Studio.
TIPS
Combining the Set Property action with particles makes it possible to change the amount of particles in the Slider.
By combining a Set Rotation action with a directional light, you can use Slider to change the position of the shadow.
As you can see, there are many possible combinations, so let’s try combining Slider and PlayMaker to create a variety of UI!