This article explains how to import PlayMaker into Unity, create a button in STYLY to trigger an event, create a button, create a gimmick that displays an image on tap, upload it to STYLY and place it in AR space.
Importing PlayMaker into Unity
Import PlayMaker into Unity.
See the following article for details.
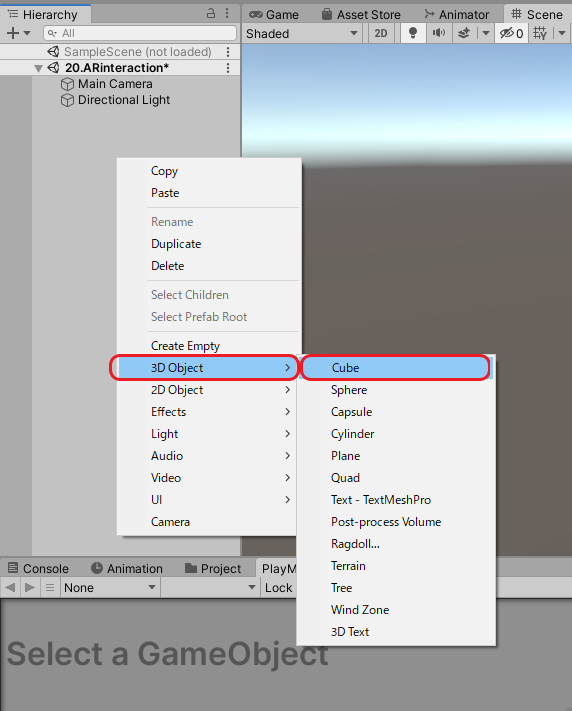
Create a button by right-clicking on the Hierarchy window (hereafter referred to as the Hierarchy) and selecting 3D Object → Cube.
After creating the Cube, right-click again on the Hierarchy and select 3D Object → Cylinder (* this cylinder part will become the button).
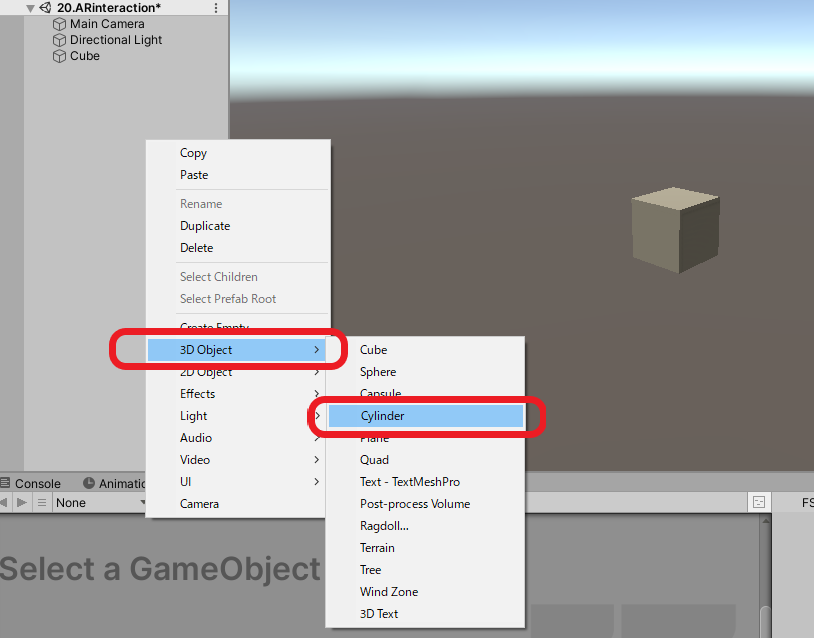
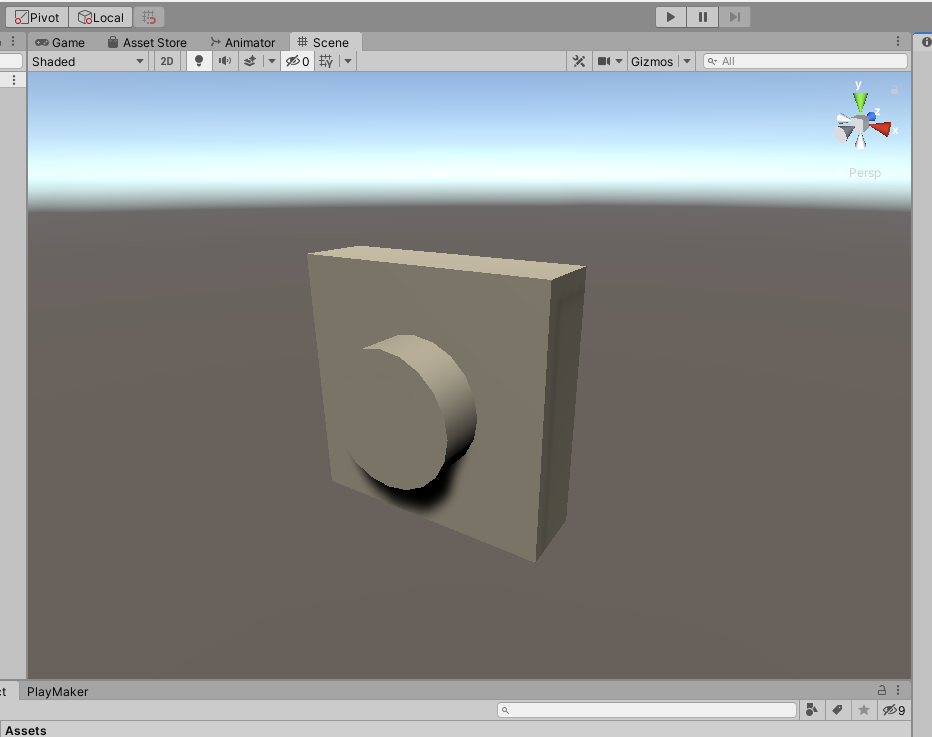
The Cube and Cylinder objects will be placed in the scene.
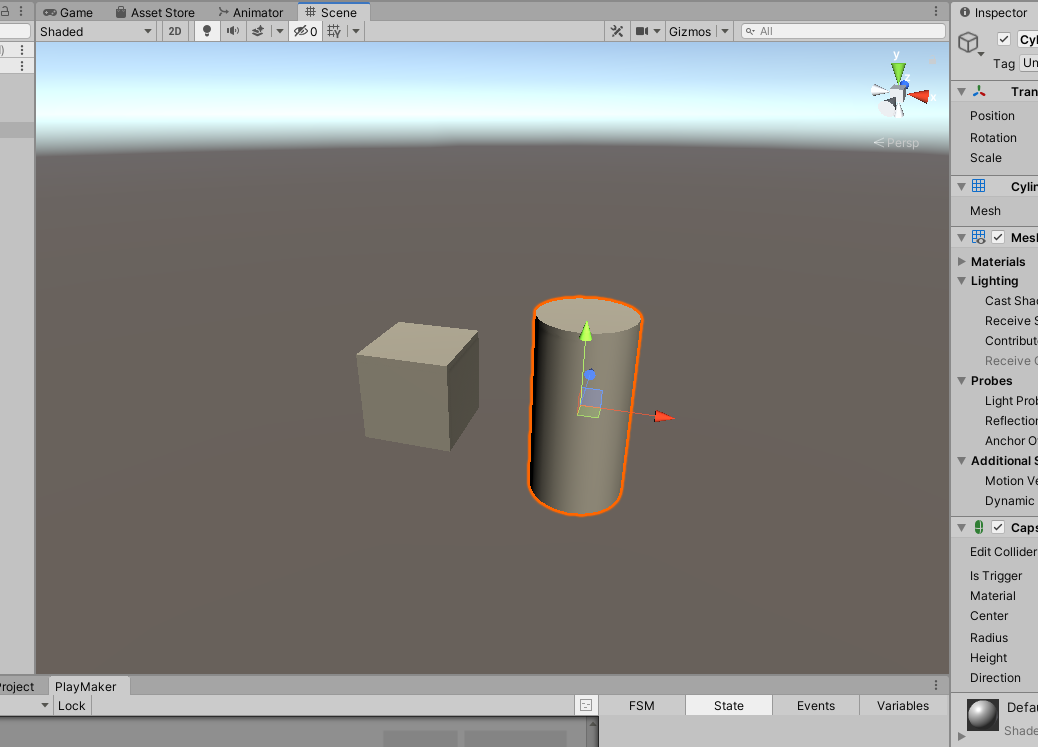
These two objects will become buttons
.
Change the Position and Scale of the Cube and Cylinder objects to look like the image below.
Let’s change the color of the Cylinder part!
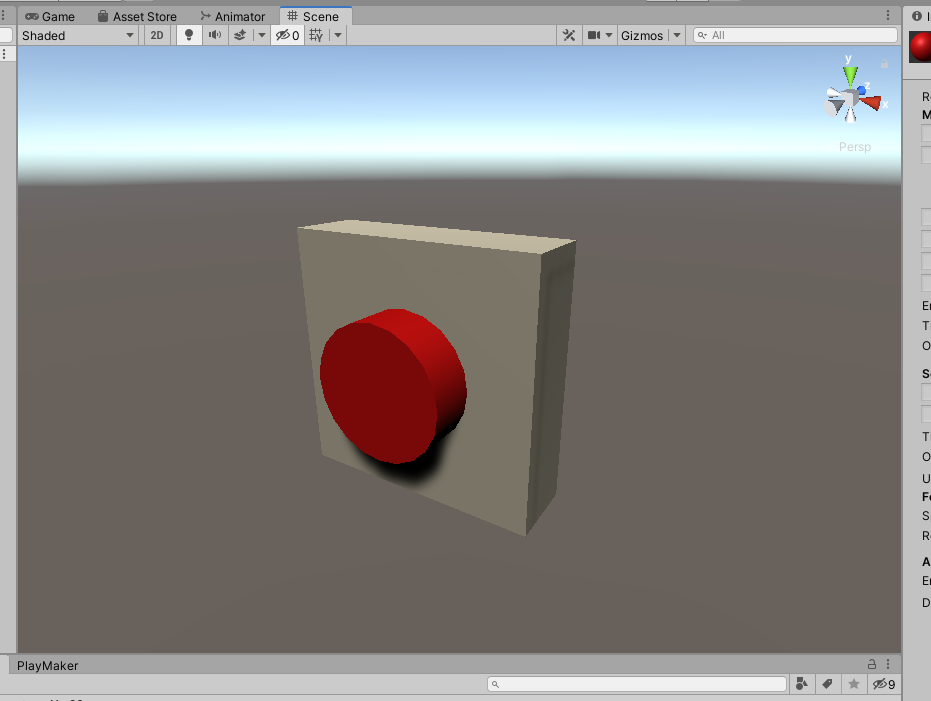
Change the color to red using standard shaders
.
Once the color change is done, make the Cylinder a child object of the Cube by dragging the Cylinder on the hierarchy and dropping it on the Cube.
This completes the creation of the button part!
Create a gimmick that will generate an event when the button is tapped.
Create an object to manage the gimmick: right click on the hierarchy → CreateEmpty, right click on the generated object, and rename it from Rename to Buttun.
Select the generated Buttun, open the PlayMaker Editor, right click and select Add FSM.
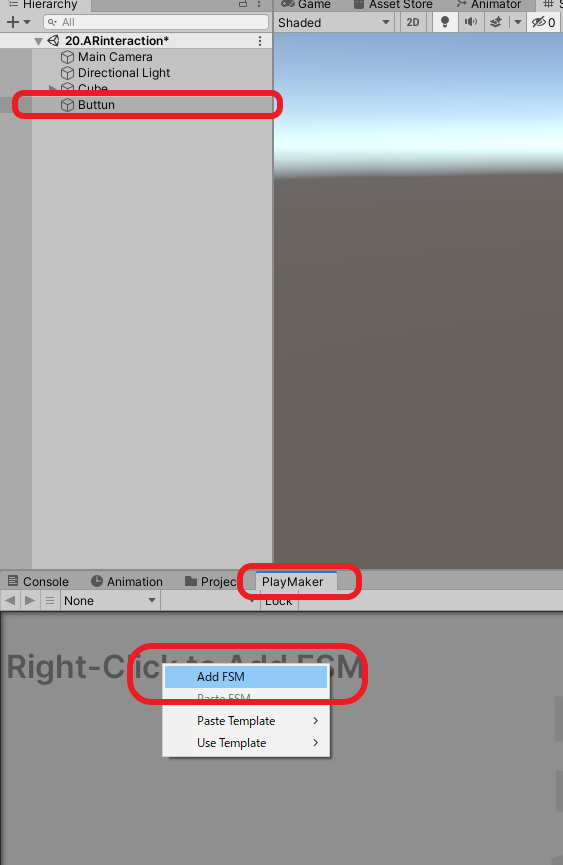
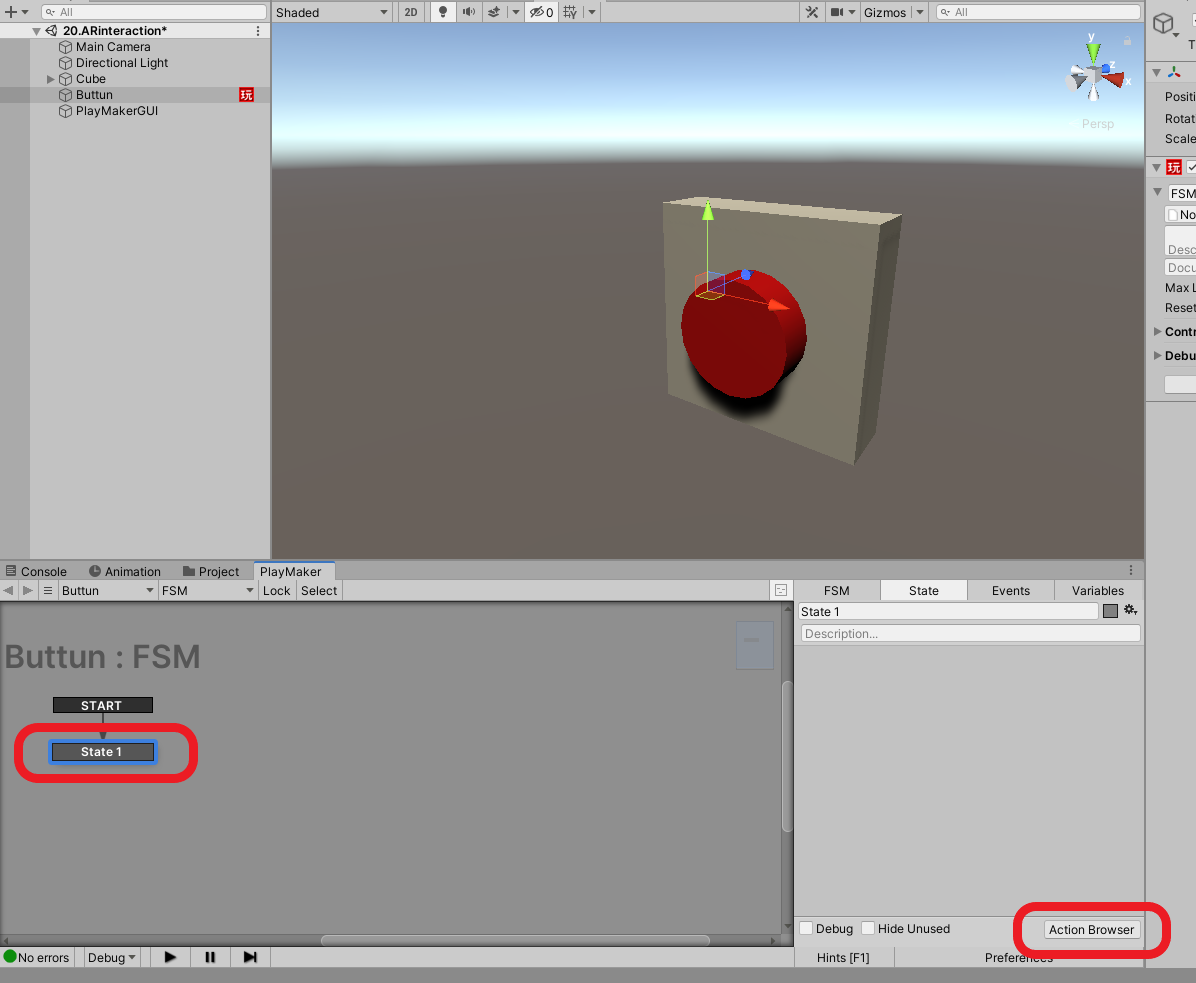
A State will be added.

With State1 selected by clicking on it, click on the Action Browser button at the bottom right of the PlayMaker window.
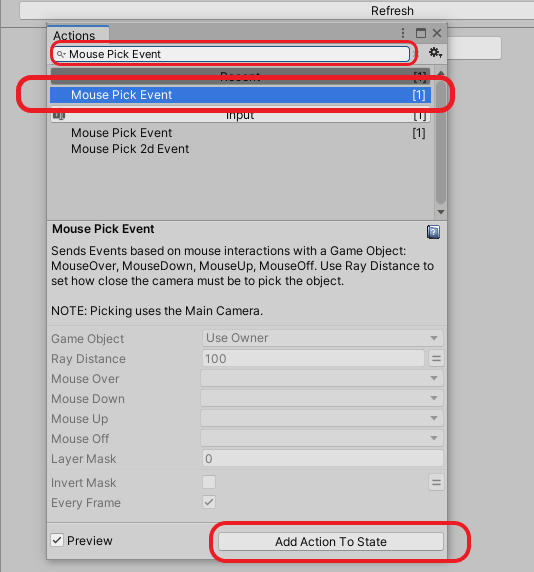
Type “Mouse Pick Event” in the search bar at the top of the Action Browser to search, click on the Mouse Pick Event displayed below, and click on “Add Action To State” below to add the Action to “State1.
By using this Mouse Pick Event, you can make the Cylinder function as a button.
The Mouse Pick Event is an action that obtains a “click” on a PC, but if this action is used on a smartphone, it will be processed the same as a “tap”.
In this state, an error message is displayed, which can be summarized as ” Collider for button cannot be found.
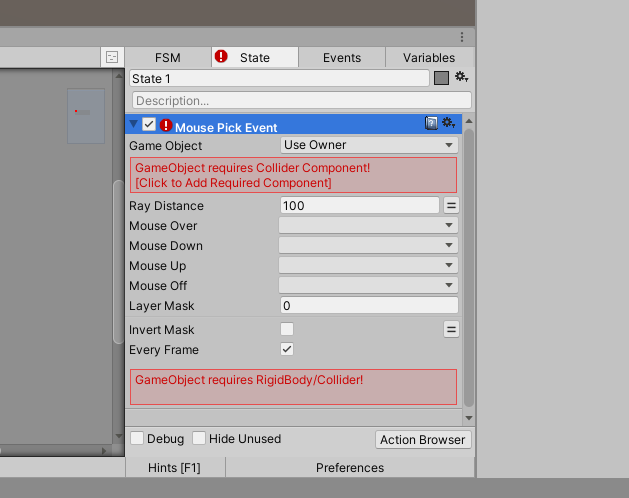
(* You need to refer to an object that has a system Collider component to determine the hit).
First, specify the Collider: click on the Game Object item in the Mouse Pick Event action → select Specify Game Object Drag and drop the Cylinder object onto the form that appears below.
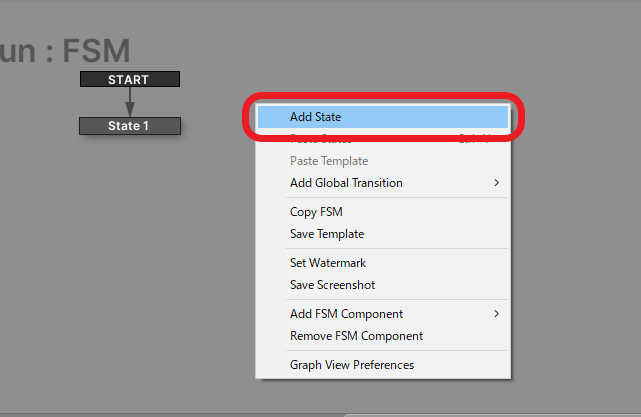
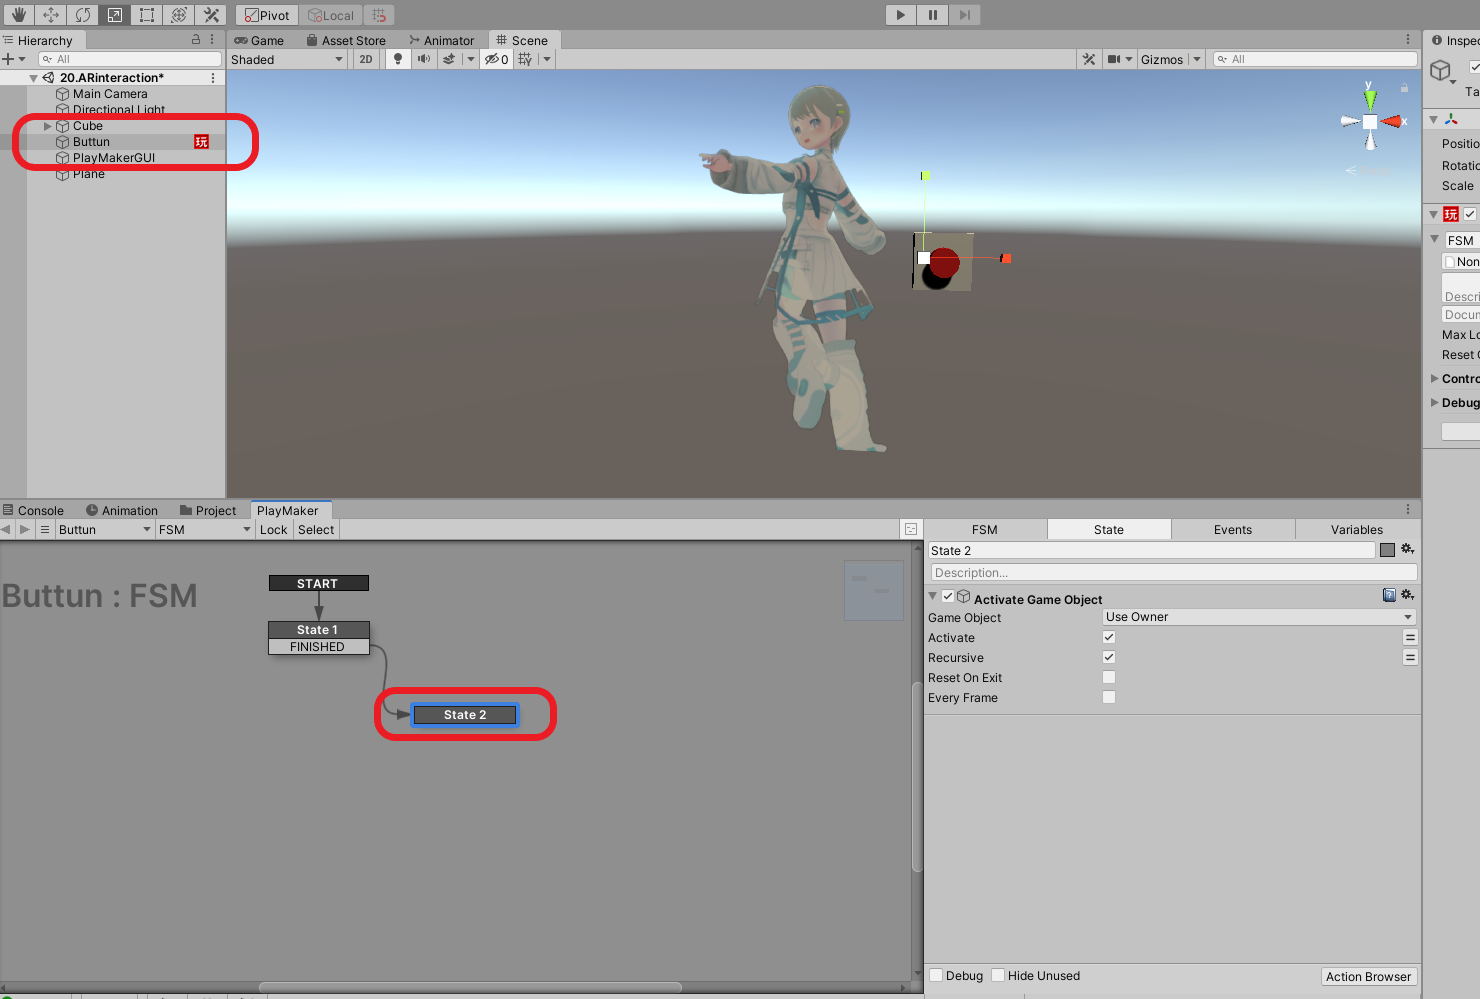
Next, create a new State by right-clicking on the PlayMaker window and selecting Add State.
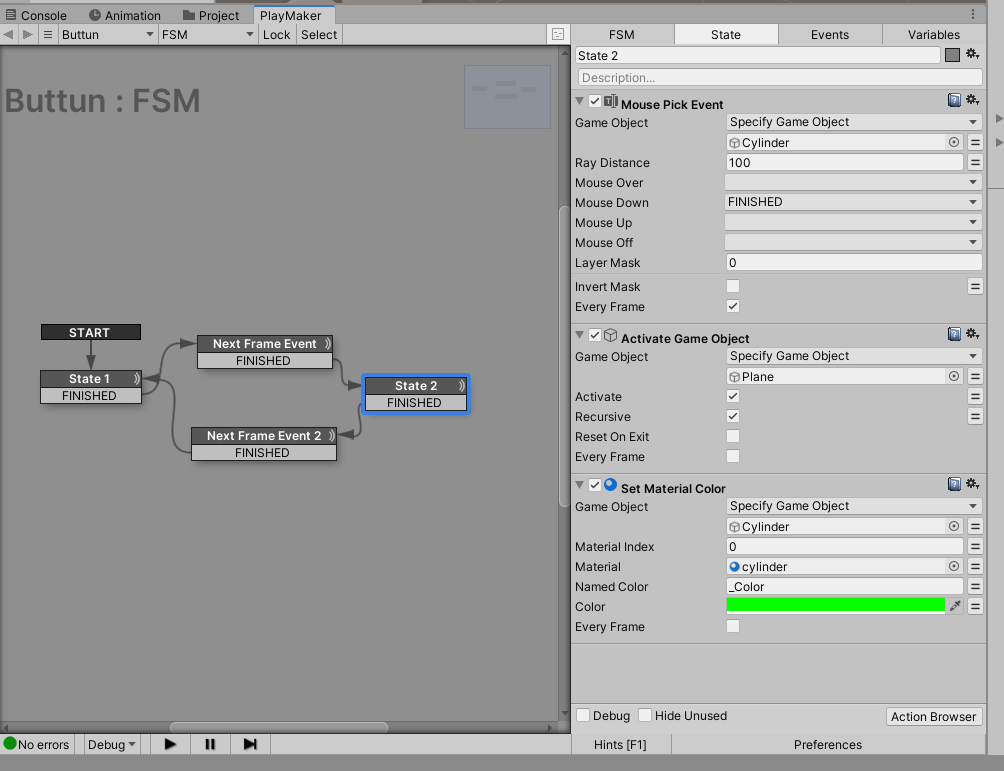
As before, select State2→Action Browser, then type “Activate Game Object” in the search bar of the window that appears, and click Add Action To State.
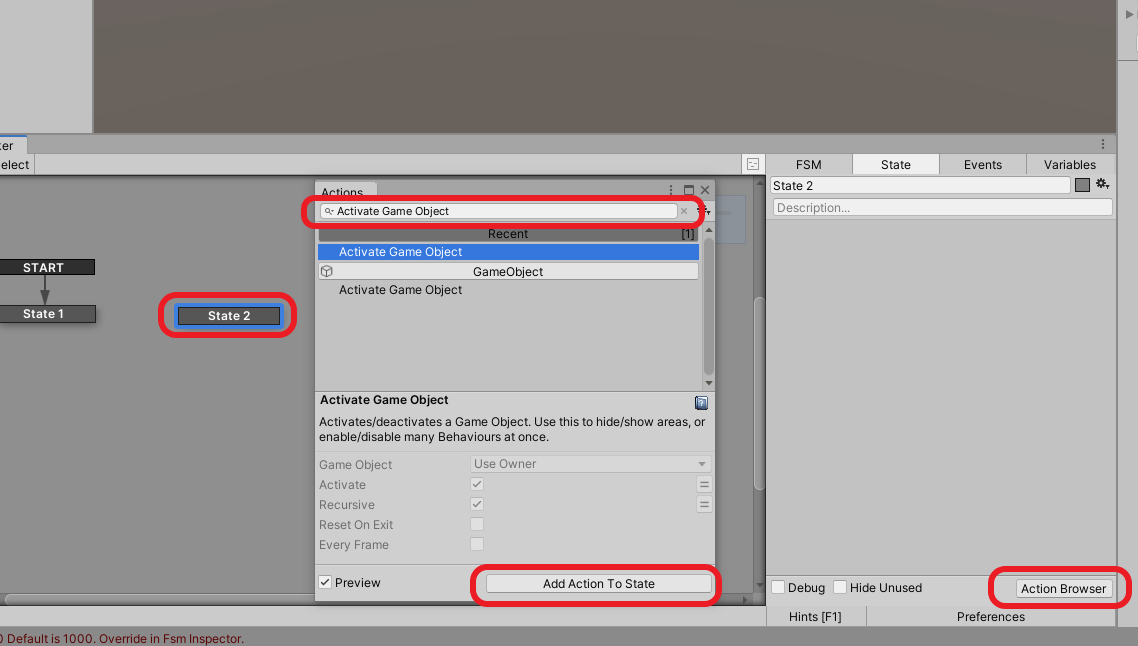
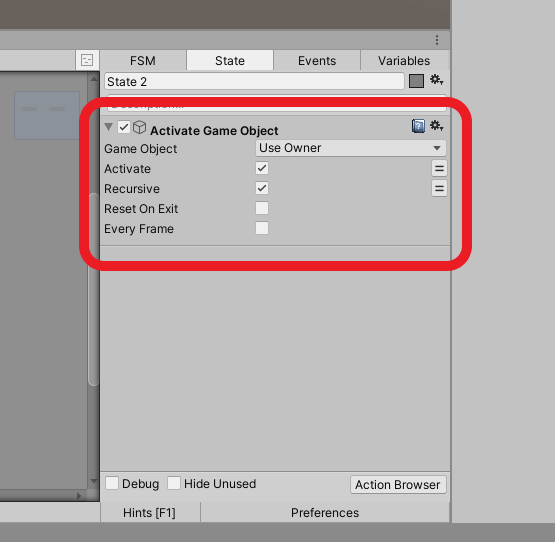
An Activate Game Object action is now added, which allows you to “Activate/Inactivate” the specified GameObject.
In this case, we will use it as a gimmick to toggle “Show/Hide Image”.
Next, we set up a transition to connect the created State1 and State2.
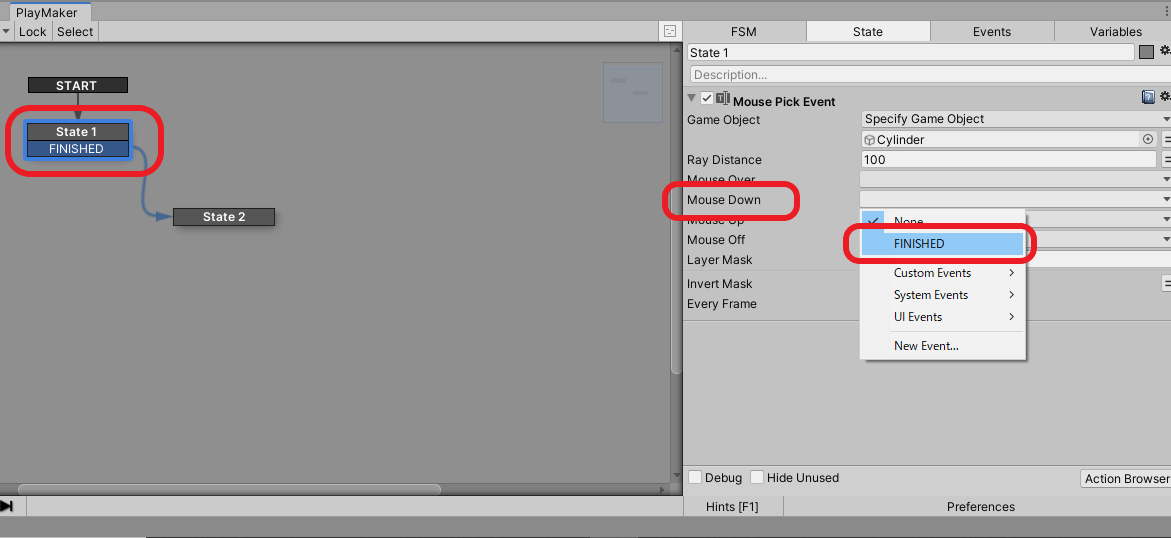
Select State1, right-click, select Add Transition, and then select FINISHED.
Click on FINISHED after it is added→Connect to State2 as it is.
Return to State1, click on the Mouse Down item in Mouse Pick Event → change to FINISHED.
By setting the Mouse Down item to FINISHED, the image will be displayed “at the moment the button is pressed.
Create a gimmick to display an image when the button is tapped.
Prepare the image to be displayed; lightweight data is recommended for ease of operation.
Create a plane that will be the source of the image by selecting 3D Object→Plane on the Hierarchy.
Change the size of the placed Plane to the aspect ratio of your image.
For example, for a 16:9 aspect ratio image, change the scale of the Plane to X=16, Y=0, Z=9.
Apply a Material with an arbitrary image (Texture) to the Plane.
Once the image is set, place it next to the button.
This is where the image will appear when the button is pressed
.
Open the PlayMaker created in “Creating a gimmick that fires an event when a button is tapped” and display State2.
Select the Game Object tab under Activate Game Object→Specify Game Object Drag and drop the Plane onto the newly displayed tab.
Click on the Inspector checkbox under “Plane” and remove the checkmark.
If you remove the checkmark, the Plane object will be deactivated and the image will disappear.
Once you have done this, check the operation by playing back the Unity Editor: click on the play symbol at the top; from the game view, click on the red area of the button.
If the gimmick is complete, it will appear when clicked.
Prehab it and upload it to STYLY
Prefab it and upload it to STYLY so you can place it freely in STYLY Studio.
Drag and drop a Plane or Buttun into the Cube to create a parent-child relationship.
Drag and drop the Cube into the project window to prefabricate it.
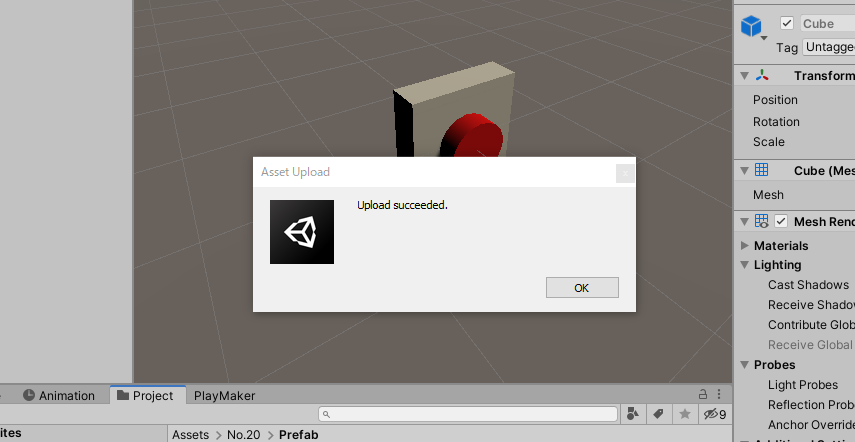
Right-click on the prefabricated Cube and select STYLY→Upload to prefab to Scene to STYLY to upload the prefabricated Cube to STYLY.
When the upload is complete, the Upload succeeded window will appear.
Place in STYLY Studio
After the upload is complete, place the image in STYLY Studio.
Click on the red area in STYLY Studio and the image will be displayed.
A “click” in STYLY Studio is the same process as a “tap” on a smartphone
.
If you feel that the button is too large, select the Cube in STYLY Studio, then select Scale from the tools in the upper right corner and change the size to your liking.
Next, move the cube to the Start Position.
After Publish, try looking at it on your smartphone!
Tips
In addition to the Activate Game Object action, the Set Material Color and Next Frame Event actions can be used to change the color of the buttons when they are toggled on and off.
Next Frame Event
By inserting this action in between, you can avoid infinite loops.
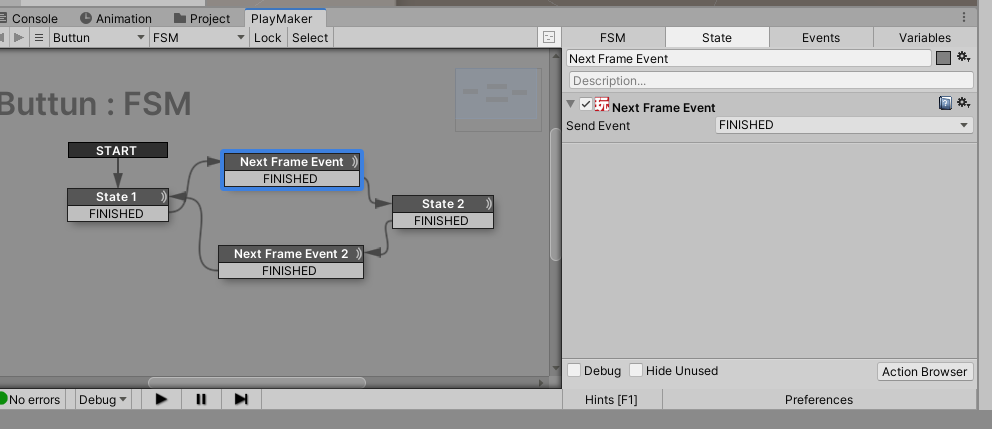
Set Material Color
This action allows you to change the color of the material of a specified object by specifying the color of the Cylinder object’s material.
In addition to these actions, PlayMaker provides a variety of other actions.
By adding actions like these, you can create even more interesting gimmicks, so let’s try creating various gimmicks and placing them in the AR space!