In this article, I explain Tri Planar Node in Substance Designer.
This helps you to solve seams of UV.
We apply Tri Planar to the texture of the rocks floating around.
Model rock and set the UV map
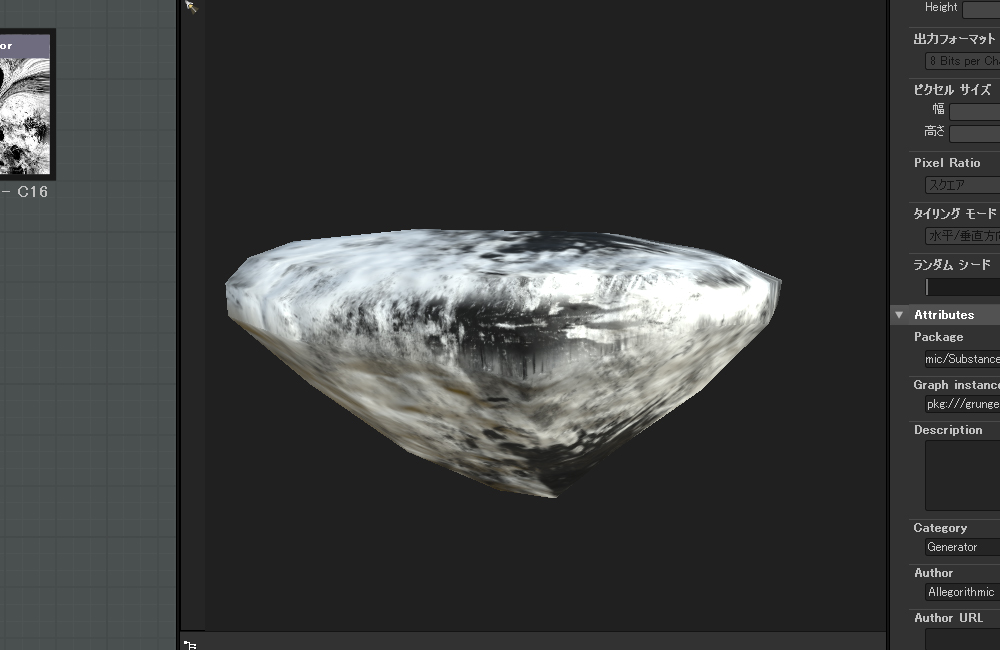
The floating rock has a spinning-top-like shape.
Like other objects in the space, I plan to make it covered with moss growing.
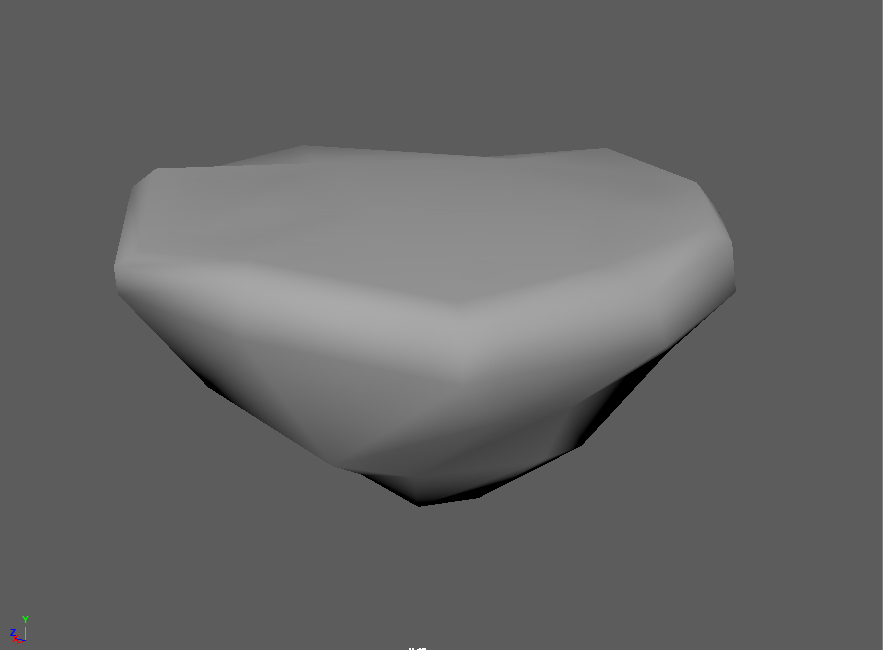
The low-poly mesh is simple.
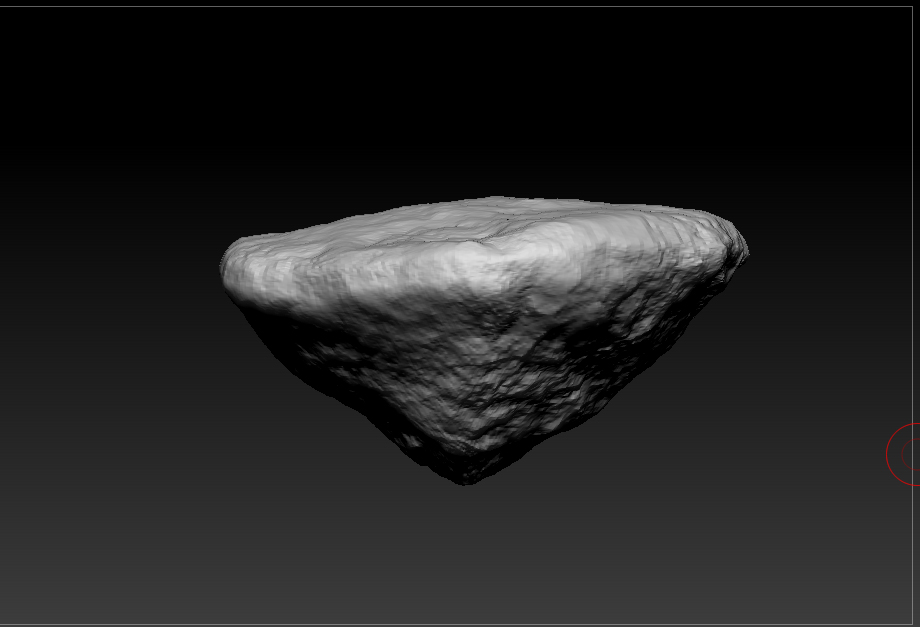
The high-poly mesh has been created in Zbrush as well.
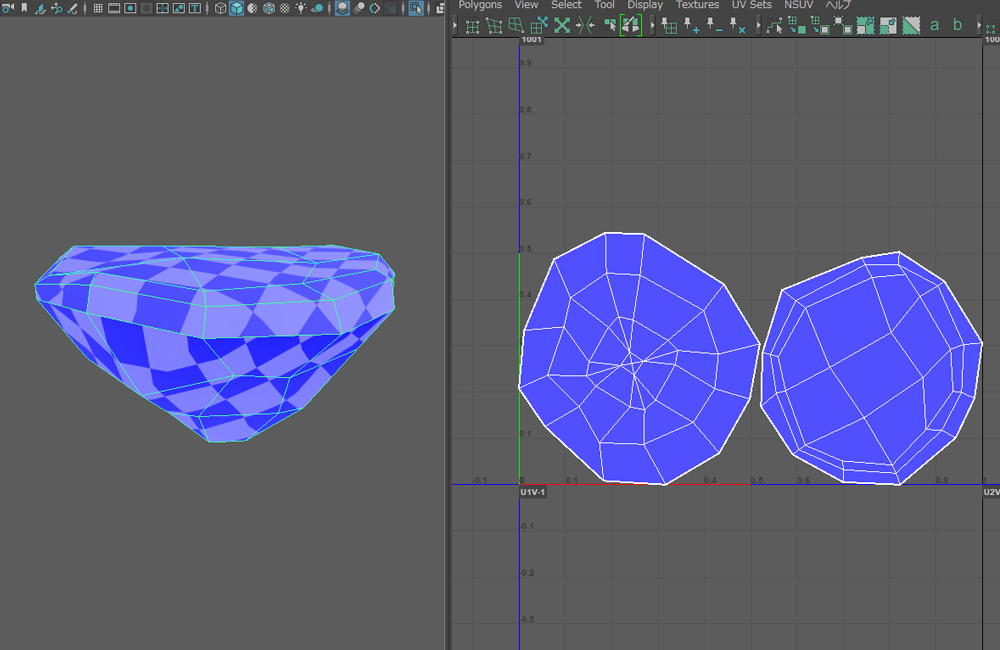
I have unfolded the UV.
Smooth the seams by Tri Planar
I applied a Grunge Map for better visibility.
Just connect it to BasecColor to check the result.
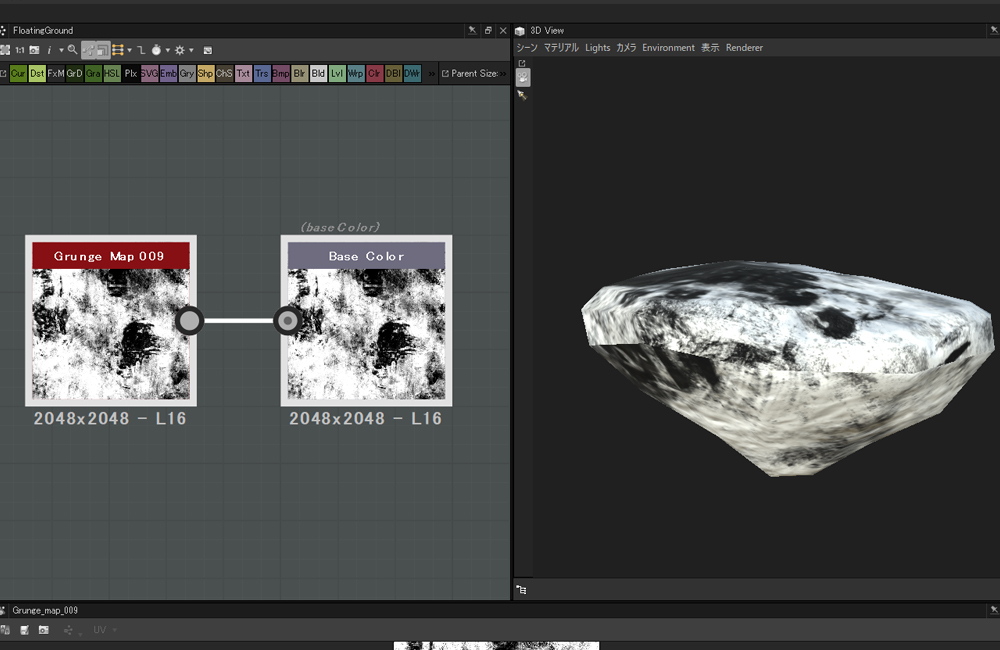
The seams of UV is left visible so it’s not so usable.
Let’s use Tri Planar to solve them.
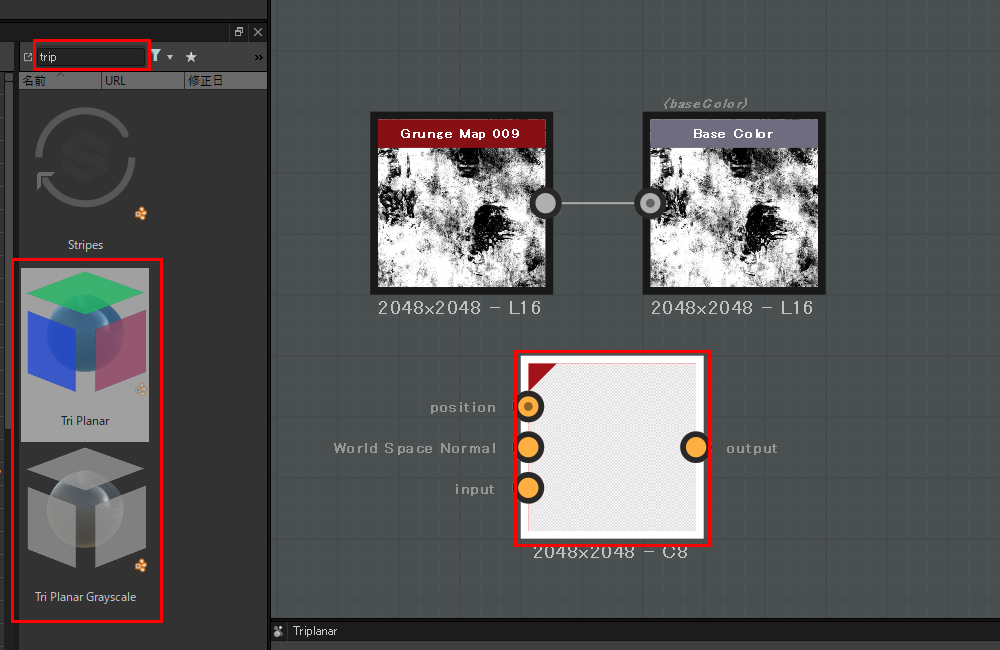
Find Tri Planar with the word ‘trip’ and place it.
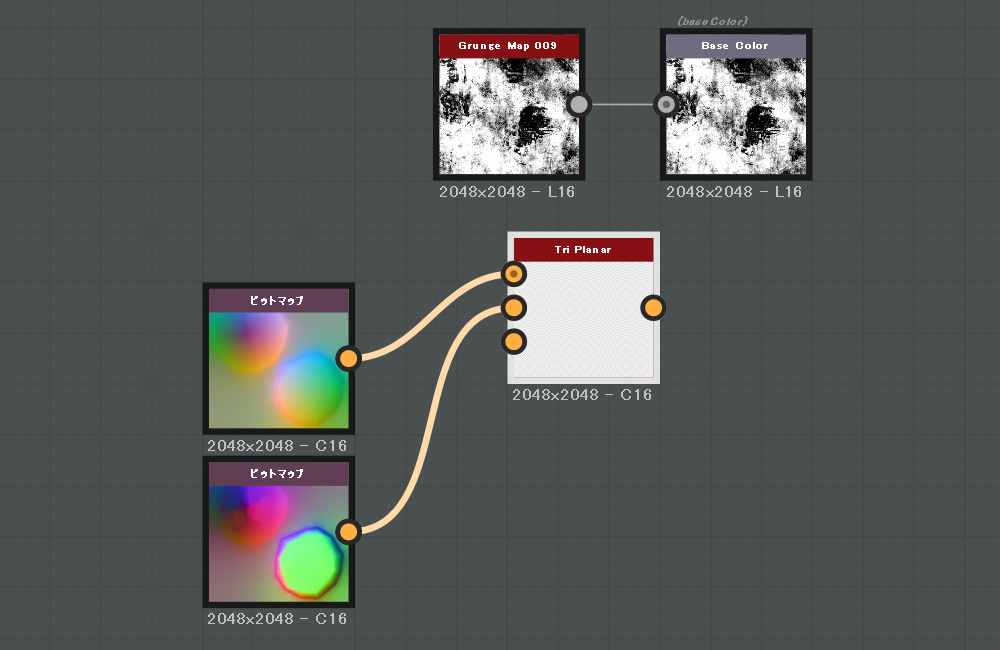
Connect the world space normals and the position map to ‘Tri Planar’.
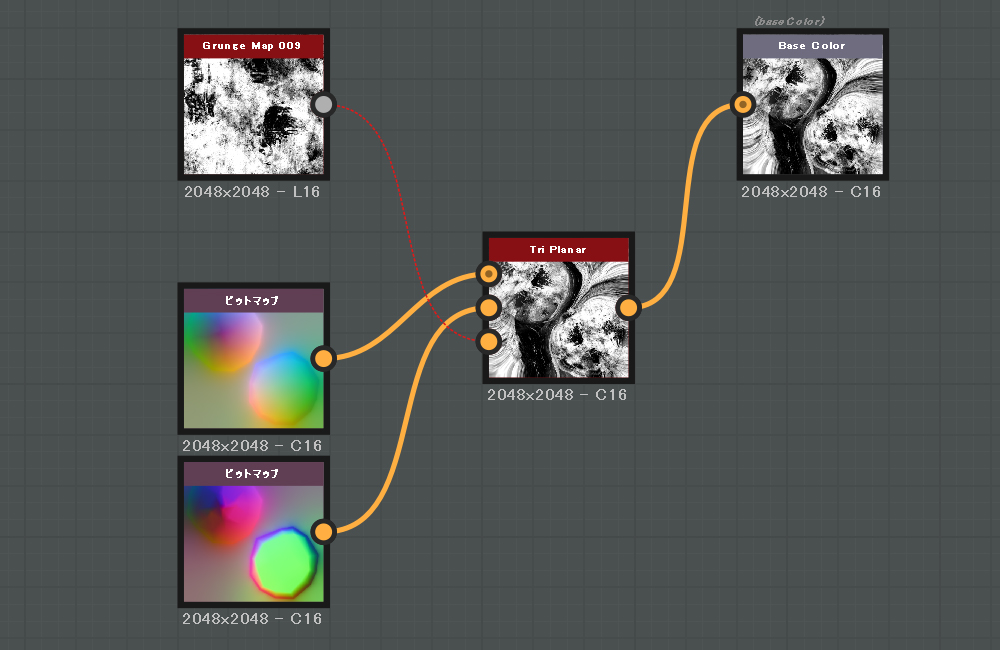
Connect ‘Grunge Map’ to ‘Tri Planar’, and connect ‘Tri Planner’ to ‘Base Color’.
Then, the seams of UV is now smoothed out.
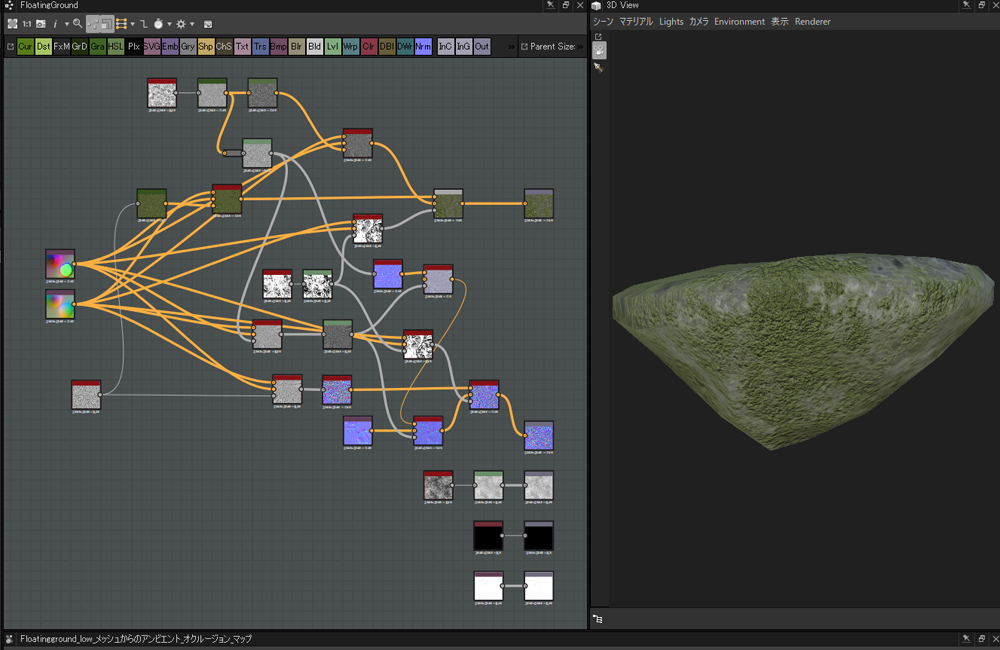
The node layout – final state
I ended up with the node layout as shown below.
I blended the colours of rock and moss by Tri Planar.
I also blended the normals by Tri Plannar at the same time.
In this article, I introduced the ‘Triplanar node’ in Substance Designer.
It’s a useful node but not suitable for a regular pattern as this node could distort it.
In that case, it’s easy to deal with by Substance Painter instead.
Substance Painter also has the ‘Tri Planar’ node and it’s sometimes easier to paint the seams of UV to cover.
Access to this VR space: TreasureHunter