This article is a supplementary of the previous one. Please refer to the previous one for the basic knowledge and operation.
Click here for the previous article.
The map data generated by the Blender GIS introduced in the last article is not applicable to the use of as-is, and it would be difficult if the use of STYLY is included.
Why?
Because map data is not UV-expanded.
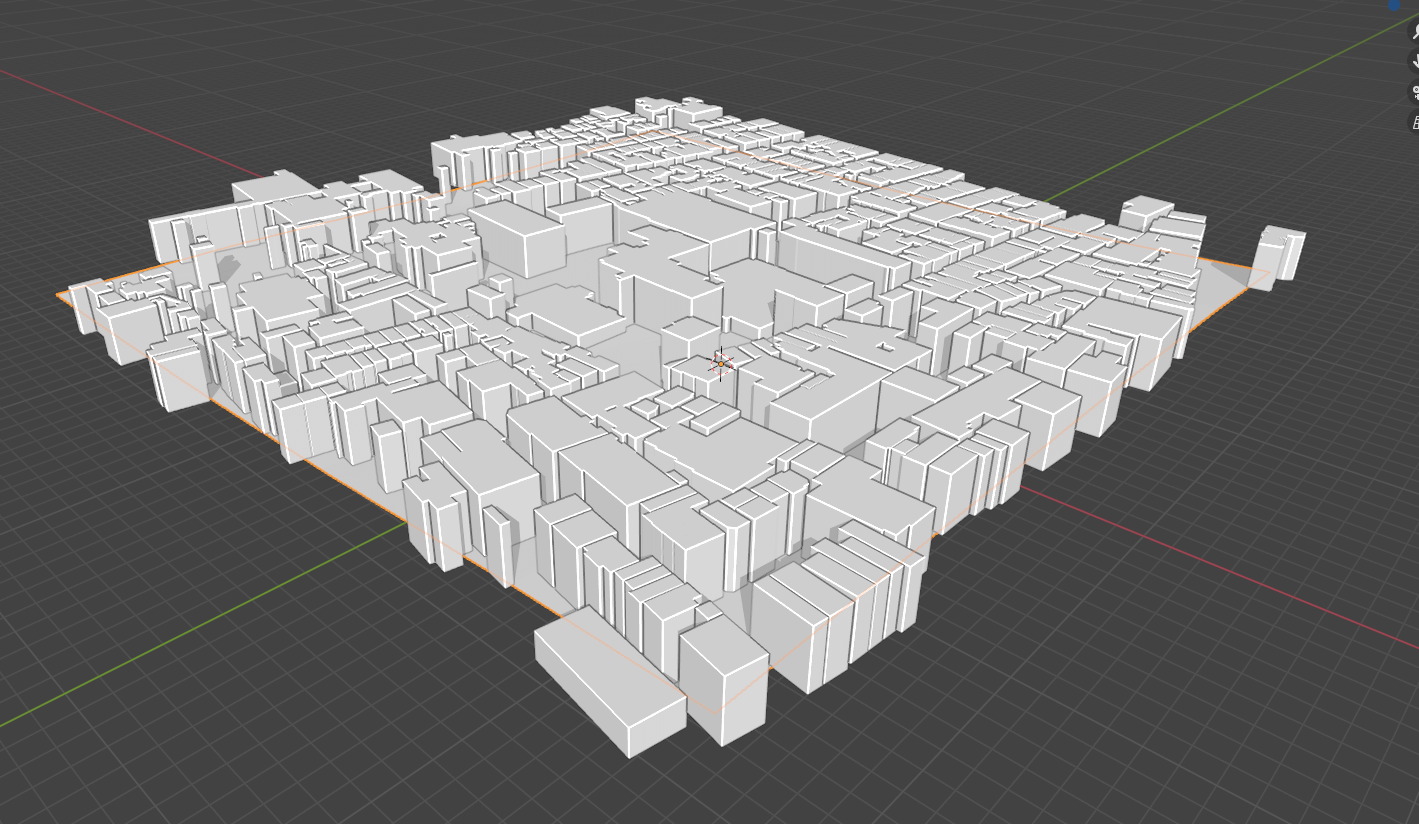
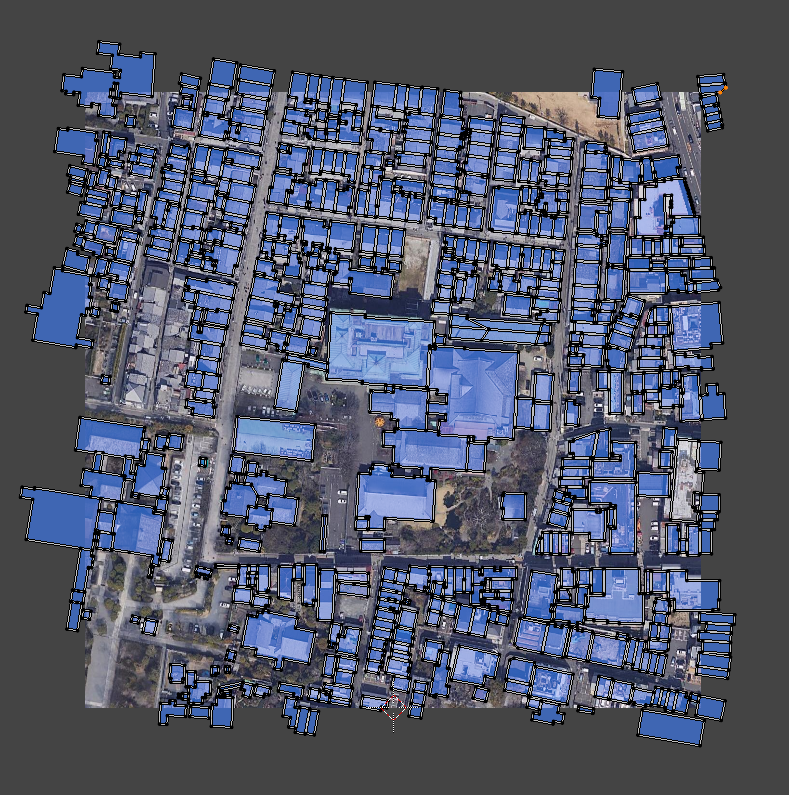
Freshly generated map data- at this point, it’s just a bunch of white boxes.
If you want to use Blender only, but in Unity, including STYLY, UV decompression is almost a must.
Yet, it’s not practical to cut and deploy every single seam on this number of objects.
In this article, we are going to talk into this in the easiest way.
Unfold the roof
Let’s start with the UV on the top and roof. But before that, there is a point to note.
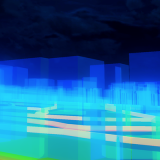
This roof texture is based on the image data created when the map data is generated. It is the same as the ground.
Larger the map, lower the resolution of this texture will be.
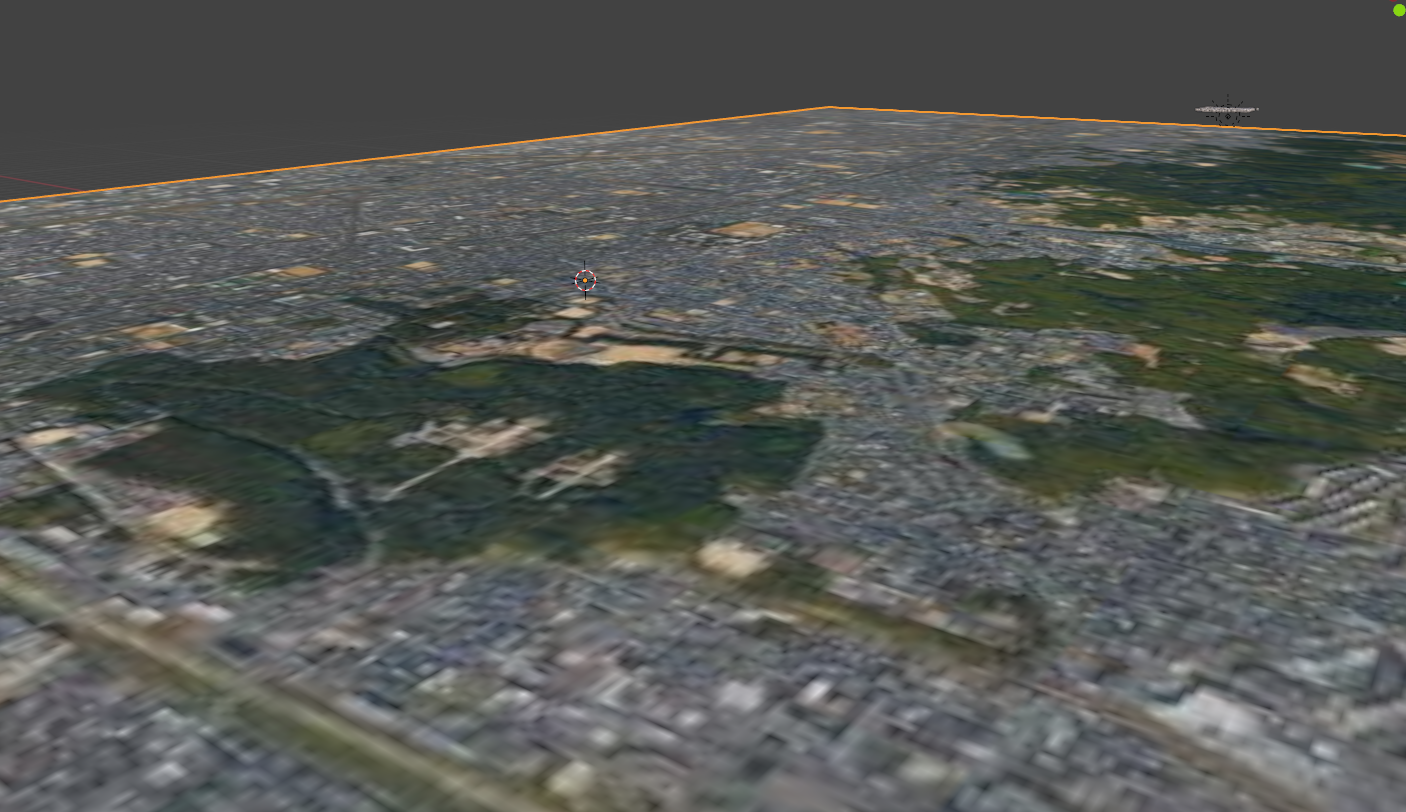
Let’s generate a map of the entire Kyoto City. As you can see, when you pull the camera over, the resolution is not good enough to use.
So don’t make the map too wide at the generation stage. If you really want to do a wide map, I recommend breaking it up into several parts.
Let’s go into the expansion.
First, select one of the roof faces in Edit Mode, which can be any of them.
Blender has a feature called “Select Similar”. Normal means “direction of the face”.
This is much easier than selecting the faces one by one.
![The shortcut key for similar selection is [Shift + G].](https://styly.cc/wp-content/uploads/2020/07/コメント-2020-07-24-131109.png)
The shortcut key for similar selection is [Shift + G].

After your selection, create and assign a new material. You can also unselect and select again with a single click.
Next, let’s move on to UV expansion. First, let’s go to the UV Deployment tab and use keypad 7 to switch to the view from directly above.
Then we’ll make the reference image in the UV editor on the left a generated map.
Once that’s done, use UV -> Project from View (Project from View).
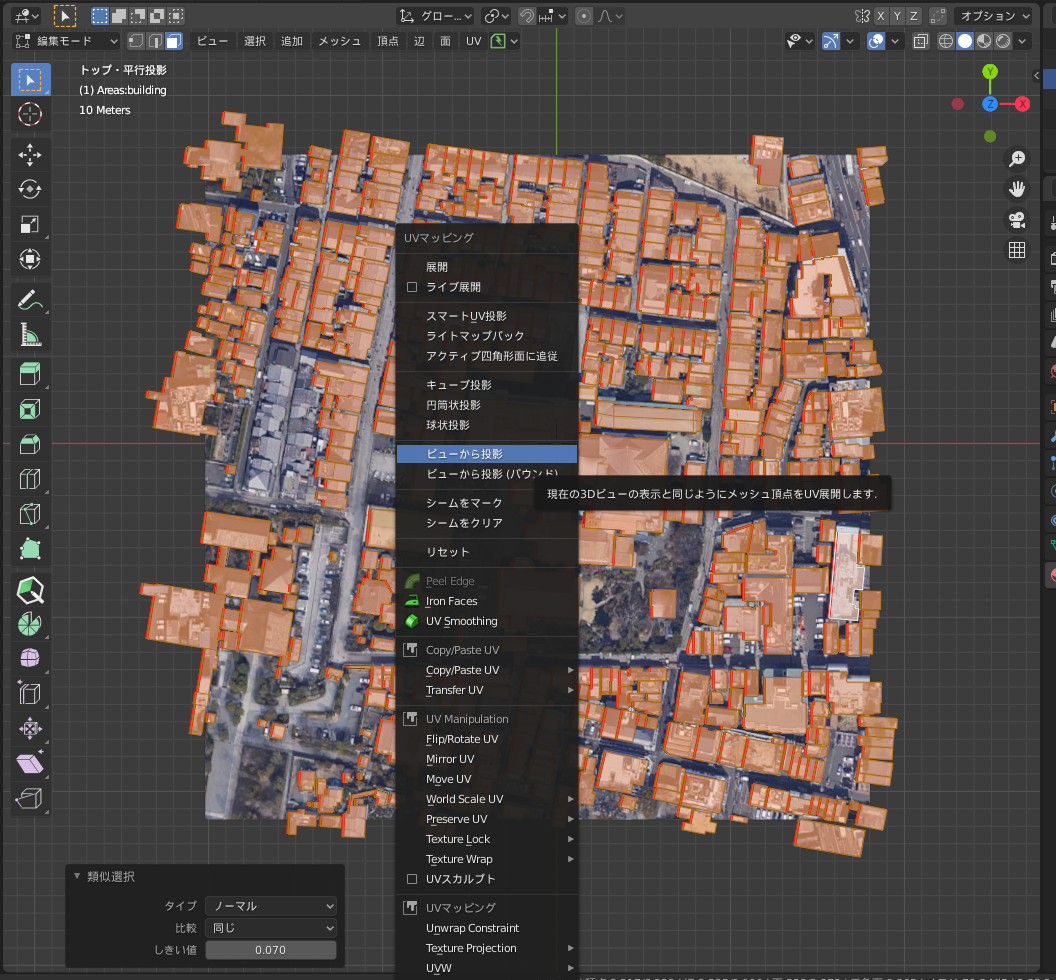
You can also use the ▲U key as a shortcut, which is important learn indeed.
Project from View is a feature to expand the UV when in a 3D view.
It’s a very useful deployment method, so try applying it in other fields as well.
Here’s how it looks like after deployment. There is an out-of-position building, so I’ll adjust it. The image should be showing the whole object, so we should be able to align it by adjusting the size and position.
Maybe there is a problem with the map image, or maybe it’s just not aligned; so, I’ll fix it in detail. Select one apartment block for adjustment- it takes time, be patient.
Expand the sides
So now we’re going to develop the sides.
There are a few preliminary steps to take- first, please download this add-on.
Download Align UV
The function of this add-on is to align UVs with a similar shape.
Unfortunately, it was not possible to match them perfectly at this moment, but no worries.
Put a seam in the building
Next, from selecting all building faces, use [Ctrl + E]; mark Seam to seam all faces.
This is optional- if the faces are connected, outbursts may happen so it’s just like a precaution.
Prepare an image of the wall surface
And now, you need to prepare a wall texture. You can always find wall textures for buildings and buildings by looking on free material sites- you can look for your favorite.
This is all the preliminary you need to do. Let’s get right into the development.
First, select one of the sides of the wall, anywhere. Then, press [Shift + G] to select Similar→Normal.
Then, all sides facing the same direction will be selected altogether. There may be a part with a little different angle, but you can raise the threshold value from the menu at the bottom left to solve the problem.
After the selection, expand UV normally.
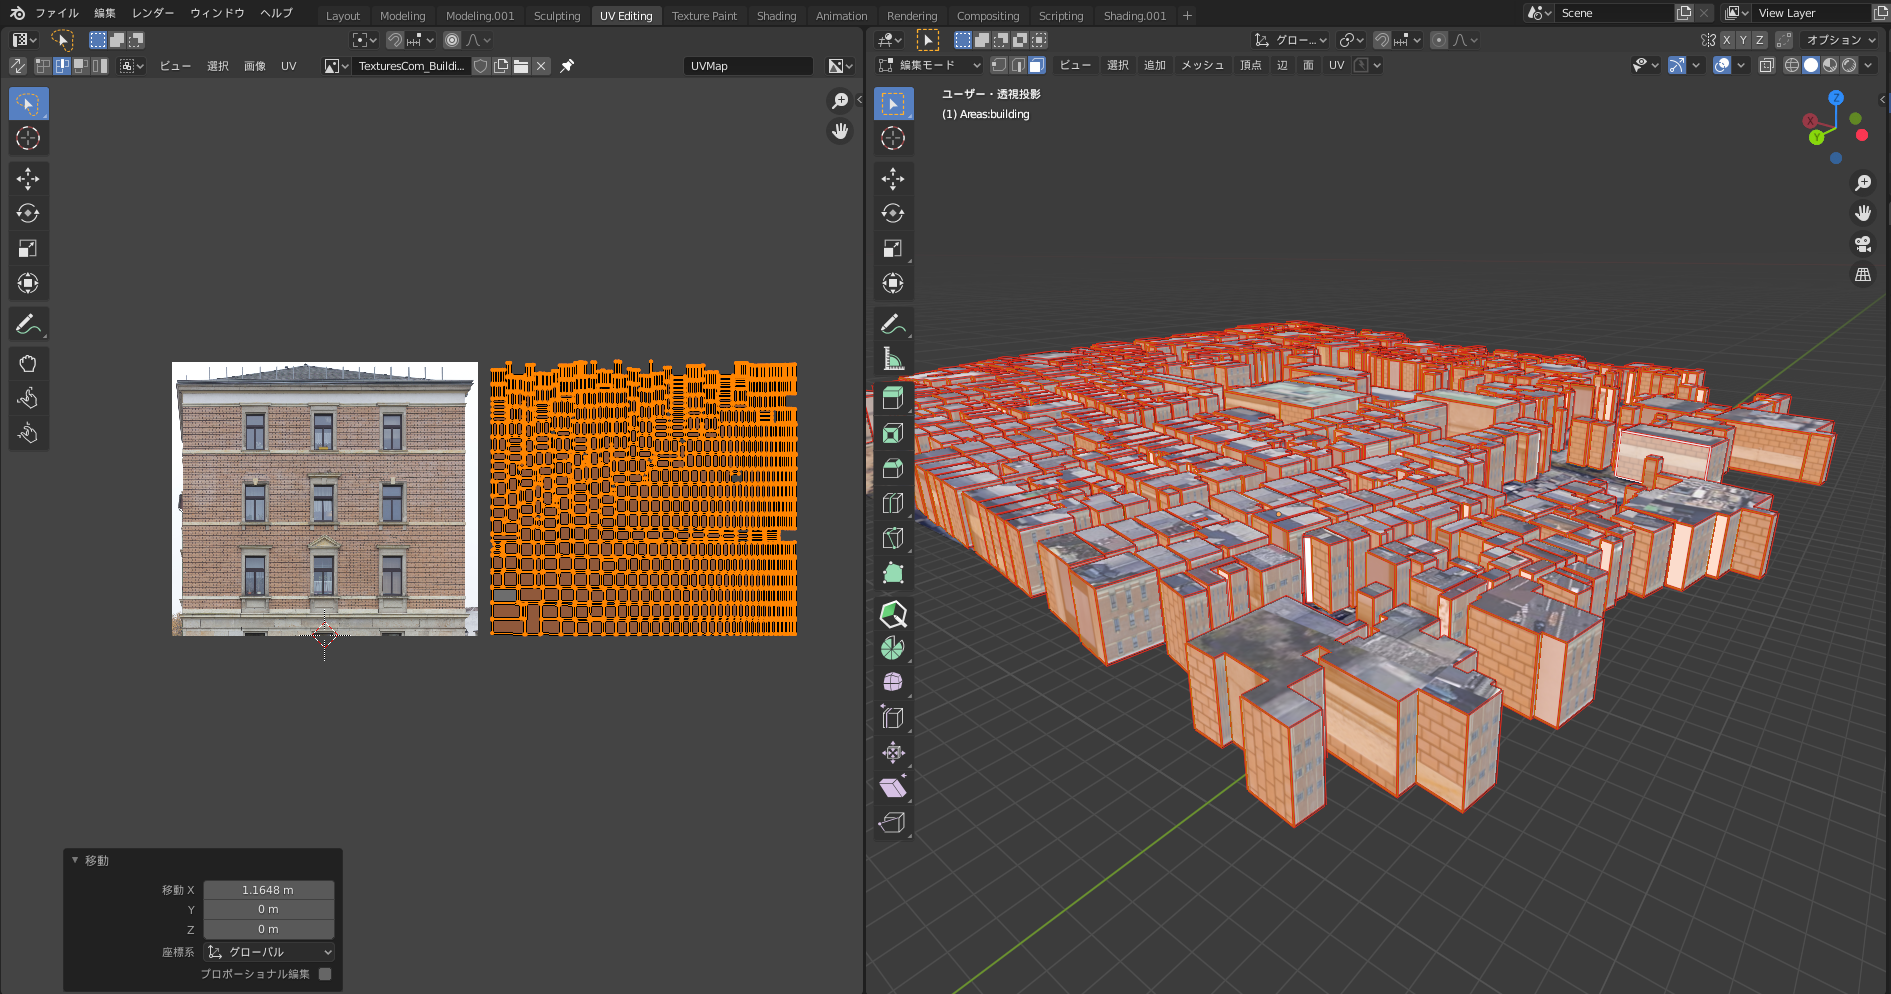
Expand now. It’s important, but you are able to fix it later.
From here you will use Align UV downloaded earlier.
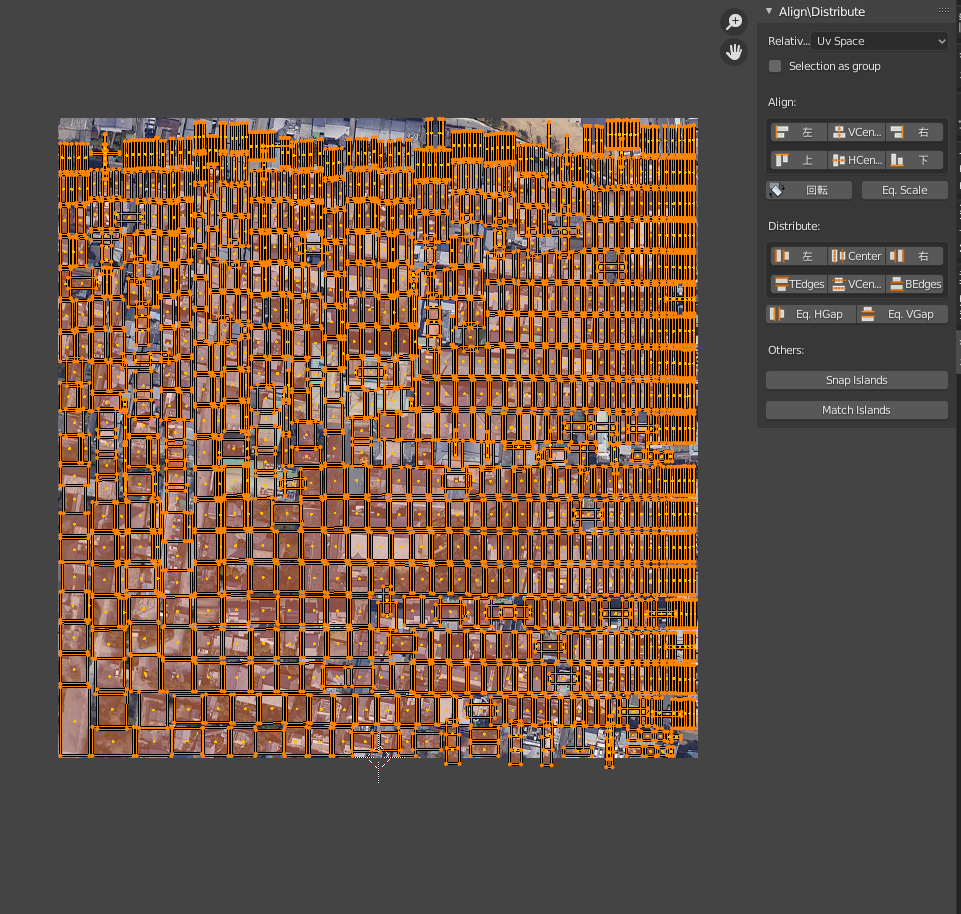
Select all UVs and then use Eq Scale in the tab. It will organize the sizes. Then press Match Islands, and the UVs will be overlaid.
You can’t stack the UVs perfectly as their shapes are not the same. Also, there are simply too many to begin with, but they are pretty small.
Match the organized UVs to your pre-prepared building images.
You may do it by using add-ons such as TexTools.
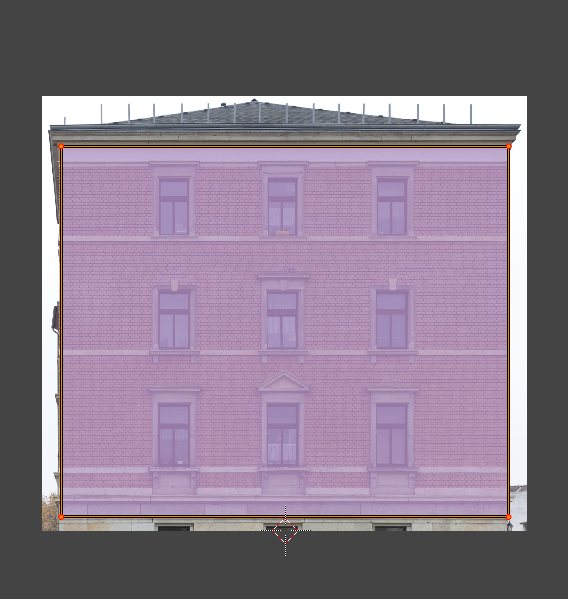
We recommend organizing margins of the image in advance for an easier alignment.
You may notice that the direction of the buildings may be different- but they are still roughly the same.
If the direction of the UV is not correct, you need to select and fix them one by one. You can correct the orientation by selecting the surface you want to correct and pressing [R]→90 or 180.

(If the orientation is not correct, there is nothing else can be done- just try your best to fix it.)
The same thing is done for all four sides of the wall.
The reason we’re expanding each wall separately is because we are using AlignUV, and an error will occur when you try to expand on a wall that is not facing the same direction.
It may be tedious, but let’s try.
When everything is done, the UV decompression is done, too- you made it!
So far, we have introduced BlenderGIS. It is definitely an add-on that will save you a lot of time, but details of the building are not yet able to be created.
The add-on provides the exact scale of the building for the creation of a detailed map using photogrammetry or blur-out a background.
Especially for buildings, the add-on may save you a lot of time; it’s worth trying.
Upload to STYLY
For instructions on how to upload a 3D model in Blender to STYLY, please see the following articles
![[Blender for Beginners] Let’s start Modeling Part 1 – Downloading Blender & Navigating the Interface](https://styly.cc/wp-content/uploads/2019/09/image1-160x160.png)
Attention!
“Isn’t there a way to automatically generate a neatly shaped map?” If you are thinking of this, you may see articles and videos with the 3D models from Google Maps….
Right, useful materials can be extracted from Google Maps but it’s better not to invade copyrights.