In this article, we will continue with the previous article on sculpting methods and three types of brushes.
The following link will take you to the previous article.
![[Blender] Basic Sculpting Operations 2 (Part 1) Explanation of Sculpting & Brushes using Metaball](https://styly.cc/wp-content/uploads/2022/03/eyecatch-1-160x160.png)
Sculpting
Let’s use the sculpting function to improve the finish on the model sculpted with Metaball in the previous article.
We will also explain the brush functions that were not fully introduced in the previous article.
After opening the previous file, click Sculpting on the top tab to switch to the Sculpting screen.
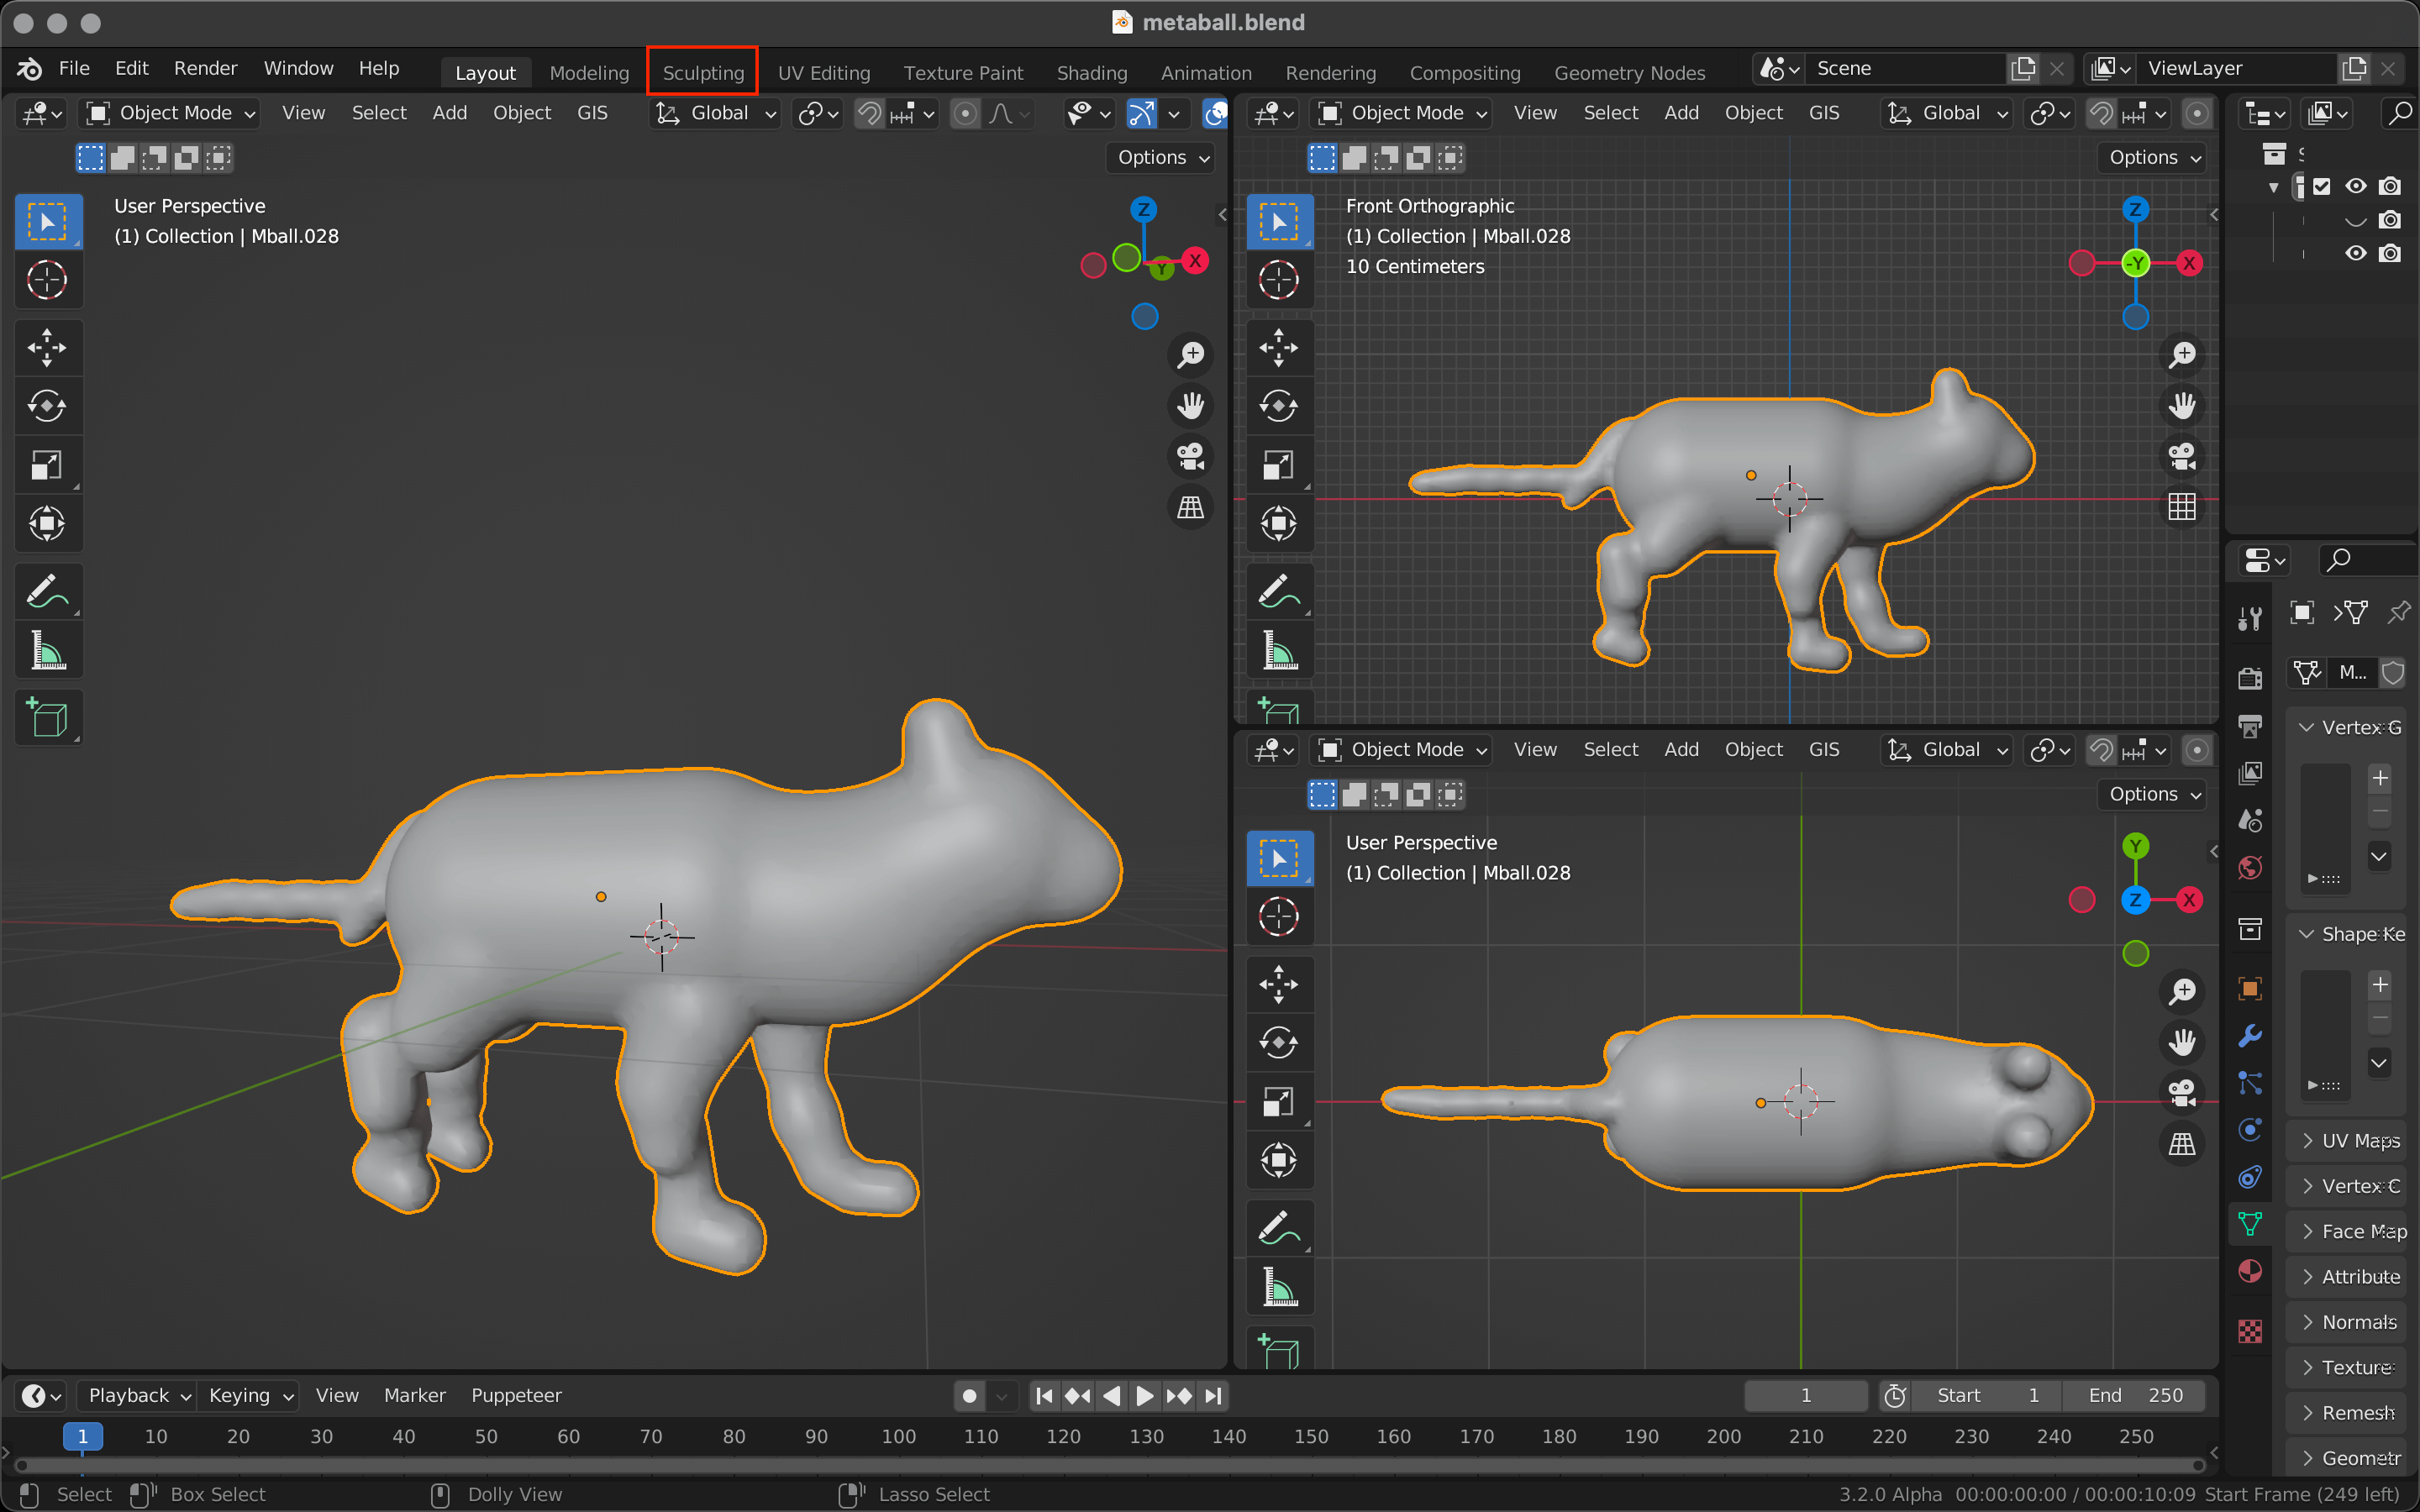
Sculpting
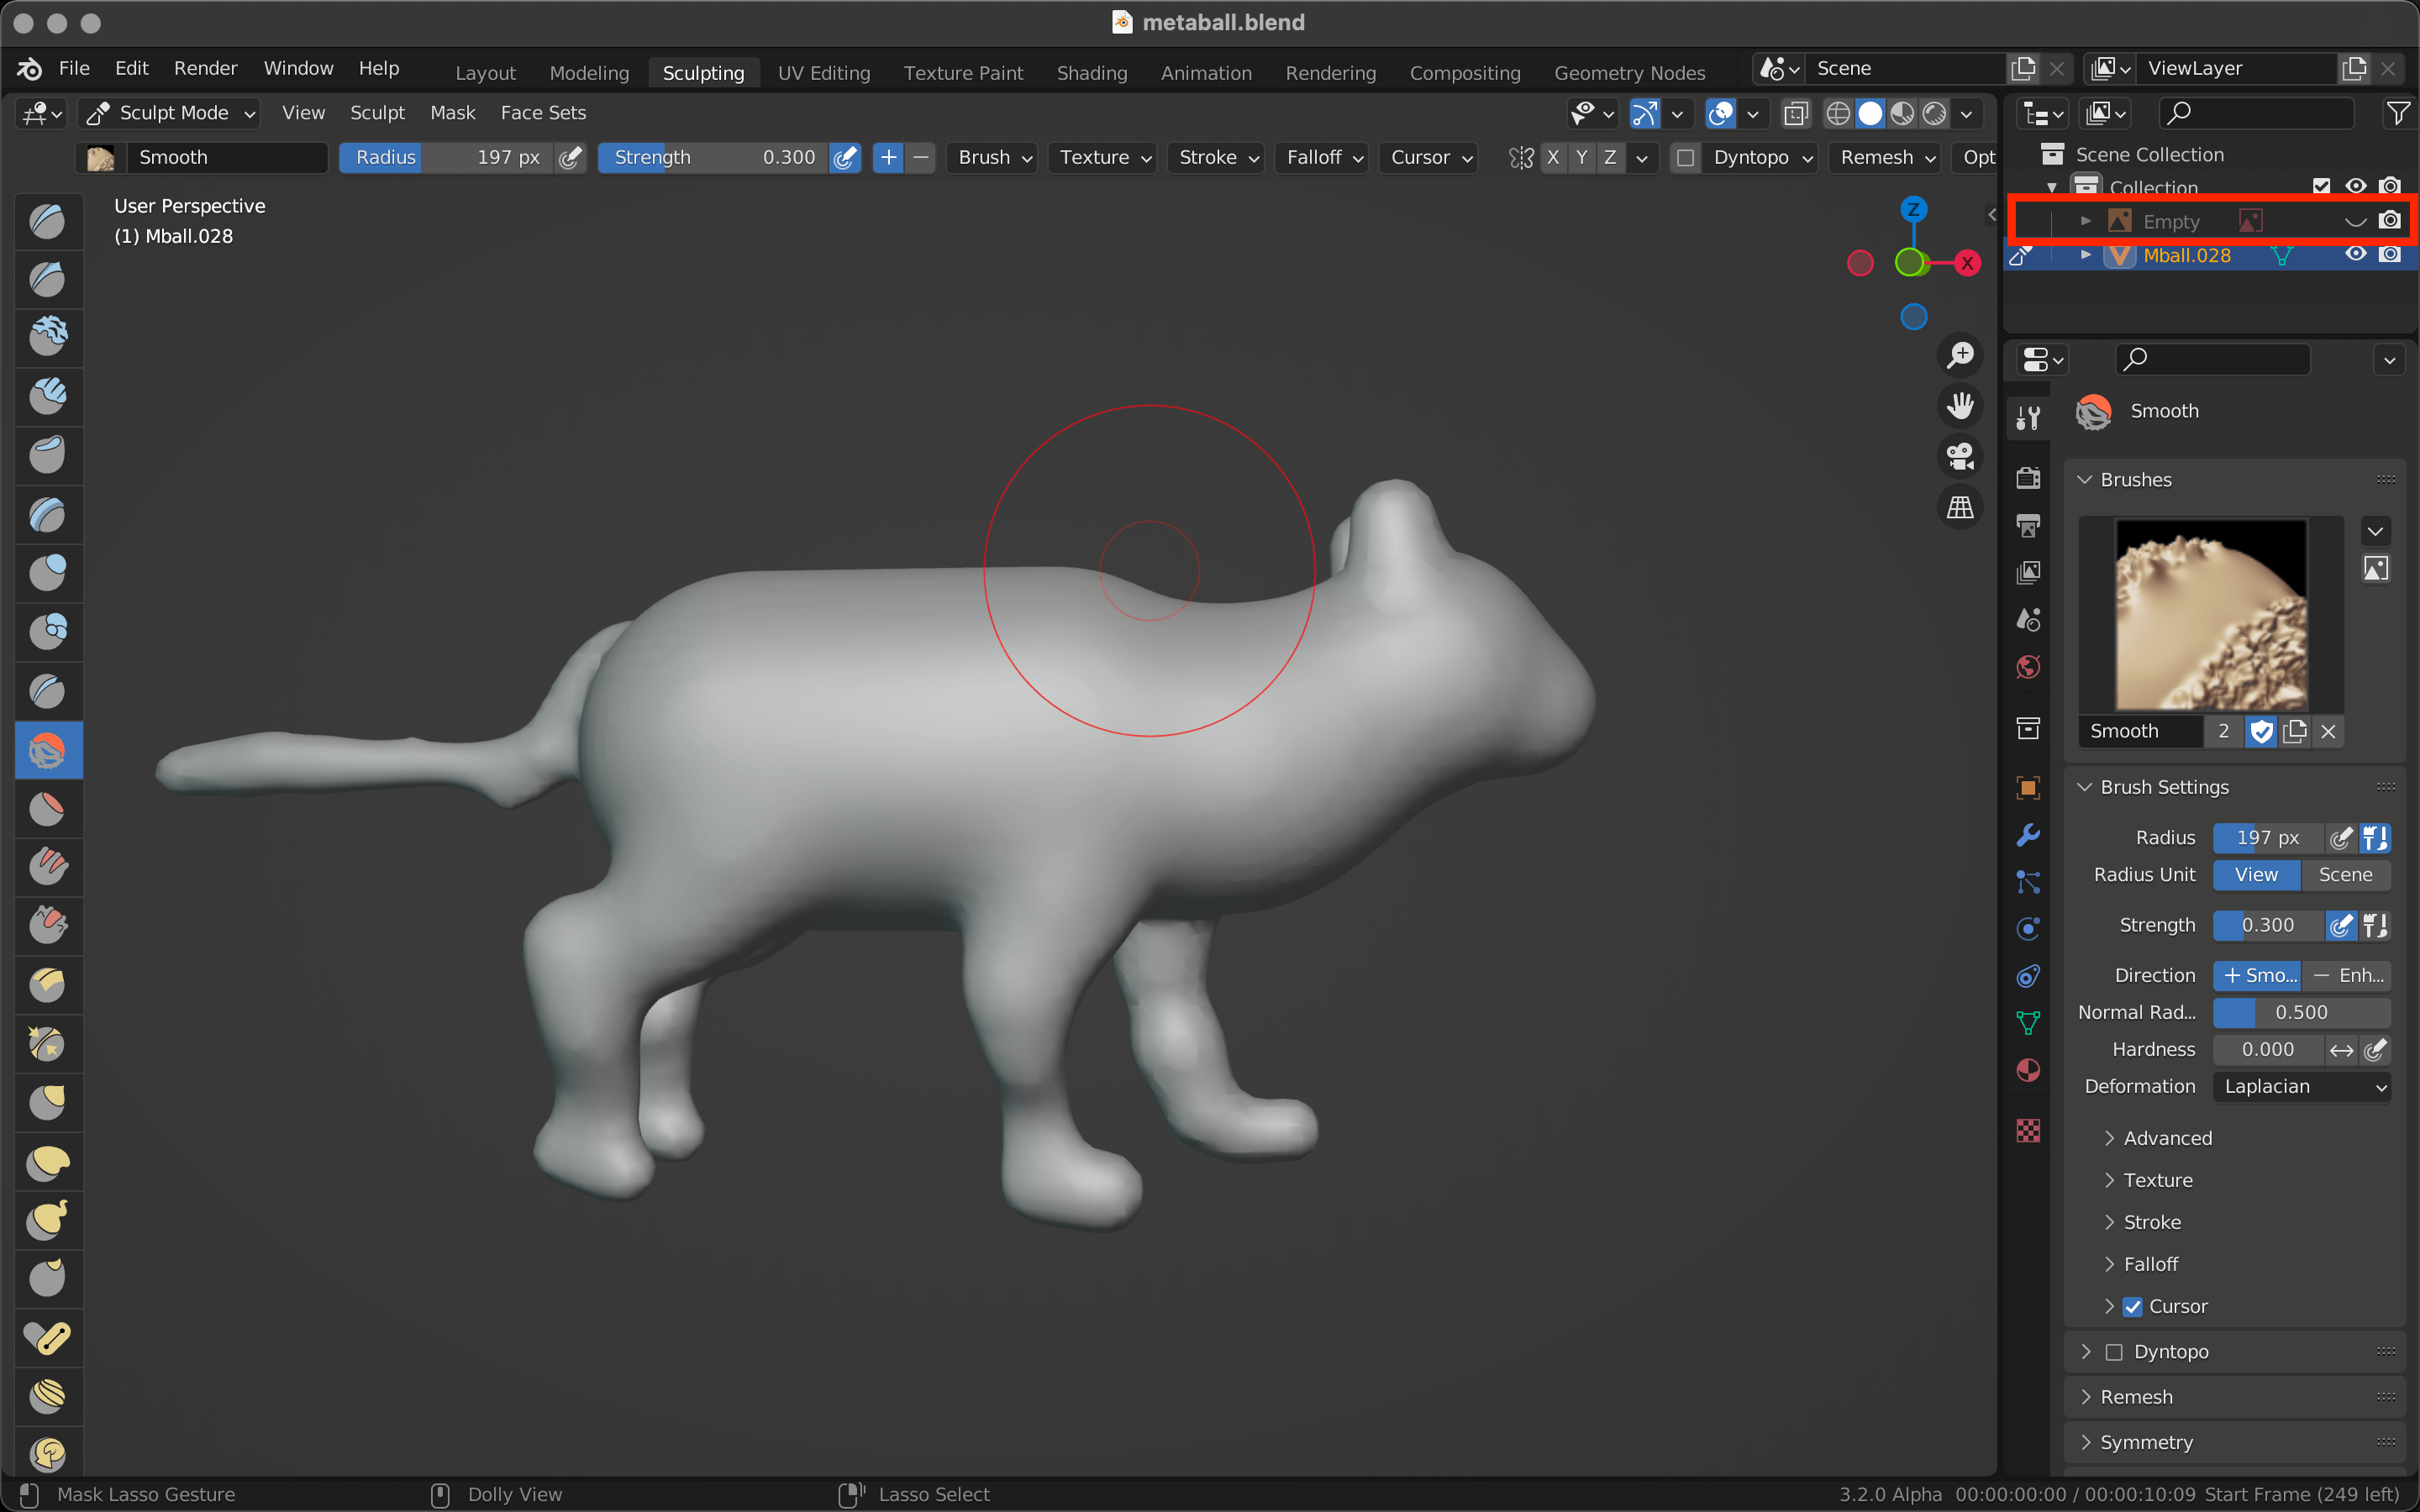
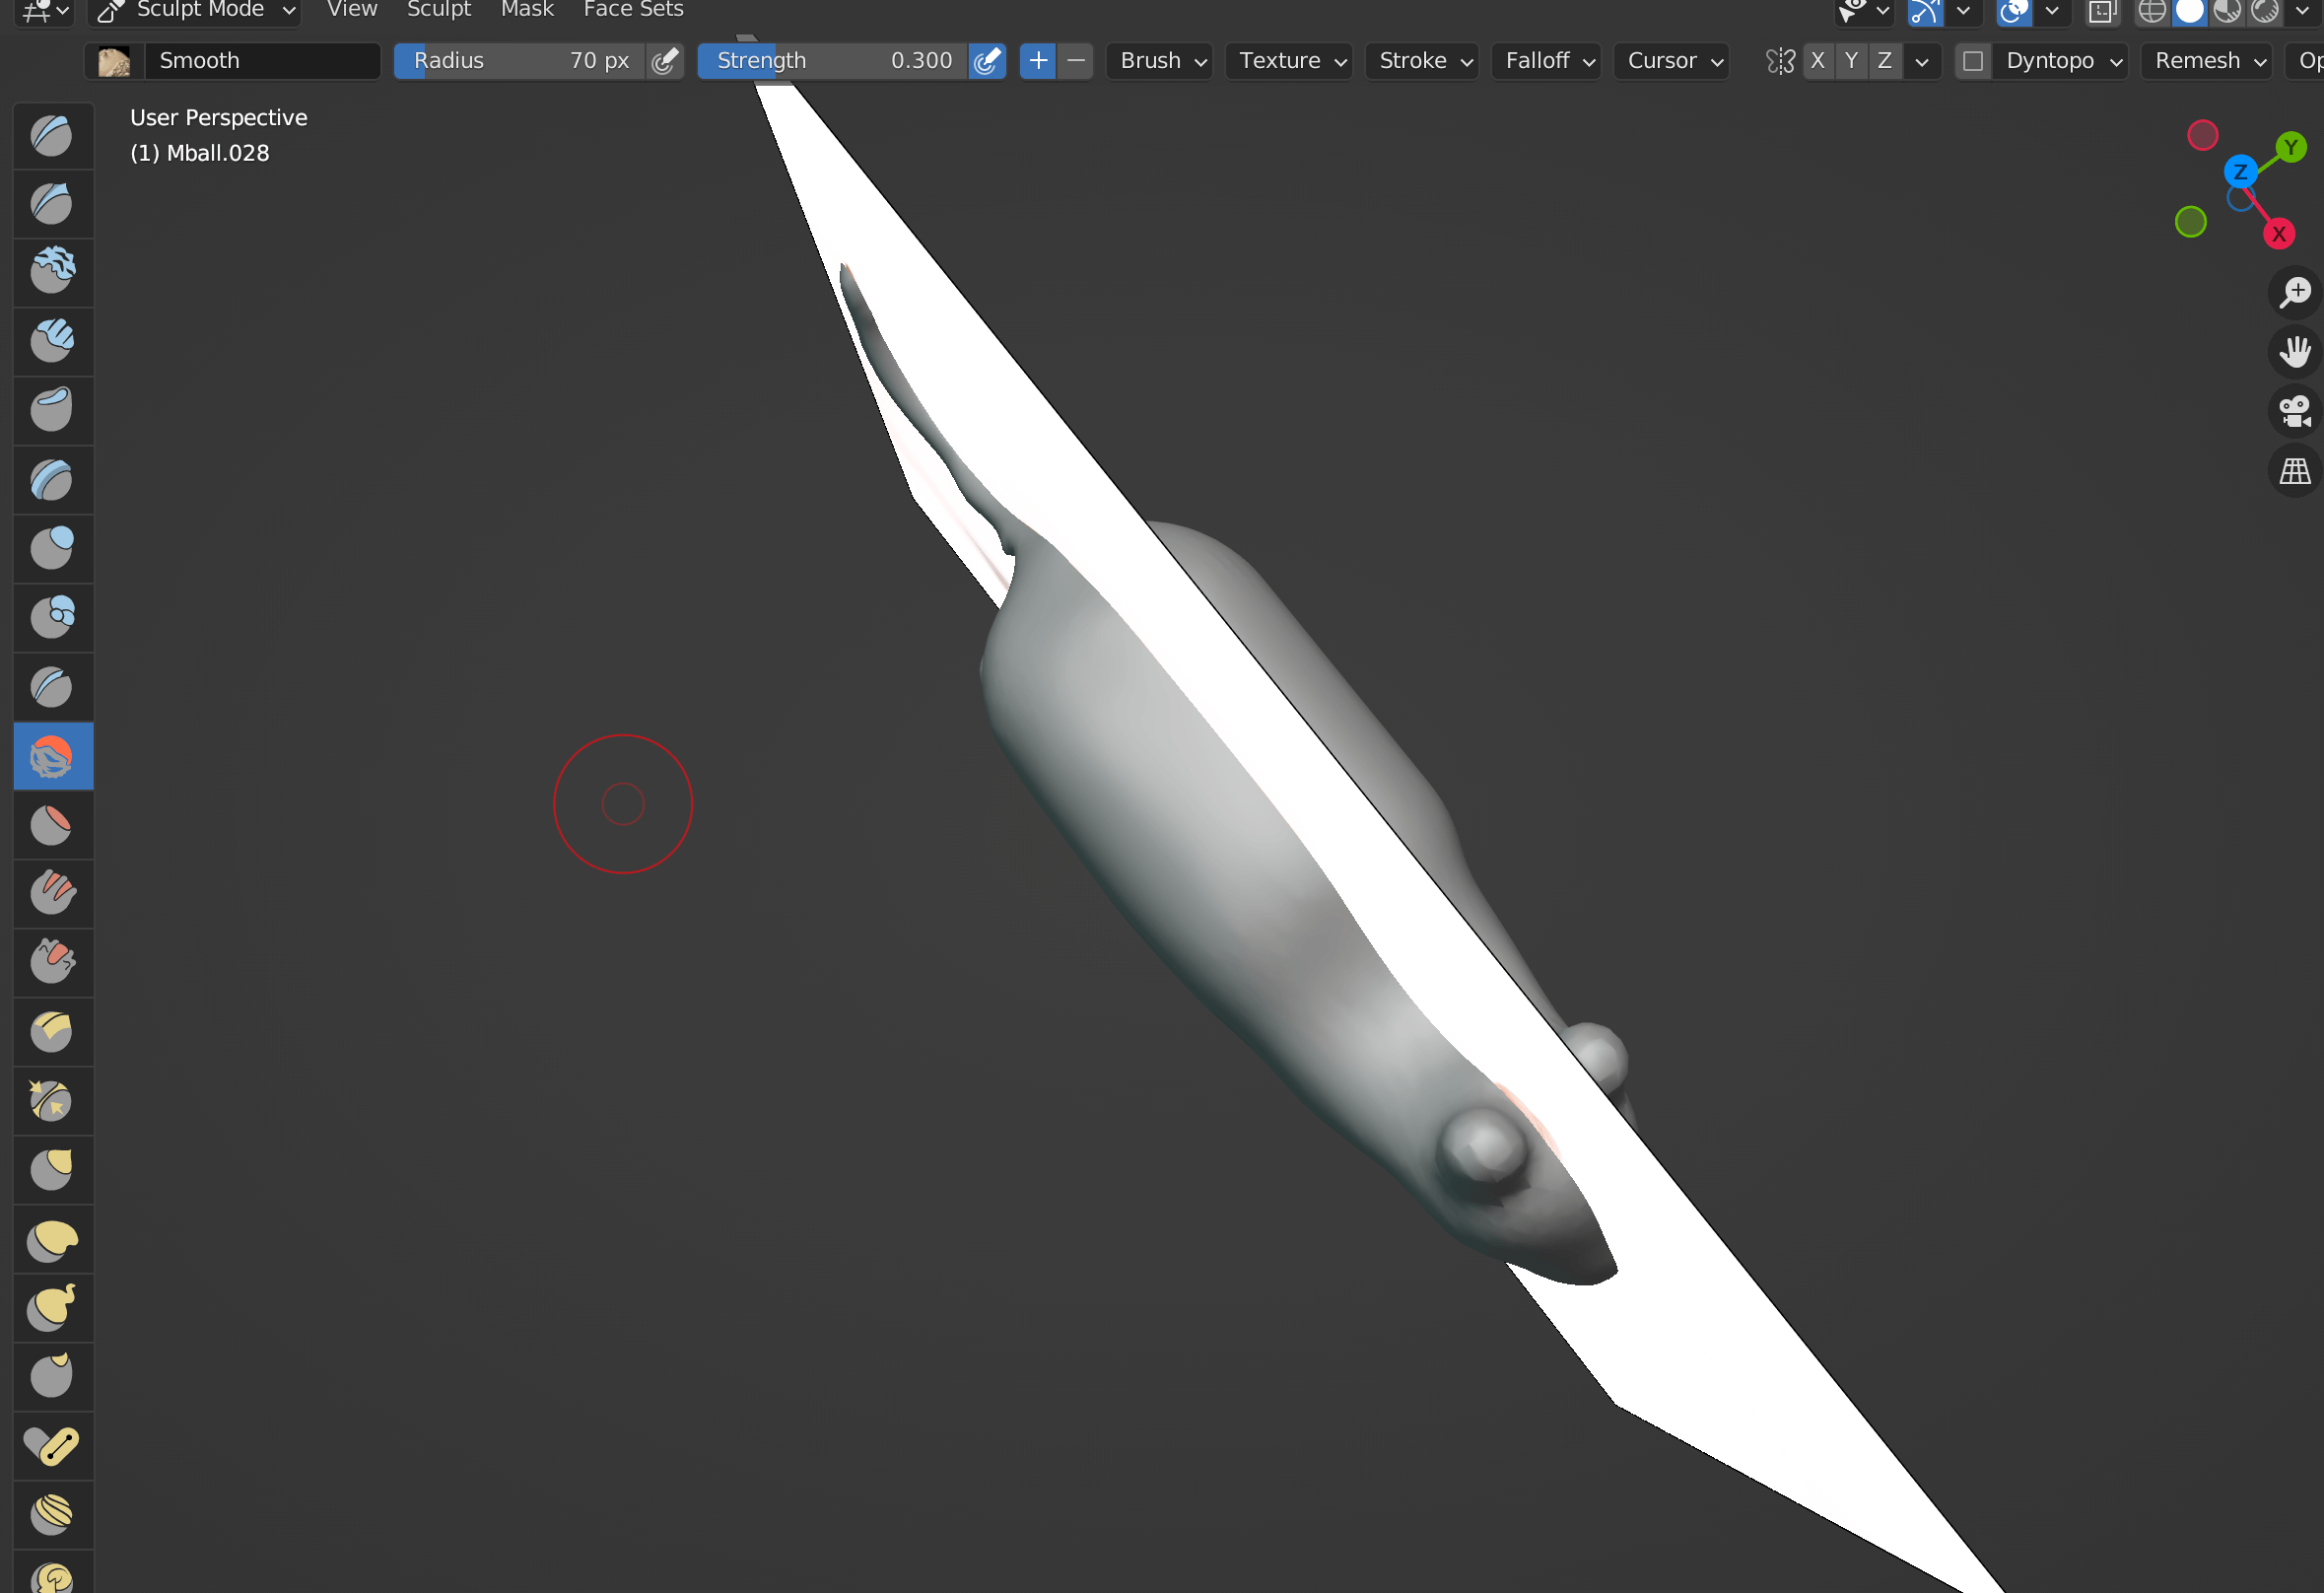
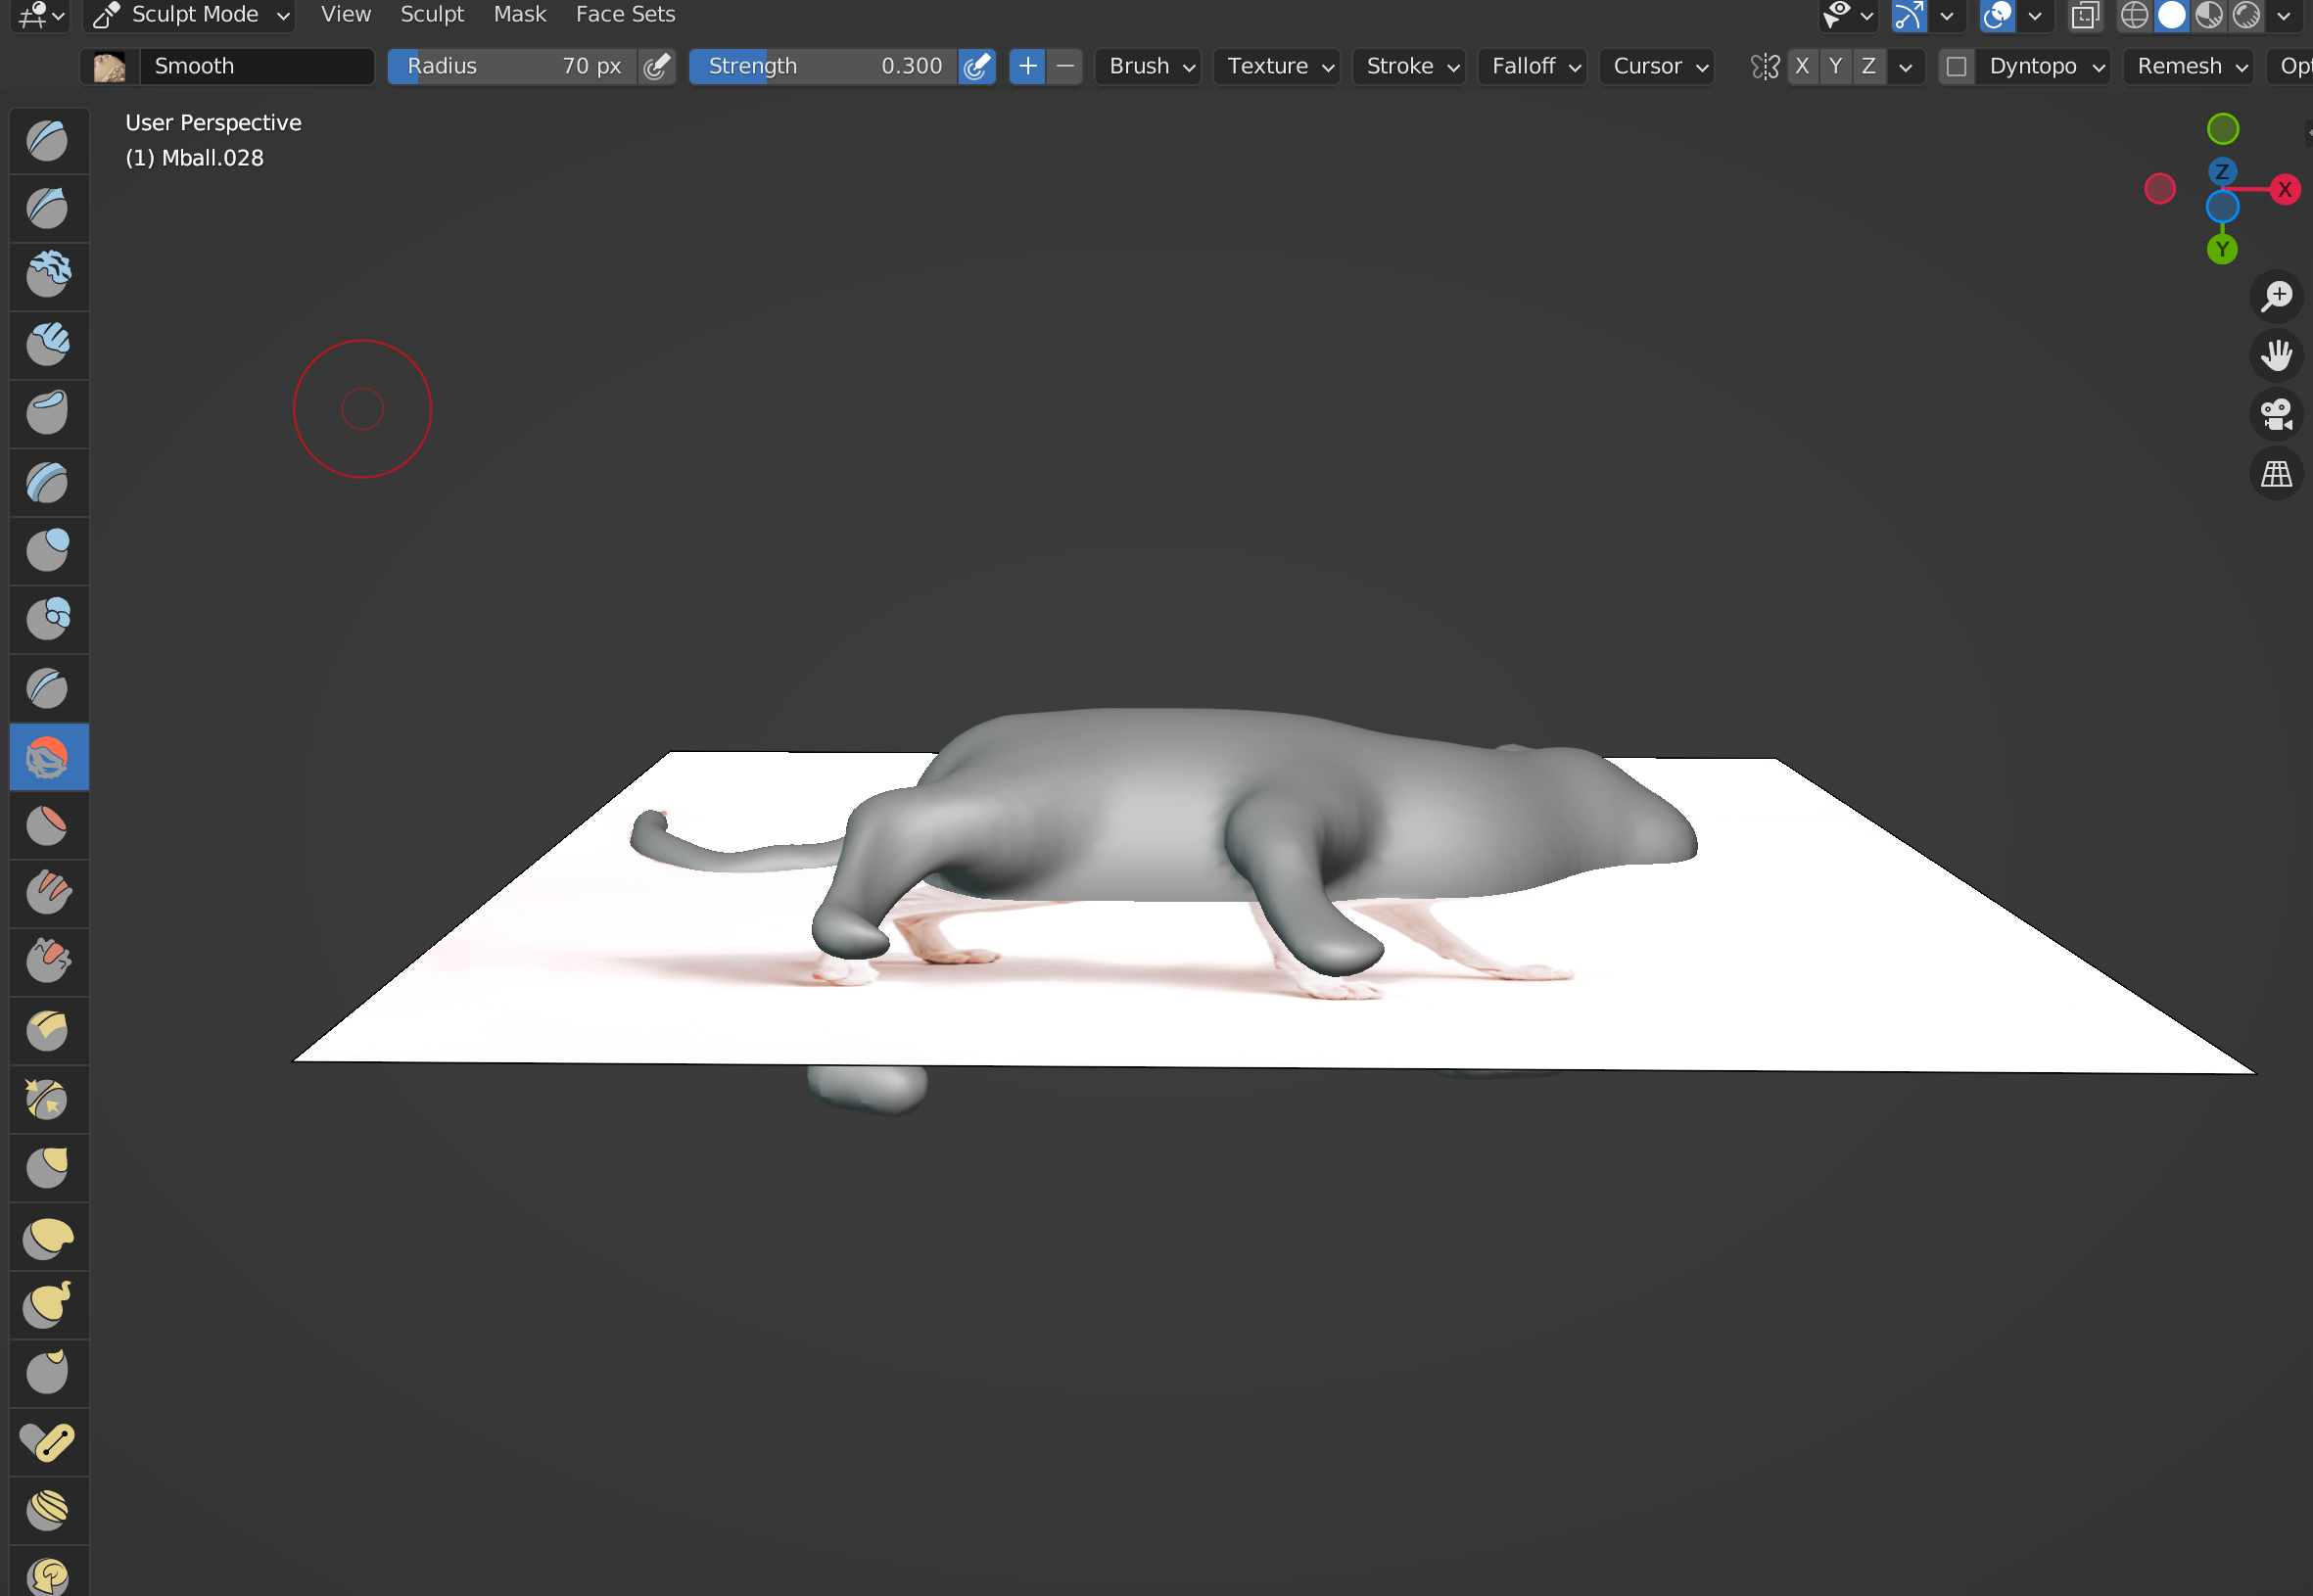
Use the Smooth brush to smooth out the model’s unevenness.
To change the size or strength of the brush, change the Radius (brush diameter) and Strength (brush strength) values at the top.
Smooth
Hiding the reference image can be set from the upper right corner of the screen.
Click on the eye symbol to display/hide the reference image
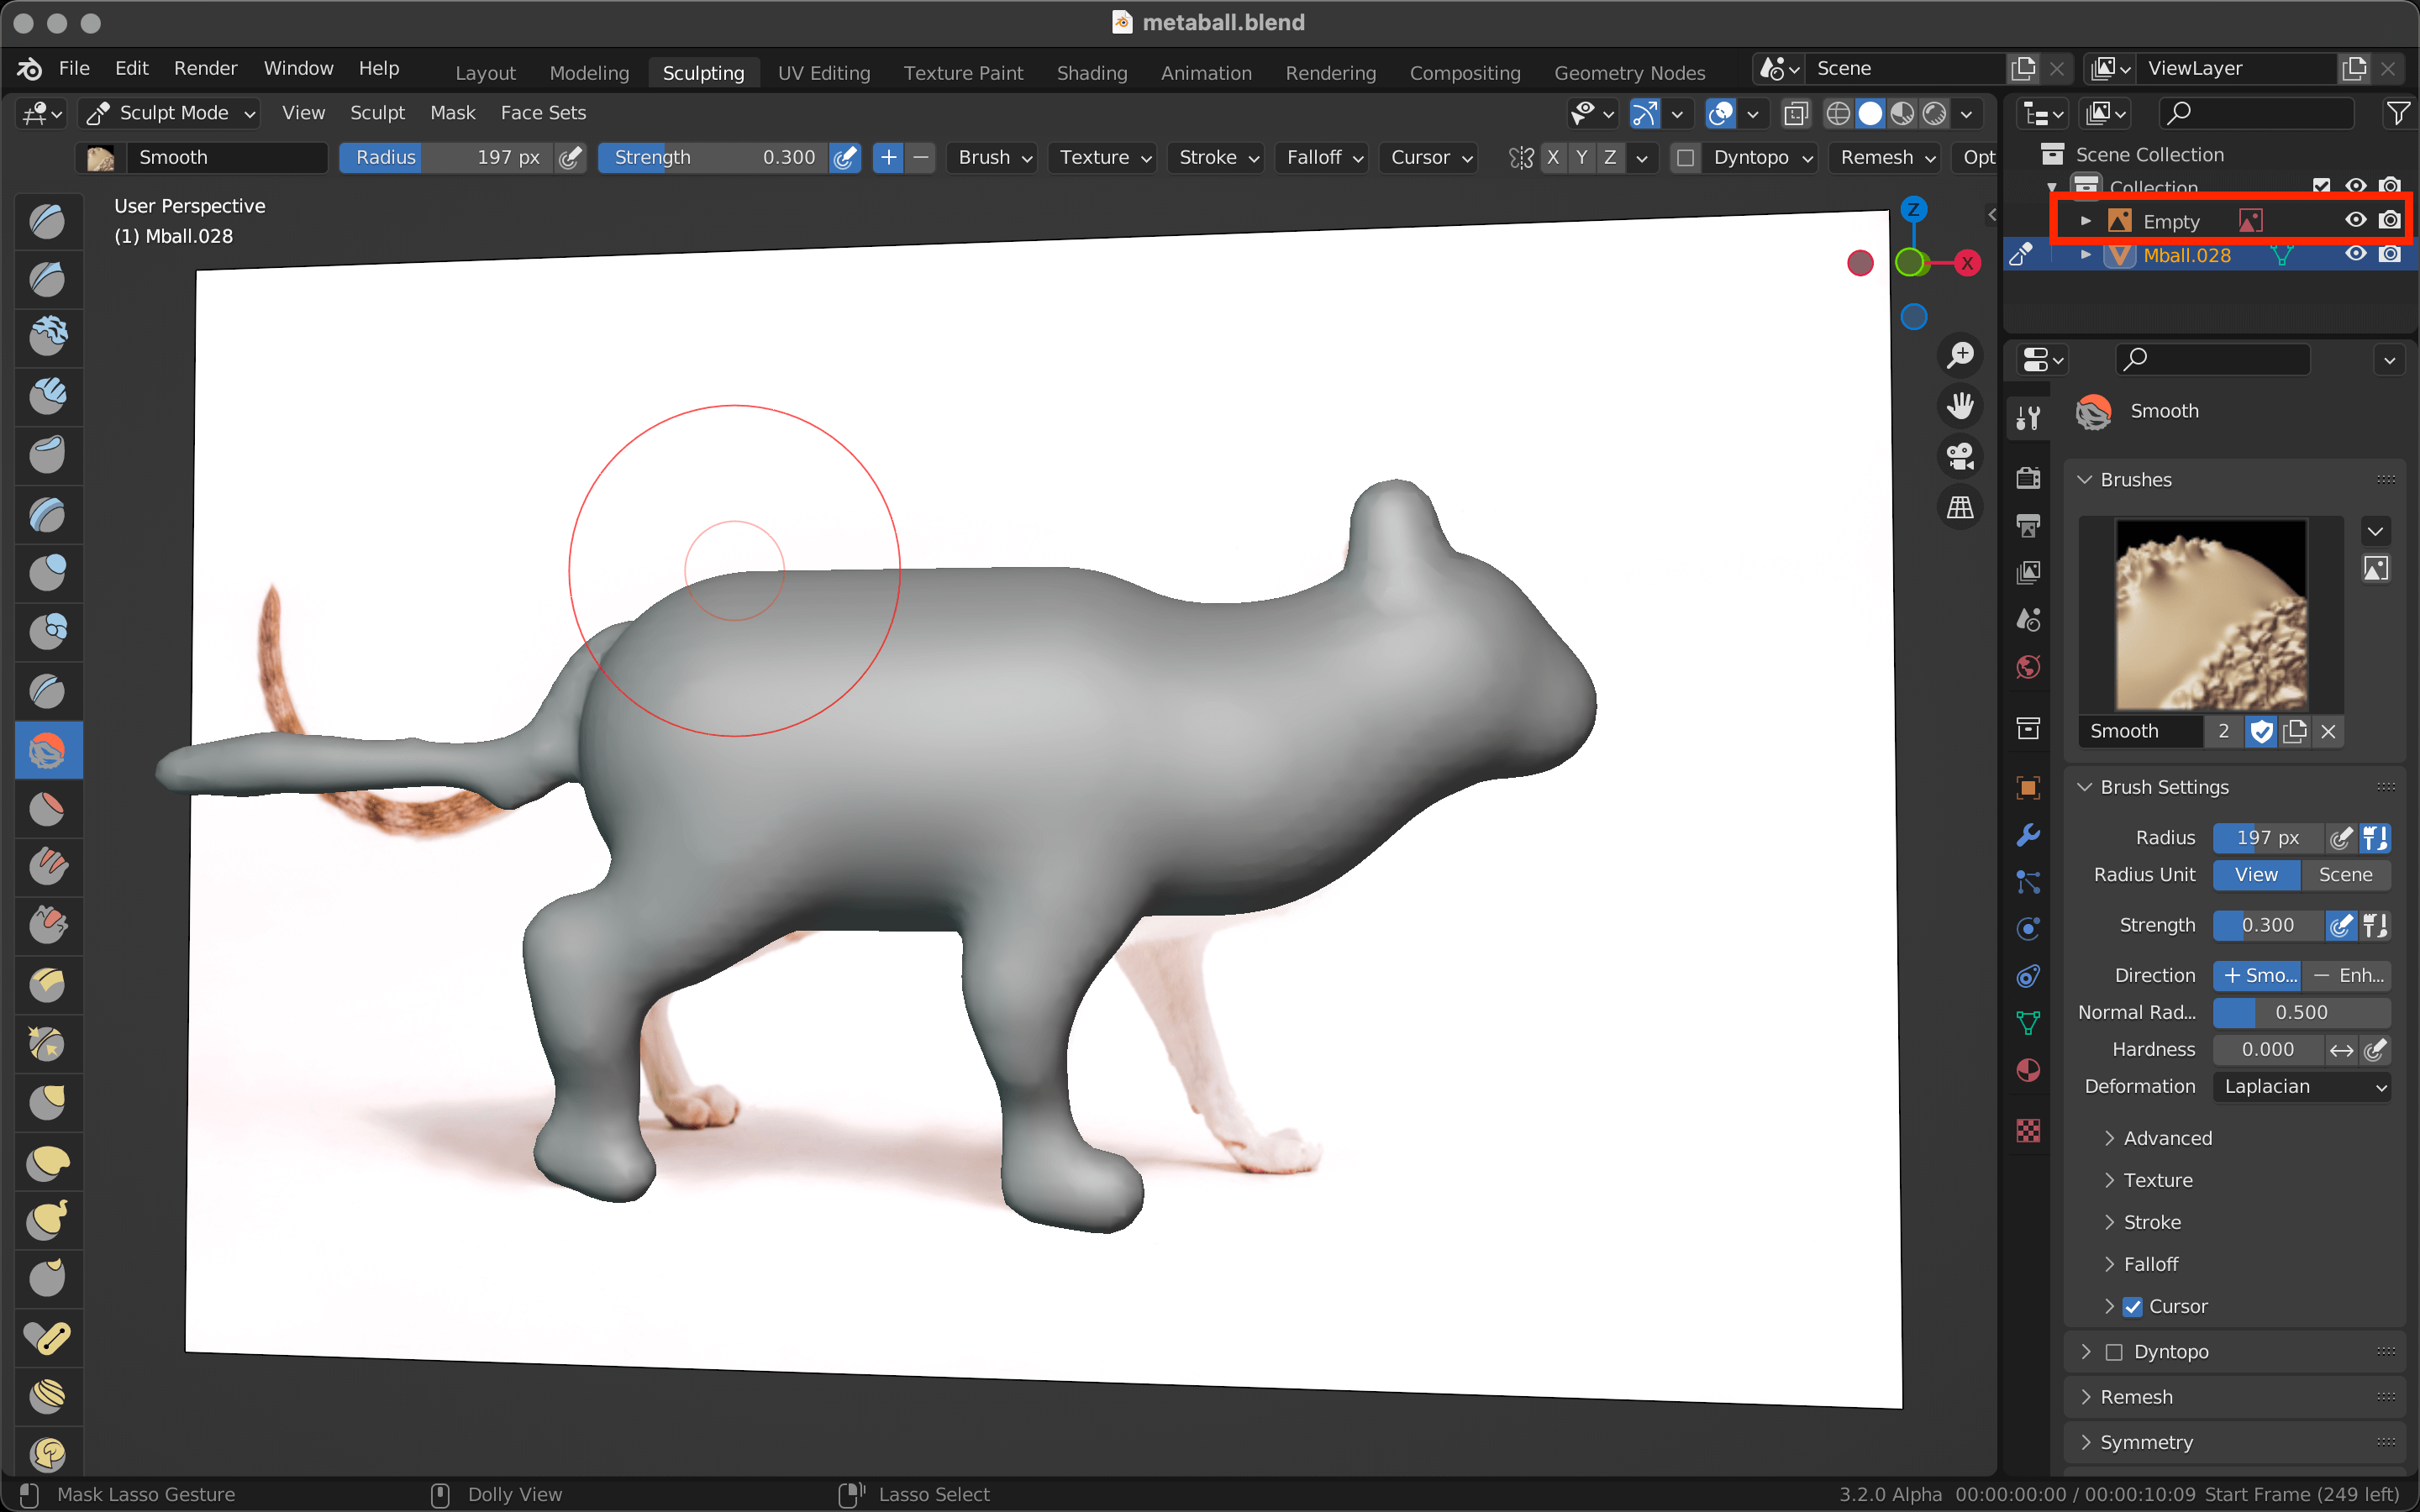
Click on the eye symbol to display/hide the reference image
The [Z] key allows you to change the way the model is displayed.
Selecting Wireframe for this operation allows you to see through the model, which is useful when you want to adjust the size of the model.
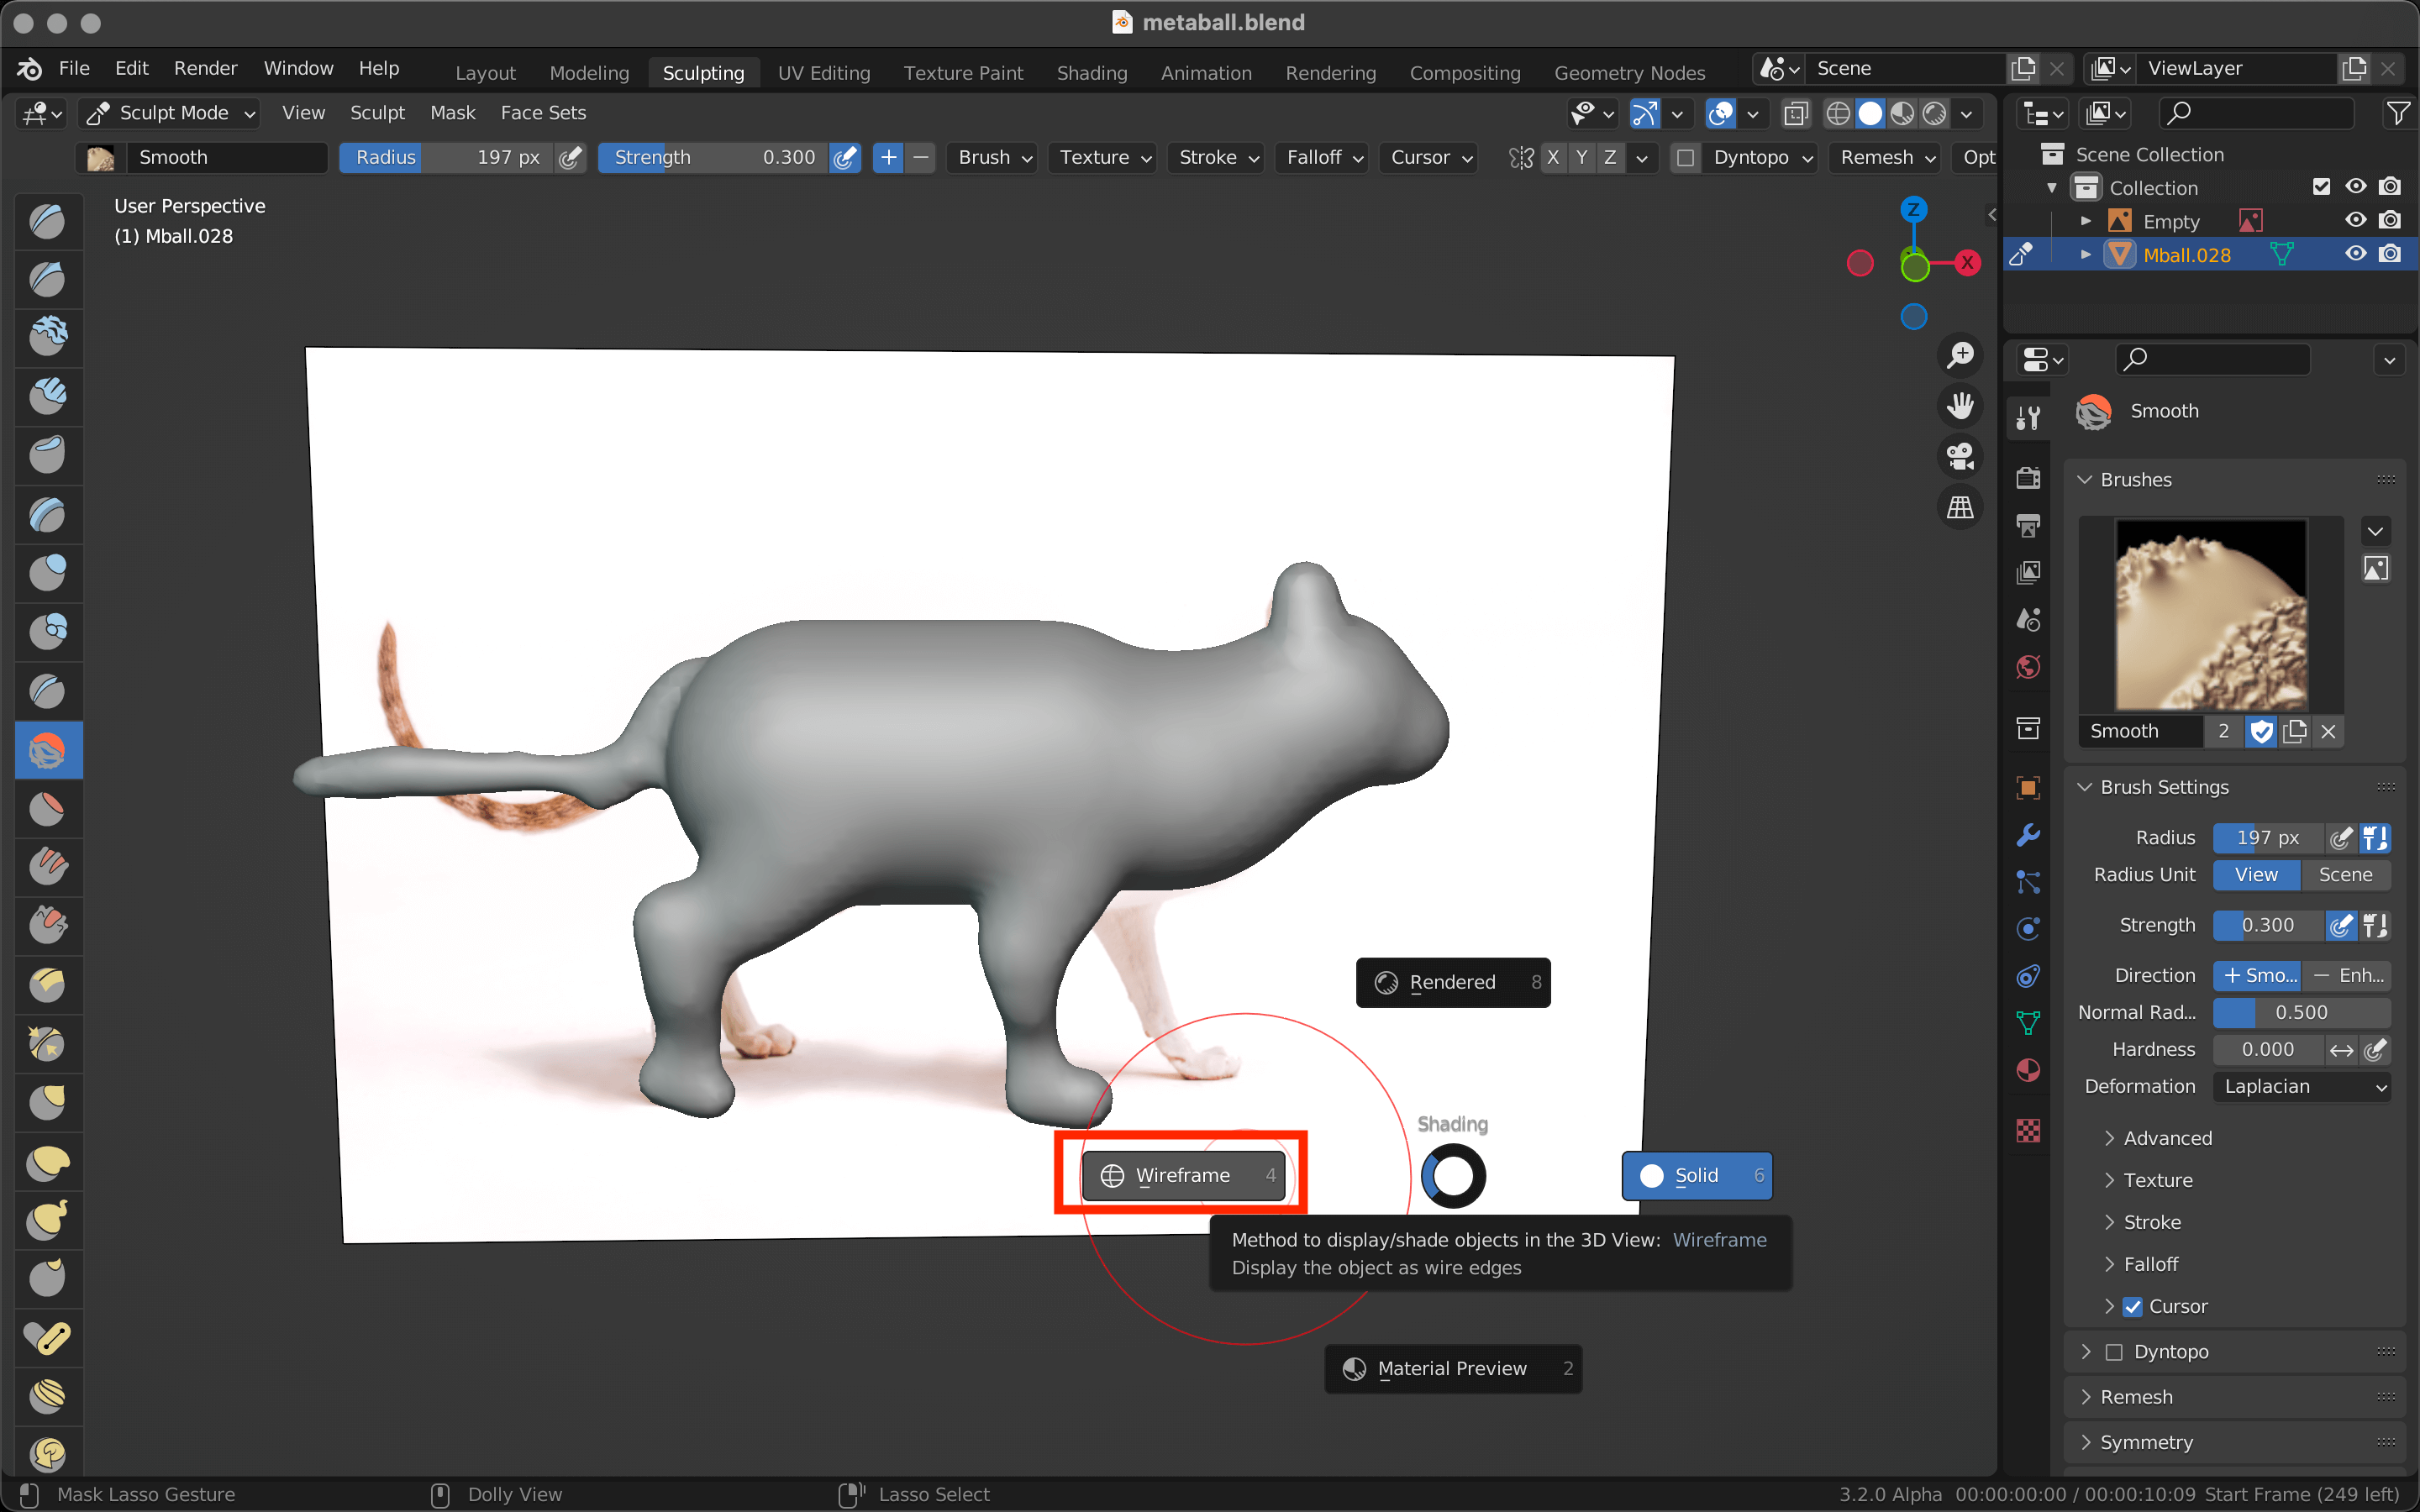
[Z]key→Wireframe
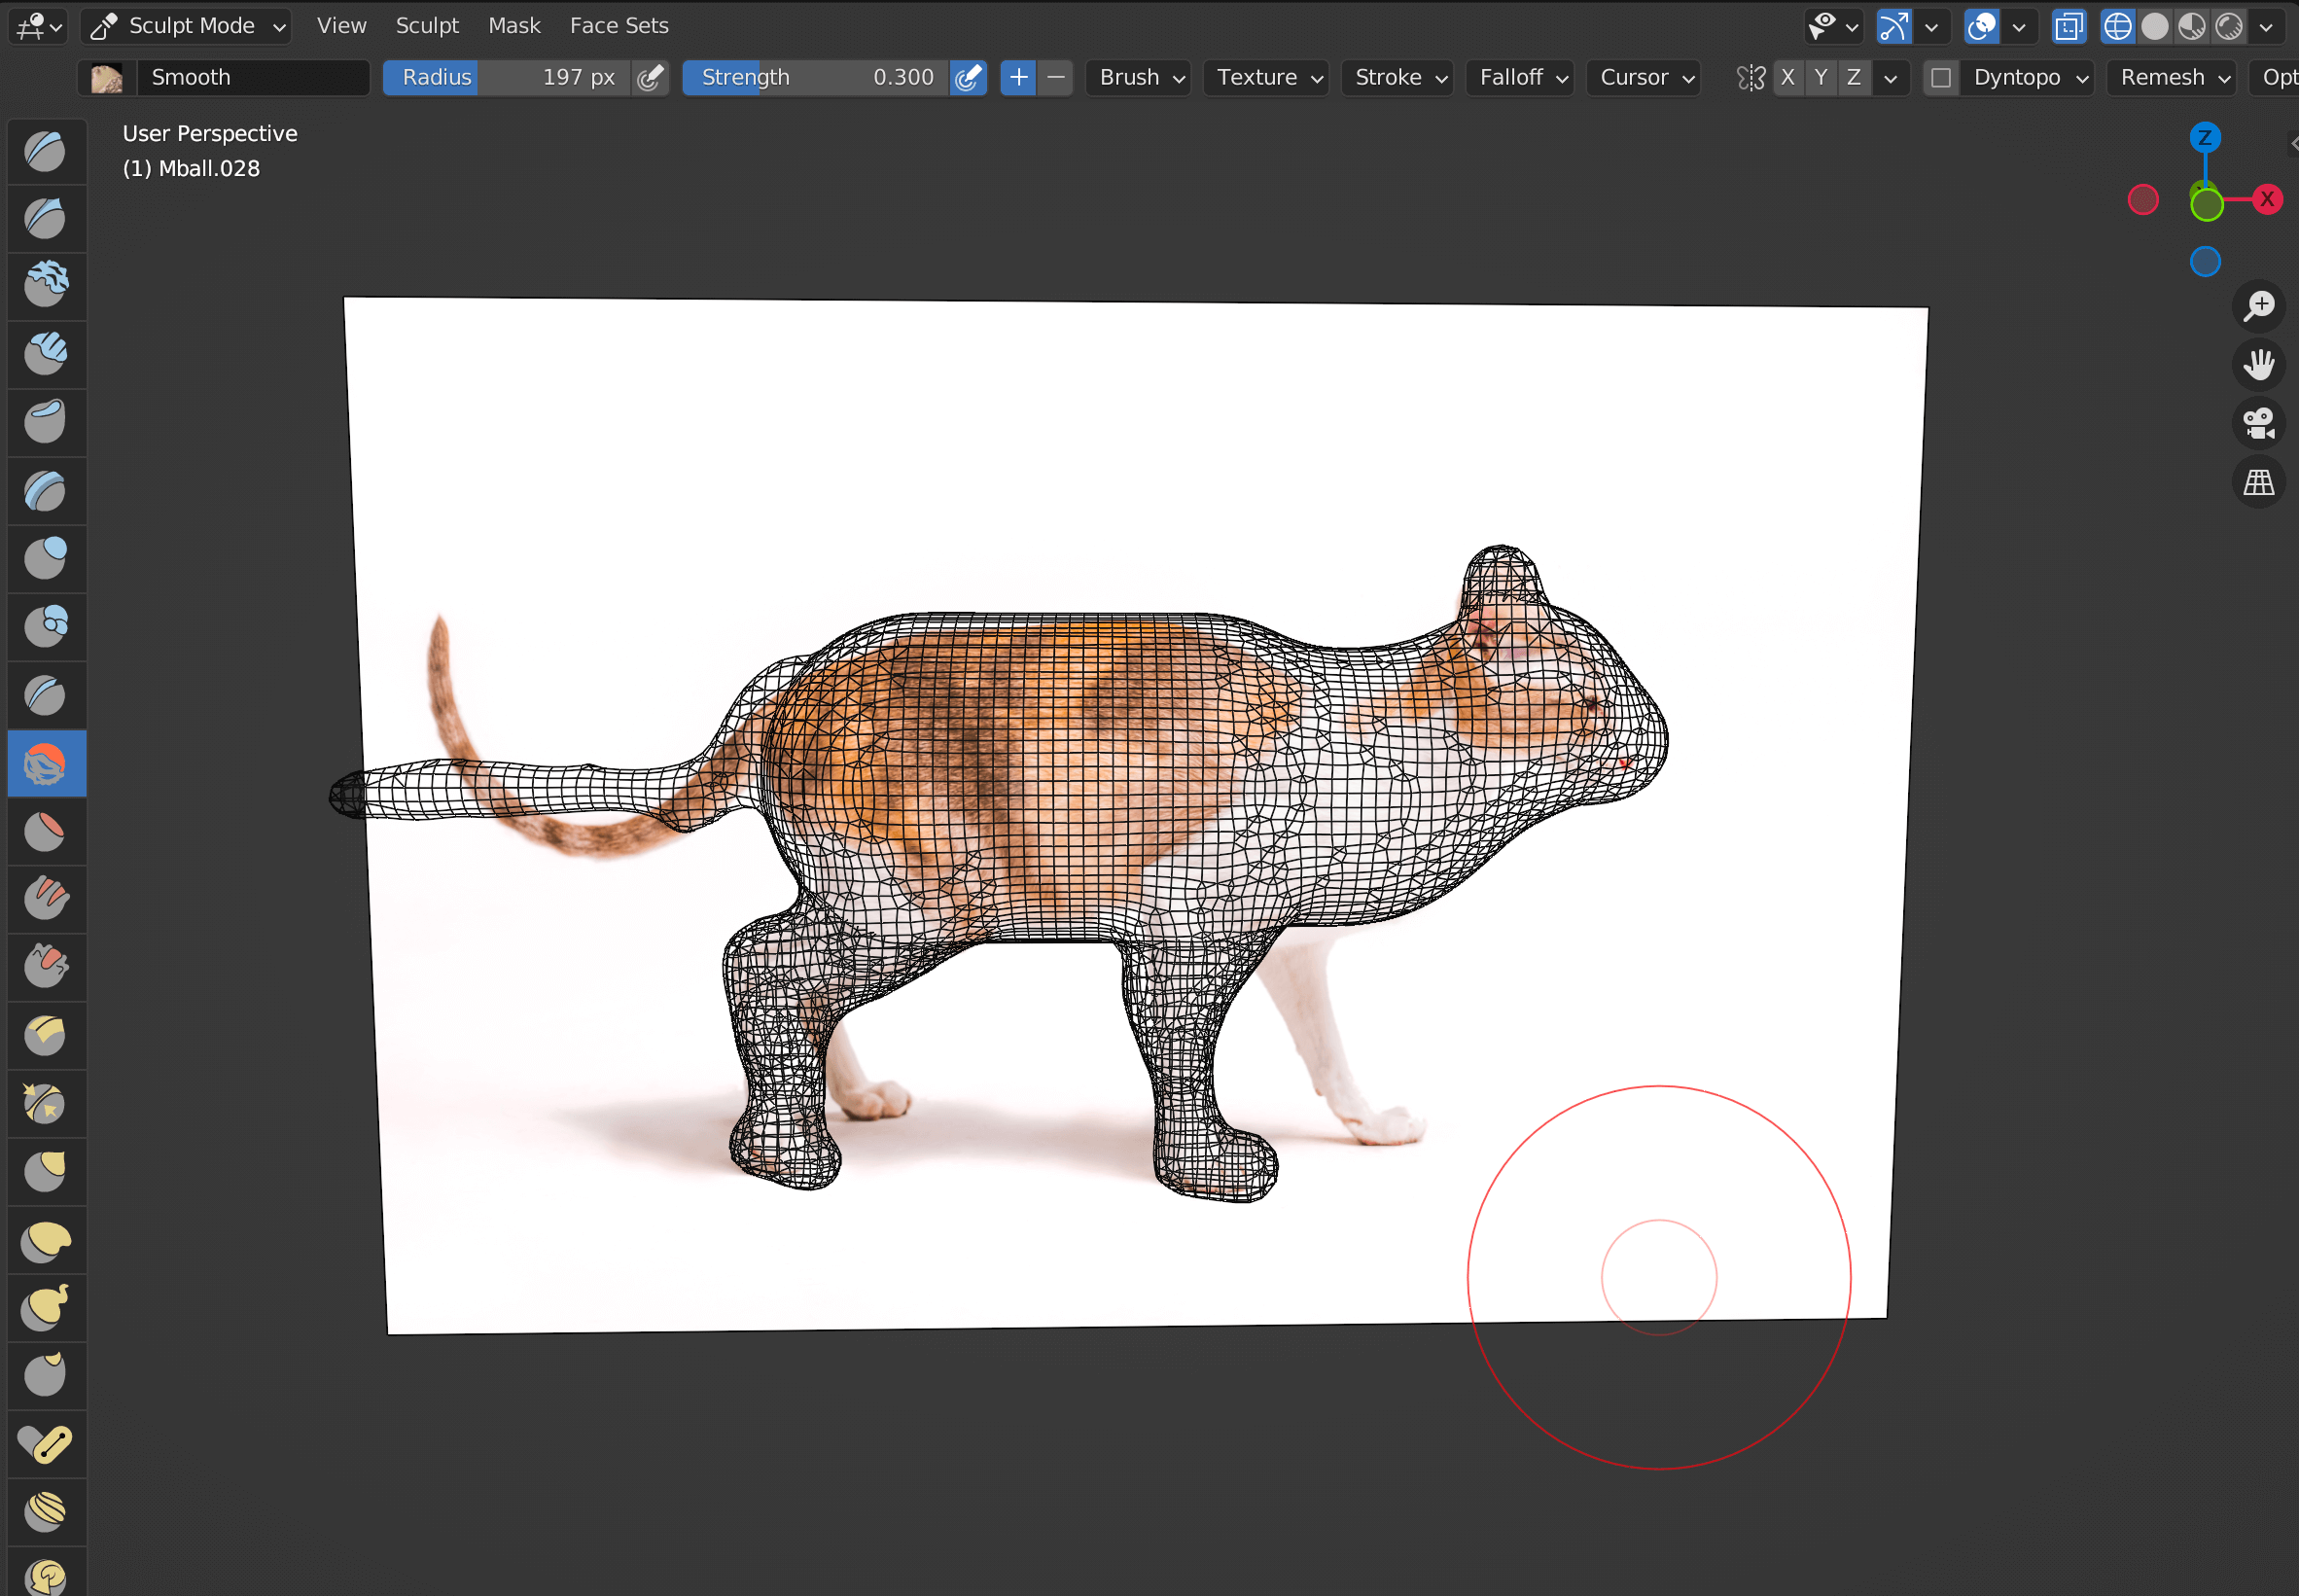
Wireframe display of the model
Cray
Cray is a sculpting brush that, as its name suggests, can be used to sculpt models as if it were kneading clay.
In this case, we will use it to bring the model’s shape closer to the reference image.

Change the Radius and Strength values and press the minus button (the brush will dent the model)
Recess as shown in the reference image
If it is too concave, inflate it with Inflate.

Inflate
Angular areas can be smoothed with the Smooth brush.

Smooth
Elastic Deform
When you want to stretch or deform a part of the model, use the Elastic Deform brush.
This function is similar to the Grab brush introduced in the previous section, except that it can deform a larger area than the Grab brush, which picks up and deforms a portion of the model.
Elastic Deform
The three brushes listed at the top can be used to shape the tail and feet.
The trick is to make major changes first, then modify them little by little.

Tail modeling scenery
Check the model from other angles from time to time to make sure it is fully finished.
Angle from the top
Angle from below
The face area will also match the reference image.

Cray brush, changed from top tab to View -> Viewpoint -> Front
Ears are remesh and then sculpted with a Cray brush or a Multi-plane Scrape brush.
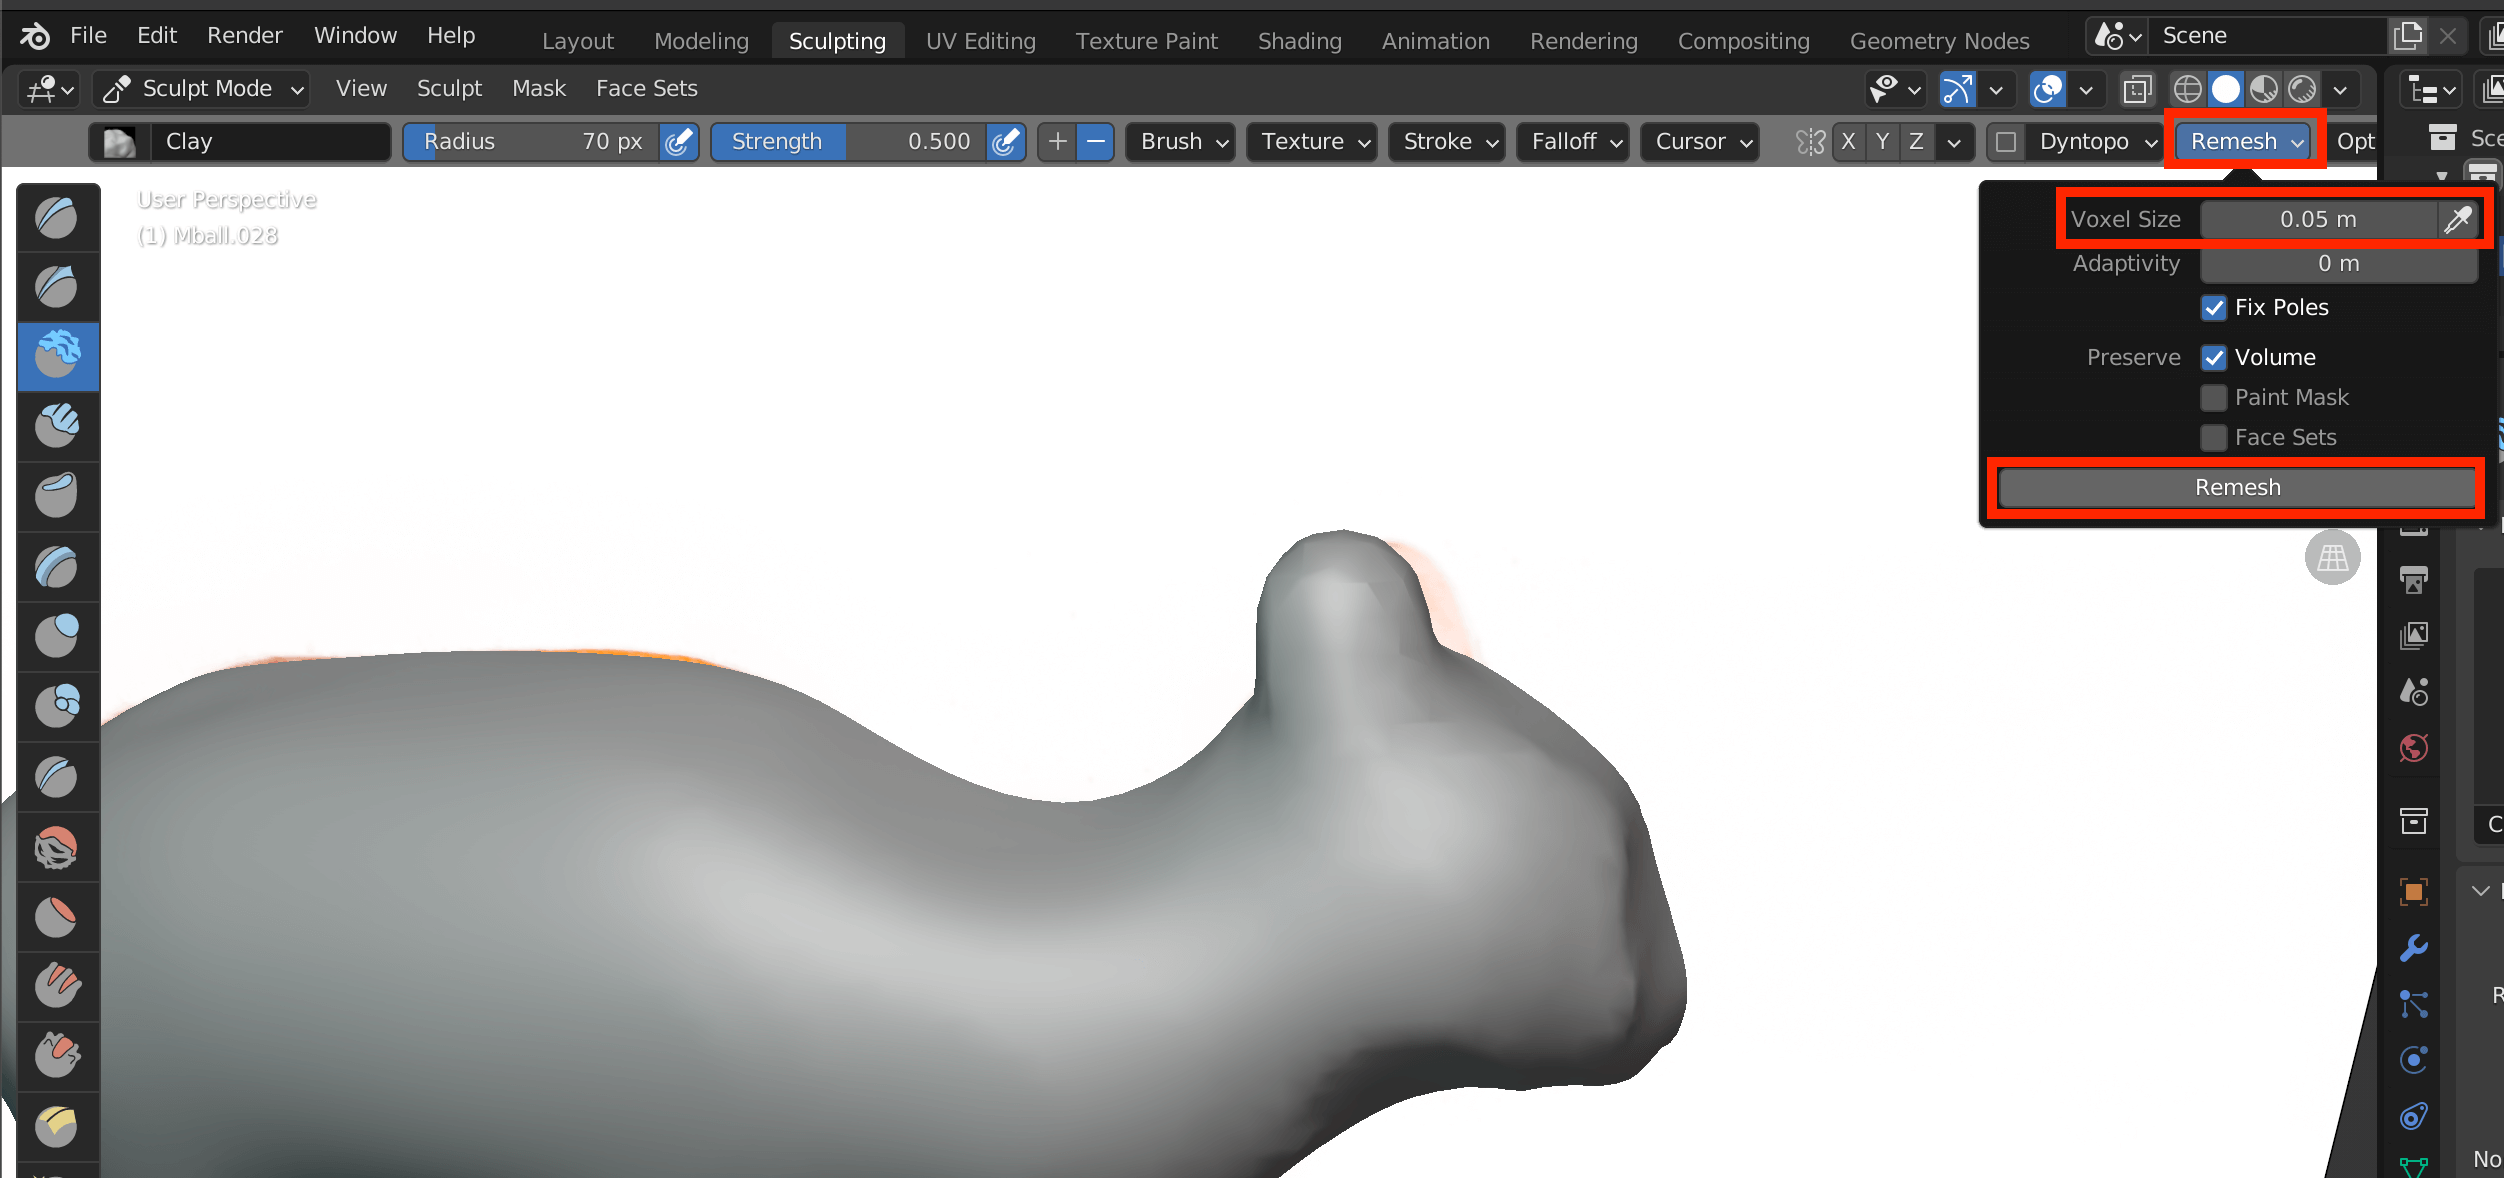
Remesh will subdivide polygons and make them easier to sculpt

Cray to make ear ruffles
Multi-plane Scrape
This brush can be used to sculpt gentle edges into well-defined shapes.

Multi-plane Scrape

Multi-plane Scrape, Cray, Inflate, Smooth brush
Since the reference image was viewed from slightly above rather than directly across, the length of the legs was adjusted with the Erastic Deform brush and the thickness was adjusted with the Smooth brush.

Erasic Deform

Reference diagram
Now, to some extent, the modeling has been completed as shown in the reference image.
The brushes introduced here are only examples of how to use them.
Let’s pursue brushes and methods that are easy for you to use.
There is still room for improvement in the model, so let’s sculpt it to the point where you are satisfied with it!
Upload 3D models to STYLY
Upload your 3D model to STYLY.
Create a STYLY account
How to create an account

How to upload to STYLY

How to upload from Unity to STYLY

For questions about STYLY, bug reports, and requests for improvements, please contact the STYLY FORUM
https://en.forum.styly.cc/support/discussions