In this article, I will show you how to create a UI to display the score of a game in the Interaction SDK.
The Interaction SDK from STYLY makes it easy for you to create a game. You can also obtain a sample game that you can use for secondary purposes. Based on that game, you can add a UI and allow PlayMaker to count your scores.
For more information on the STYLY Interaction SDK, you may want to read through the following articles to get a better understanding.

Sample Scene
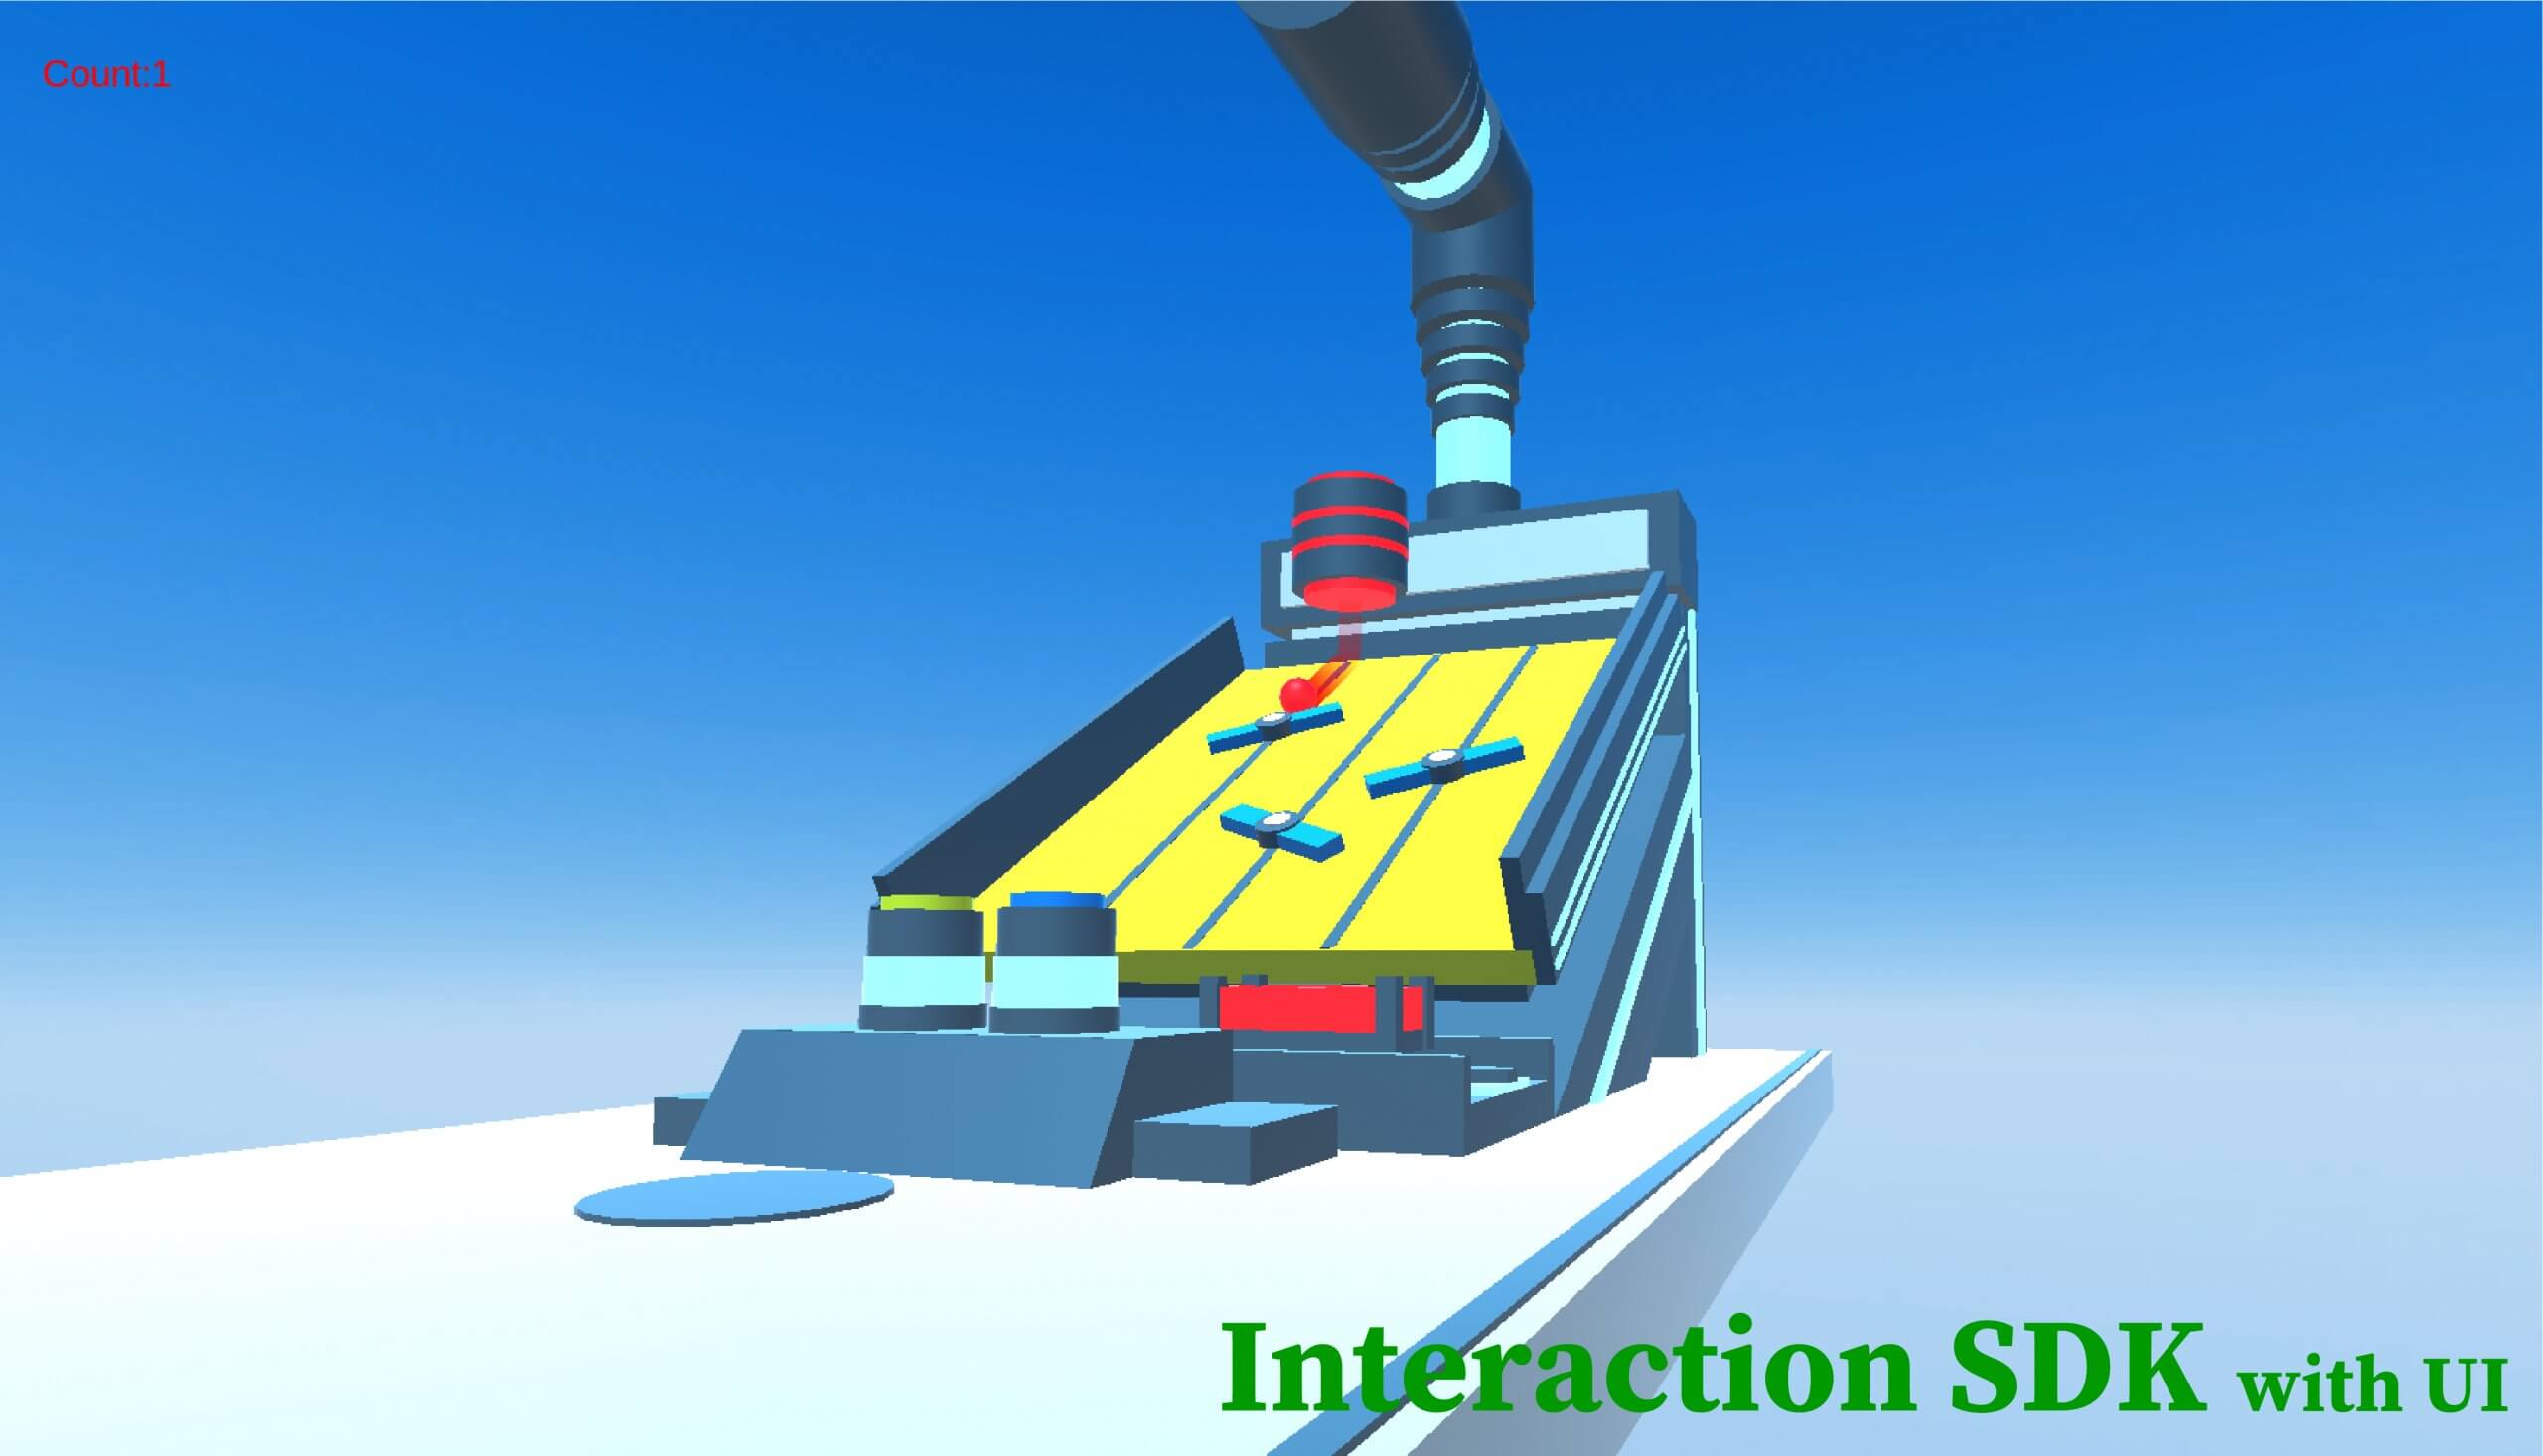
The sample scene we will create is below.
Let’s experience what it would look like.
Preparing the Game
First, we will prepare a sample game of the Interaction SDK.
The sample game project can be downloaded from the following.
After downloading the sample game project, launch it in Unity.
Once the import is complete, open the sample “Interactions_sample_2” in the Interaction SDK.
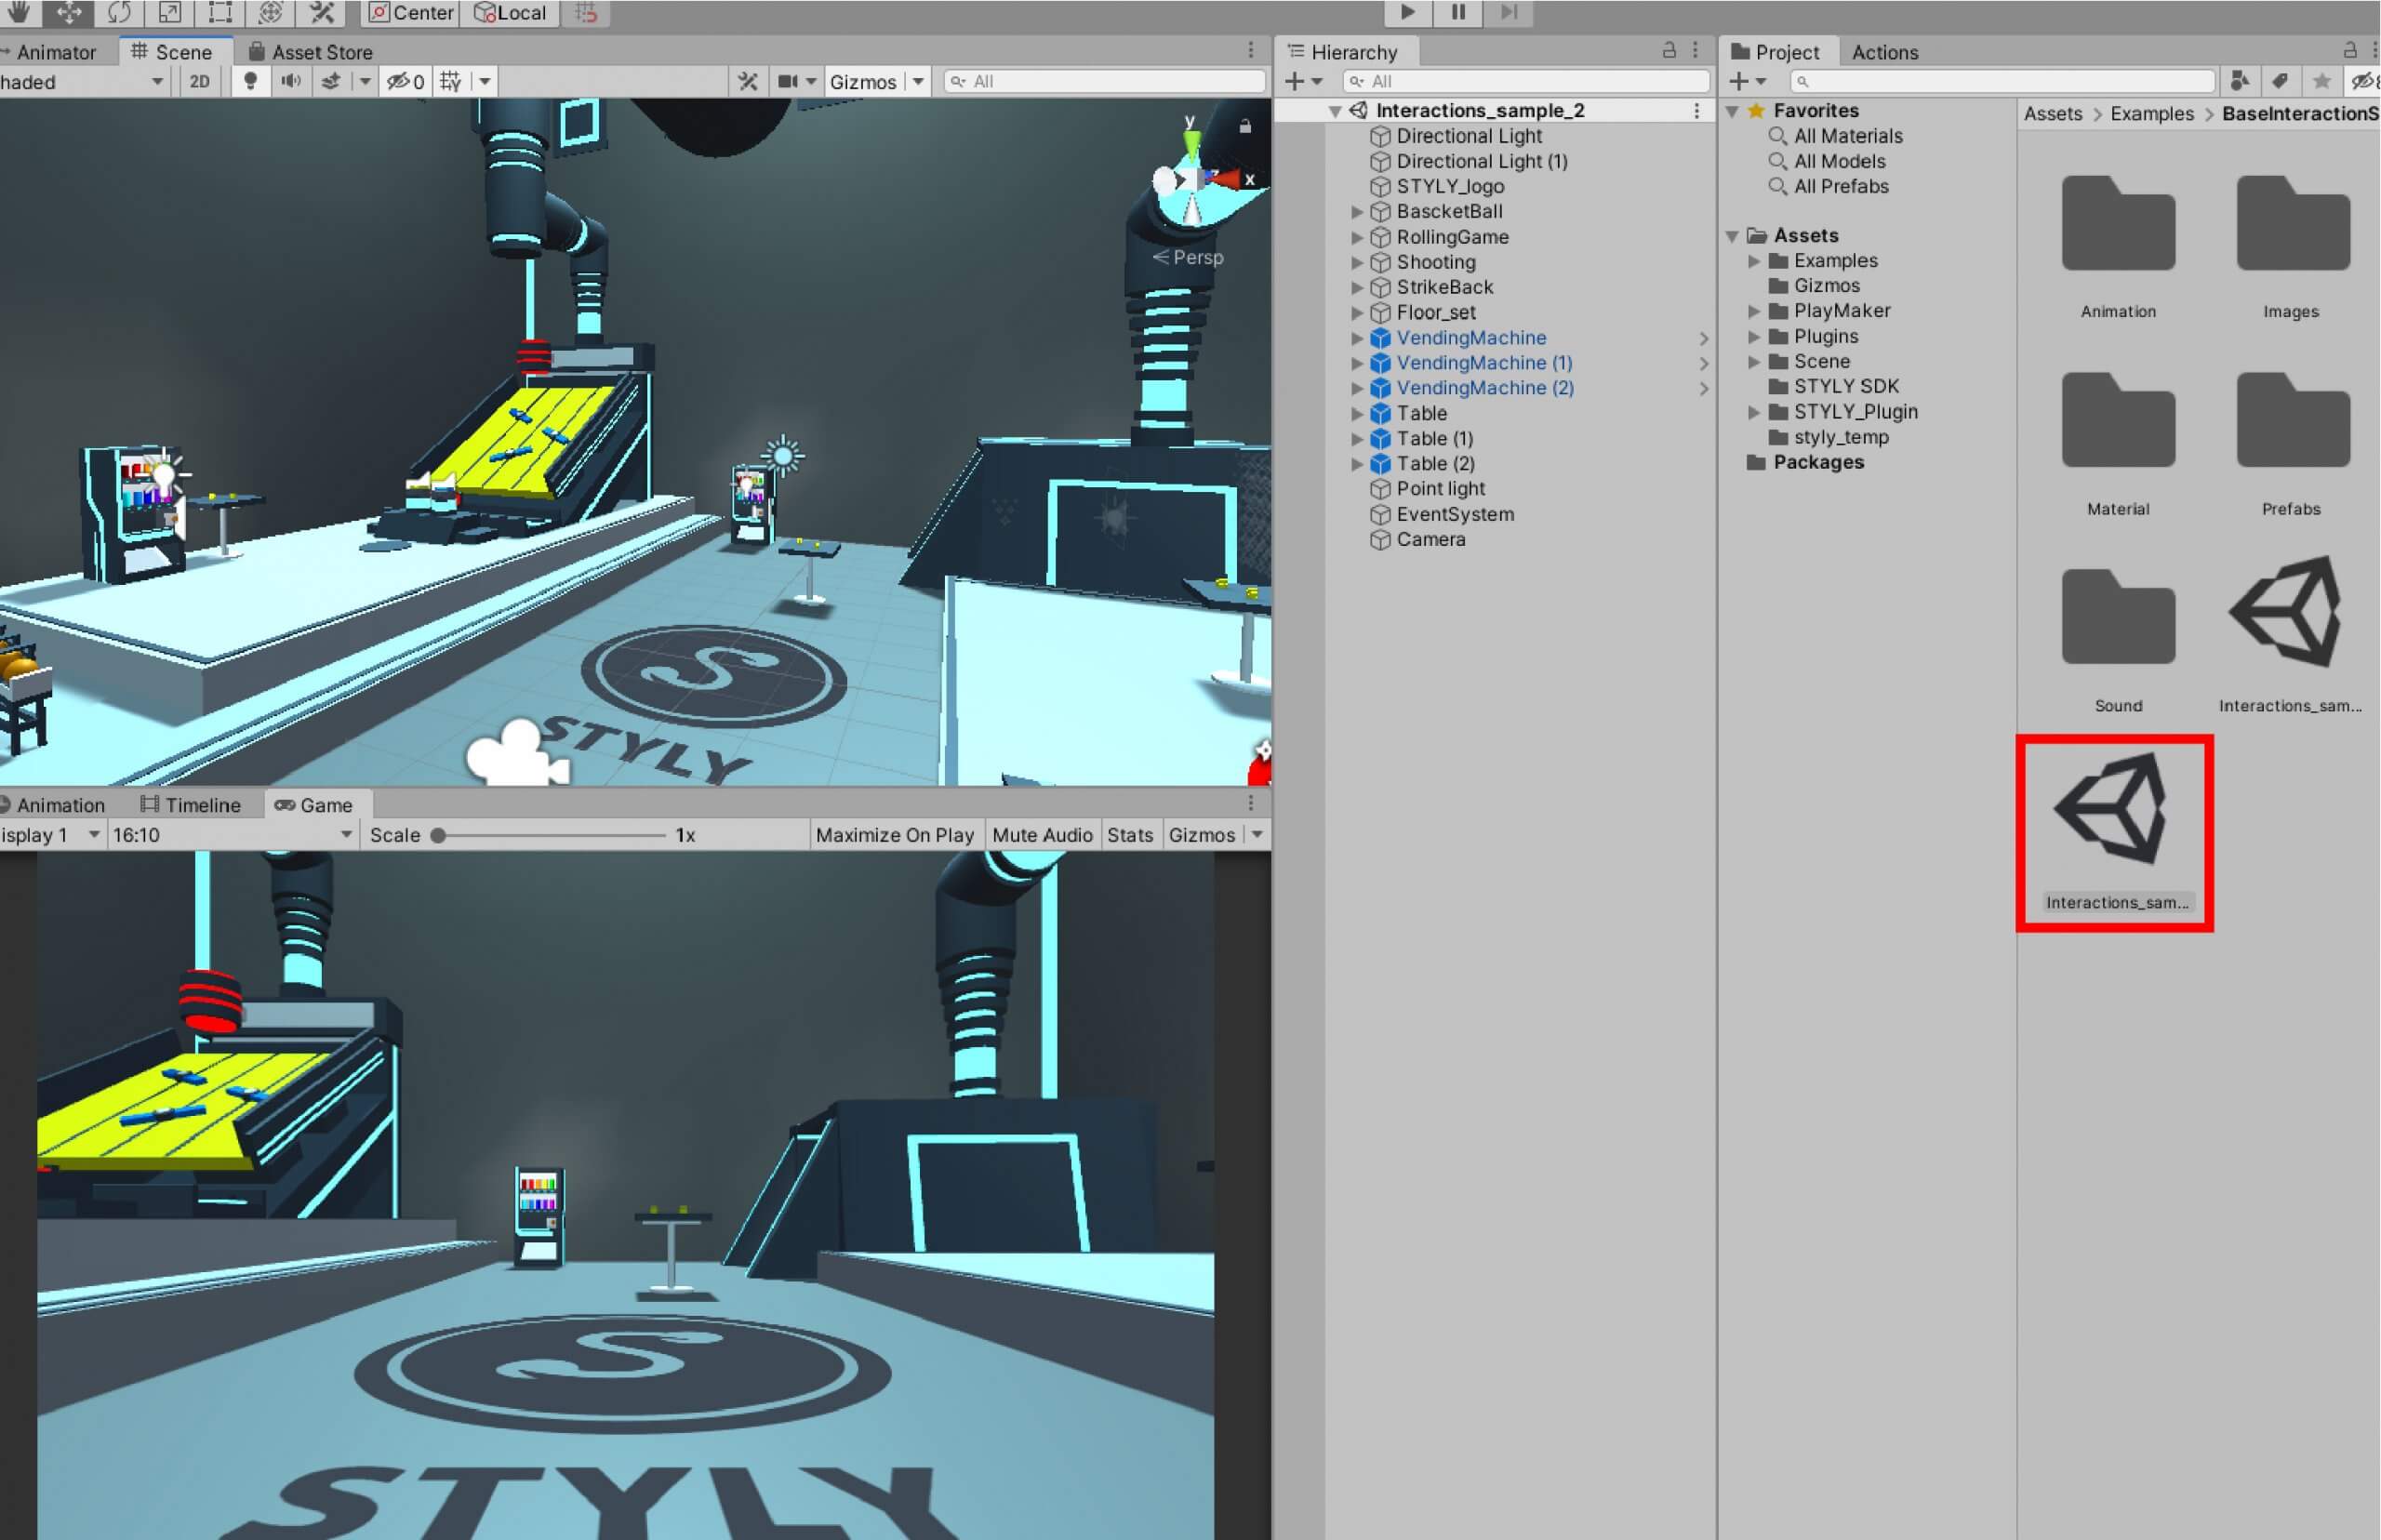
Your game is now ready.
For this example, we will be using the Interactions SDK sample ball game.

Preparation of the UI
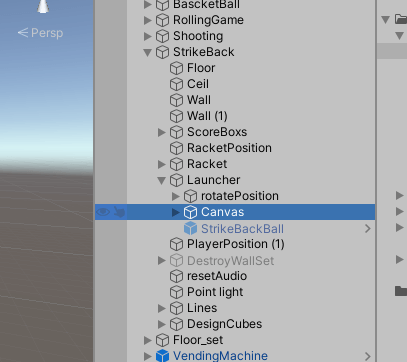
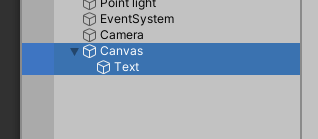
Let’s prepare the UI. Interaction sample 2 uses the Canvas object for the UI, so let’s delete this beforehand.
Go to StrikeBack > Launcher > Canvas and delete it.
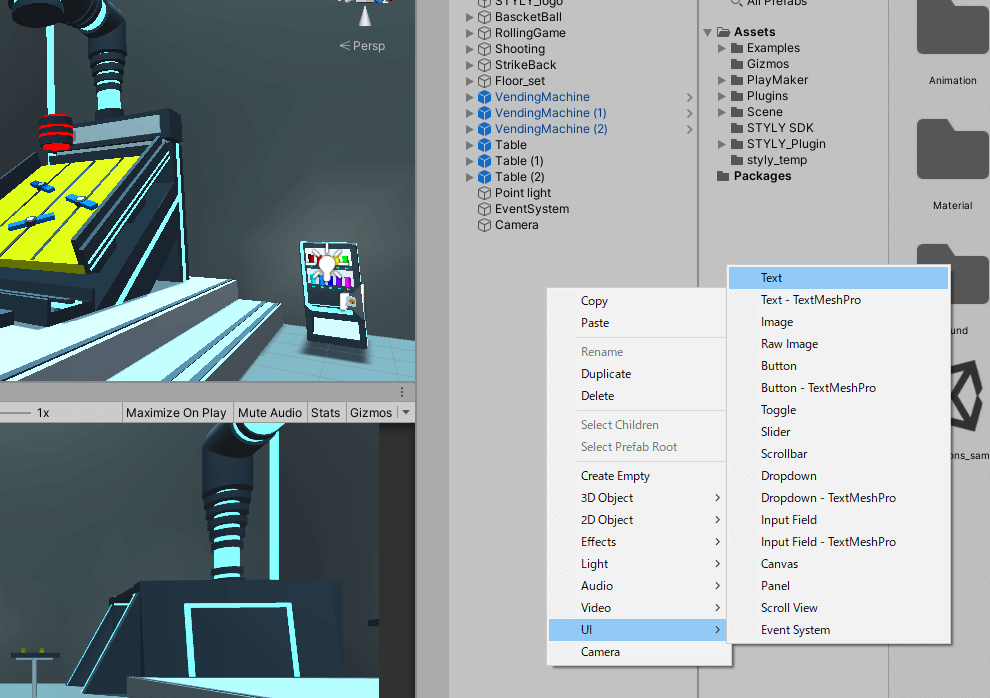
When you’ve finished deleting it, add the Text to the UI.
Right-click on the hierarchy window and select UI > Text.
Once the UI is added, modify the Layer.
Select the Canvas and Text and set the Layer to Default.
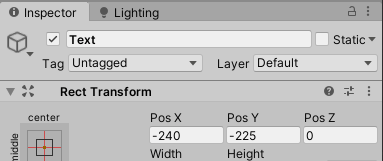
Next, adjust the position of the text.
Change the Text’s Rect Transform as follows.
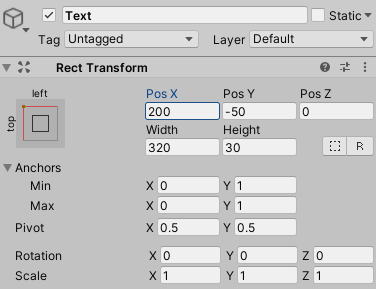
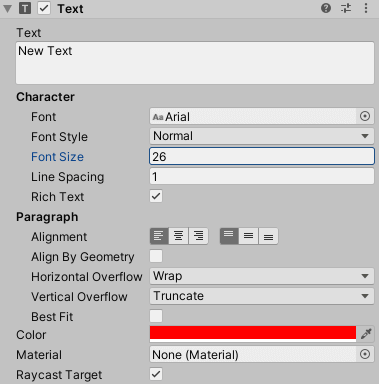
Change the font size and text color.
Set the font size to 26 and the color to red. Adjust it arbitrarily.
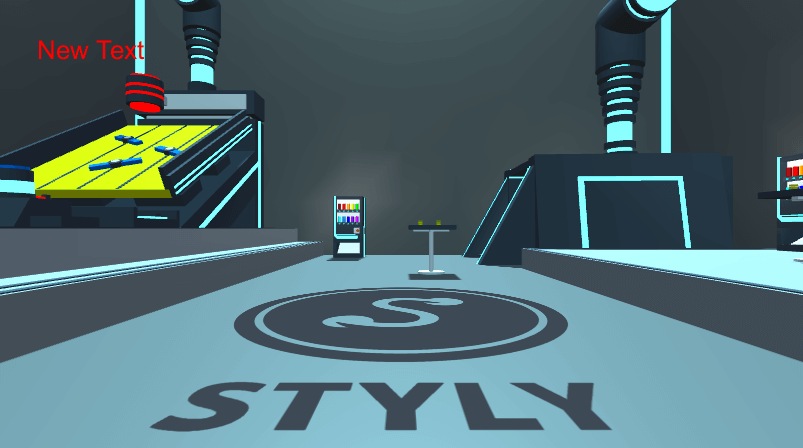
When the game window looks like an image, your UI is ready.
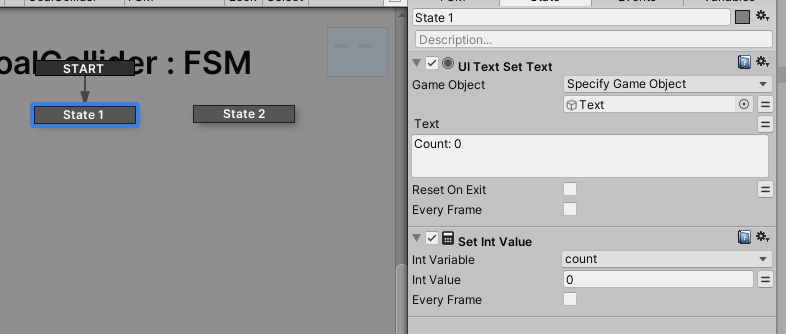
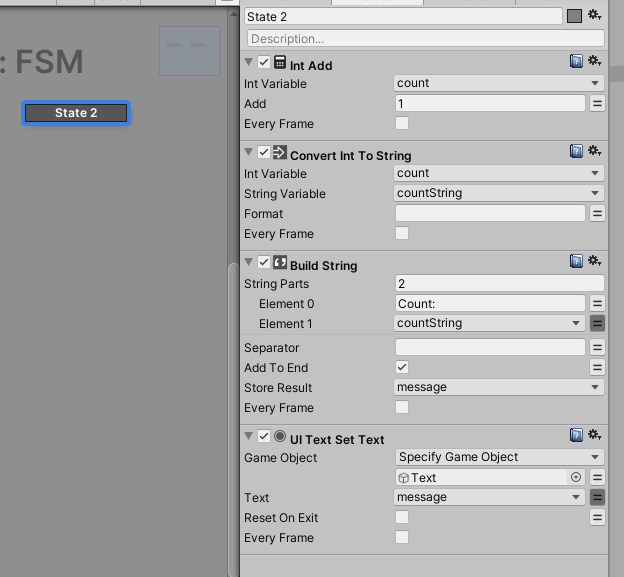
PlayMaker Settings
Set up PlayMaker.
In this case, we will set up the UI so that when the ball game enters the goal, the UI score is increased by one point.
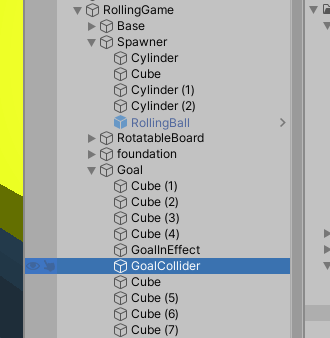
Select Goal > Goal Collider in the Rolling Game object.
This time we will use the “STYLY_Attr_Collision” event attached to this Goal Collider to set up the UI scoring.
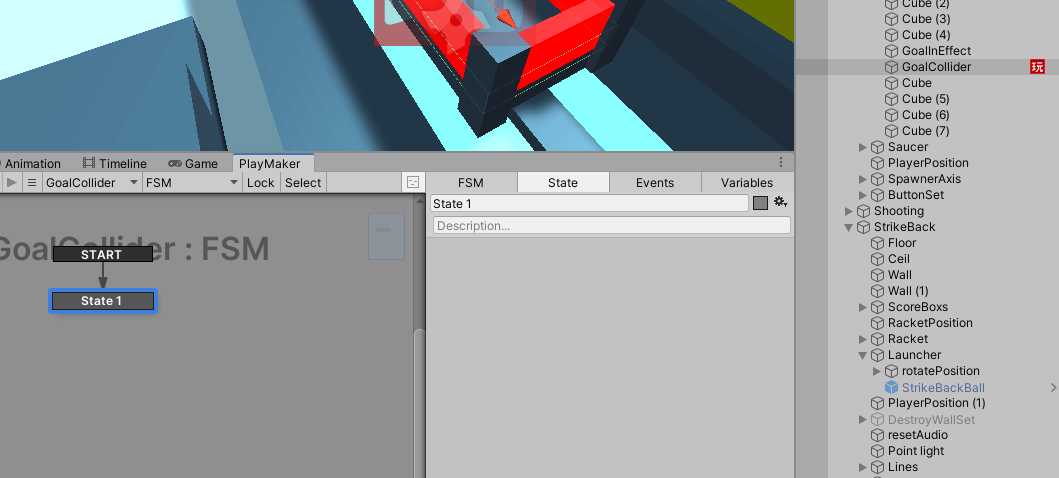
First, let’s set up PlayMaker, adding the FSM to the Goal Collider.
Let’s set up PlayMaker settings by referring to the following article.
![[PlayMaker] Unity Making a UI for score counting](https://styly.cc/wp-content/uploads/2020/09/EYECATCH_アートボード-1-160x160.jpg)
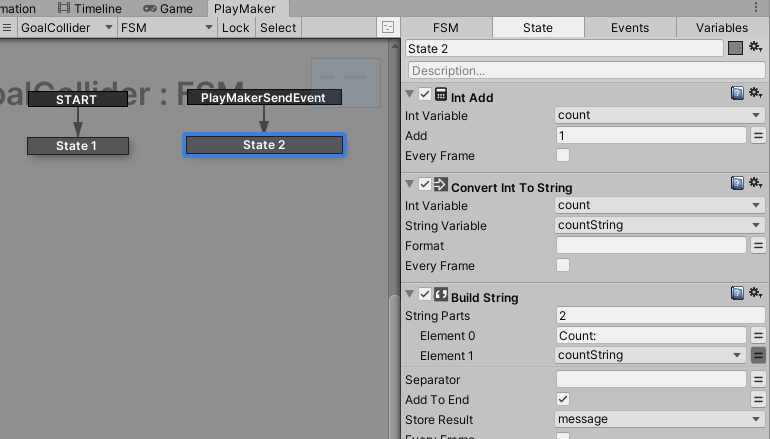
Let’s set it up as shown in the image.
Next, combine the Interaction SDK and PlayMaker.
Add a new list to the On Collision Enter Event() in the Goal Collider’s STYLY_Attr_Collision.
Select Goal Collider.
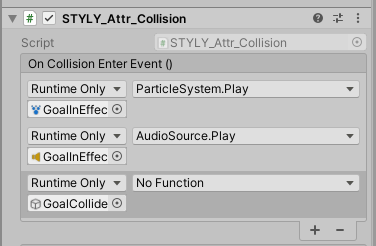
Next, set the No Function field to “PlayMakerFSM > SendEvent(string)”.
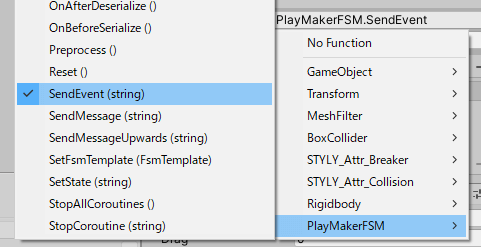
Set the event name to “PlayMakerSendEvent”.
With Goal Collider selected, open the PlayMaker window. In the Events tab, let’s add “PlayMakerSendEvent” in Add Event.

Right-click on State 2 and choose “PlayMakerSendEvent” from the Add Global Transition.
You’re done setting up! Let’s play with it now.

Upload to STYLY
Upload to STYLY. This time, we’ll upload it in a scene.
If your scene is too large to upload to STYLY, please see this article.
Upload your scene from your timeline to STYLY.
How to create an account

How to upload a prefab from Unity to STYLY

If the UI appears on STYLY, you have succeeded.
If you want to adjust the position of the UI, etc., you can fix it in Unity.
Introduction to NEWVIEW SCHOOl ONLINE
NEWVIEW SCHOOl ONLINE, where you can learn the basics of Unity and PlayMaker necessary for creating VR/AR content, from the basics to the application of PlayMaker, and learn the process of creating the fascinating content available on STYLY (we’ll also expose the production techniques).
