Even if you don’t have a 360 degree camera or a high quality camera, you can create your own HDRI by combining existing free materials and objects.
In this article, we will show you how to create a HDRI in Blender.
What is HDRI?
HDRI stands for High Dynamic Range Image, which is an image with a high luminance range (from Wikipedia).
It consists of a 360-degree image or a cubemap texture (an image divided into six cubes), and can be used for ambient light, reflection on metallic materials, or as a background for artworks (Skybox).
You can experience the sample scene from STYLY GALLERY.
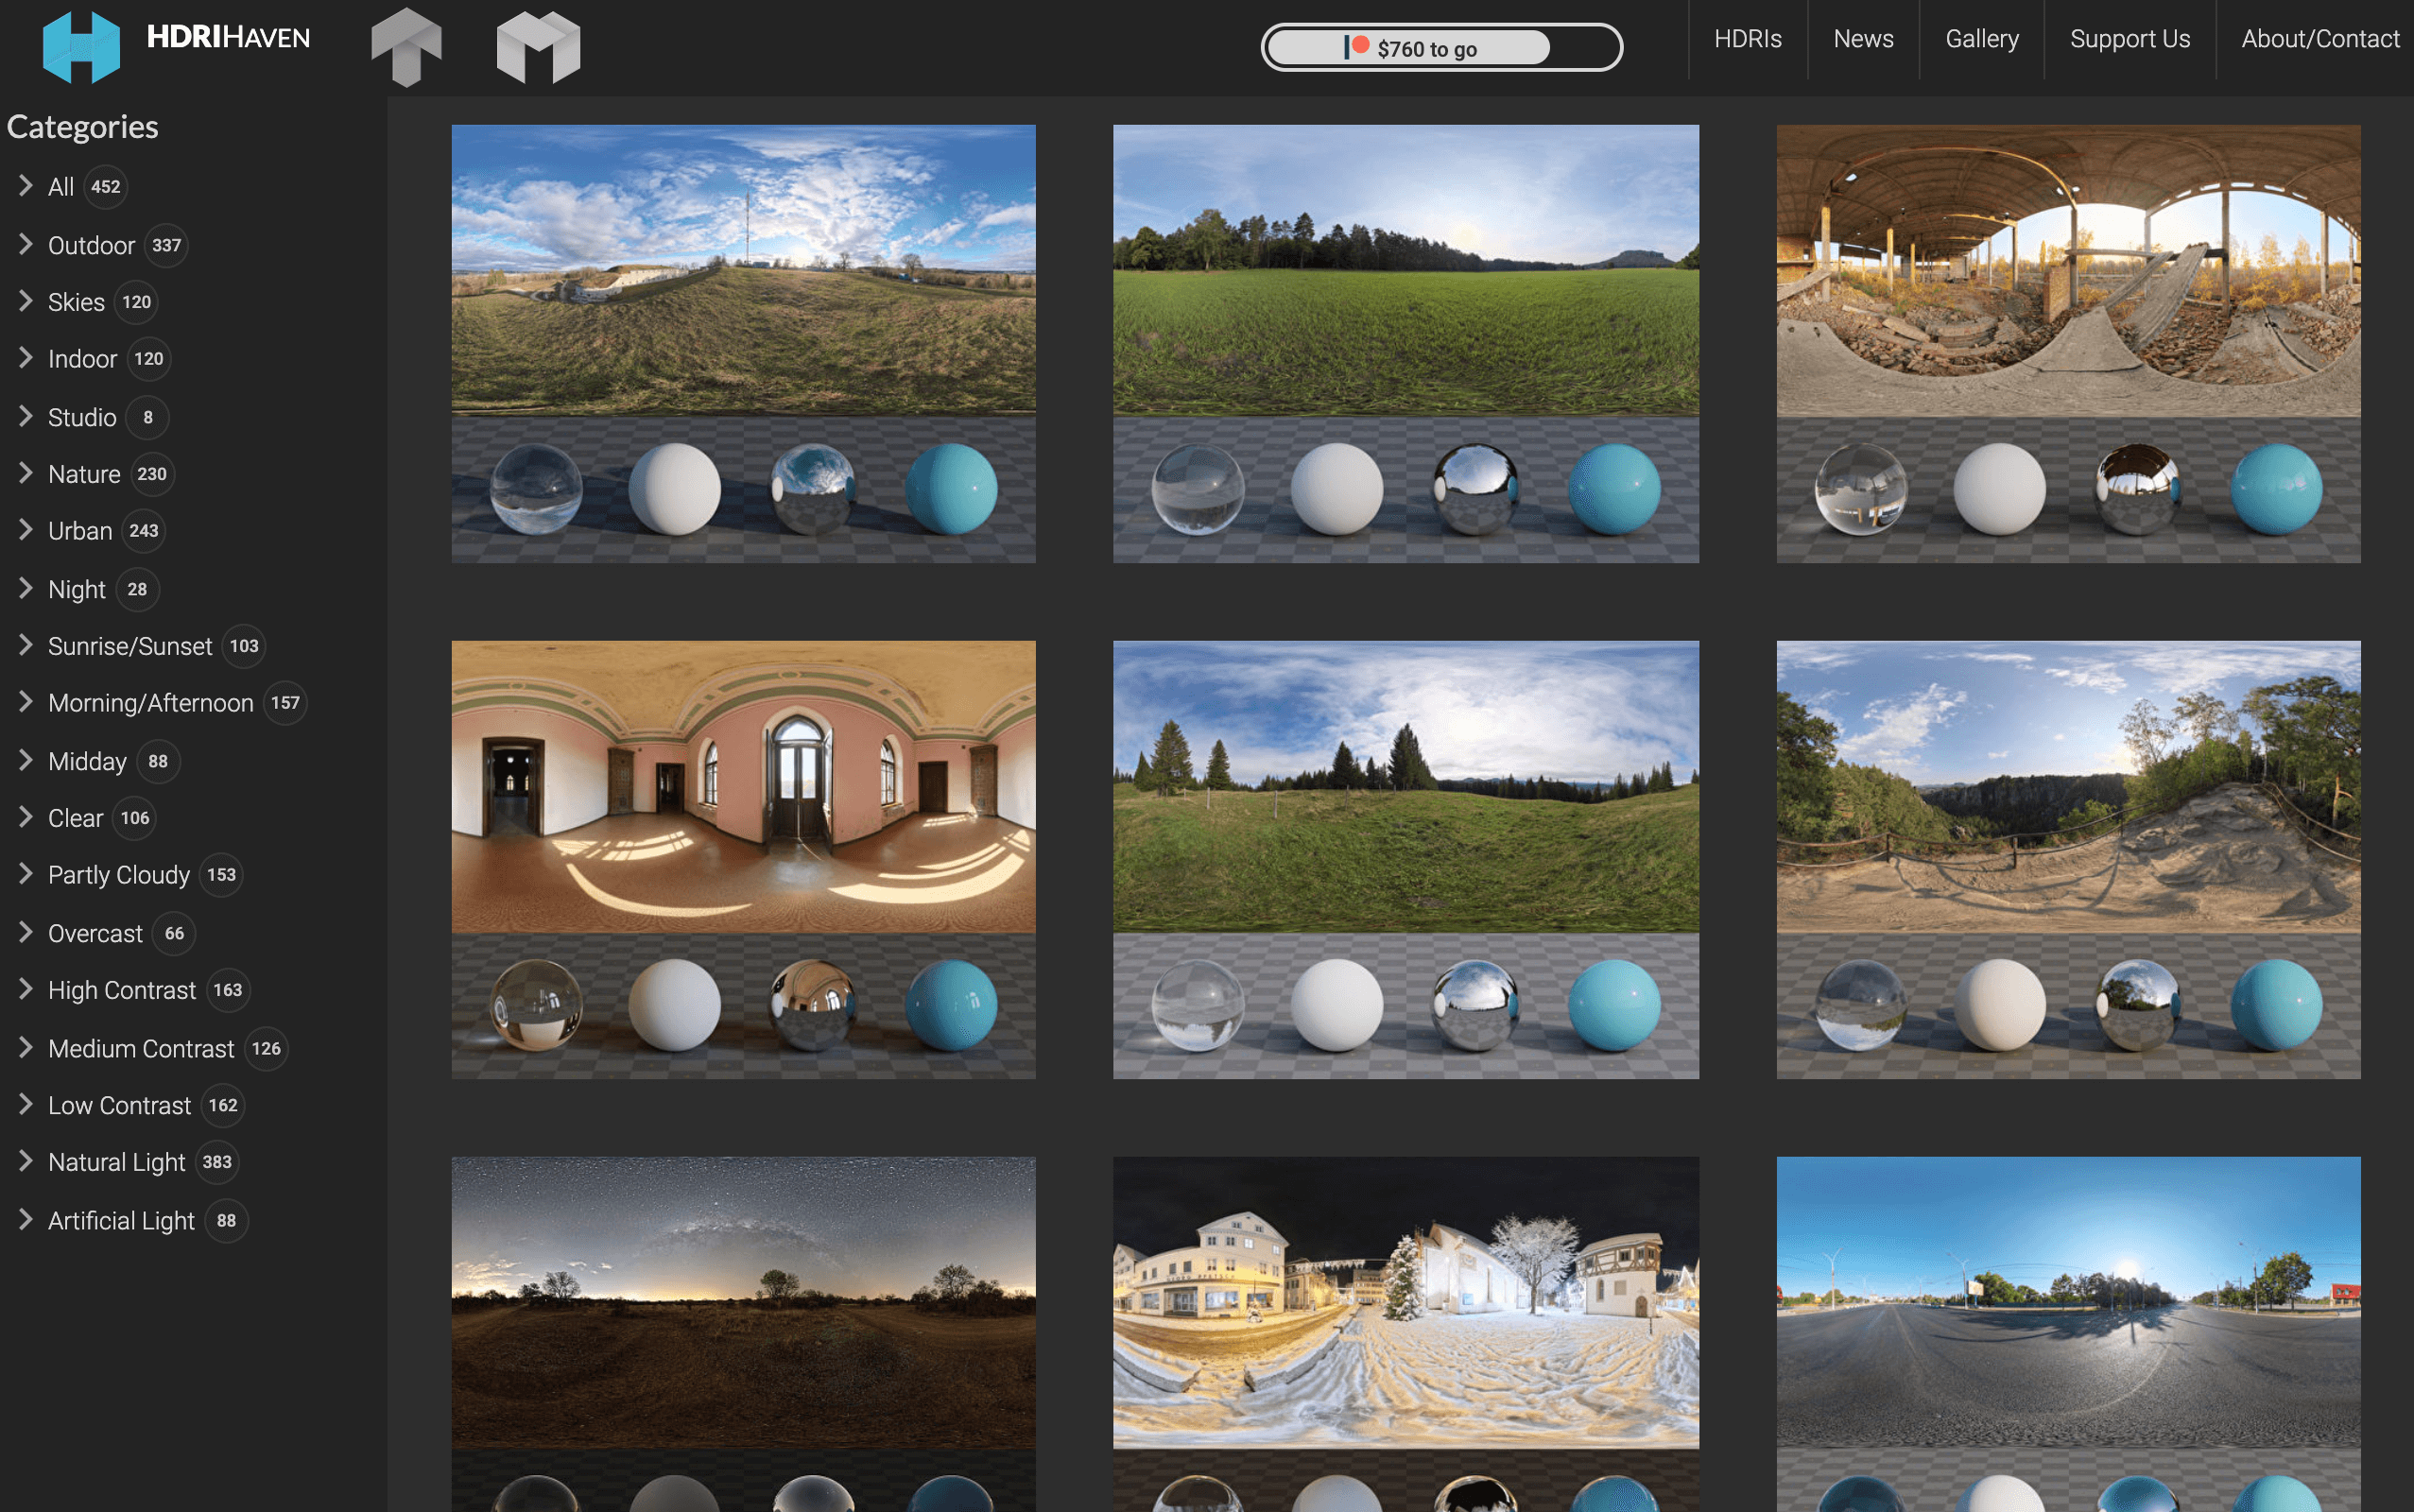
From HDRI free distribution site HDRI Heaven (https://hdrihaven.com/)
Making your own HDRI
It will not be a three-dimensional object with the same rules as you would place an object in Unity or STYLY Studio, but instead a surrounding scenery (360-degree image) that does not interfere with the movement in the VR scene.
Preparation for Creation
We will use the 4K material here and combine the objects created separately.
The HDRI on this site is copyright free & can be obtained for free.
First, switch to the Shading tab.
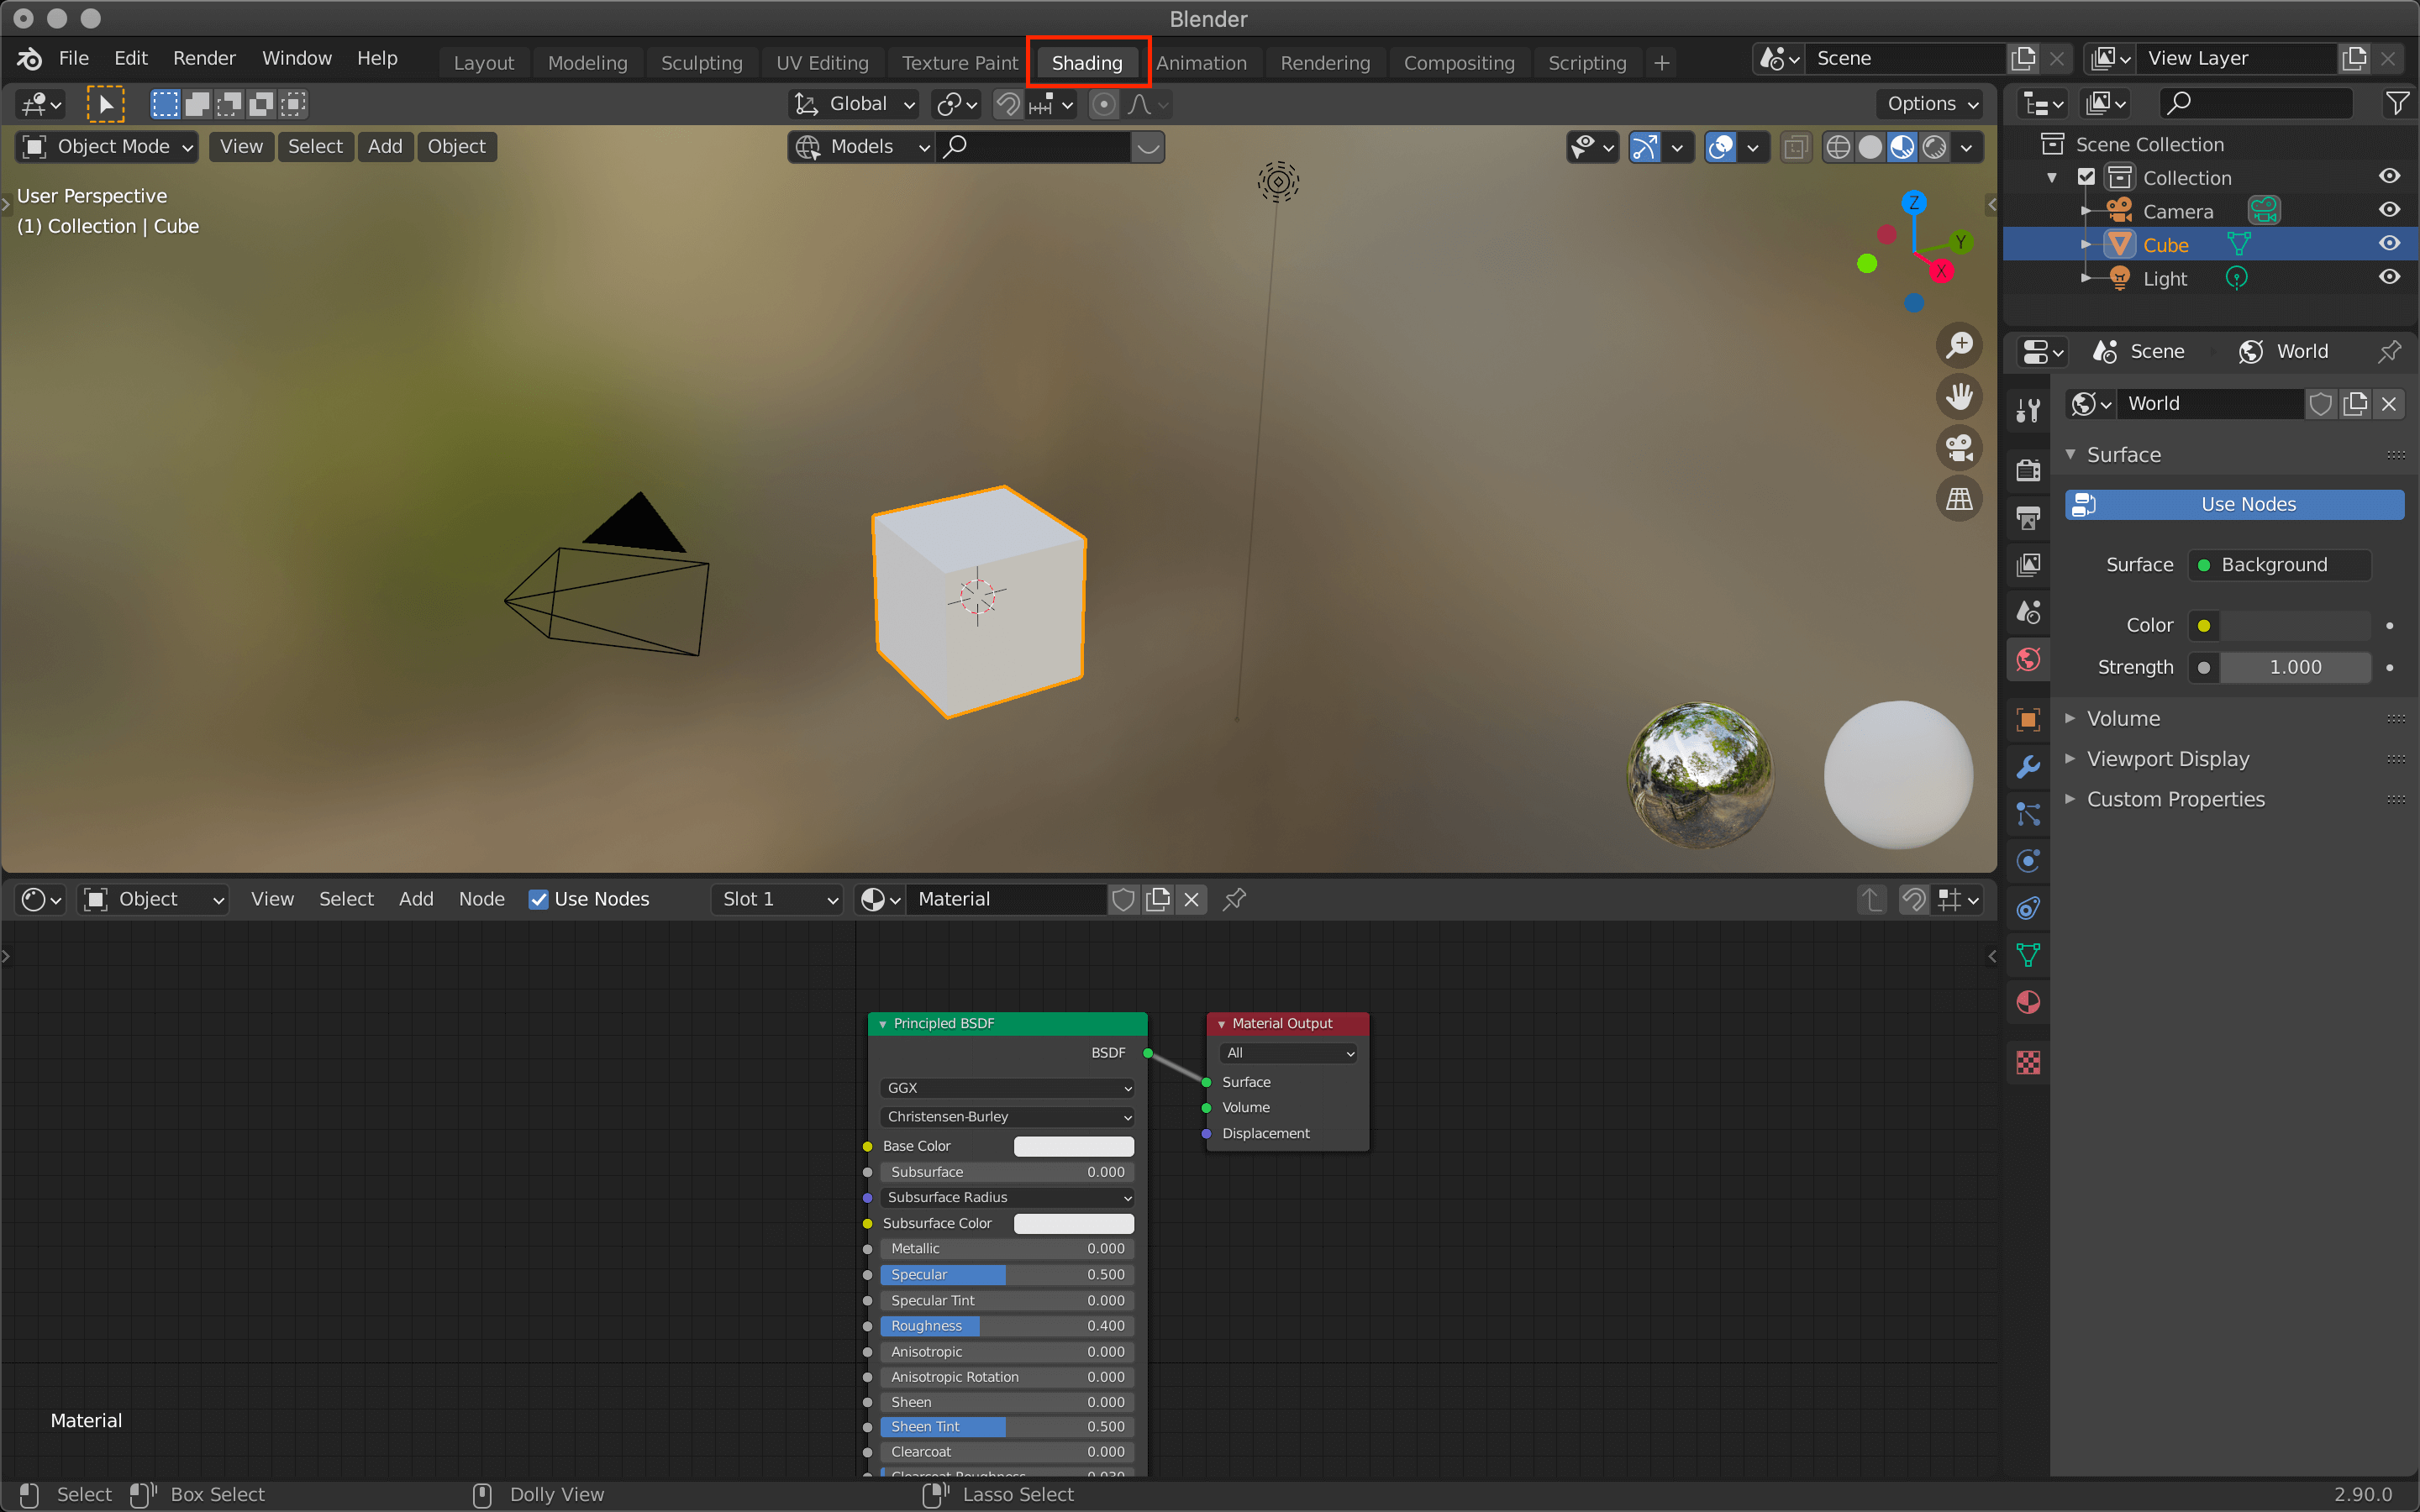
Shading tab
Select the World Properties (globe icon) on the right side and click on Color→Envioment Texture.
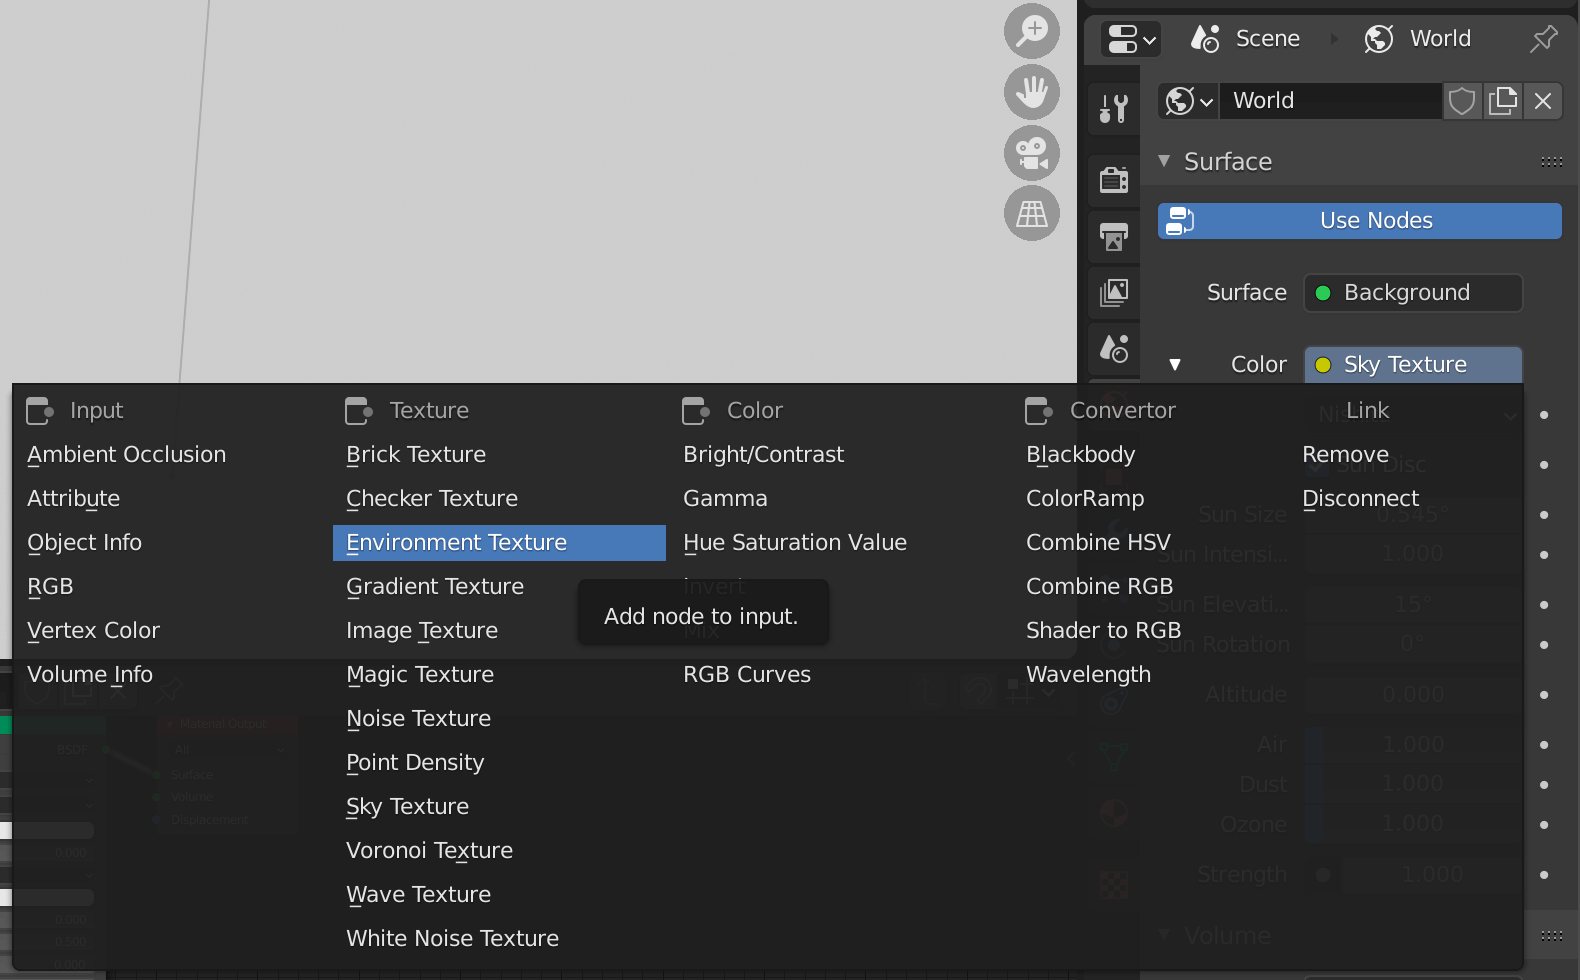
Click on the yellow circle and select it.
This will give you a pink background, and you can assign the HDRI you downloaded earlier.
Note that when applying HDRI, the viewport shading must be set to render preview to see the effect.
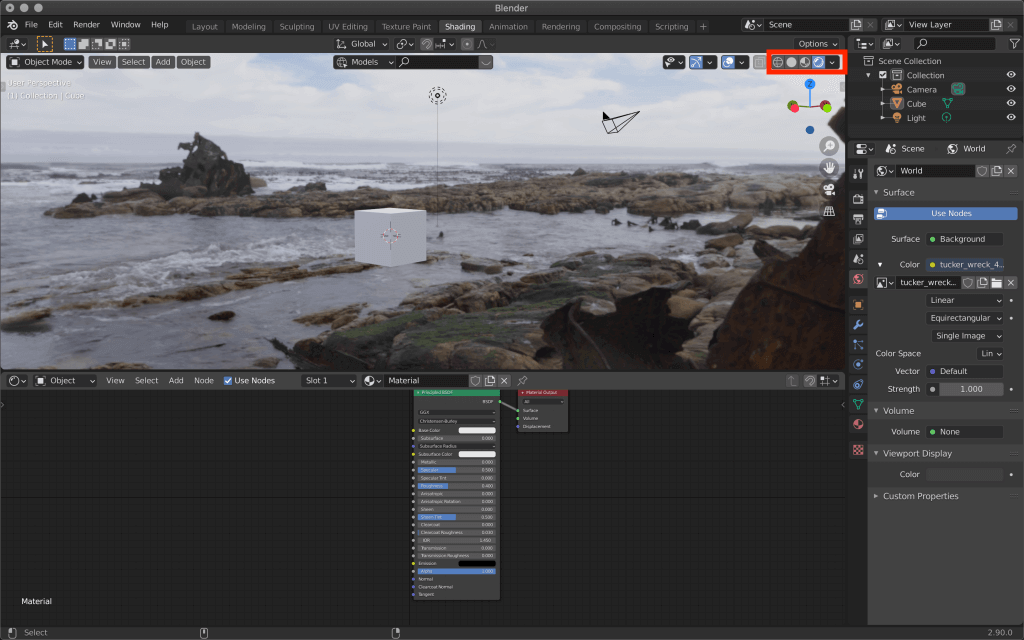
Switch from the top right icon
Move the camera position to the origin.
With the camera selected, press the [N] key→Transform, and set Rotation X to 90 and all other values to 0.
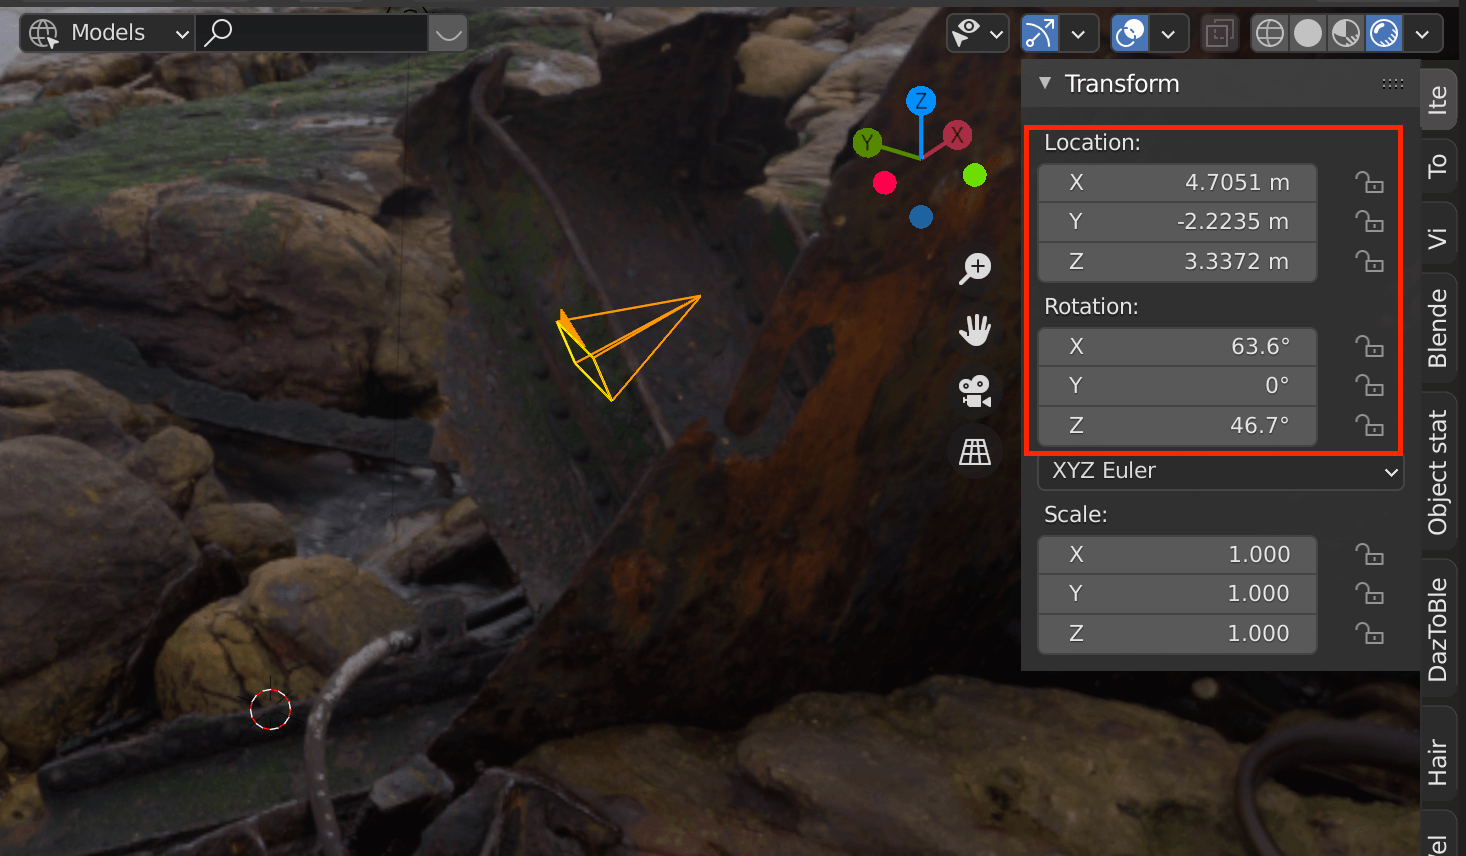
The position of the camera has shifted from the red circle (origin).

The camera has been moved to the origin.
Place objects and images in a way that surrounds the camera.
Place an image
We will use this image of a tree as an example, but please prepare your own image to use.
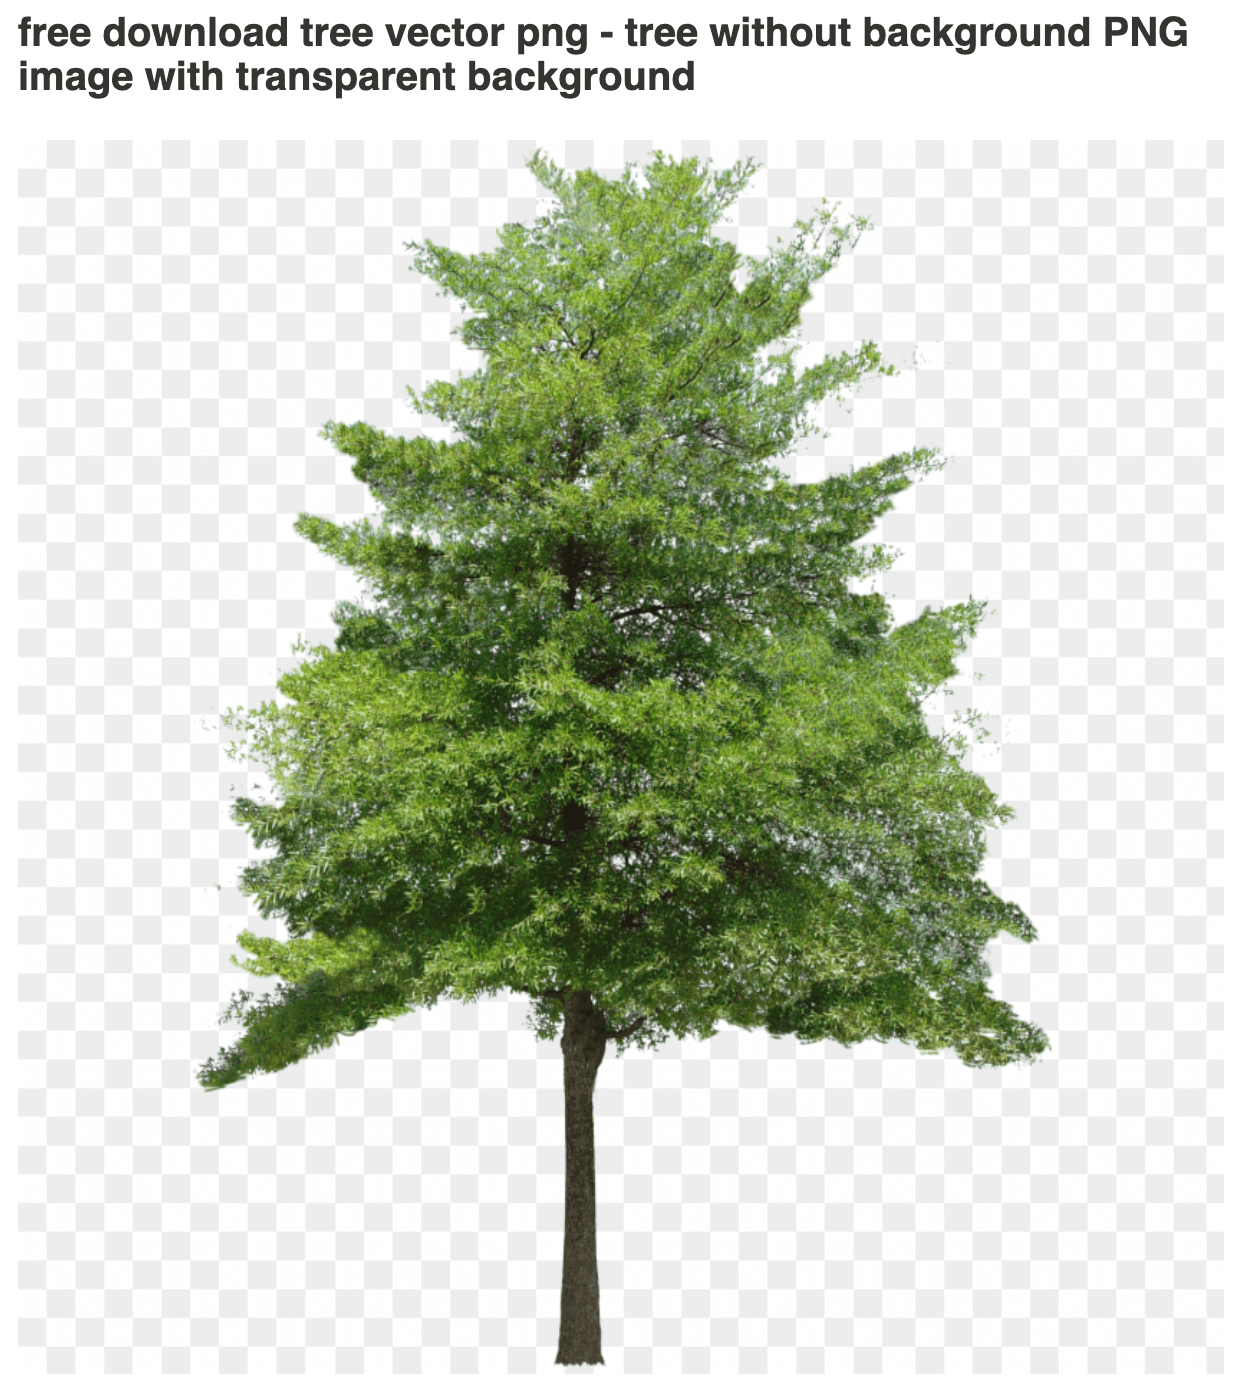
Use a 2D image with transparency.
Switch the render engine to “Cycles”.
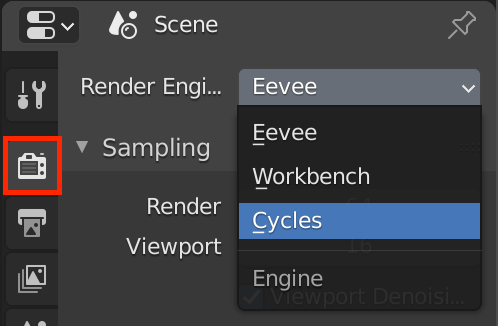
Cycles
Press [Shift+A] → Mesh → Select “Plane” and add a new one.
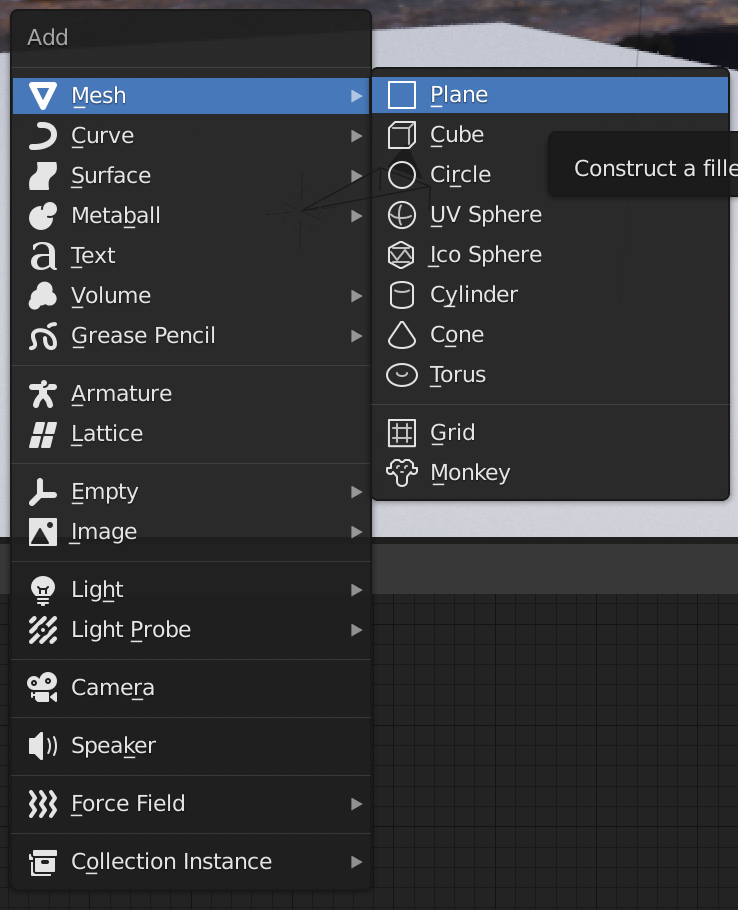
Add a new plane
With the plane selected, add a new material.
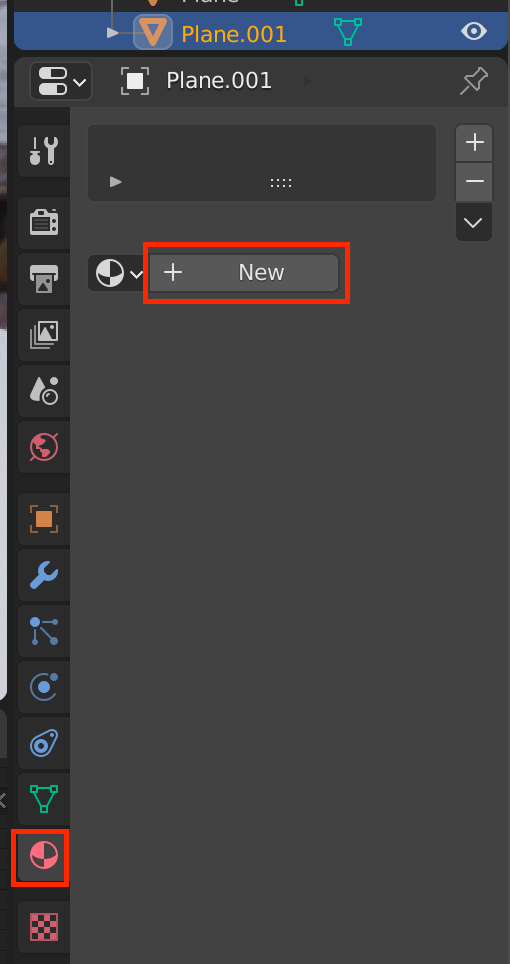
Add new material
Add an Image Texture node from the base color.
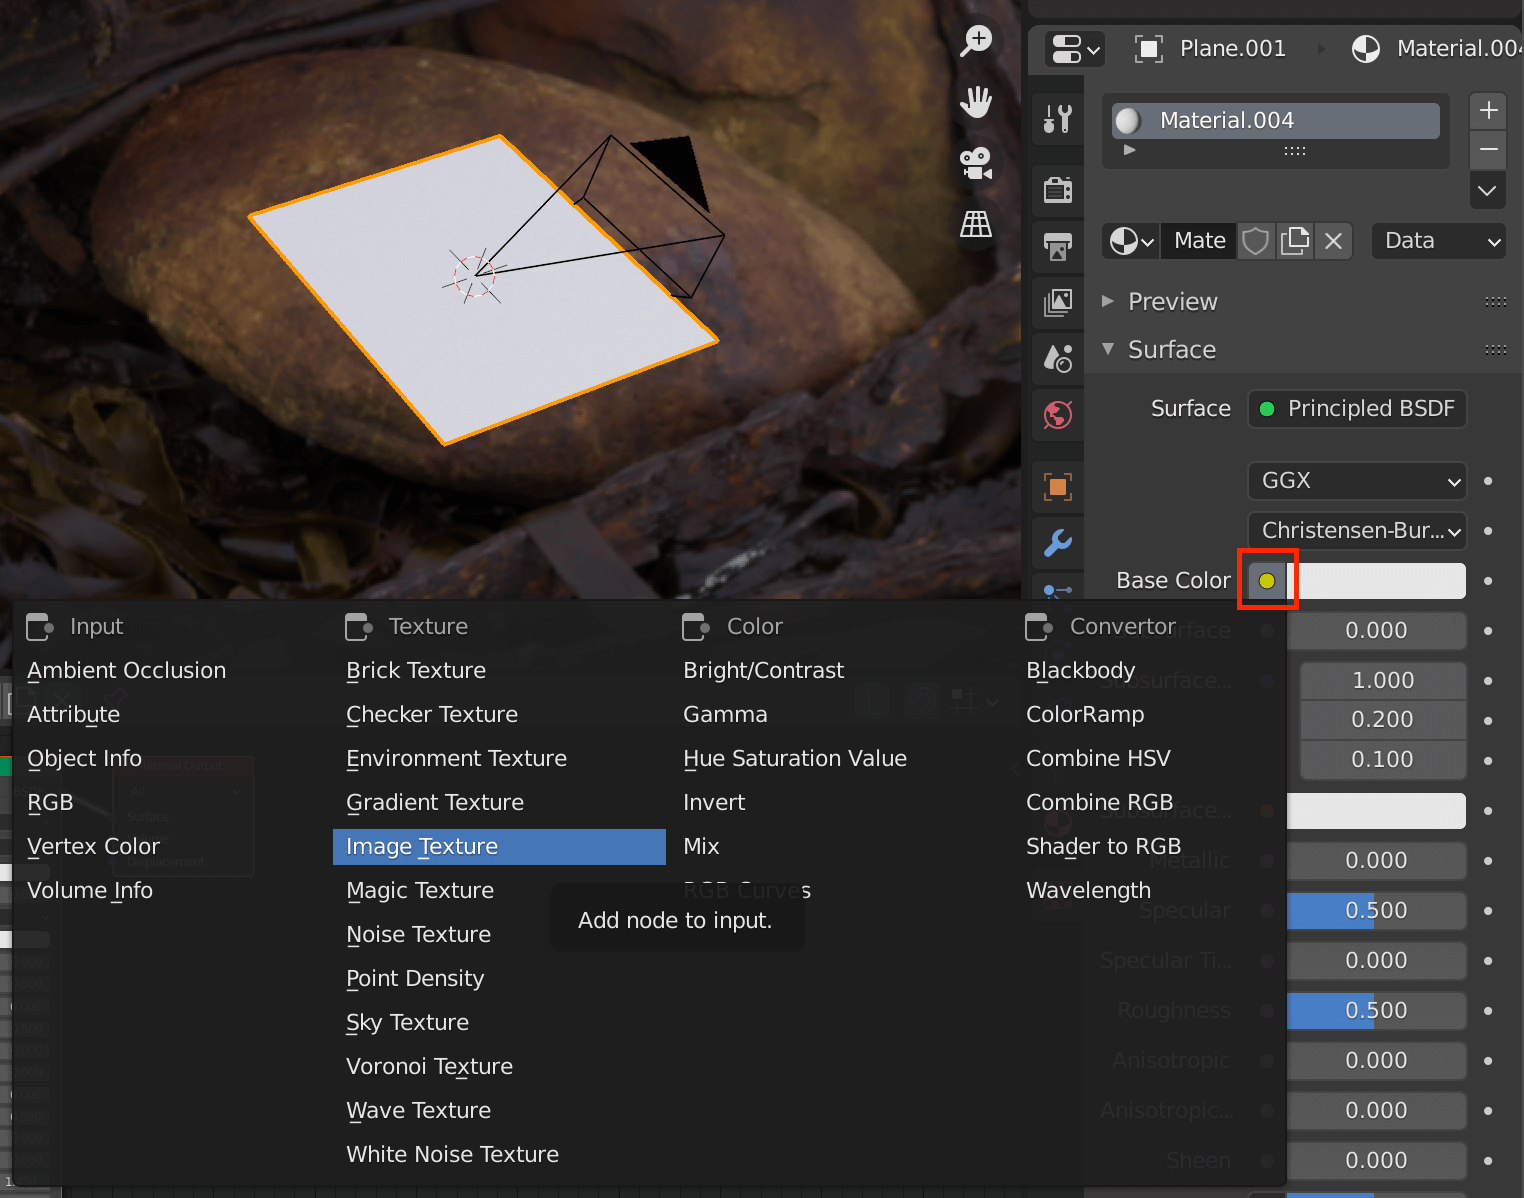
Click on the yellow circle to select it.
Click “Open” to open a new window.
Then click “Open Image”.
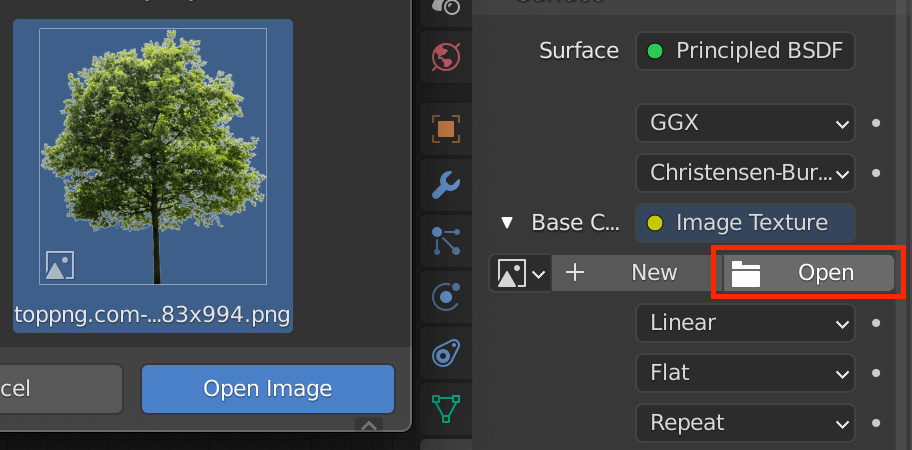
Open -> Select Image -> Open Image
Change the material properties “Blend Mode” and “Shadow Mode” to Alpha.
Connect the Principled BSDF to the Alpha of each image node.
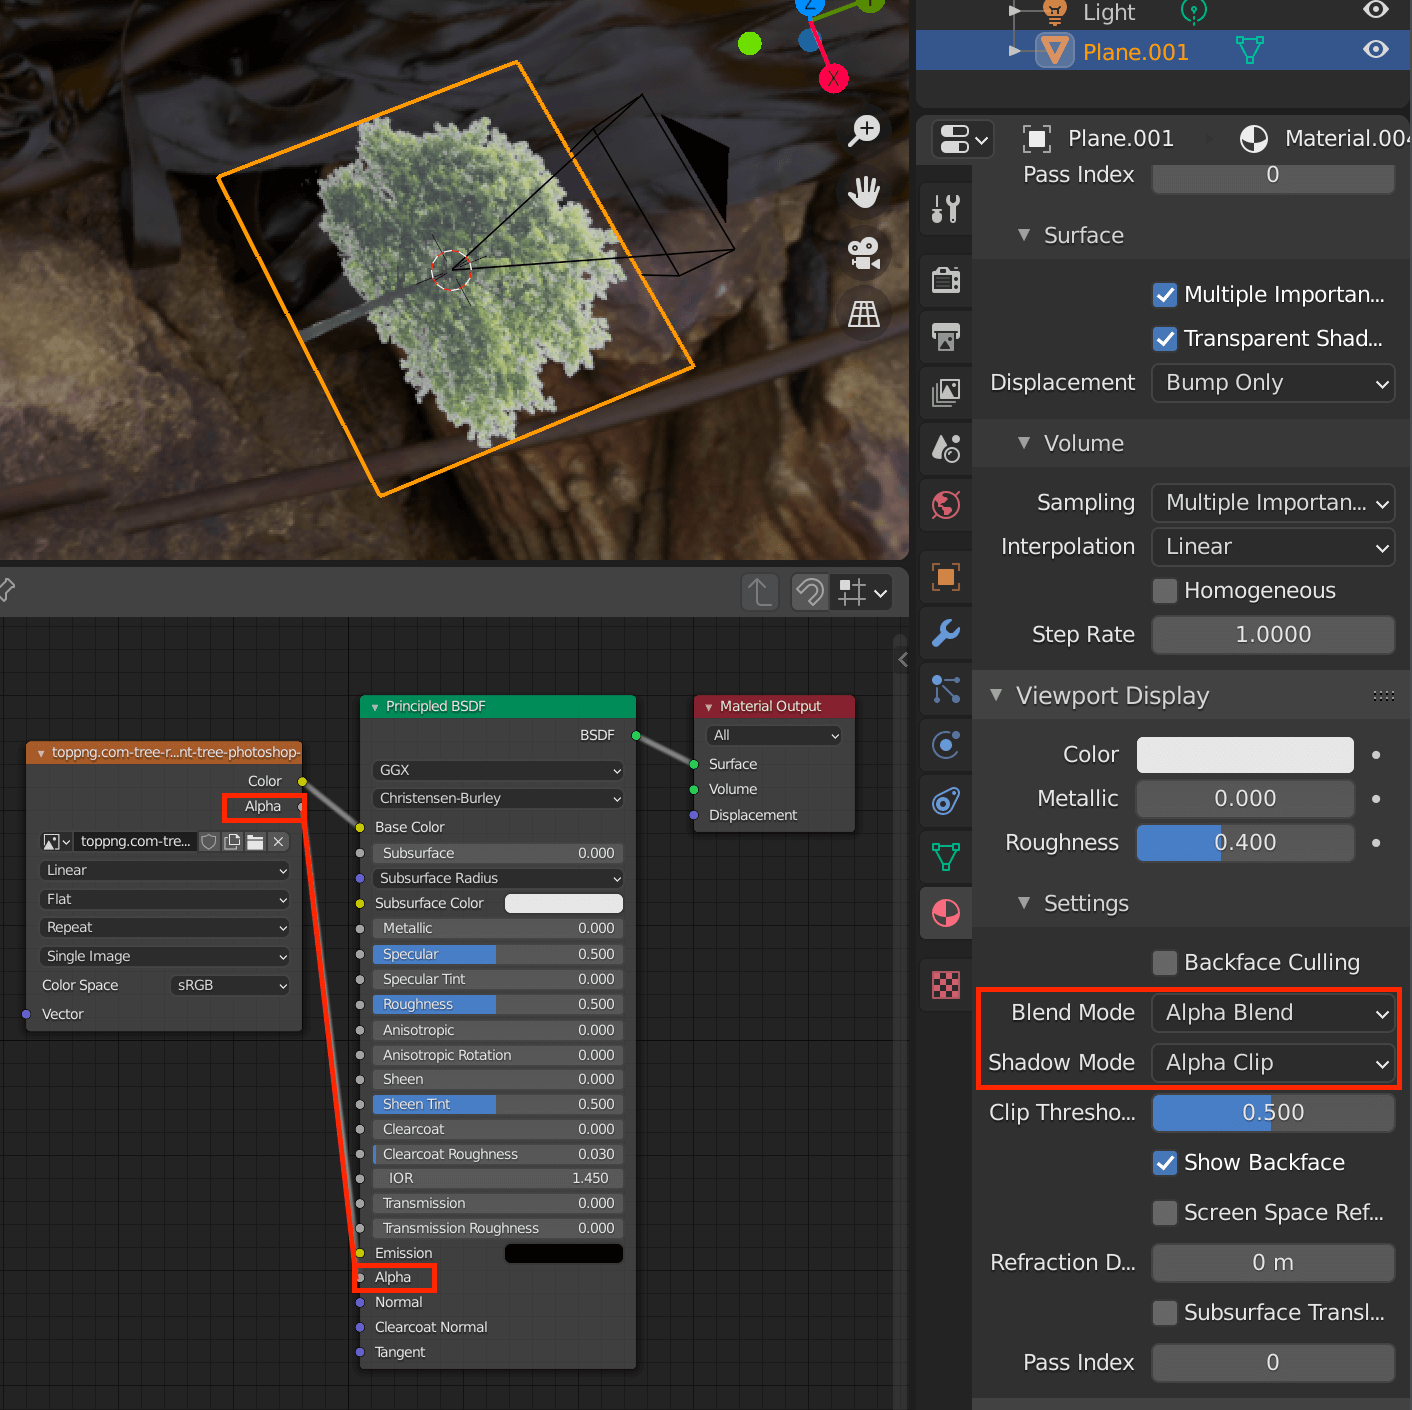
Blend Mode/Alpha
Adjust the width and orientation of the plane while viewing the reflected image.

S (Scale) -> X, R (Rotate) -> X -> 90, R -> Z -> 90
Continue to place various images and objects. Place them at an angle so that they always face the center.
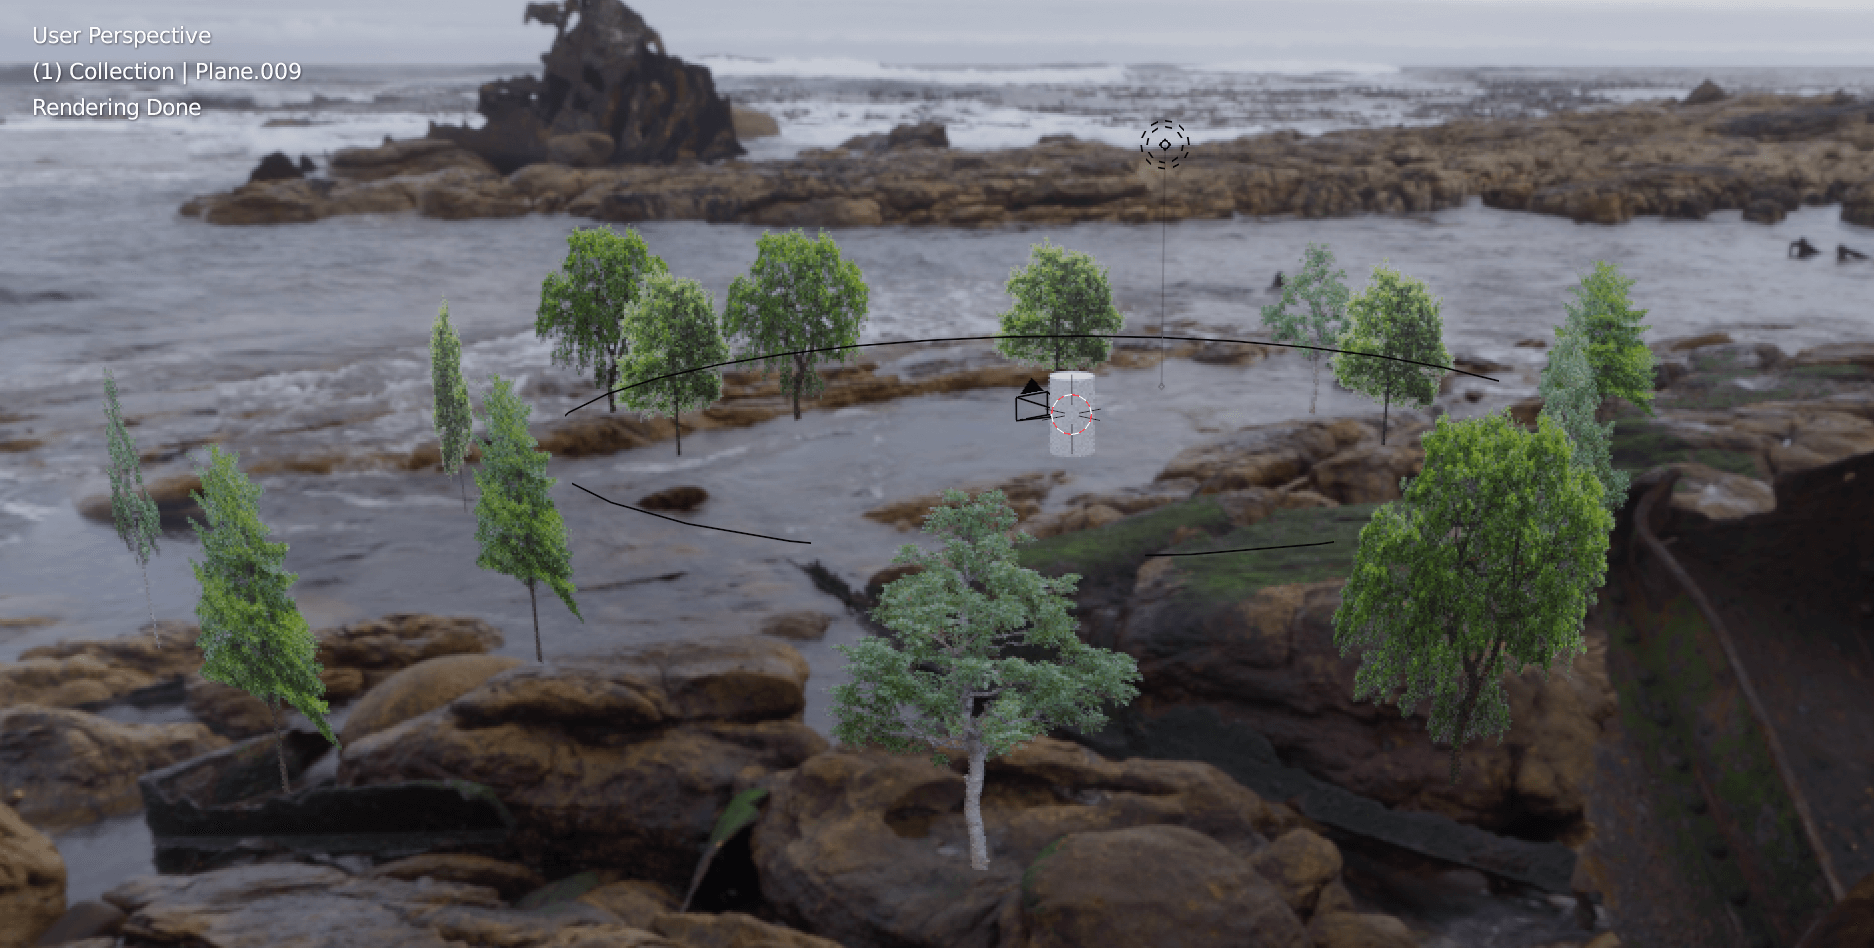
Distance and size are difficult to determine, but you can avoid significant errors by temporarily placing a cylinder that is about the same height as you are, or a circle that assumes the range of activities in the VR scene.
![[Shift+A]→Cylinder](https://styly.cc/wp-content/uploads/2021/03/Screenshot-58.png)
[Shift+A]→Cylinder
![[Shift+A] key -> Add Circle and move the tree around it](https://styly.cc/wp-content/uploads/2021/03/Screenshot-2.png)
[Shift+A] key ; Add Circle and move the tree around it
Placing Objects
We are only placing images, but if you want to place CG 3D objects, select a specific extension from “Import”.
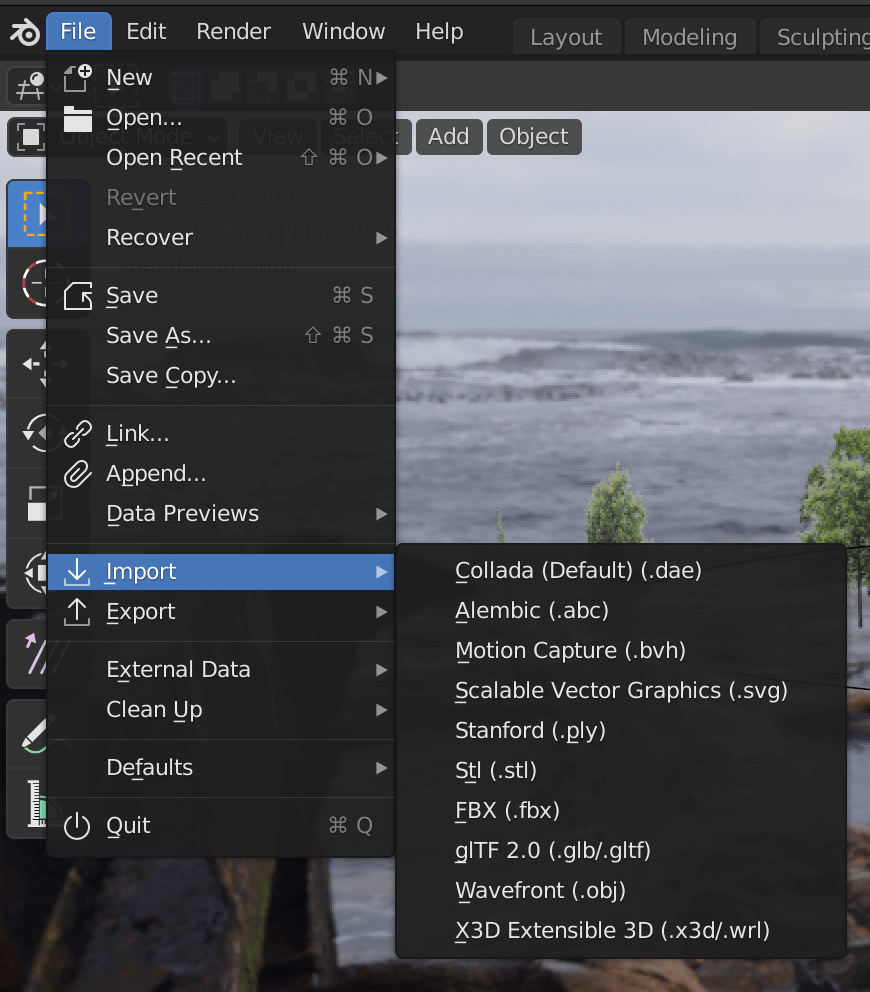
Select File→Import from the menu above.
Exporting the HDRI
More tree images.
Once completed, export the image as HDRI.
Delete the cylinder and circle that were placed as a guide, and select the camera.
The camera properties will appear on the right side, and once you click on it, you can change some settings.
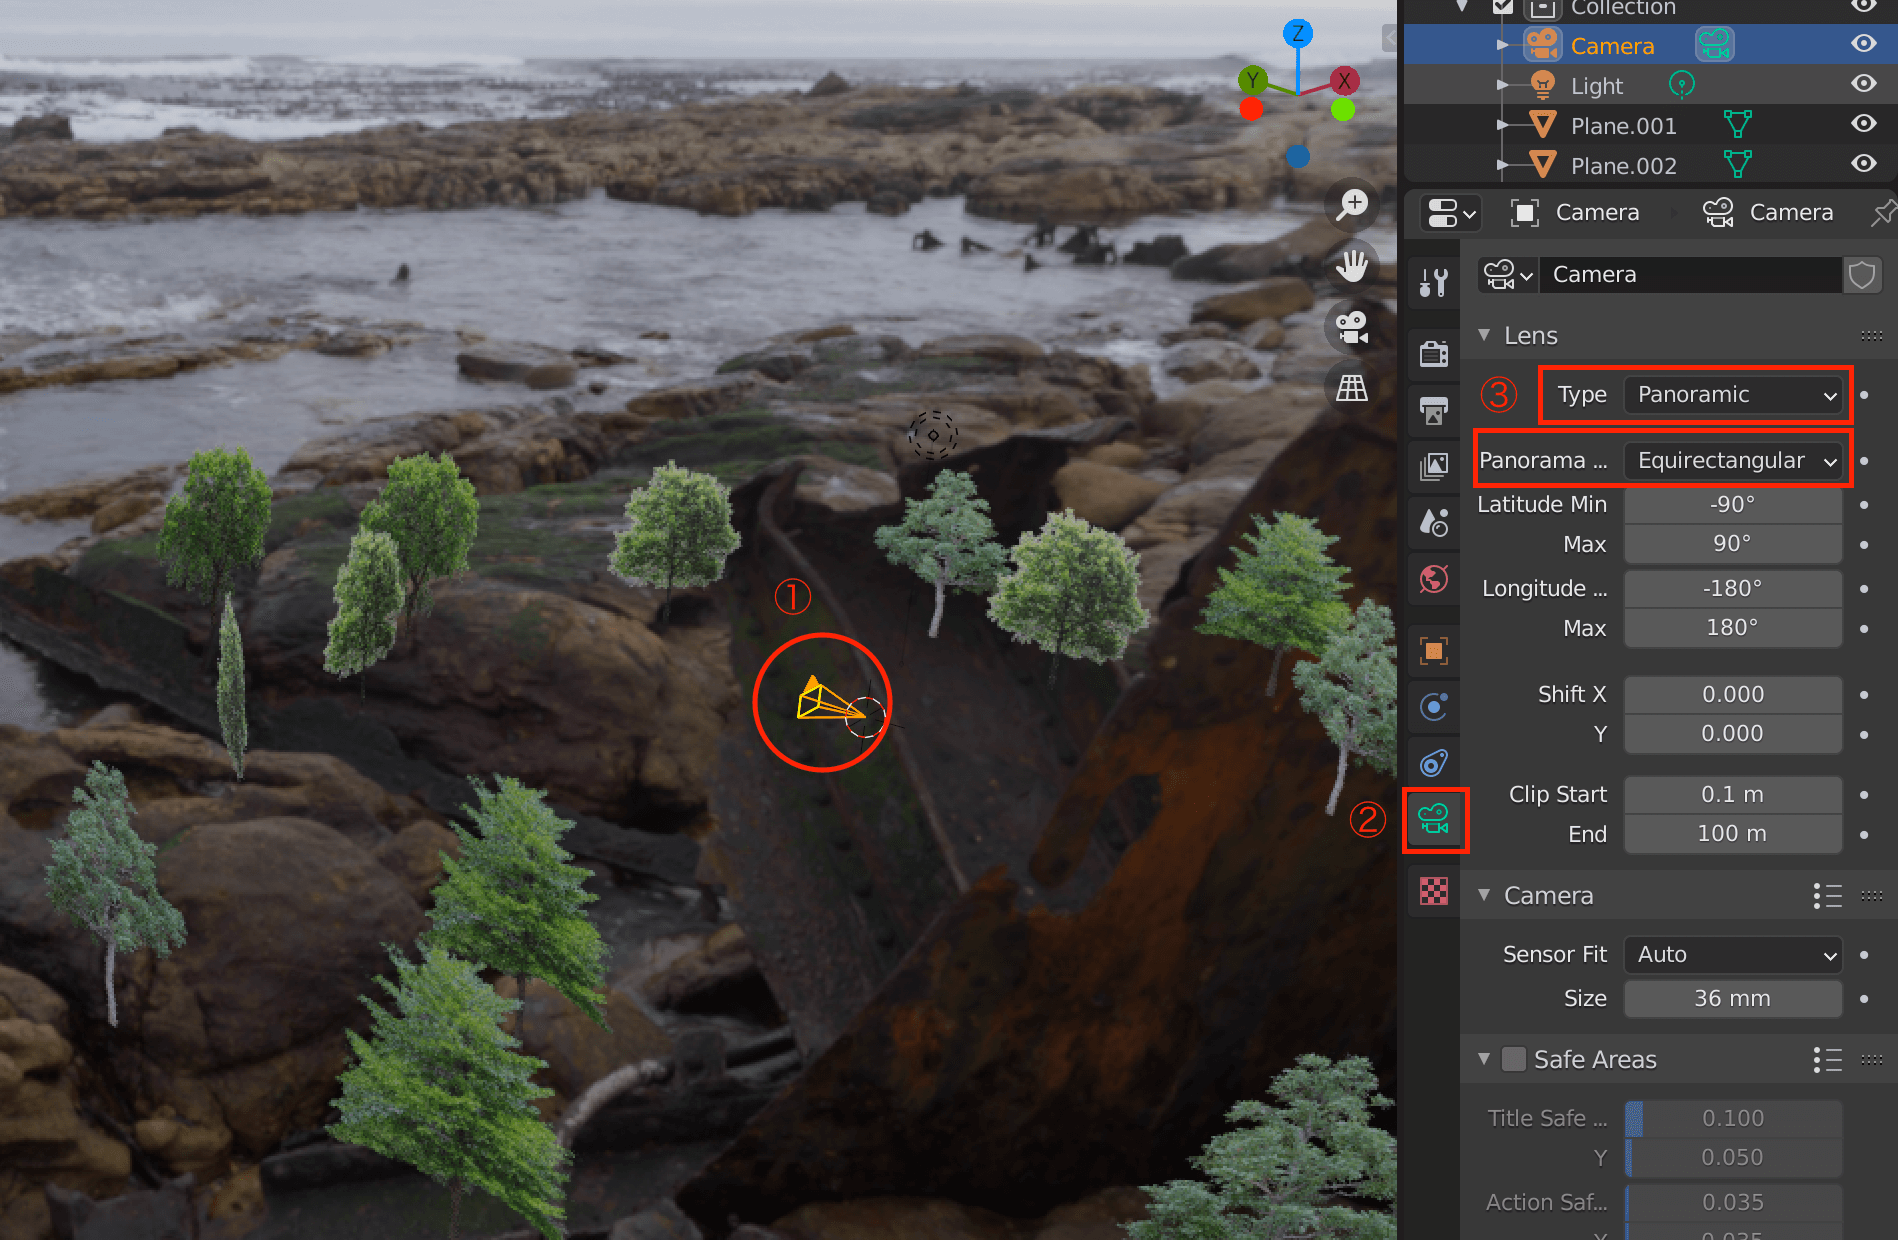
Select the camera -> click the camera icon -> change lens settings
Change the resolution from the output properties (print icon).
In this case, I set it at the HDRI resolution (4K) that I used.
The larger the value here the more beautiful the image will look, but it will also increase the data size, so set it to your liking.
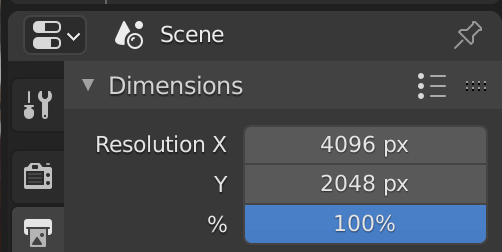
2:1
Then, click on “Render Image” in the upper left corner to export the image.
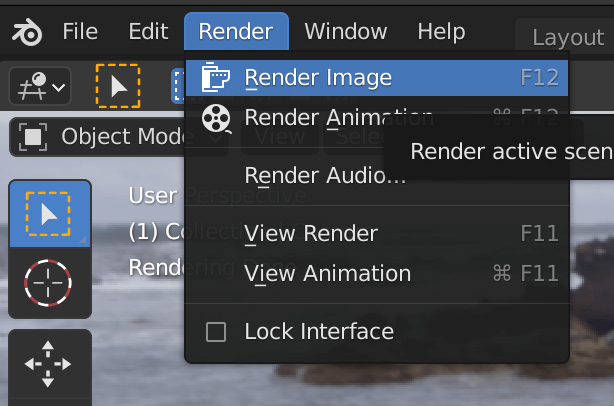
Render Image
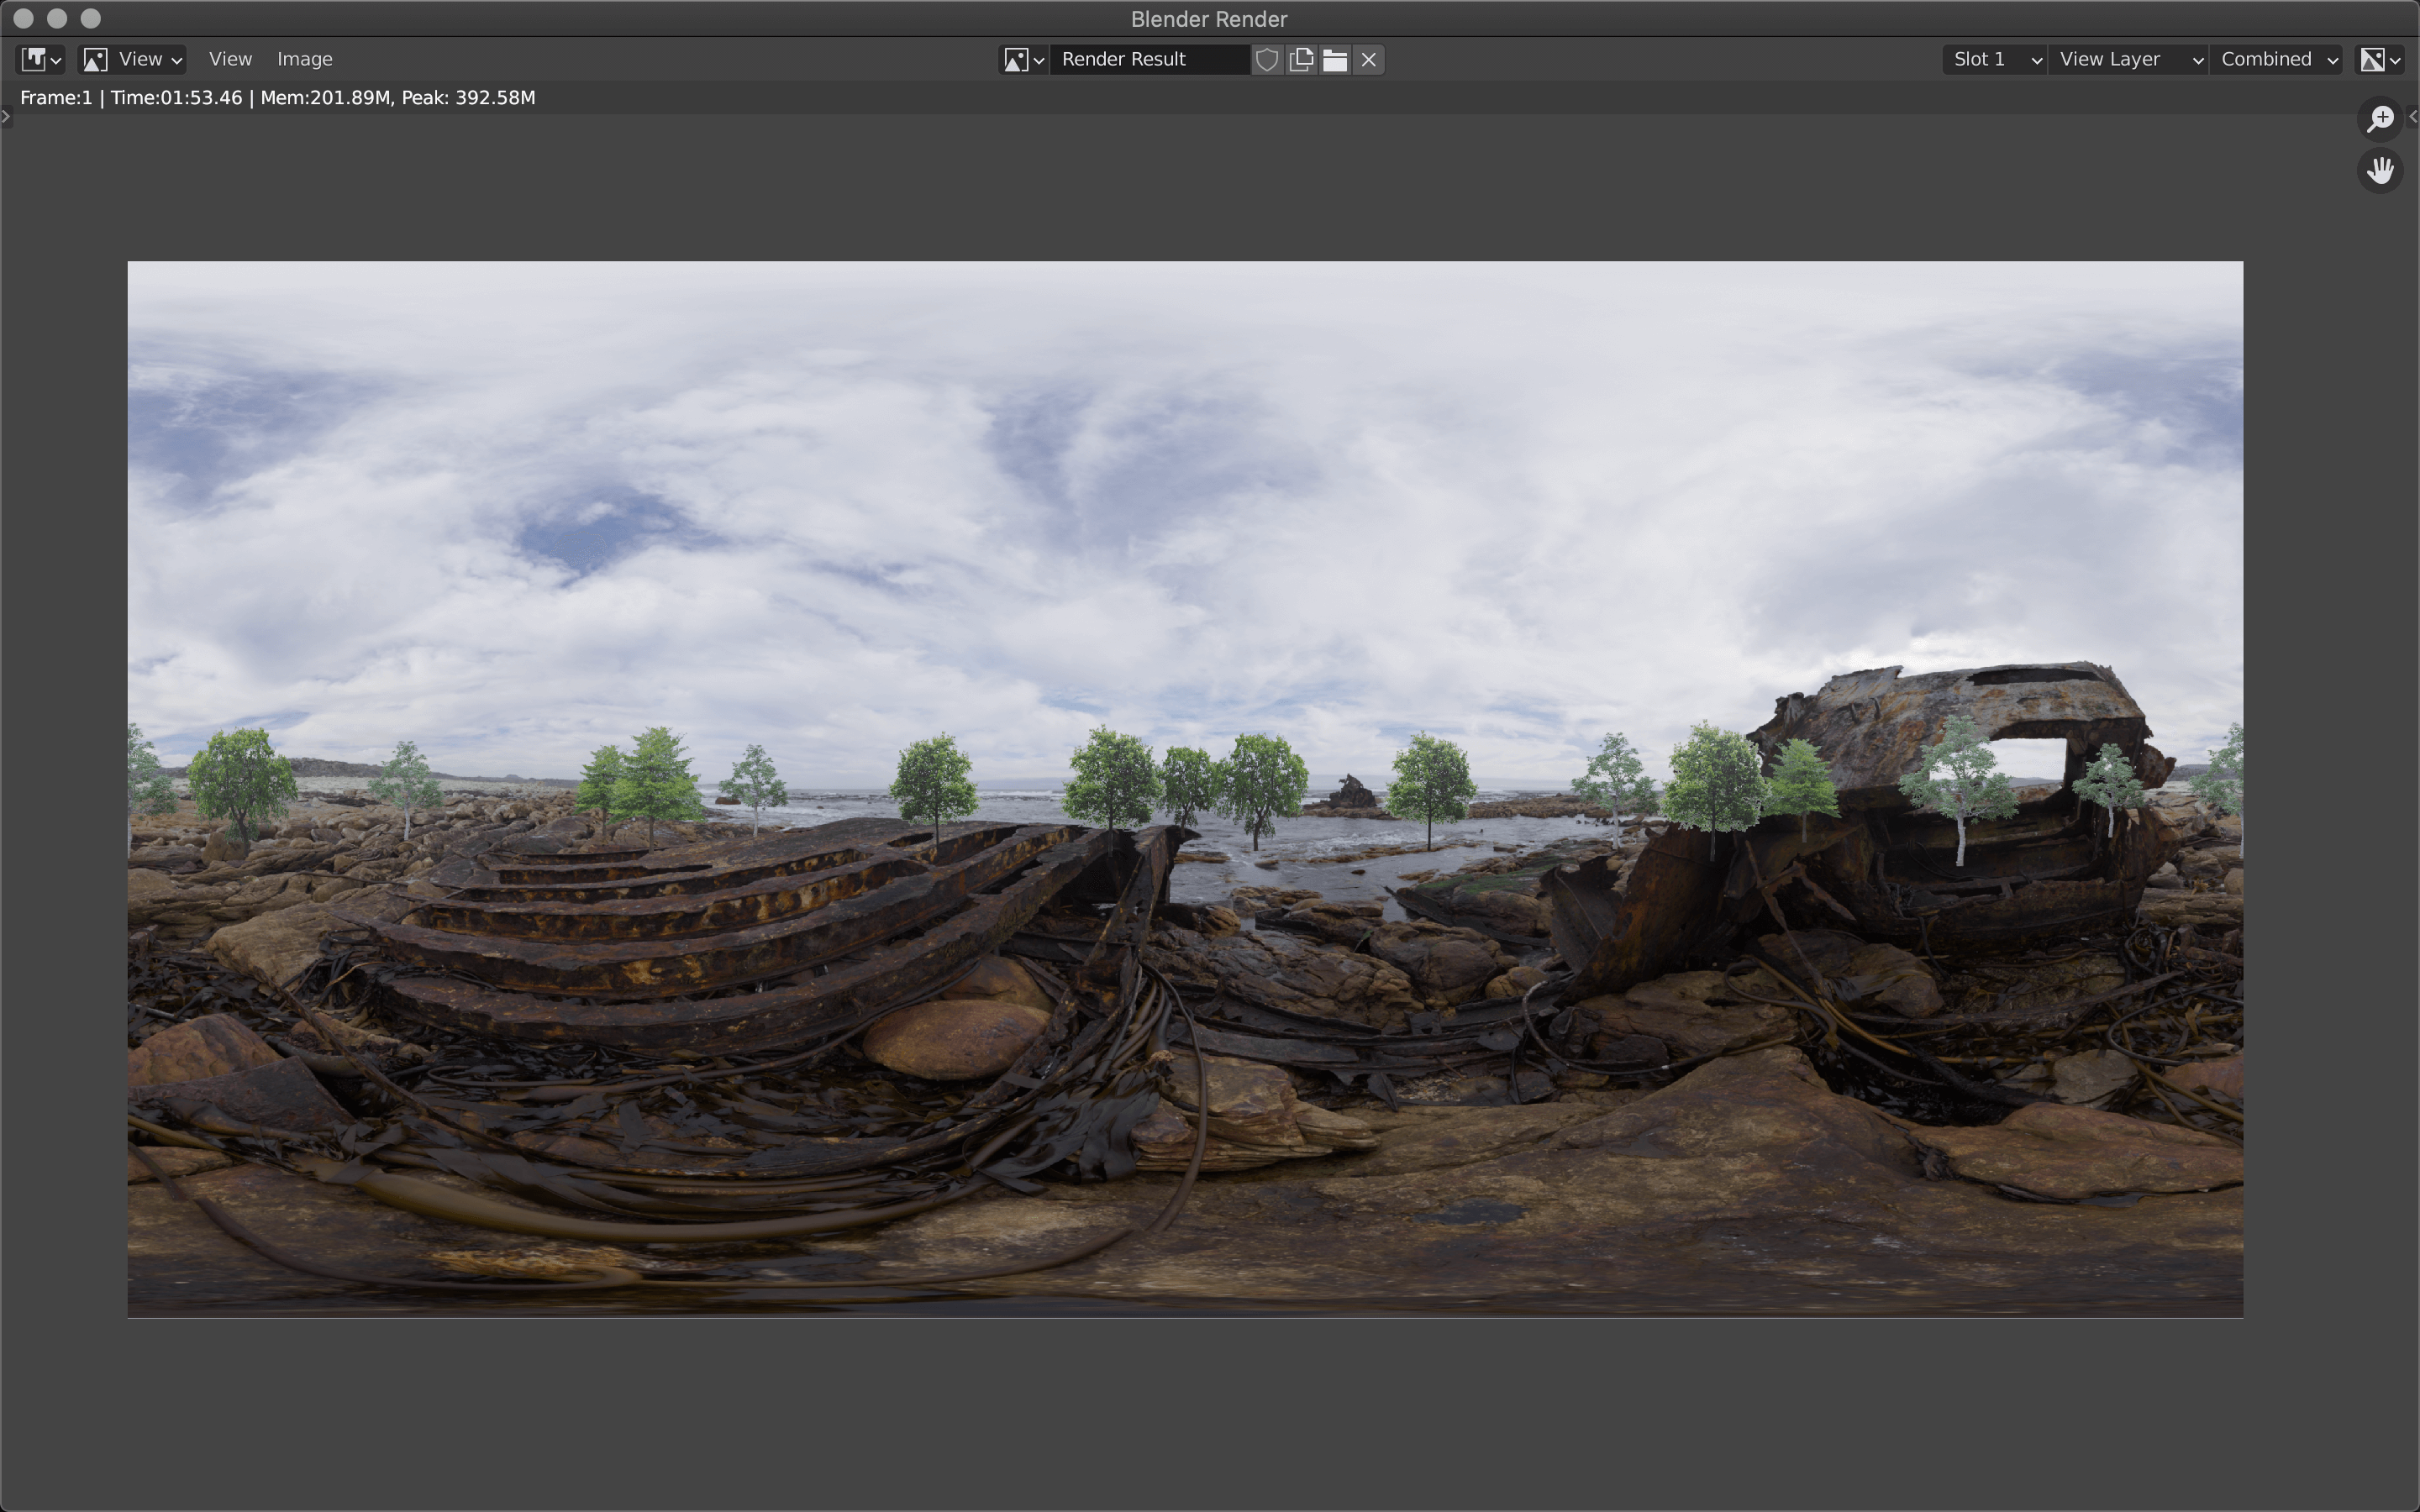
Exported image
Finally, save the image.
Select “Save” from Image in the upper left corner and change the extension to “hdr”.
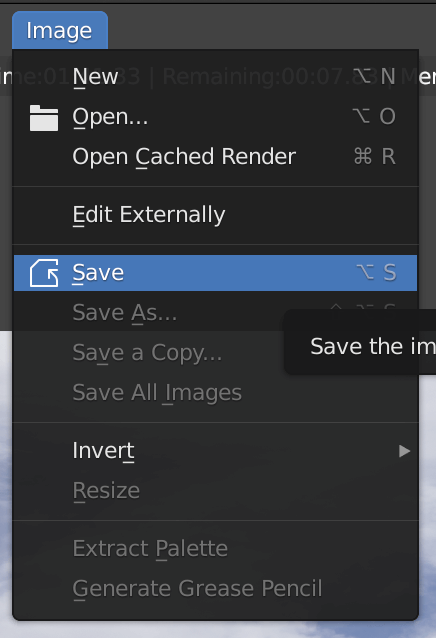
Save
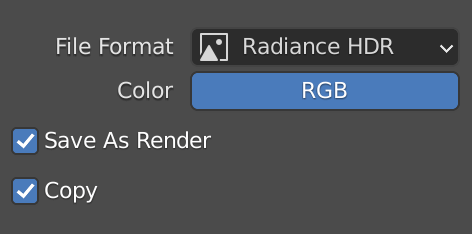
Radiance HDR→Save as Image
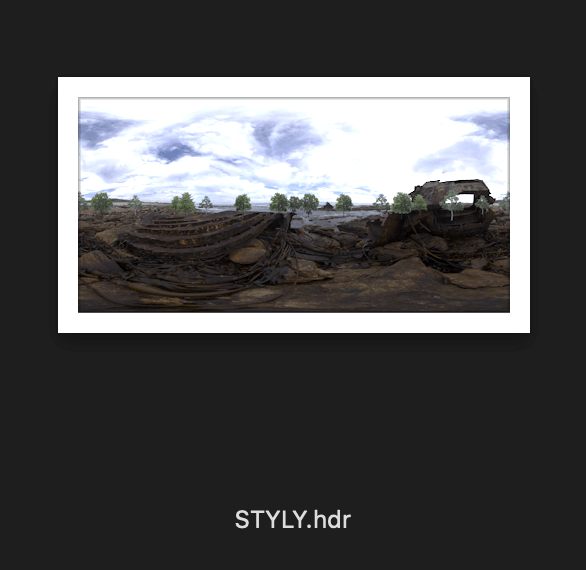
The image has been saved.
Use the Original HDRI in STYLY
To apply the original HDRI to your STYLY scene, you need to assign it in Unity and then upload it.
Open Unity and drag and drop the HDRI you just saved to the asset window to load it.

Drag and drop
Select the loaded image and change the settings in the Inspector window.
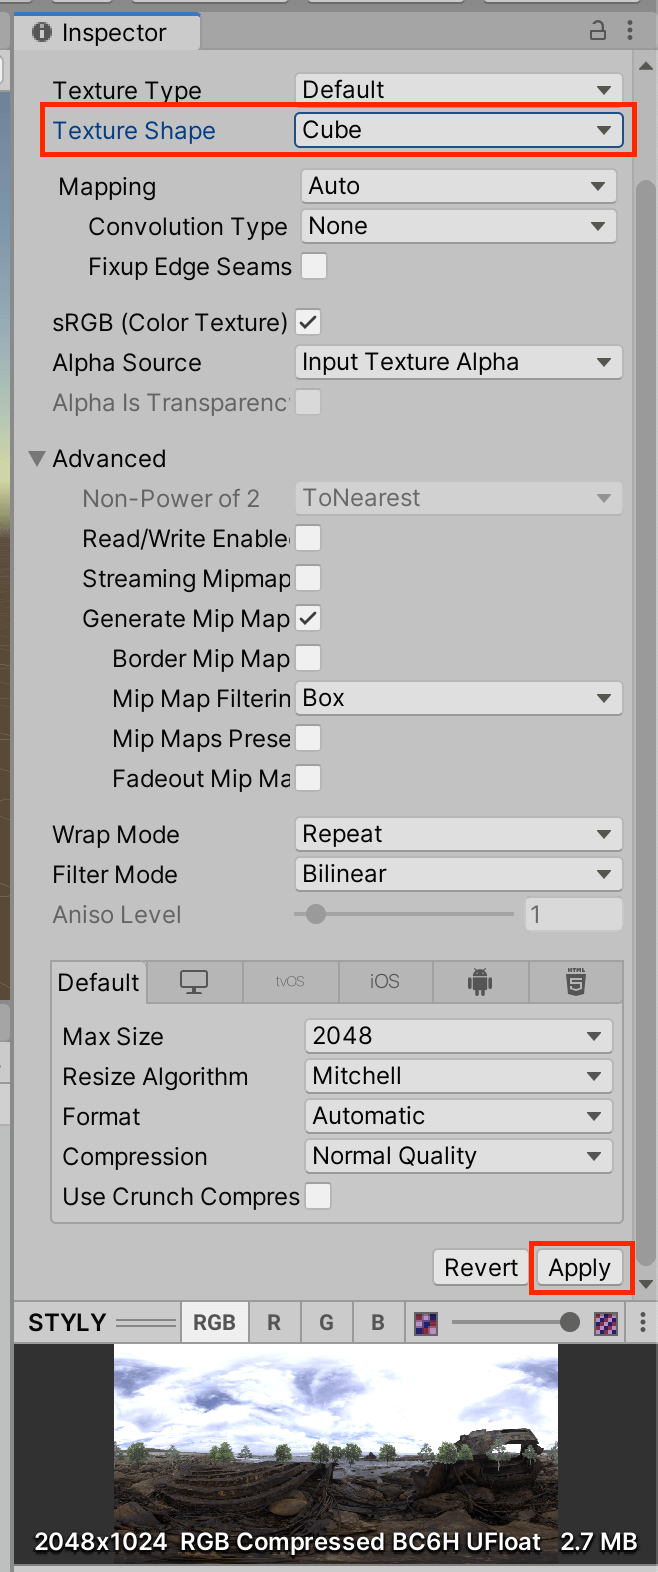
Cube Texture Shape→Apply
Wait a moment and the image in the asset will become a sphere.
HDRI
Right-click on the asset → Create New Material.
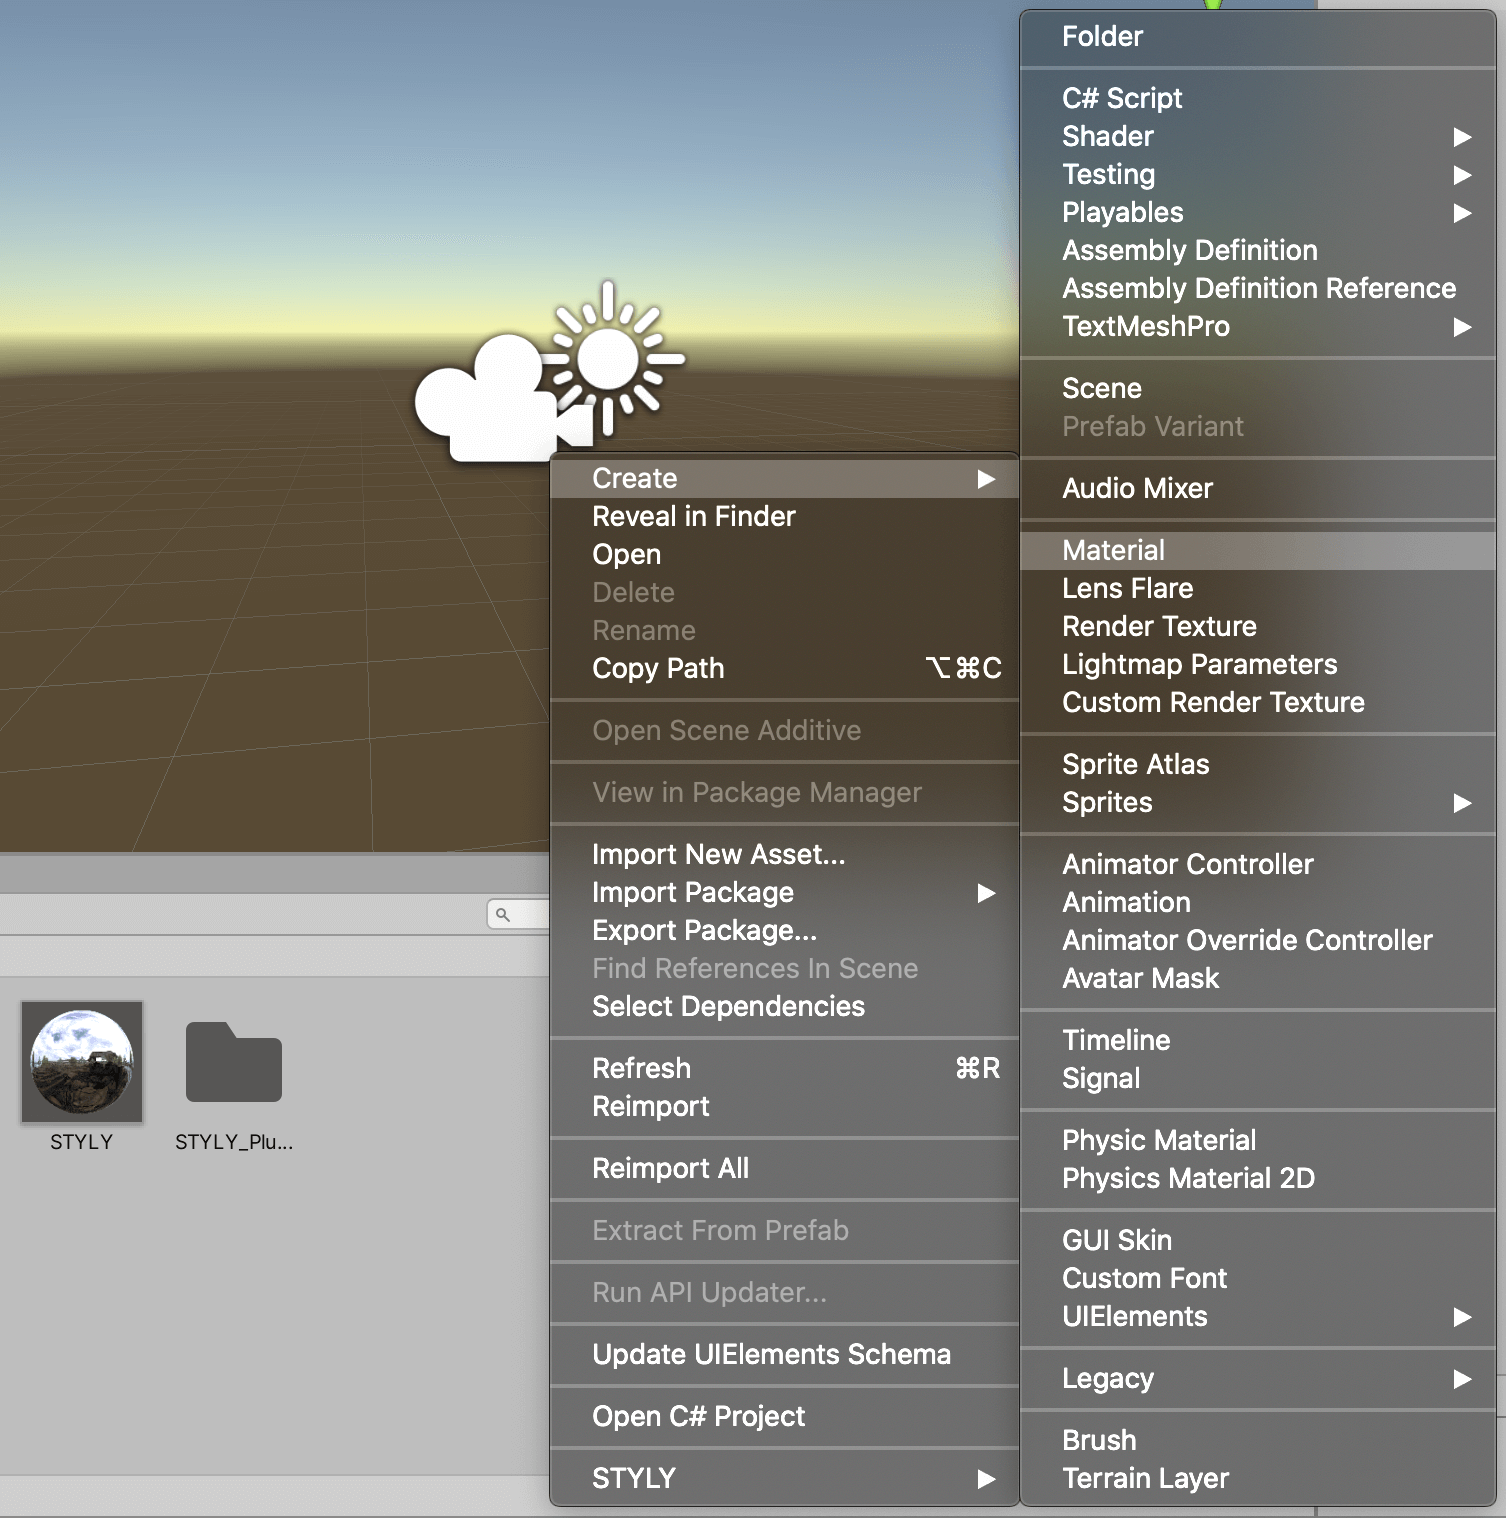
Create→Material
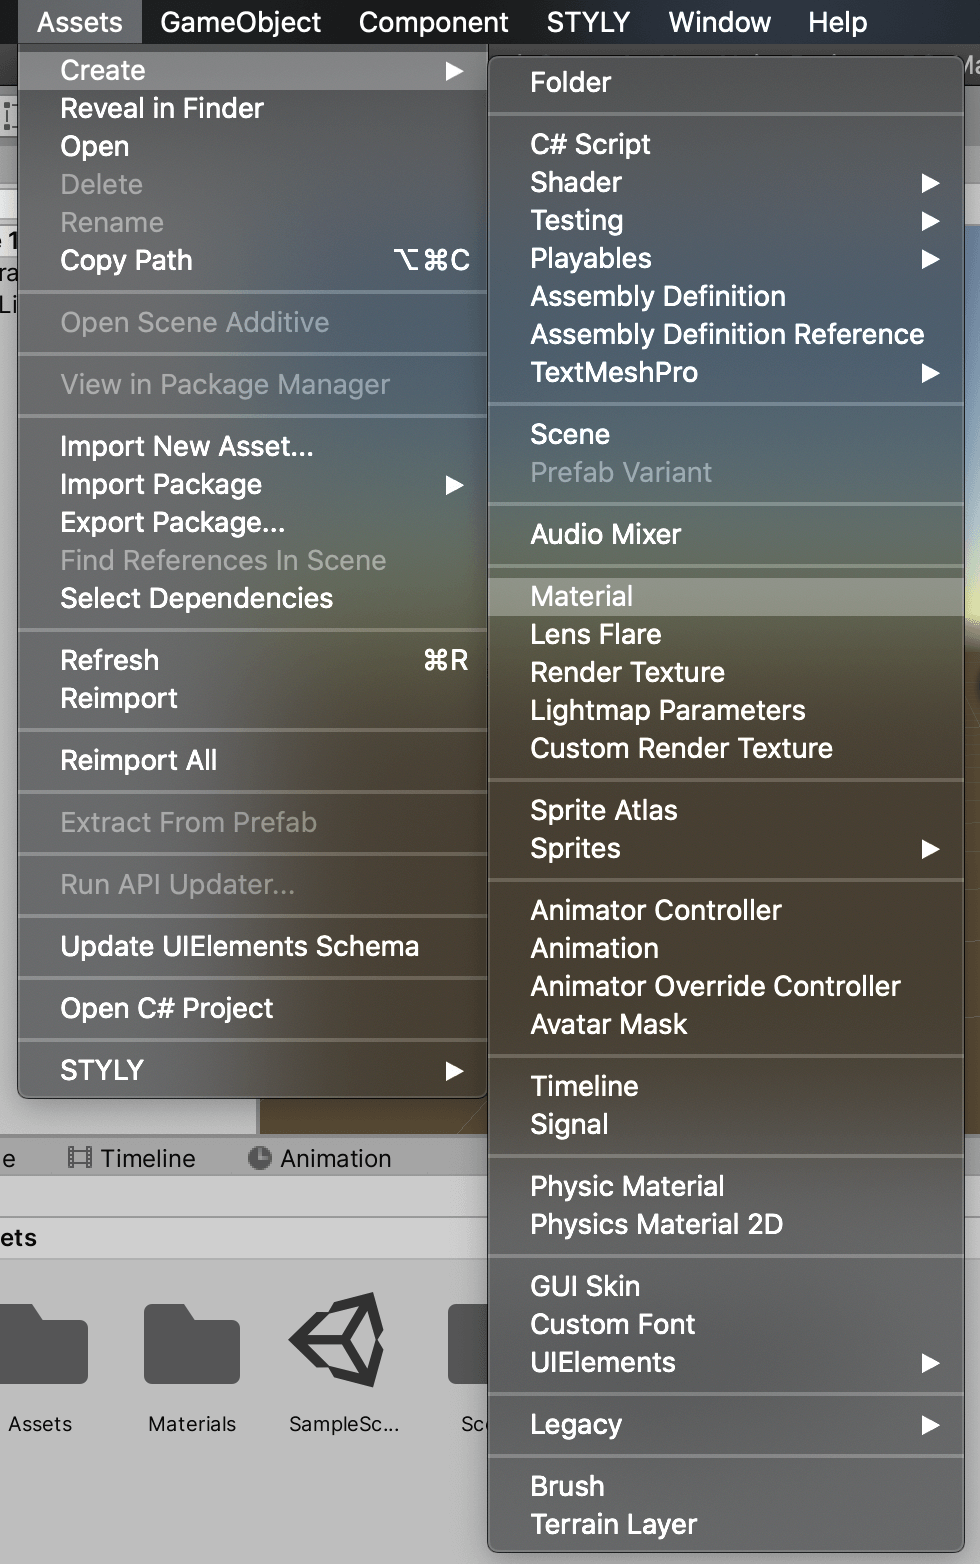
You can also create a new material from the top tab
Select the material and set the shader Skybox→Cubemap in the inspector.
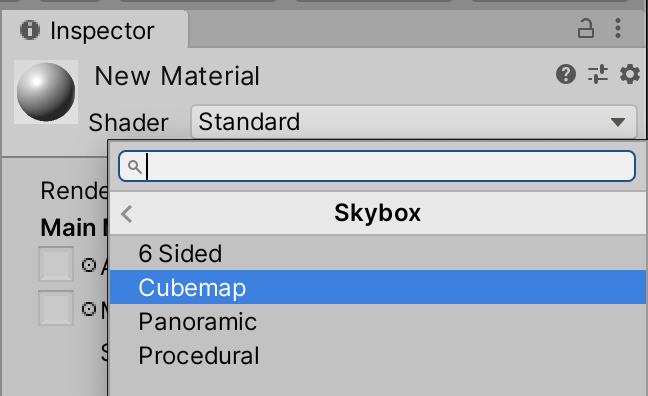
Cubemap
Click “Select” and select an image from another window that appears.
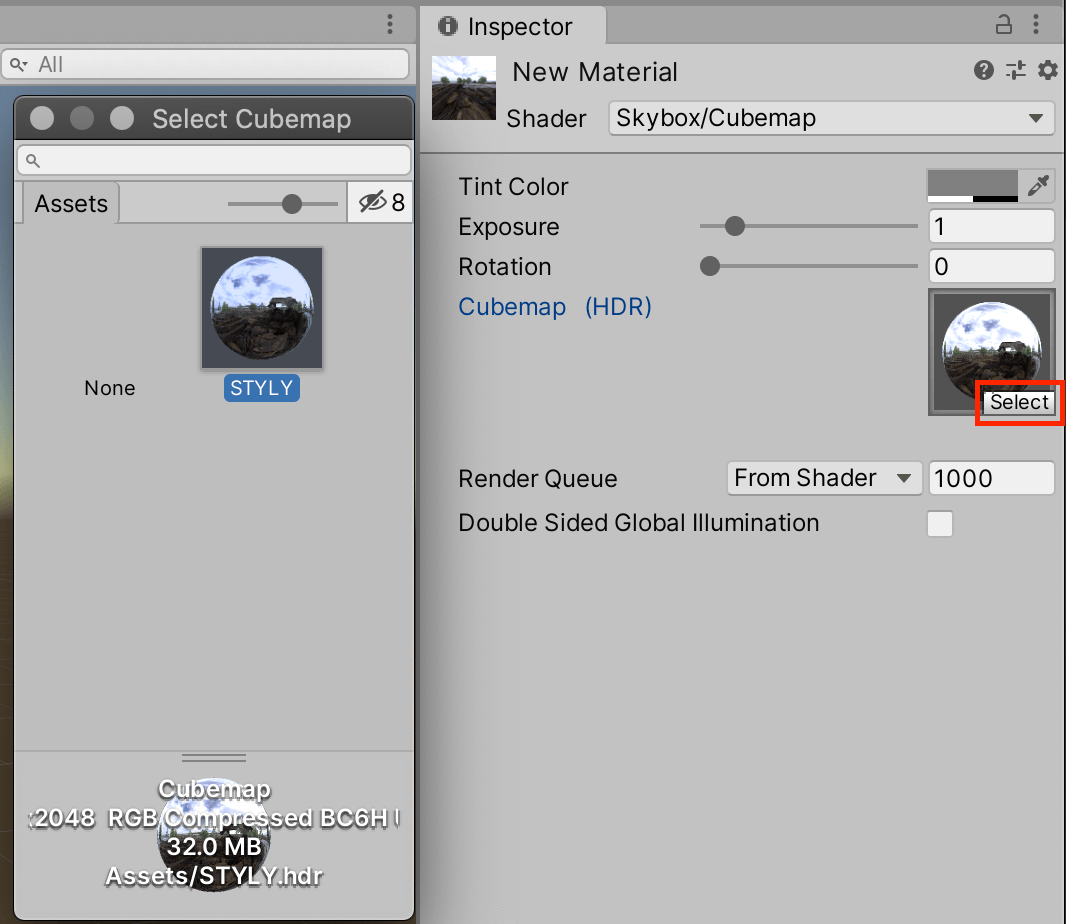
Cubemap→Select
After the settings are complete, drag and drop the material into the scene.
Drag and drop a material
Before uploading to STYLY, rename the Main Camera so that HDRI is properly applied.
If you forget to do this, your HDRI settings may not be reflected properly when you use the material in STYLY.
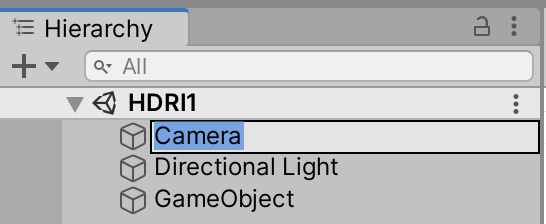
Change the name from Main Camera to Camera
How to Upload Assets from Unity to STYLY
We have created an outdoor HDRI, but you can also create an indoor HDRI by placing a camera inside a building object and exporting it.
Please try to use 3D objects and HDRI in different ways!
