Hello! In this article series, I am going to create a “VR Manga” using “Tilt brush”, a software that you can use to draw and paint in VR!
I am going to introduce the manga I drew, and how I created it.
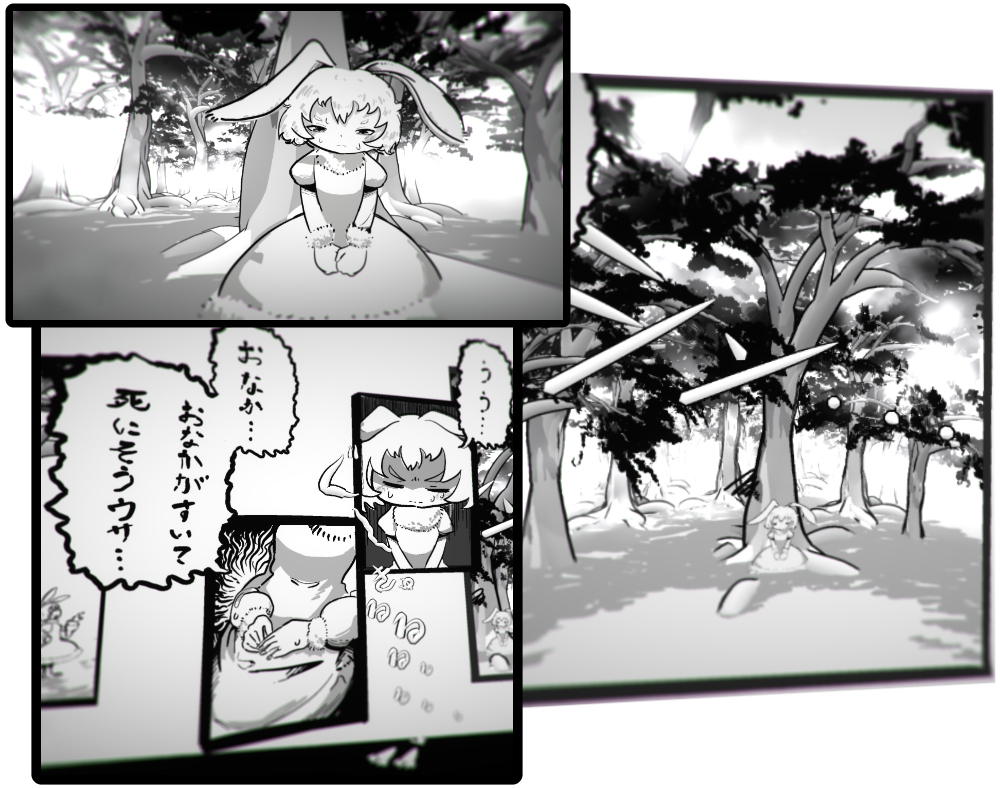
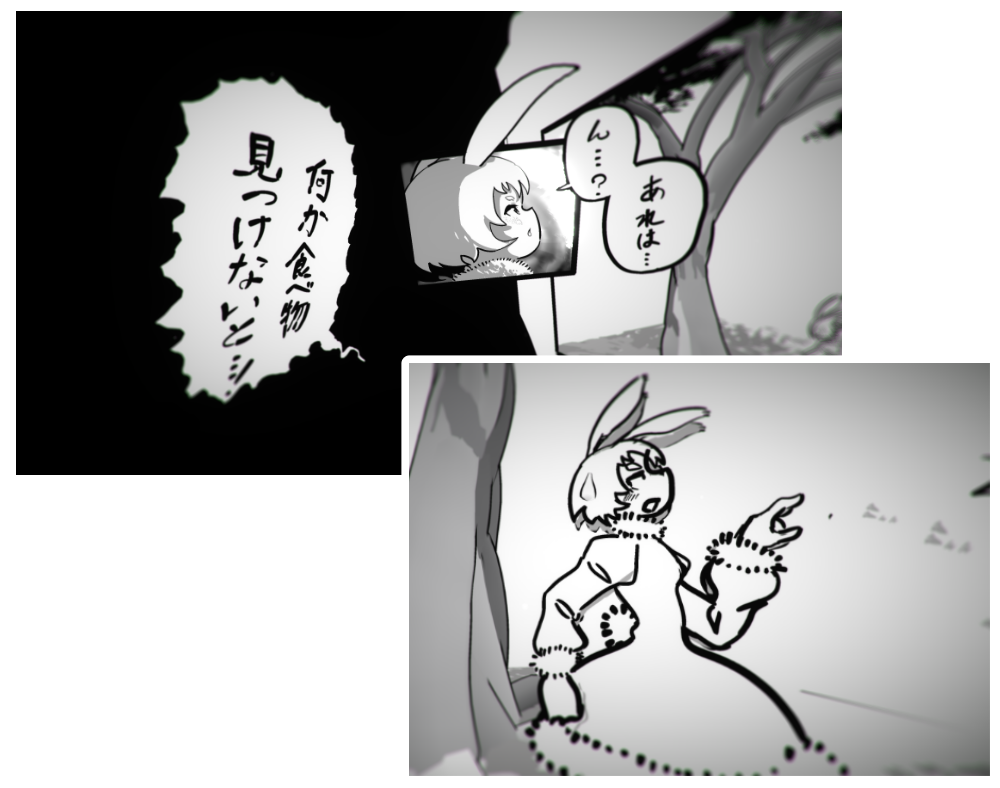
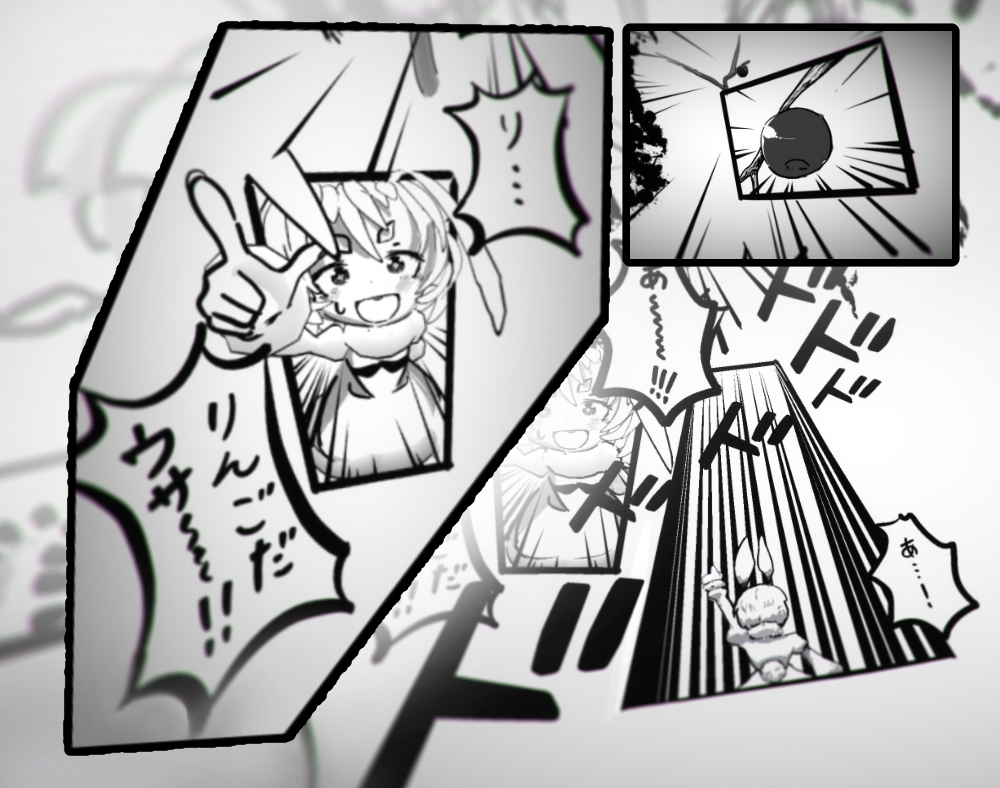
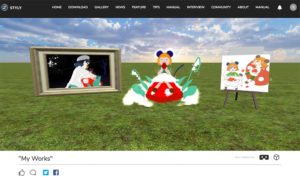
Ok, I hope you enjoy my VR manga, ”Apple Bunny”#1!!
If you have access to VR, you can view my manga in VR! Please go to STYLY GALLERY from here! ☞ http://gallery.styly.cc/OEKA_AKI/4fa54a09-d38a-11e8-b34d-4783bb2170d0
“Apple Bunny” #1
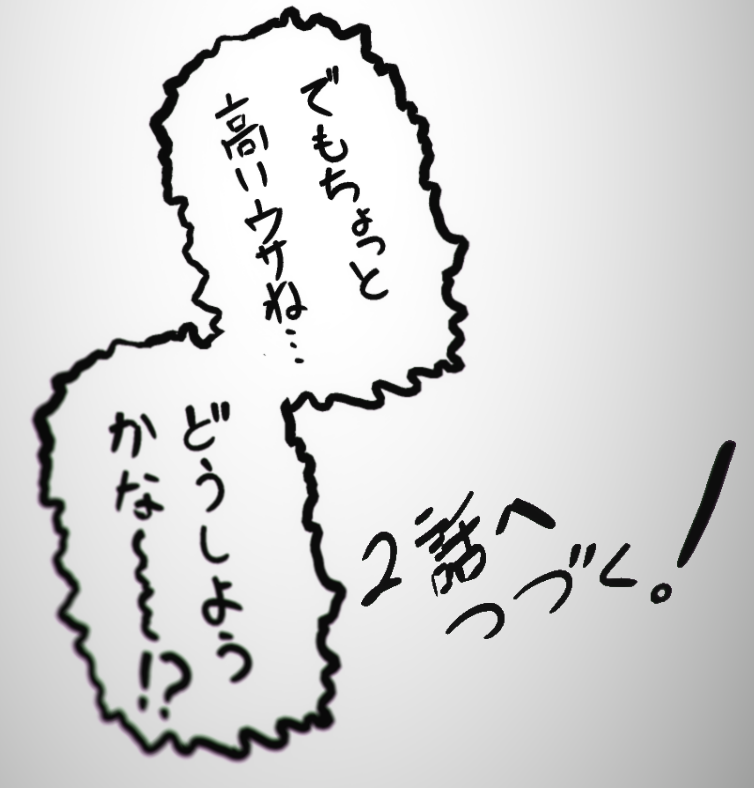
To be cont.
In this series, one of my goals is to create this manga without using advanced VR technology, such as 3D models, animations, shaders.
If you have access to VR, you can start creating VR manga without using 3D technology at all!
Well then, let’s start the tutorial!! °˖✧◝(⁰▿⁰)◜✧˖°
Tilt Brush basic operations
If you want to learn the basic operations of Tilt Brush, you should read this article first.
Tilt Brush ~ for beginners ( Click the image to open the article )
Let’s draw VR illustration by Tilt Brush ~ advanced ( Click the image to open the article )
In this tutorial, we are going to use Advanced Mode of Tilt Brush, so make sure you read the advanced tutorial too!
Selecting a brush
One point you need to bear in mind is to use ”Manga-like” expressions in your VR scene.
Let’s select a brush that is suited for this.
Brushes that are unaffected by light sources
In order to express touches of a pen and tones on paper, we need to choose a brush that doesn’t create shadows.
There are several brushes in Tilt Brush that are unaffected by light sources.
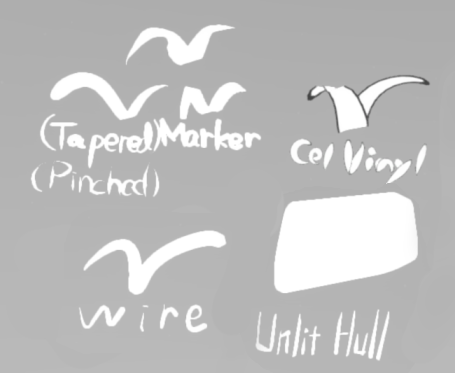
Brushes unaffected by light sources
The brush I recommend is ”Marker”, because you can adjust the pressure amount smoothly using the trigger button.
“Marker” is a flat brush, so when I want to add more depth, I use “Wire” too.
Bordered brushes
When you draw manga, the lines are very important, but when you want to place a object in a 3D space, starting from drawing lines every time is very time consuming.
There is no function to border the lines you draw in Tilt Brush, but you can use a pre-bordered brush instead.

Bordered brushes
“Toon” is a brush that has thickness, and the borders change depending on where you look at it from.
If you use these brushes effectively, your VR manga will become even better!
Take note though that the borders change depending on the width of the brush and the distance from the viewpoint.
If you draw a thin line, the borders will become extremely thin, so bordered brushes are not well suited for detailed expressions.
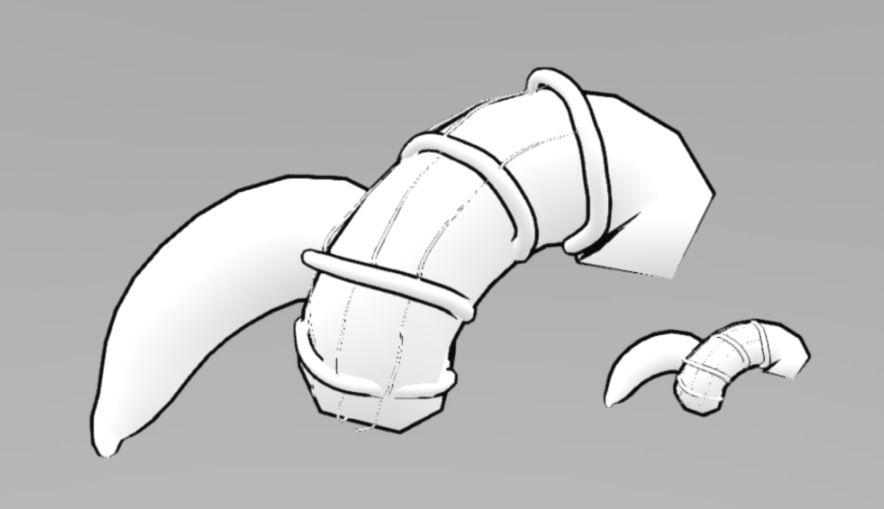
Comparing bordered brushes
There is a max value for the width of the border, and the borders of thick brushes keep the limit regardless of the distance
Middle size brush borders become thinner as the distance expands, and small brush borders are hard to see even from a short distance
By the way, you can only use black borders, so you can’t use these brushes for common expressions like white-bordered onomatopoeia.
Also, you need to take care of shadows because “Toon” is not an Unlit brush.
Selecting a color
There are full-colored manga’s, and 2 colored manga’s, but for this tutorial, I am going to create my manga with grayscale.
When you pick the color using the Color Picker, choosing gray from a round picker is hard, so click the icon on the bottom right.
Click the left edge of the square picker, and you will be able to obtain a perfect gray.
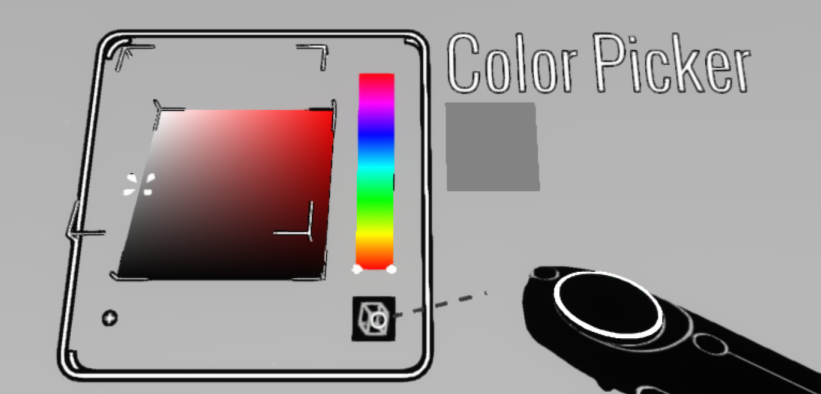
Choosing Gray
Drawing a flat picture
You might think, “Why draw a flat picture in a 3D VR space?”, but drawing a three-dimensional character is very difficult!!
Since we are creating a manga, we need to create a flow of panels, so I am going to use two dimensional drawings too, which is what I am most familiar with.
Creating a table
When you draw in the real world, you place the paper on a table, right?
When you draw in VR, you also need a table, or something like it.
Select the ”Cube Guide” from the guide tool, adjust the size, and place it where you can draw on it comfortably.
Once you place it, you can use brushes such as “Marker”, and start drawing lines in black!
Using the Cube Guide as a flat surface and drawing
Applying a base color
When your done drawing the base lines, the next step is painting the base color.
First, grip the Cube Guide, and…
Move it just a tiny bit away from you!
Then, paint the base color for your manga.
Inappropriate distance
Appropriate distance
You should test it before painting!
Adding shadows and tones
If you want to add shadows and tones, you can continue your work without moving the guide .
If you use a flat brush on the Cube Guide, the brush you use last will have effect.。
Adding a shadow over the white base
If you move the guide, it is very difficult to place the guide between the lines and the base.
It isn’t impossible, but I recommend finishing the character at one go.
If you want to change the whole base color, you can use the bucket tool (Re-Color)
Publishing your work
You can publish your Tilt Brush works to STYLY very easily!
To learn how to upload your work to STYLY, please read the article below.
Let’s display your VR illustration created by Tilt Brush in STYLY!
( Click the image to open the article )
In this article, I introduced the tools for creating VR manga, and how to draw a flat illustration in Tilt Brush.
I am going to draw the remaining episodes of “Apple Bunny” and continue this tutorial series.
I am planning to write 4 more articles, and I am going to explain more details in them.
I am still exploring the possibilities for VR manga expressions, but I am certain that there are still more new interesting expressions!
For those that are familiar with Unity can probably create even more challenging creations!
I hope you try out drawing VR Manga too!!
Let’s use Tilt Brush to draw a VR Manga!! -Part 1-
( Click the image to open the article )