本記事では、キャラクターのスキニングの設定をご紹介します。Mayaは2016を使用しています。
今回は、スケルトン設定をした、モデルにスキニングの設定を行なっていきます。
スキンウェイトはのちにアニメーションをつけた時に、自然な動作ができるようにする設定ですので、地味ですが、これが綺麗に仕上がるととても楽になります。
使用するマネキンモデルは、TURBOSQUIDからフリーダウンロードしました。
スキニング
バインドスキンの設定
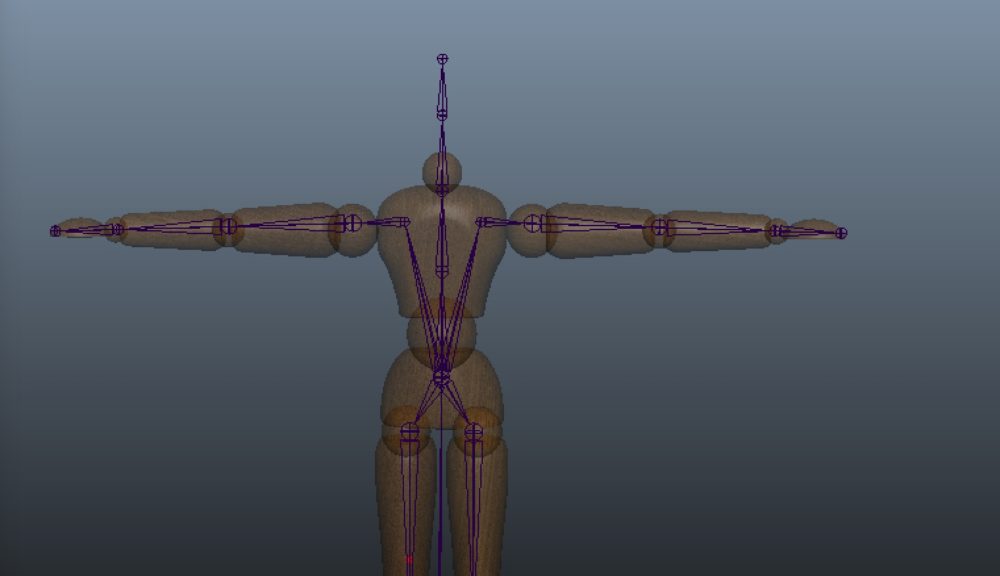
まず、ボディの作業がやりやすいように、頭を非表示にしておきます。ボディと全ジョイントを選択した状態で、
Skin>Bind Skin Option
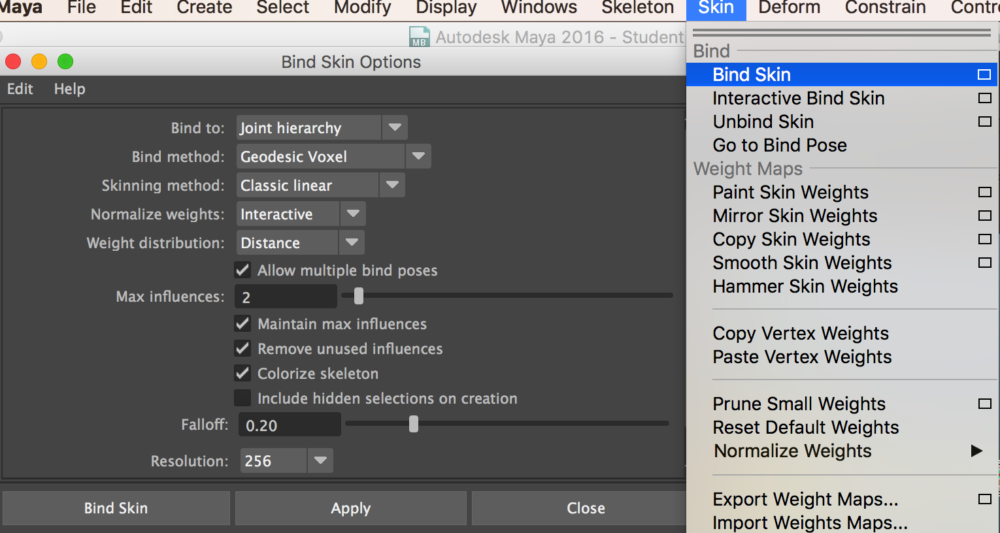
上の写真にある設定でApplyを実行すると、
こんな感じで、ジョイントに色がついたのがわかります。
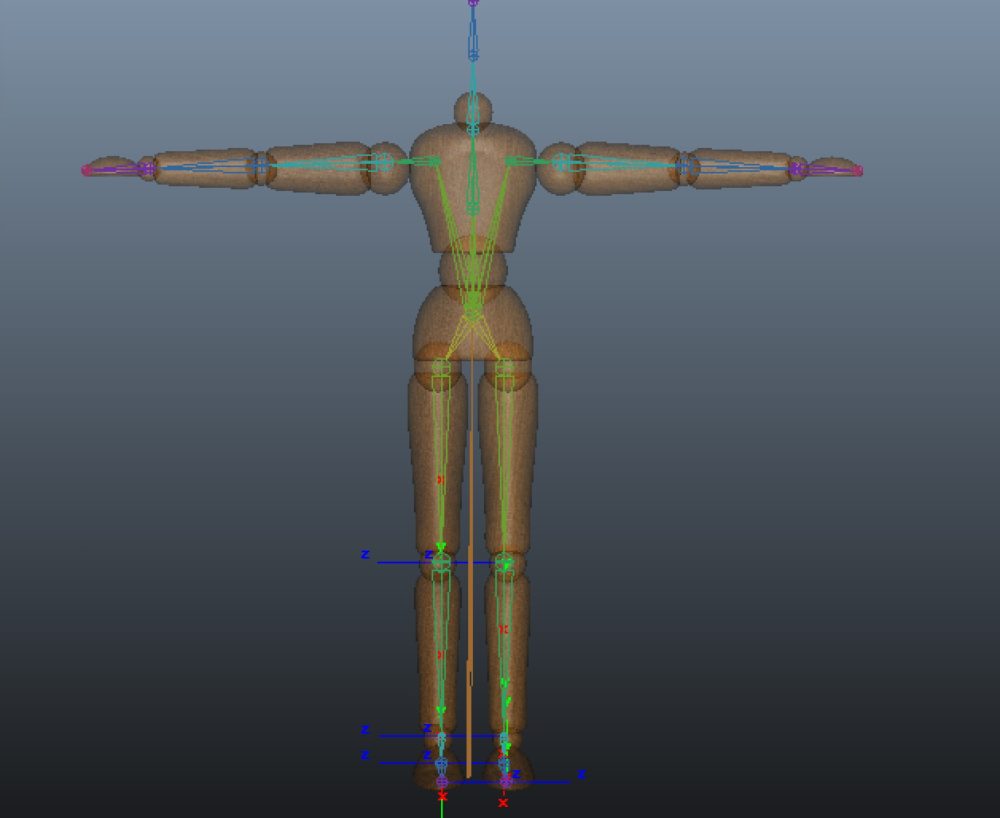
この状態で、腕や足を回転させると、スケルトンがボディにくっついてきます。
ただ、回転させてみるとわかるのですが、肩や足を曲げると関節がグニャグニャになっています。それを次の、スキンウェイトの設定で修正していきます。
スキンウェイトの設定
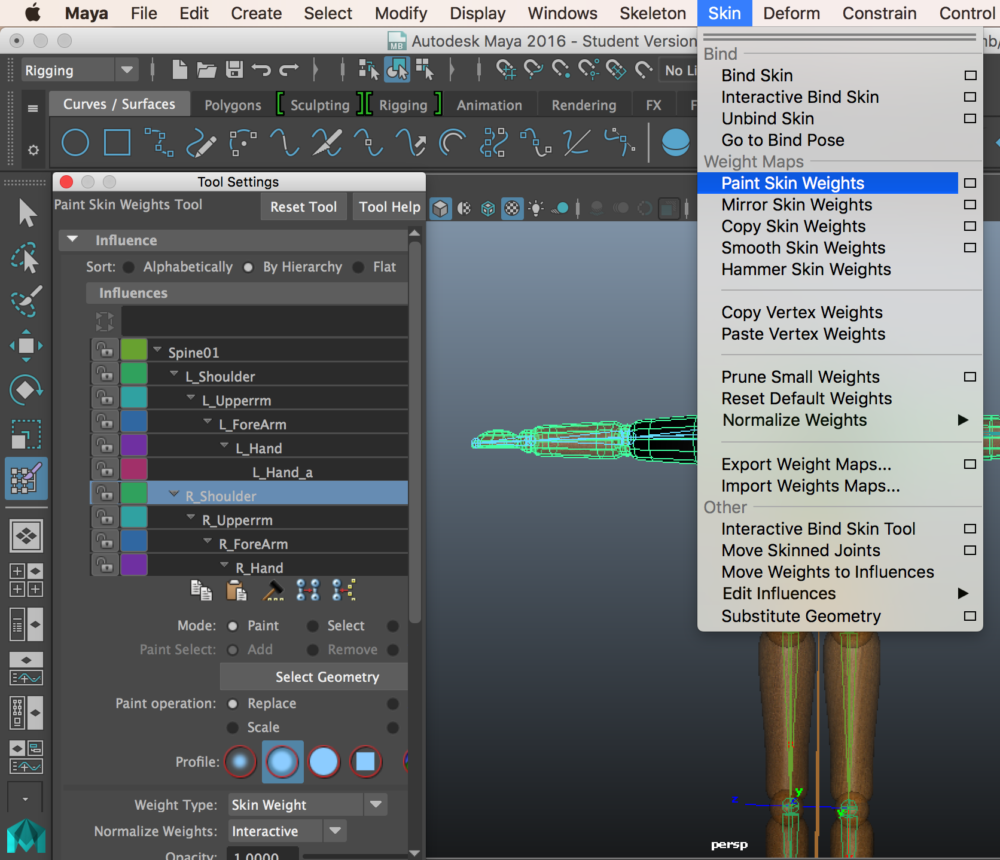
スキンウェイトを設定する、ボディを選択して、
Skin>Paint Skin Weights または、 右クリックSkin Weights Tool
を実行してください。
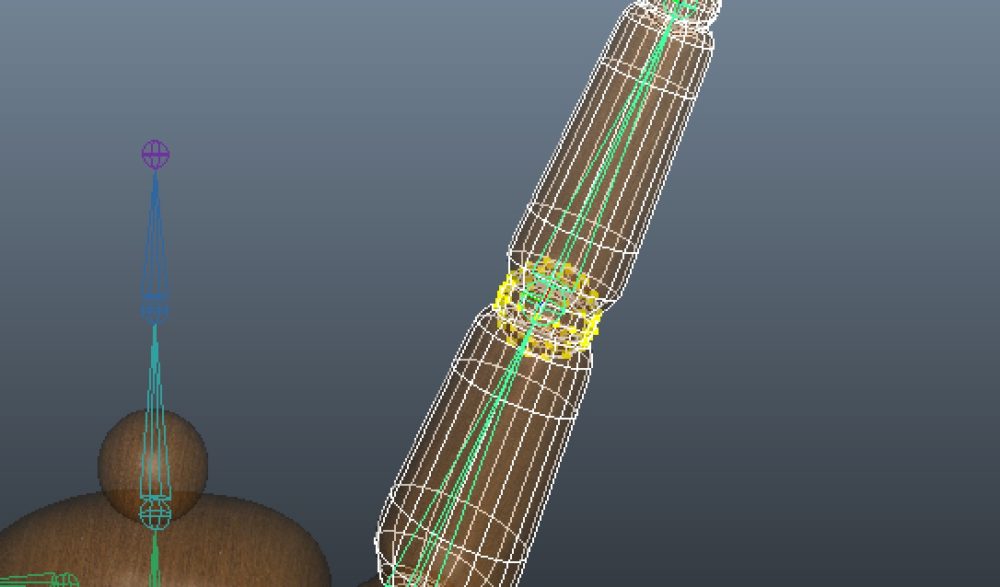
Tool Settings内、Influenceカラフルな階層が表示されます。
これは、各ジョイントに帰属する、スキンウェイトの影響範囲を表示しています。
ポインタがペンの形に表示されますが、”B+左ドラッグ”で、ペンの半径を変更することができます。
服や、小物など、モデルが動いでも変化しないものを主に黒、腕や足など動作に応じて変化するものは主に白、に設定します。特に、手足を曲げた時の状態を自分の腕や足を観察しながら行うとより自然にスキンウェイトの設定ができます。
スキンウェイトの設定(コンポーネントエディタの使用)
該当するジョイントを選択、右クリック、Select Affected Vertices
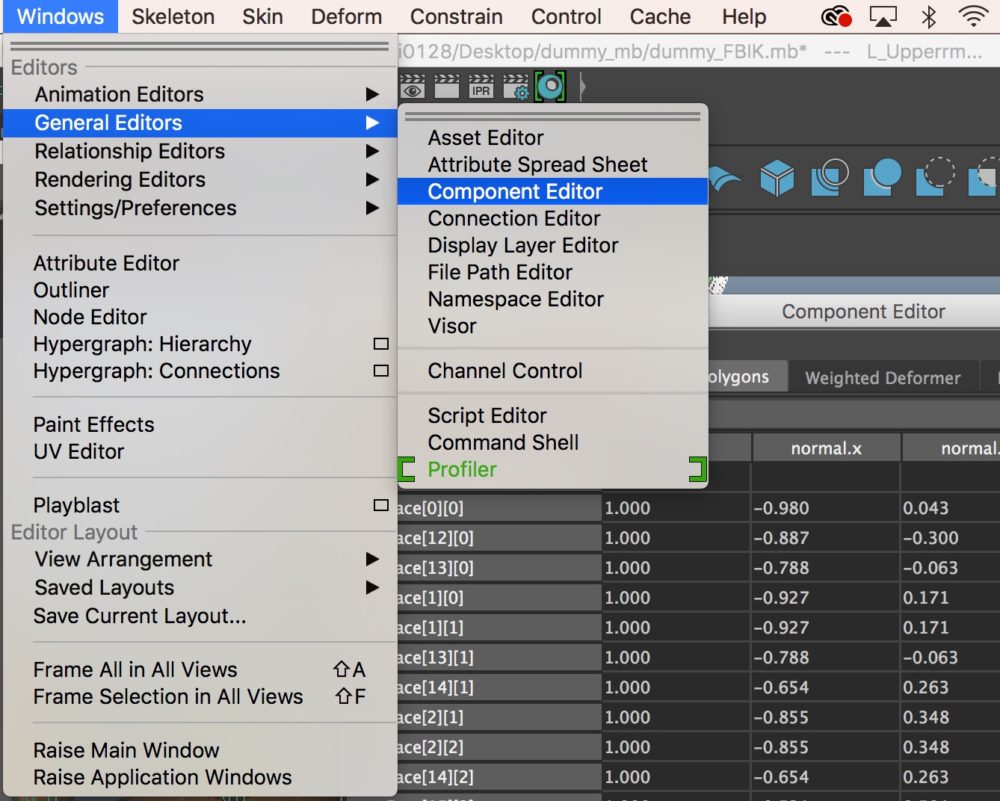
Windows>General Editors>Component Editor
コンポーネントエディタが表示されます。
ここでは、目視での調整、というよりは数値での調整が可能なので、細かいズレを数値単位で調整することができます。コンポーネントエディタは、スキンウェイト以外でもよく使用するので、場所を覚えておくと良いかと思います。
これでスキンウェイトの一連の作業は終了です。
スキンウェイト反転コピー
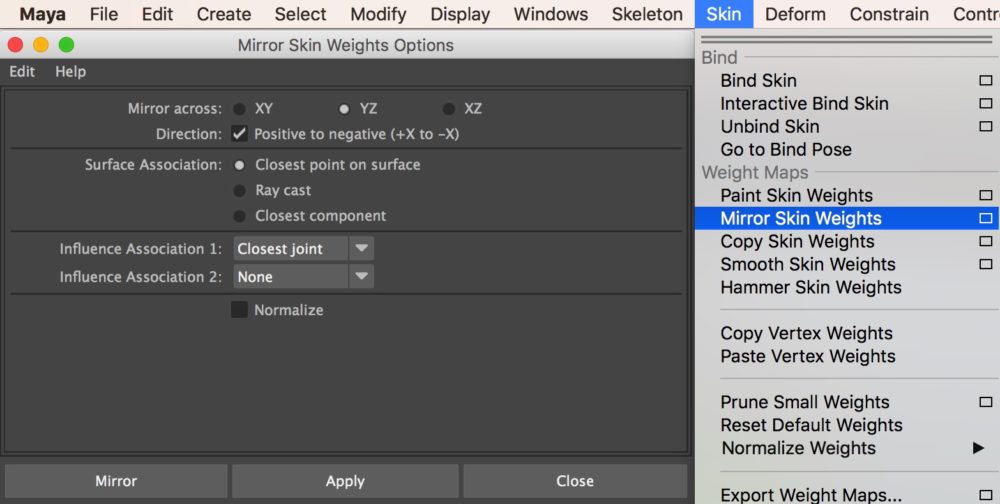
片方のスキンウェイト設定が終了した後に、もう片方の設定を行うのは結構時間がかかるので、そんな時はスキンウェイトをコピーするととても便利です。
反転させたい、ボディを選択
Skin>Mirror Skin Weights Option
今回は、YZ平面に対して実行させます。
これで、片方のスキンウェイト設定が反対にも同様にコピーされました。
この要領で、足や指など、関節に付帯するスキンウェイトを設定していきます。
以上が、スキンウェイトの設定です。地味な作業ですが、片方だけやれば最後にコピーできるので、気楽モチベーションでやってみてください。
(参考:AREA JAPAN Maya Learning Channel)