Introduction
In this article, I will explain how to add accessories to the VRM avatar with Blender.
If you are new to Blender, please refer to the following articles. They will help you to create an accessory easily.
Let’s Start Making an Accessory
Import VRM to Blender
Please refer to the following article to learn how to import VRM files to Blender.
Add Accessories
In this tutorial, I will assume you have already created an accessory to add on to your 3D model.
In my example, I will to put on these ‘pretty’ panda hair clips onto my avatar.
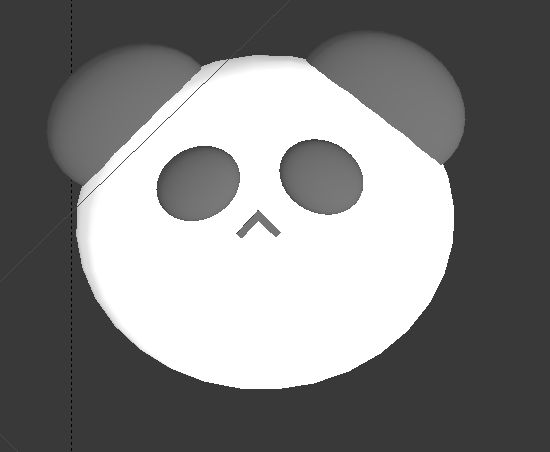
Pretty accessory to add this time
First, move the accessory to where you want to add it.
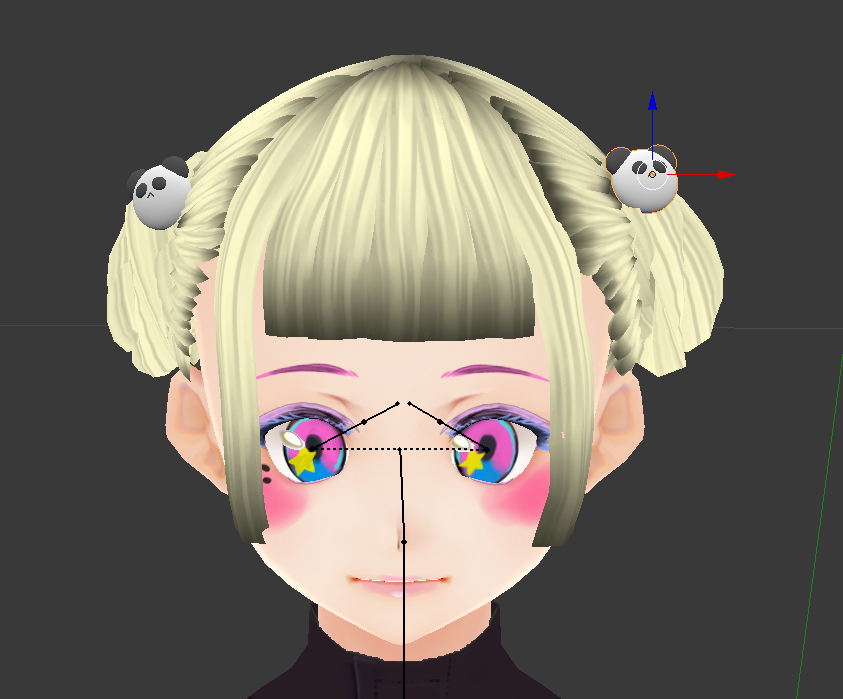
It looks lovely, doesn’t it?
Now we attach it to the avatar. There are two ways to do this:
① Set by ‘bone weightings’
② Use the parent-child relations
This time I use the parent-child relations (②). I will explain about ① another time.
First, select the accessory. Now, you can set the parent-child relations with ‘Parent’ (③) in the ‘Relations’ (②) section on the ‘Object’ tab (①).
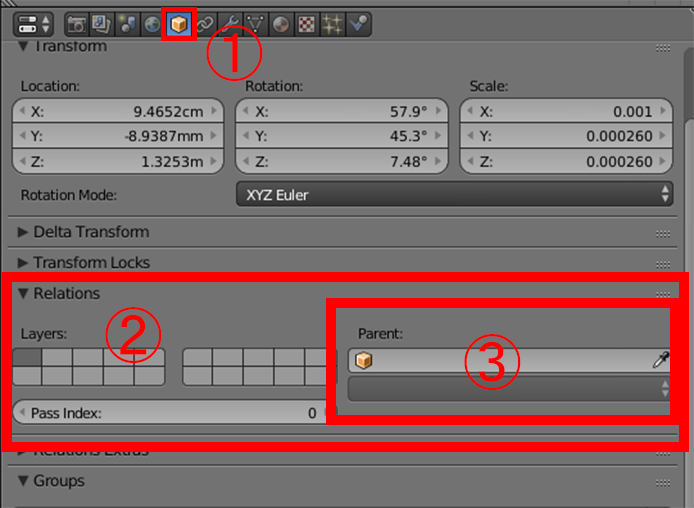
You can set ‘Parent’ here
As we want to attach it to a bone instead of a mesh, set the Parent’s object type to ‘skeleton’.
Once you’ve selected ‘skeleton’, you can select bones.
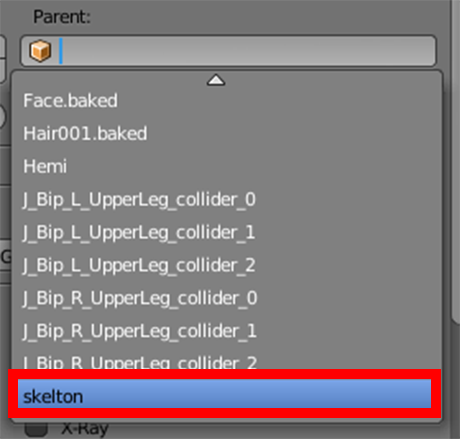
Select the object you want to set as ‘Parent’
Set the drop-down at the middle to ‘Bone’. It allows you to select an individual bone.
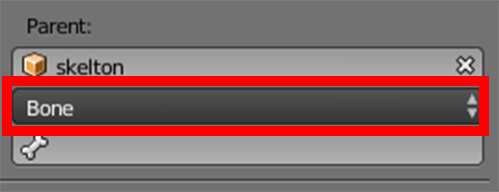
Select ‘Bone’.
Next, select the bone that you want to set as the parent. As it’s a hair clip, I selected the bone in the head.
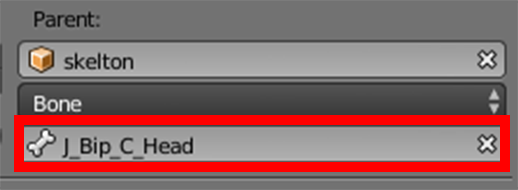
Select the bone that you want to set as the parent
Then, the hair clip ‘jumps’ to somewhere unexpected. Earlier we had the hair clip positioned, but this will change.
This is because the object, which was on the world coordinates, is now on the coordinates relative to the parent you specified.
In other words, the origin has been changed with the values of the coordinates unchanged (Parent dominates…)
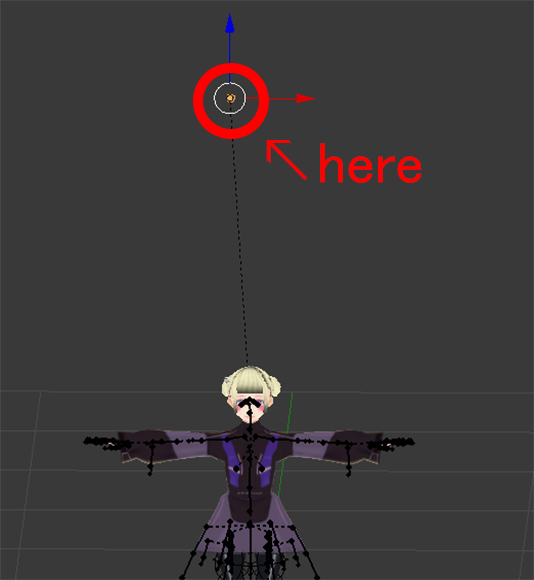
The position shifted
So you need to correct the position again.
Do the same for the other one. Then select the armature and switch to the pose mode (※). Now, let’s move the parent bone.
They should move accordingly as shown below.
Lovely!
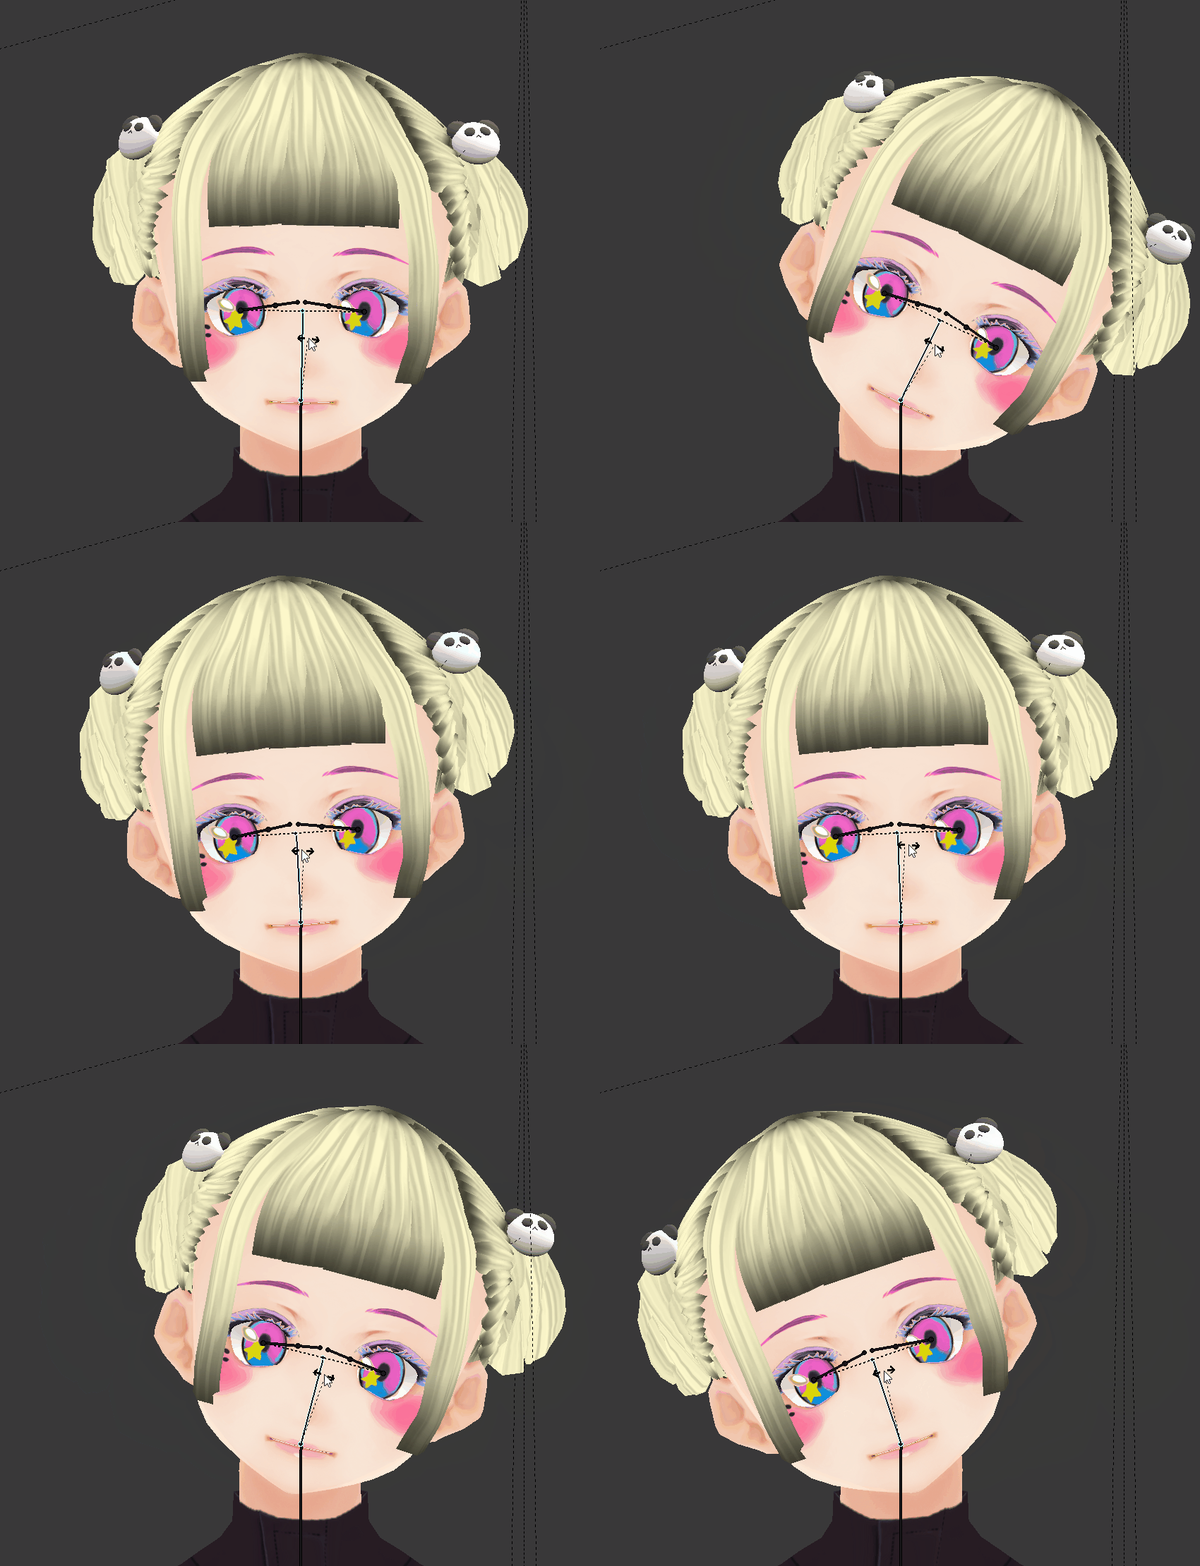
They have been attached successfully!
※The selected bone turns light blue by pressing ‘Ctrl+Tab’ with the armature selected. This state is called ‘Pose mode’ where you can change the pose by rotating bones.
Export and Upload to STYLY
Now that you’ve successfully attaching the accessories, let’s try to export them!
There are two ways to export VRM.
① Export as FBX
② Link to Unity
I explain both but I prefer the second ② way.
① Export as FBX
VRM has already had various settings applied. It means the added parts won’t reflect those settings.
So, when you use the model as a VRM, you need to export as FBX first, and then import it to Unity and convert it into VRM.
Please refer to the following article to learn how to do this.
https://styly.cc/tips/blender-vrm-export1/(Coming soon)
② Link to Unity
You can import a Blender file (.blender) to Unity directly.
In this way, Unity immediately reflects what is modified in Blender, so you don’t need to export the model each time you make a fine adjustment to the position of the accessories, etc. I was shocked at how convenient this way was.
Please refer to the following article to learn how to do this.
https://styly.cc/tips/blender-vrm-export2/(Coming soon)
What did you think of this article?
If you love it, please give a 5-star rating and leave a comment! ( I am just joking…)
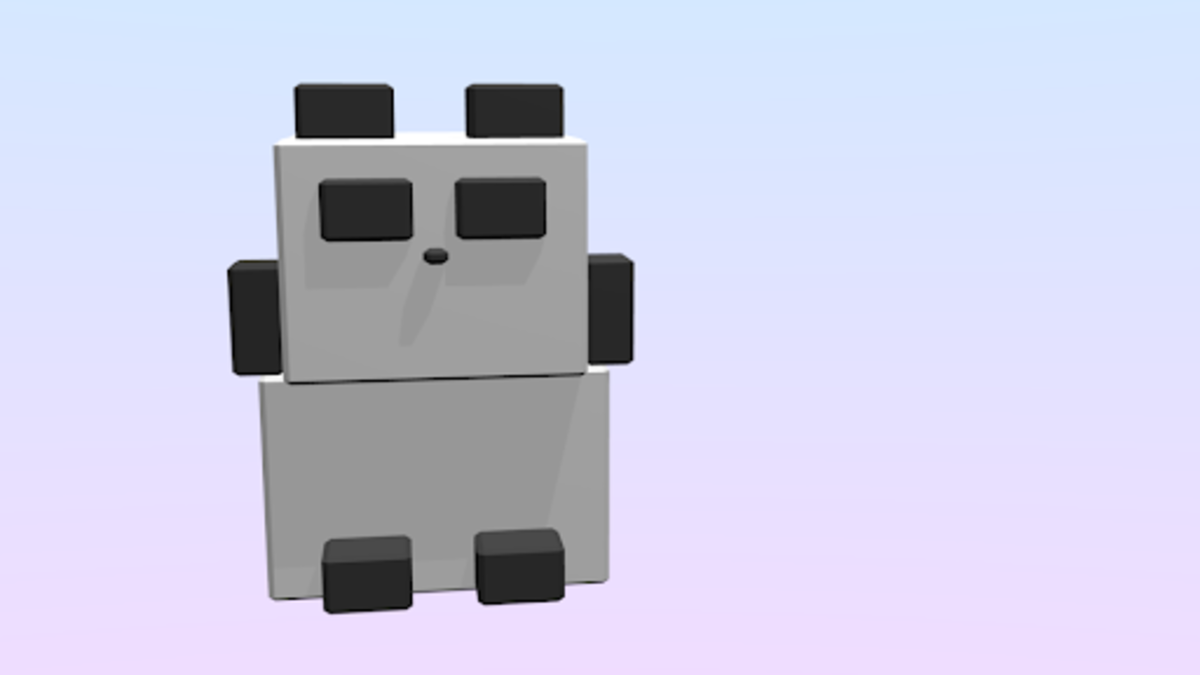
![[Blender for Beginners] Let’s Start Modeling Part 3 – Adding Materials](https://styly.cc/wp-content/uploads/2018/09/46.png)
![[Blender] How to Import VRM Files to Blender](https://styly.cc/wp-content/uploads/2019/05/main-160x160.png)