In this article, I explain the basics of the animation on Maya and how to create an animation. Maya 2016 is used here.
Animation Basics
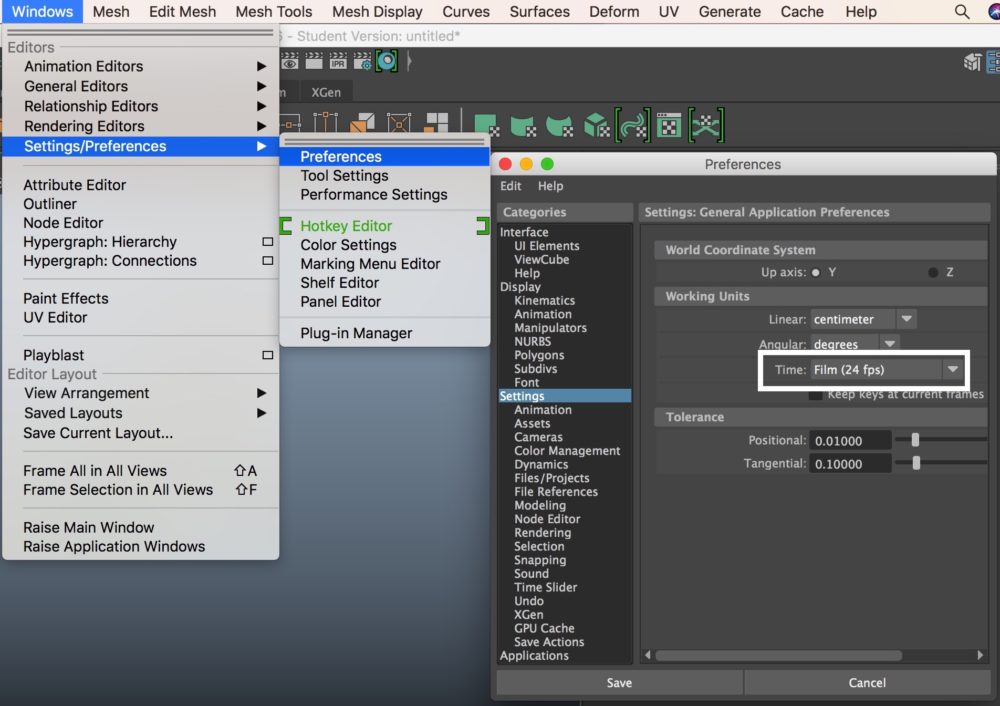
Windows > Setting/Preferences > Preferences > Settings
‘Time’ has been set to ‘Film 24fps’ by default. You can change the frame rate on demand. When the frame rate is changed, the Time Slider will adapt to it.
About Keyframe
That is an image which an animation is made from. In the case of a character animation, the posing is used as a keyframe. Keyframes are set on the timeline. Frames will be generated to interpolate between keyframes.
About Frame Rate
It is the number of animation frame displayed per second.
The unit is fps (frame per second).
・TV in Japan (NTSC): 30 fps
・TV in Europe (PAL): 25 fps
・Film: 24 fps
Real-time Playback
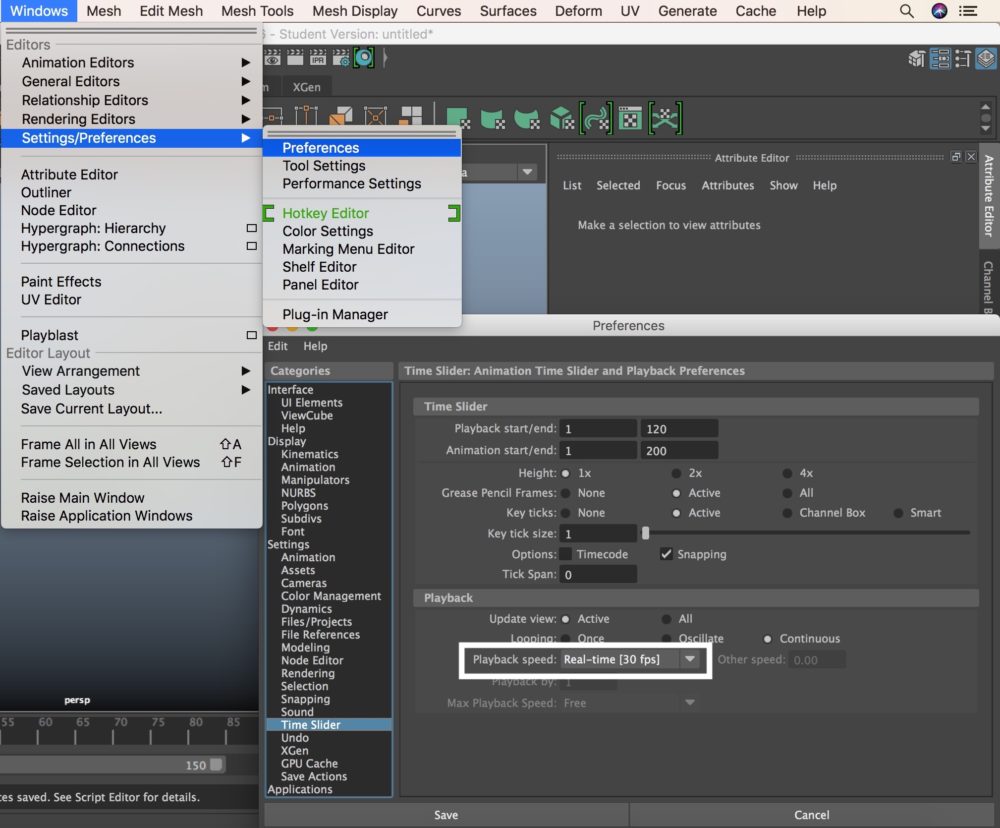
Windows > Setting/Preferences > Preferences > Time Slider
Set ‘Playback speed’ to ‘Real-time’ to play an animation in real time.
How to create a Keyframe Animation
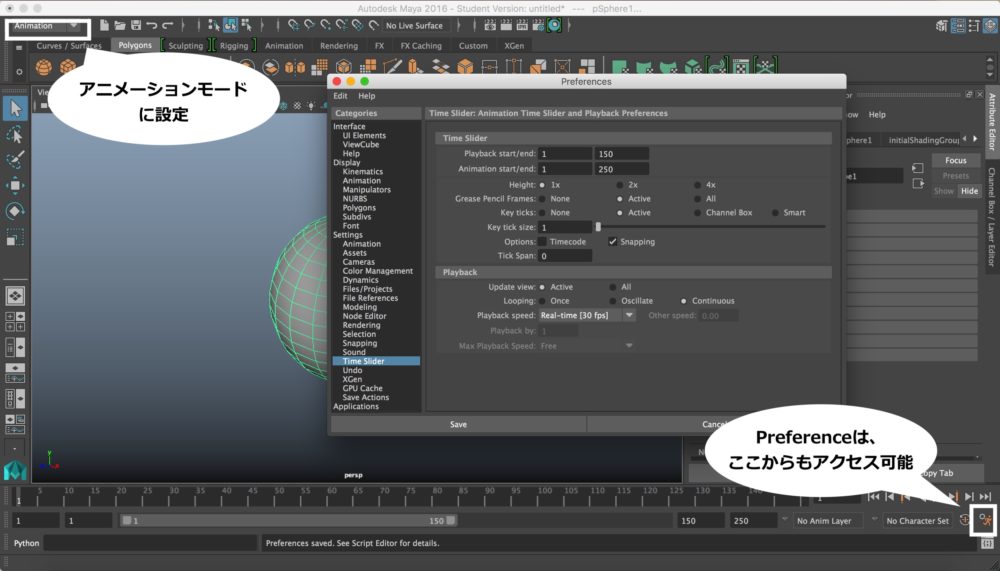
Firstly, switch to the Animation mode to create an animation. Then, the menu is switched to show the convenient tools for animations.
After that, set the Time Slider.
Earlier, I showed how to access it by selecting:
Windows > Setting/Preferences > Preferences
Alternatively, you can access the Preference window by the cog-and-runner icon in the bottom-right corner of the screen. It should be a quicker way.
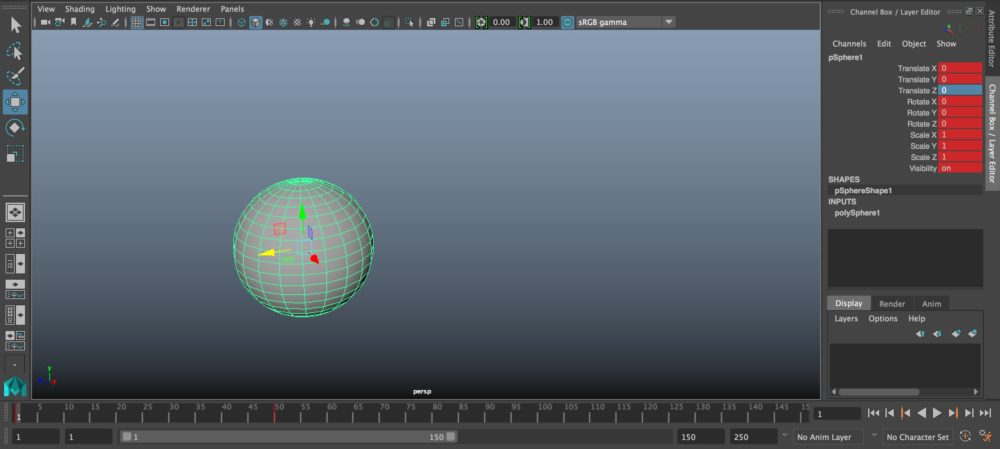
This time, We add an animation to this sphere.
On the Time Slider, there are two red lines at the first frame and at the 50th frame. That is what you see when the keys have been set. It means an animation has been added between the first frame and the 50th frame.
By the way, once you set some keys, the parameters are shown in red.
Add a Key
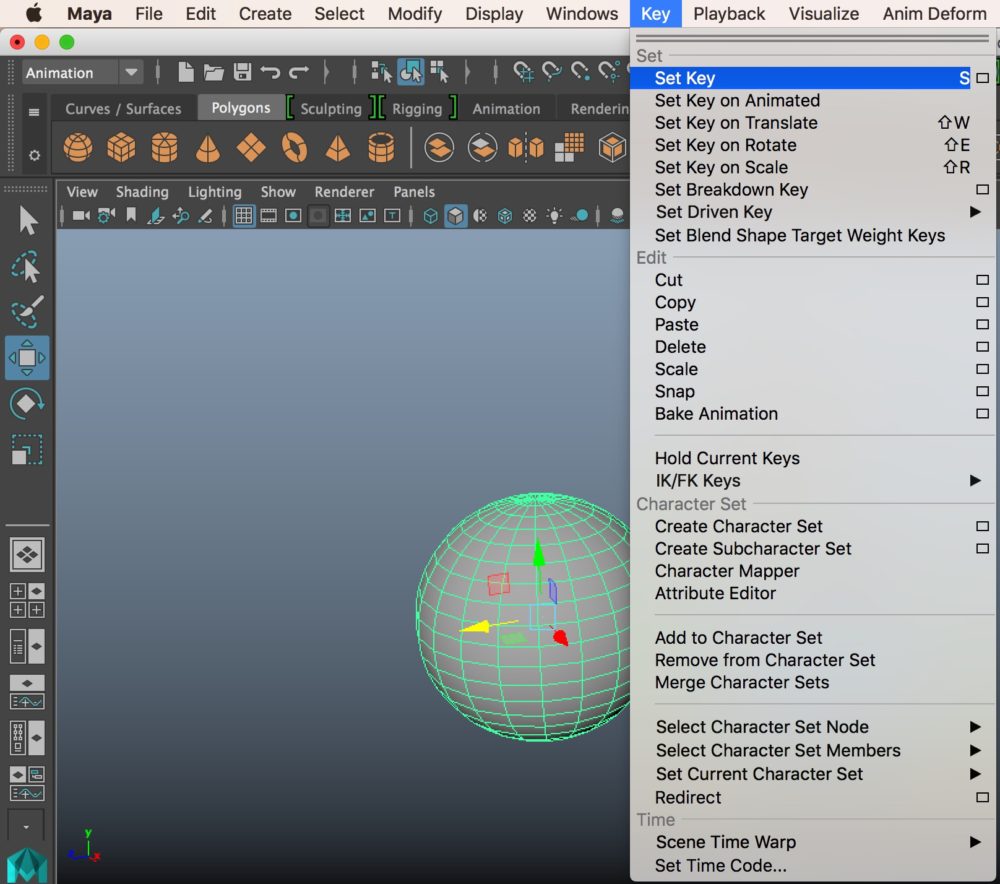
Select ‘Key>Set Key’ or press the S key.
As a common mistake, people press the ‘S’ key instead of ‘Ctrl/Command+S’ when they intended to save. It makes so many animation keys without noticing them! Since I actually did it before, I share this with you just in case.
Delete, Copy and Paste Keyframe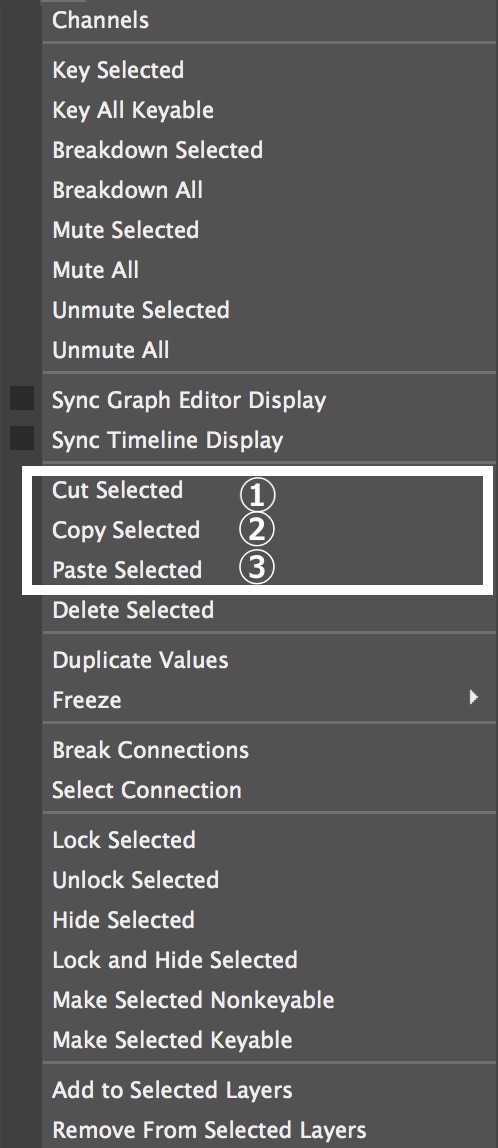
I introduce some commands to edit keyframes.
①Cut Selected
②Copy Selected
③Paste Selected
To delete, copy and paste a keyframe, right-click on the parameters shown in red (i.e. the ones assigned to a keyframe) and select the command from the context menu.
You also need to set keyframes one by one to add an animation to a character model. Understanding the structure of the object and human body helps you to create natural motions in your animation. I recommend taking a video of walking people or the objects with motions as a reference.
How difficult did you find making an animation? I am glad if you got a rough idea of the workflow to create an animation.
(Reference: AREA JAPAN Maya Learning Channel