Blender has a pen function called Grease Pencil.
In addition to writing notes and creating 2D animations, it is also possible to convert lines drawn with Grease Pencil into 3D models.
In this article, I will show you how to convert lines drawn with the grease pencil into a 3D model and how to create a decorative mask.
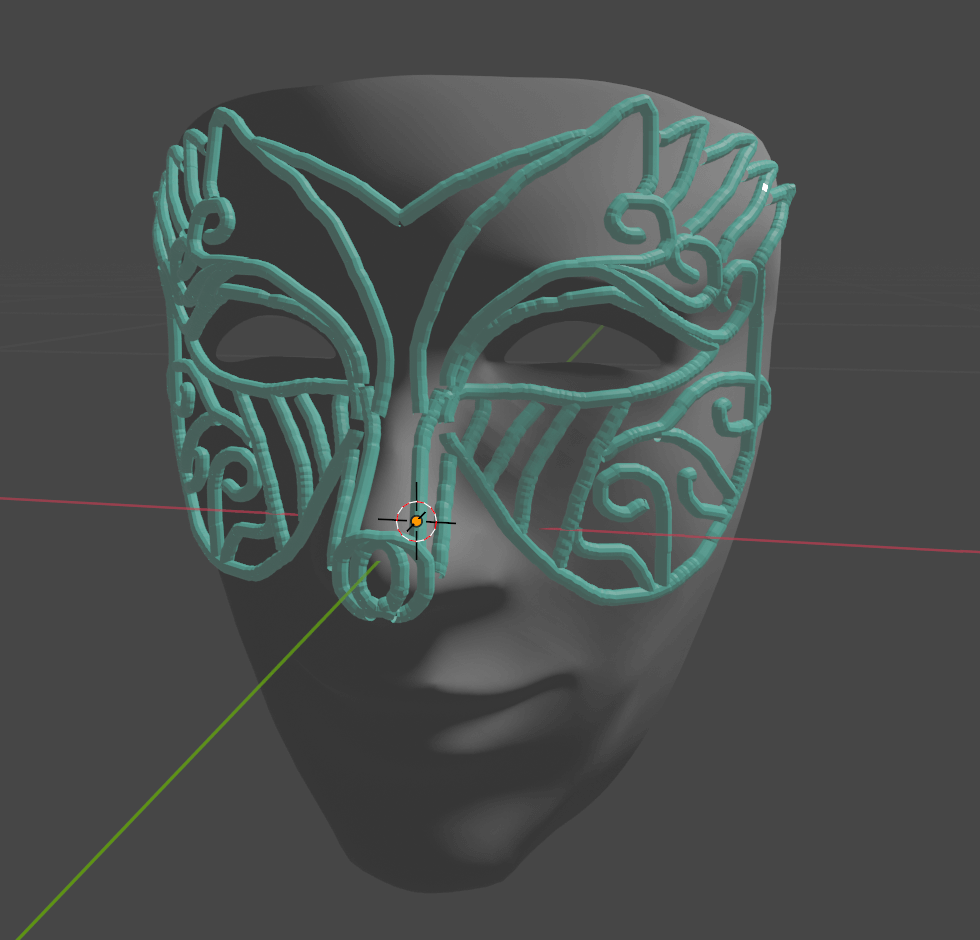
Finished image
▽Blender version used in this project: 2.92
Let’s try using a grease pencil
Using a grease pencil, you can create objects with complex lines in a sensible way.
Download the original model
I used this copyright free model from a 3D model sharing site called cgtrader.
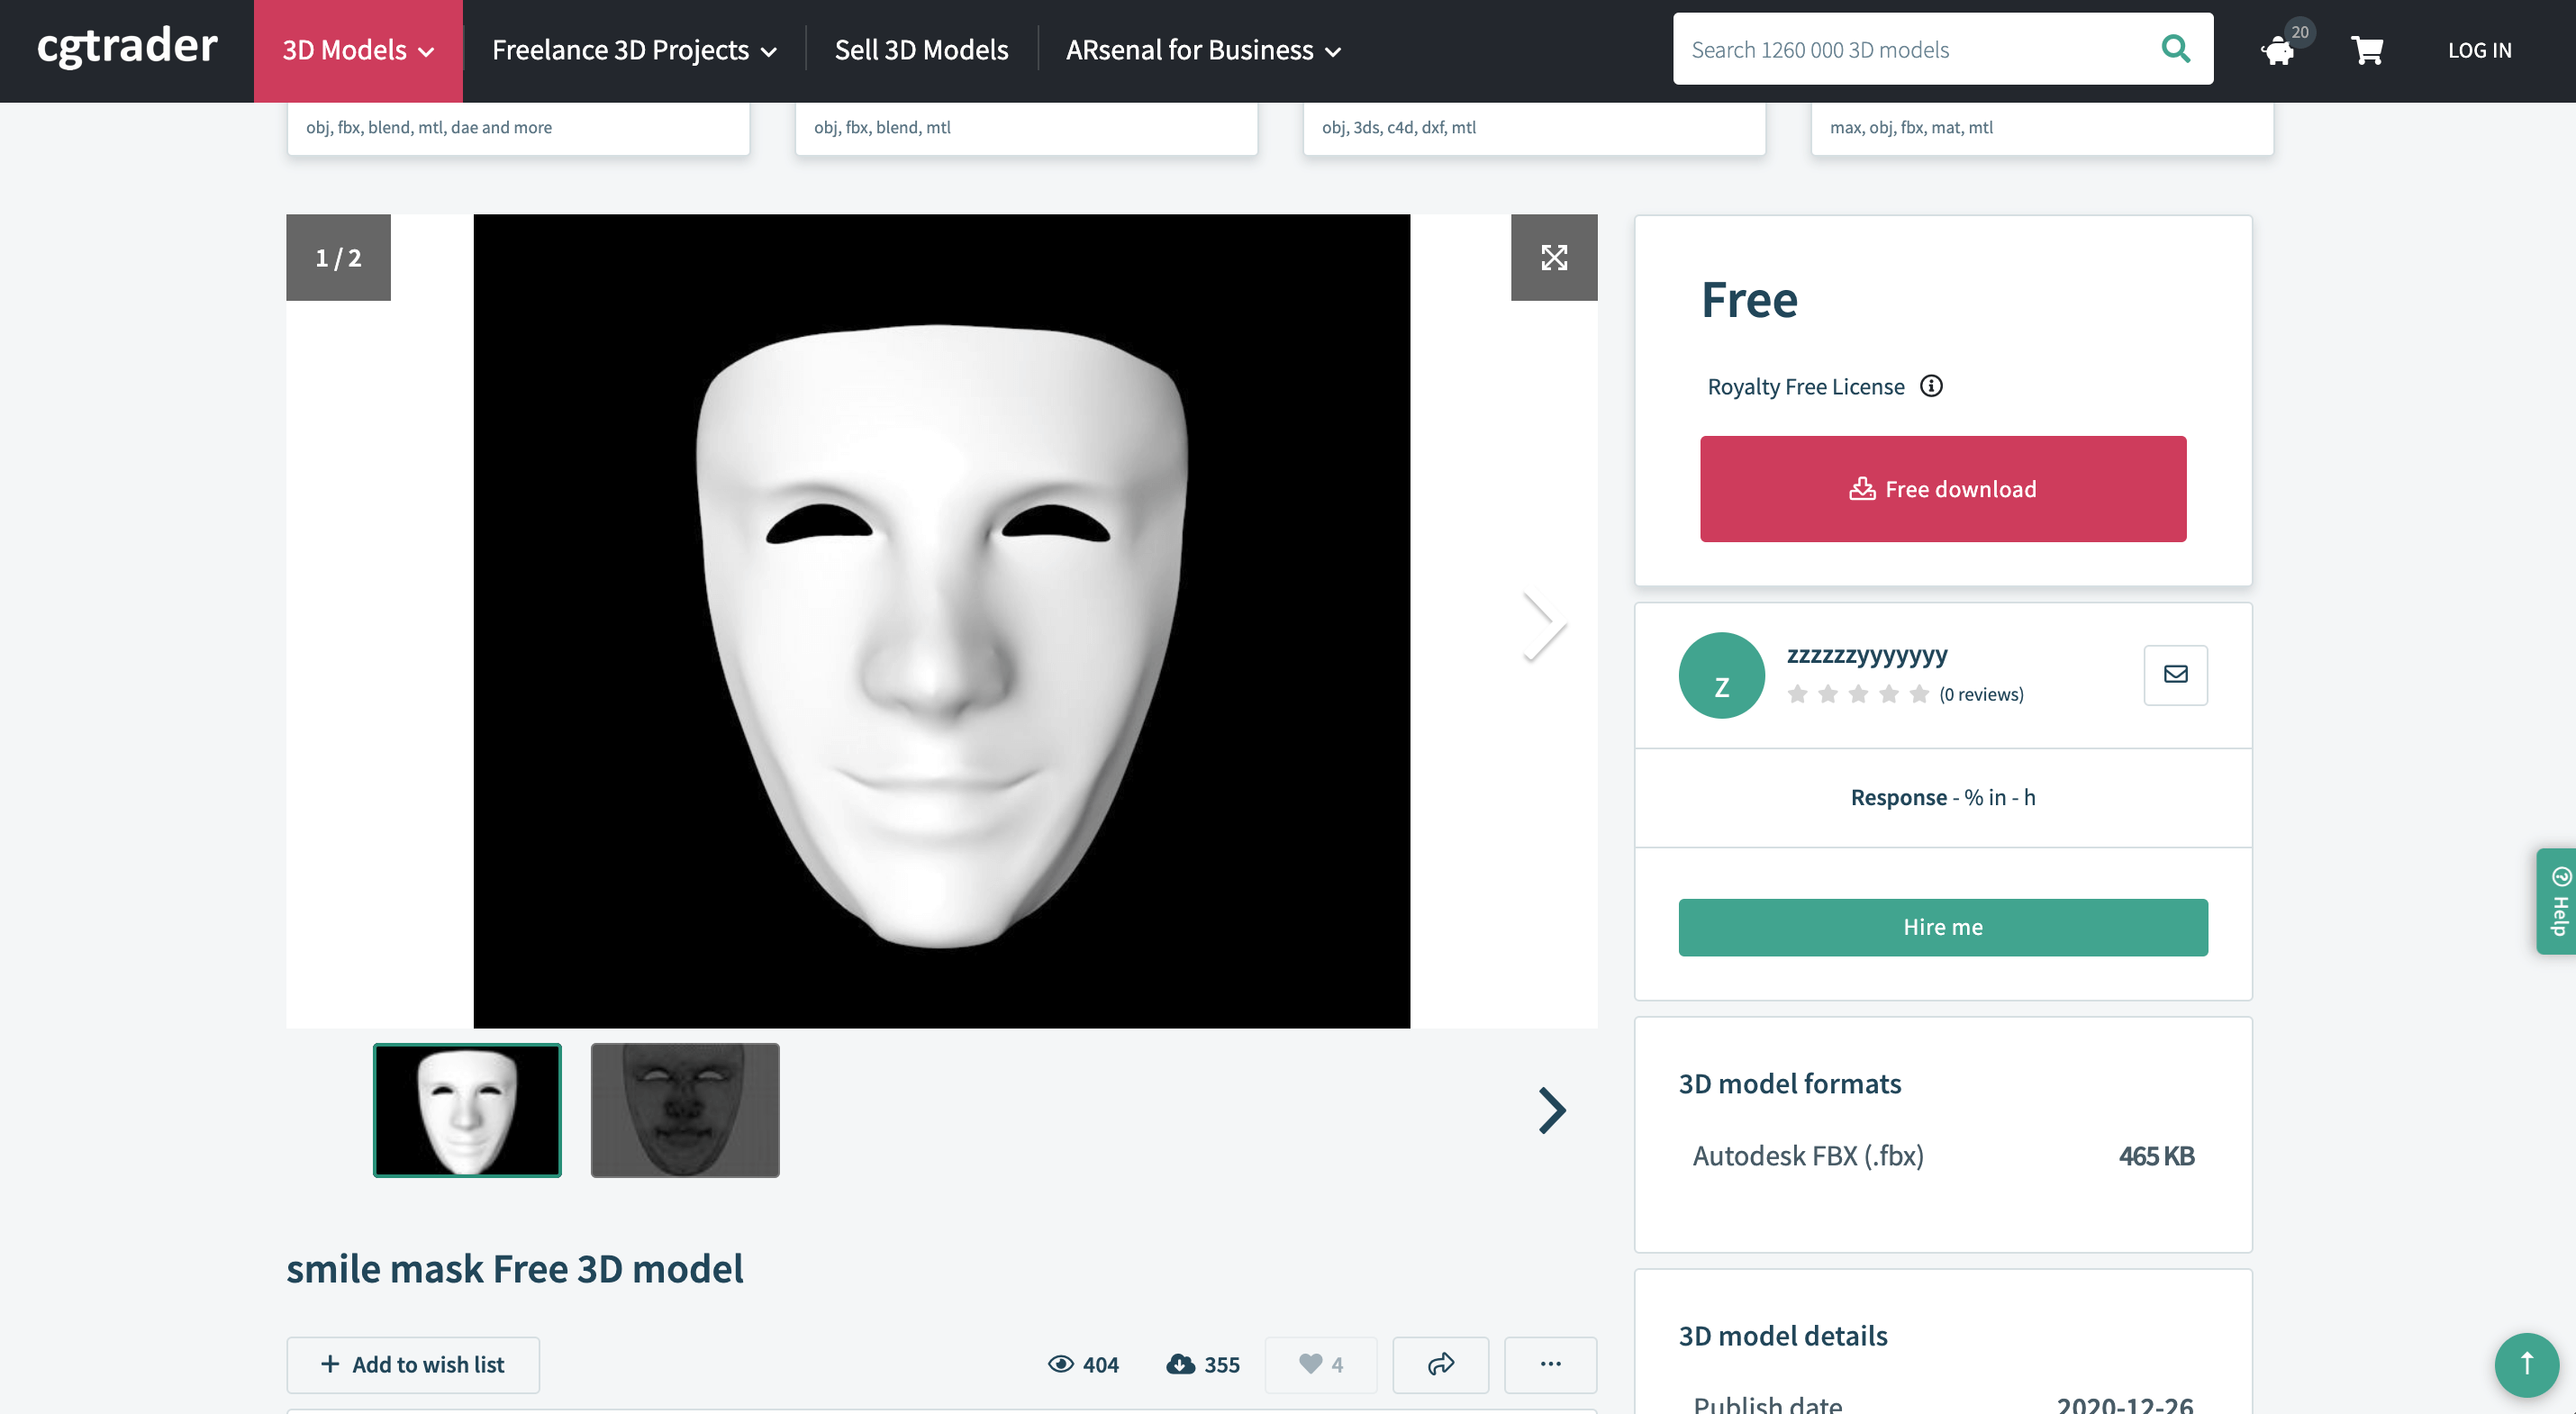
smile mask Free 3D model
Click on the “Free download” button to download the model.
Note that this site requires you to register a new account (or log in) and wait a few tens of seconds for the download to start.
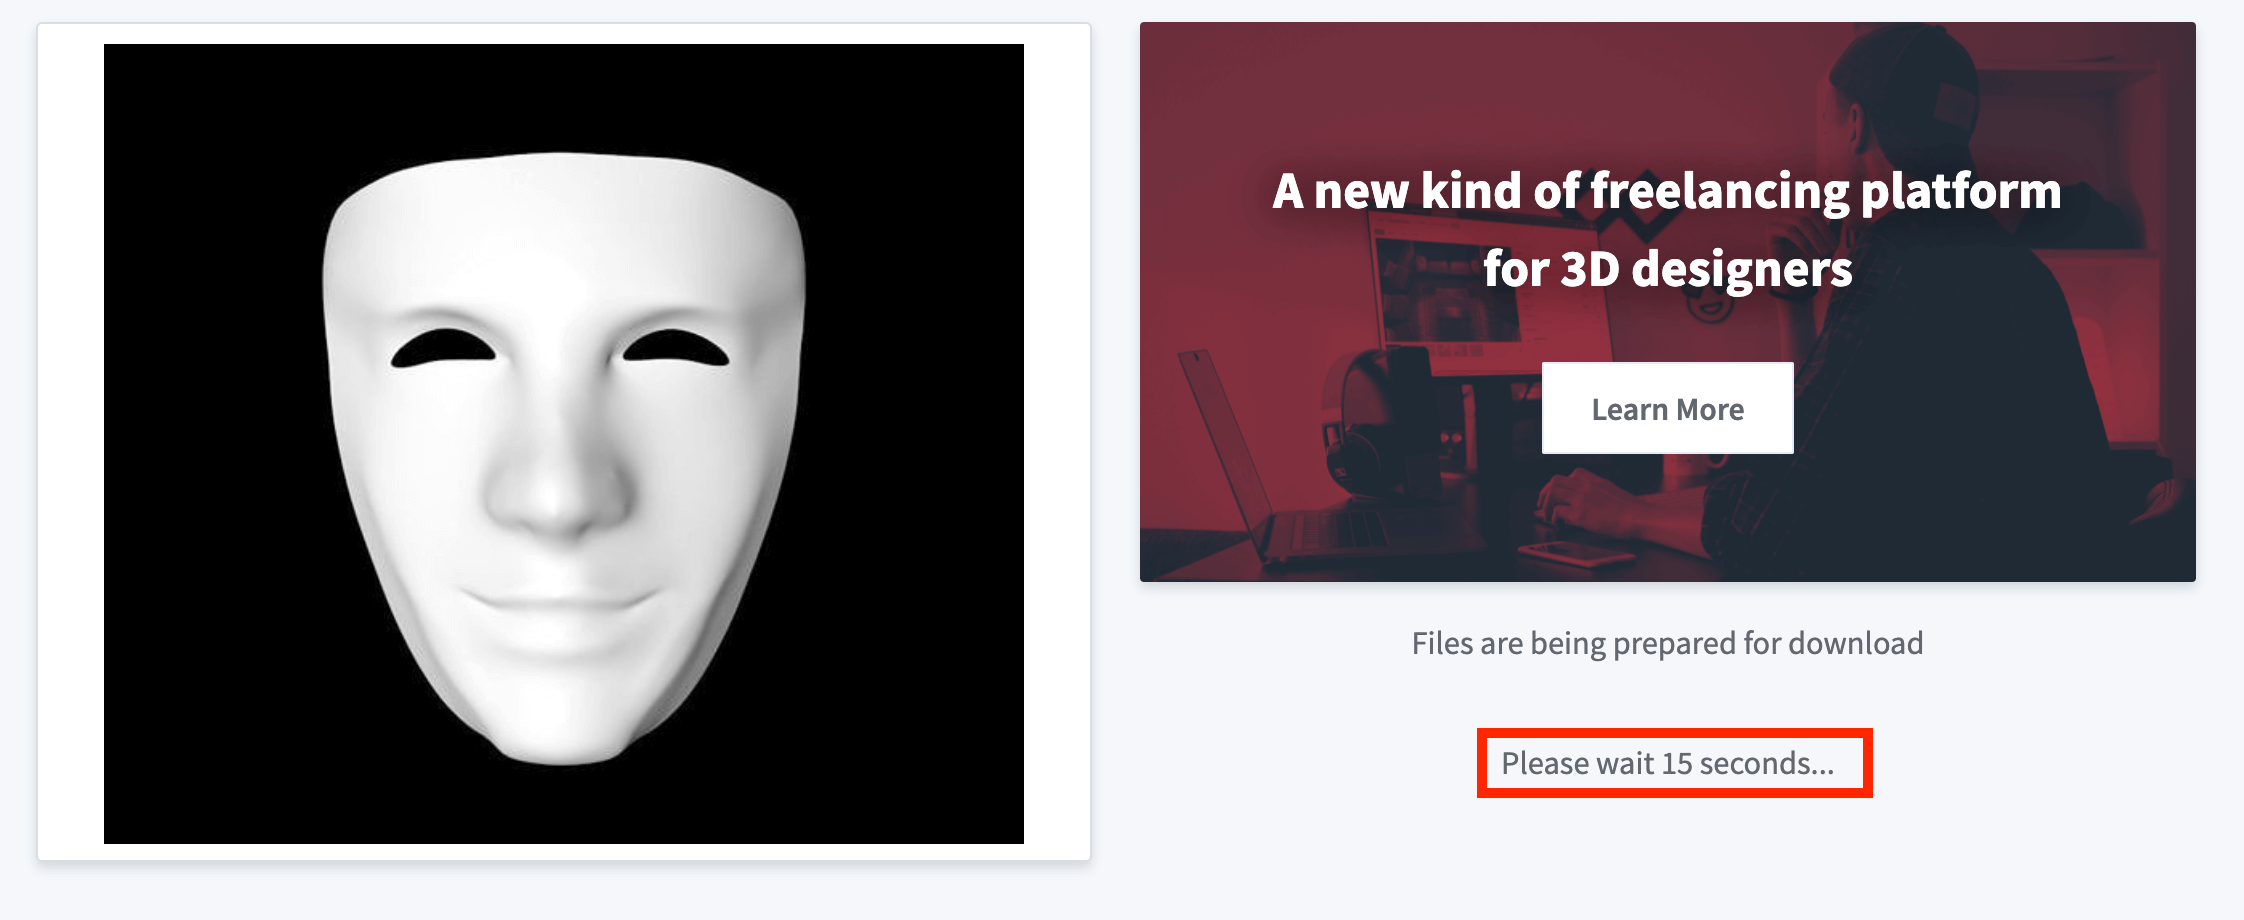
Wait a few tens of seconds and the download link will appear.

Click Download
Load the model in Blender
Launch Blender and delete the cube placed in the center by pressing [X] key.
Click “Import” from the menu in the upper left corner, and select the model that you just downloaded.
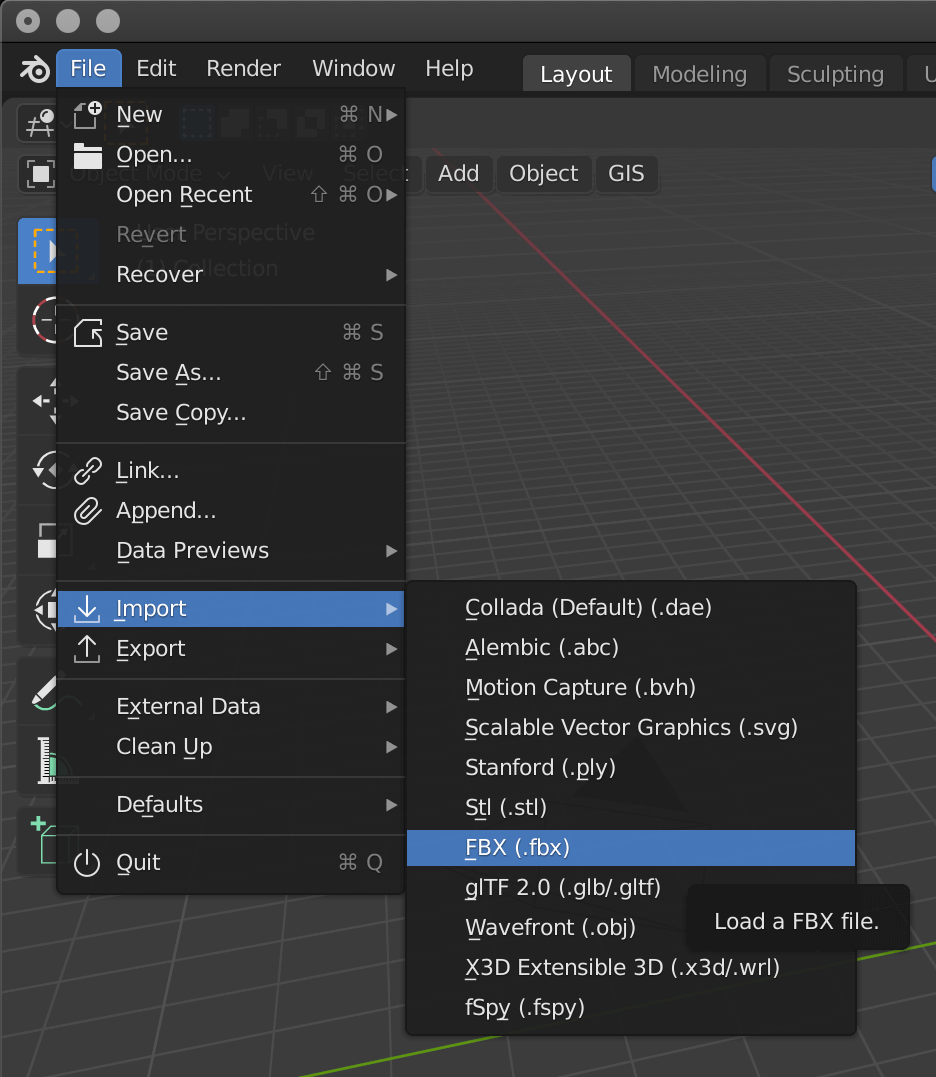
The model we will use is .fbx, so select this one.
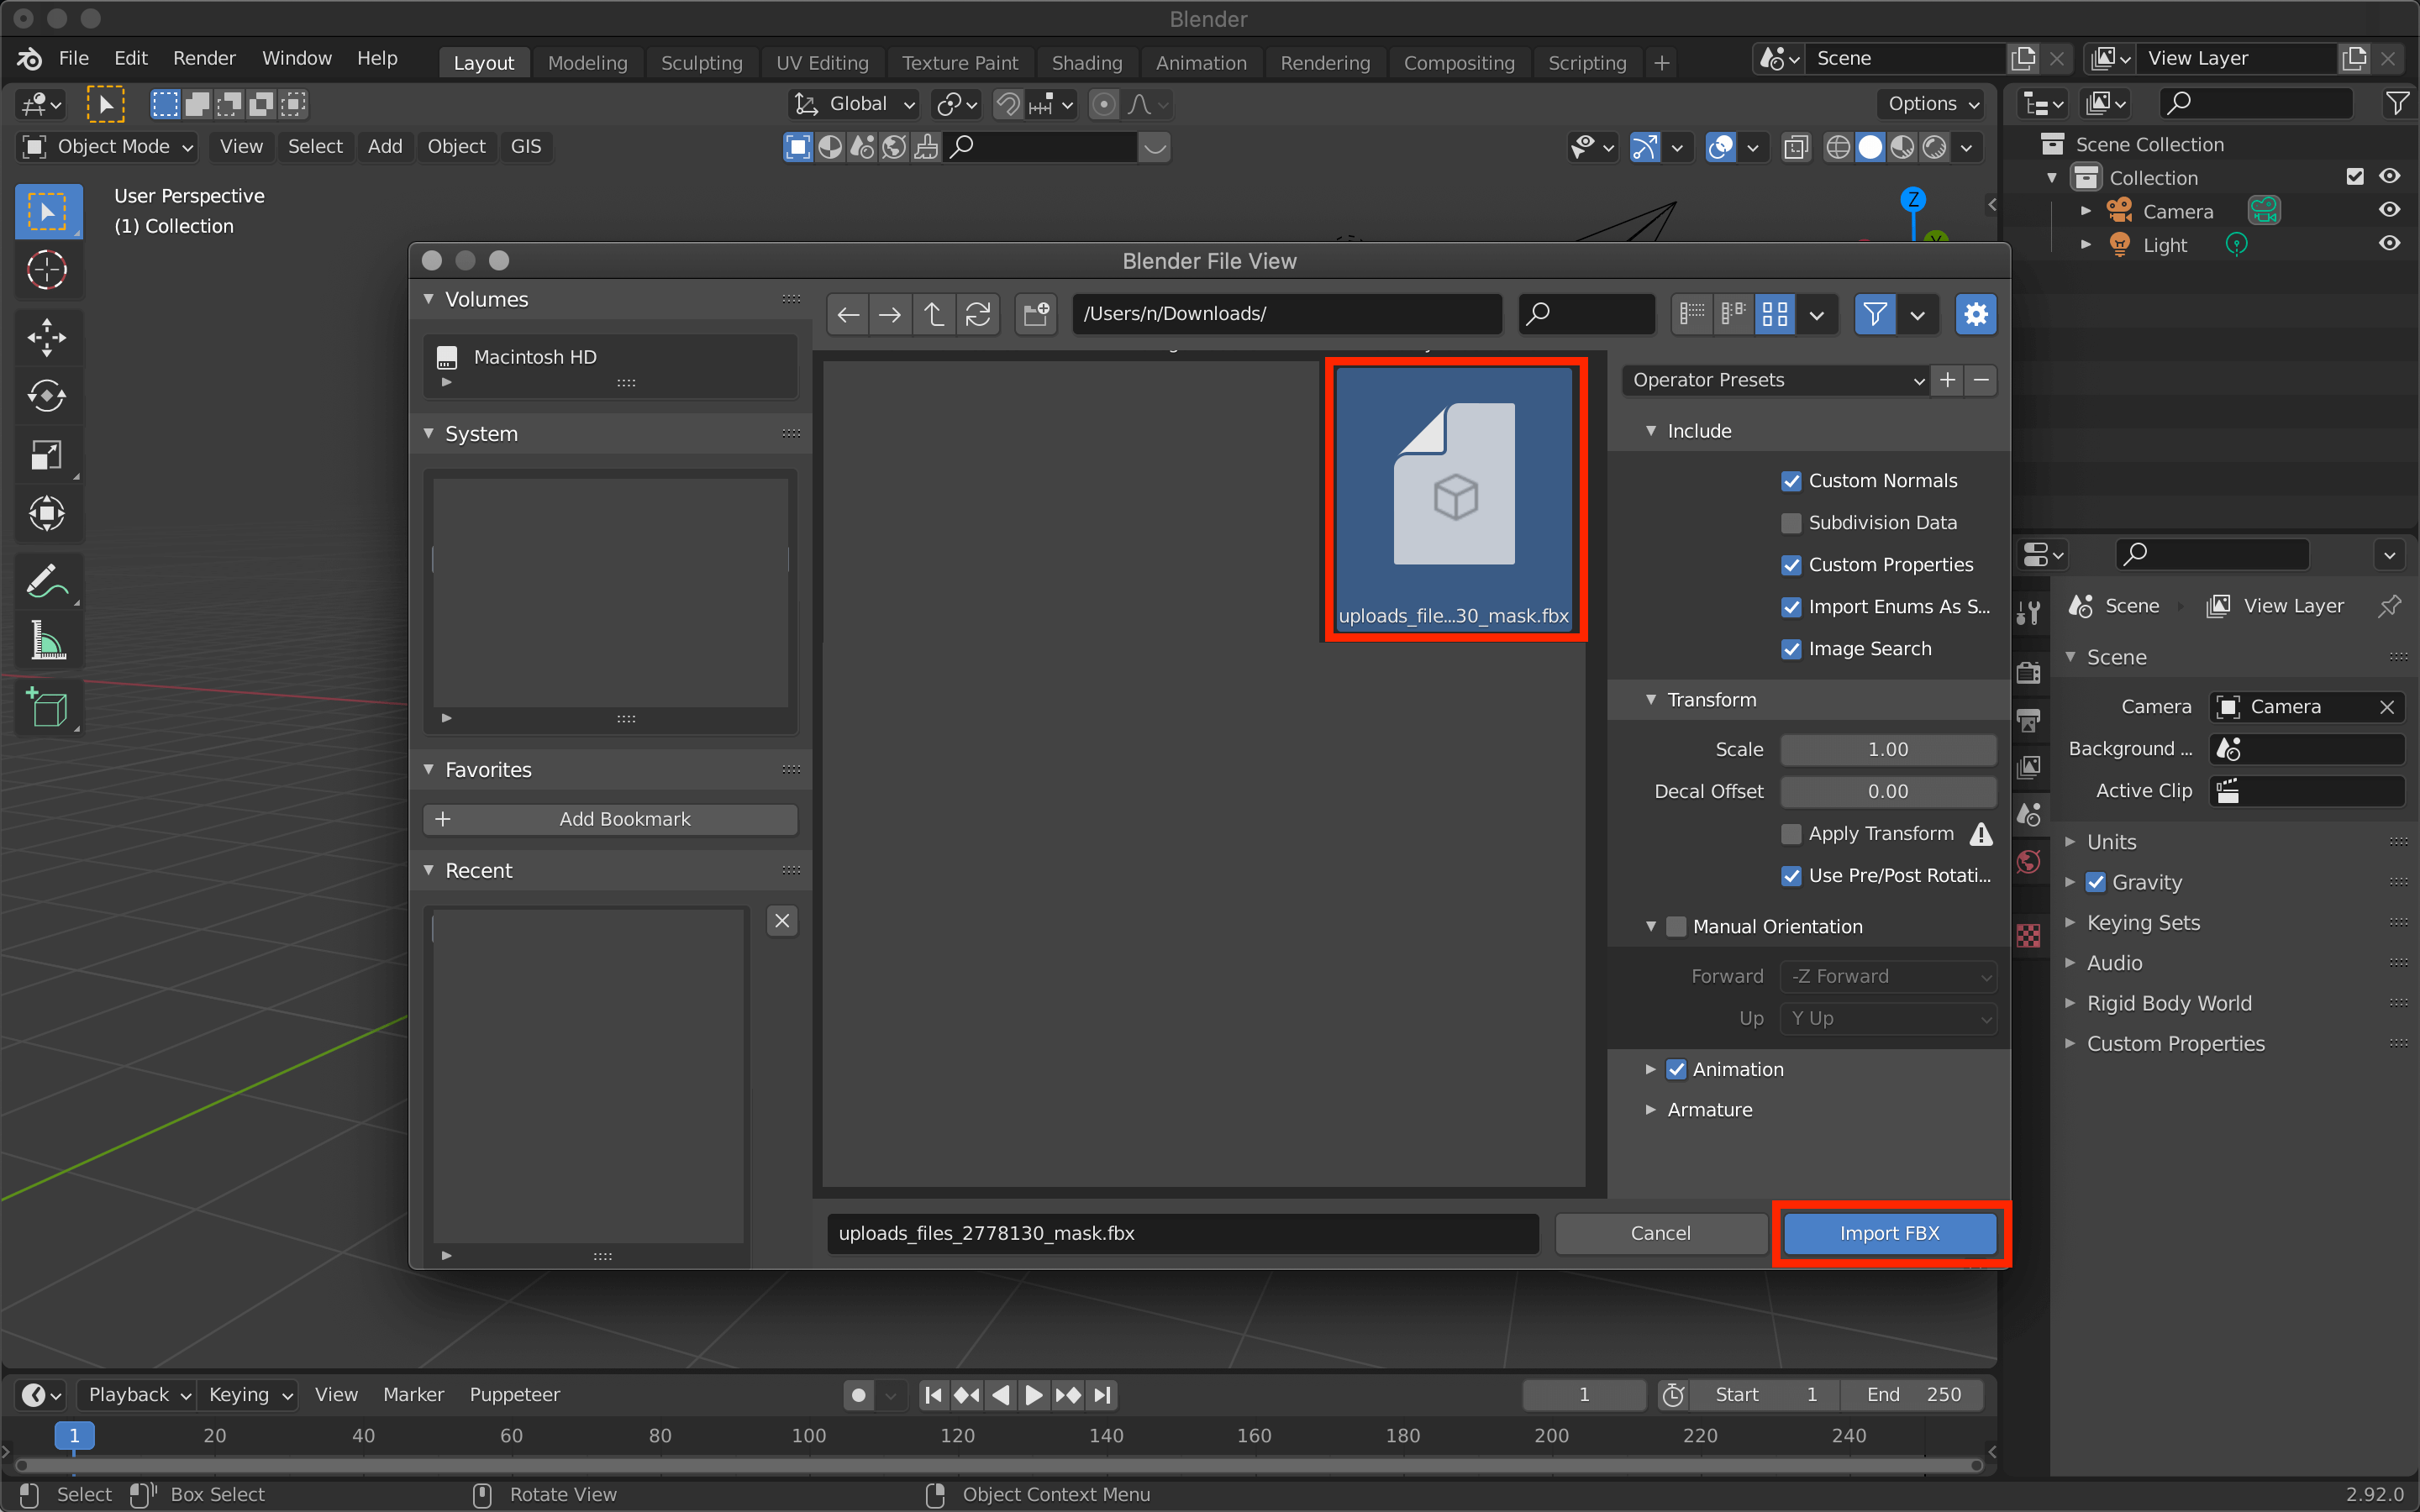
Note that the data name is different from the one displayed at the time of download.
The loaded model is small, so resize it a little.
Then, select and delete the unnecessary cameras that are included.
![Press [S] key, move the cursor to enlarge, select, and press [X] key to delete.](https://styly.cc/wp-content/uploads/2021/07/mask.gif)
Press [S] key, move the cursor to enlarge, select, and press [X] key to delete.
Adjust the position of the 3D model.
Select View→Viewpoint→Front to switch the viewpoint to the front.
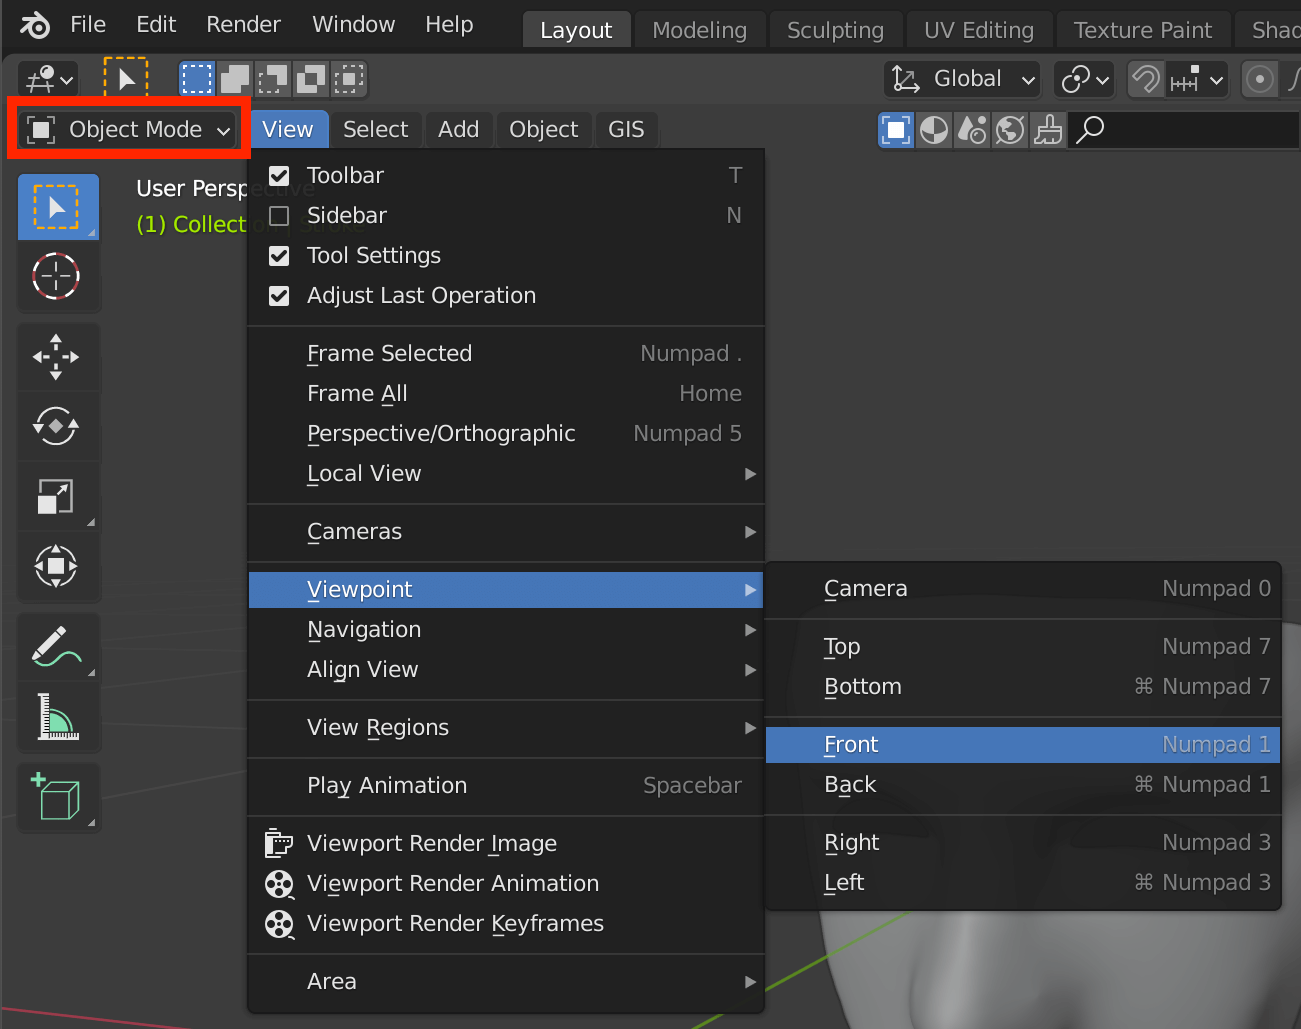
Front
Select Object→Set Origin→Origin to Geometry from the top menu to reset the center point of the model.

Origin to Geometry
Click the < button in the upper right corner of the main screen to display the menu, and move the model’s location to the XYZ origin.

Set all Location values to 0.
Drawing a pattern with a grease pencil (Preparation)
Click anywhere on the screen to deselect the model.
Then use [Shift+A] to select Grease Pencil→Stroke to add a new grease pencil.
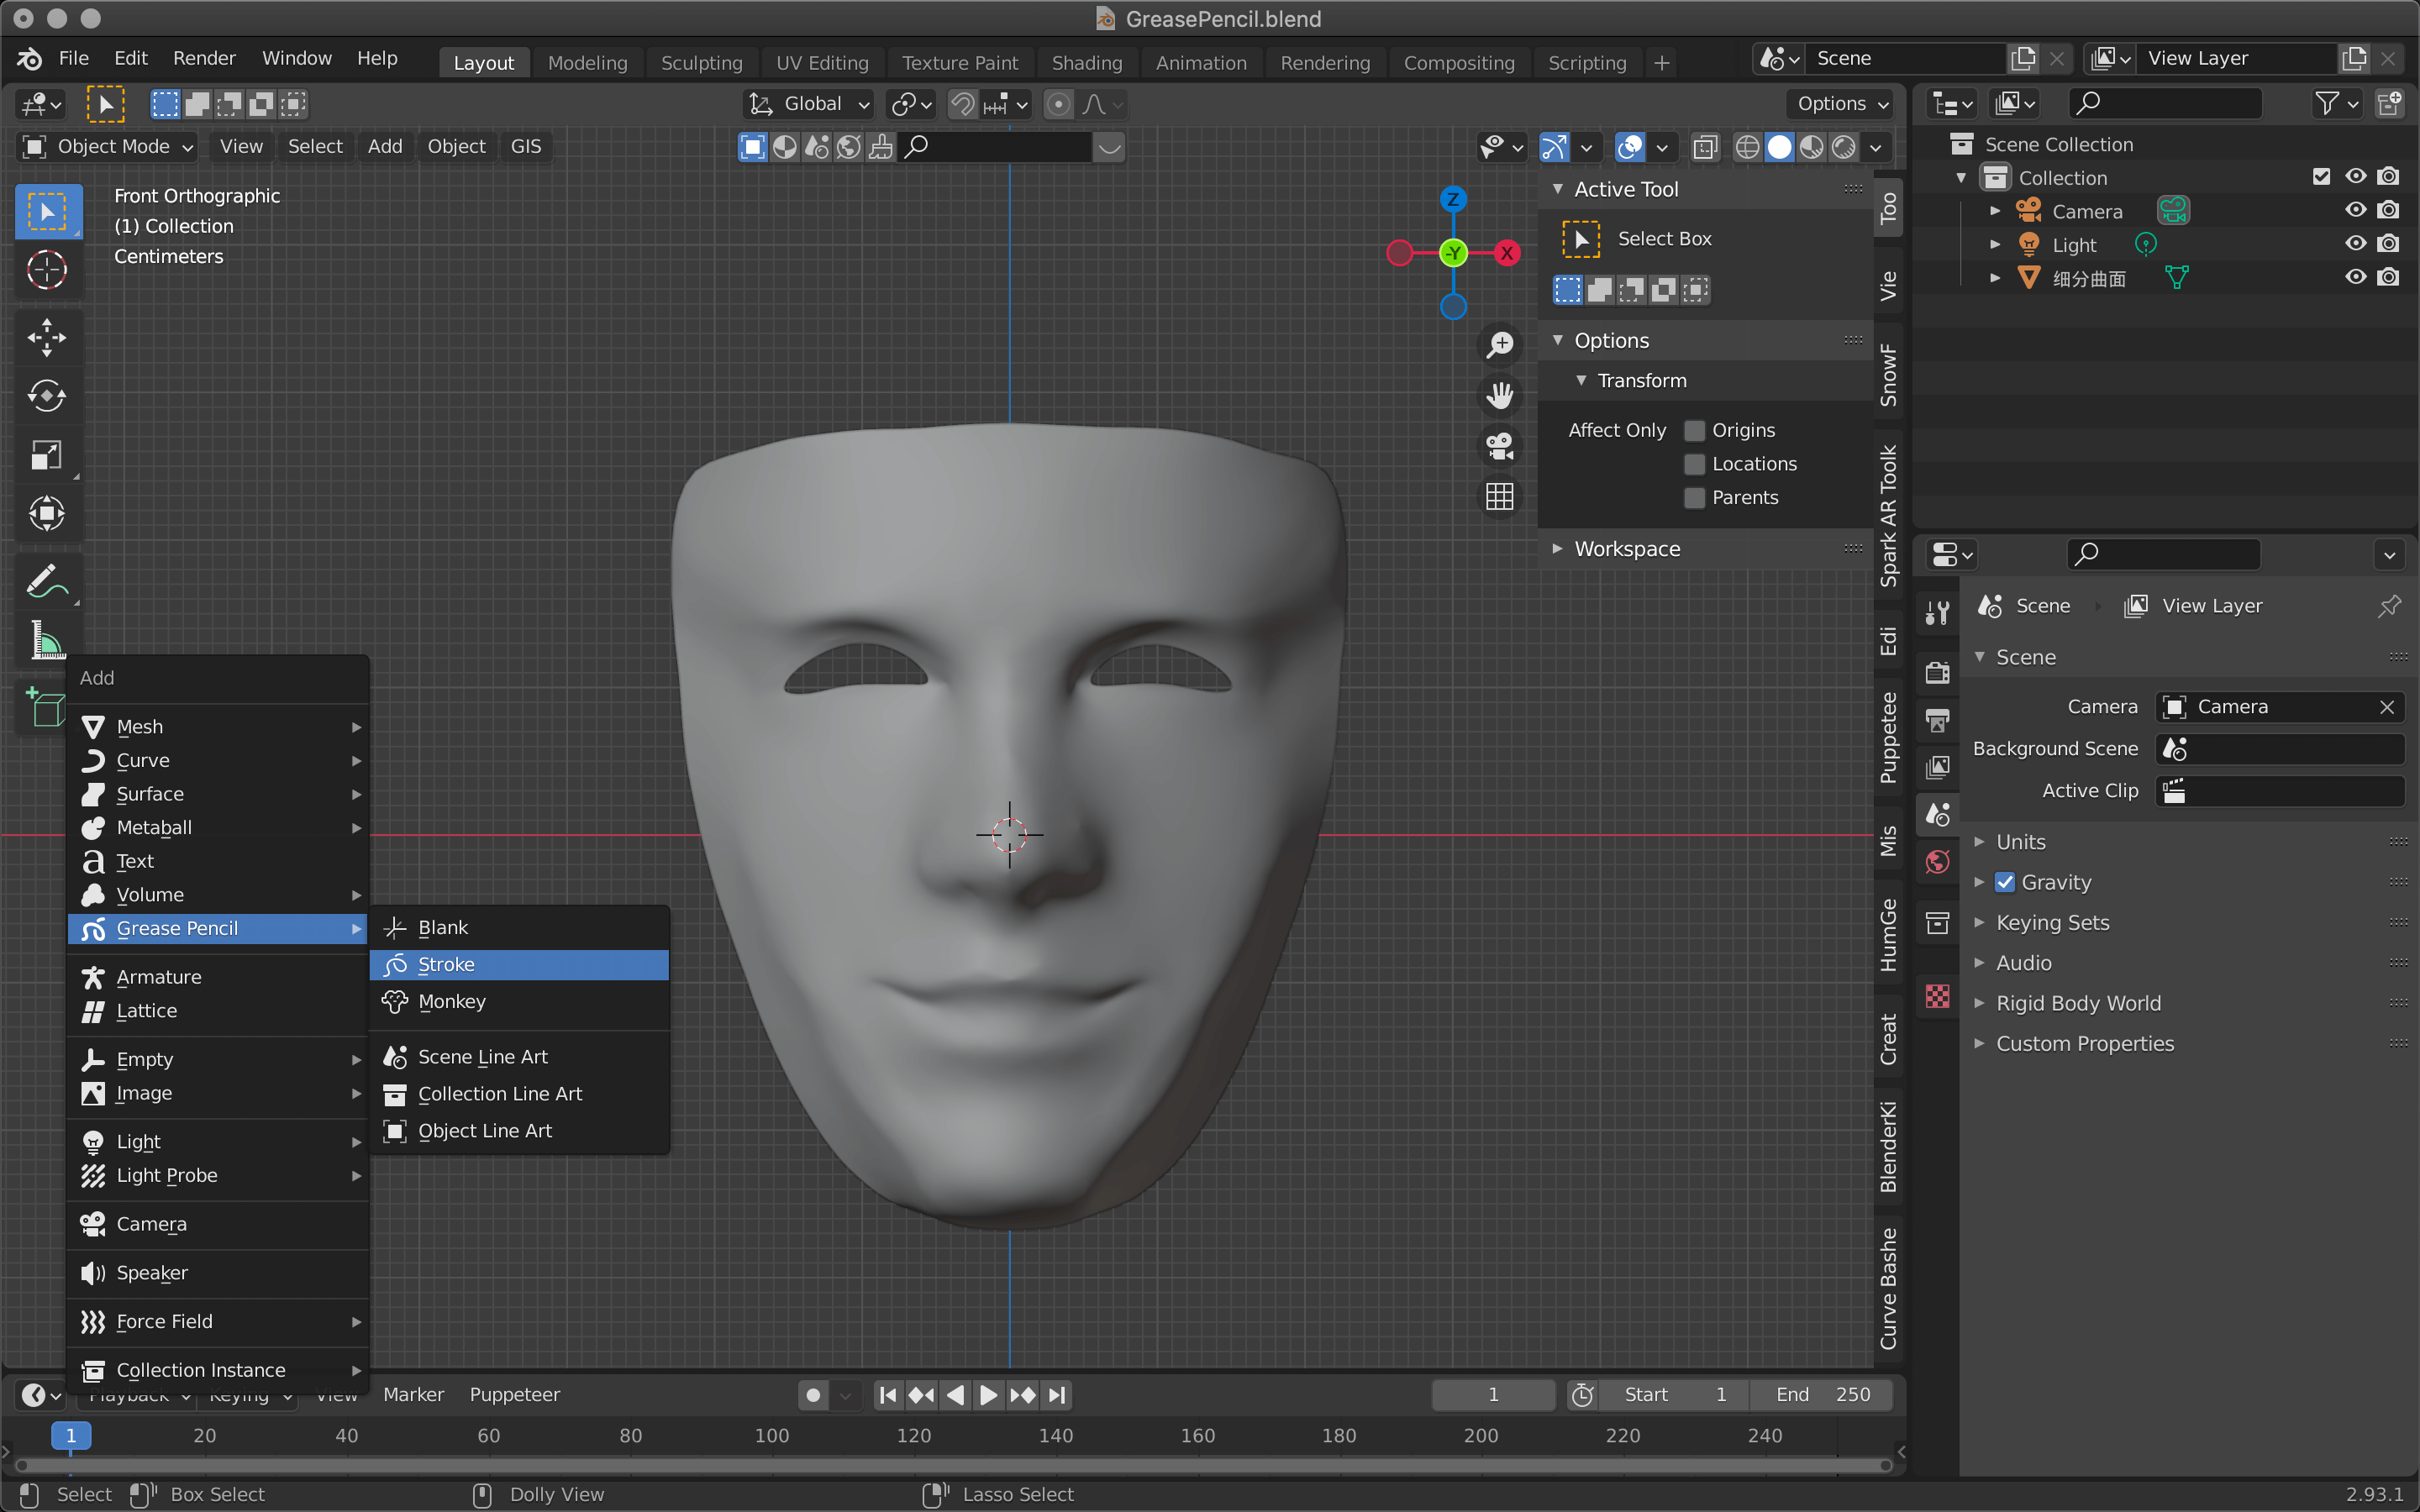
Stroke
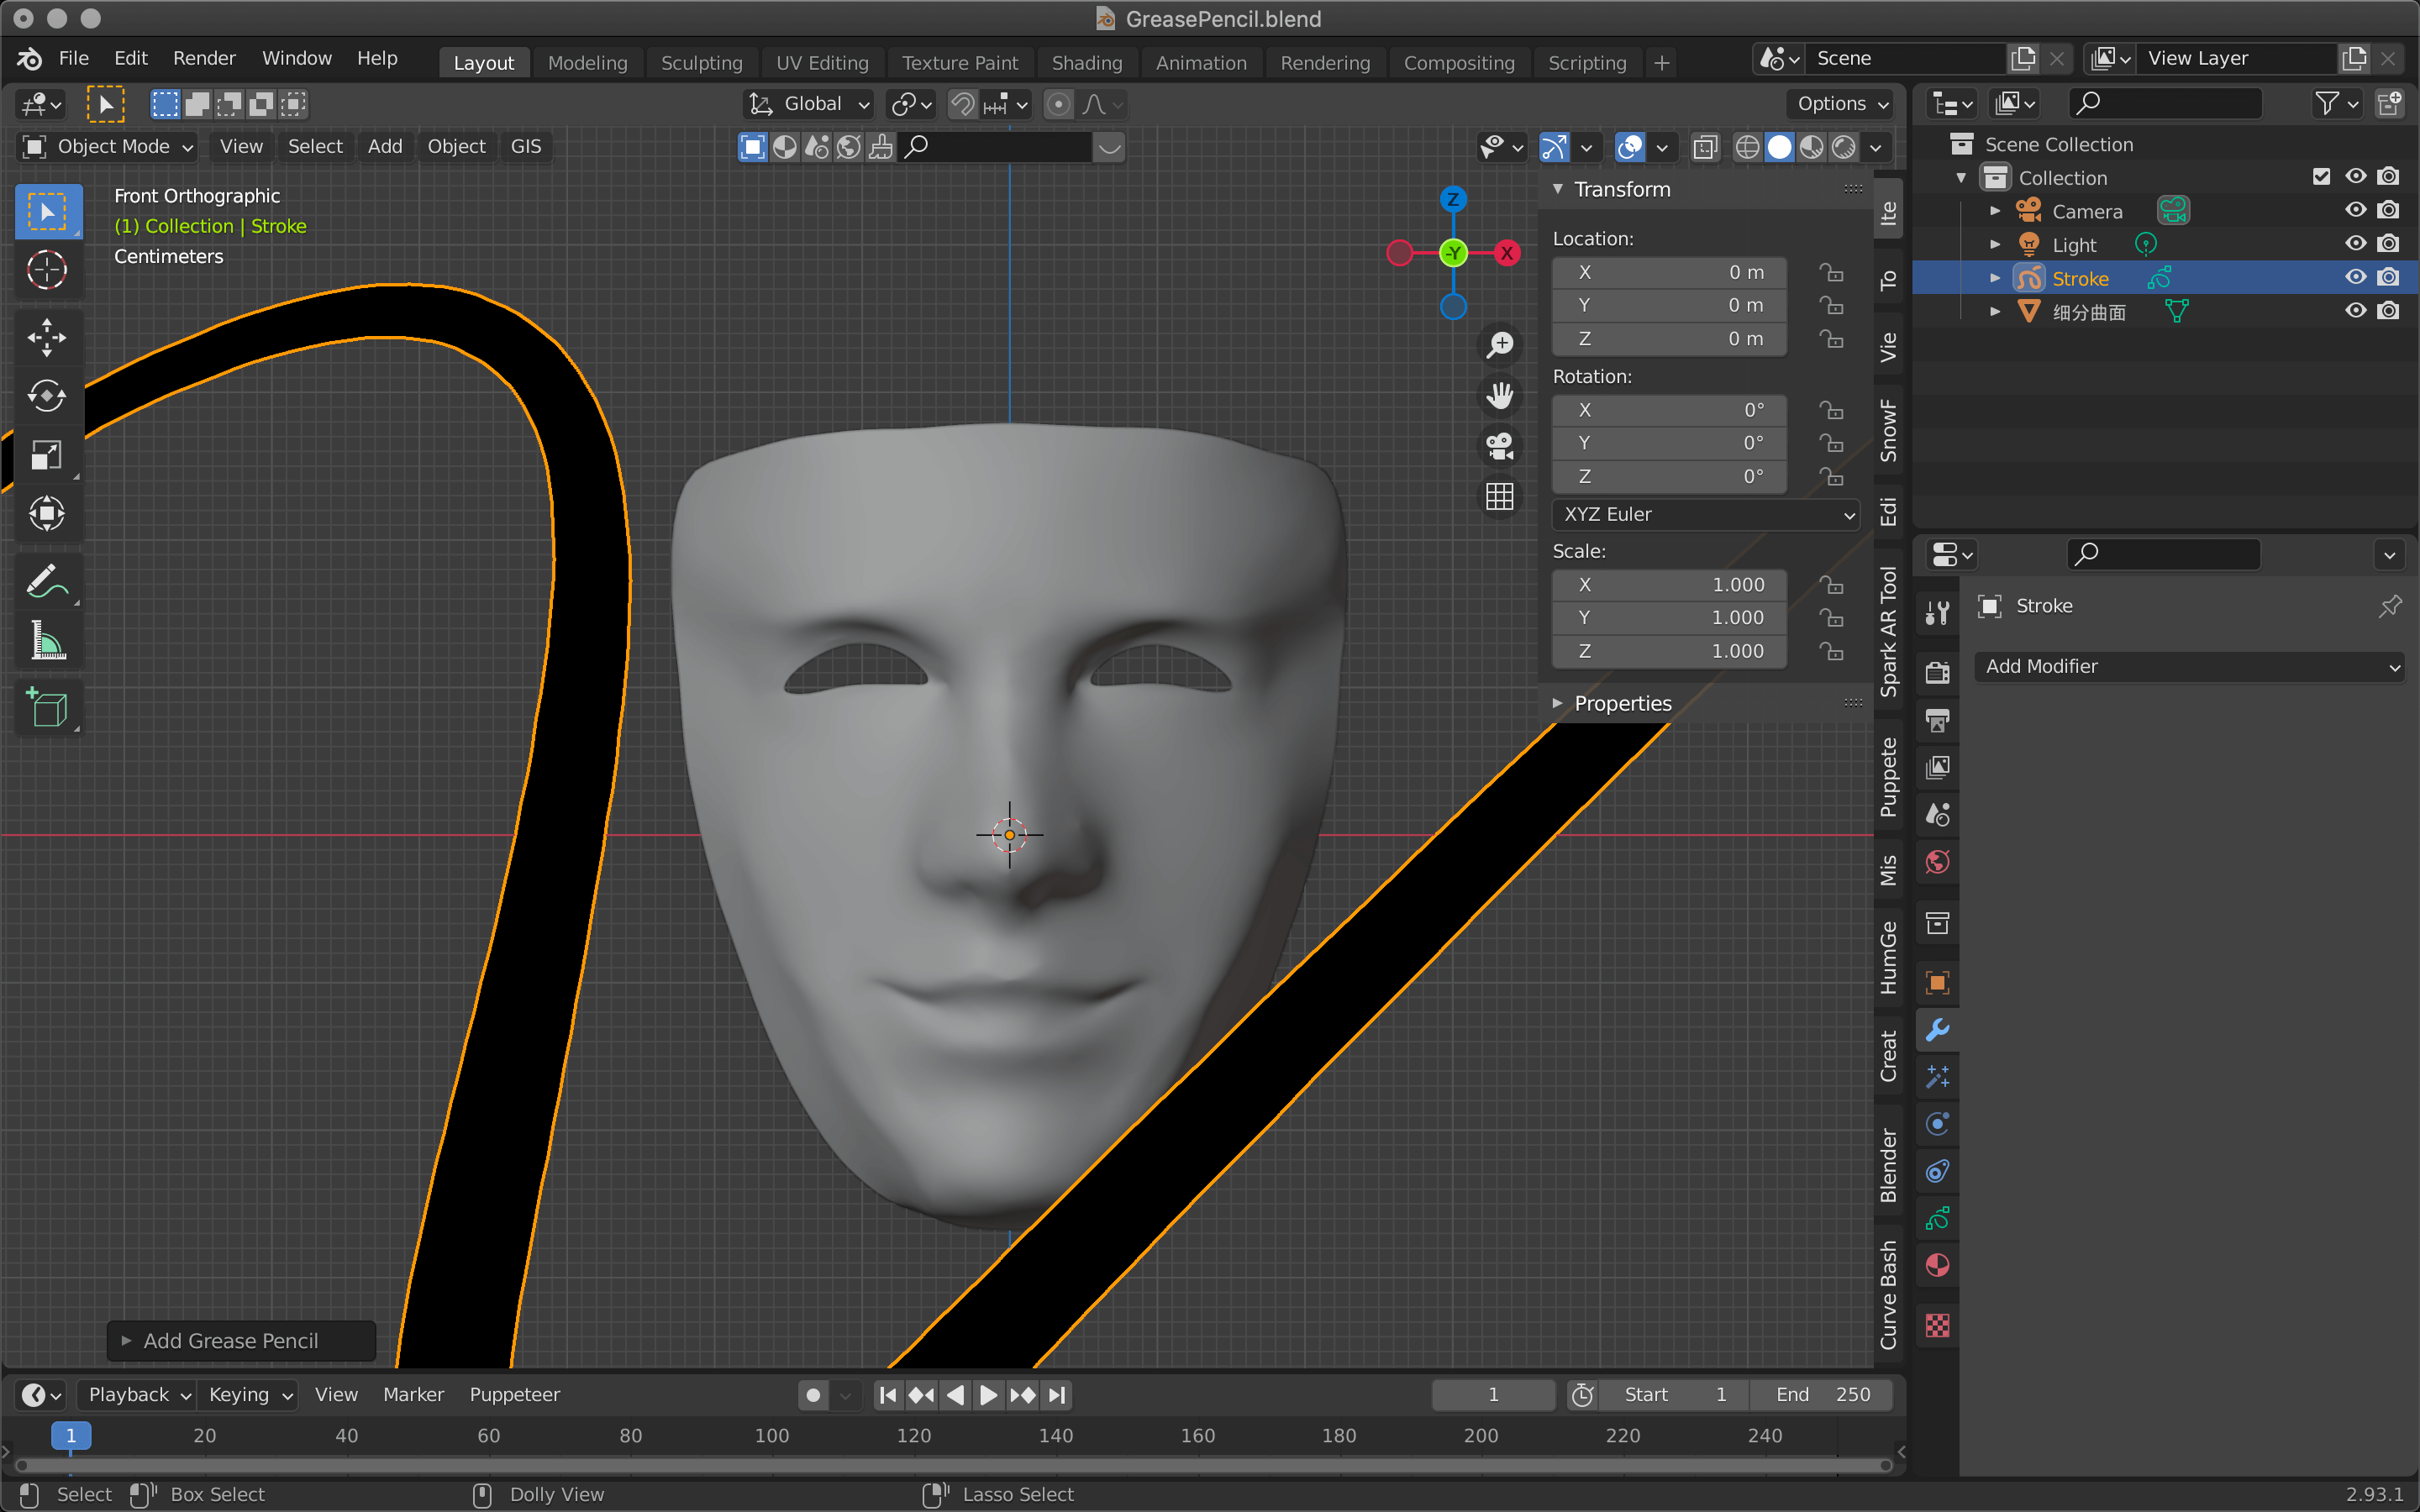
Delete the added line as it will not be used.
Press [Tab] key to enter edit mode, and press [A] key to select all points.
Then press [X]→Points to delete the vertices.
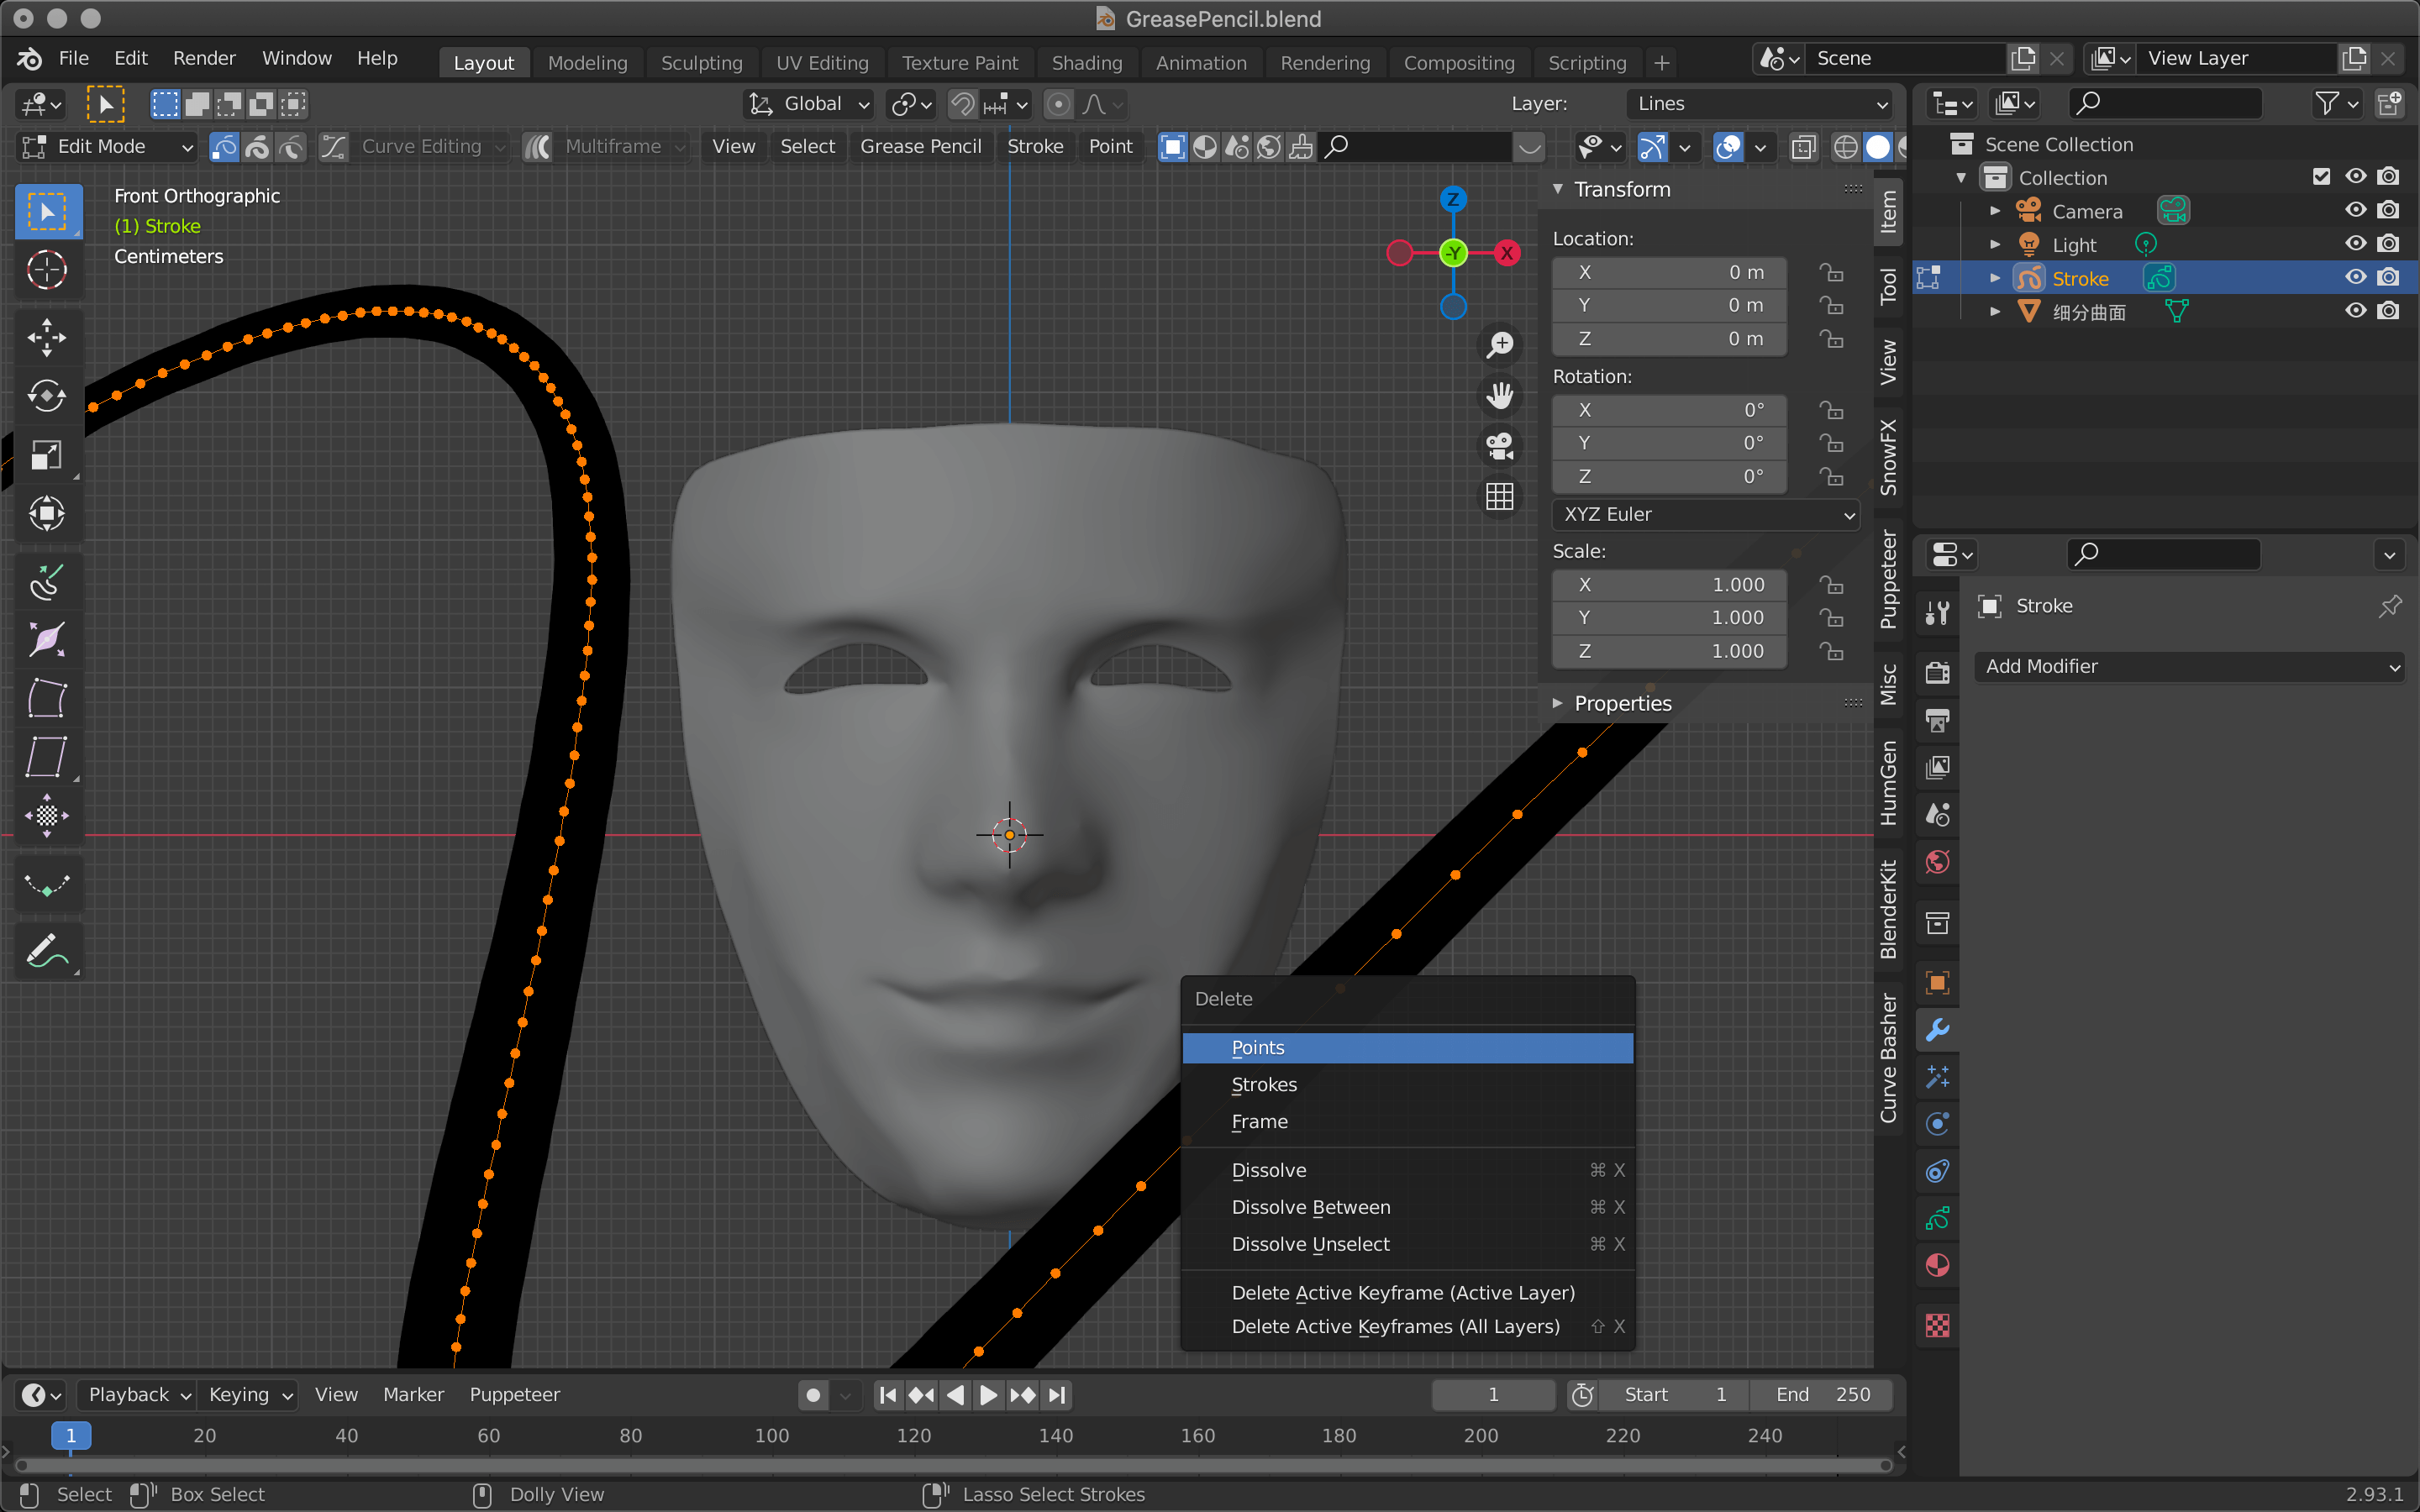
Delete a vertex
Change to Draw mode from the icon in the upper left corner.
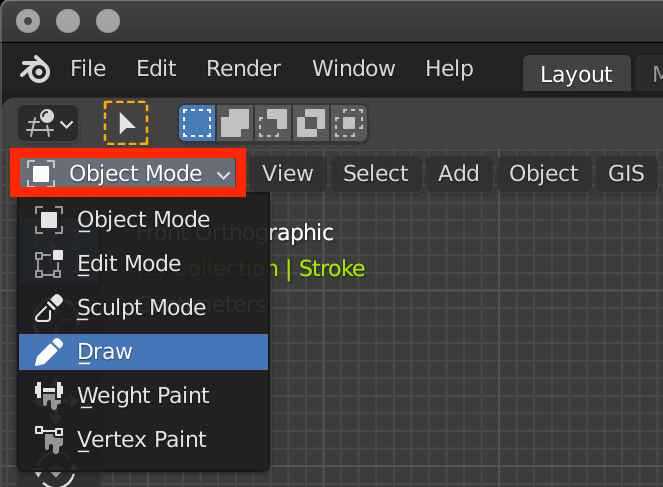
Draw
Now you are ready to go.
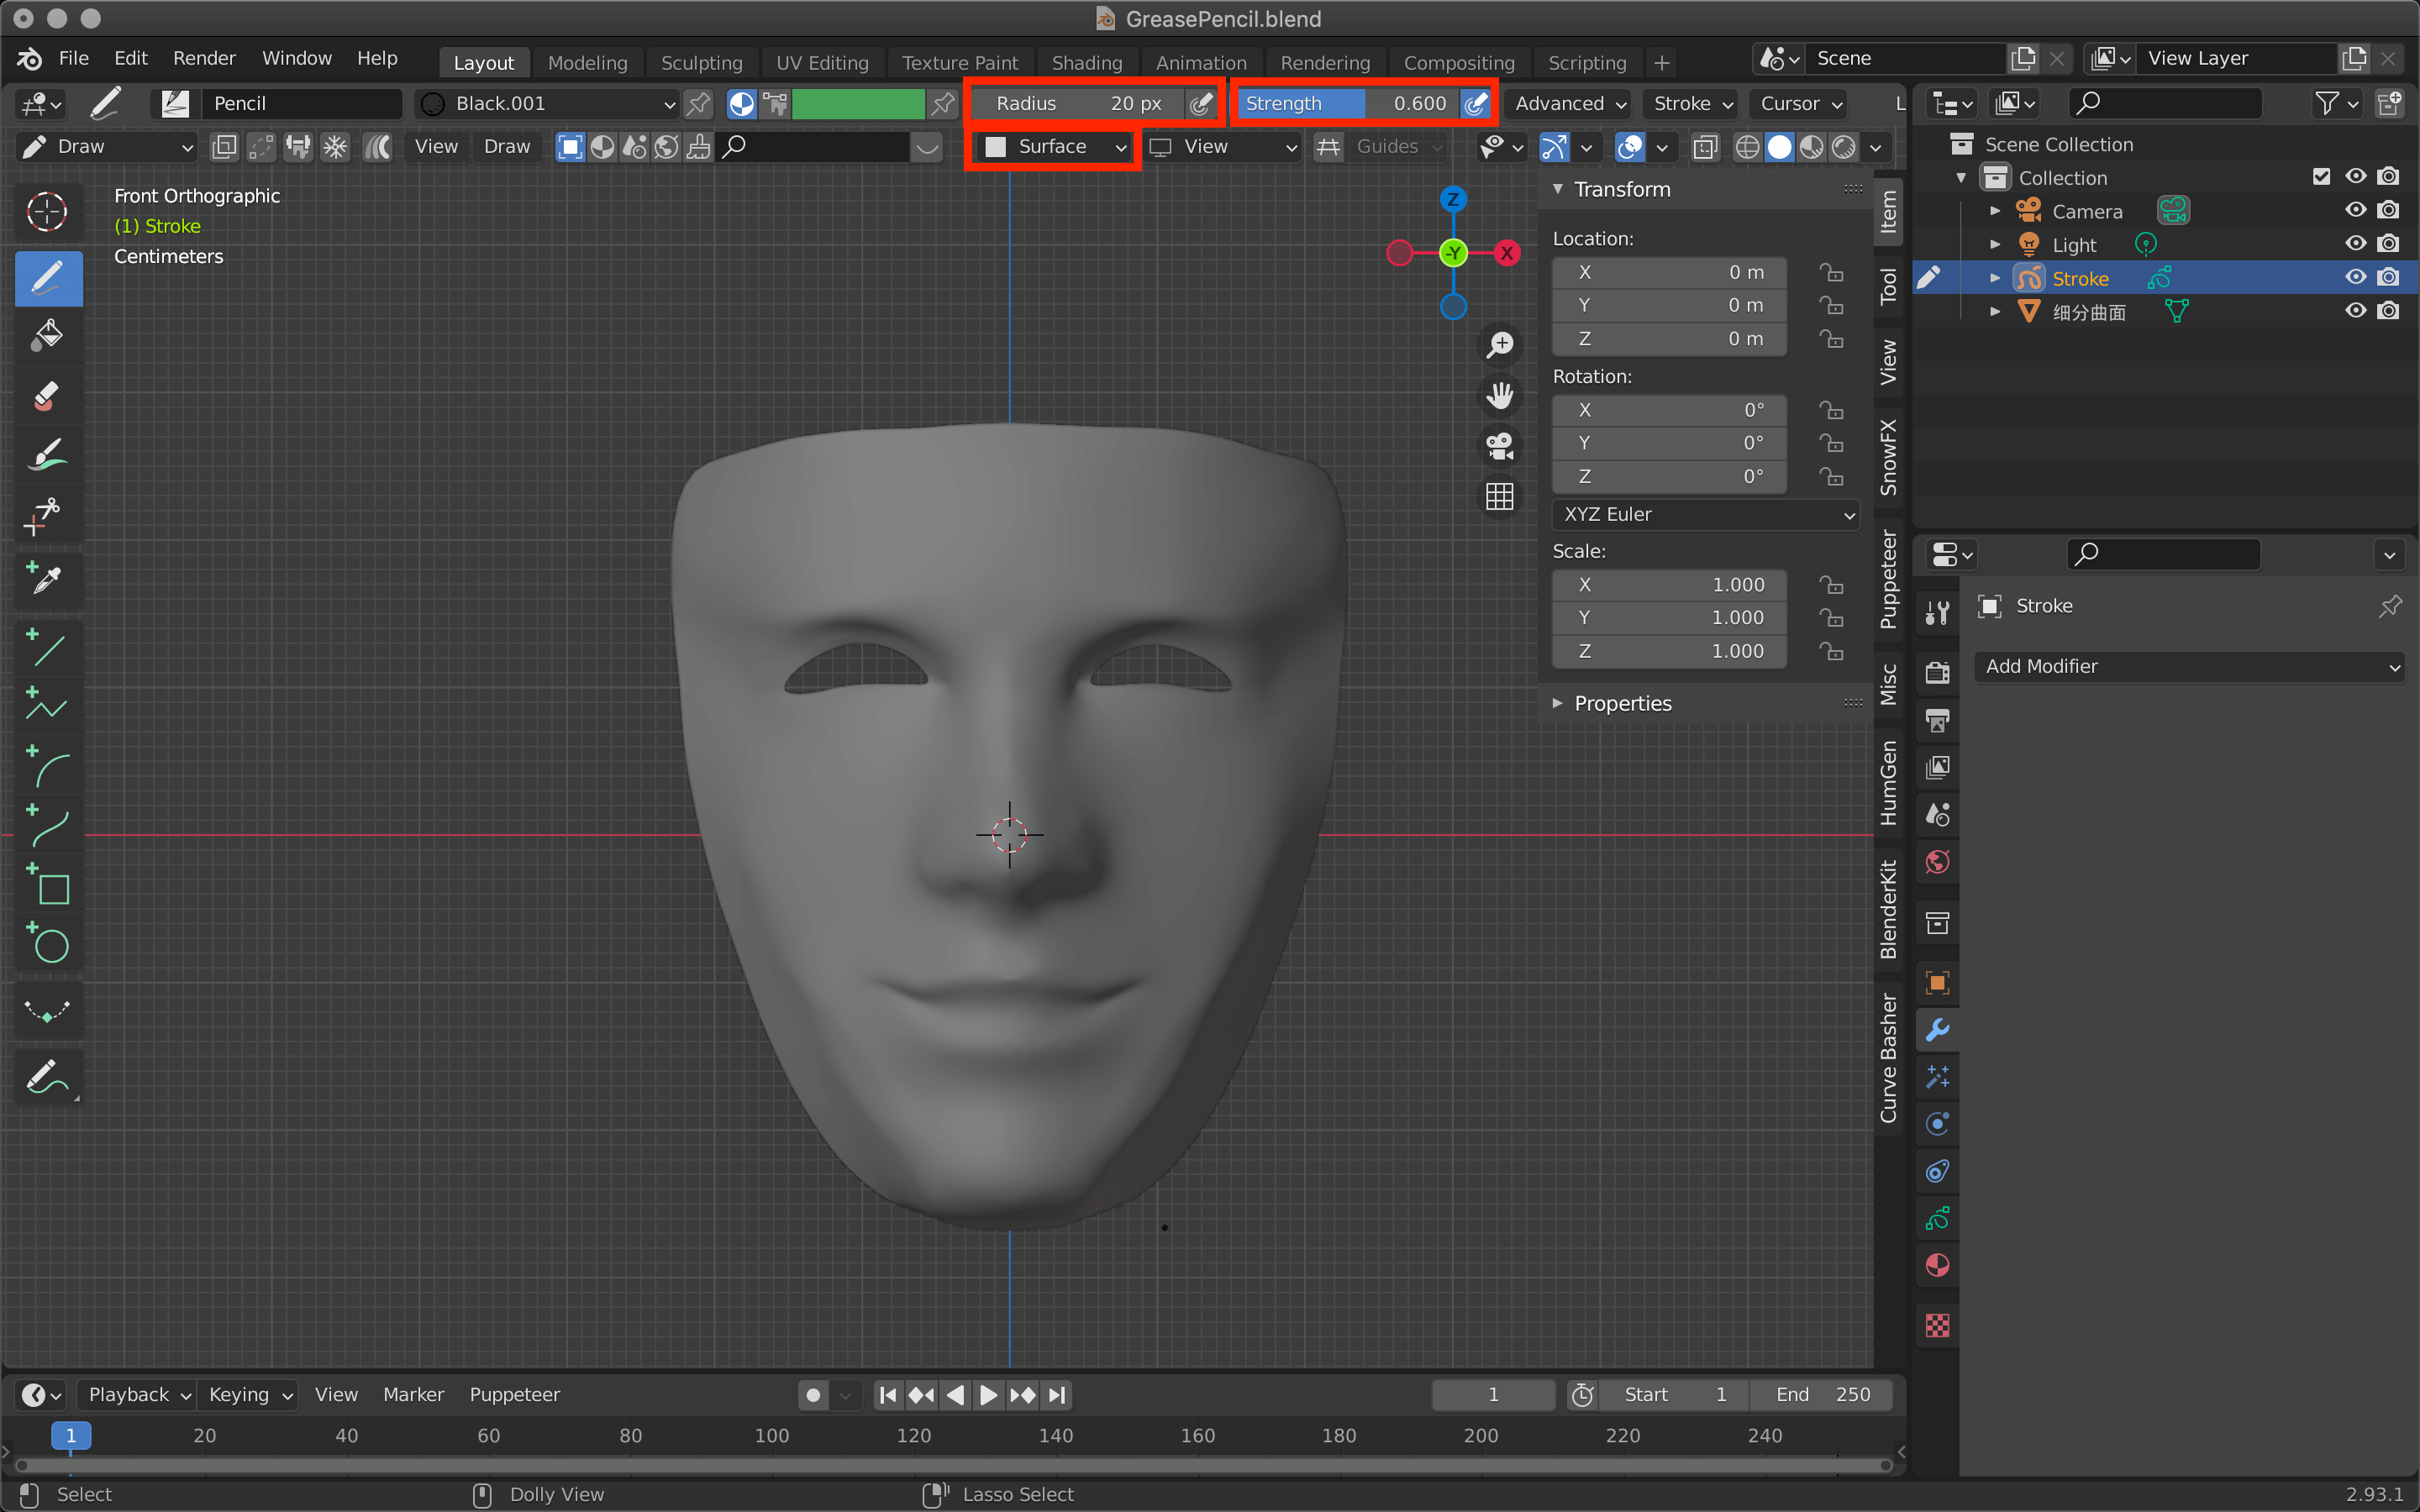
Change the settings of the grease pencil
| Radius | Pen thickness (1 to 500px) |
| Strength | Pen transparency (1.0=100% transparency) |
| Surface | Draw along the surface of the model. |
Radius and Strength depend on the pressure of the pen tab or mouse when the icons next to them are turned on.
If you turn them off, you can draw lines of uniform thickness and transparency.
If you change the Origin to Surface in the top center menu, you can draw lines along the model.

Drawing lines by dragging
If you want to draw a symmetrical pattern like the model we will create, use the Mirror modifier in the Modifier Properties.
Mirror is a modifier that allows you to model symmetrically around the X, Y, or Z axis.
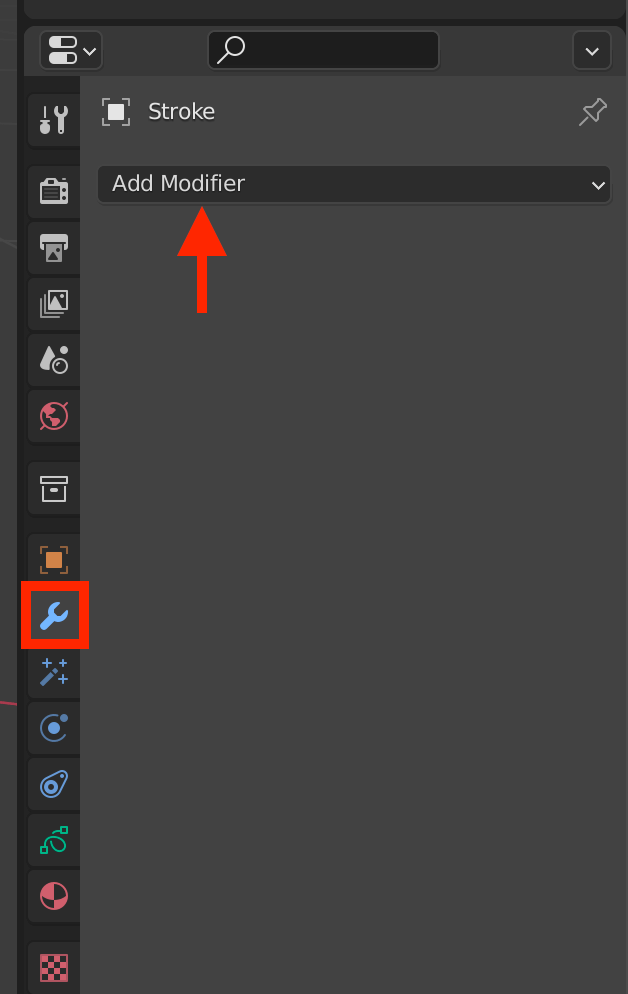
Add a tool from Add Modifier
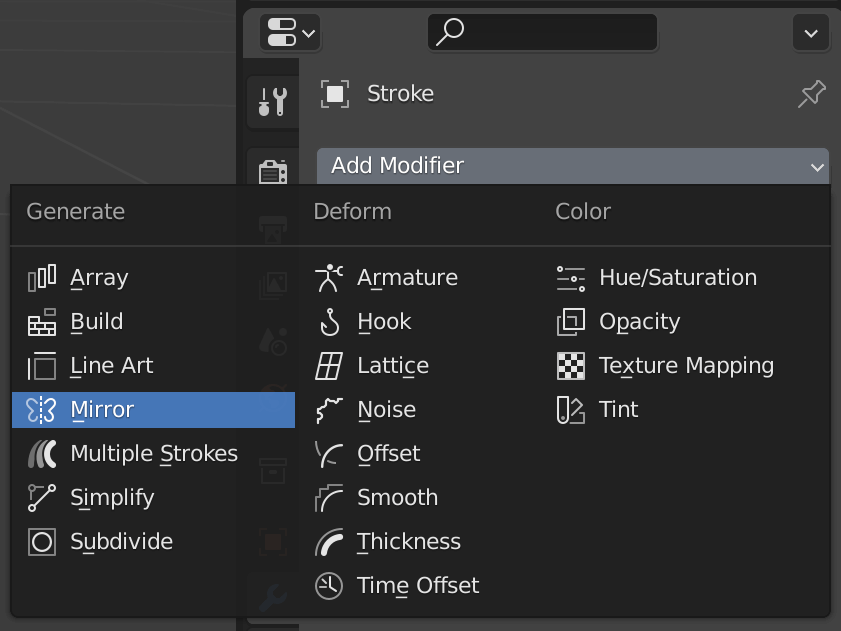
Mirror
Drawing a pattern with a grease pencil (production version)
You can add another view besides the main screen to see the depth and work easily.

You can add more windows by dragging from the upper right corner of the main screen.
Now you can draw lines as you like.
Since Mirror is applied, just draw on one side and the same line will be reflected on the other side.
I used a Google image as a reference for this project.
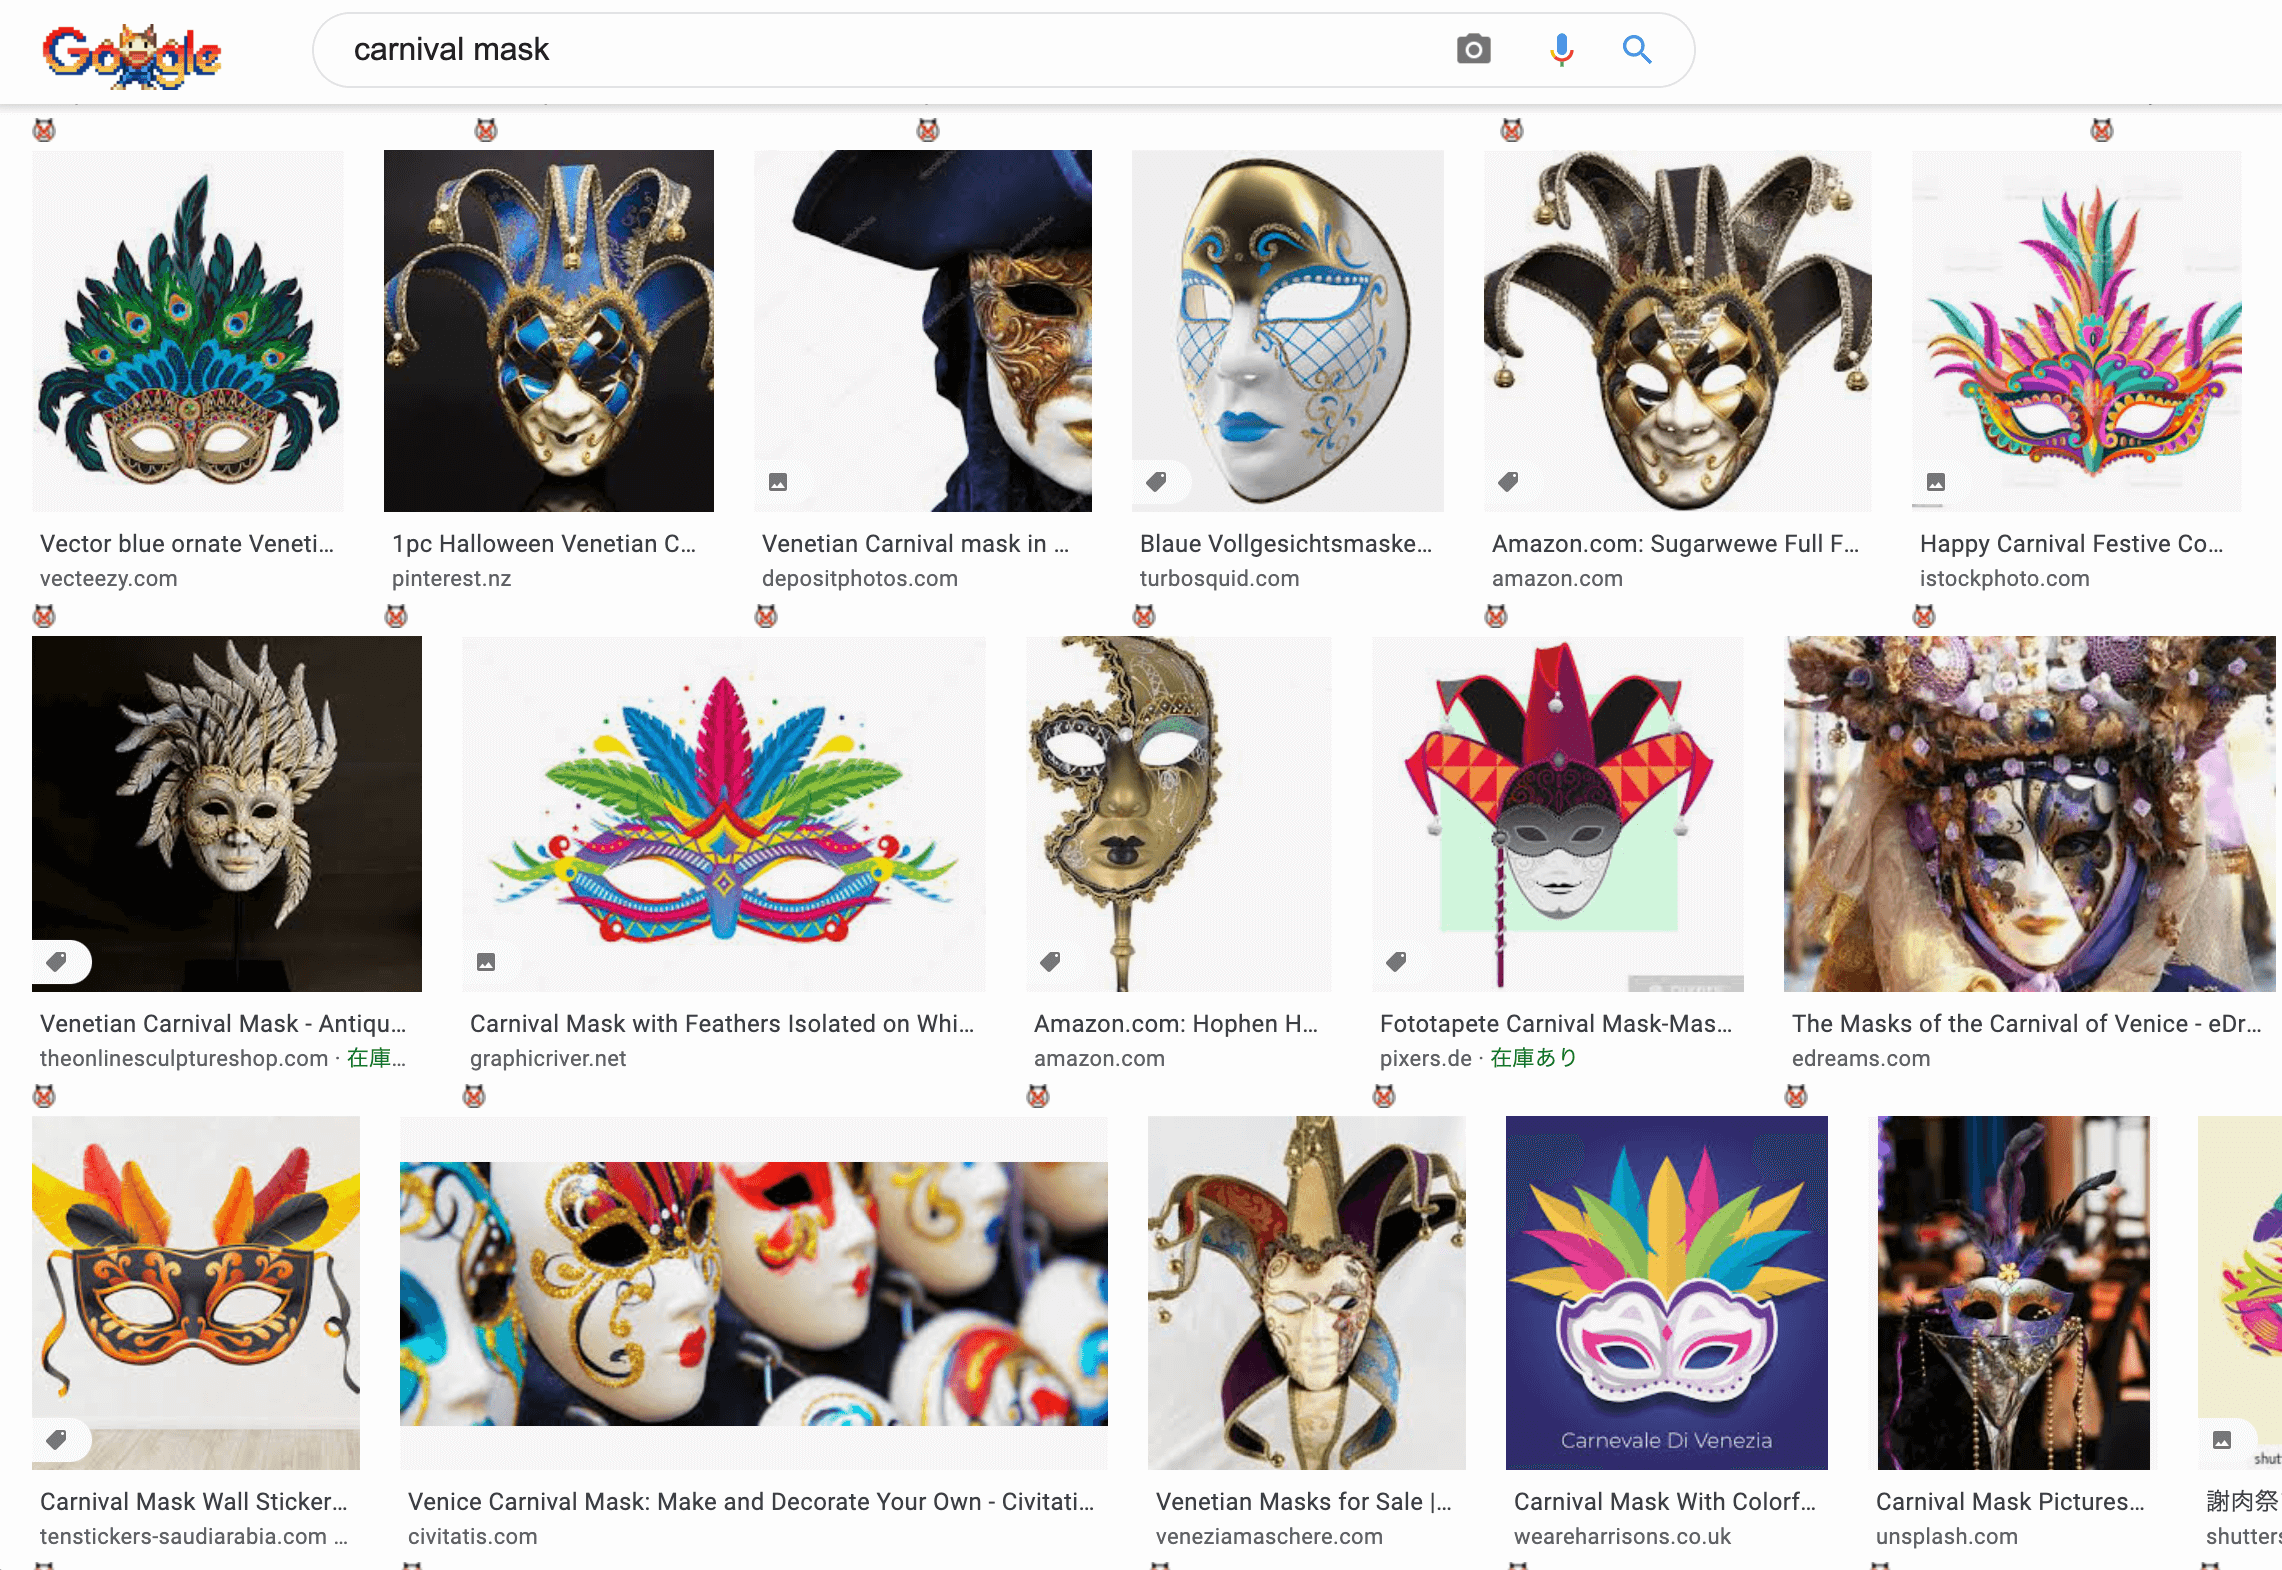
carnival mask

Drawing while changing the angle
Turn the grease pencil into an object.
After the line is drawn, change the mode to object mode from the upper left corner.
Then click “Apply” in the Modifier to apply “Mirror”.
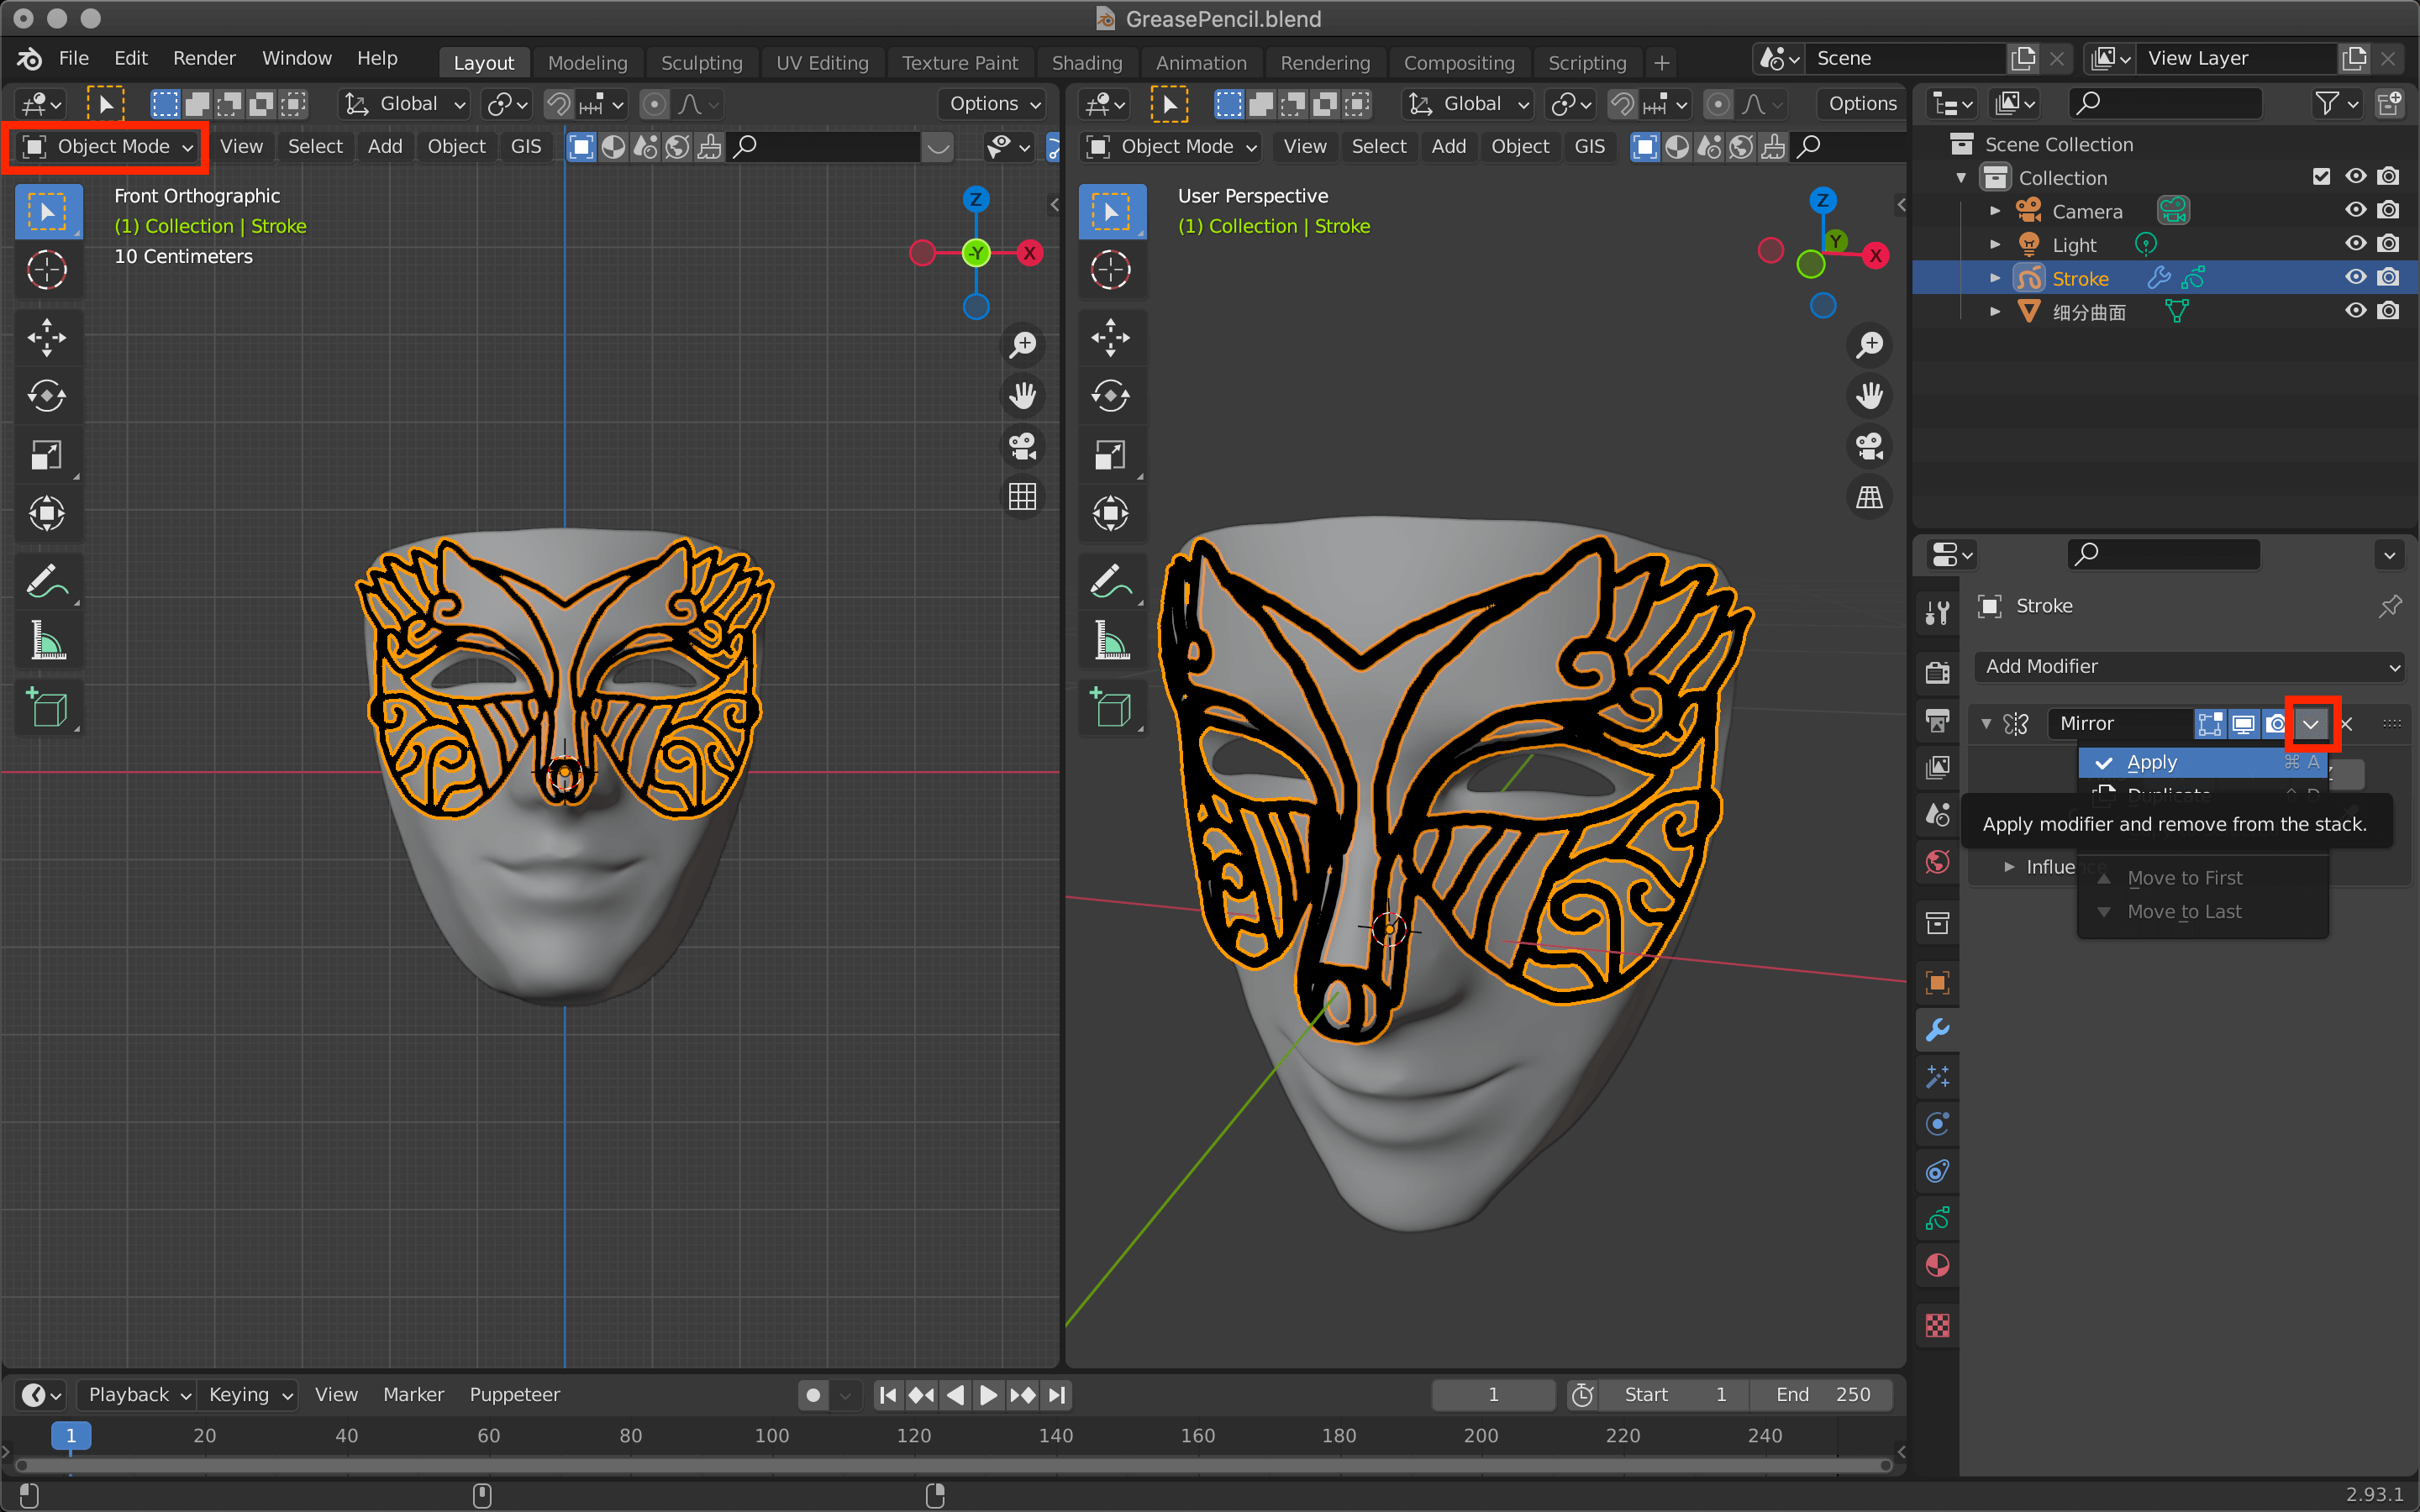
Apply
Select Convert→Bezier Curve from the top menu Object.
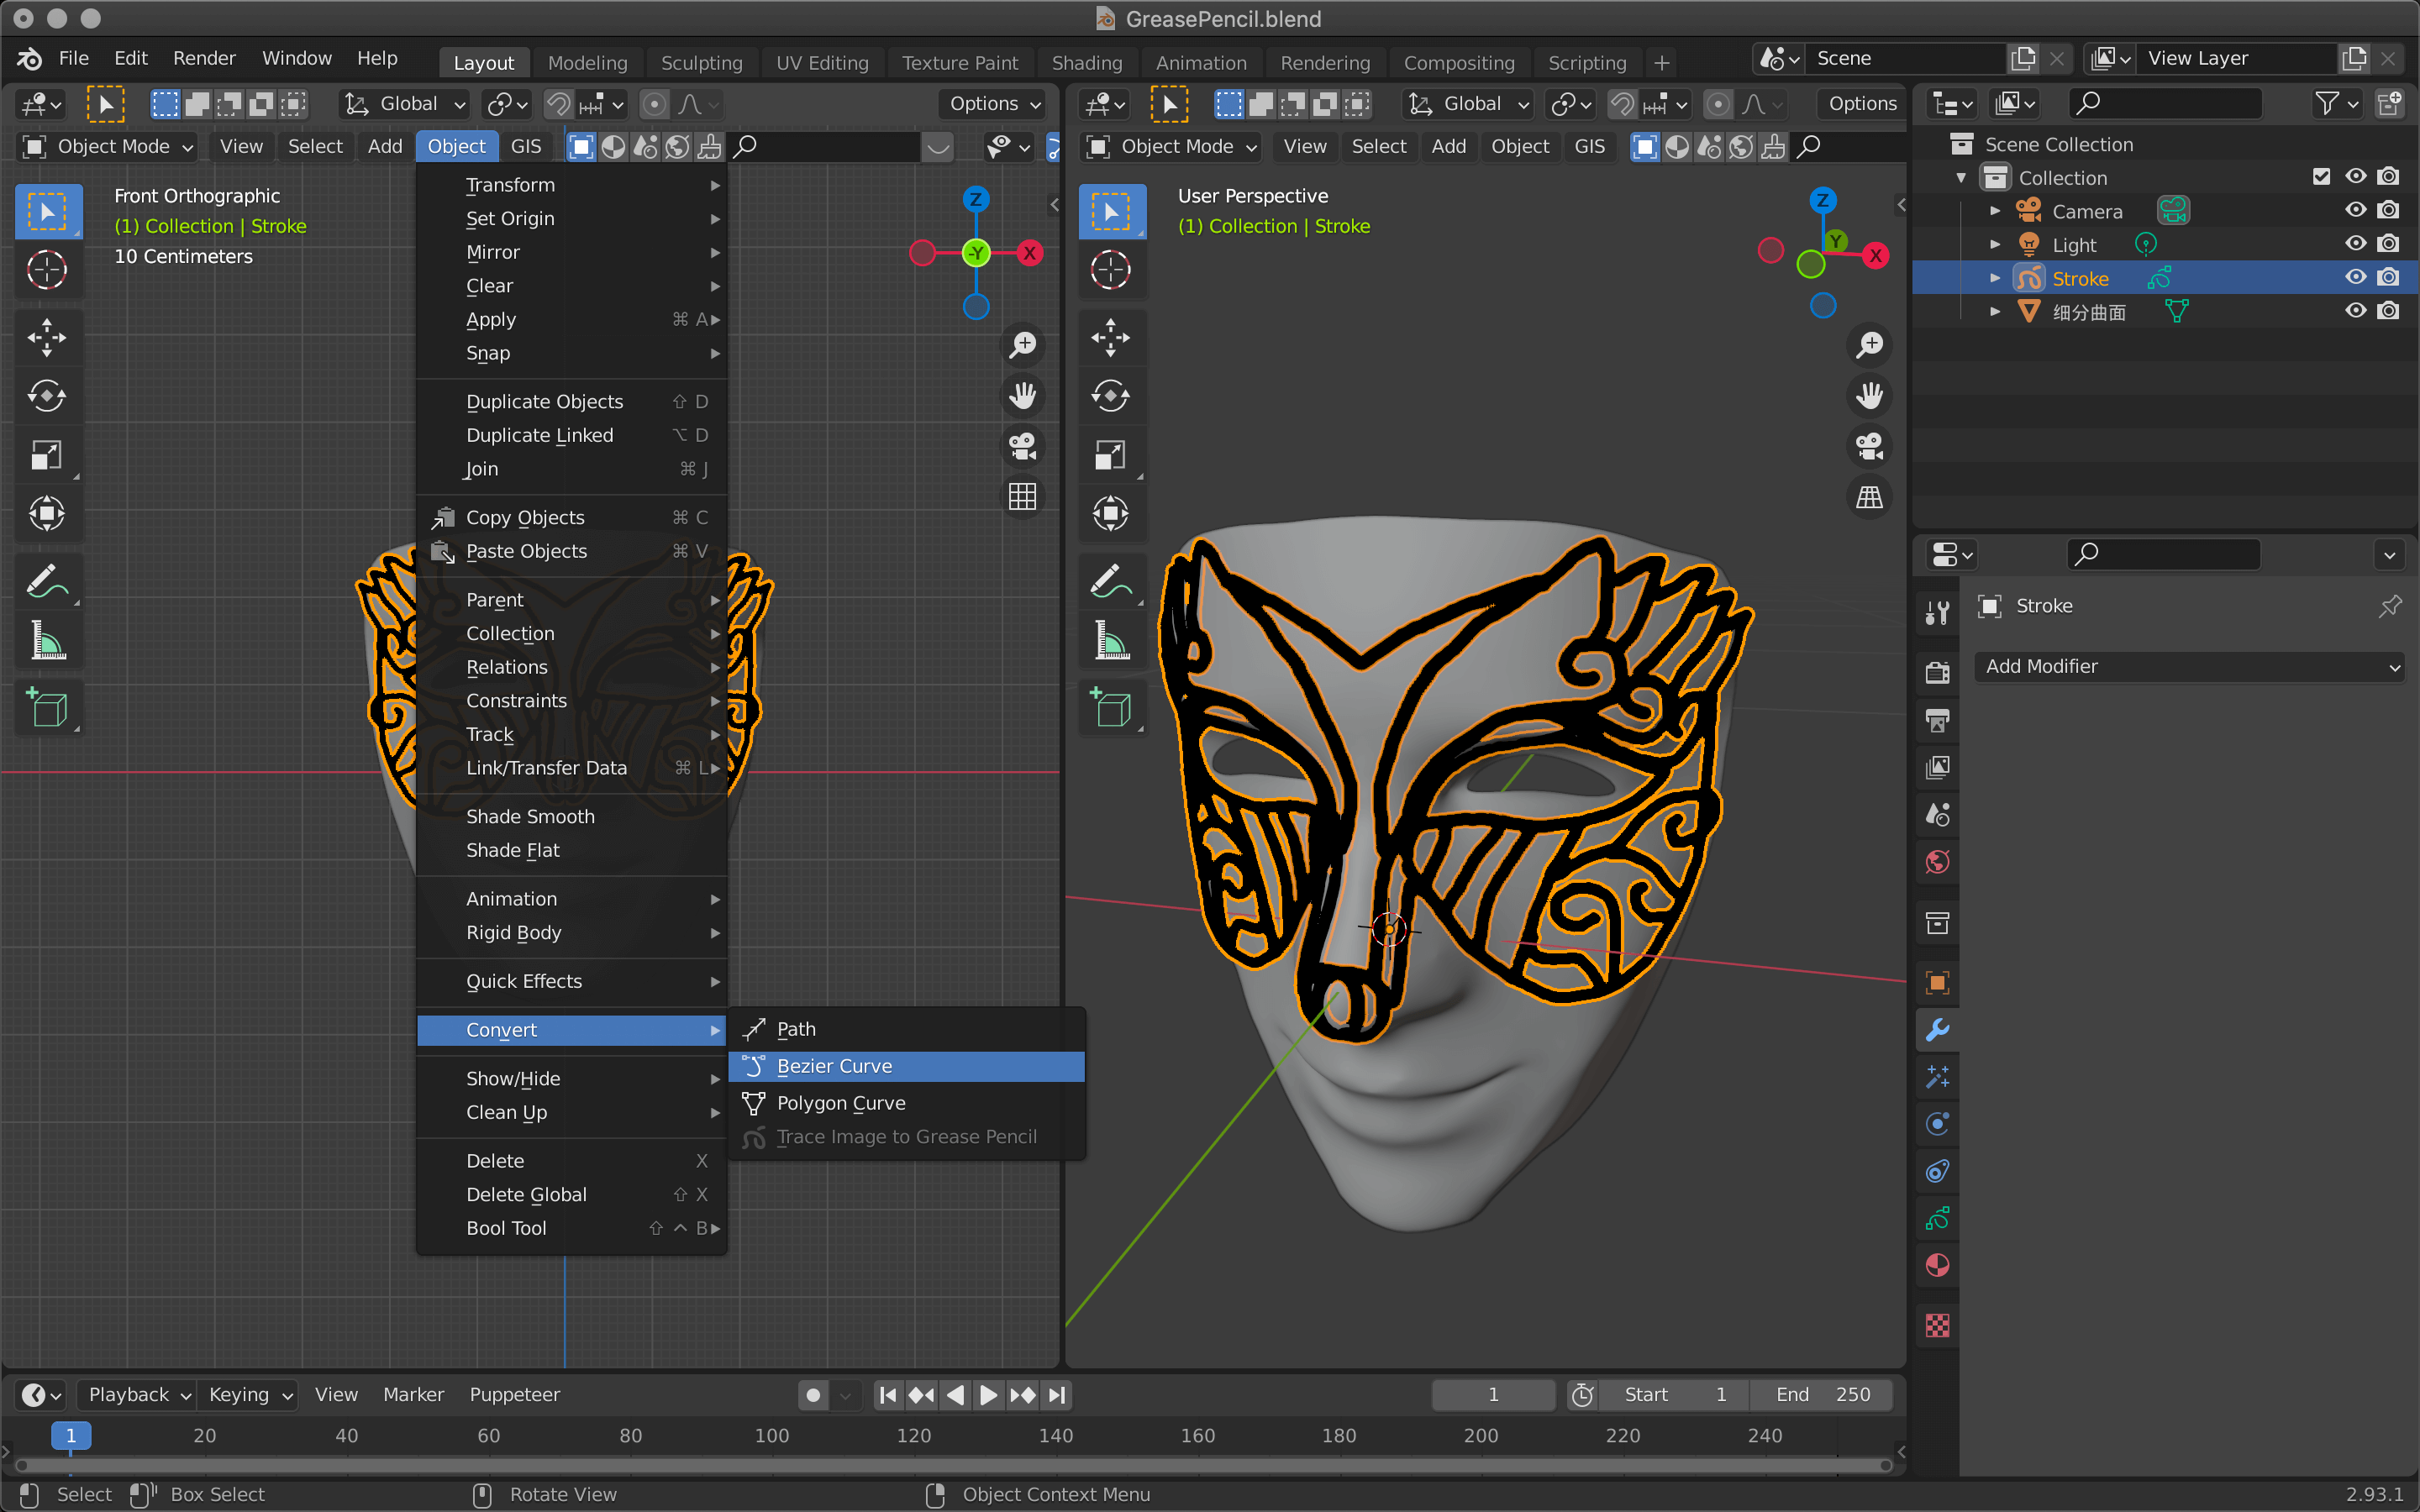
Bezier Curve
The line drawn with a grease pencil has been converted to a Bezier curve.
You can hide the Stroke by clicking on the eye and camera icons, or you can delete it.
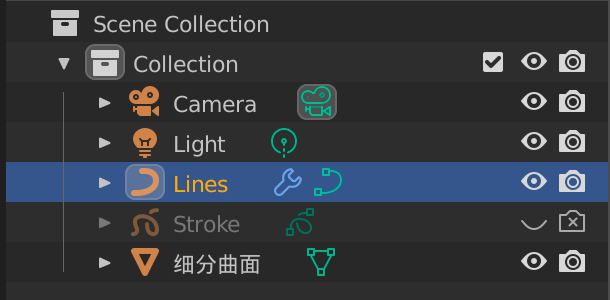
Lines=Bézier curve, Stroke=Grease pencil line
Click on Lines to select it, then change the value of Object Data Properties→Bevel to add thickness to the Bezier curve.
Depth is the thickness of the Bezier curve, and Resolution is the resolution of the curve.
Check the Full Caps checkbox to close the edges of the Bezier curve.
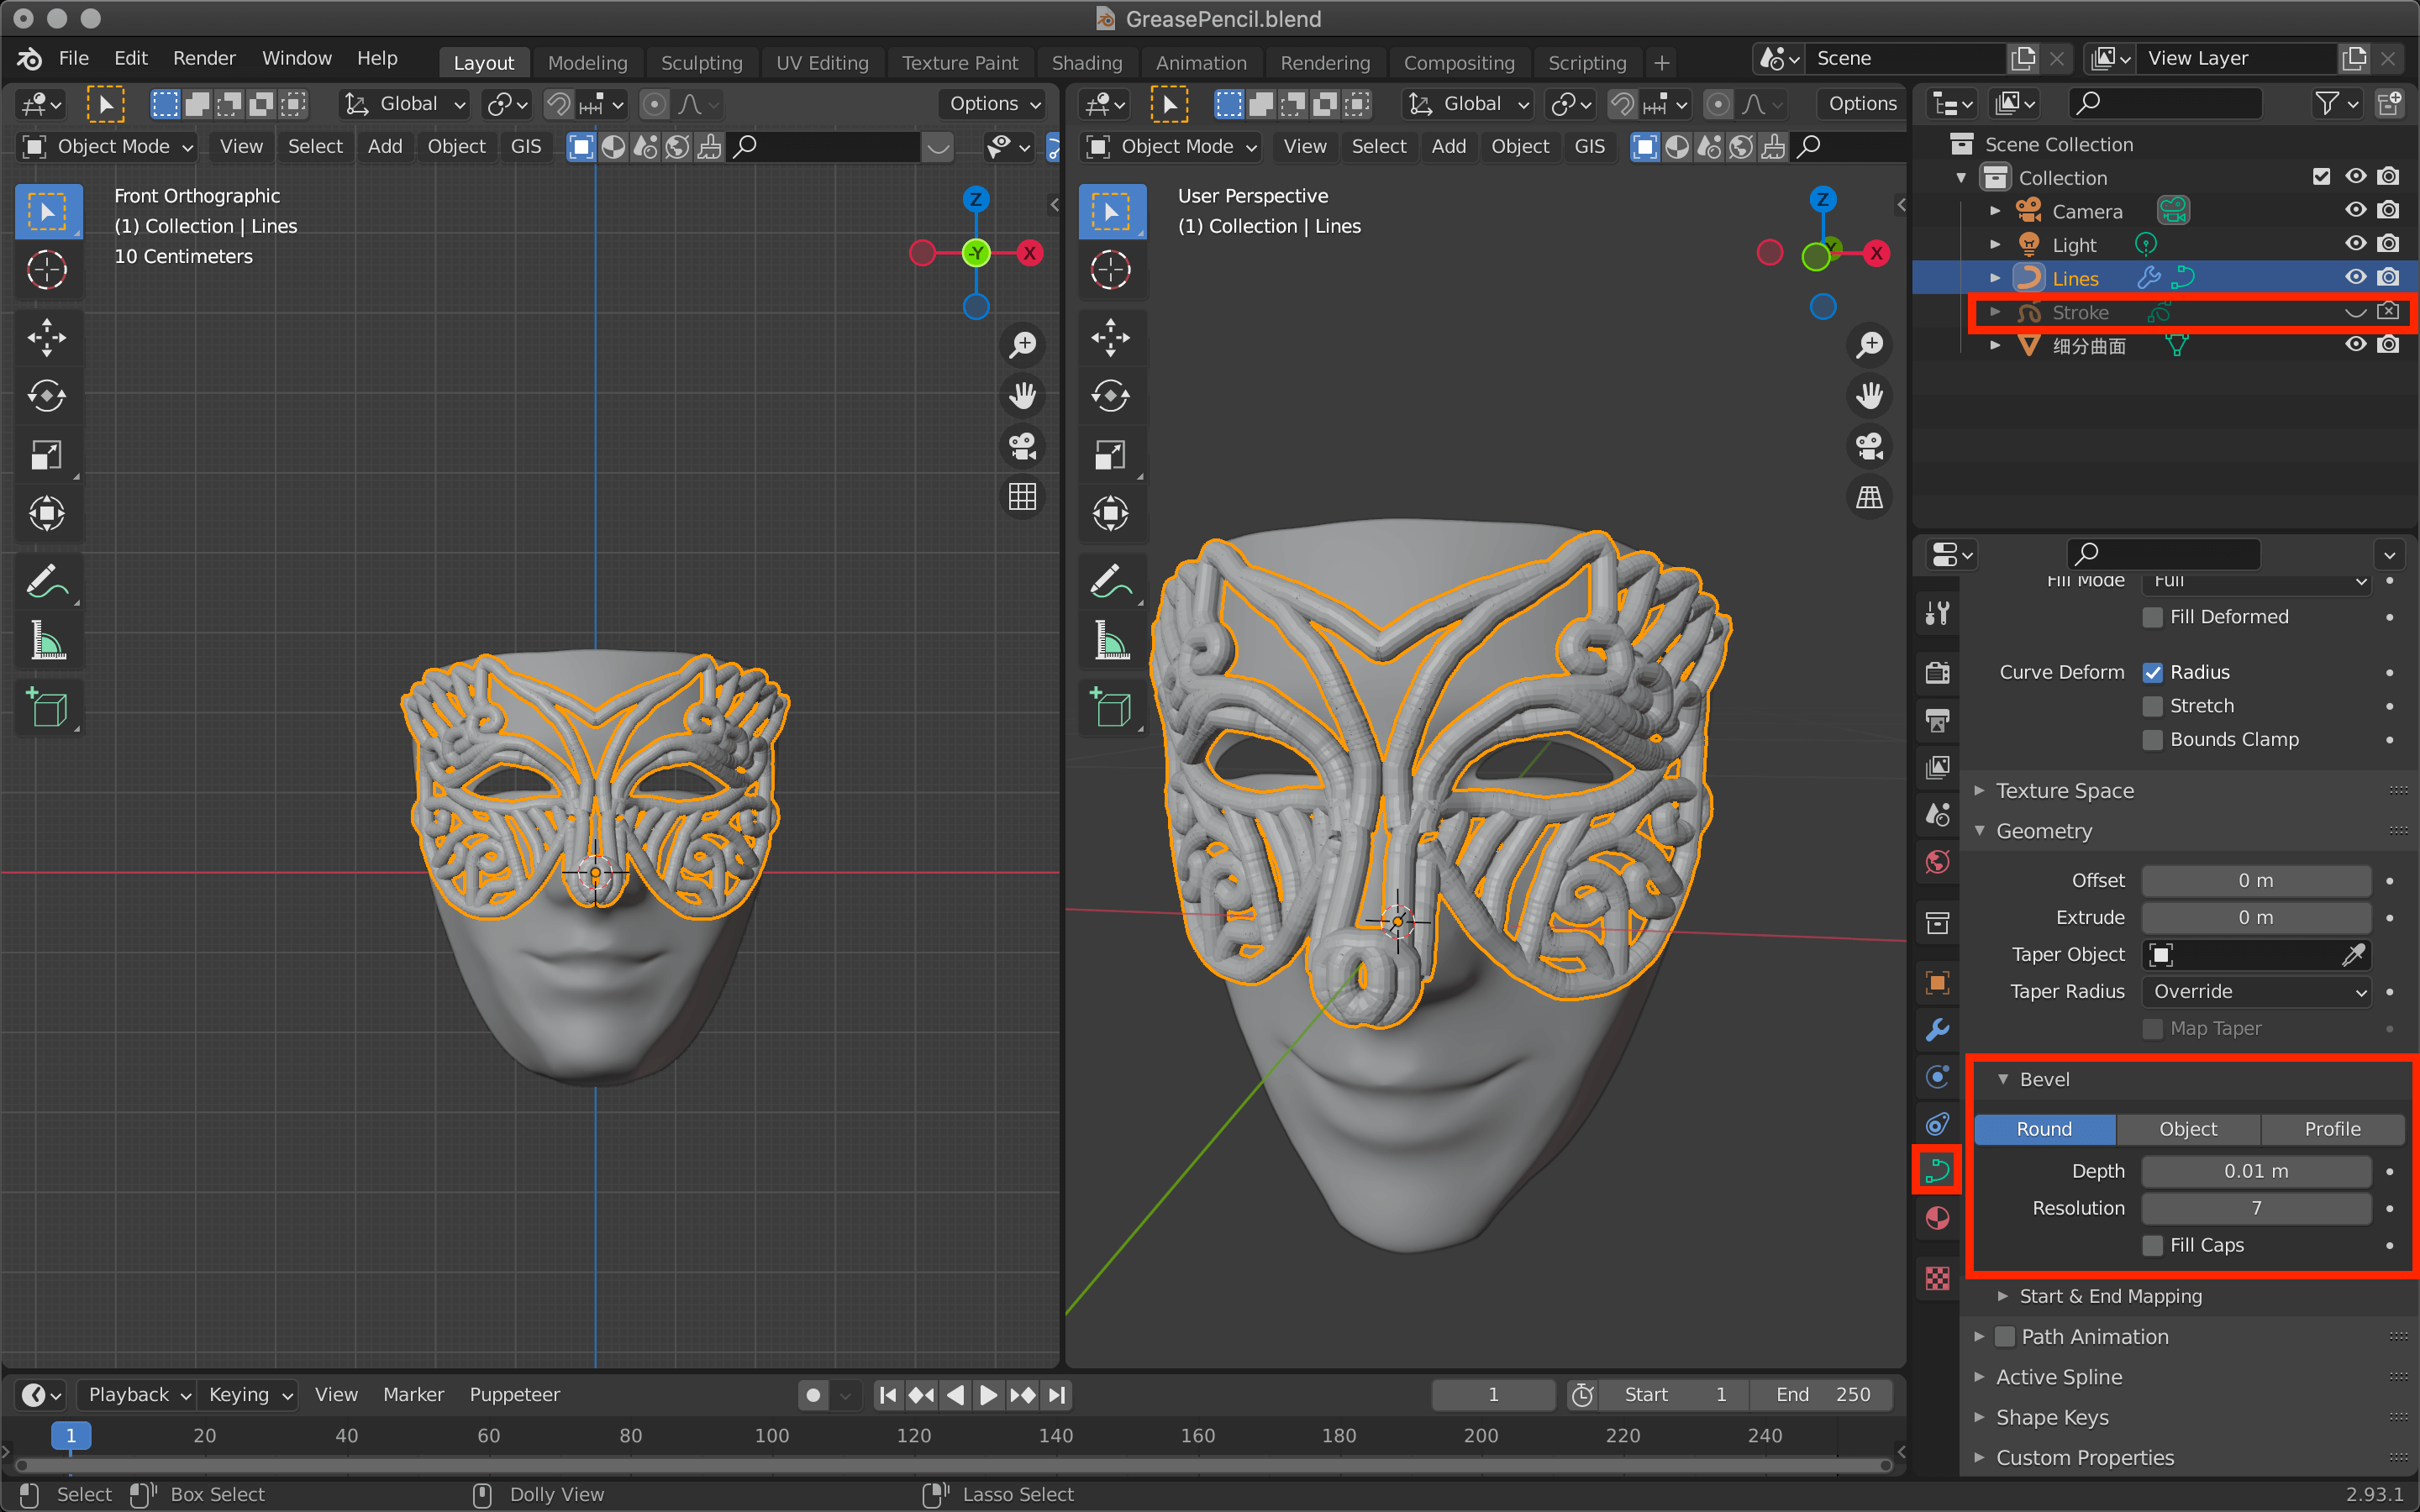
Bevel
Switch to edit mode to shape the curve.
Use the [G] key to move the handles and the [X] key to delete unnecessary parts so that the model will not be bumpy.
![Select a vertex -> [G] to move it](https://styly.cc/wp-content/uploads/2021/07/Bezier.gif)
Select a vertex -> [G] to move it
![Click → [X] to delete](https://styly.cc/wp-content/uploads/2021/07/delete.gif)
Click → [X] to delete
Once formed, click Object→Convert→Mesh in the upper menu to convert it to polygons.
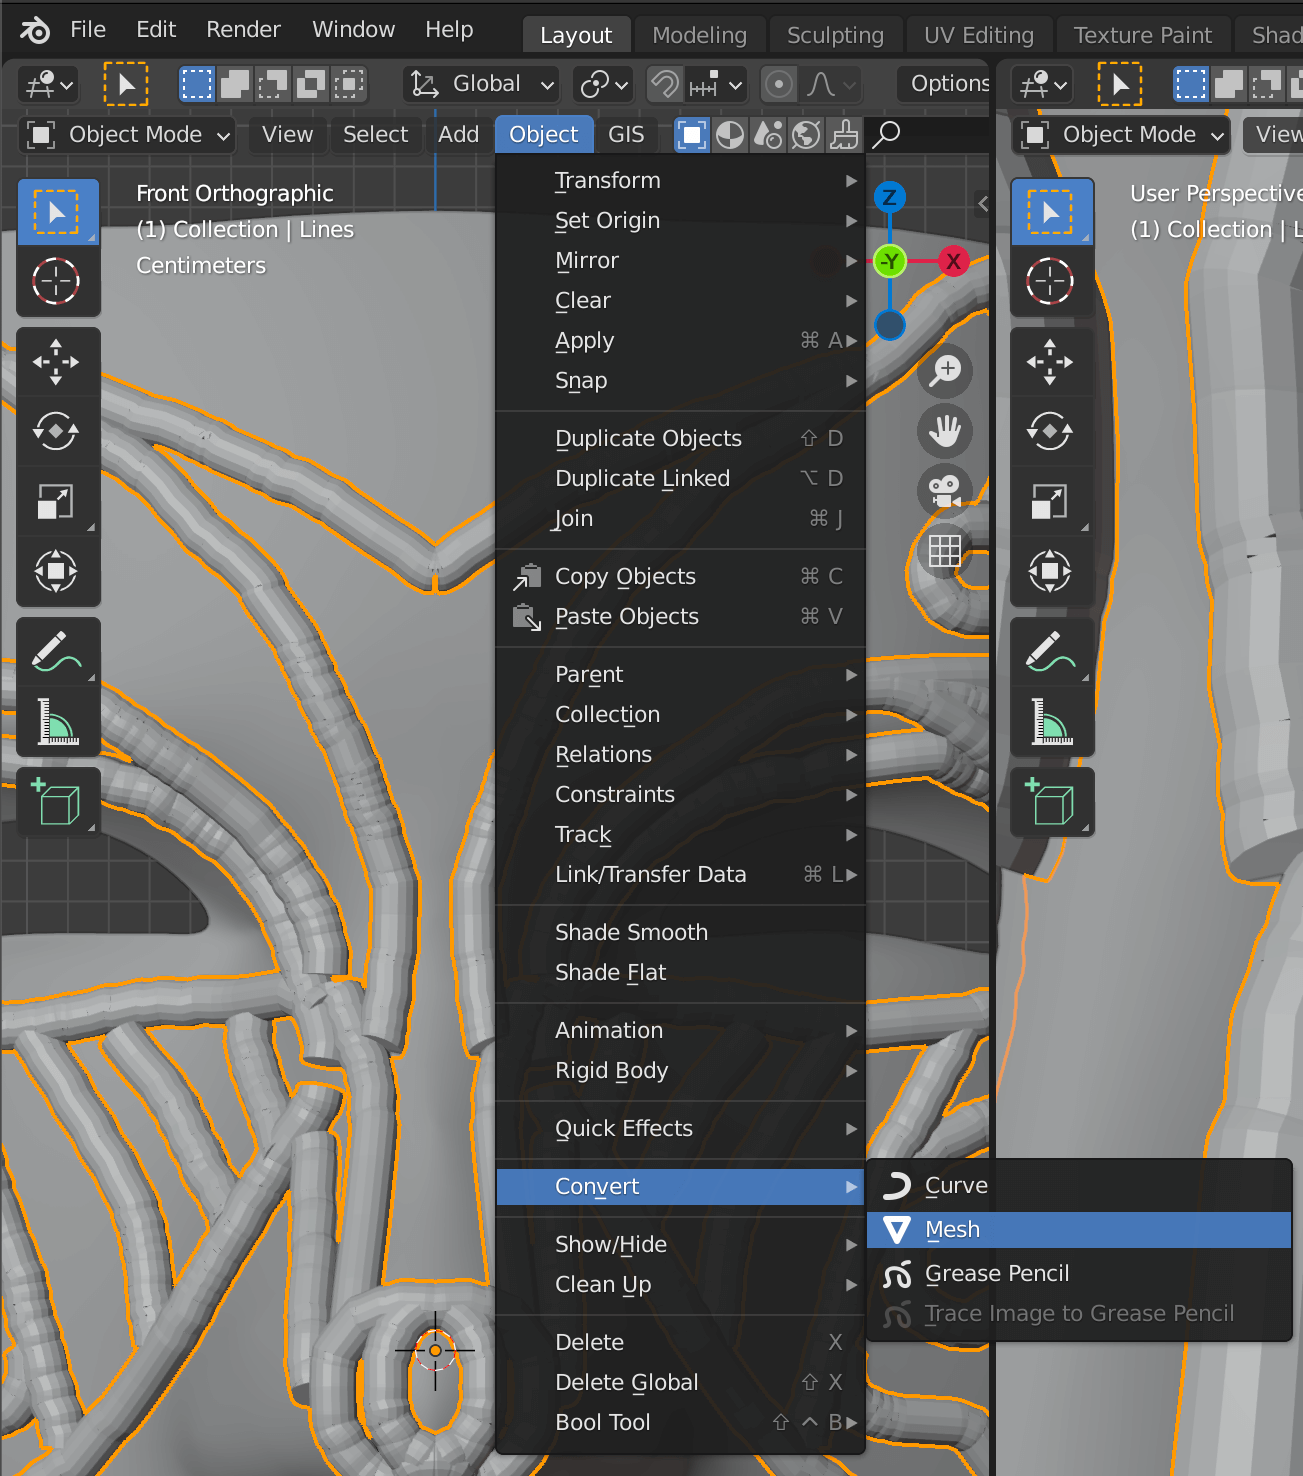
Convert to Mesh
Completion
To improve the quality, it is recommended to add other materials and change the thickness of the lines.
By changing the base model, you can apply it to various model making.
Please give it a try.
How to upload to STYLY
Let’s upload your 3D model to STYLY.
How to create an account

How to upload 3D model to STYLY

How to upload from Unity to STYLY
