It’s common for all CG artists to wish a lot of people would view their CG works, I think.
Whilst I publish my works to Artstation, Sketchgab, Zbrushcentral and etc., I am inspired by other artists’ works in those sites.
As I was making VR spaces alone in recent days, I wished more people would taste my VR contents.
So now I am very interested in STYLY because I can easily publish and share my VR space. I actually published a VR space by STYLY.
The title of the work is ‘Scifi Laboratory‘.
In this article, taking ‘Scifi Laboratory‘ as an example, I introduce my usual design workflow to publish a VR space in STYLY.
Work out the theme and story to design a VR space
Firstly, I worked out what kind of VR space I design. It’s fun to think freely, isn’t it?
As I wanted to make a space with my favourite taste, I picked up SciFi (Science Fiction) as the theme this time.
Once you decided the theme, work out the image and story about the theme.
Finding a ‘Sci-fi’ vehicle I designed before, I planned to make a story inspired by it. 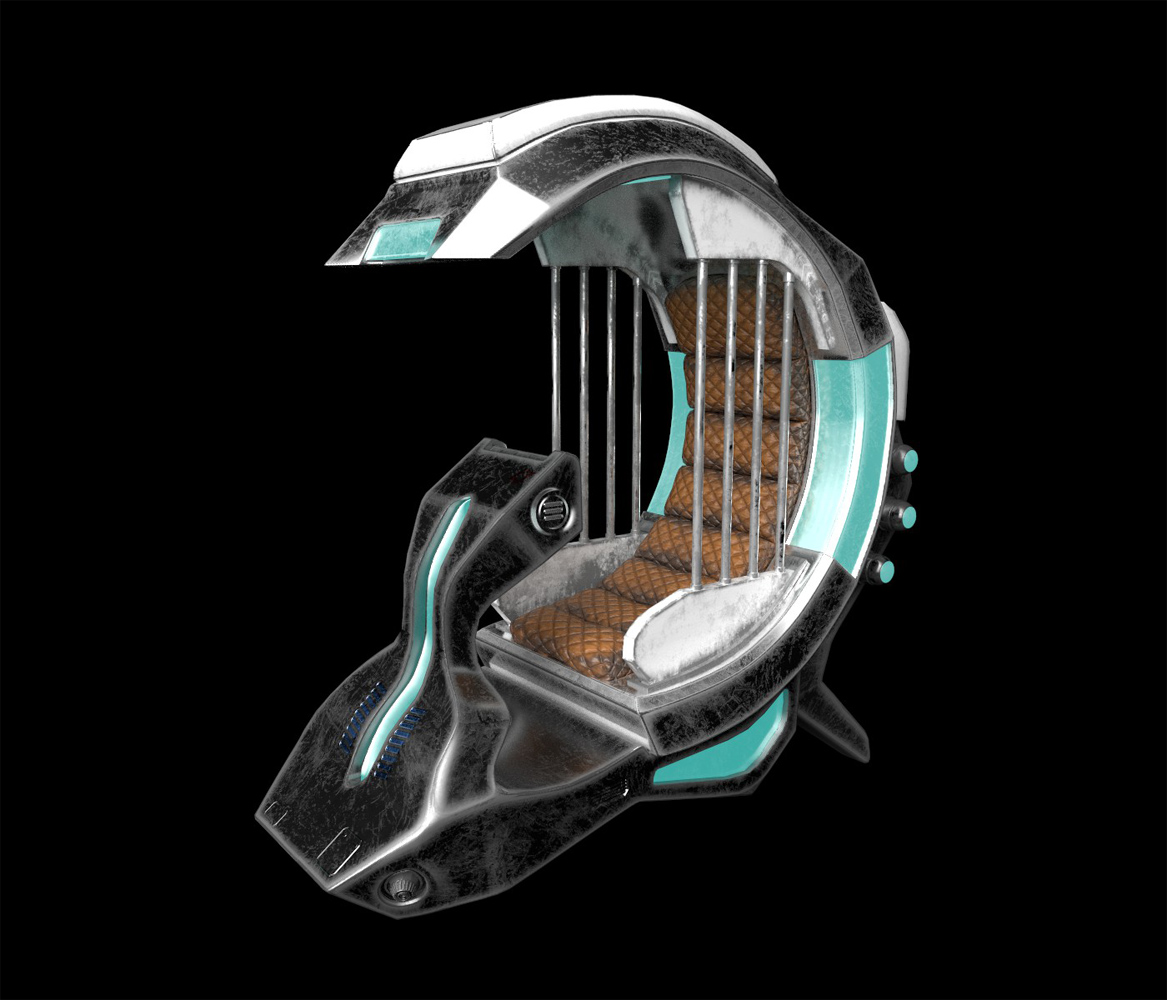
When I mention about a ‘story’ here, I don’t mean anything formal. It’s just a way how I make some setups required while building up a VR space.
This time, I imagined a secret base like a hidden laboratory for mechanical engineers.
A secret base sounds a timeless boy’s dream, doesn’t it? LOL
Figure out the whole image by a rough model
We start modelling it in Maya.
If you have any reference images, arrange the windows on the screen so that you can see them while modelling.
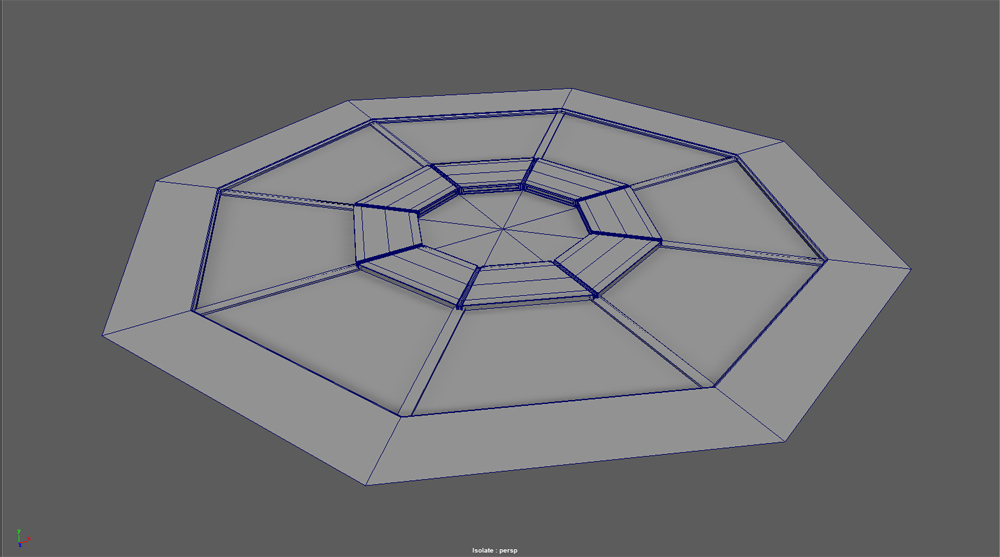
Firstly, we build up the whole image by placing some simple primitives.
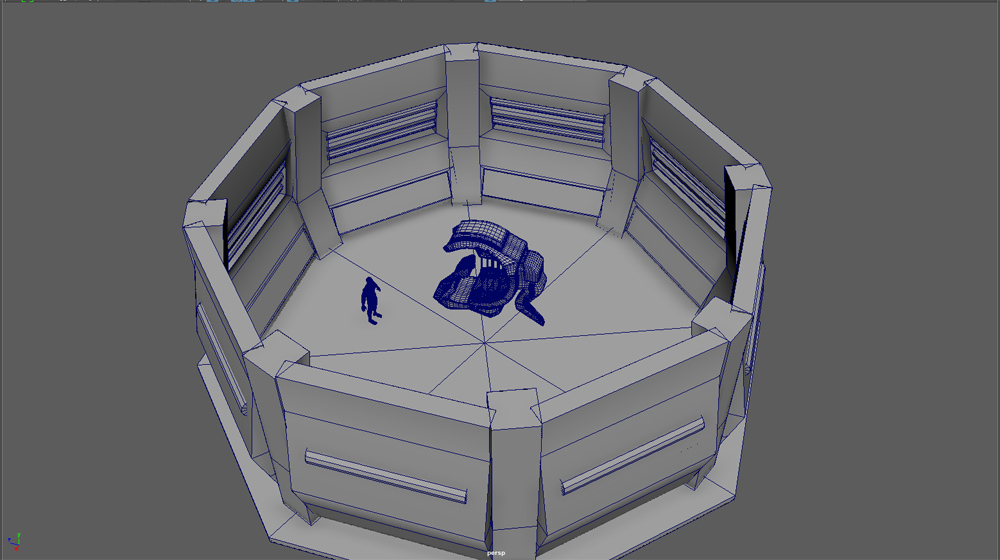
At this stage, A human-body model in the scene helps you to check how the VR space looks in real-scale perspective.
As you can multiply the pillar and the wall later, make only their elements that you really need to model.
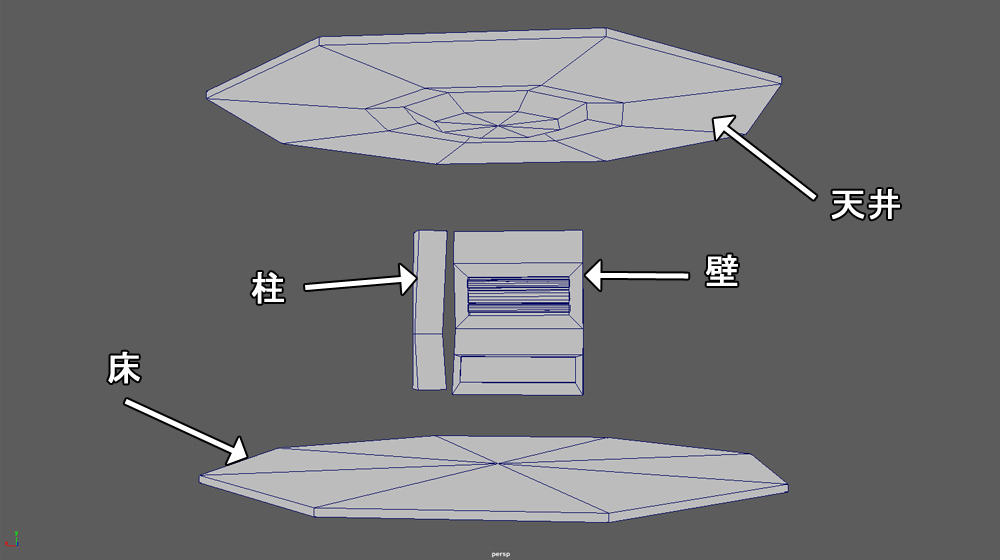
We need four main parts, floor, wall, pillar and ceiling.
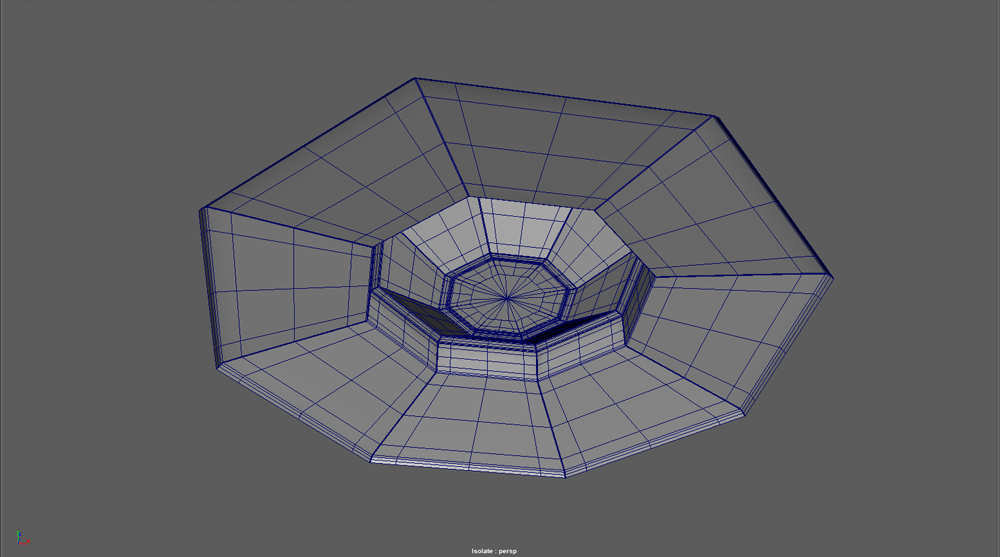
Now, we add the details steadily.
Once you figured out the image, just build up the model towards it.
Once you figured out the whole image, all you need is to build up the model towards it.
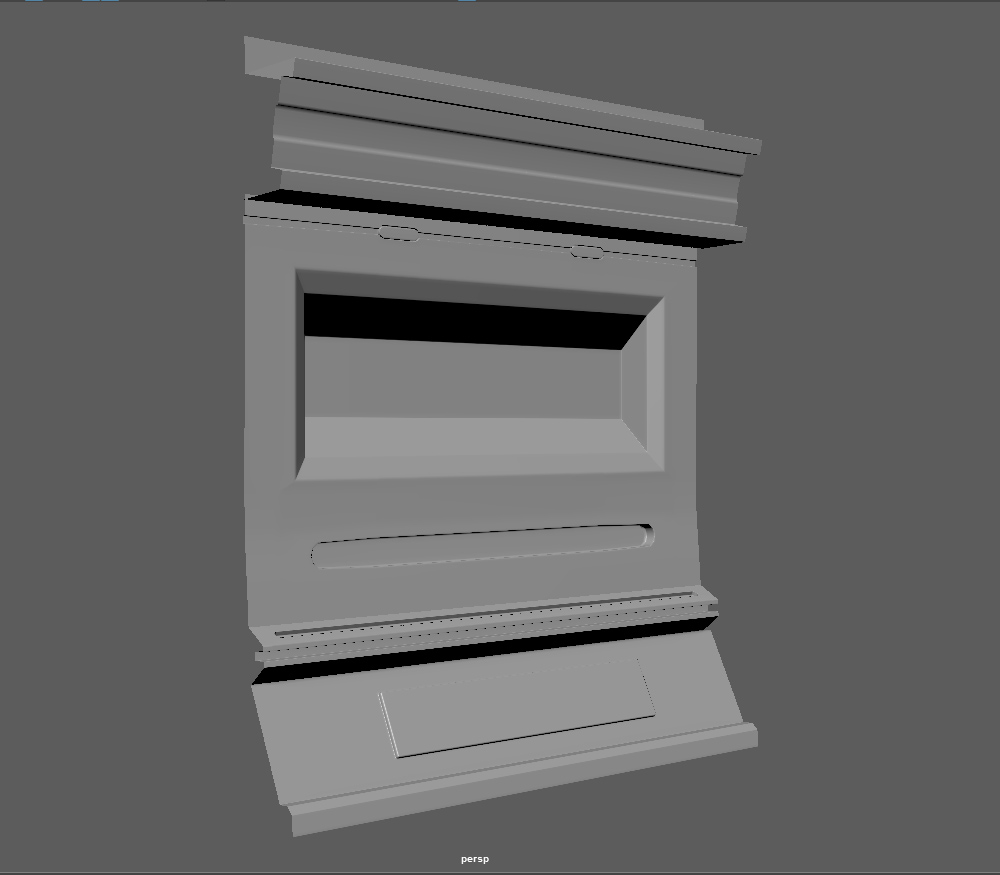
Firstly, we start with the modelling of a wall.
The model of a wall
I shaped the wall by extruding faces repeatedly.
Next, add the details of pipes.
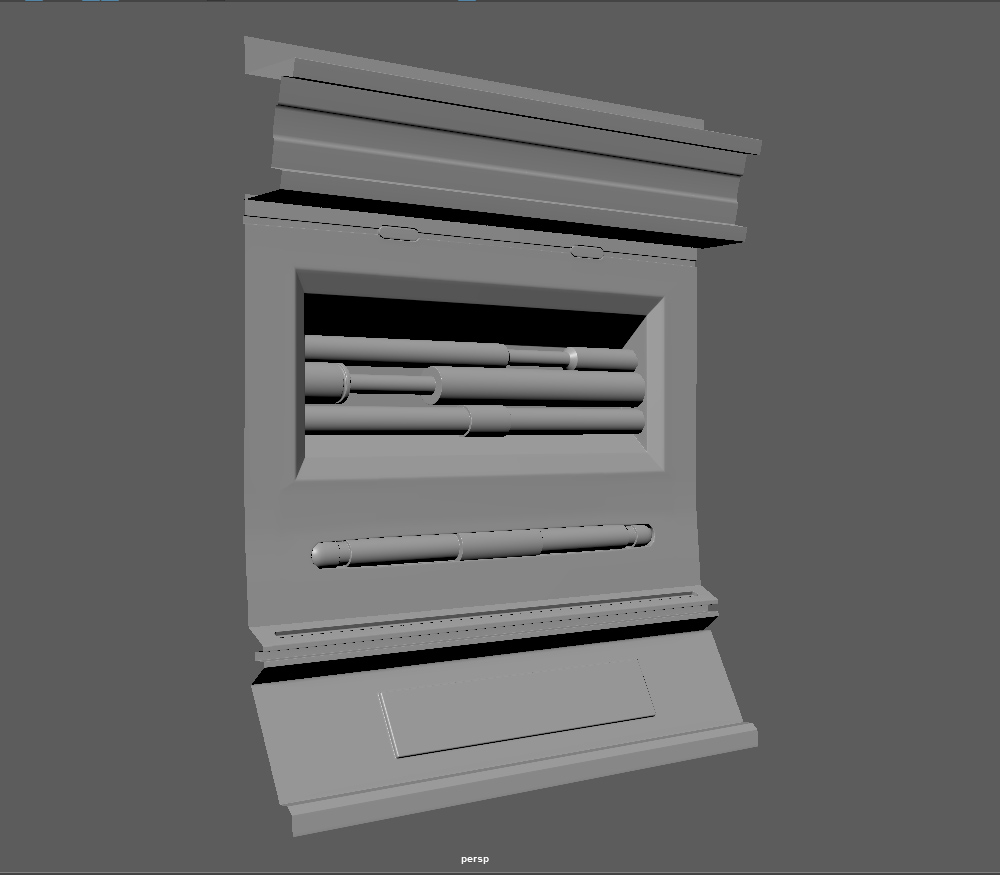
The wall with pipes
The pipes were shaped by changing their diameter with no finer details.
Then I found it looked overly simple, due to some blank faces left. So I added some ‘realistic’ features.
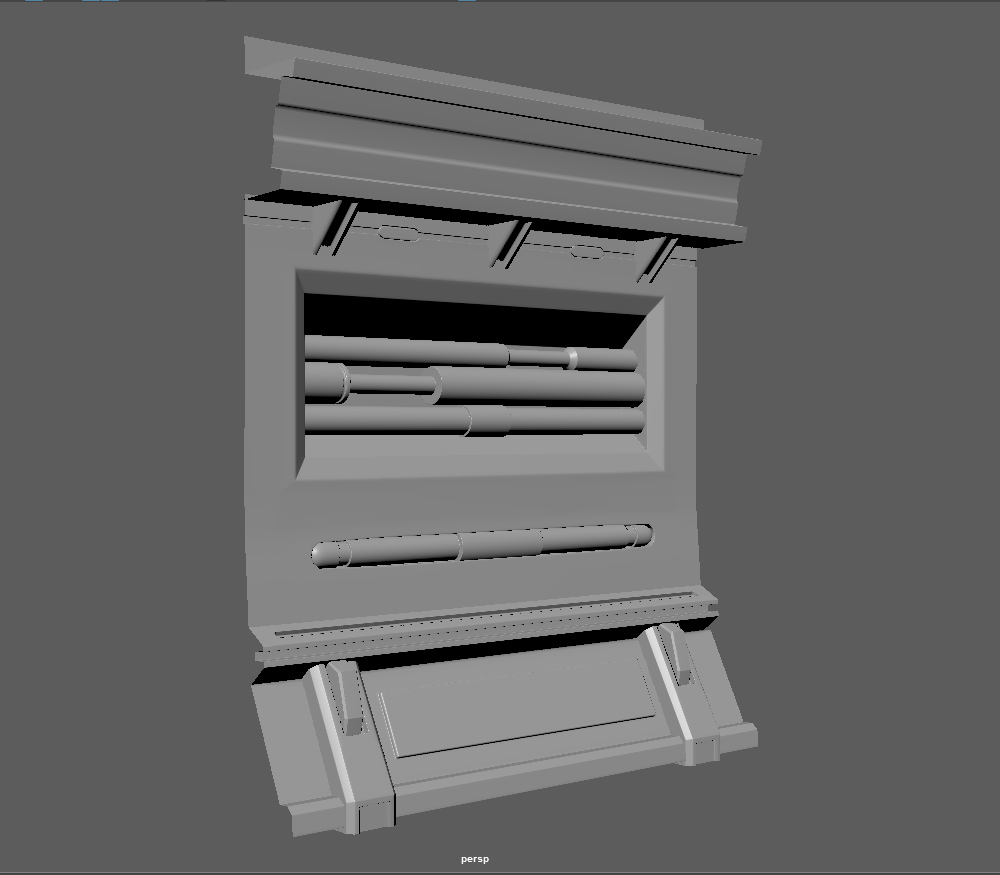
The walls with pipes – with some additional features
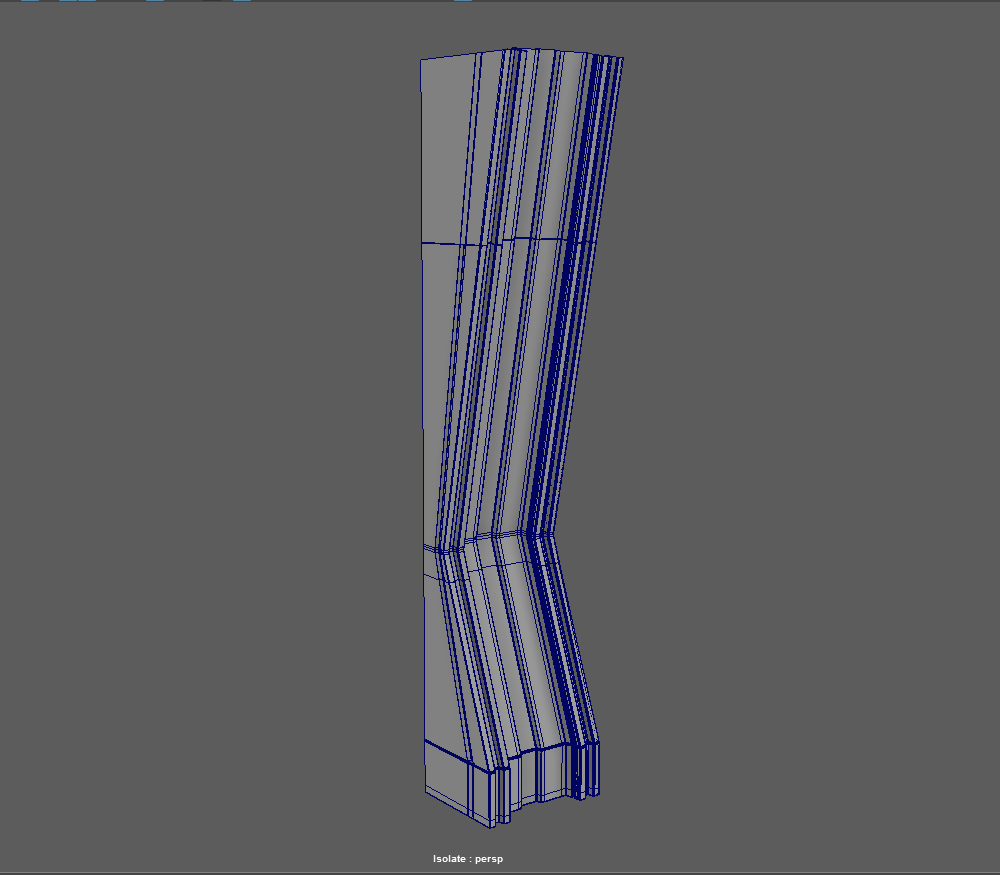
The wireframe view of the wall part is as follows.
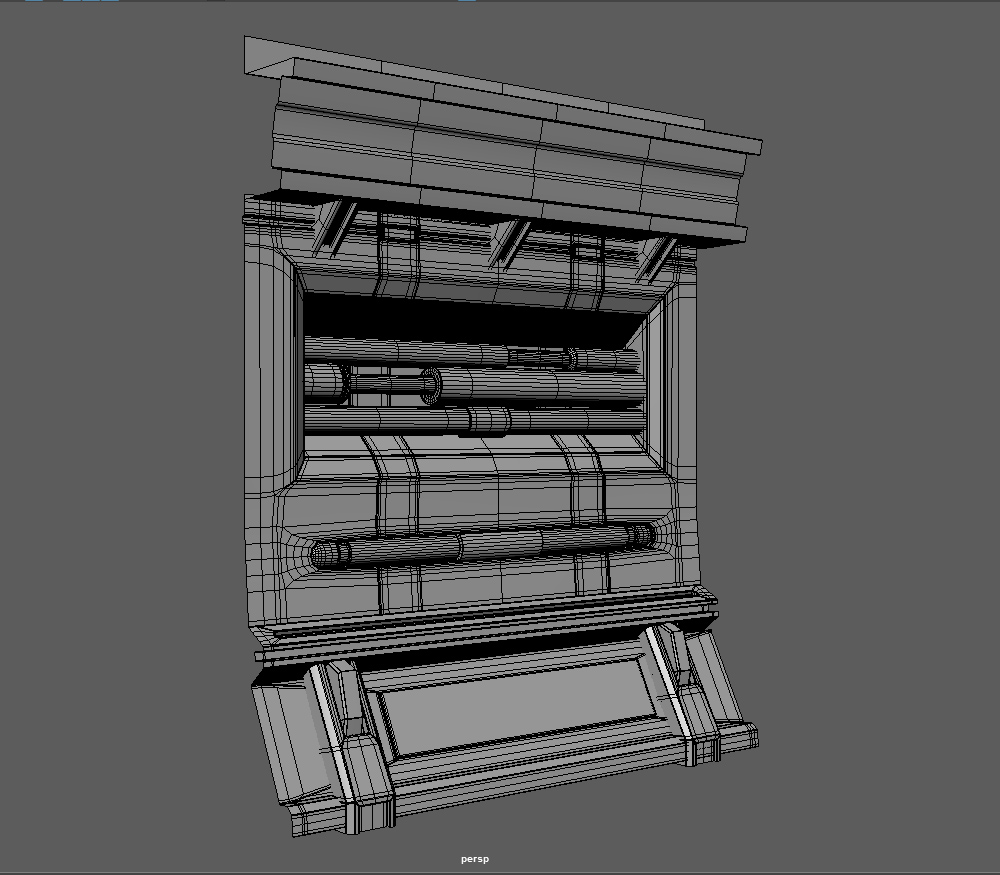
Wireframe view
Let’s model other parts.
The pillar with details
The complete model of the floor
The complete model of the ceiling
As The parts are completed now, let’s place them by copying.
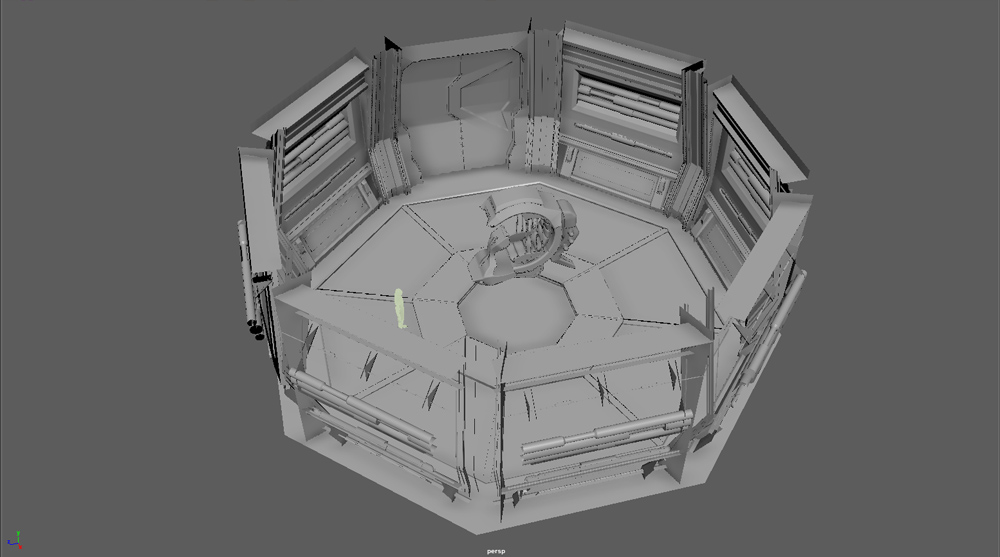
Outlook after placing all parts by copying
I changed one wall part into a door as I found there was no entry after placing all the walls.
It’s typical that the designing work doesn’t progress as you planned because you face many problems unexpected while modelling.
An important preparation before drawing textures
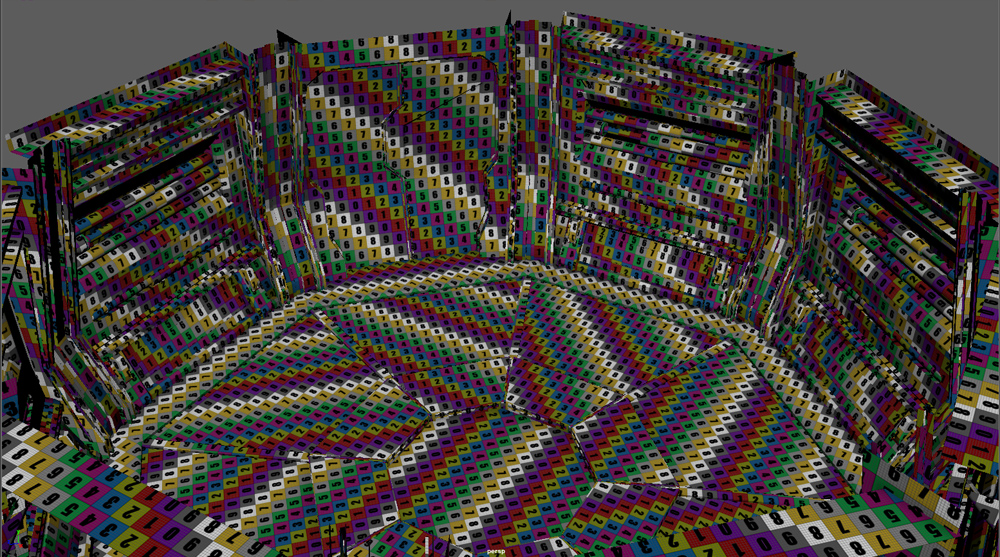
Set up UV mapping before drawing textures.
Although there are a lot of parts, you need to keep UV scale uniform to have consistent quality of textures.
The model with uniform UV scale
It’s still OK to use black-and-white checker set by default, but I use the checker with colours for better visibility.
Once you complete to adjust UV scale, arrange UVs to set UV layout.
There are four UVs for the walls, and I assigned different material for each UVs.
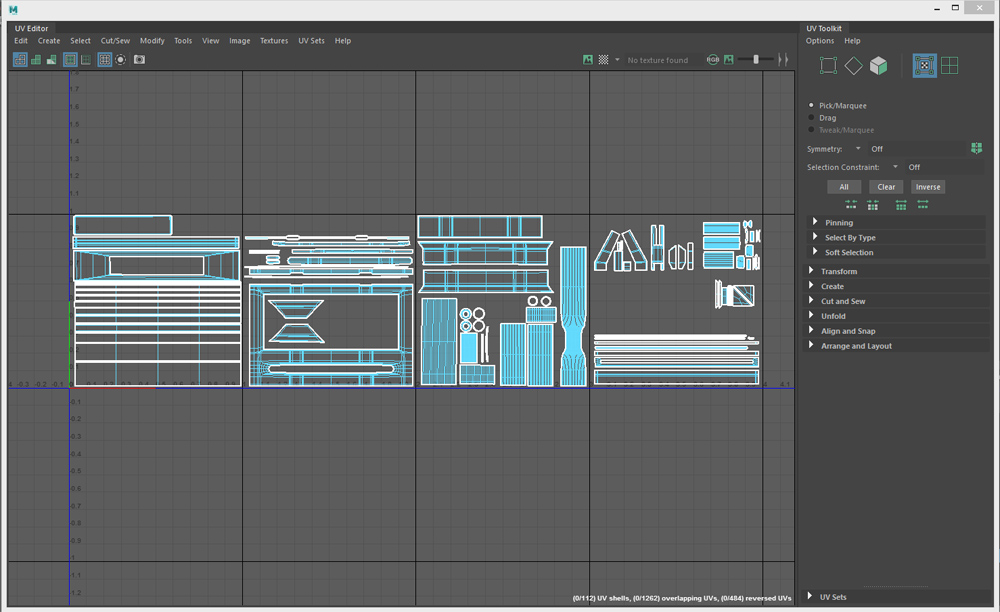
UV layout for the walls
Set UV layout and assign materials for other parts.
Export as fbx file from Maya
Export it as fbx file for other software such as Unity, Substance Painter or etc. to import.
We create a fbx file with multiple materials included.
This time, you may export with the default setting as the model doesn’t have any animations.
Export separate file for every single part.
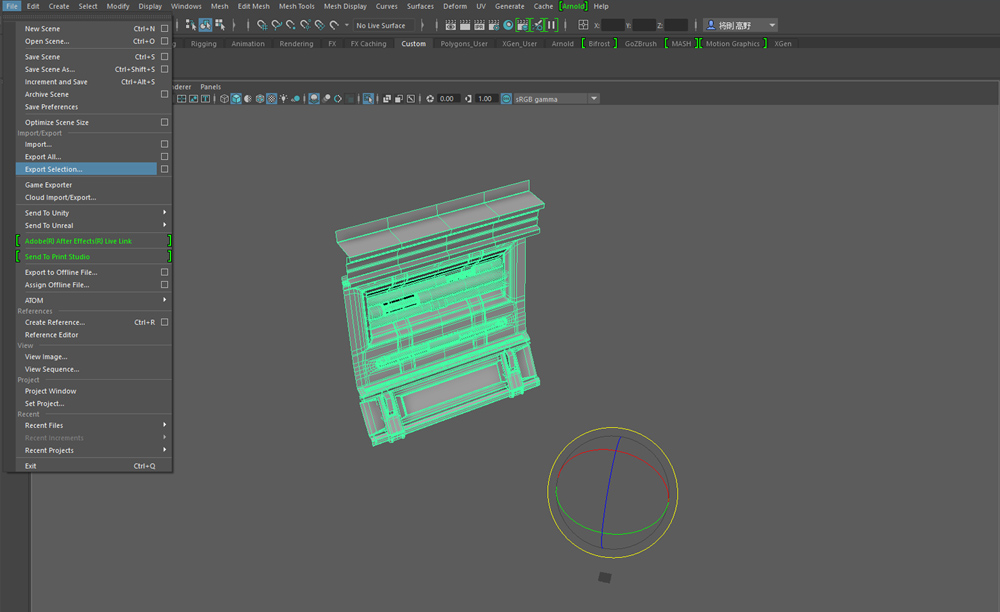
Export just one part as we multiply it after importing to Unity.
I set the pivot of X-axis and Z-axis to zero to align the walls easily after multiplying.
Export other parts in the same way.
If you completed the whole model in one go, it would be difficult to keep adapted to the surroundings or to make a correction. So I often check the balance and the silhouette of the whole model while modelling.
In addition, I keep thinking how far I need to model a shape and what should be left for texture to express.
Although I didn’t make a high-polygon model for Texture Baking, I add the details by using Normal Map after this.
The work:Scifi Laboratory
Links
・A VR space with the theme of a secret laboratory for mechanical engineers, ‘Scifi Laboratory’ design process #2 Texturing
・A VR space with the theme of a secret laboratory for mechanical engineers, ‘Scifi Laboratory’ design process #3 Unity