Many people have heard of “Luma AI” but don’t know what the app actually is, or are curious about what makes it different compared to other 3D scanning apps available on smartphones (WIDAR, Scaniverse, etc.).
This article explains what Luma AI is, how to use it, and how it differs from other scanning apps.
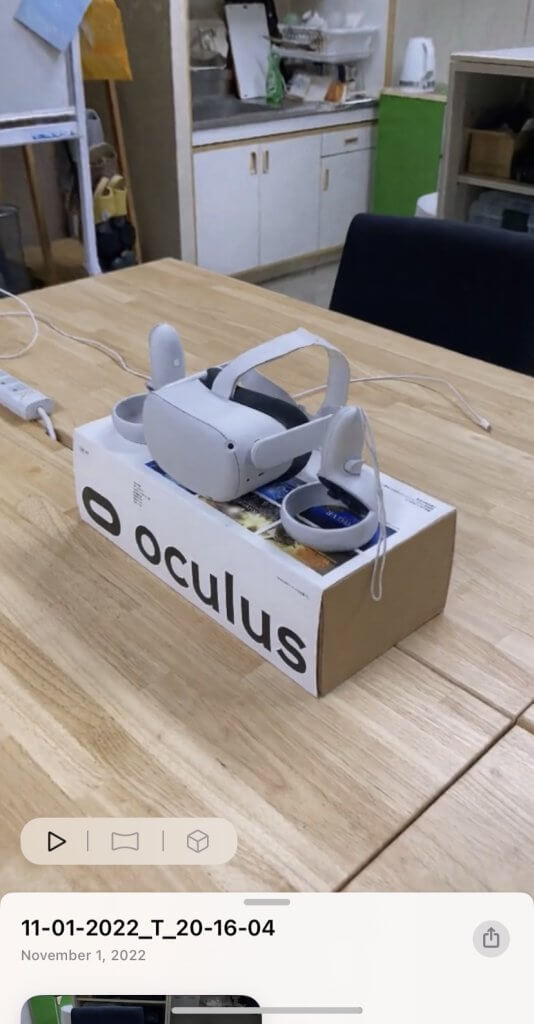
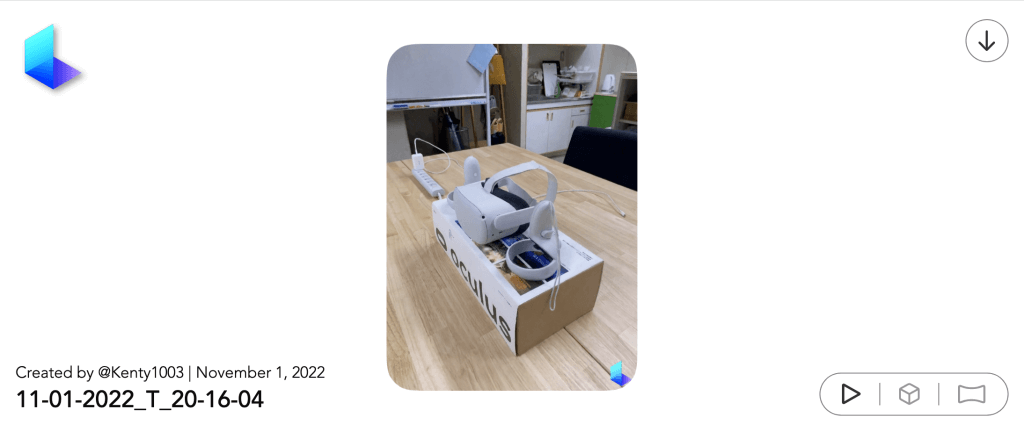
Sample
This scene can be viewed in the 3D viewer of the web version of Luma AI
.
View in AR (smartphone)
If you are
viewing this article on a smartphone, please select the button below
.
View in AR (
computer
) If you are viewing this article on
a computer, scan the QR code below with your phone’s camera
What is Luma AI
? A
3D capture tool that can create and output highly accurate 3D models with a single smartphone.
By using an AI-based image generation technology called NeRF, it is unique in that it allows for photorealistic shading and other expressions that have been difficult with previous 3D scanning applications.
Currently (2022/12/08) there are web and app beta versions, with beta versions only available for iOS users to experience.
Also, output is supported in “GLTF”, “OBJ” and “PLY”.
Luma AI Advantages
High reproducibility of reality
As
shown in the following tweets, Luma AI can reproduce bright and transparent objects that 3D scanning apps usually have trouble with, and can also represent light reflections and reproduce models in dark environments. https://twitter.com/Donye_NFT/status/1580777978812059648?s=20&t=bGj-_mS9VqHR7QrNDI7t4w
https://twitter.com/ko_tavy/status/1582033819875827712?s=20&t=I-APNiu7enYsHzaDkOuzrQ https://twitter.com/Drei89/status/1583656097214124032?s=20&t=1qB9bFU18FnIte5MOGH4WQ https://twitter.com/nikkiccccc/status/1582541321189068800?s=20&t=nous3pYLsoPlRAACpnDZYA https://twitter.com/gravicle/status/1581150143914516480?s=20&t=qjJdD5yeIzUy_U19-1UidQ
Guides.
When
creating a 3D model, a guide is displayed on the subject, and by moving the phone accordingly, a beautiful 3D model can be created.
This eliminates the need to think about how many shots to take of the subject from what angle and the need to press the shutter button every time.
.
You can create 3D models from videos.
With the
web version of Luma AI, you can create 3D models even from simple videos. https://twitter.
com/KenTy_103/status/1583629678992314368?s=20&t=Qp1frvrKNPrGsqVzVVq0ZQ
Cons of Luma AI
It takes a long time to create a 3D model
It takes longer to
generate a 3D model than other 3D scanning apps, about 20 minutes
.
Cannot edit the app
In
other 3D scanning apps, you can edit the 3D model on the app after it is generated.
However, currently (2022/12/08), Luma AI app does not have such a function. If you want to trim the generated model, you need to output the model and edit it on an external app.
After you
apply, you will receive a Discord invitation from the official Luma AI website
by
email. If you join the Discord, you will receive a TestFlight link to install the beta version.
When you
launch the app, you will be asked to sign in with your AppleID. Please register using any AppleID.
xml-ph-0002@deepl.
interna
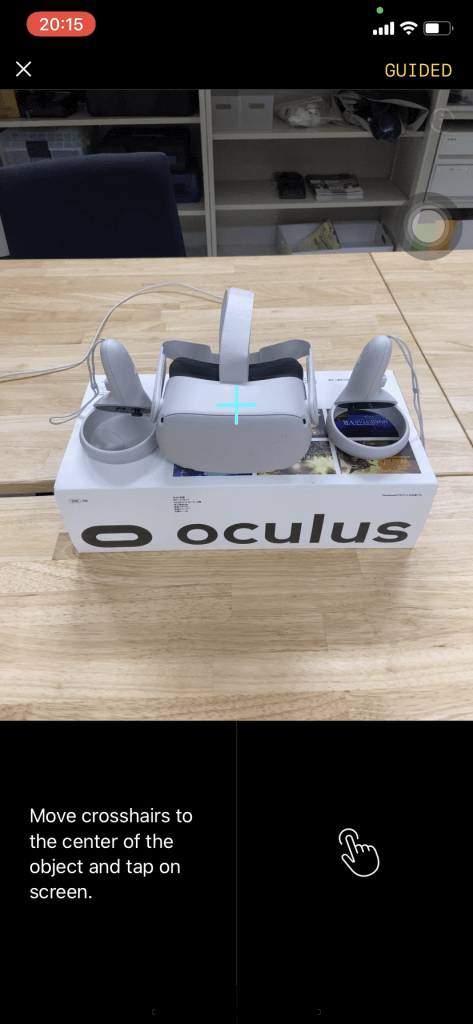
Align the blue crosshairs on the screen with the center of the object and tap the screen
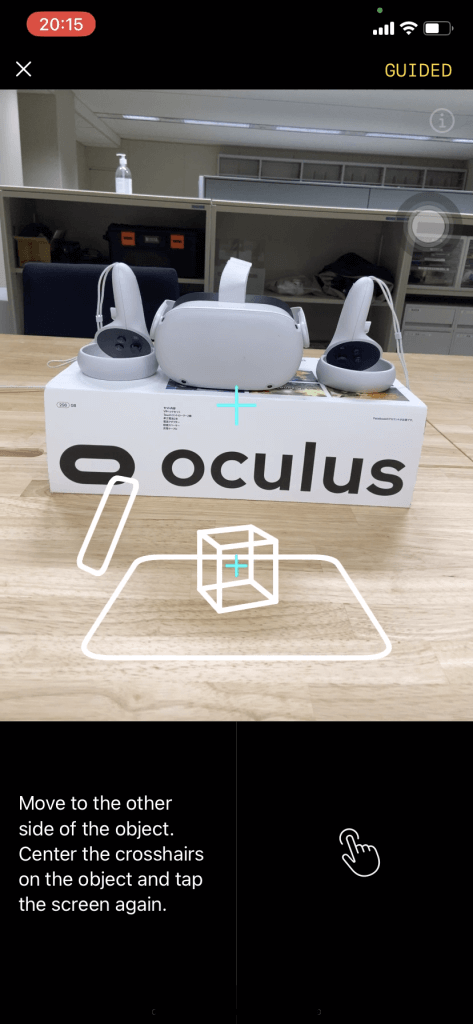
After moving to the other side of the object, align the blue crosshairs on the screen with the center of the object again and
tap the screen
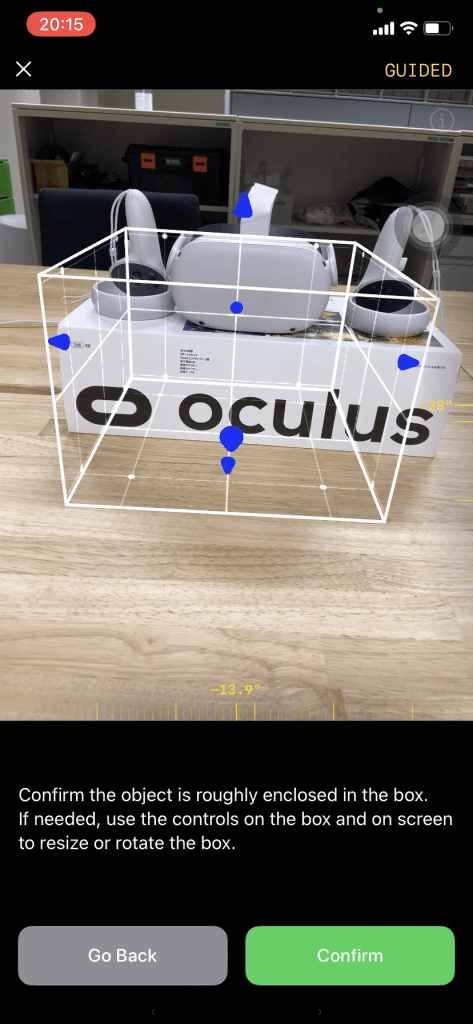
Adjust the size and orientation of the white wire box by sliding the blue arrow or yellow measure so that the object fits inside the white wire box
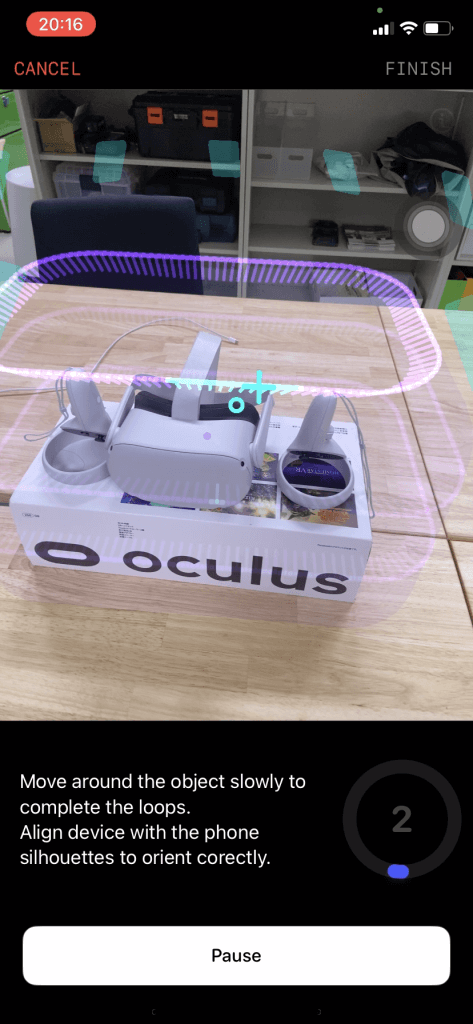
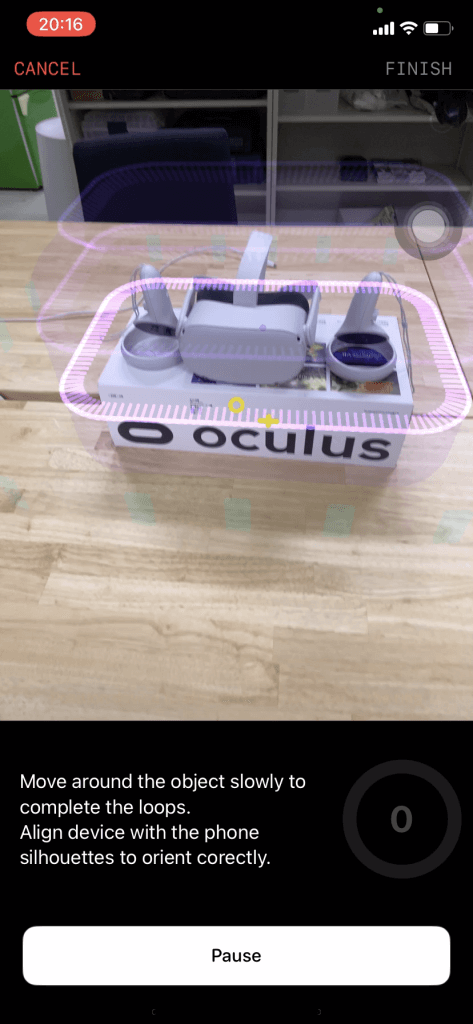
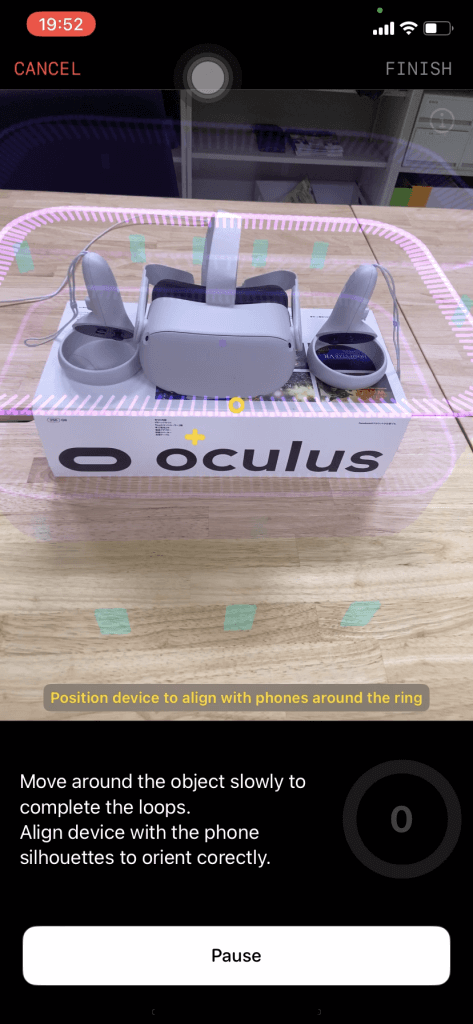
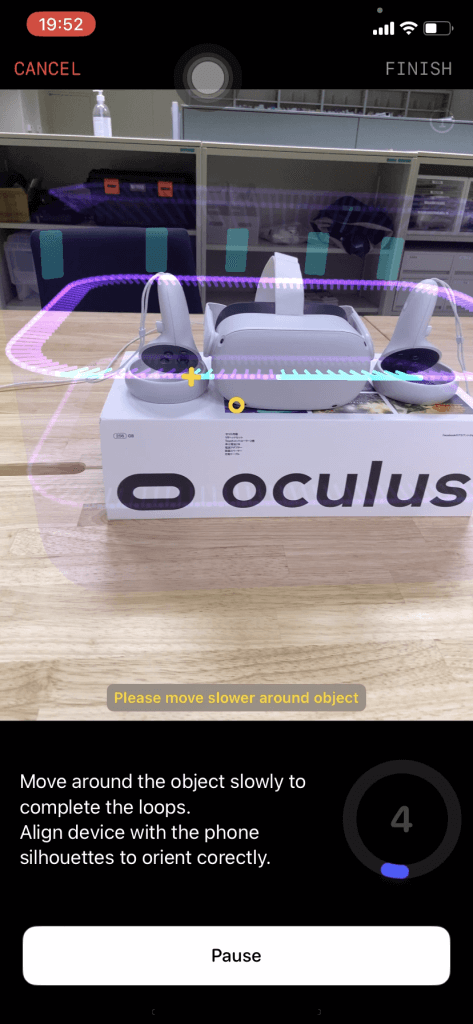
Slowly move around the object to complete the purple loop (line) and also tilt the device
to align its orientation with the silhouette of the
phone
, which is displayed in
blue
.
About the notes for the scan scene
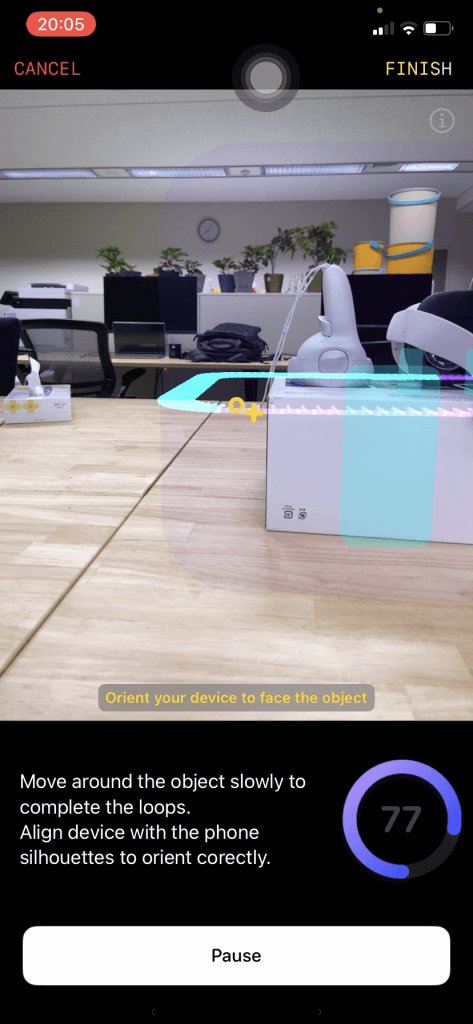
Align and tilt the device to match the silhouette of the blue phone, which is displayed around the purple ring.
Orient the device towards the object
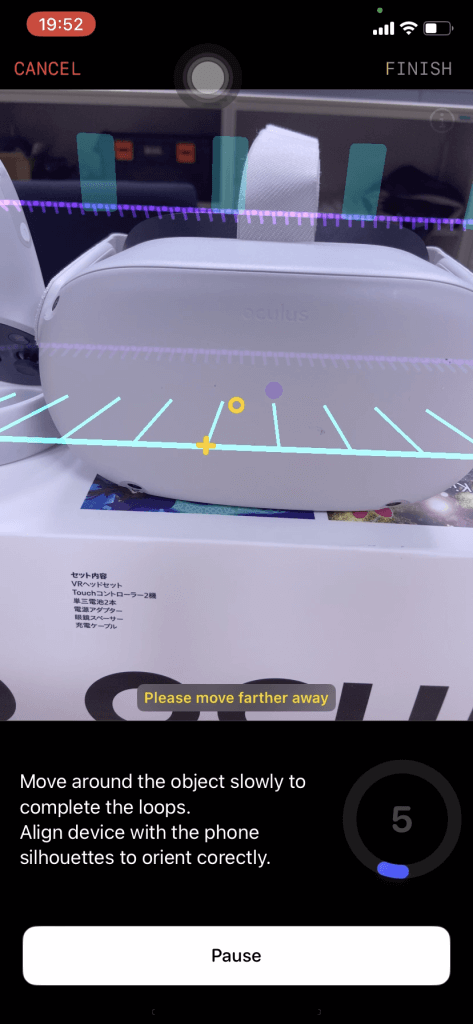
Move farther away
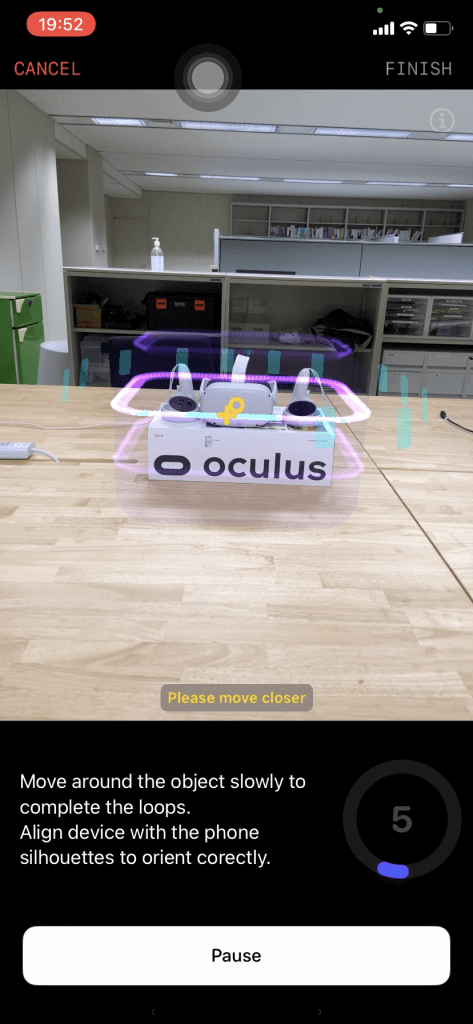
Move closer
Move
slowly around the object
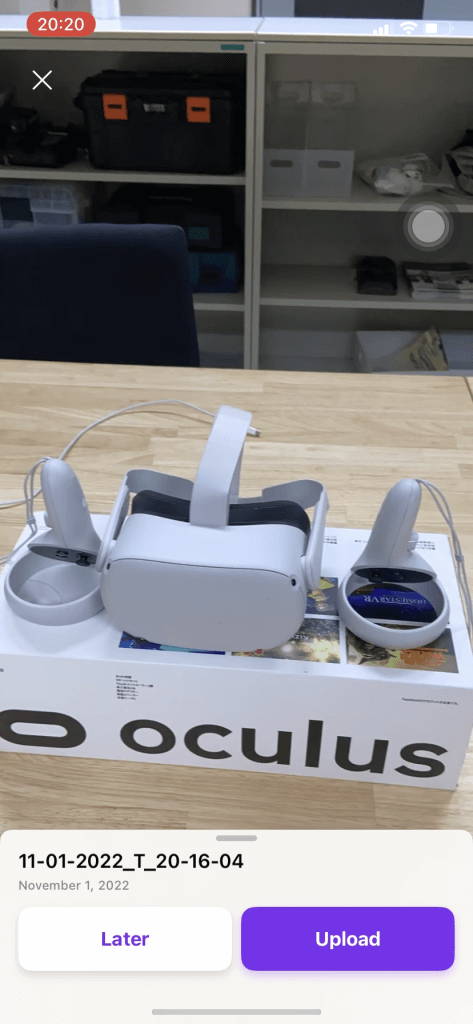
After completing the scan,
select “Upload”
Once the
progress circle in the lower right is filled, the 3D model is complete
Checking and Outputting the Completed Model
Once the 3D model is complete, you will see a thumbnail of the scene you shot
.
Selecting the thumbnail will bring up the following screen:
In
this scene you can
- Playing the video of the 3D scene
- Tap operation of the 3D scene
- Tap operations on the 3D model
- Outputting videos and 3D models
Playing
the video of the 3D
scene Select the leftmost of
the
three icons in the lower left corner of the screen
to
play the video of
the
3D scene
Tapping on
the 3D scene
Select the middle icon of the three icons in the lower left corner of the screen to tap around
the
3D scene.
Tapping
on the 3D model
Select the rightmost of
the
three icons at the bottom left of the screen
to
tap on
the
3D model.
In this mode you can see the top of the 3D model and zoom in and out
.
また、このモードになるとアイコ
ンが2つ追加されます。黒塗り四角形のアイコンを選択すると背景も表示されるようになり、一番右にある点線で表示された四角形のアイコンを選択すると、オブジェクトの形の情報(メッシュ)が表示されます。
動画や3Dモデルの出力 下にタブが
表示されている状態で、そのタブを下から上にスワイプすると、出力の選択ができるようになります。
「Cinematic Render」を選
 Sign in to the web version of Luma AI[/caption]
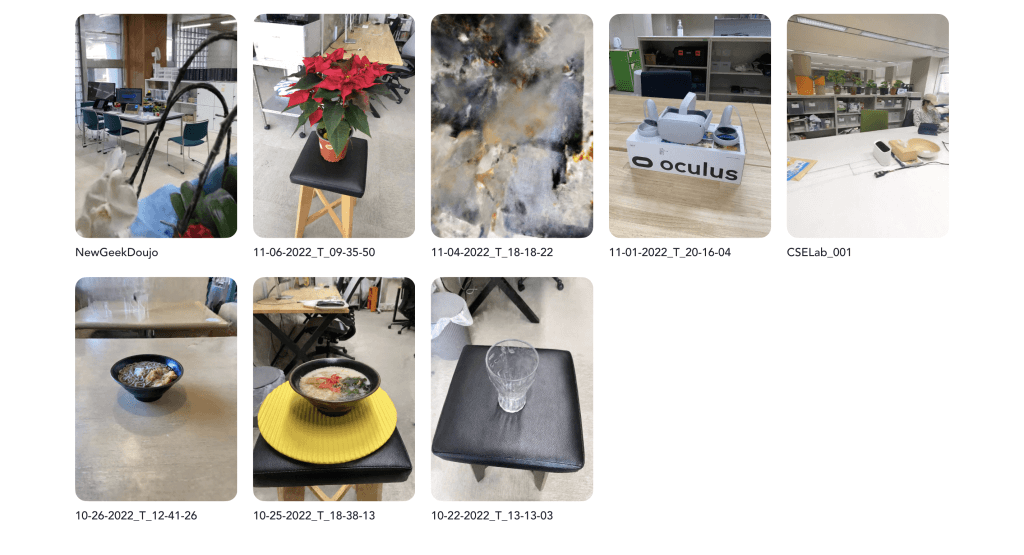
After successfully logging in, you will see thumbnails of the models you have taken so far
Checking and outputting the completed model
Select the model you want to check and
a 3D scene will appear
The
basic operation is the same as on a smartphone, so I will skip the explanation.
Output video
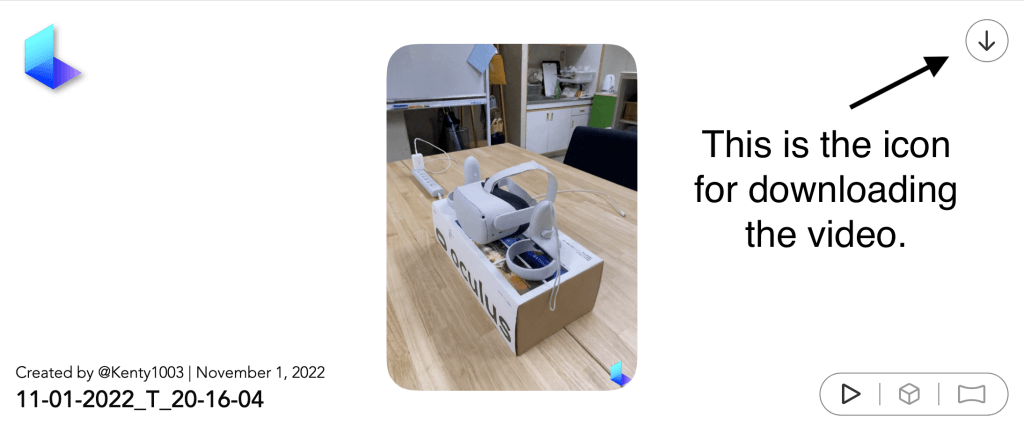
If you want to save the video of the 3D scene, select the icon in the upper right corner.
Outputting a
3D model If you want to
output a 3D model, with the thumbnail of the model displayed, hover over the model you want to output and select the download icon:
Creating a 3D model from a video
With the
model thumbnail displayed, select “create new” in the upper right corner of the page to create a 3D model from your video
Editing the 3D model
Edit the 3D model output by Luma AI and delete the parts you don’t need.
This time we will edit the OBJ file in Blender.
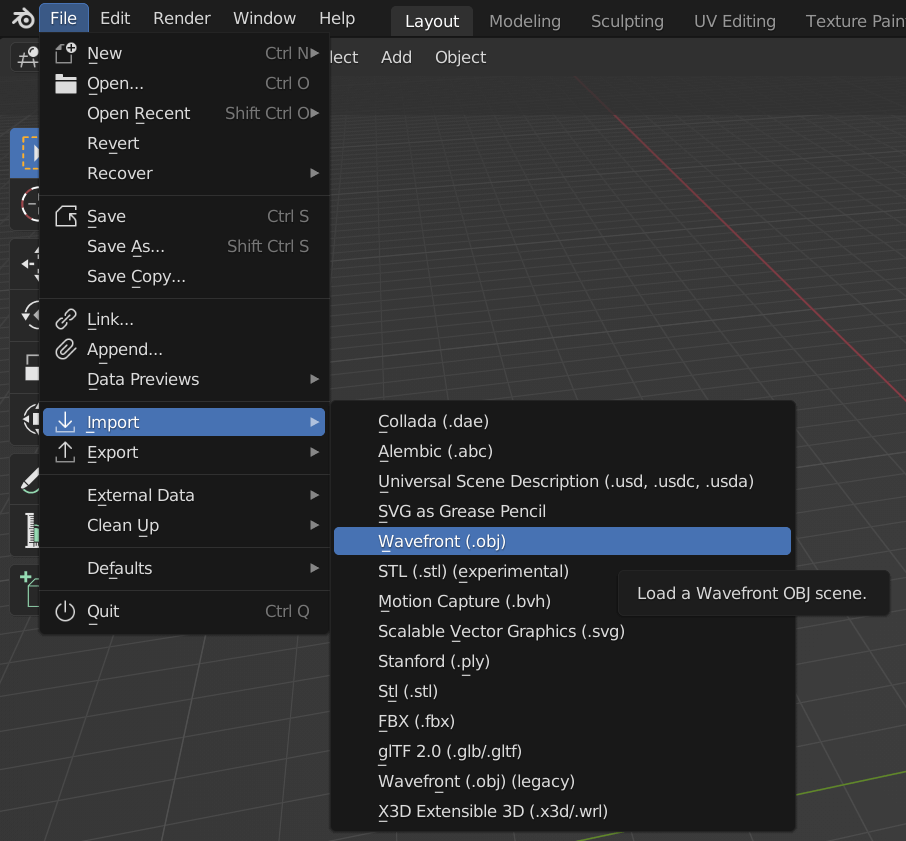
First, start Blender and import the OBJ file.
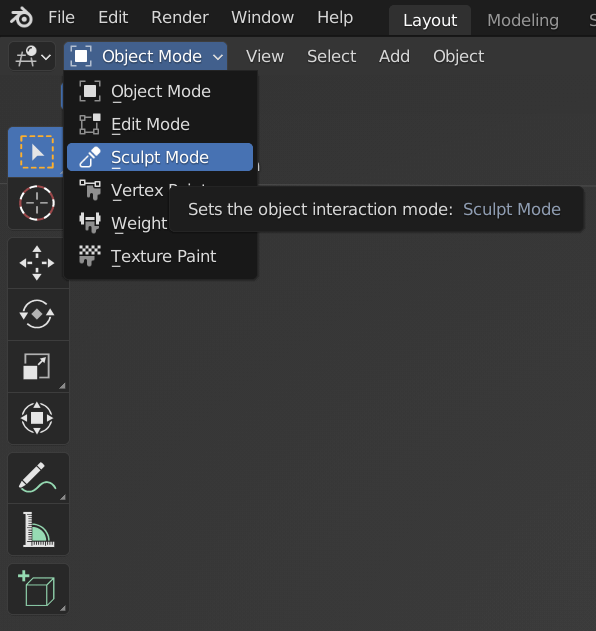
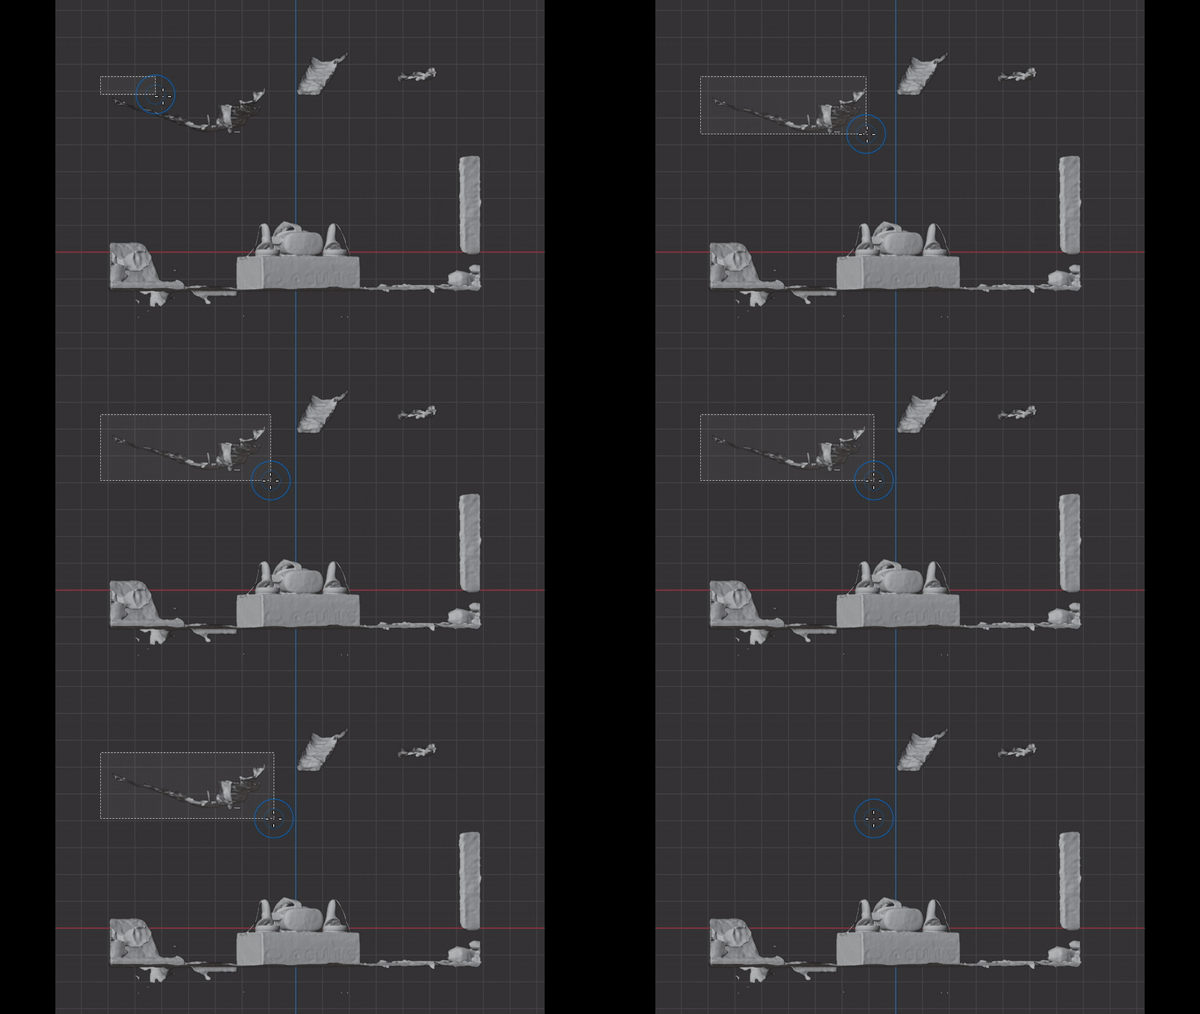
After opening the OBJ file, change the mode from “Object Mode” to “Sculpt Mode
“
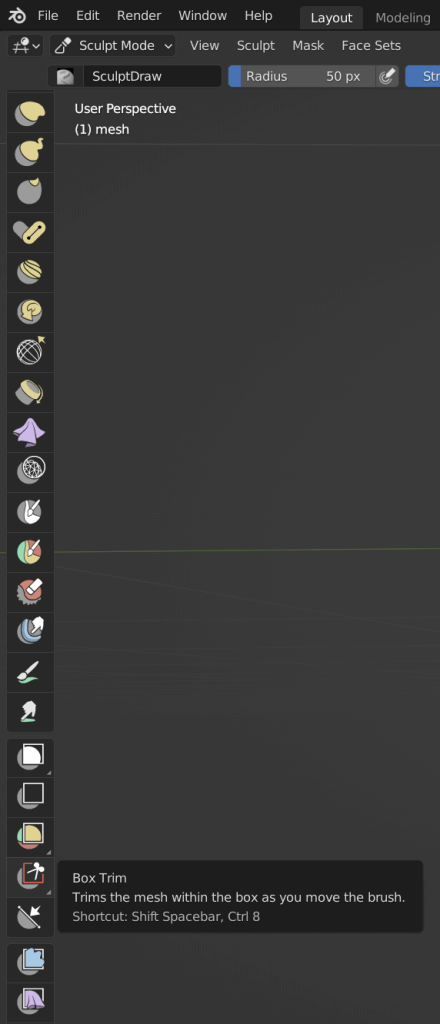
Select “Box Trim” from the icons displayed on the left side
Drag to select and delete unwanted portions of the imported 3D object
Please note that in the video above, the deletion is done quickly, but in reality it takes much longer.
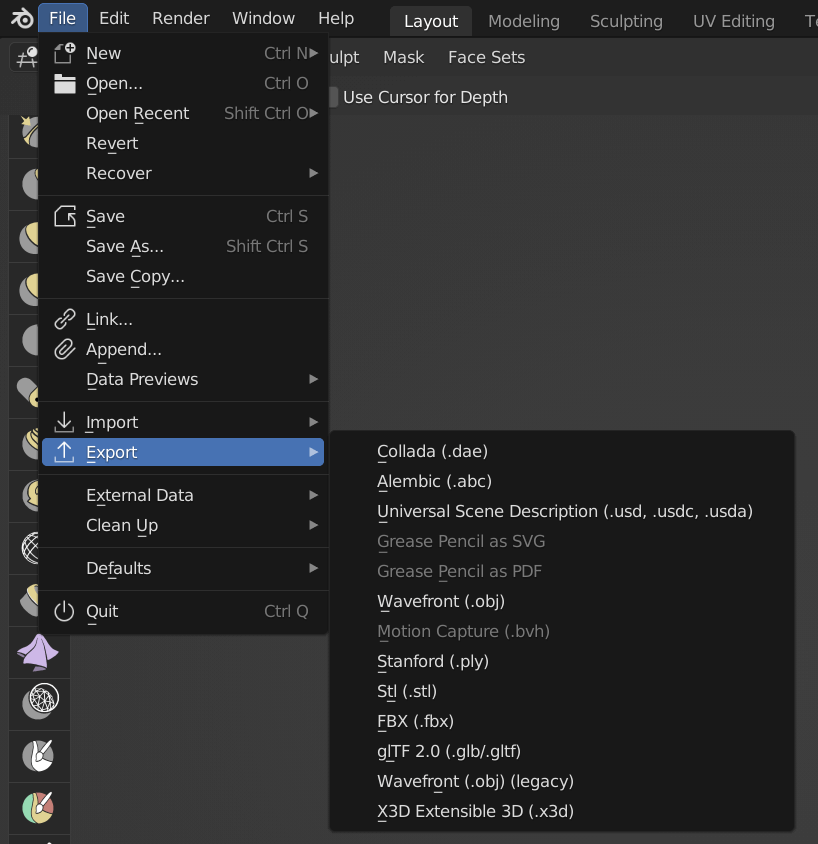
Once editing is complete, export the file in the file format of your choice.
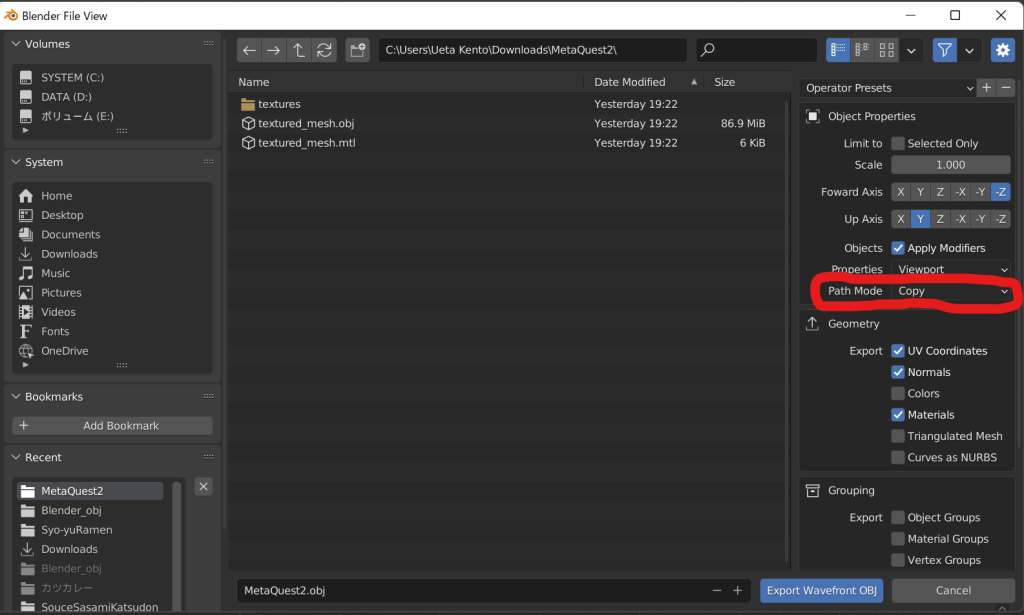
This time we will export as an OBJ file
When exporting as an OBJ file, set “Path Mode” to “Copy” as we also want to export the textures.
Exporting Textures
Notes
Sometimes when you do a Box Trim, strange colored objects appear.
If this happens, switch to “Edit Mode” so you can select faces, select all the parts you don’t want, and finally delete them with the “X” key.
Uploading to ST
YLY Once you
have finished Blender’s output, upload the 3D model to STYLY.
account
How to upload to STYLY
How to upload to STYLY from Unity
[
nlin
For questions about STYLY, bug reports, and requests for improvements, please contact the STYLY FORUM
https://jp.forum.styly.cc/support/discussions
Certified (QA) by Shota Shawn Yoshizawa
Edited by SASAnishiki

