This article introduces the interface of Autodesk Maya, and the basic operations for 3D modeling. In this article, we will be using Maya 2016.
The Autodesk Maya Interface
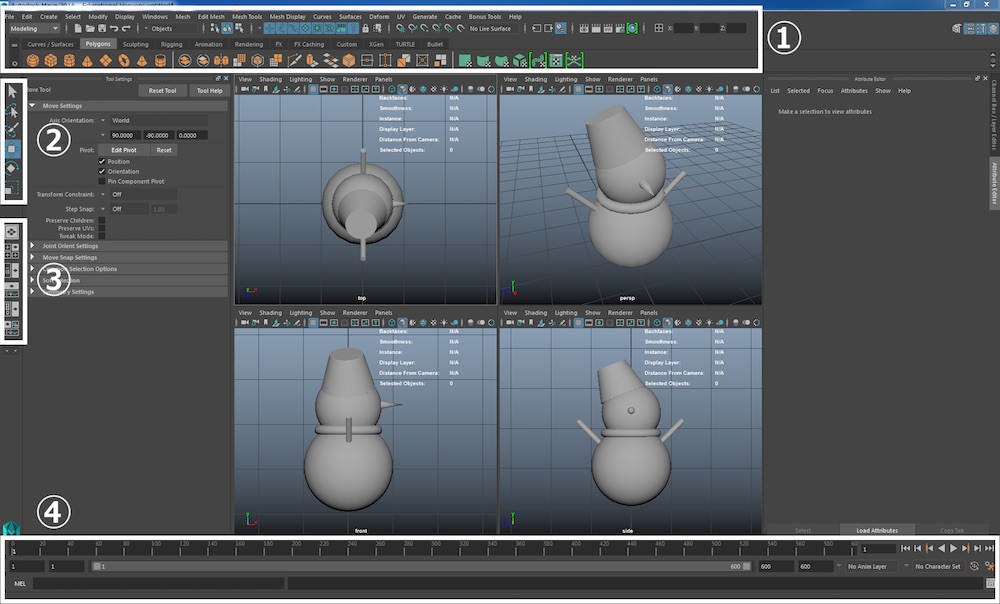
This is the Maya interface.
For now, I will explain the basic areas of the screen.
① You can select various function modes, (such as modeling, animation, rendering, FX modes).
② You can select movement ( W key ), rotation ( E key ), scale ( R key ) from here.
③ You can change perspective view to 2 screens or 4 screens here.
④ This is the time slider. You can animate objects, or change the settings of Maya from “Preference”.
When you first see the Maya interface, you might feel that it’s too complicated, but just take it easy and keep the basic picture in mind.
How to move the camera around
As you use Maya, you will move around the camera as you proceed with the modeling. There are various shortcut keys that you can use, so let me introduce them. For this article, I will talk only about the ones that you will be using very frequently.
Frequently used shortcut keys
・Alt + Left Mouse Button = Tumble
You can move the view around in circles.
・Alt + Wheel click = Moving view
You can take hold of the view and move it horizontally or vertically maintaining the angle.
・Alt + Right Mouse Button =Dolly
You can zoom in, or zoom out from the view. You can also do the same movements with the mouse wheel.
・F key
This button is the view focus. You can set focus on an object, vertex, edge, face, basically anything. This is tremendously useful!
・A key
By pressing this key, the view will shift to show all the objects inside the scene.
Caution: Without a mouse, controlling the screen is very difficult, so I highly recommend buying one for those who don’t have one.
Parent-child relationship settings and Grouping
This is a action that sorts out the stratums, and if you do this as you do modeling and animating objects, the later work becomes much easier.
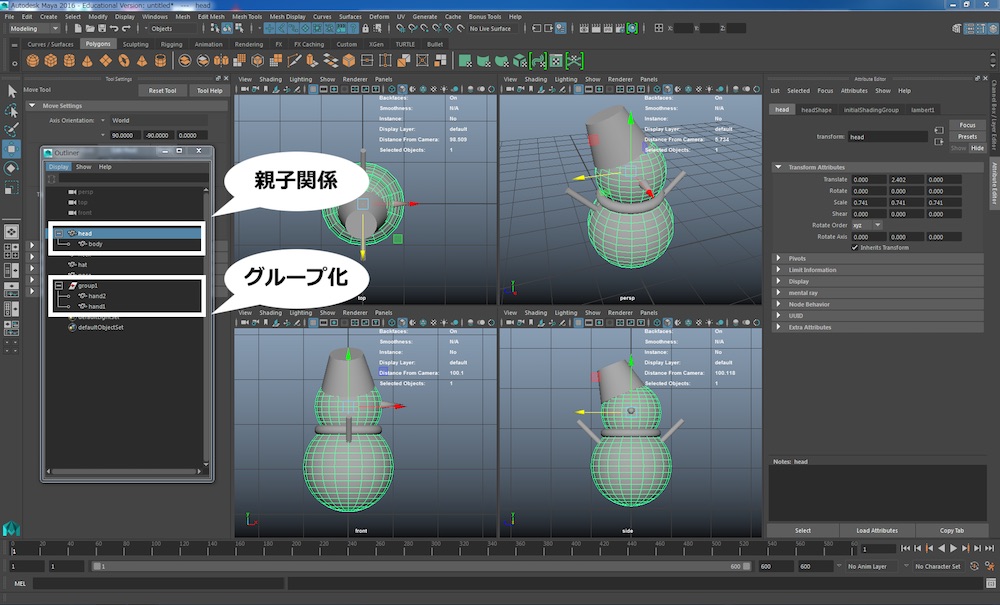
Parent-child relationship settings
When in parent-child relationships, the child depends on the pivot position of the parent. When the parent rotates, the child rotates too.
How to set a parent : Select the object you want to make parent, and press the P key.
Grouping
For a group, the pivot depends on the center position of the group.
How to set a group : Select the objects you want to group, and press the G key.
If you don’t move them, it’s hard to tell the difference, but if you animate them or move them around, you will see how they change.
Component and snapping
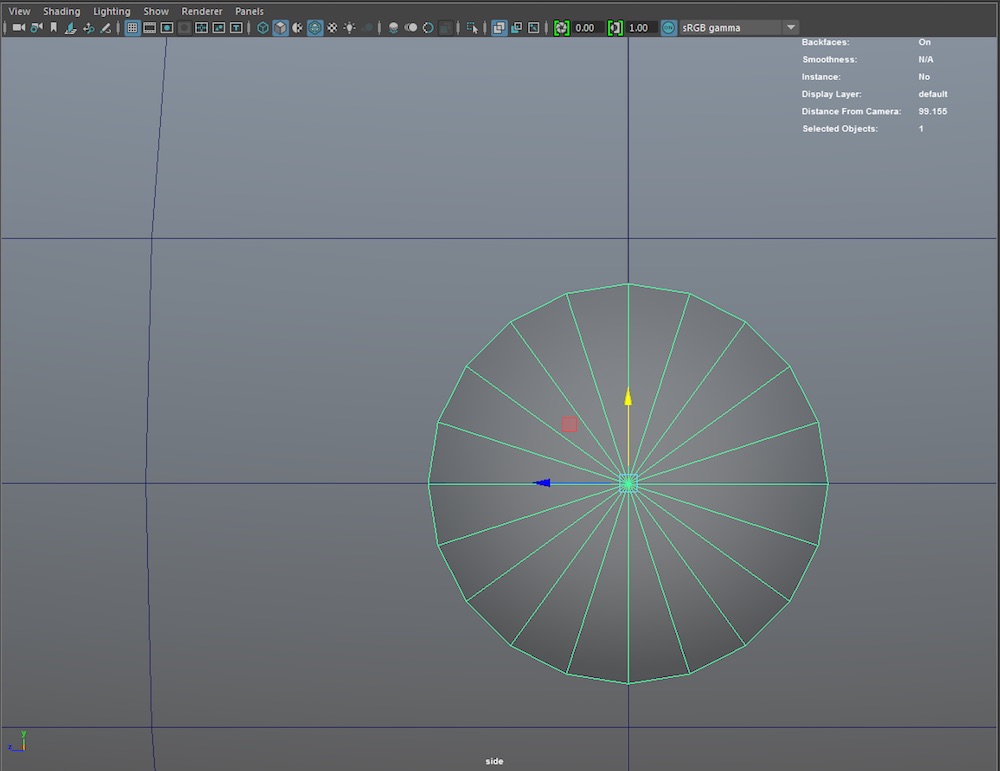
This function smooths the edges, vertex’s, and faces movement when you do your modeling.
So, what is a component? A component is an object piece. For example, vertex’s, faces, and edges.
Introduce to snapping
・Grid snap
Move a component pressing the X key.
・Vertex snap
Move a component pressing the V key.
・Curve snap
Keep pressing the C key and move the component along the curve you made.
By using snapping and moving components along grids, vertex’s, and curves, the efficiency of your modeling will increase greatly, and the finish will become neat.
I hope you all make your original model with Maya!
(reference:AREA JAPAN Maya Learning Channel)