In this article, I introduce how to display a VR illustration drawn by Tile Brush, in STYLY. Please try it as you can do it without any knowledge or equipment for VR.☺️
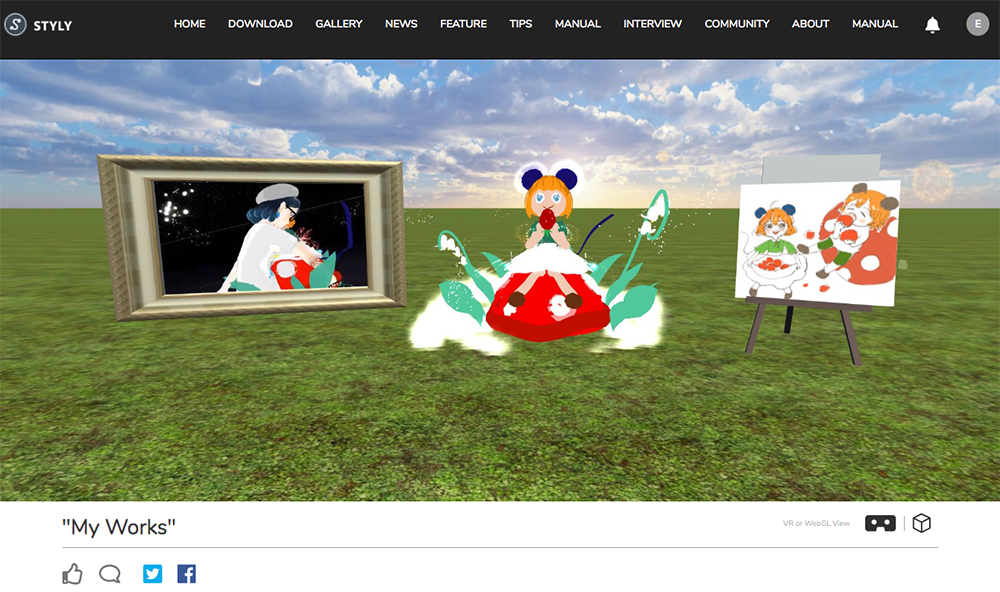
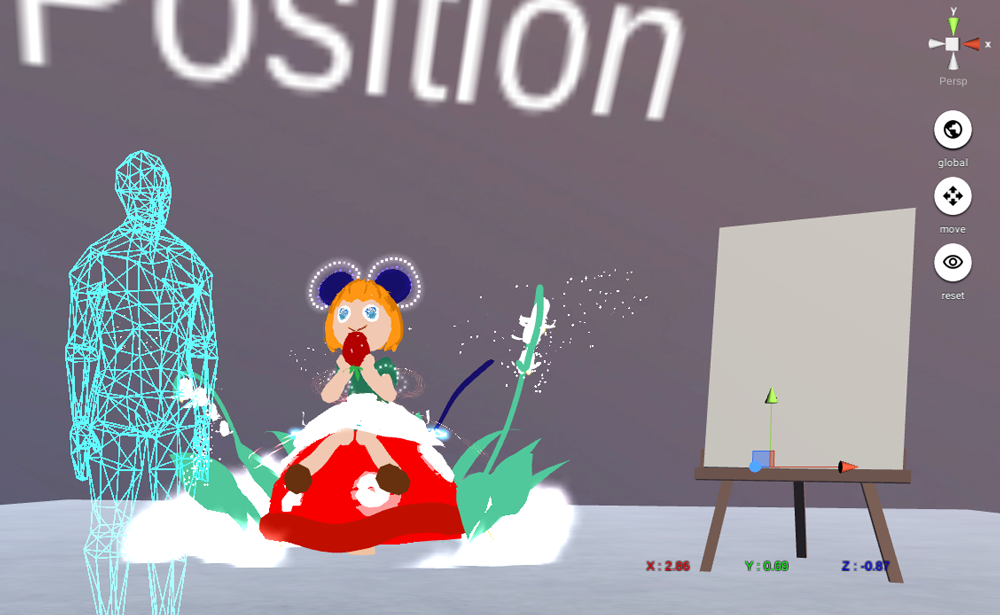
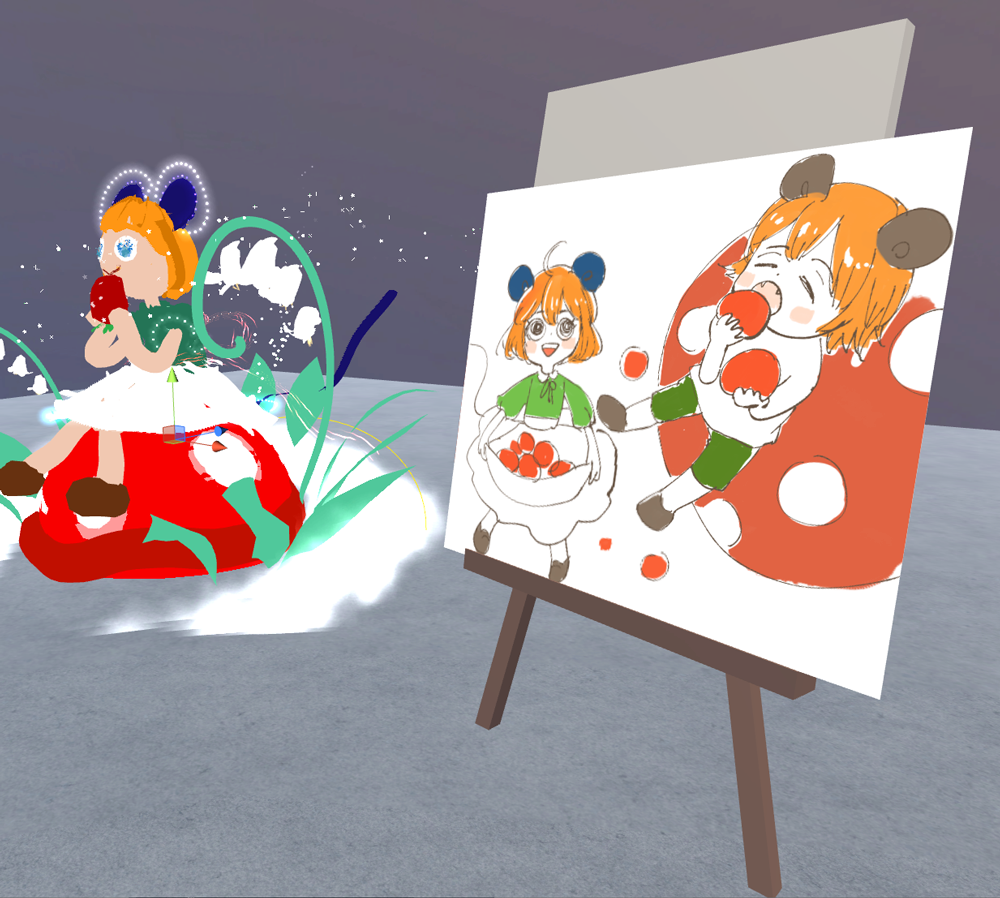
Expected completion image
Please refer to the article below to learn how to draw VR illustration. →Draw VR illustration by Tilt Brush for beginners
Regarding the end of Google Poly (Added on March 19, 2021)
In this article, we used Google Poly to explain how to upload 3D models created with Tilt Brush.
However, Google Poly will be shutting down its service on June 30, 2021.
For instructions on how to upload a Tilt Brush 3D model to STYLY without using Google Poly, please refer to the following article.
![How to Upload a 3D Model Created with Tilt Brush to STYLY [Latest Version]](https://styly.cc/wp-content/uploads/2021/03/EYECATCH-1-160x160.jpg)
Create your account for STYLY
Firstly, access to STYLY (https://styly.cc/) by a web browser on your PC (Chrome is recommended). Click “CREATE YOUR VR SPACE FOR FREE” at the centre to open the user registration form.
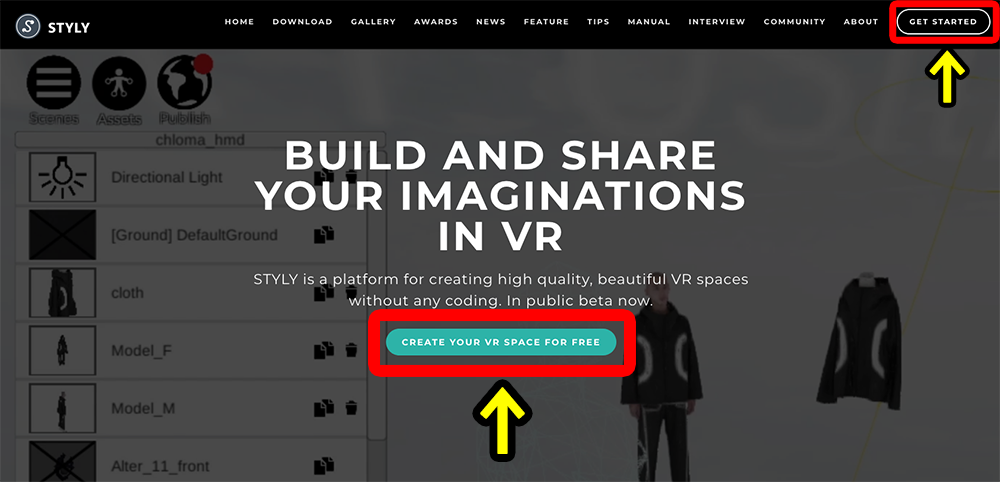
The top page of STYLY
Enter ‘User name’, ‘Email Address’ and ‘Password’ and then click ‘Sign up’ to create an account. If you have already created your account before, click ‘Log in here’ on the bottom left to log in.
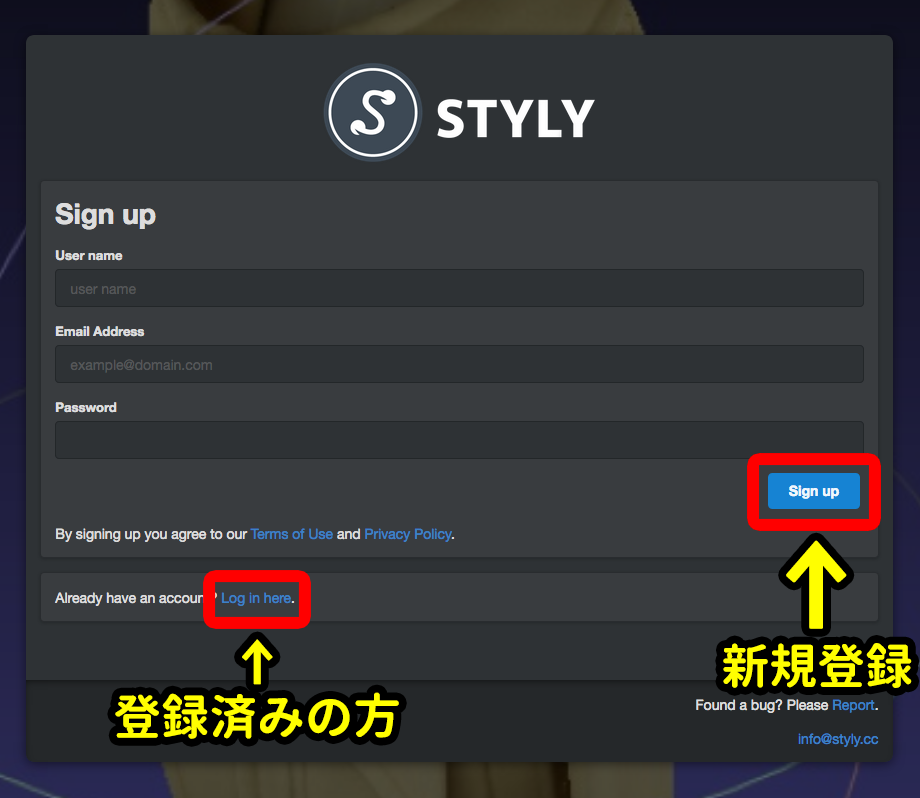
User registration form
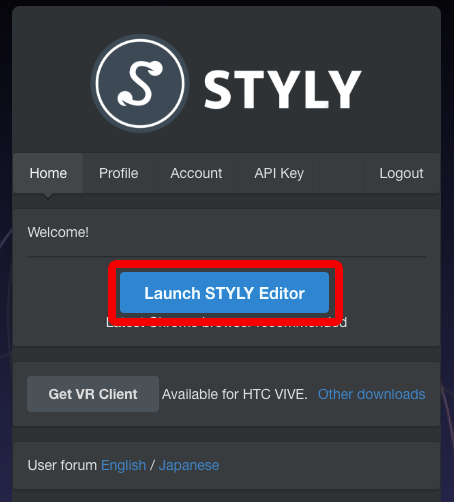
Once you create your account, you can launch STYLY Editor by clicking the ‘Launch STYLY Editor’ button.
Open STYLY Editor.
Select the ‘Create Scene’ tab, enter the name of the scene in the ‘Title’ box and click ‘Create’.
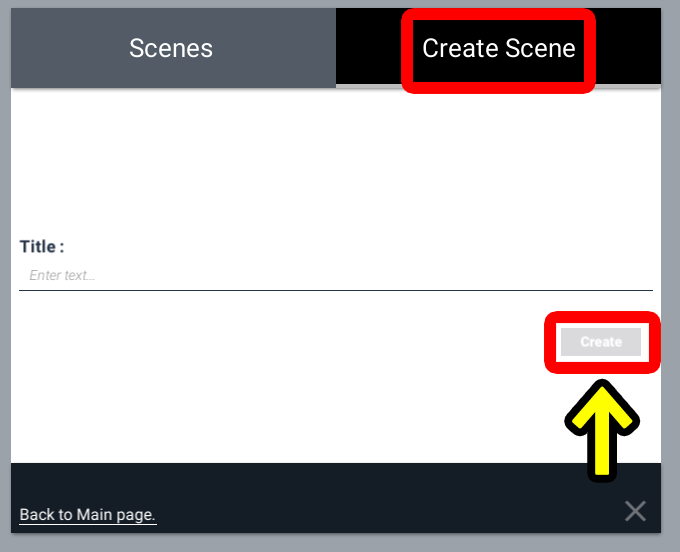
Create a new scene
Now you are ready to create a VR space. Leave STYLY Editor open as is.

A new scene has been created.
Display the VR illustration drawn by Tilt Brush
You need to upload your VR illustration to ‘Google Poly’ (hereinafter referred to as Poly) at first before you export it to STYLY. Poly is a 3D object library provided by Google.
Upload to Poly
Select the ‘Cloud’ icon below the palette to upload.
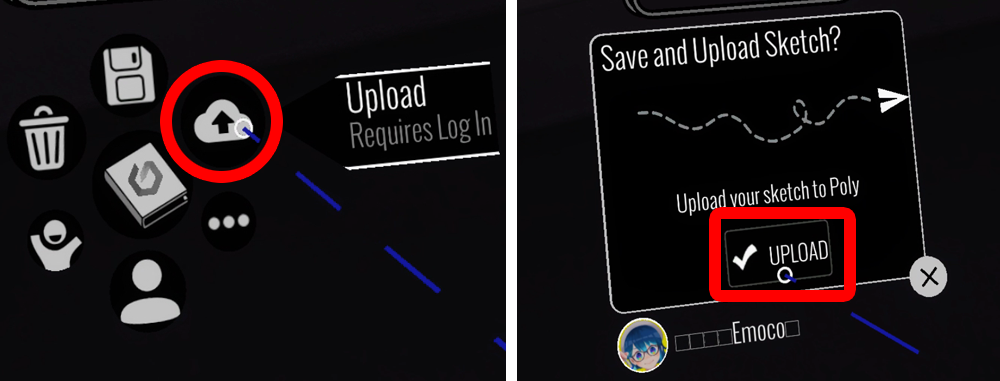
Upload your VR illustration to Poly
If you didn’t log in with your Gmail address, the log-in screen would pop up on your PC screen. You can upload once you logged in with your Gmail account.
Set the information of your sketch
Access to Poly(https://poly.google.com/) by a web browser on your PC and click the menu button on the top left.
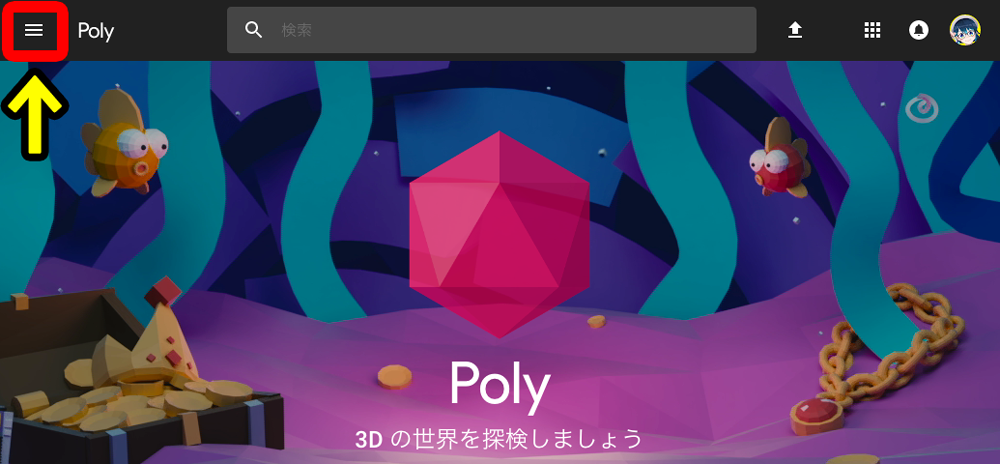
Open the menu.
Click ‘Your uploads’ in the menu on the left to open the VR illustration uploaded. Select it.
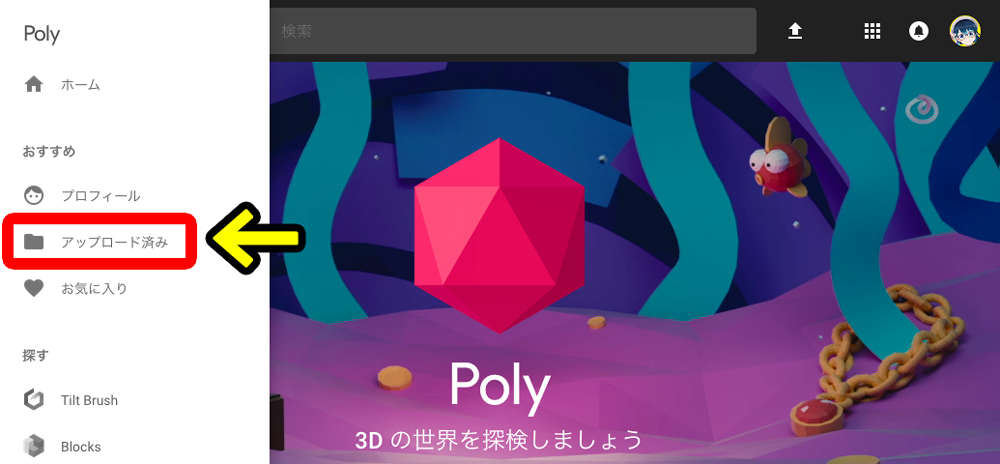
Display the VR illustration uploaded.
Click “EDIT DETAILS & PUBLISH” on the top right corner to set the information about your VR illustration.
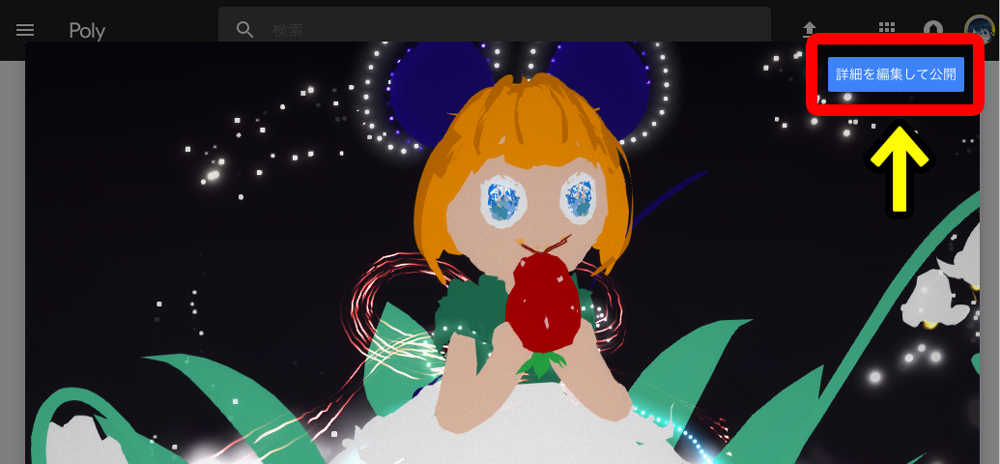
Open the detail about your VR illustration.
Click ‘PUBLISH’ once you filled the form.
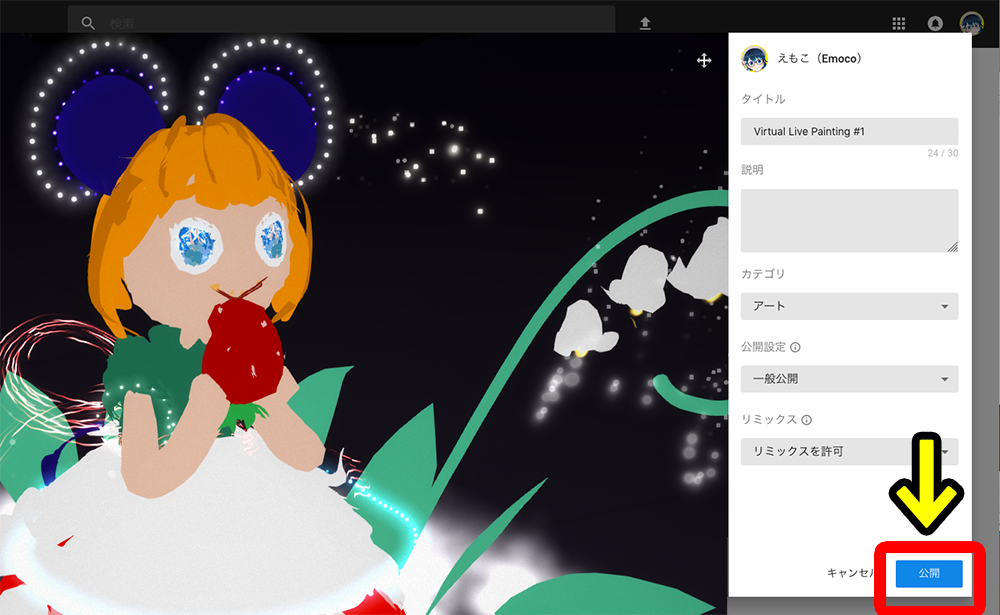
Set the information about your VR illustration.
Click ‘Share’ on your Gallery page, and copy the URL of your work.
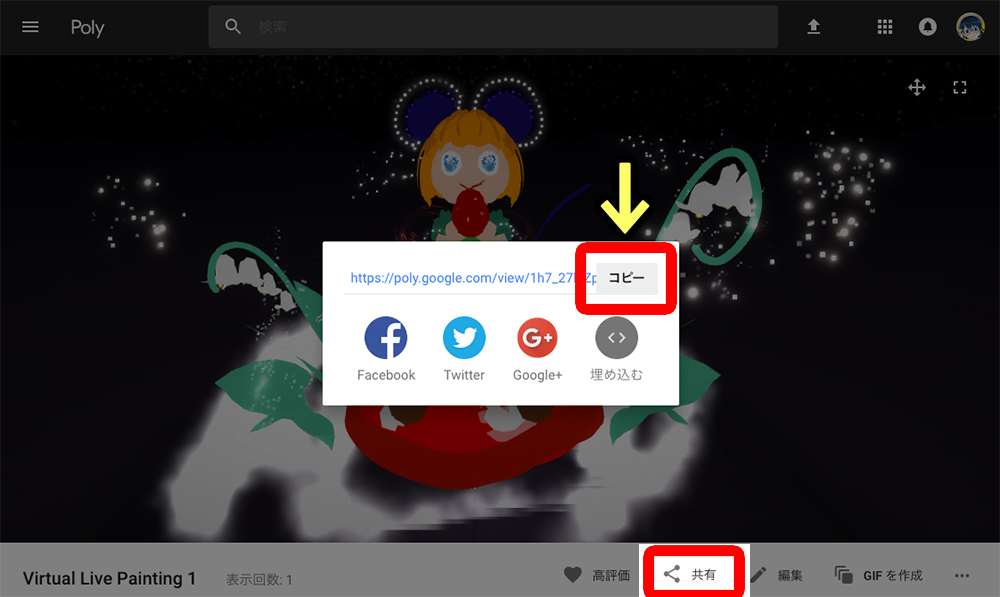
Copy the URL of your VR illustration.
Import to STYLY Editor
Open STYLY Editor again. Firstly, click the ‘Picture’ icon (Assets) on the top left of the screen.
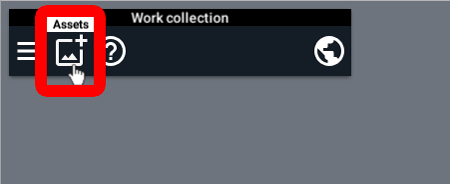
Select ‘Assets’
Secondary, click ‘3D Model’.
Select ‘3D Model’.
With the ‘Poly 3D Models’ tab selected, paste the URL (The title of your work will do also) you copied in the search bar, and click ‘Search’.
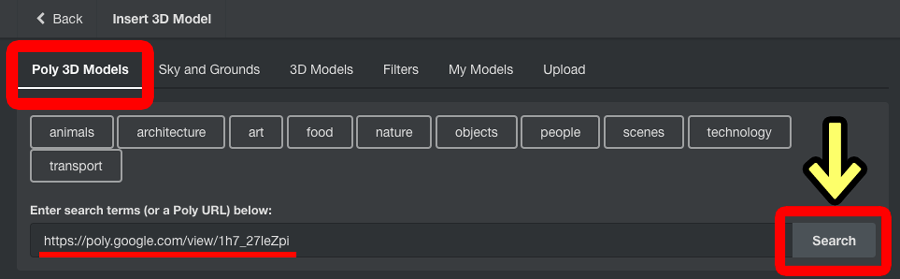
Search for your VR illustration
Then, the VR illustration uploaded is displayed. Click it.
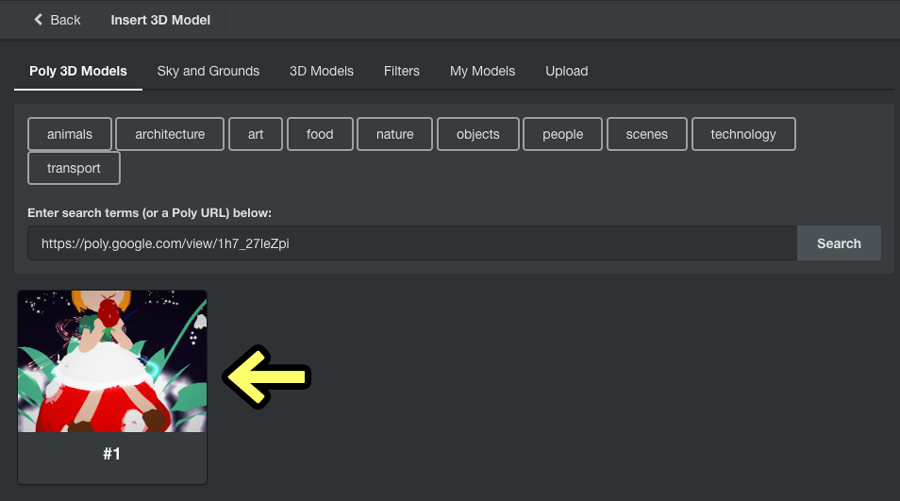
Select your VR illustration.
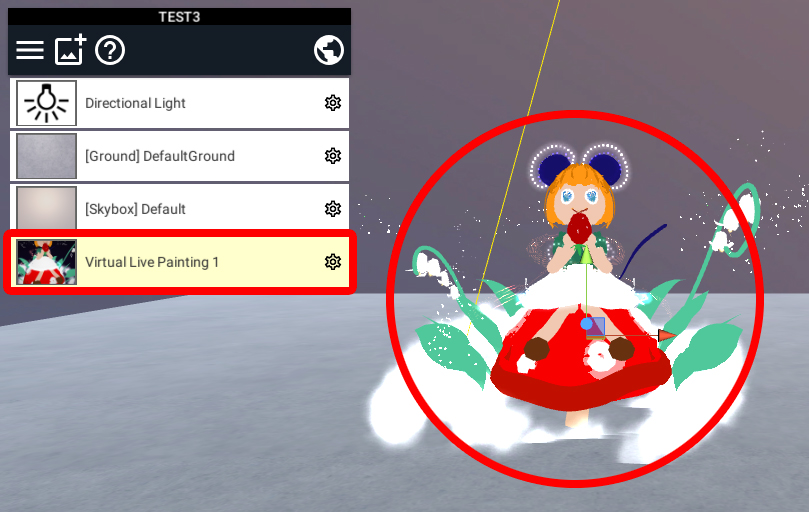
Your VR illustration has been imported.
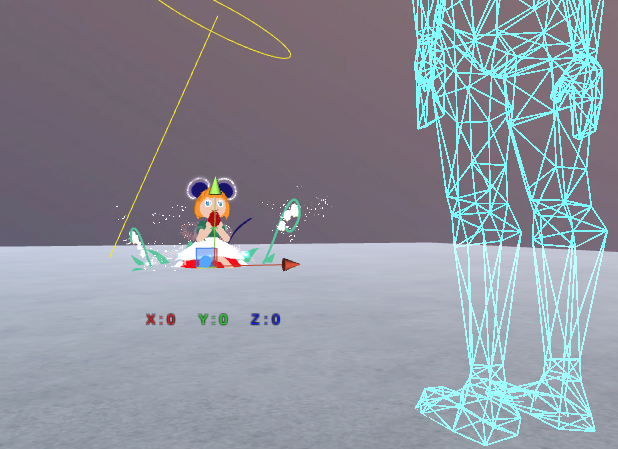
STYLY has imported your VR illustration.
Your VR illustration could be buried in the ground plane or too small in STYLY. In those cases, adjust the position, size and angle as instructed below.
Move, scale and rotate it
You can ‘move’, ‘scale’ and ‘rotate’ what you imported to STYLY Editor (hereinafter referred to as an asset) by the buttons on the right of the screen.
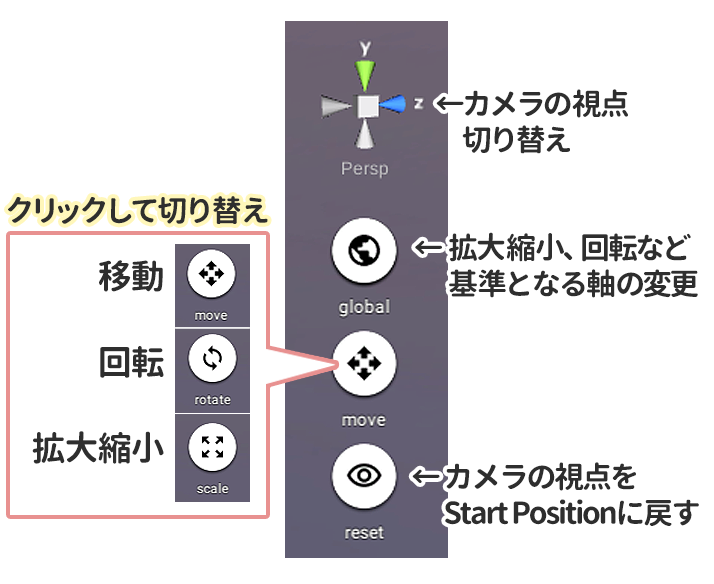
The buttons on the right of the screen
Firstly, click the asset to move. (Alternatively, you can select it from the list on the left).
Select an asset
Move it
Press the ‘move’ button on the right with an asset selected. Adjust the position by dragging the arrows in the direction you want to move along.
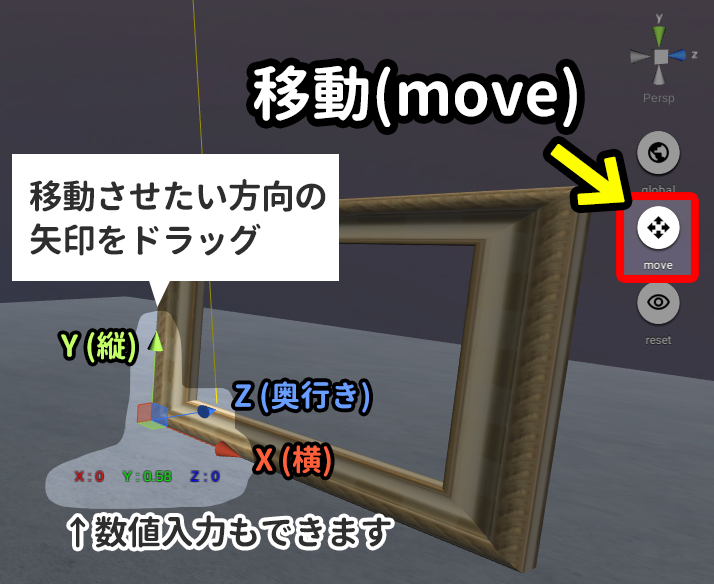
How to move an asset
Scale it
With an asset selected, press the ‘scale’ button on the right. Adjust the size by dragging the cube on the axis you want to scale the asset with. If you drag the white cube at the ‘origin’, you can scale an asset uniformly.
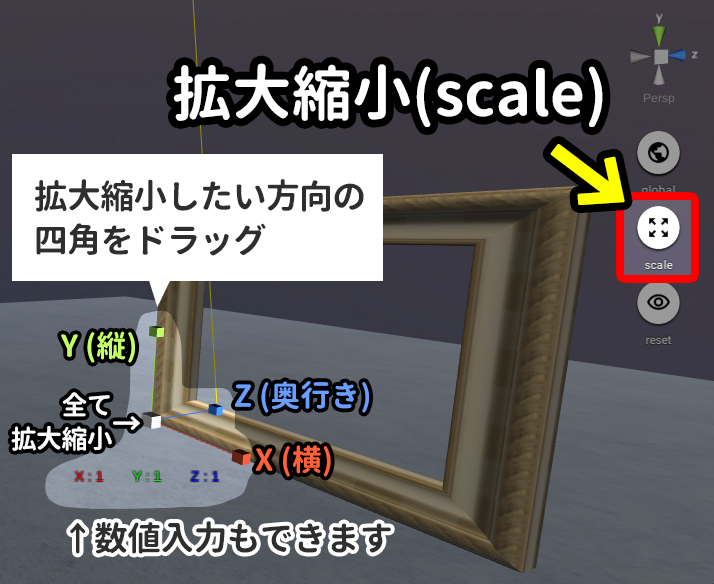
How to scale an asset
Rotate it
With an asset selected, press the ‘rotate’ button on the right. Drag the curve on the sphere shown on the bottom left, in the direction you want to rotate.
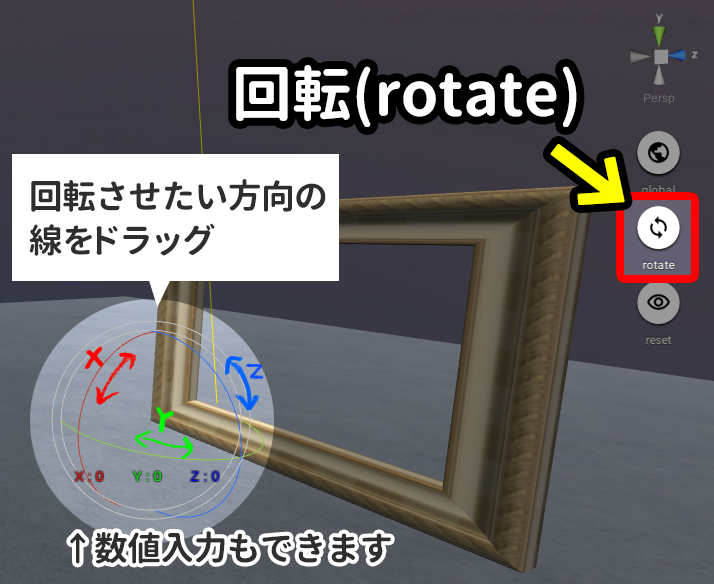
How to rotate an asset.
Adjust the position and orientation of an asset by making a good use of those operations. Please refer to the tutorial below if you want to learn how to operate STYLY more. →The tutorial to learn how to create and publish a Scene
Display your 3D model
In STYLY, you can display not only VR illustration but also 3D model, 2D illustration and video without too much effort. As I am tempted to, I display a 2D illustration and a video in the ‘easel’ and the ‘picture frame’ modelled in 3D. At first, click the ‘Picture’ icon (Assets) on the top left.
Select ‘Assets’.
Next, click “3D Model”.
Select “3D Model”.
Display an easel from ‘Poly 3D Models’
You can easily import 3D models published in Poly. With the ‘Poly 3D Models’ tab selected, enter ‘easel’ in the search bar, and then click ‘Search’. Now you can see many 3D models of ‘easel’.

Search easels in Poly.
Click your favourite easel to place, and adjust the position and orientation so that it doesn’t overlap the VR illustration placed before.
Adjust the position and orientation of the easel (Title: easel Author: yentc atmcdg URL: https://poly.google.com/view/52cDlIgLNvv)
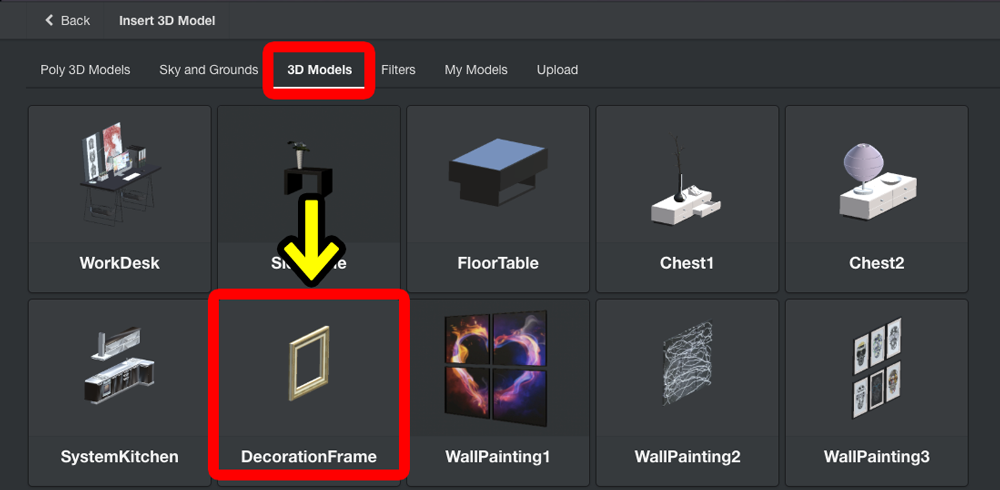
Display a picture frame from ‘3D Models’
In STYLY, there are many 3D models ready to use freely. With the ‘3D Models’ tab selected, click the picture frame (DecorationFrame) in the list to place it.
A plenty of 3D models in STYLY
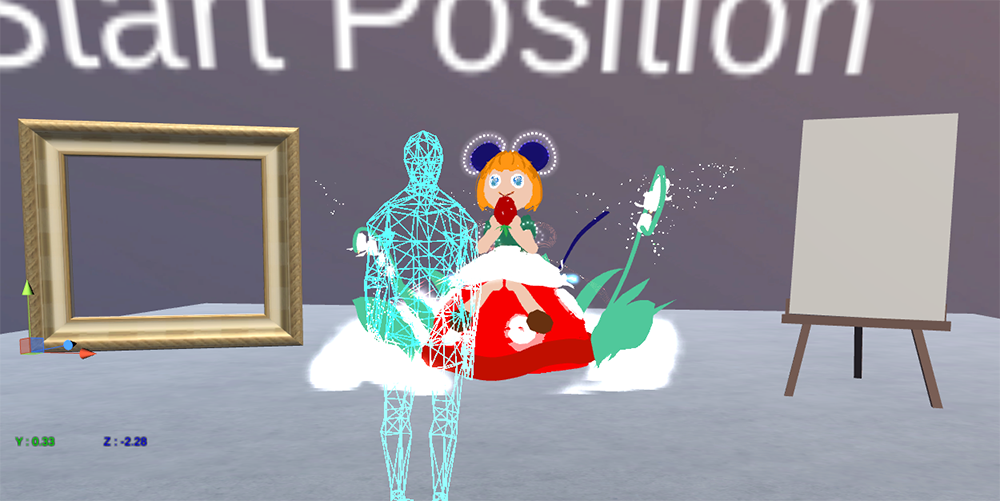
Adjust the position and orientation of the picture frame so that it doesn’t overlap the VR illustration placed before. I placed it at the opposite side of the easel this time.
Adjust the position and orientation of the picture frame.
Display an image
Firstly, click the ‘Picture icon’ (Assets) on the top left.
Select ‘Assets’.
Next, click ‘Image’.
Select ‘Image’.
Select the image to upload by the ‘Select’ button and then click ‘Upload’. The supported formats are PNG, JPEG and GIF (Animation GIF is also supported).
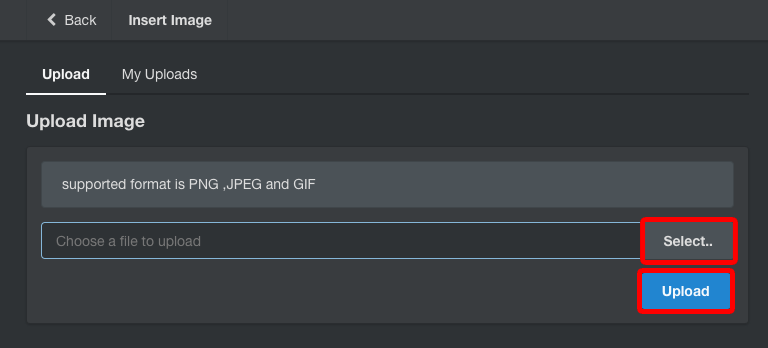
Upload an image from PC.
Then, set up how to display it (Screen type). I selected ‘Original Aspect Screen’ this time.
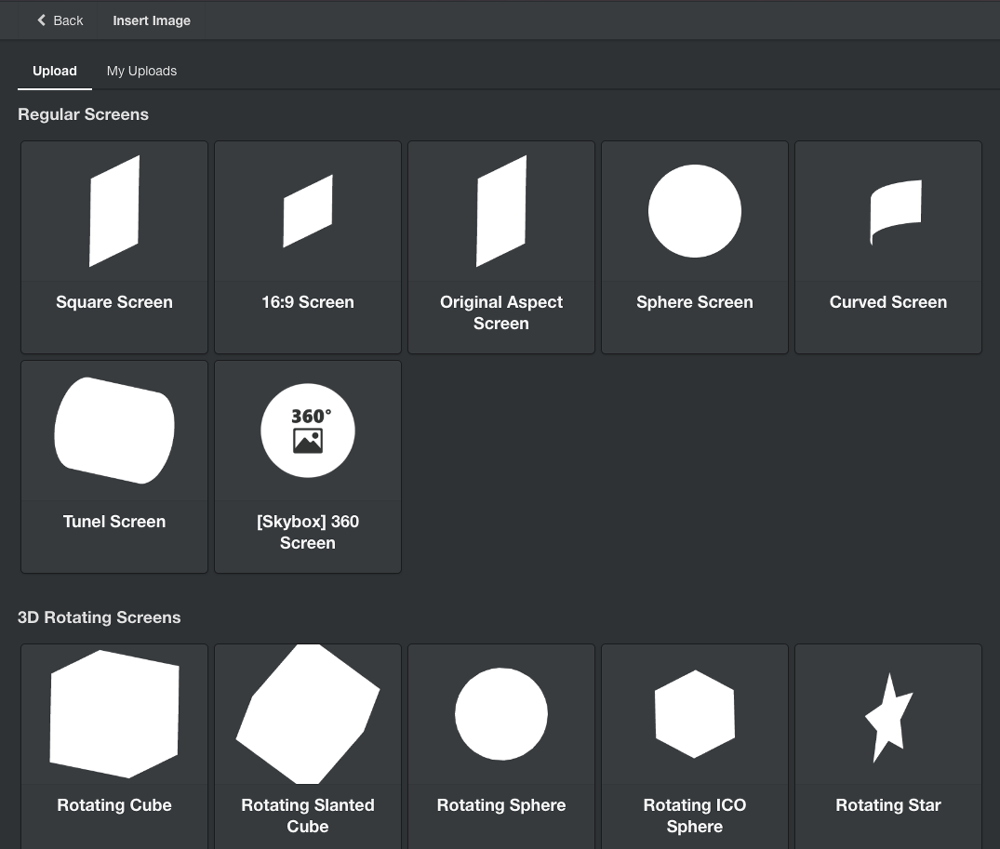
How to display the image
Place the imported image on the easel.
Adjust the position and orientation of the image.
Display a YouTube movie
Firstly, click the ‘Picture’ icon (Assets) on the top left.
Select ‘Assets’.
Next, click “Video”.
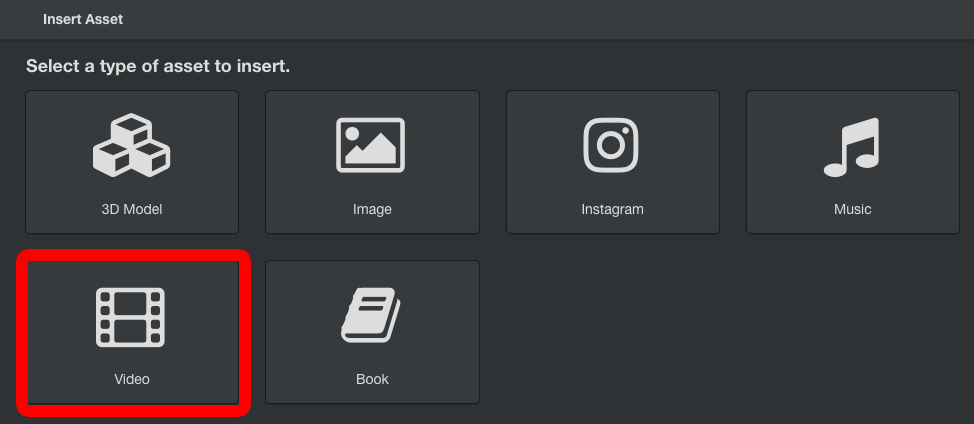
Select ‘Video’.
Copy the URL of a YouTube movie (The title of the movie also works) and paste it in the search bar. Now click ‘Search’.

Load a YouTube movie.
You can choose “Normal” or ” Mute” for Sound Mode. There are various screen shapes ready for the movie such as Square, Sphere and Cube (under ‘Regular Screens’). I selected ’16:9 Screen’ this time.
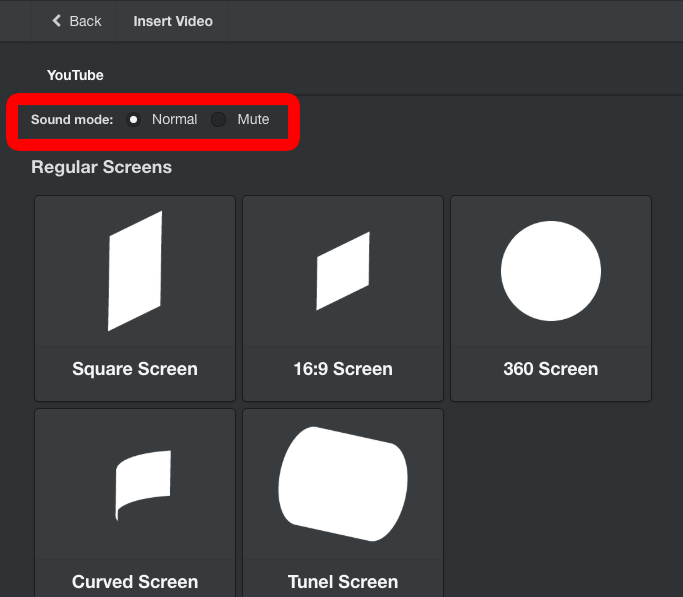
Select a screen shape to place in the scene from ‘Regular Screens’.
Place the movie to fit to the picture frame.
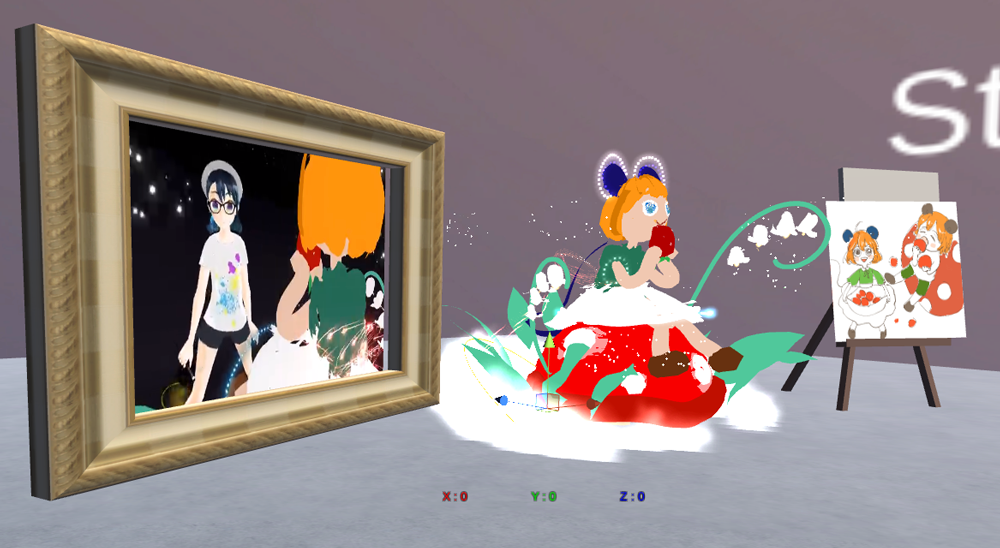
Adjust the position and orientation of the movie.
Change Sky and Ground
Change the sky and the ground to make them suit the plot of your artwork. At first, click the ‘Picture’ icon (Assets) on the top left.
Select ‘Assets’.
Next, click ‘3D Model’.
Select ‘3D Model’.
With the ‘Sky and Grounds’ tab selected, select the sky and the ground that fits the scene.
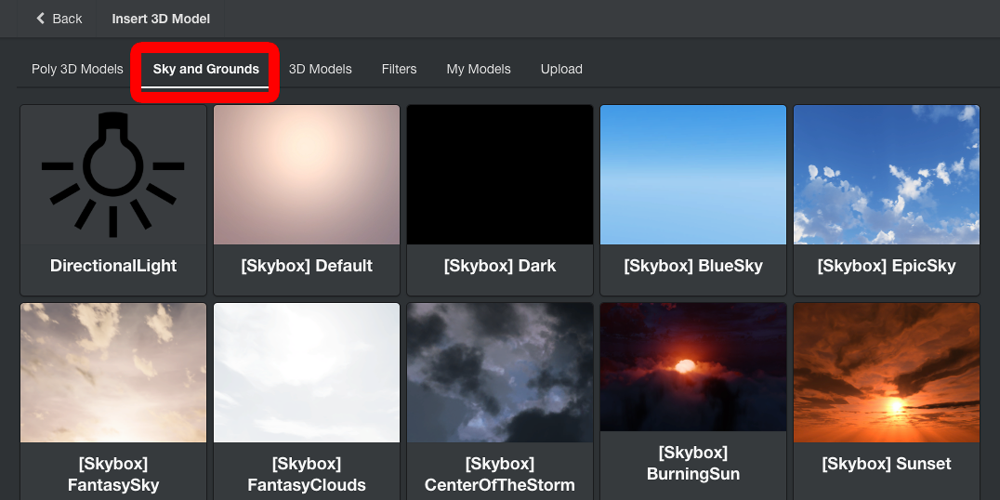
The setting of the sky and the ground.
Finally, adjust the position of each asset while monitoring how the whole picture is balanced. For VR HMD users, check it in VR by downloading STYLY on Steam. Once you launch STYLY, the scene you are working on will appear in ‘My Scenes’. Click it to load. Now you can check it by VR HMD so adjust what you want to correct in STYLY Editor.
Check your work by VR HMD.
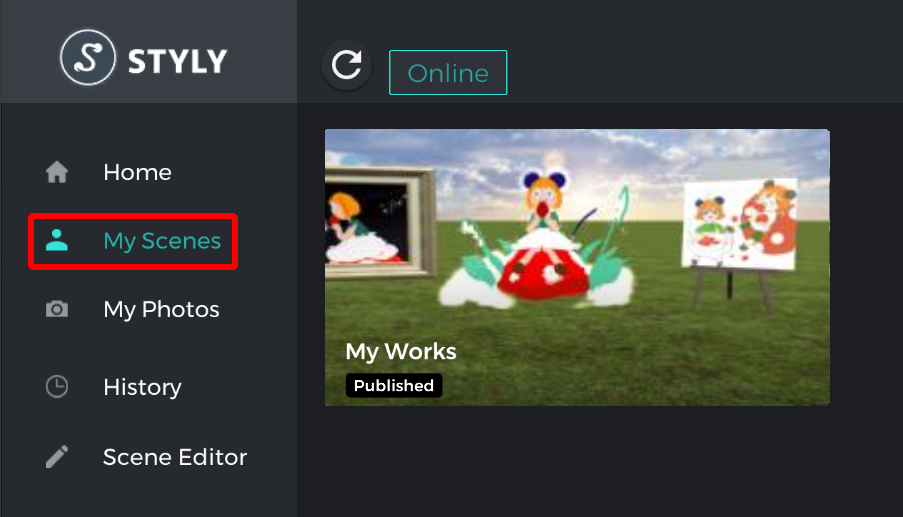
Once you complete the scene, let’s publish it. At first, click the ‘Globe’ icon on the top left.
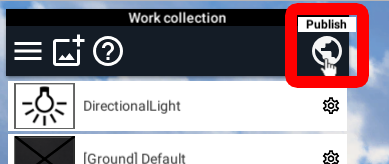
The button to publish your work.
Enter Title and Description, and click the ‘globe’ icon on the bottom right (See below) to publish it.
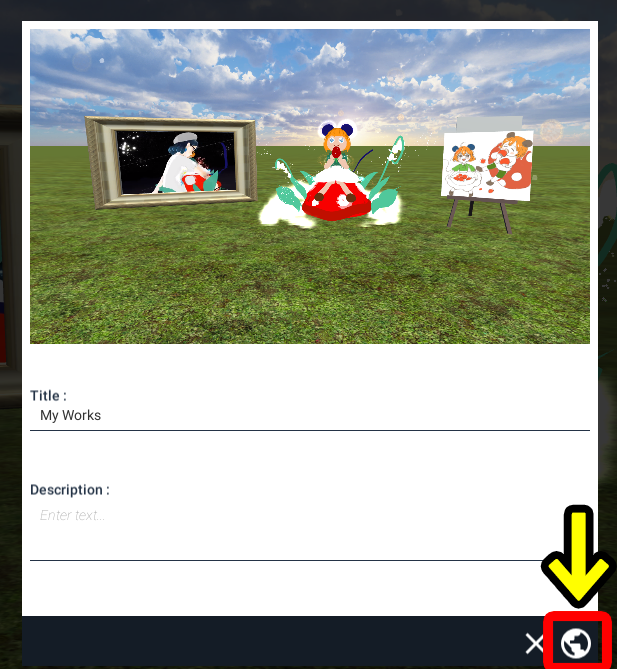
Enter information about your work.
Once you publish it, the corresponding page will be set and displayed. Let’s share it by pressing the SNS icon. People who don’t have VR HMD could also view your work by a web browser so let’s share with a lot of people.
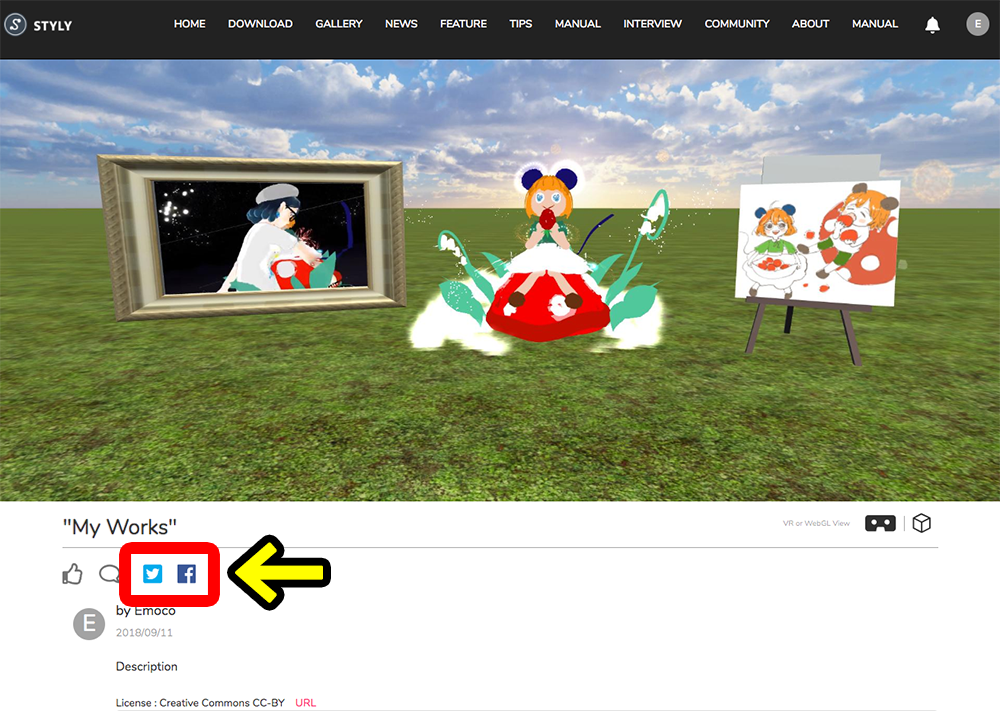
Share your works by SNS.
This time, I introduced how to display a VR illustration by Tilt Brush and other assets, in STYLY. It’s fun to view your work closely in VR, and you can show it to the people all over the world by sharing by SNS. Please display your works in VR space by STLY. It’s your turn!