In this article, I will introduce you to the functions and operations used in creating animations in Blender.
Don’t worry, it is designed for people who have never done animation before.
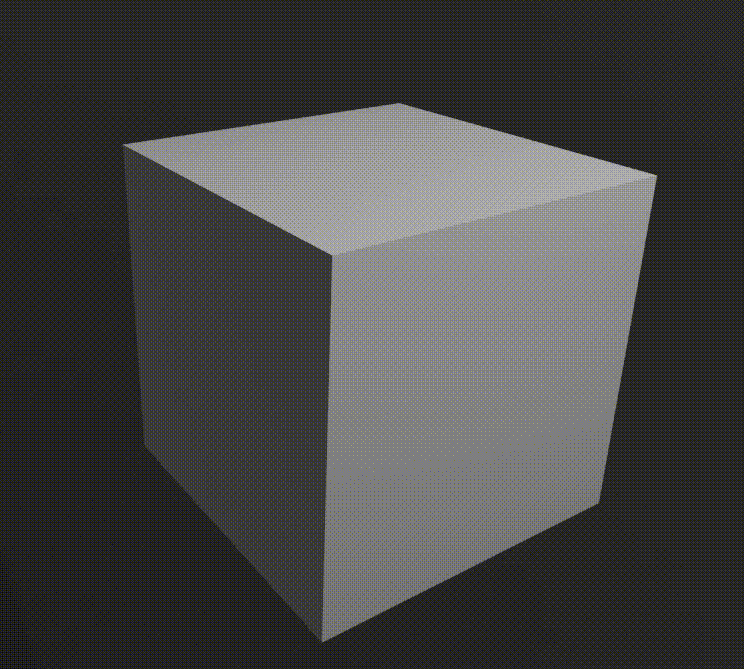
Finished Image
For more information on how to create animations using Unity, please refer to this article.
![[Introduction to Unity] Learn Animation System](https://styly.cc/wp-content/uploads/2019/06/回転-160x160.gif)
What is Frame Rate?
When creating an animation, it is important to understand the frame rate.
In CG software such as Blender and other video editing software, the frame rate is used to set the speed of the animation.
This is the number of consecutive still images displayed per second. The higher the frame rate, the more still images are displayed per second, and the smoother the motion appears.
The higher the number, the more still images are displayed per second, and the smoother the motion. It can be said that the mechanism is similar to that of a parapara manga, where the paper is continuously flipped momentarily and the pictures move.
The unit of frame rate is fps (frame per second), with 24 fps (23.98 fps) being the frame rate used in movies and 60 fps being the frame rate used in BS broadcasting in Japan.
Here is an easy to understand comparison of a movie with a rotating cube at 10fps and 60fps.
100 frames output at 10fps

Outputting 100 frames at 60 fps

Comparison image of 100 frames
The 10fps version is more choppy.
The number of frames displayed per second is different, but the number of frames in this comparison is the same, so it will be slower.
Note that if the number of frames increases at a larger fps, the data will also become larger.
Let’s try to create an animation.
Let’s try to make a simple animation using cubes.
Start Blender, and click “Animation” in the top tab.
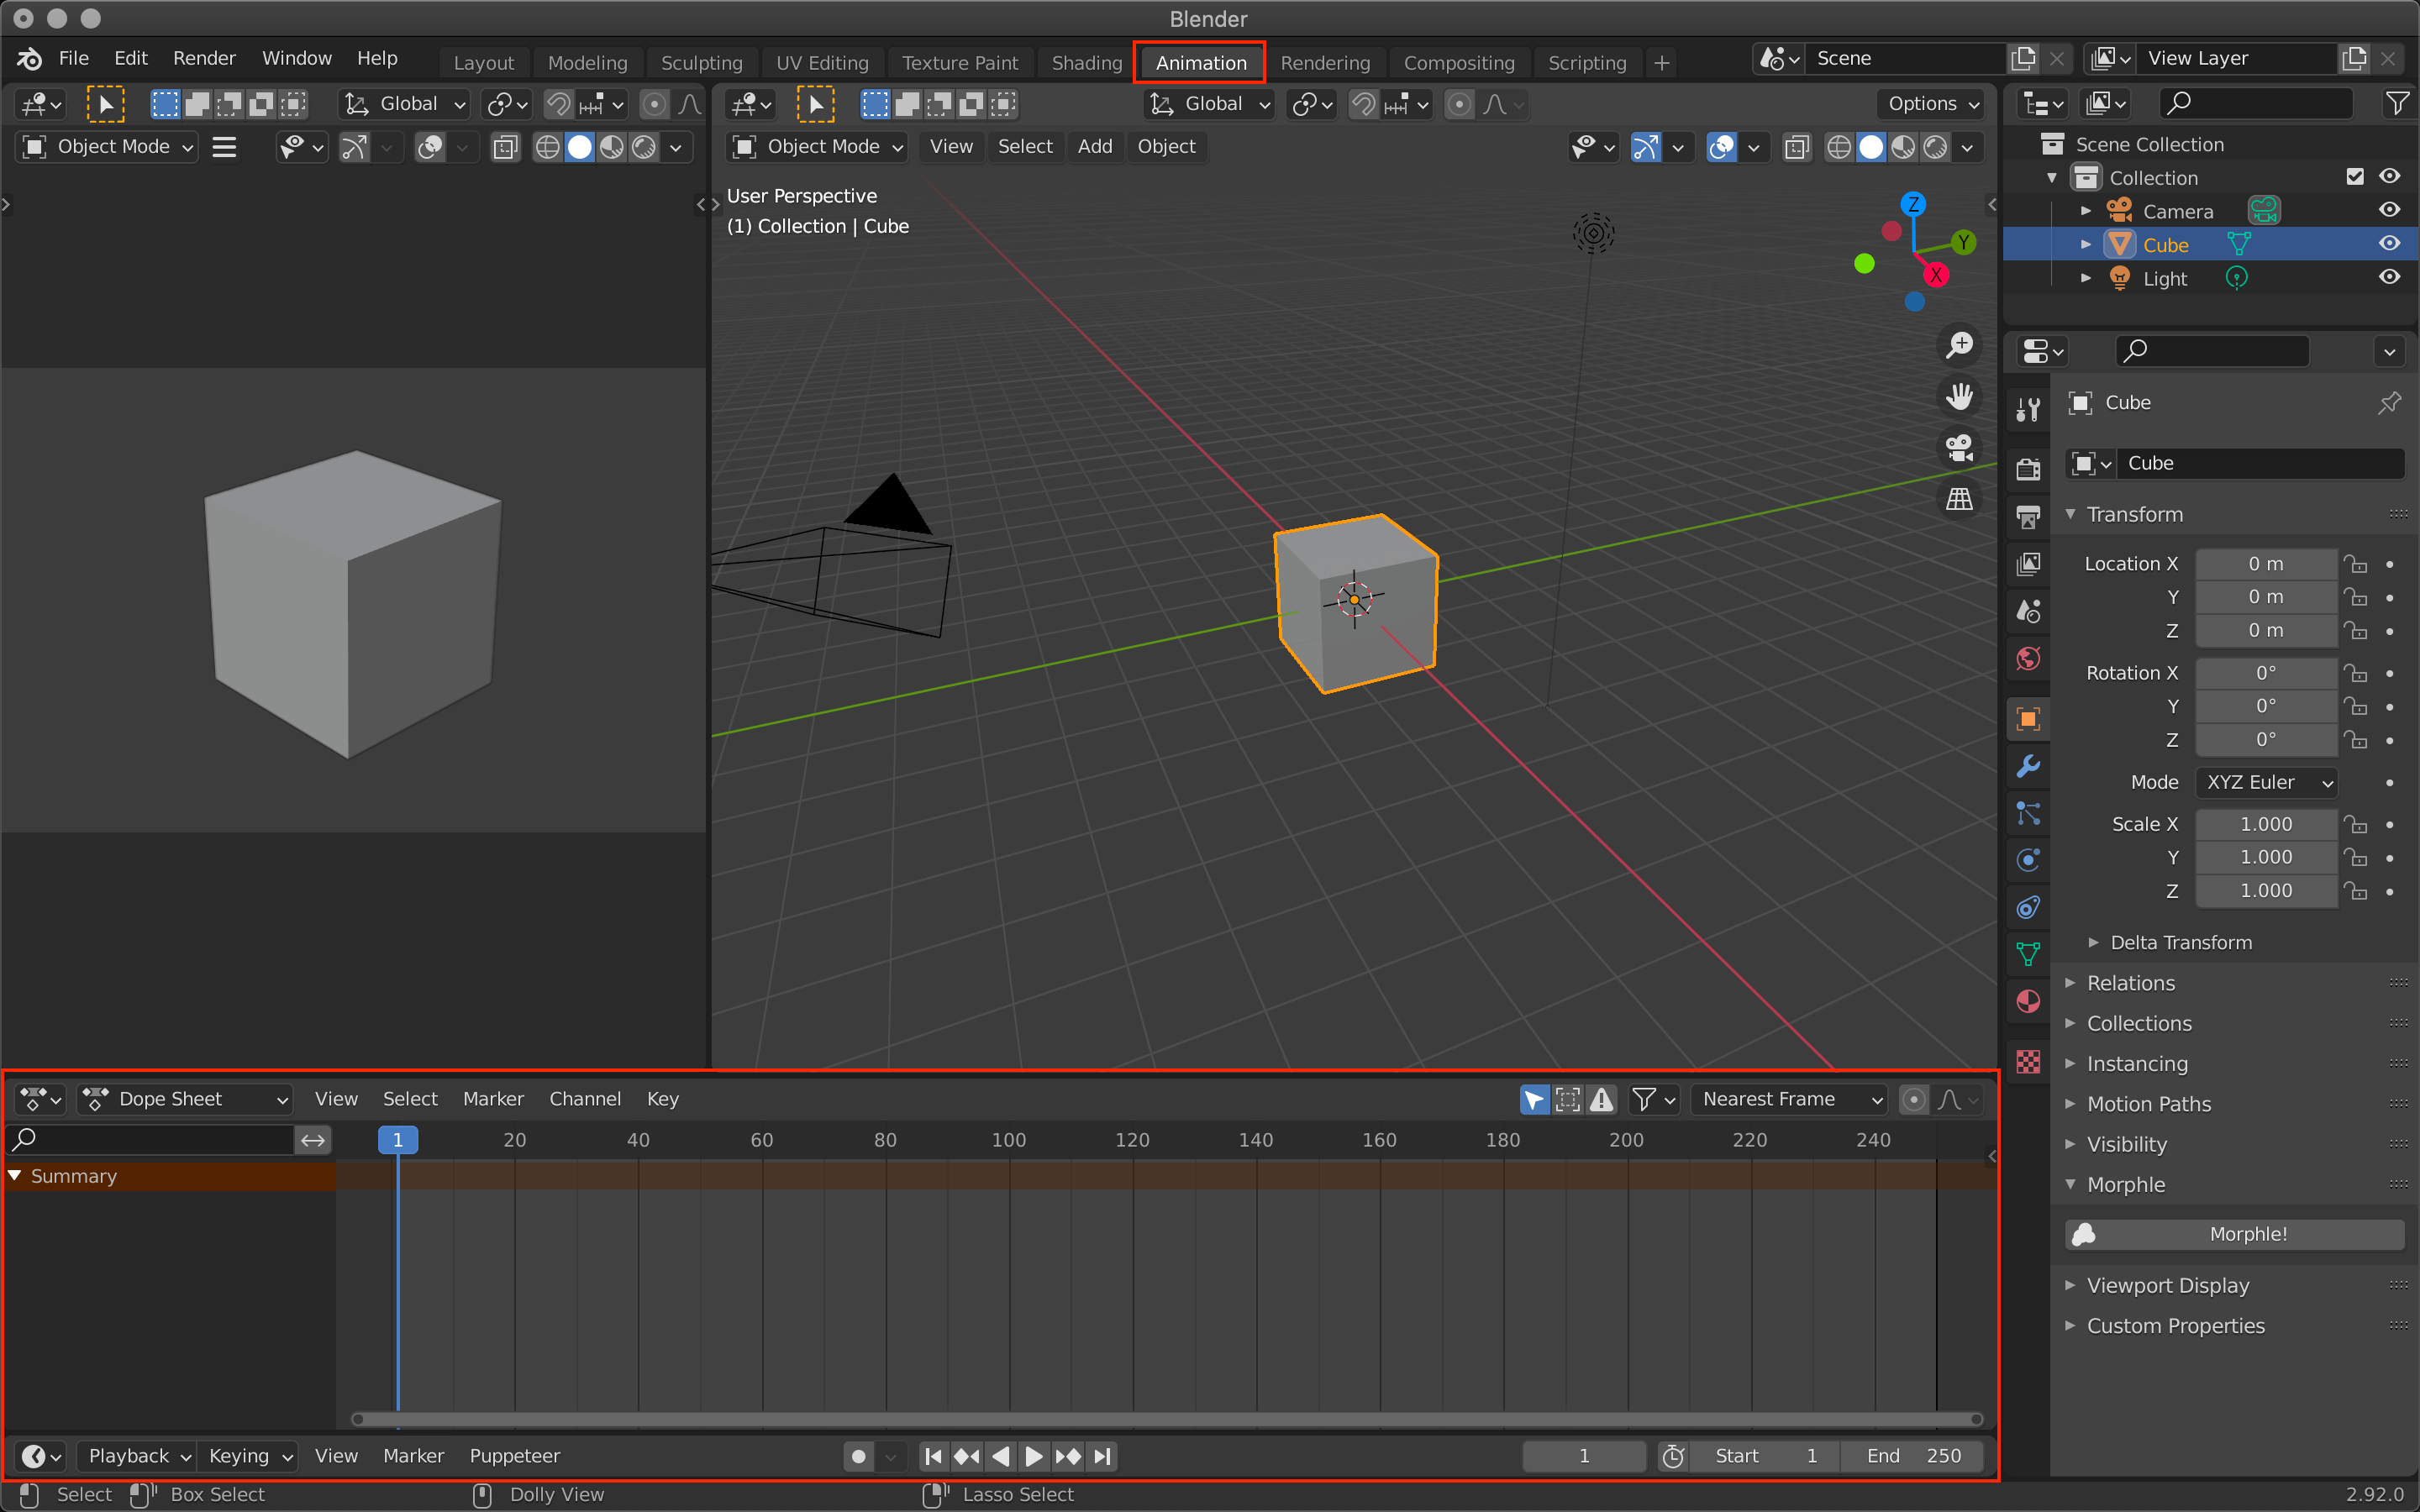
Animation
What is Keyframe?
Keyframe is a function to register the current state of the object to the frame.
You can add keyframes based on various factors such as the size, position, and material of the object.
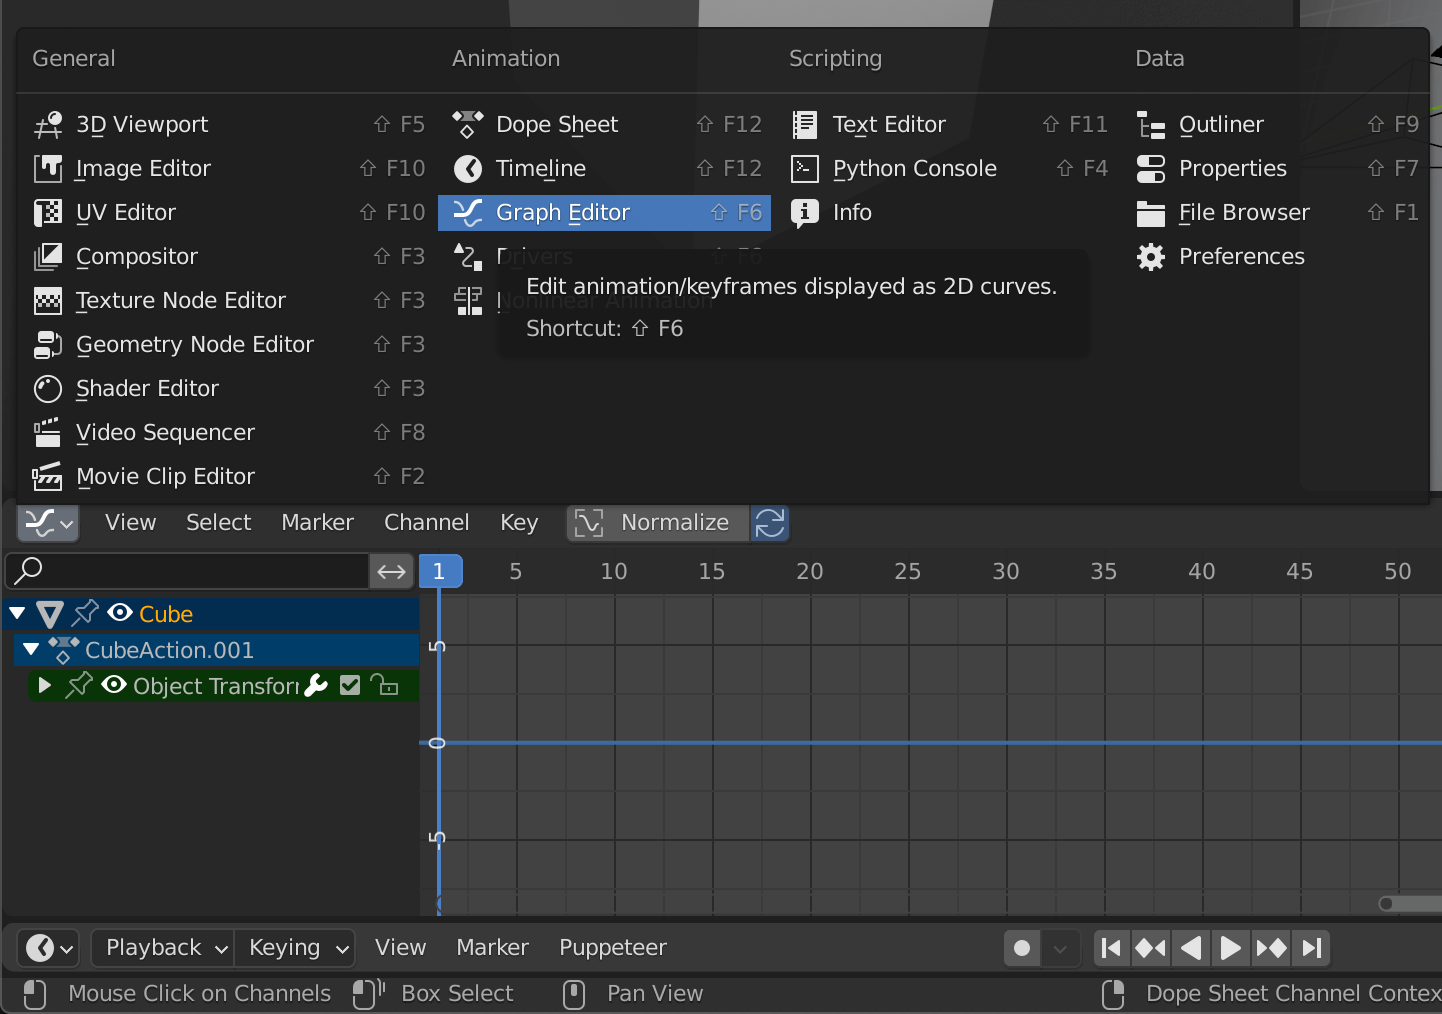
Let’s take a look at a tool called the Dope Sheet.
There are two chunks of yellow circles at the 0 and 100 positions.

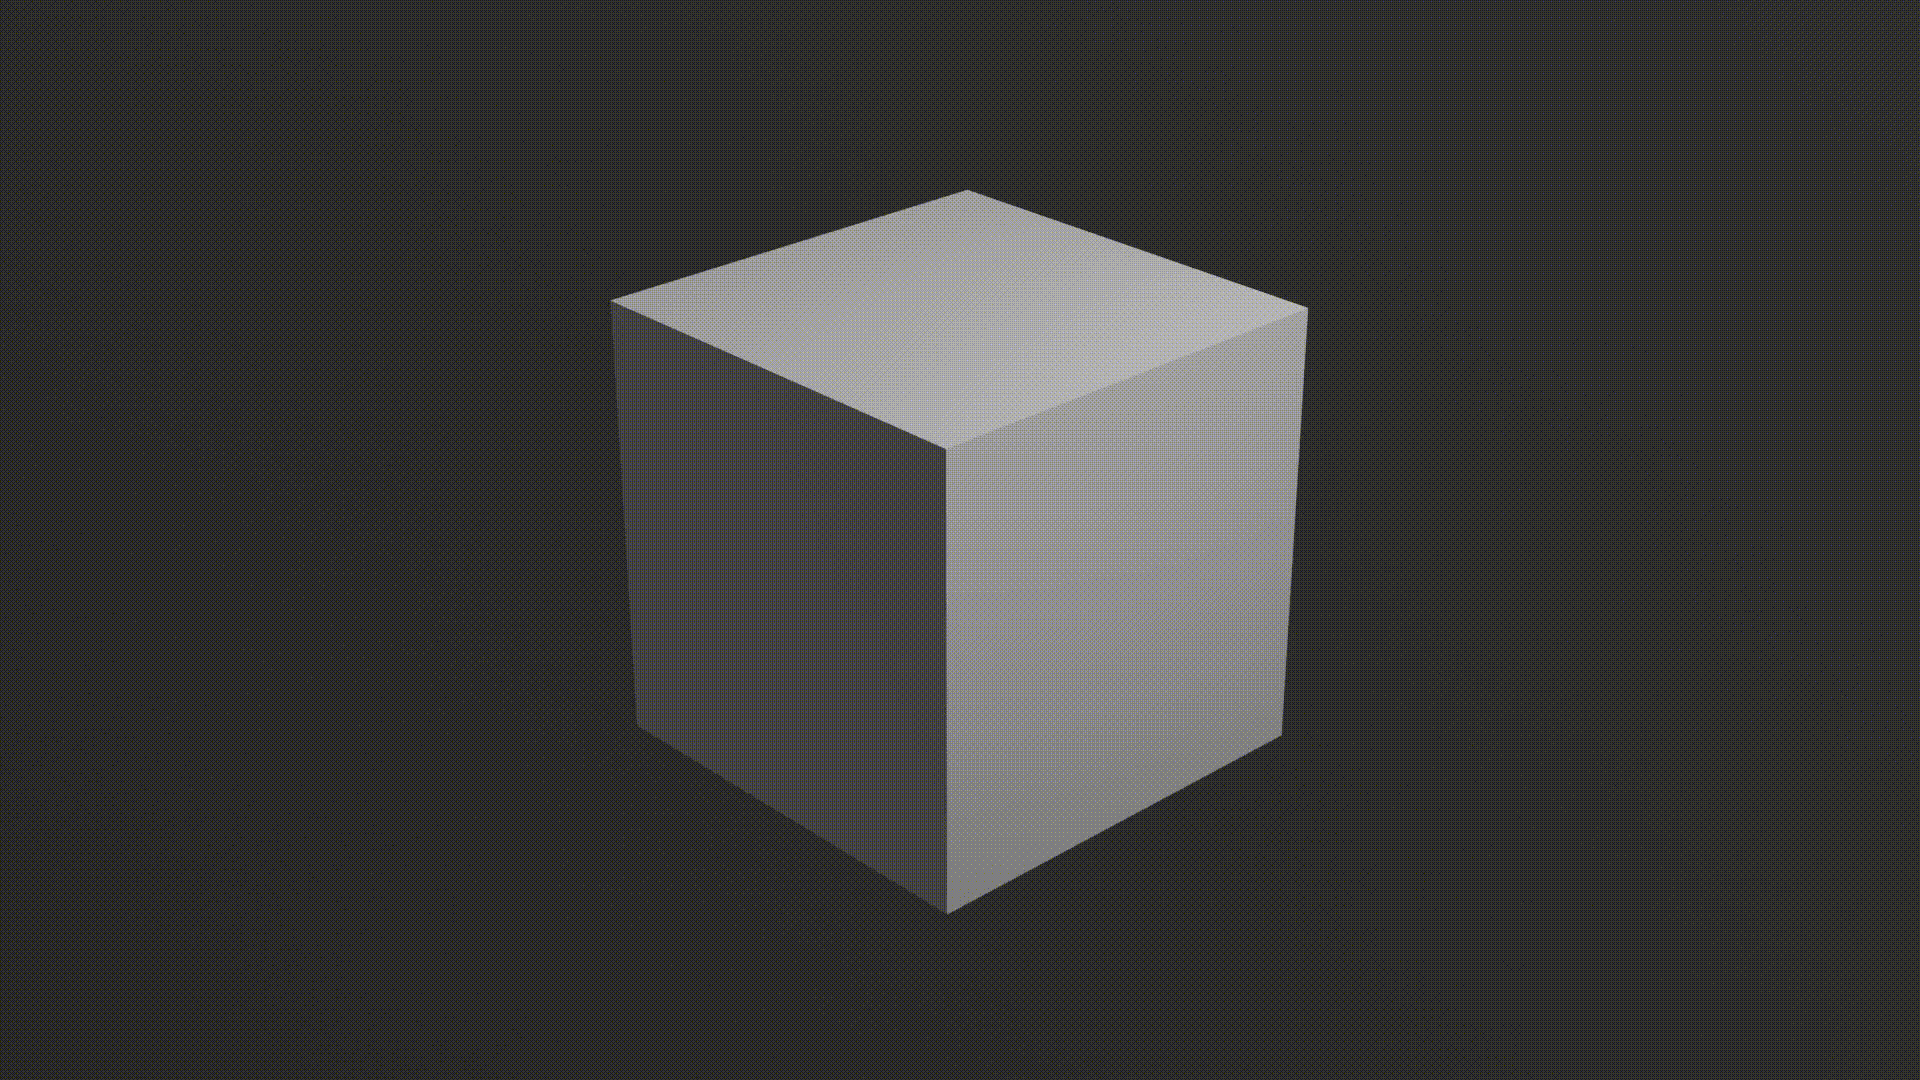
Animation of the cube rotating
This animation is
- Frame 1…Z axis 0 degrees (at the start / nothing is happening)
- The 100th frame… 360 degrees on the Z axis (at the end of the animation, the cube has rotated one degree)
The 100th frame is made up of two keyframes.
The yellow circle indicates the keyframe that was added.
Adding a keyframe
First, click on the cube and make sure that the seek bar (the blue line representing the playback frame) on the dope sheet is set to 1.
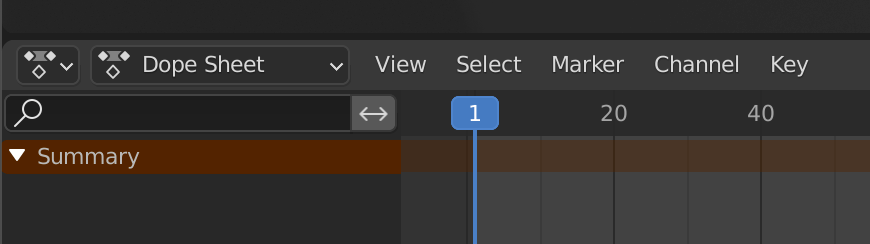
Seek Bar
Then, from the Object Properties on the right, add a keyframe with a Rotate Z value of 0.
Simply click on the dot to the right of the value.
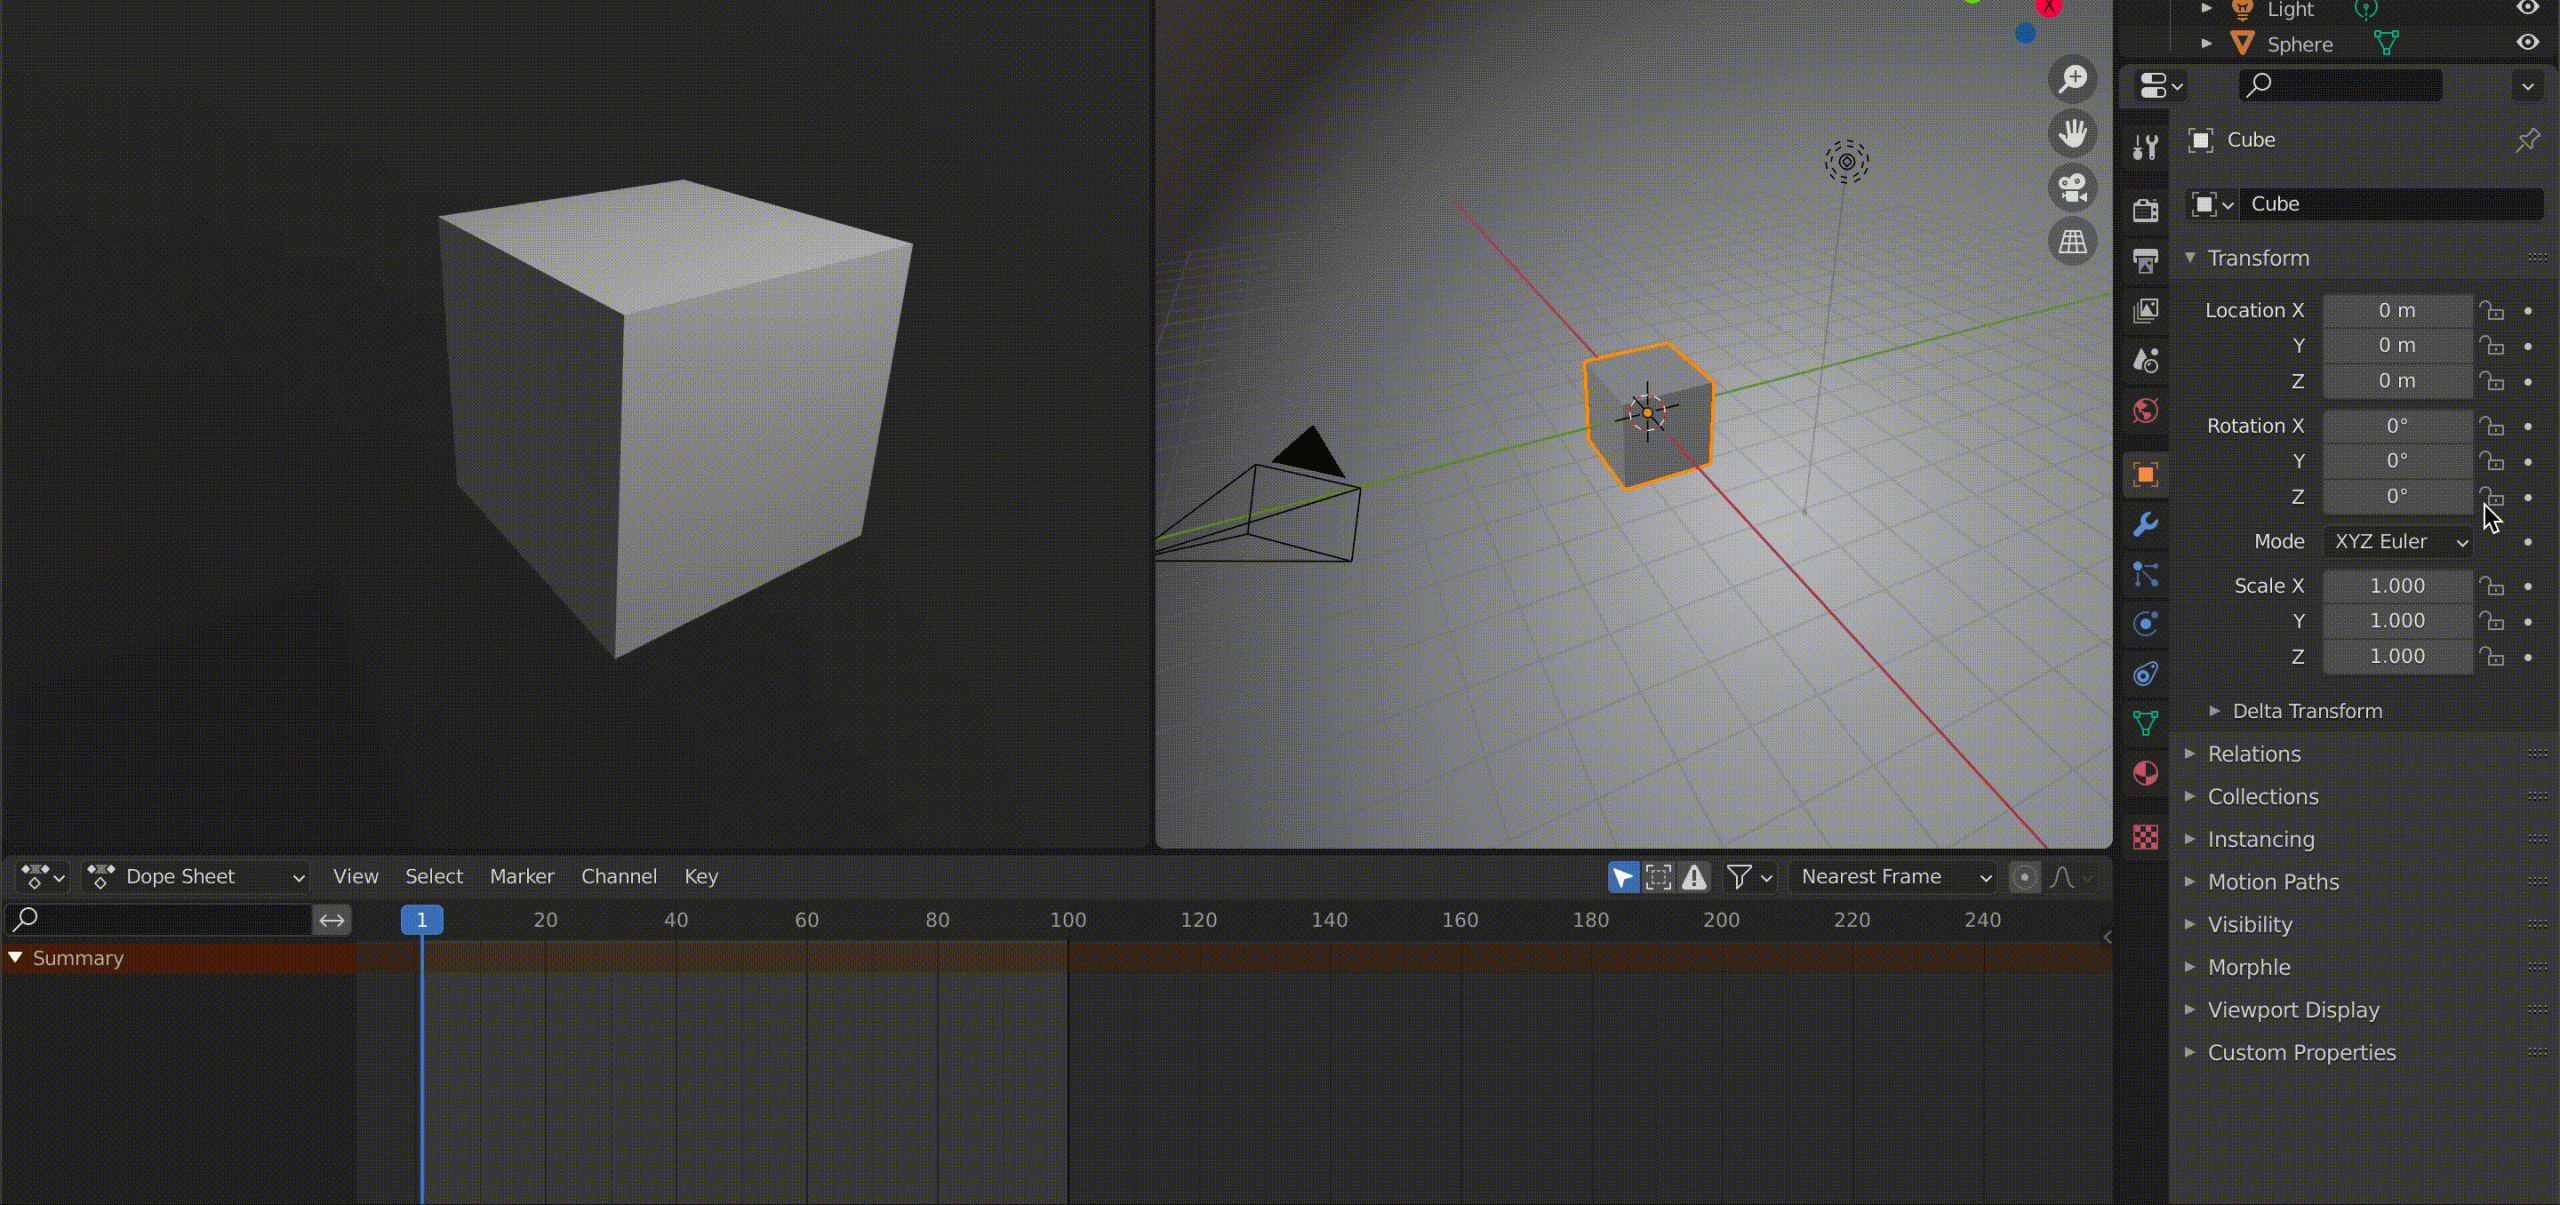
Adding a keyframe
When the registration is complete, the dot will turn into a diamond mark, and the line at the bottom of the screen, called the dope sheet, will also have a yellow circle.
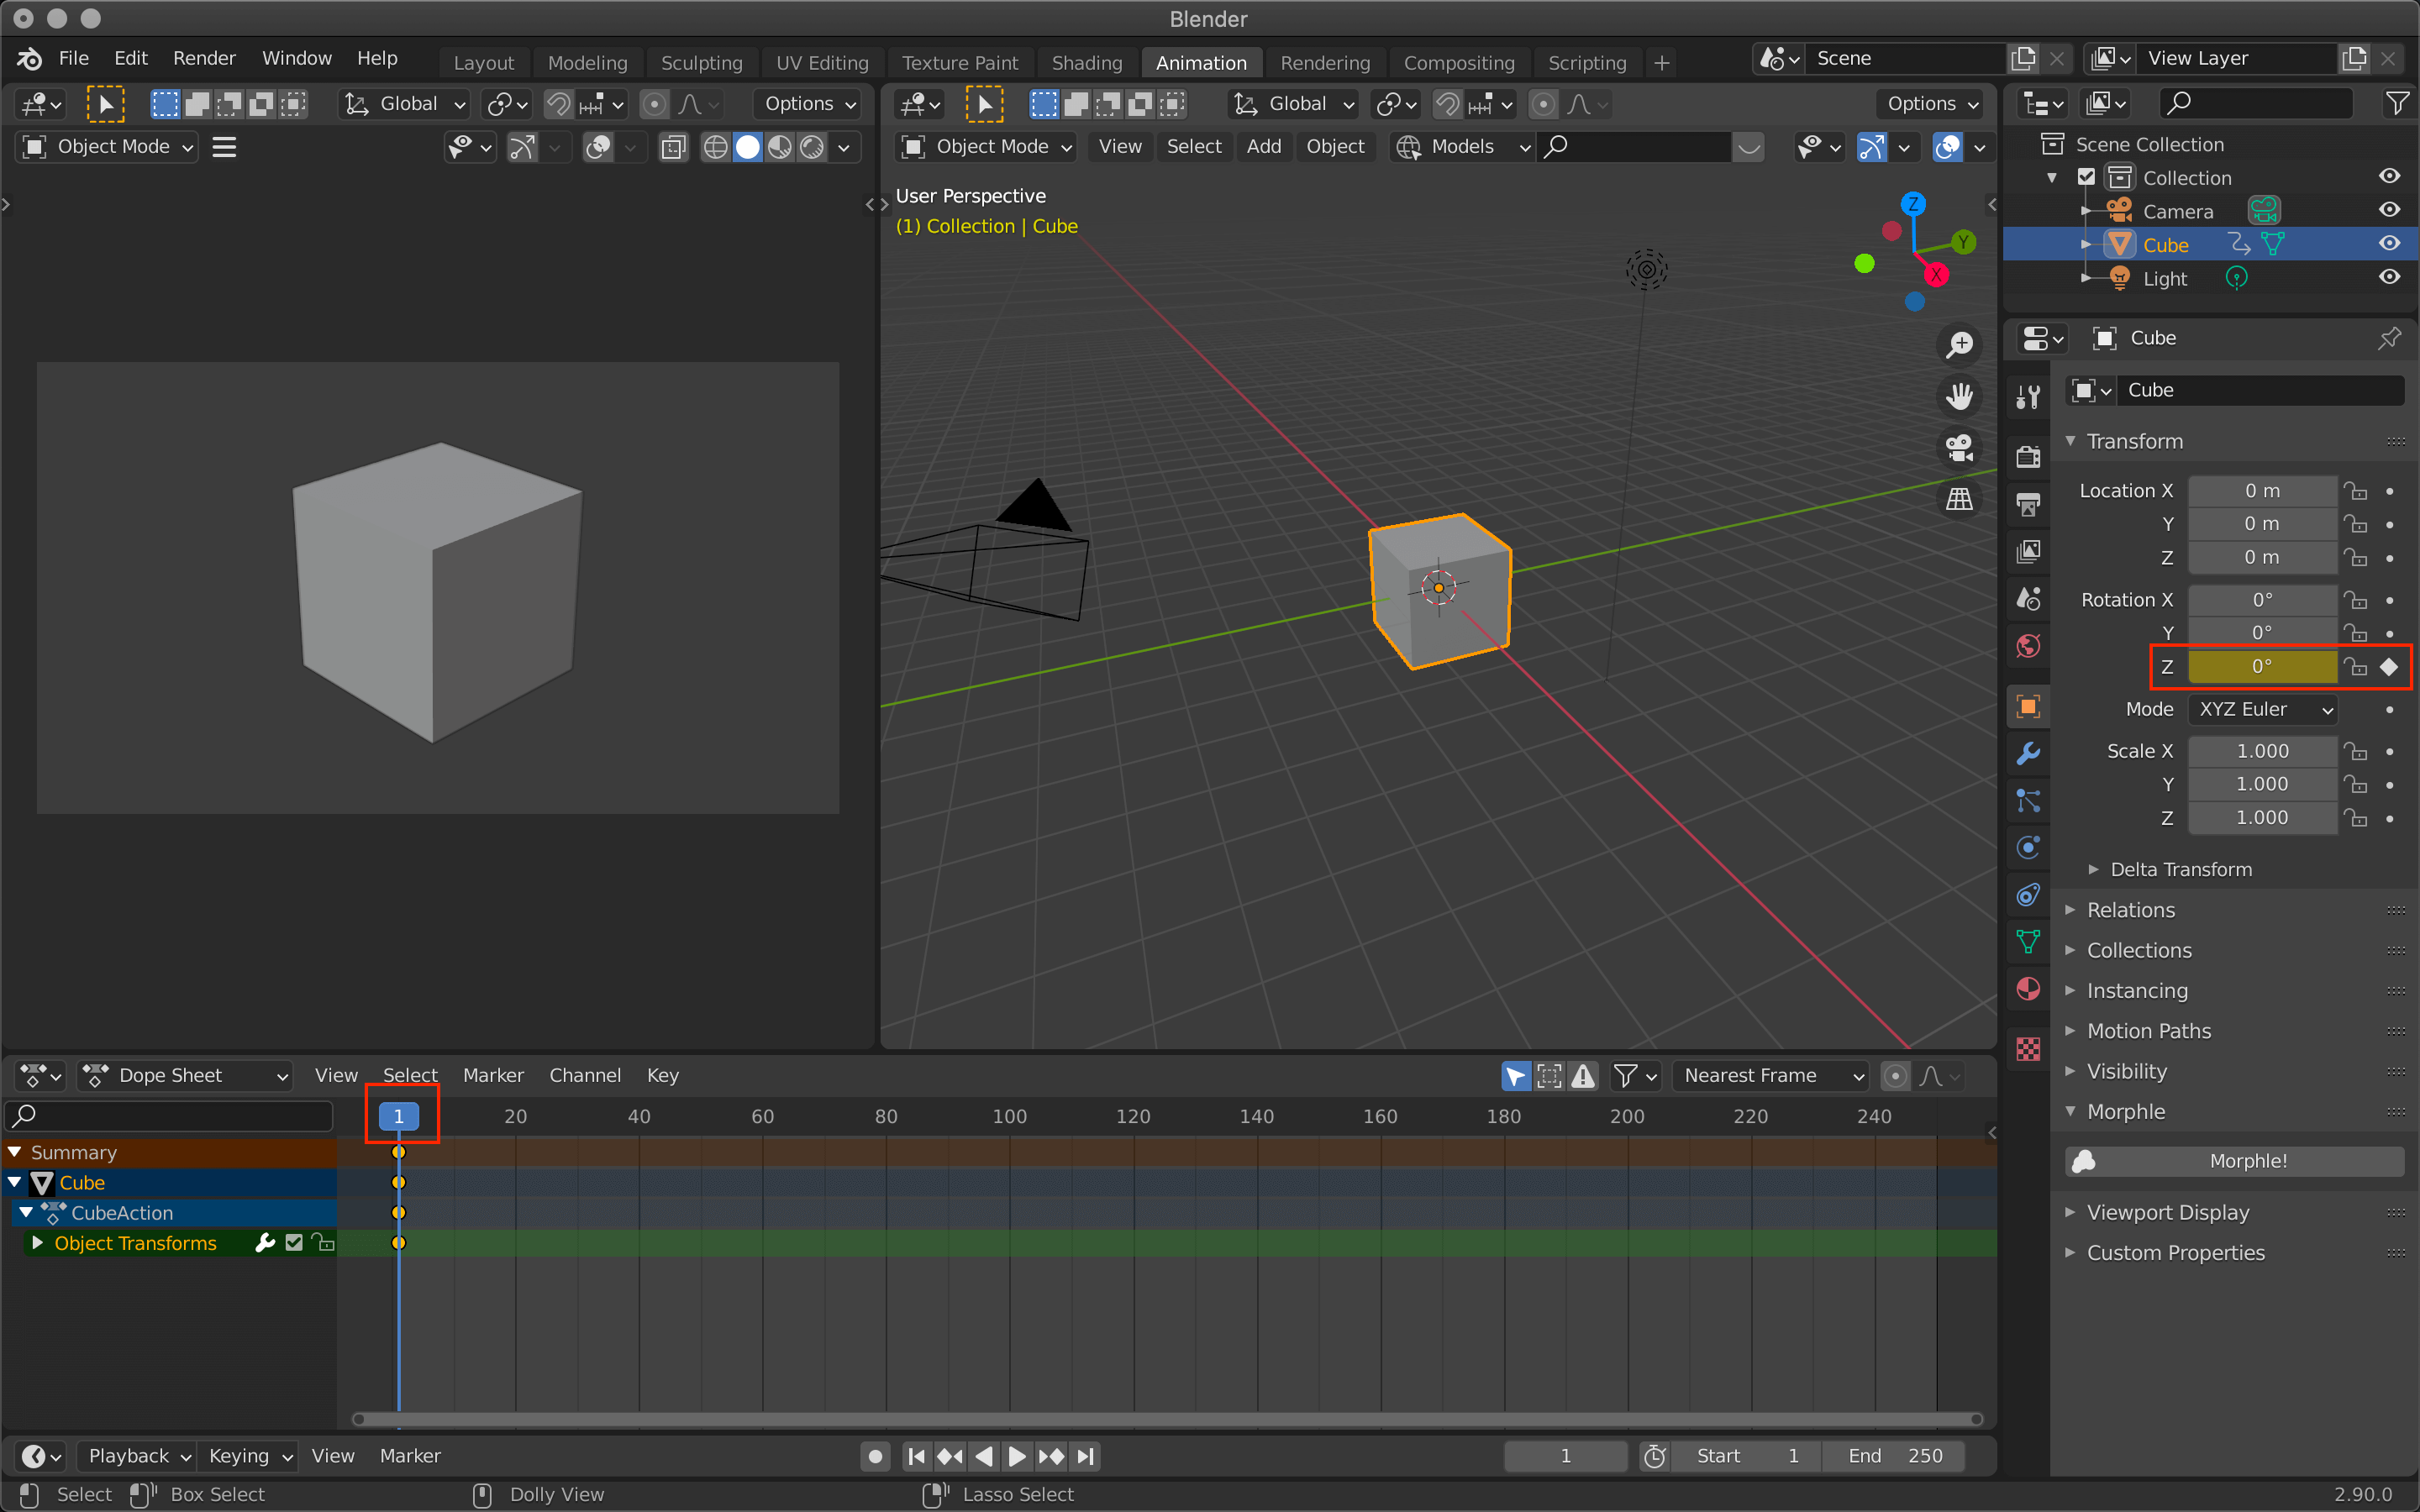
Registering a keyframe
Next, we will add a keyframe for the cube after it has made one 360 degree rotation.
Let’s move the seek bar to the 100th frame.
Enter 360 (degrees) in the same field where we just added a keyframe, and click on the diamond symbol to add a keyframe.
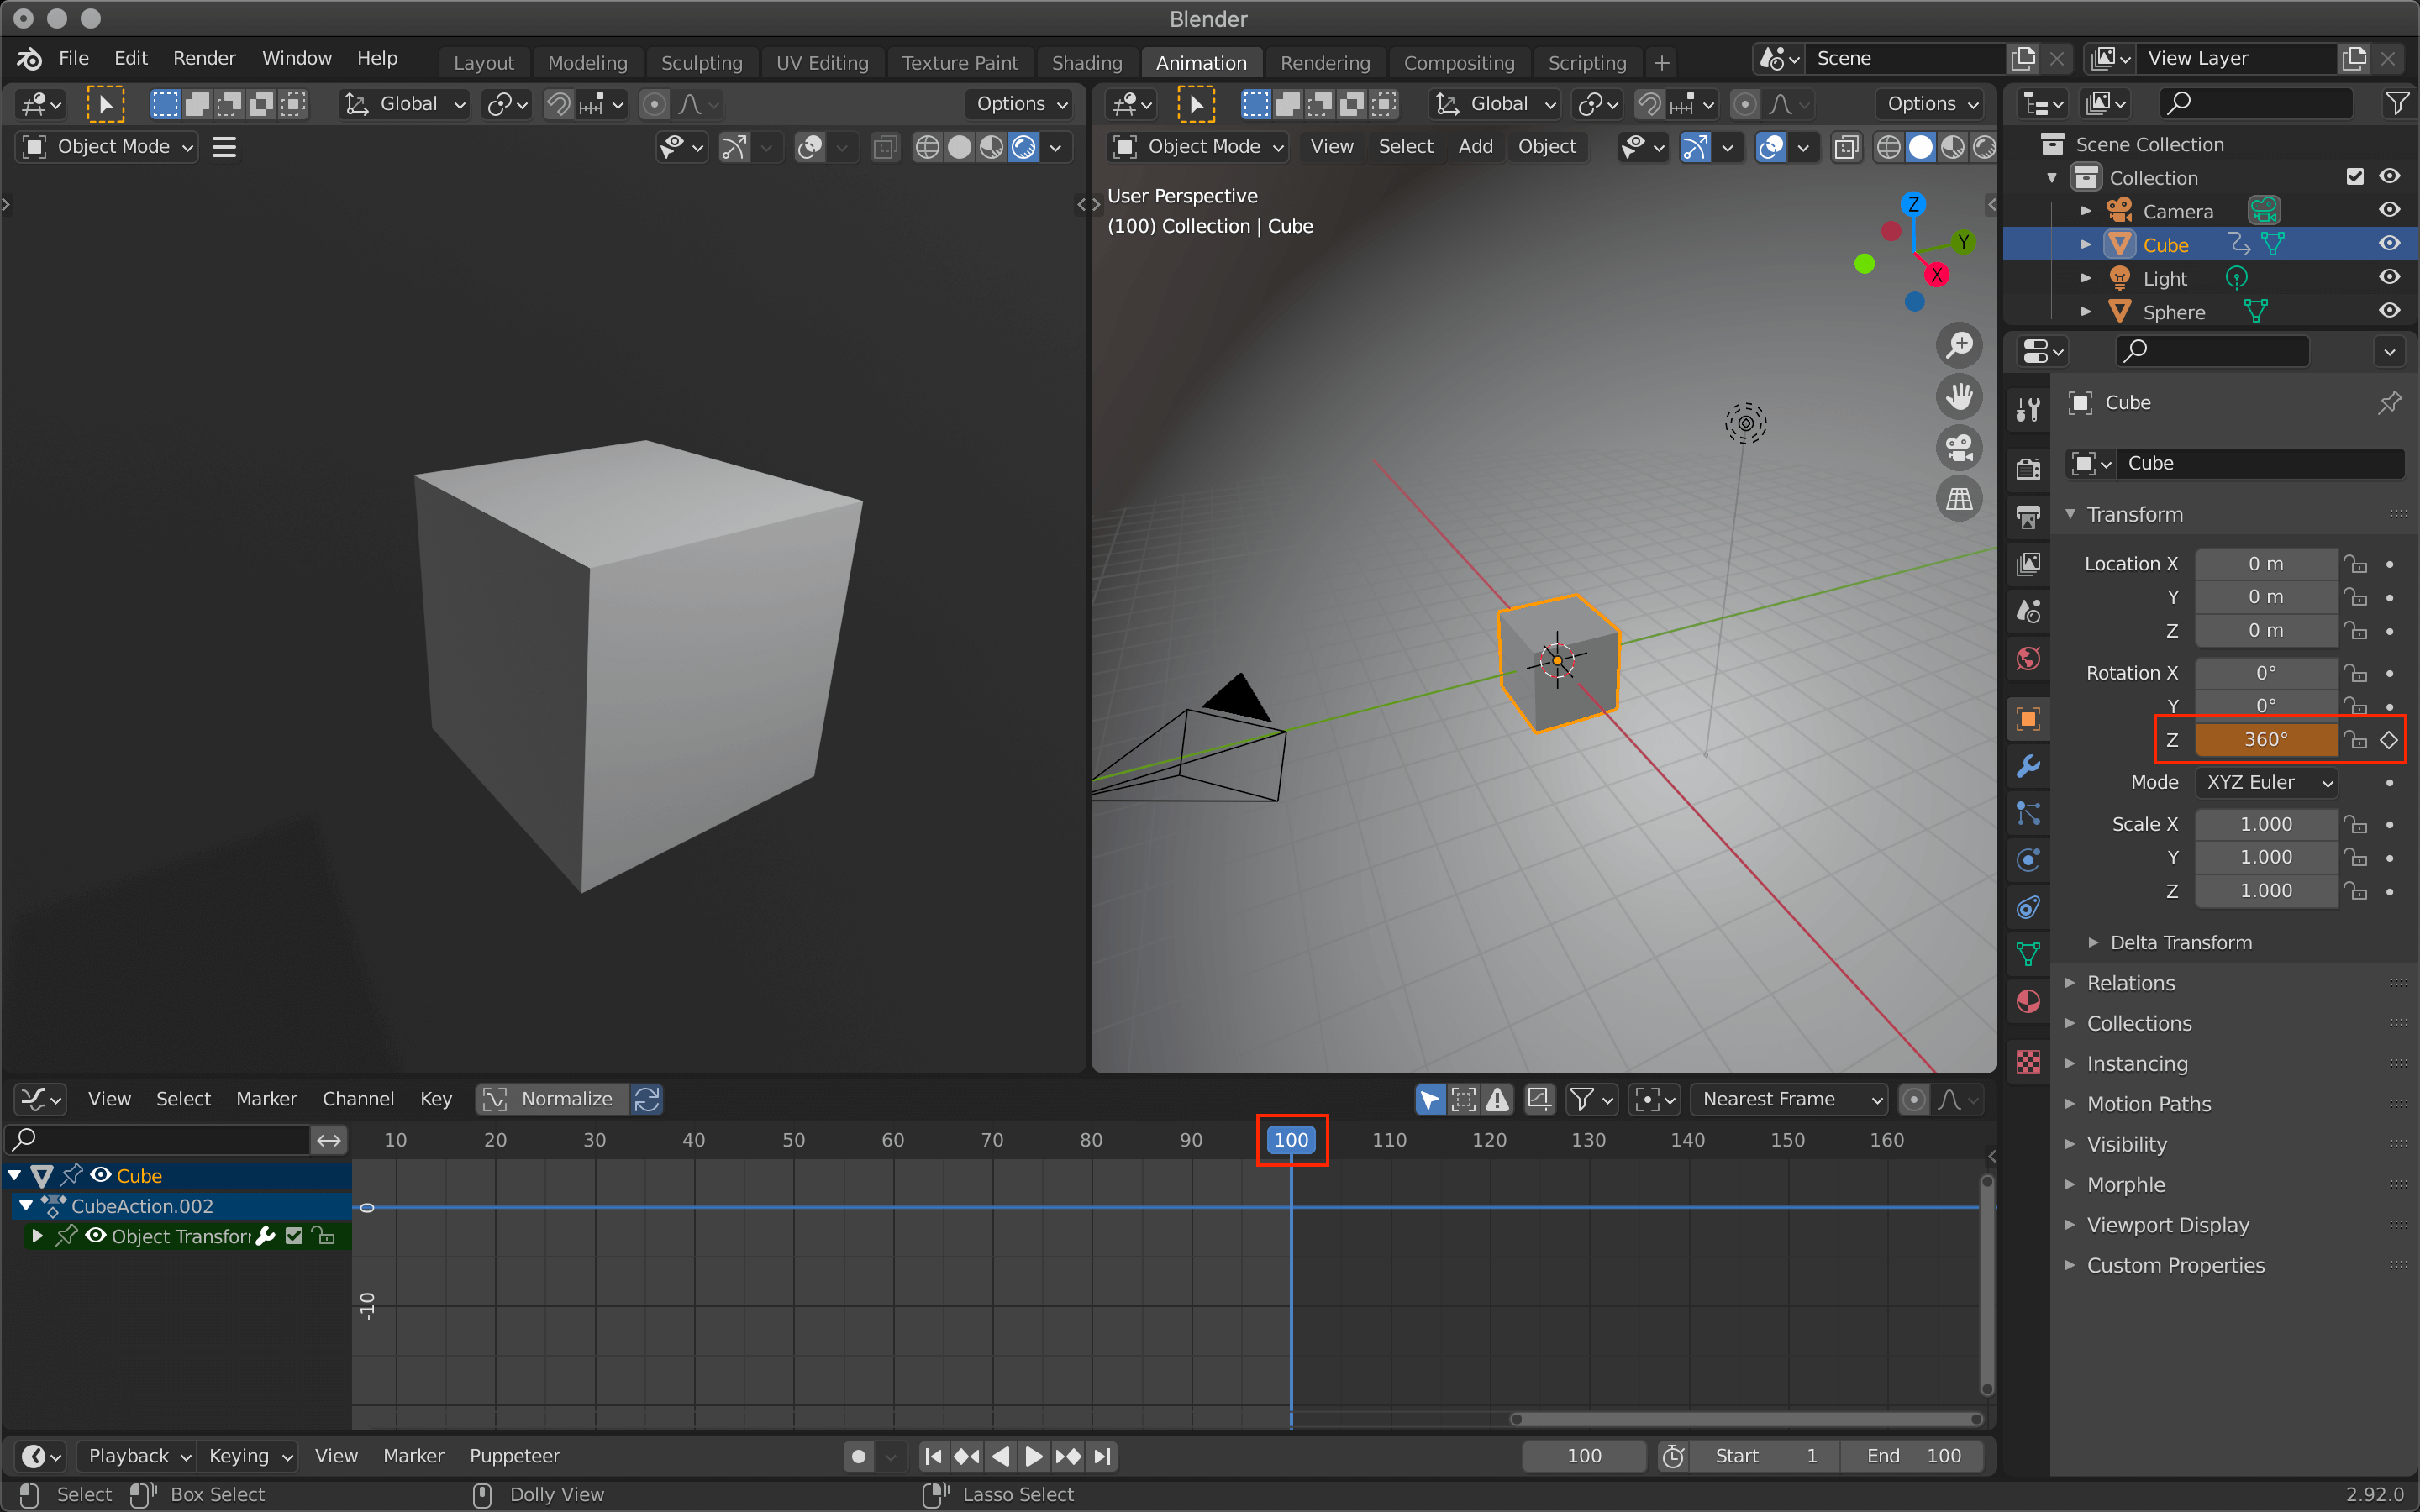
Move the seek bar to 100 → enter 360 in Z → click on ◇.
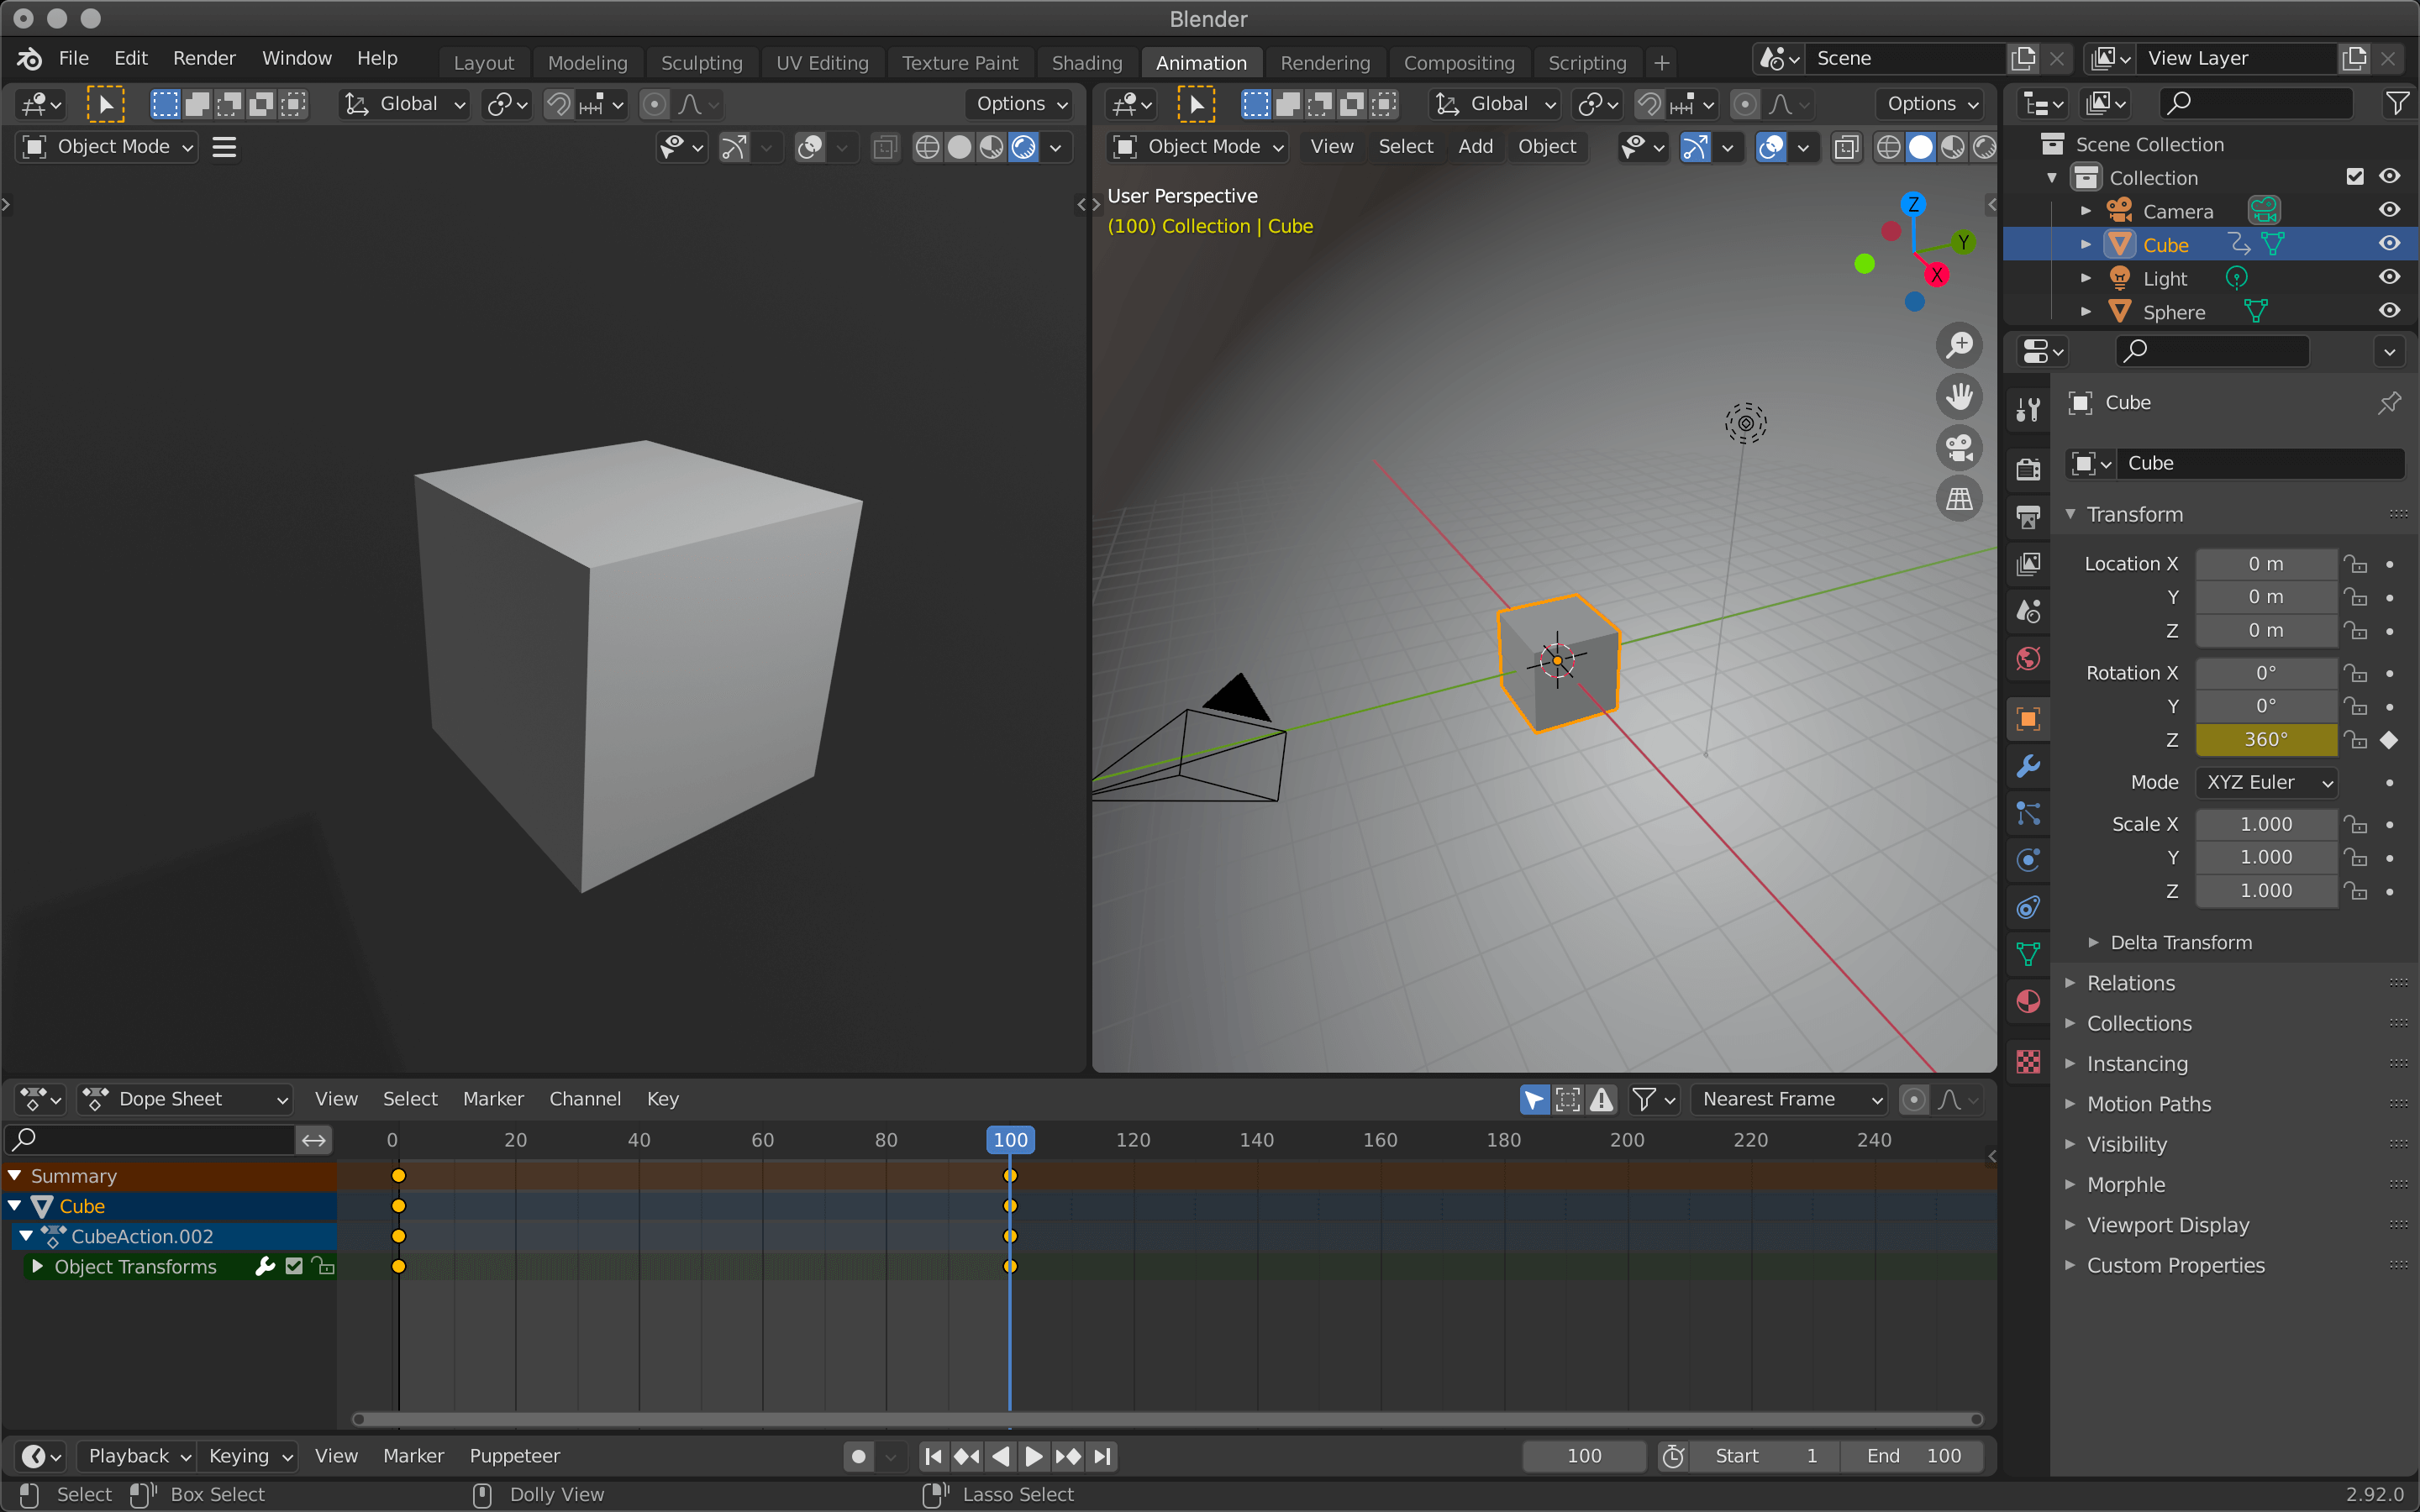
Keyframes are now added to the first and 100th frames respectively.
There is no need to add a new keyframe in the middle of rotation because the movement between keyframes will be automatically complemented.
Click the play button at the bottom of the screen to rotate the cube.
If you want to change the rotation speed, add a second keyframe to a different frame.
If you add it before the 100th frame, the rotation will be faster, and if you add it after the 100th frame, the rotation will be slower.
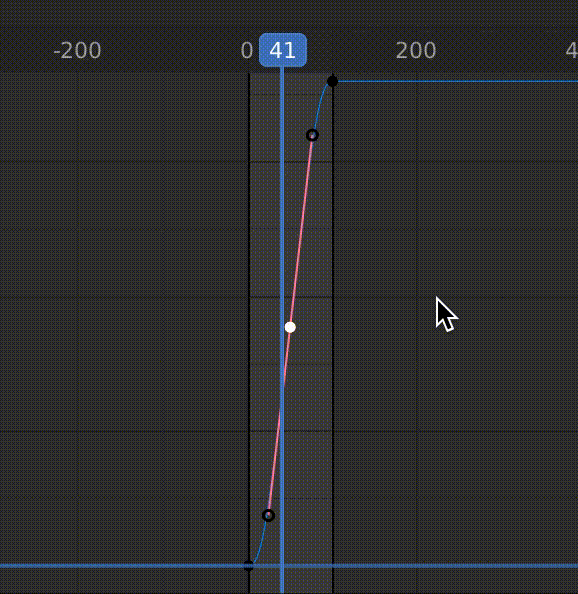
Editing the Graph Editor
If you want to change the speed of the animation in the middle, use the Graph Editor.
Click on the icon in the upper left corner of the window -> Graph Editor

You will see a yellow circle and a curve.
Zoom out to see something like this.

Graph Editor
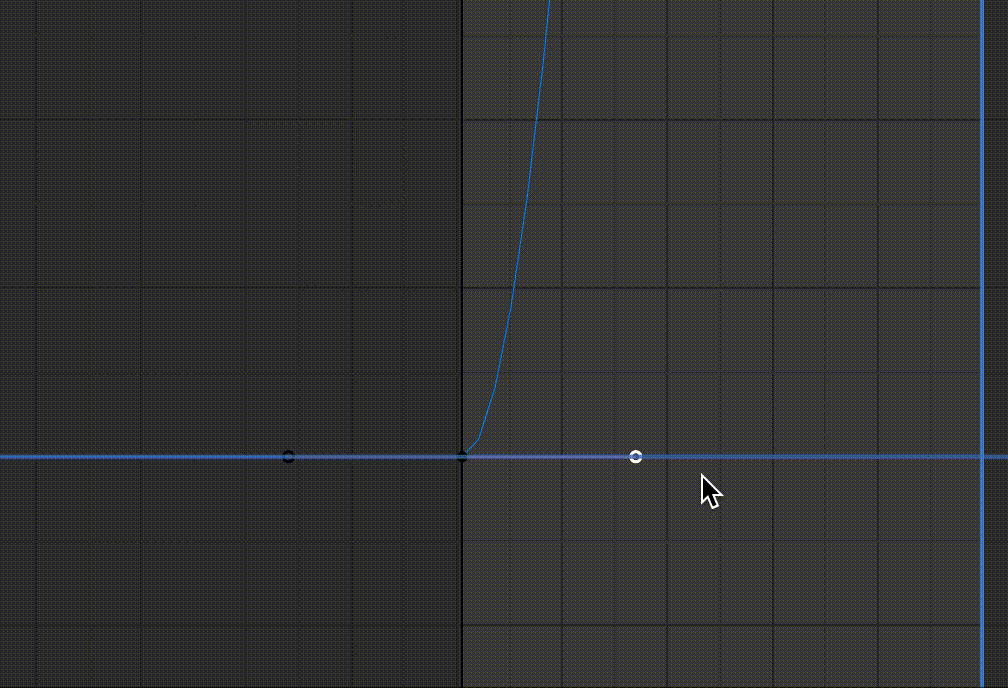
The vertical axis of this graph is the number of rotations and the horizontal axis is the value of the number of frames.
If you click on the first frame and the 100th frame where the keyframe was registered and look closely, you can see two black circles on both ends.
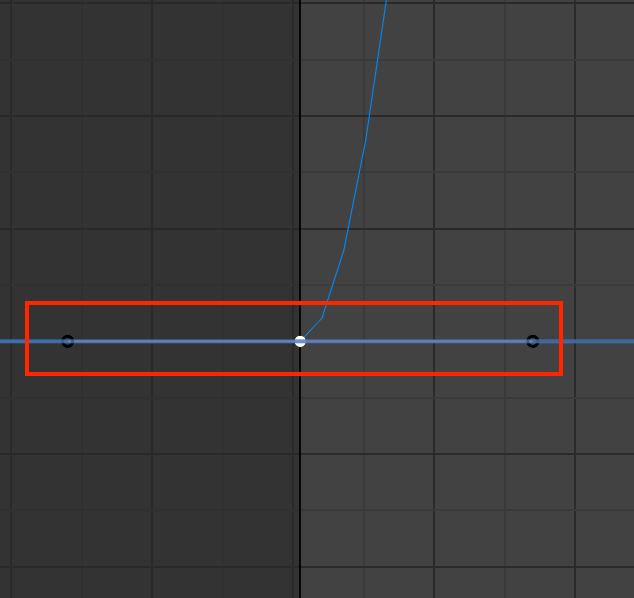
Enlarge the first frame
Click and drag one of the black circles to reveal a red line called a handle.
By extending or changing the angle of these handles, you can change the angle and the area of influence of the graph.
You can move it with G and rotate it with R.
Handles
In addition to editing them manually, you can also select them from the menu.
This is a list of handle types.
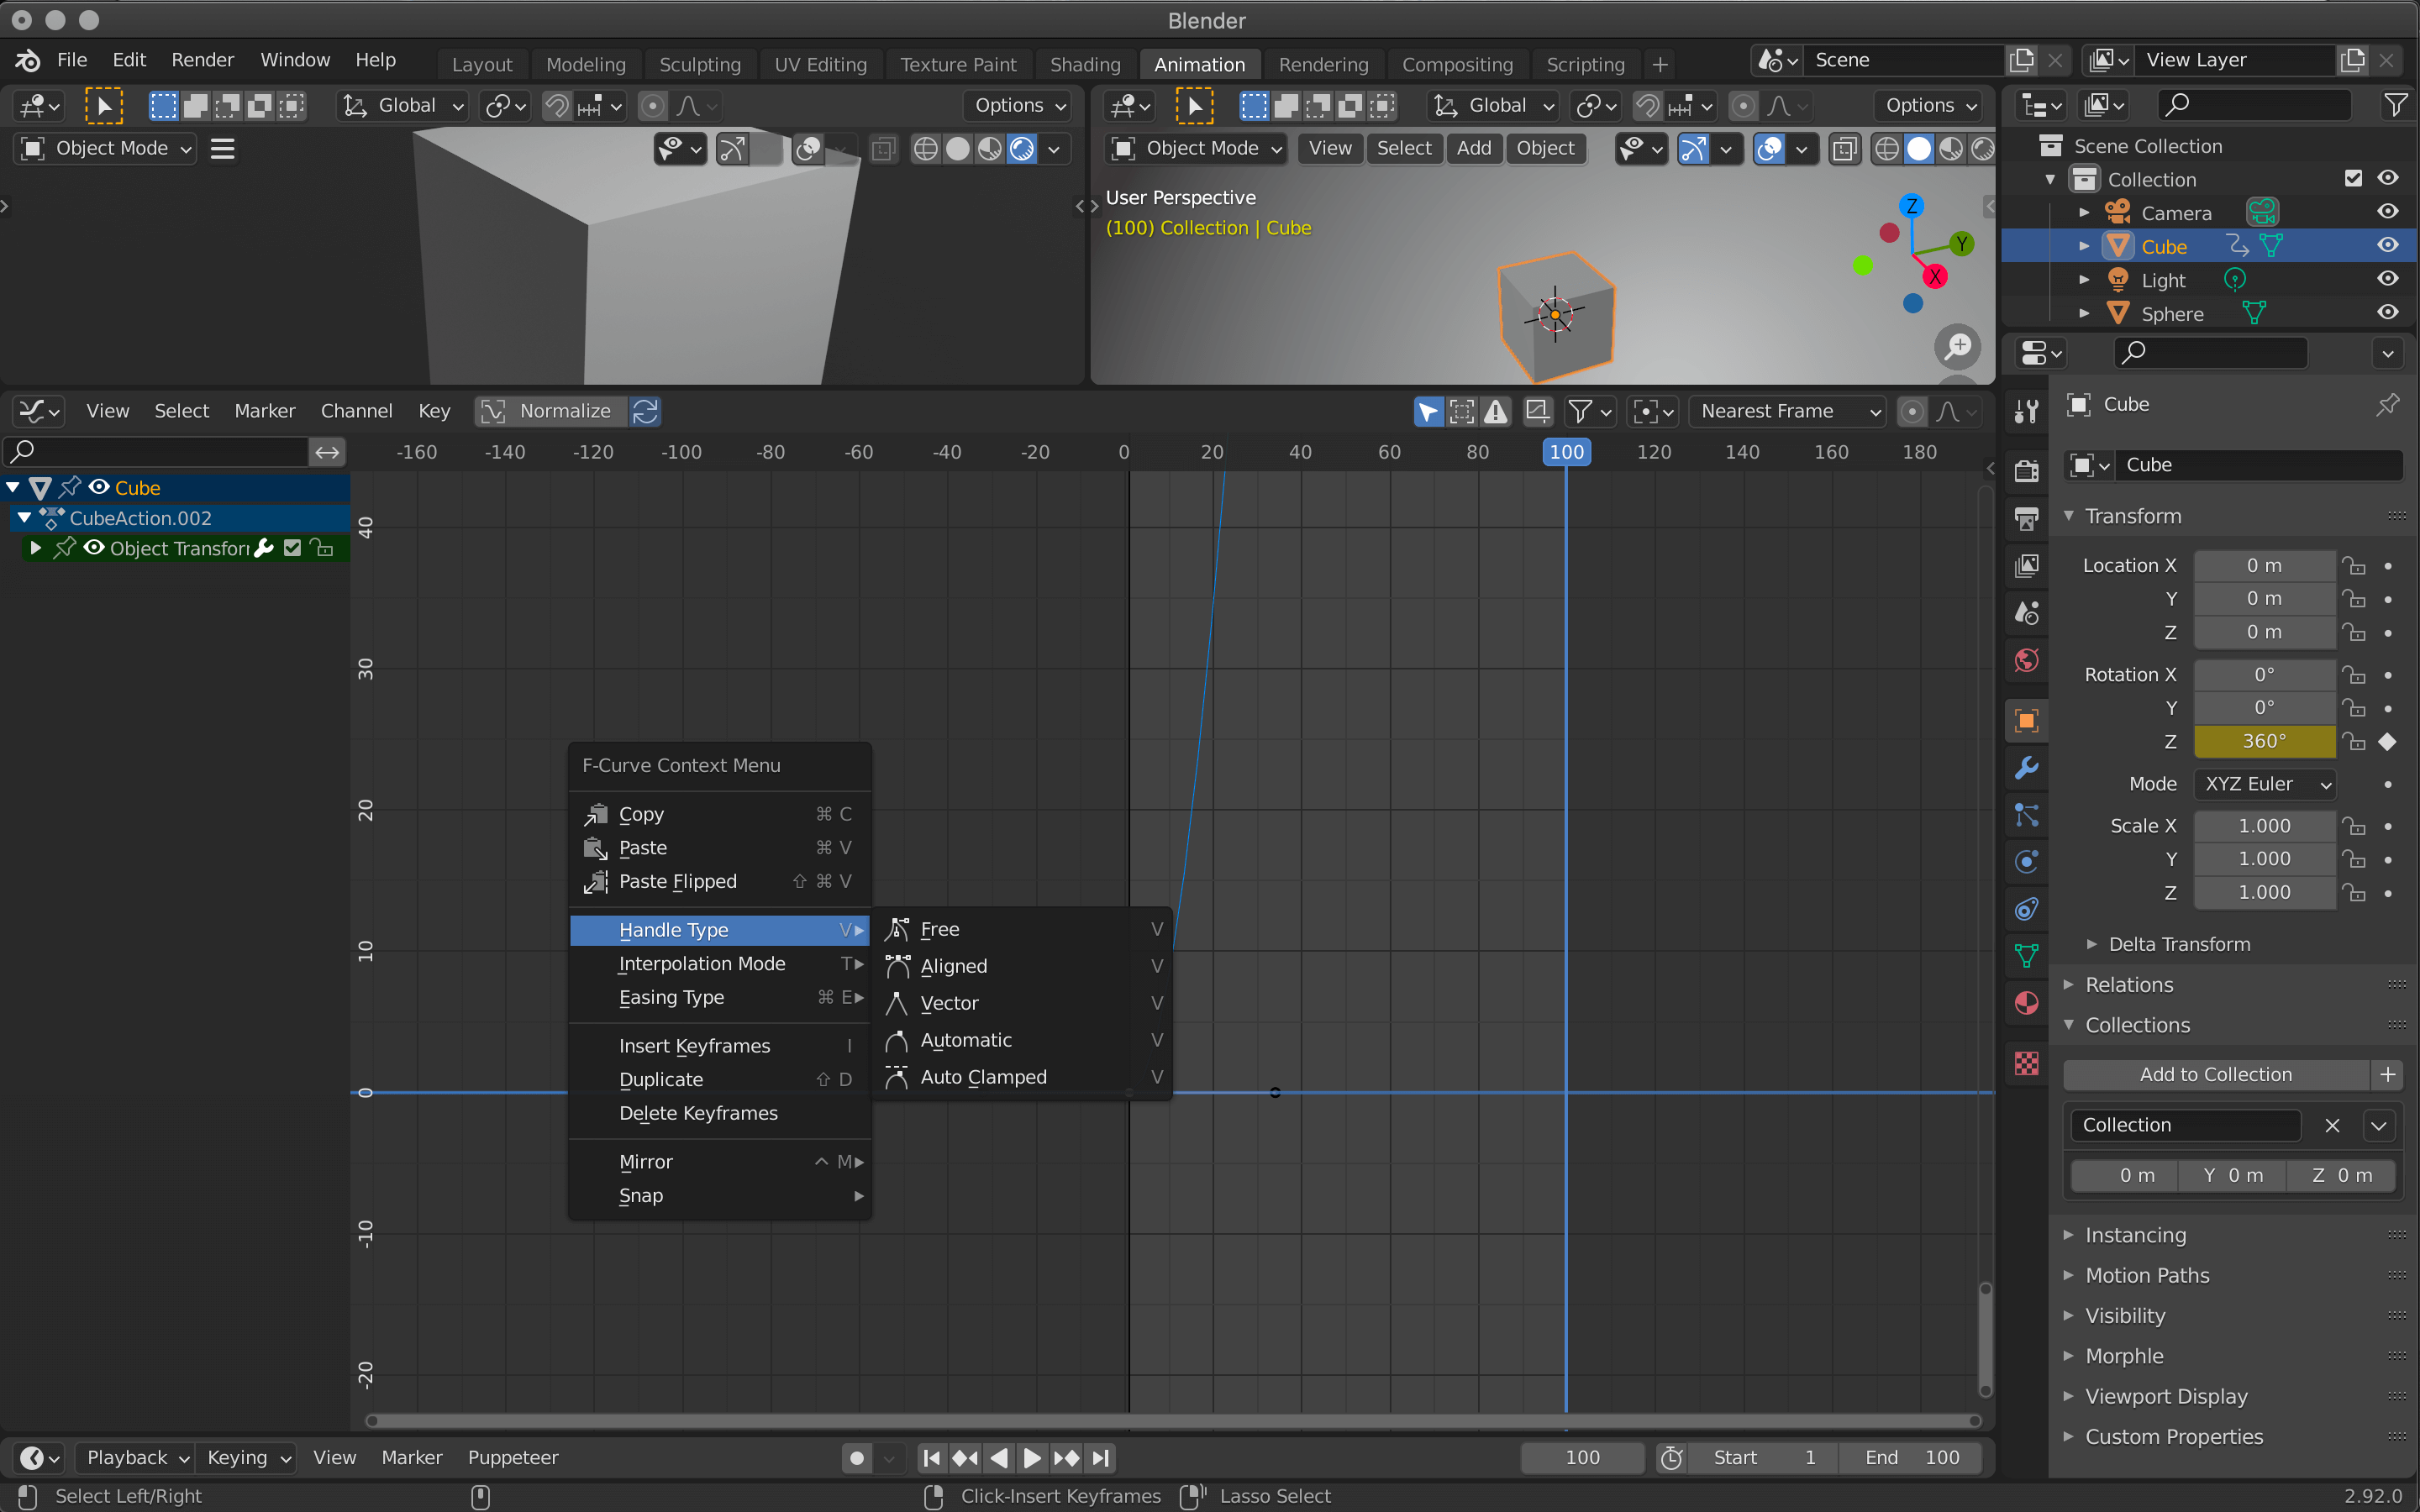
Right-click→Handle Type
You can change the shape of the curve itself by selecting one of the Interpolation Modes under Handle Type.
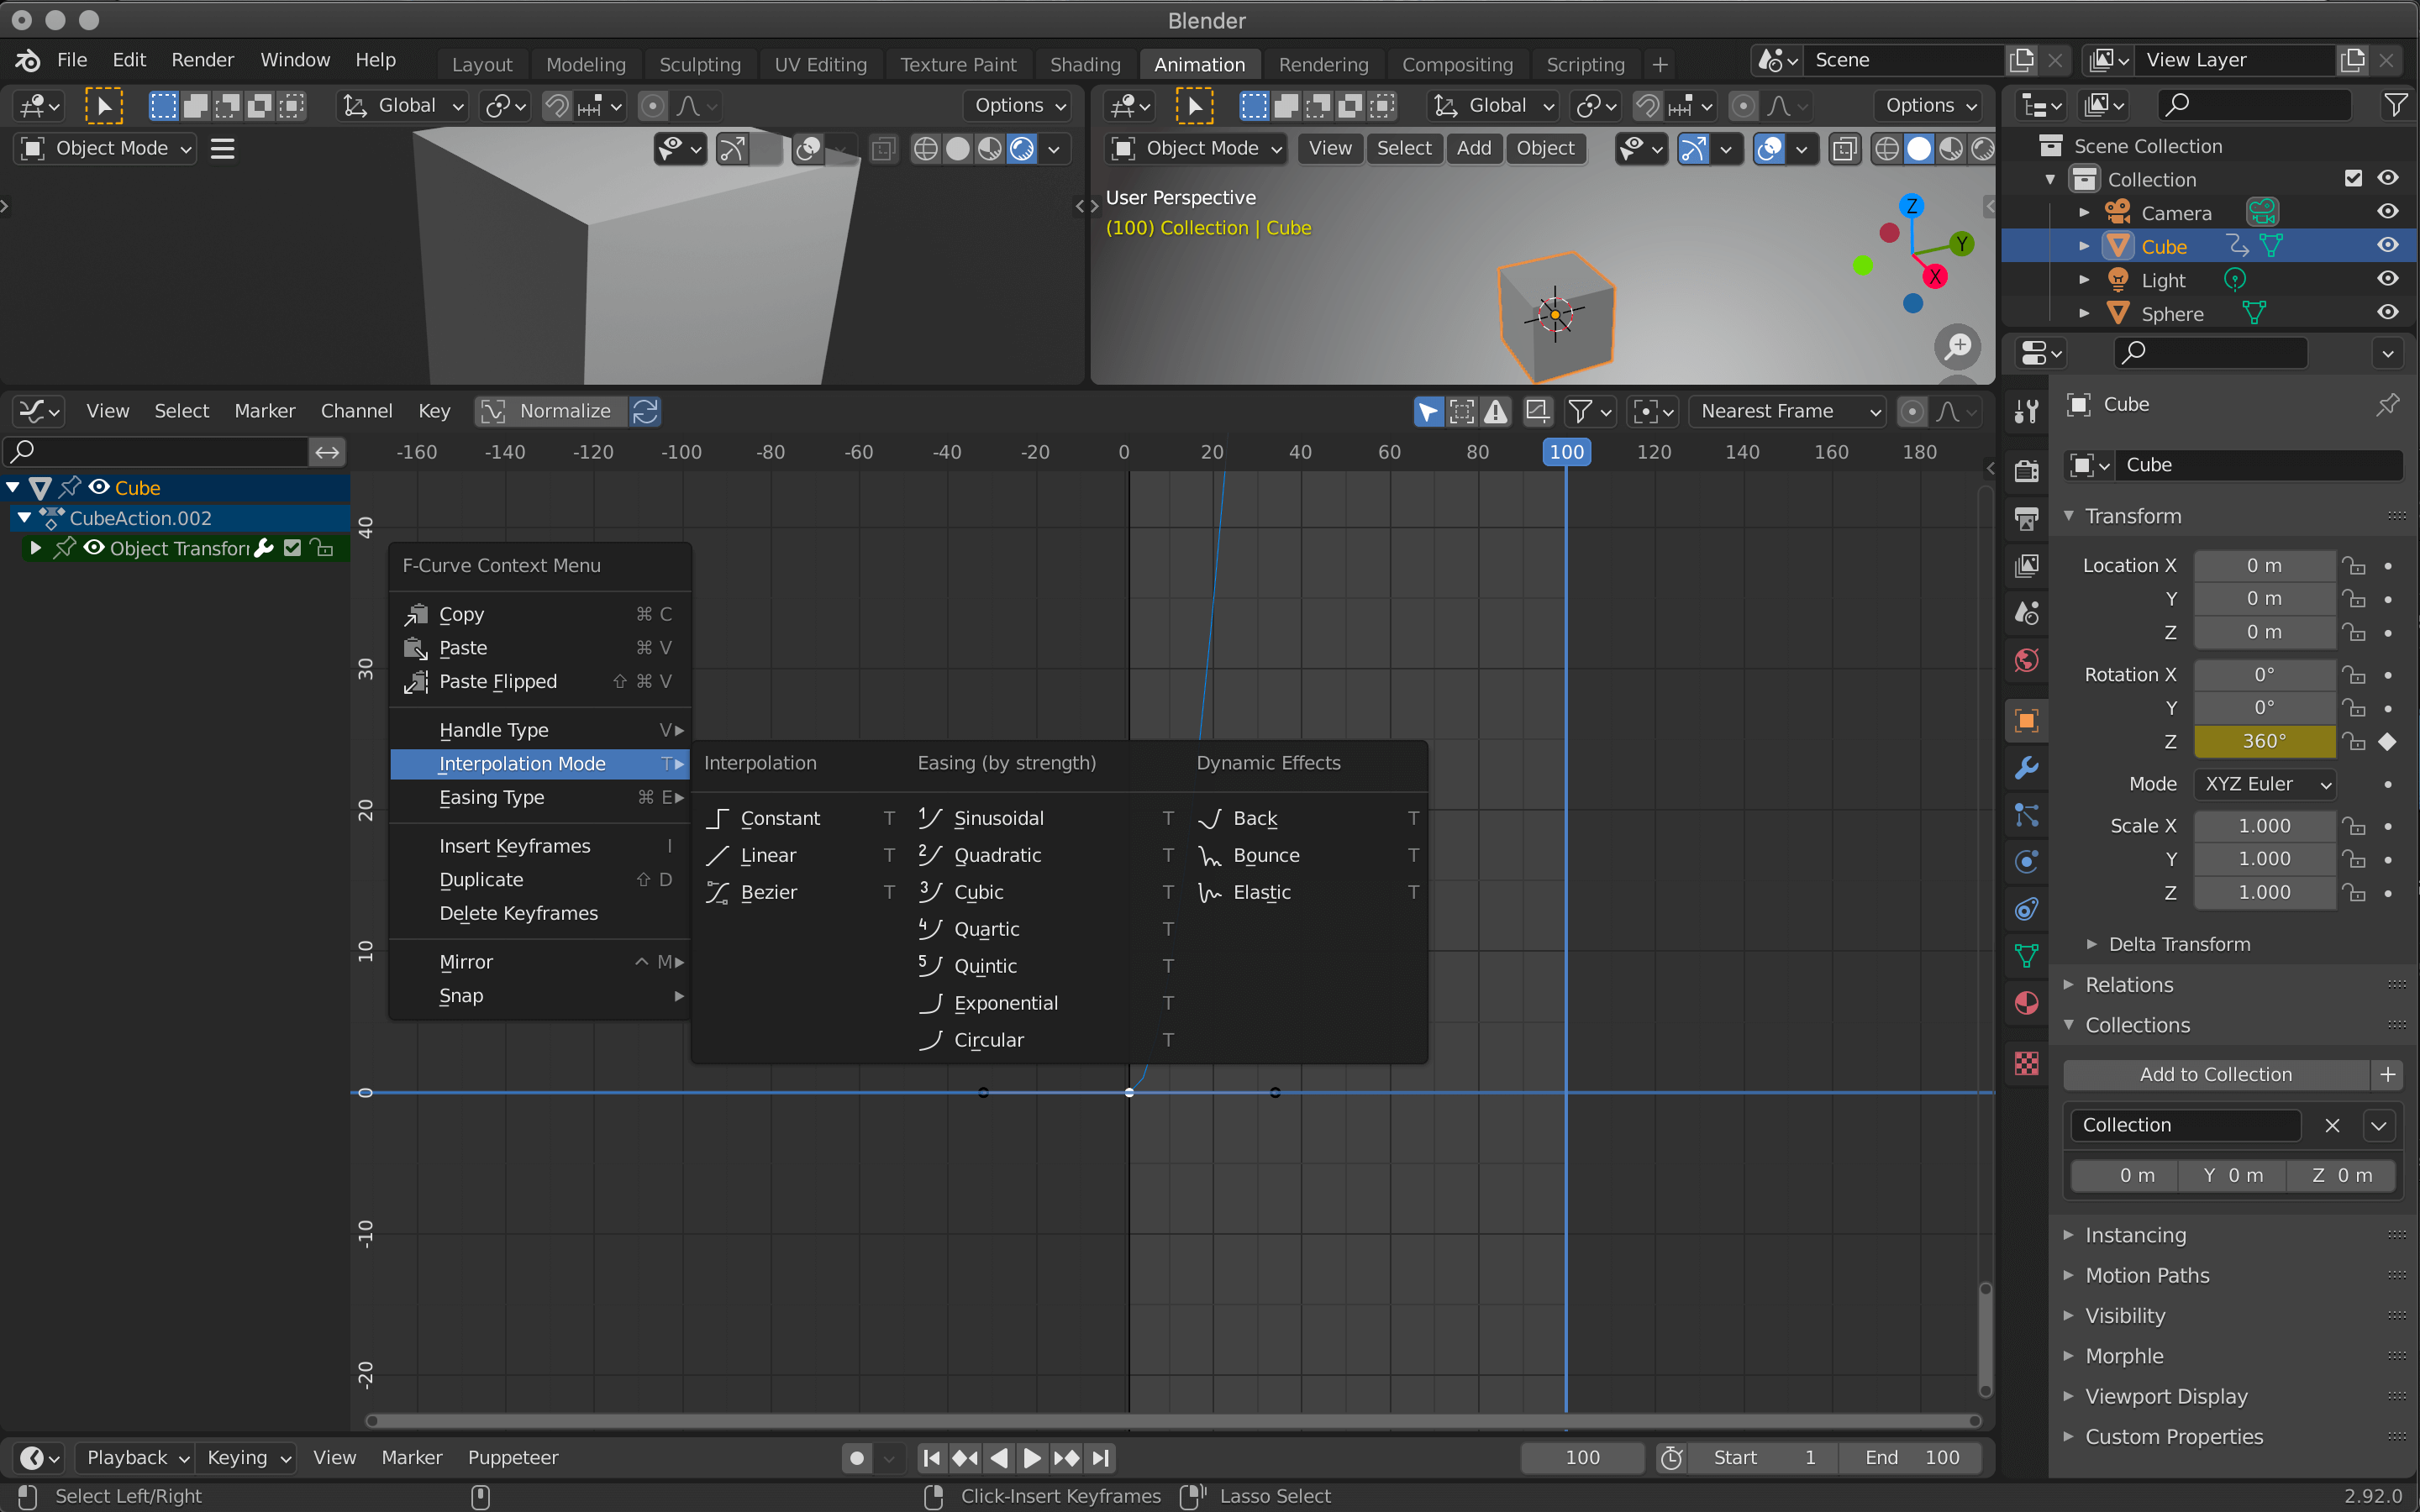
Interpolation Mode
You can also add new keyframes in the middle of the curve and manipulate the handles to create interesting movements.
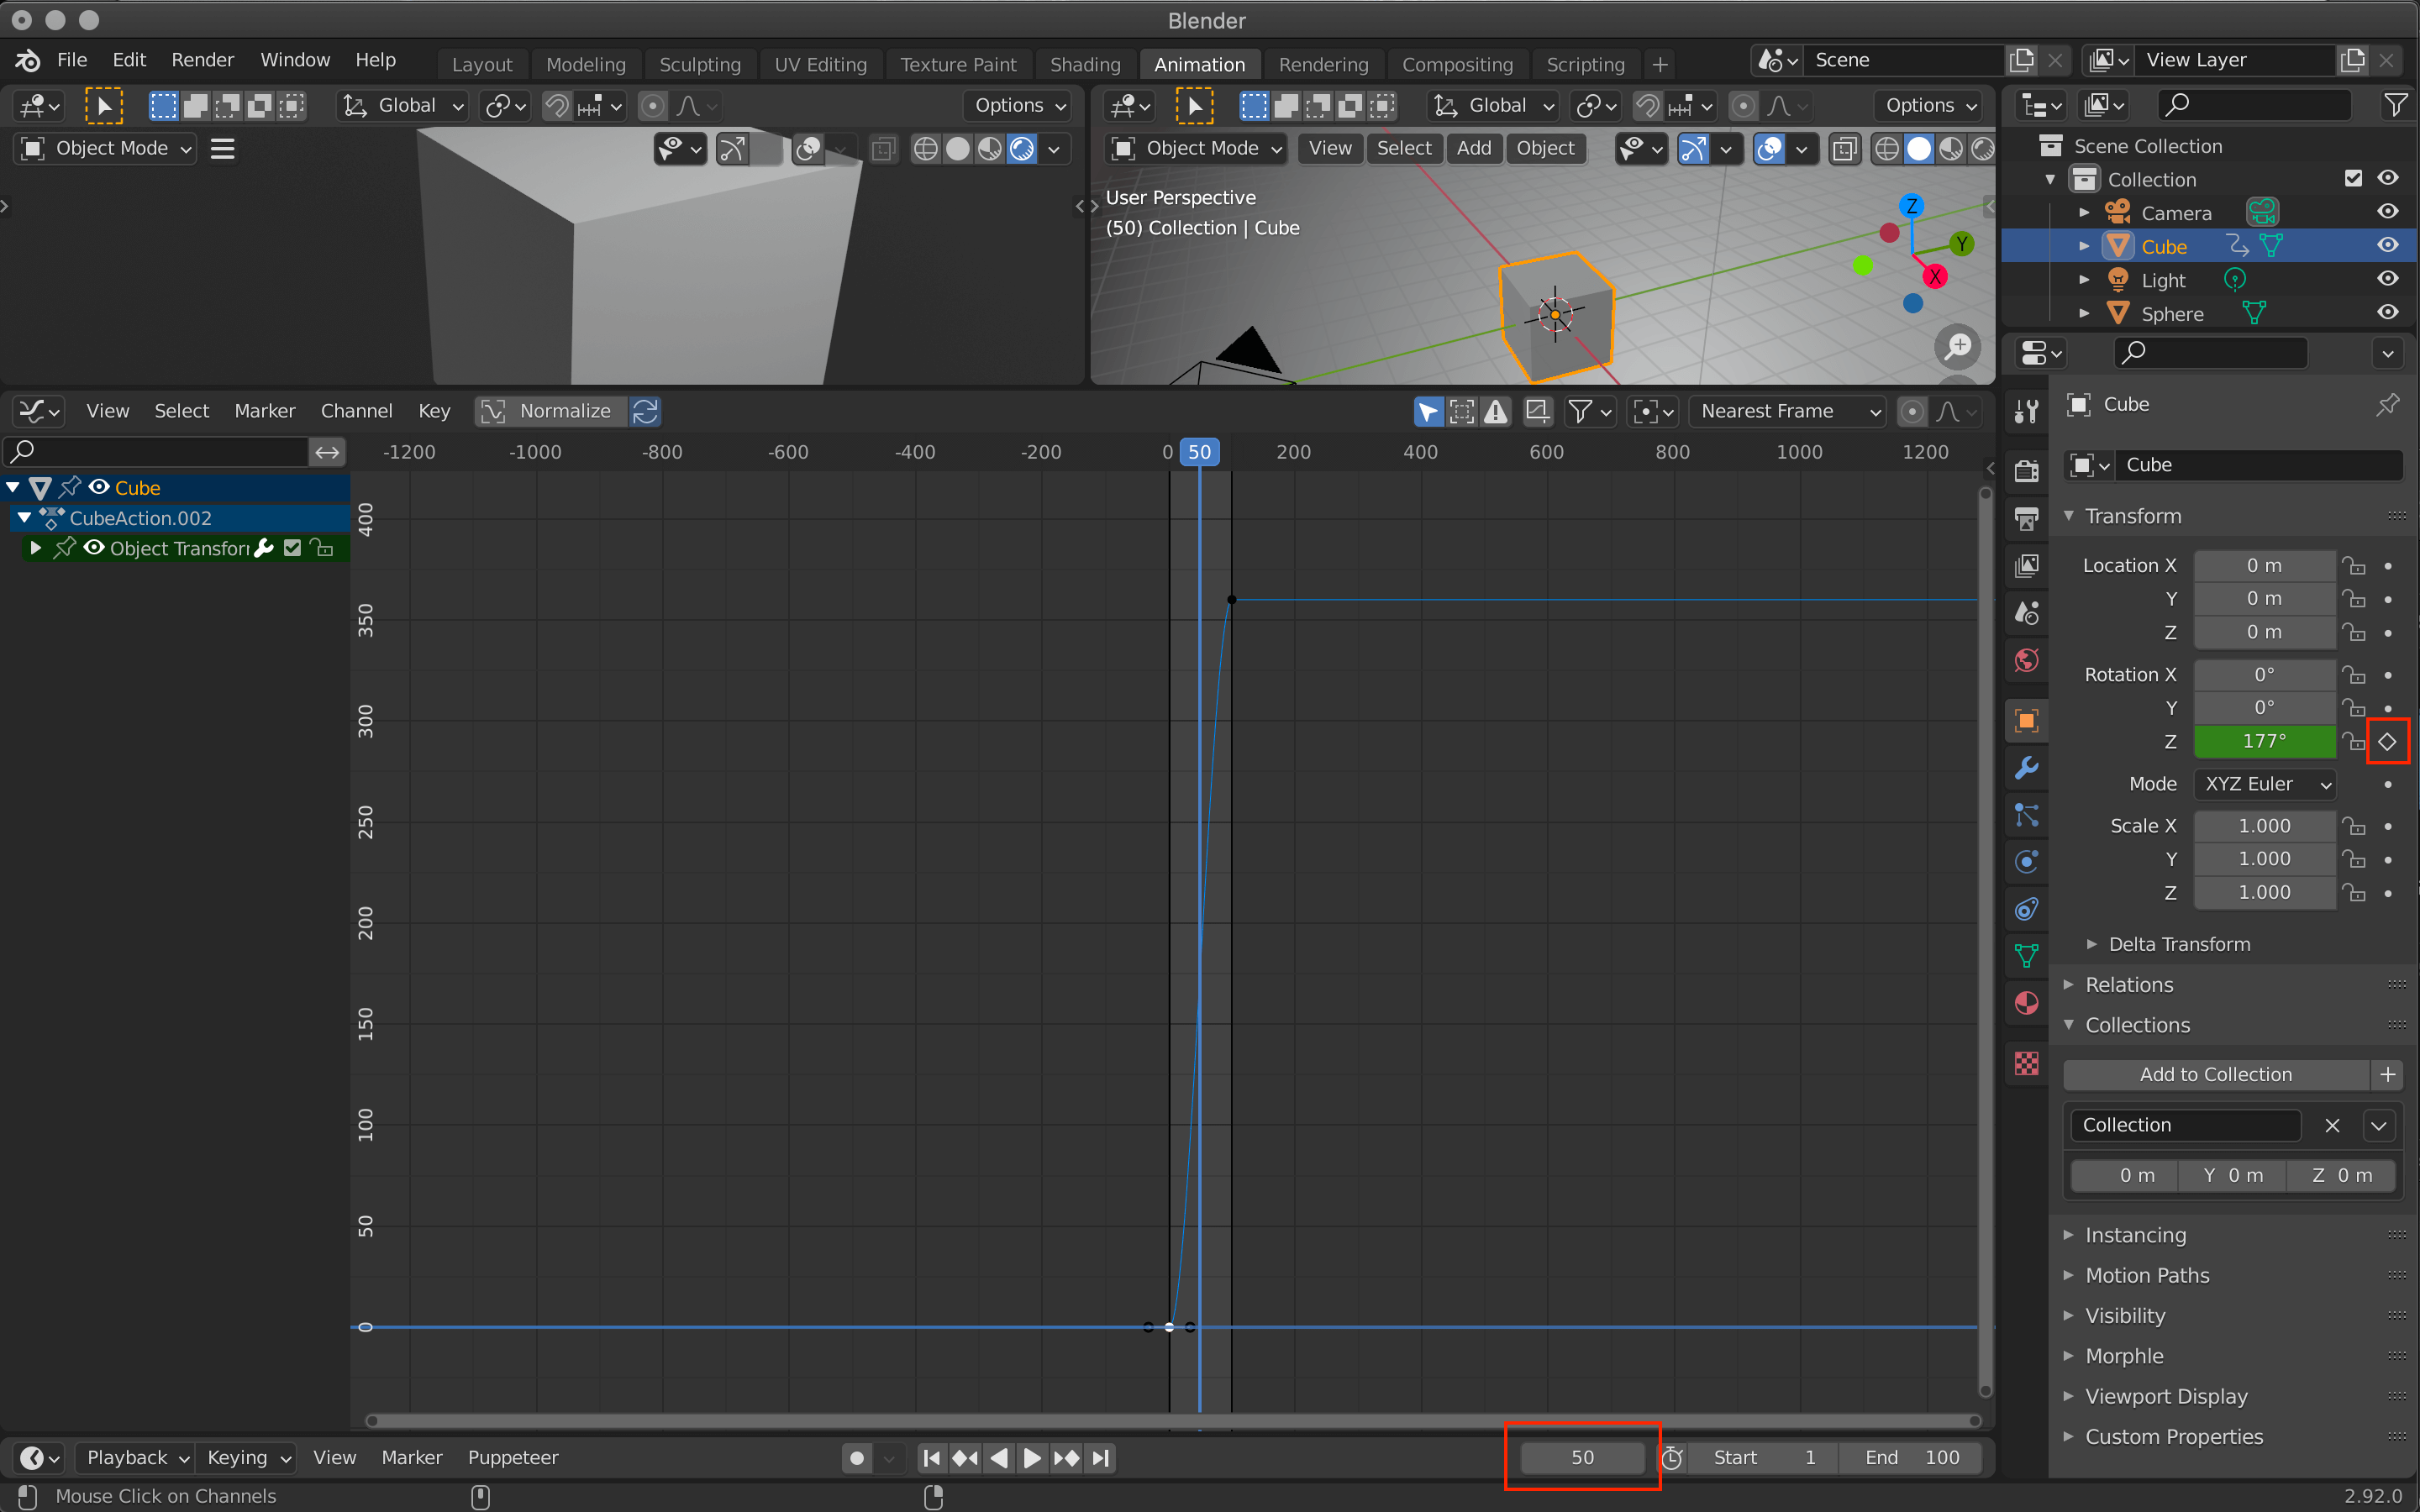
Add a keyframe at the 50th frame
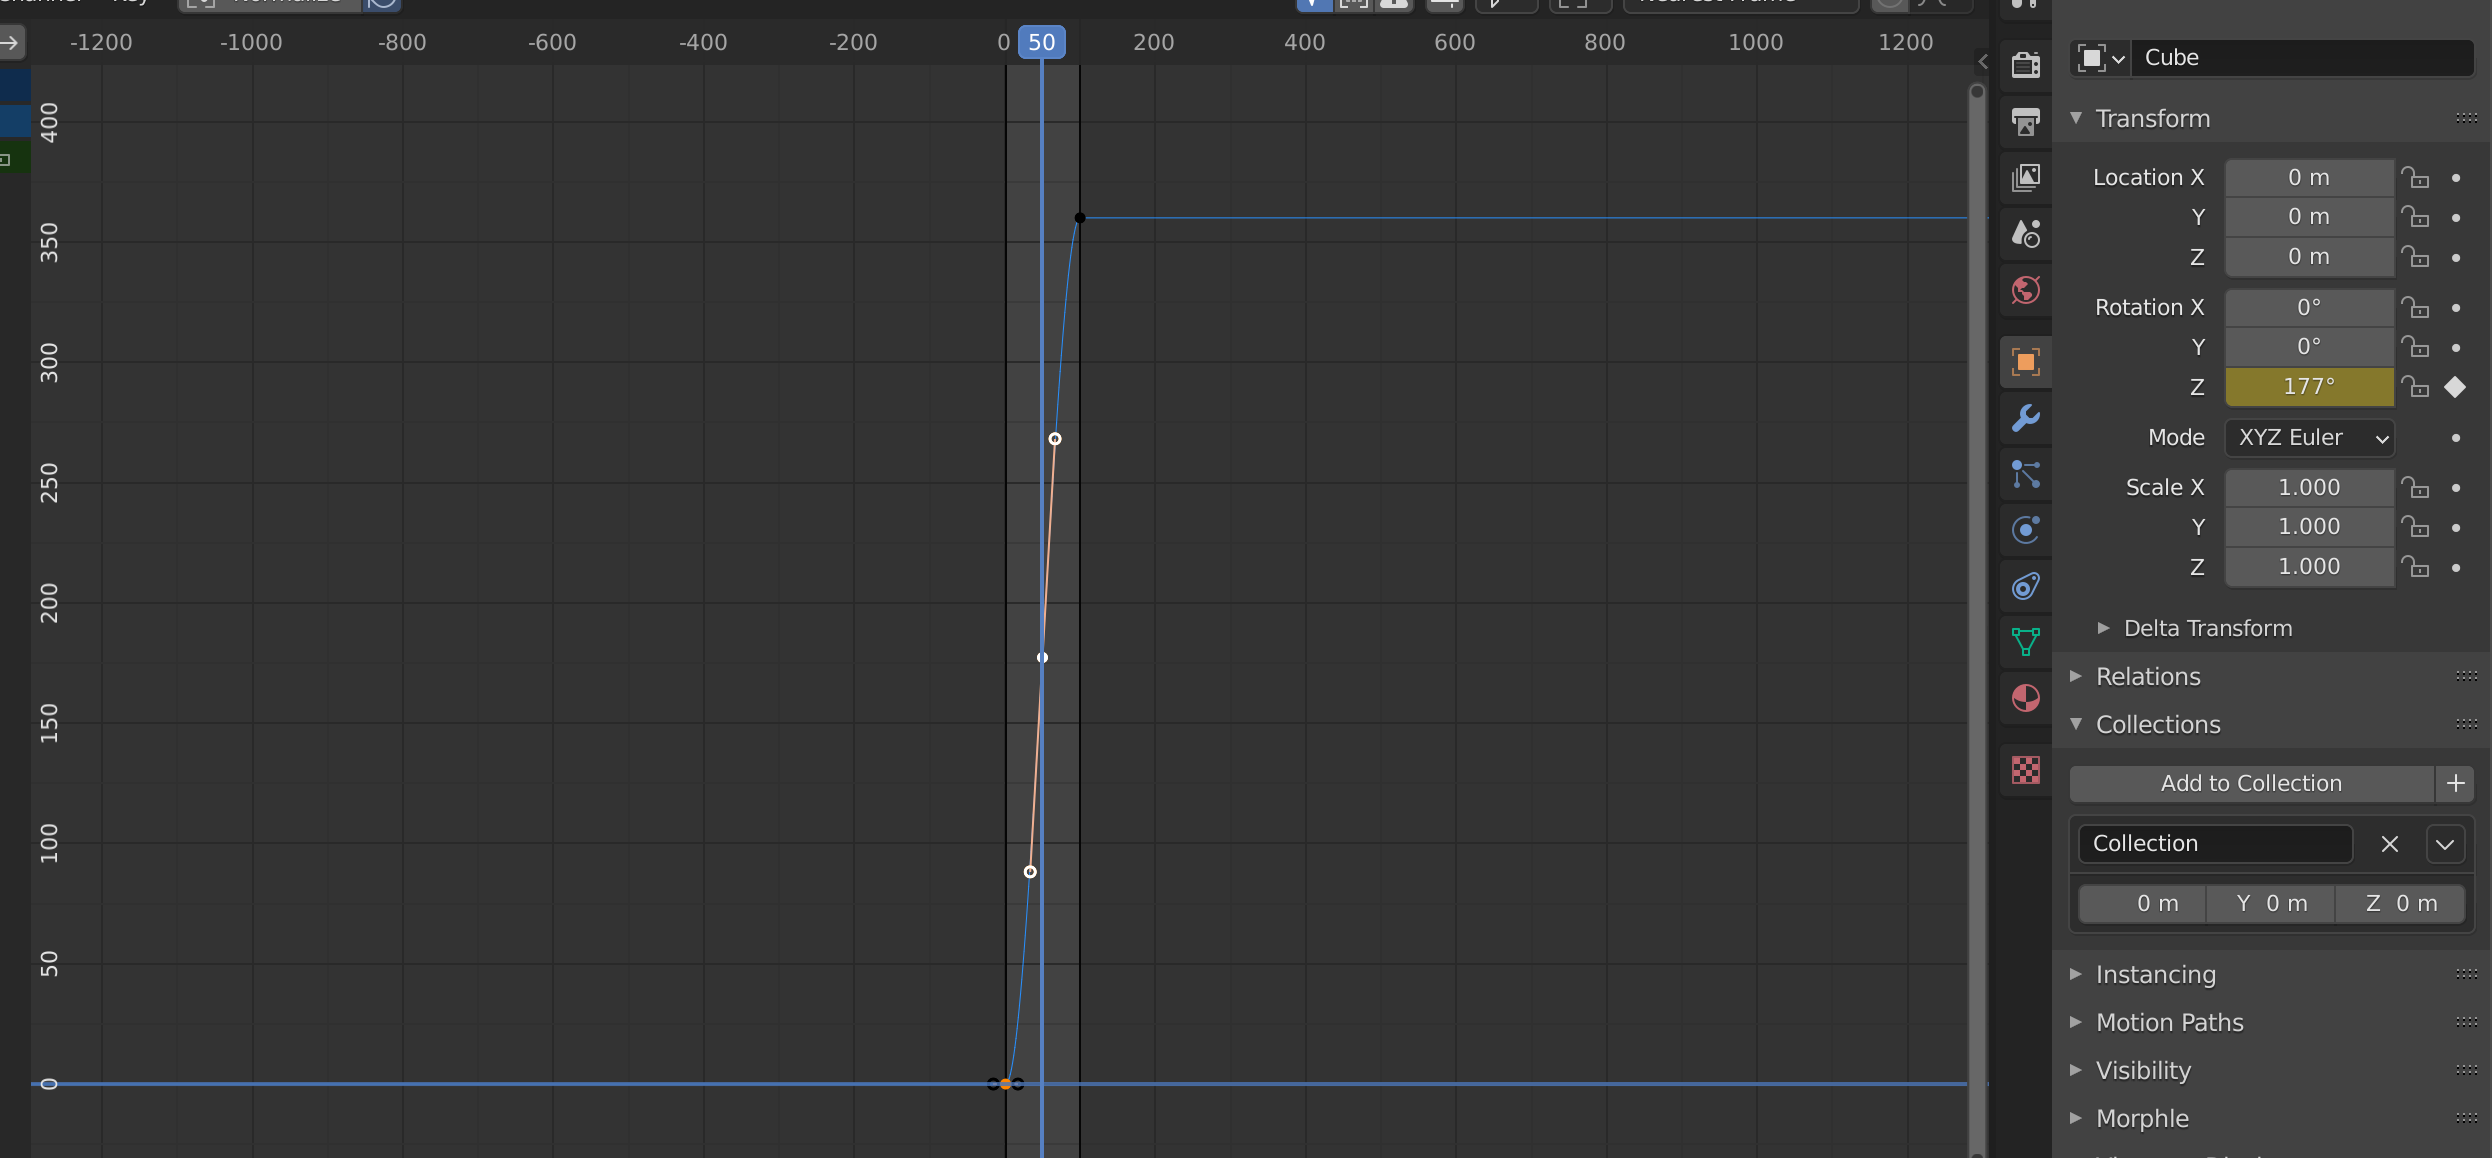
A new handle appears.
With only the center handle selected, R (change the angle of the handle) to make the graph look like this.
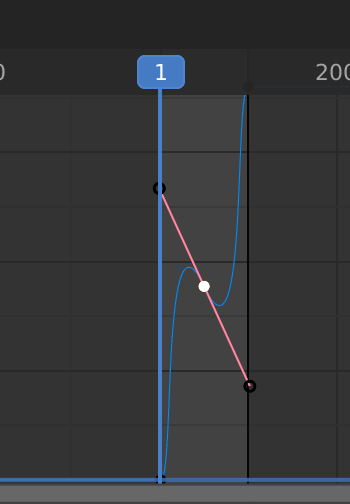
Rotate with R

The movement has changed.
Combine the movements
Here is an animation of a cube that is getting smaller while rotating.
A cube with two combined movements
At first glance, it looks like a complicated motion.
- Rotate 360 degrees around the Z axis
- The XYZ Scale value of 0 shrinks to 0.1
The same animation can be created by simply adding two keyframes at 0 (start) and 100 (end).

Red…Rotation, Yellow…Shrink
| 0th frame | (1~99th frame) | 100th frame | |
| RotaionZ | 0 degrees | → | 360 degrees |
| ScaleXYZ | 1.0 | → | 0.1 |
When you see a video as a reference for animation, it is easier to understand it if you separate it by elements such as “angle and position”, “height and distance”, etc., instead of one coherent movement.
Exporting
Once the animation is complete, export it with the fbx extension.
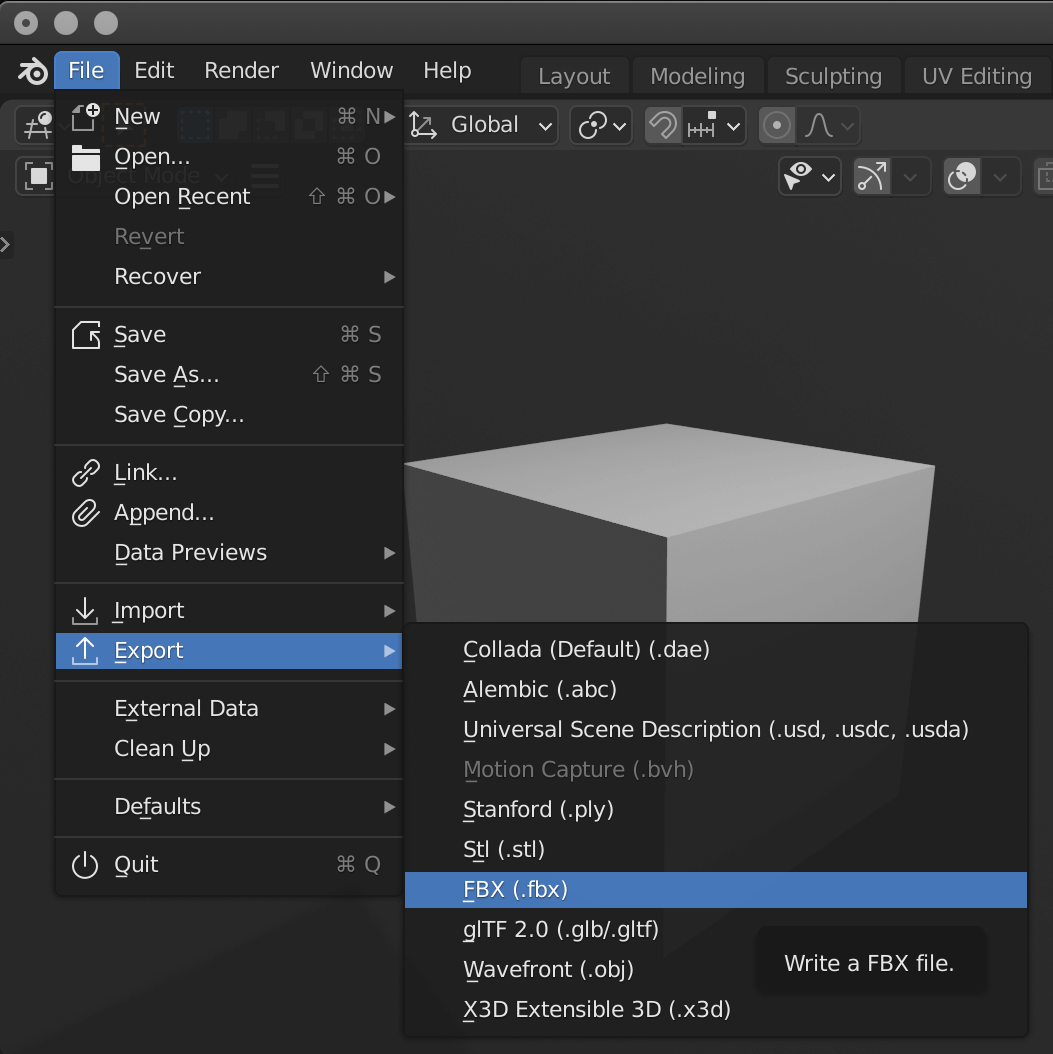
File→Export→FBX
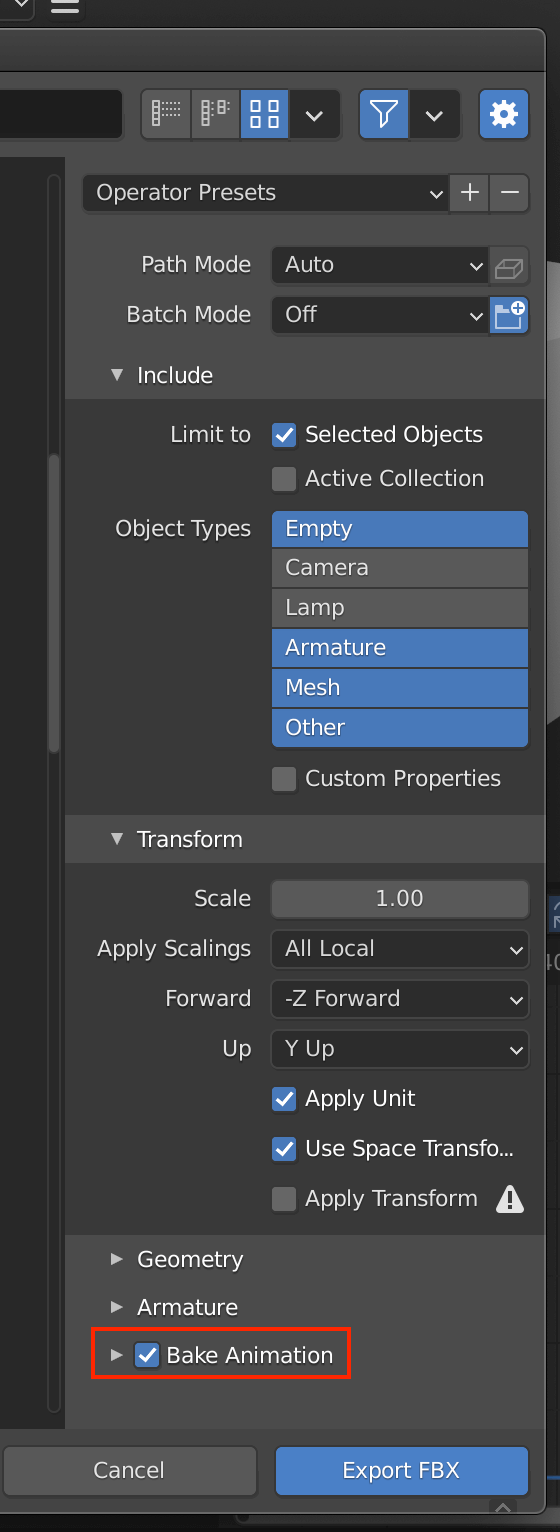
Be sure to check the Bake Animation checkbox.
In this case, we only want to export the selected cubes, so we also checked Selected Objects.
After specifying the save location, click Export FBX.
Check Bake Animation -> Export FBX
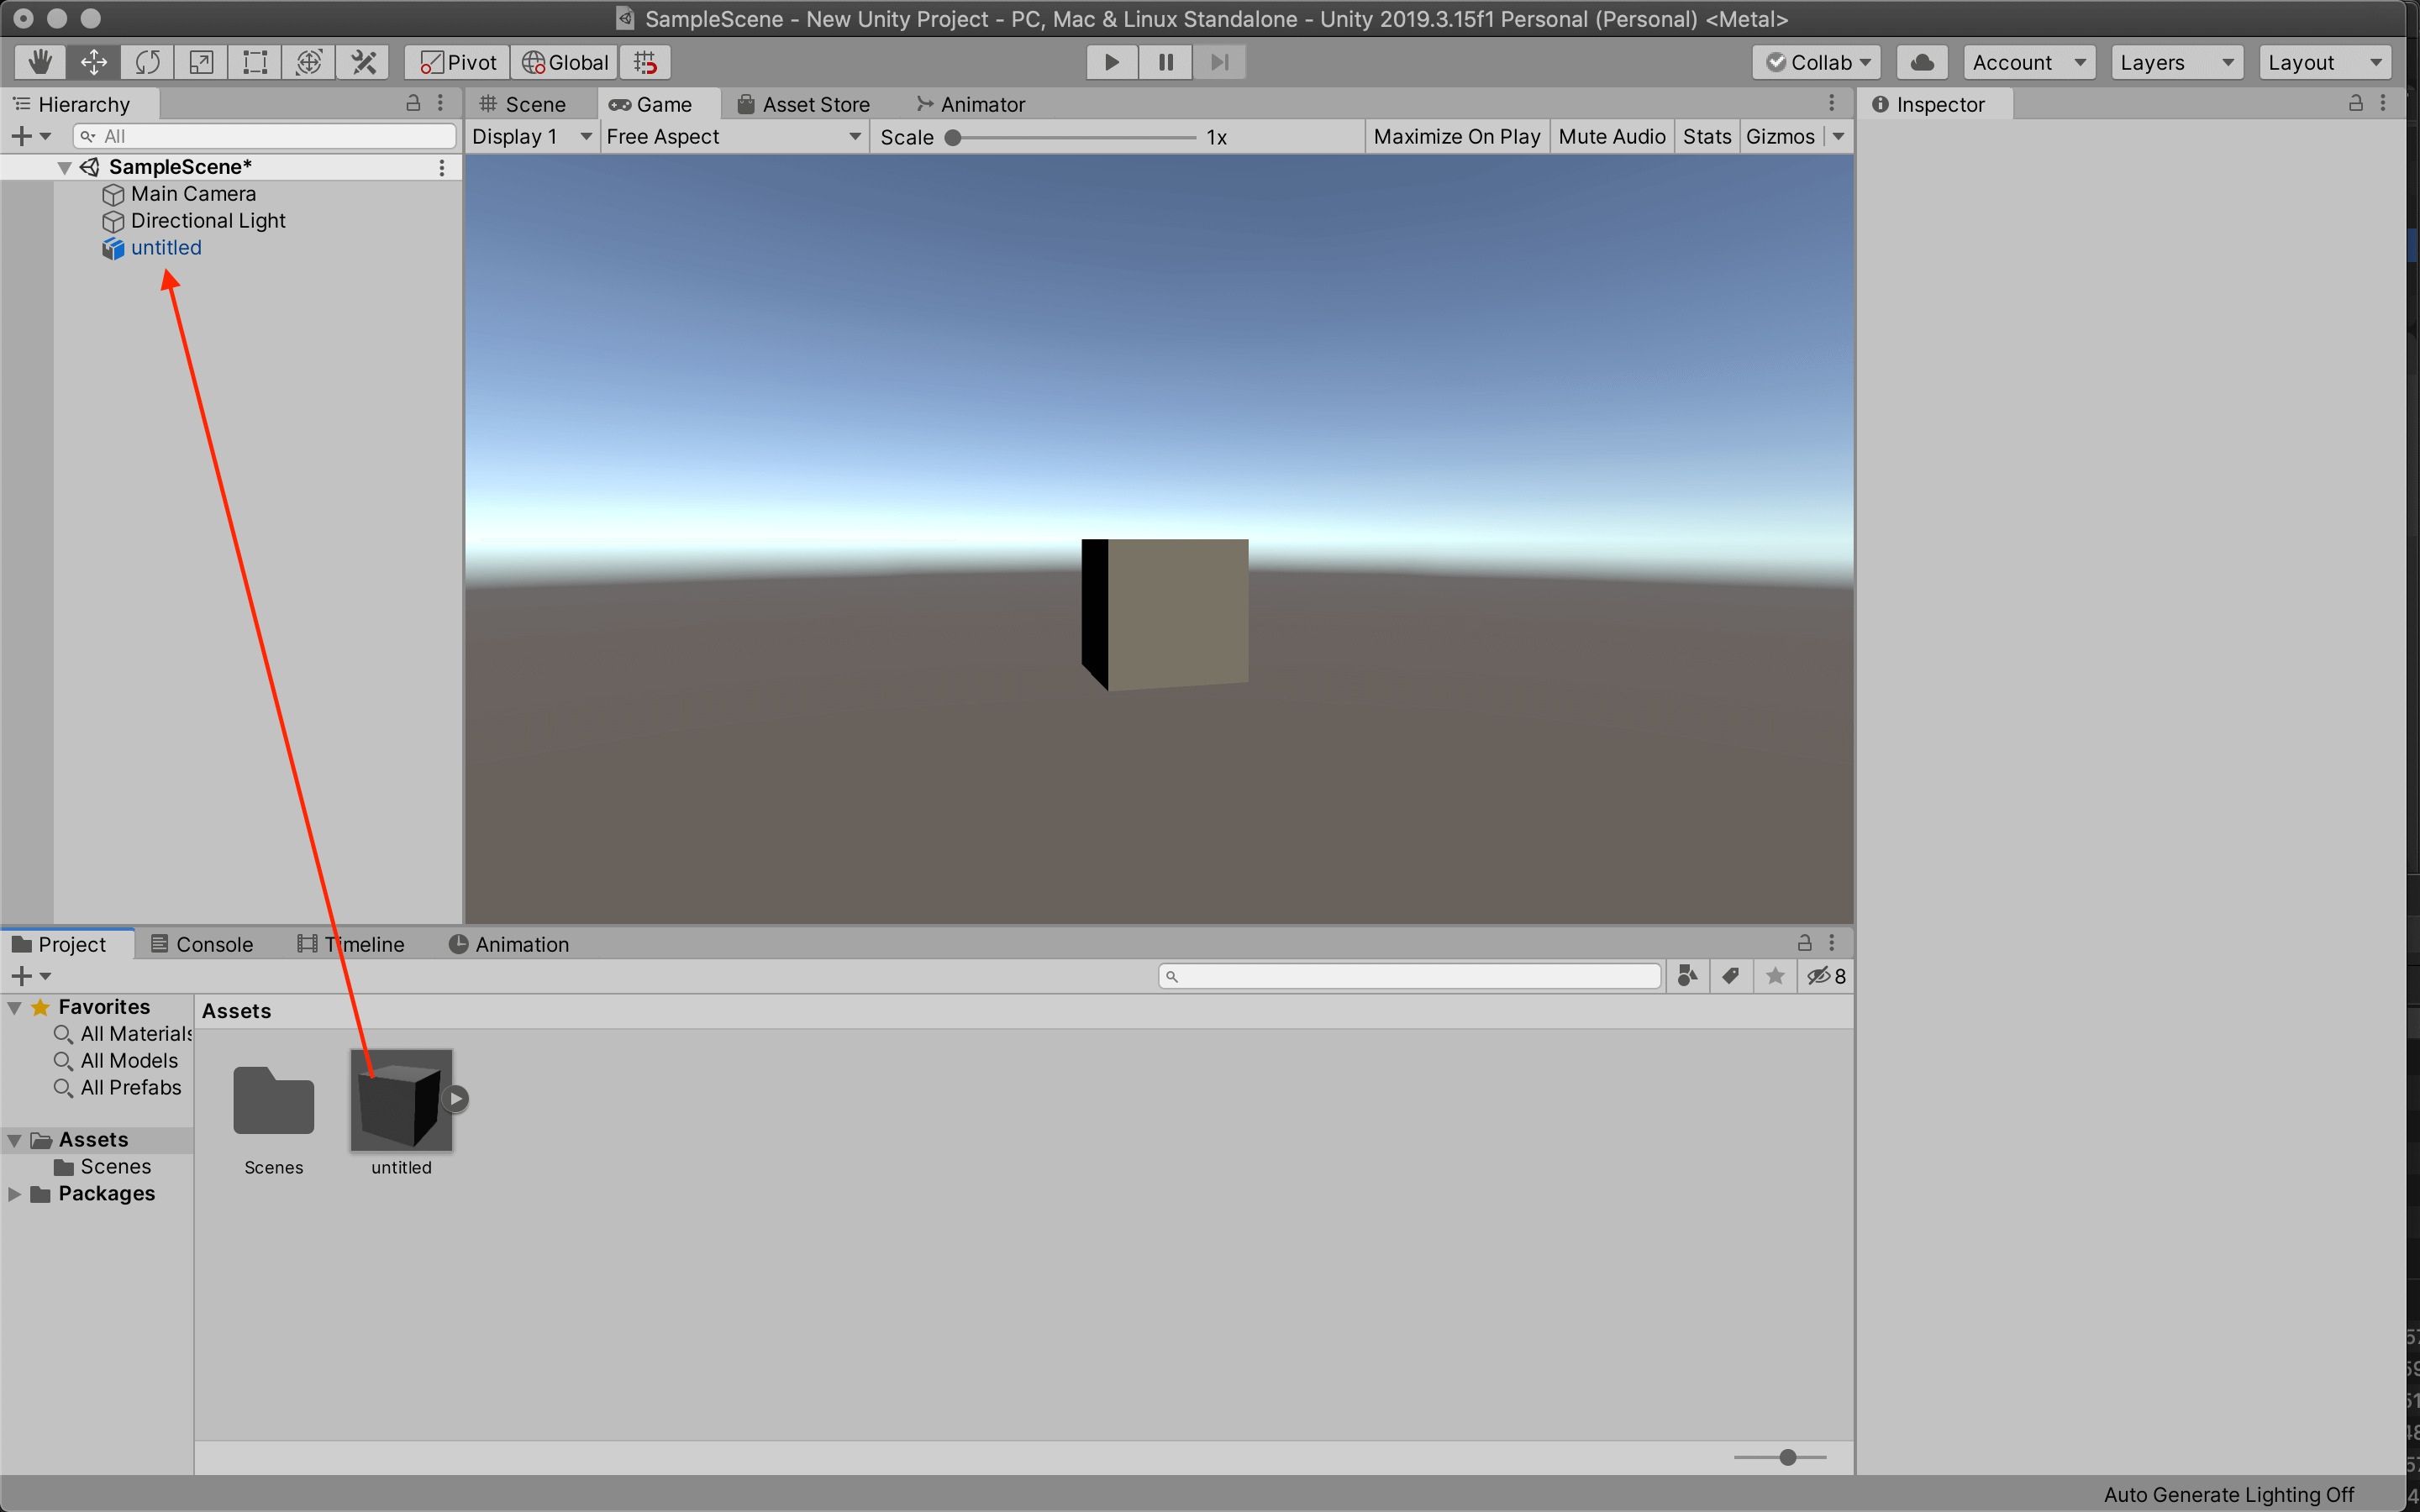
Importing into Unity
Open Unity and import the animation object you just created into the asset window.

Drag and drop to the asset
Let’s check the animation in the Inspector window of the imported cube.

Inspector window
Drag and drop the cube from the asset to the Hierarchy to add it.
Drag and drop to the Hierarchy
Since the cube will not move when we play it back, we will assign an animation to the cube.
Right-click in the asset and add a new animator.

Animate Controller
Once it is added, open the Animator window.
Drag and drop the animation saved in the previous cube from the asset and add it.

Adding an animation to the Animator
You have now added an orange rectangle.
Finally, drag and drop the asset New Animator Controller to the hierarchy of the cube.

Drag and drop it into the Inspector

The animation is now playing.
Now, the animation is set to play only once.
If you want to make it a loop, set the animation controller to transition to Exit.

Right-click on the orange rectangle→Make Transition

Click Exit to connect.
How to upload to STYLY
Let’s upload your 3D model to STYLY.
Create a STYLY account
How to create an account

How to upload to STYLY

How to upload from Unity to STYLY

Reference Articles
If you want to use a humanoid object, please refer to this article summary.
It also shows you how to use bones.
![[Article Summary] How to Move a Human Model](https://styly.cc/wp-content/uploads/2018/09/eye.jpg)