This article introduces the free 3D Scanner App developed by Laan Labs.
The 3D Scanner App allows you to create photogrammetry-like 3D models that look like photographs.
One of the great features of this app is the “dramatic short time”.
Normally, a model is generated by repeating the time-consuming process of taking a photo in photogrammetry, processing it in the software, creating textures, and so on.
However, with the 3D Scanner App, a model can be generated in 1 to 5 minutes, or no more than 10 minutes.
By using this app, you can efficiently generate a 3D model. This section explains the app’s creation method, functions, advantages, and disadvantages.
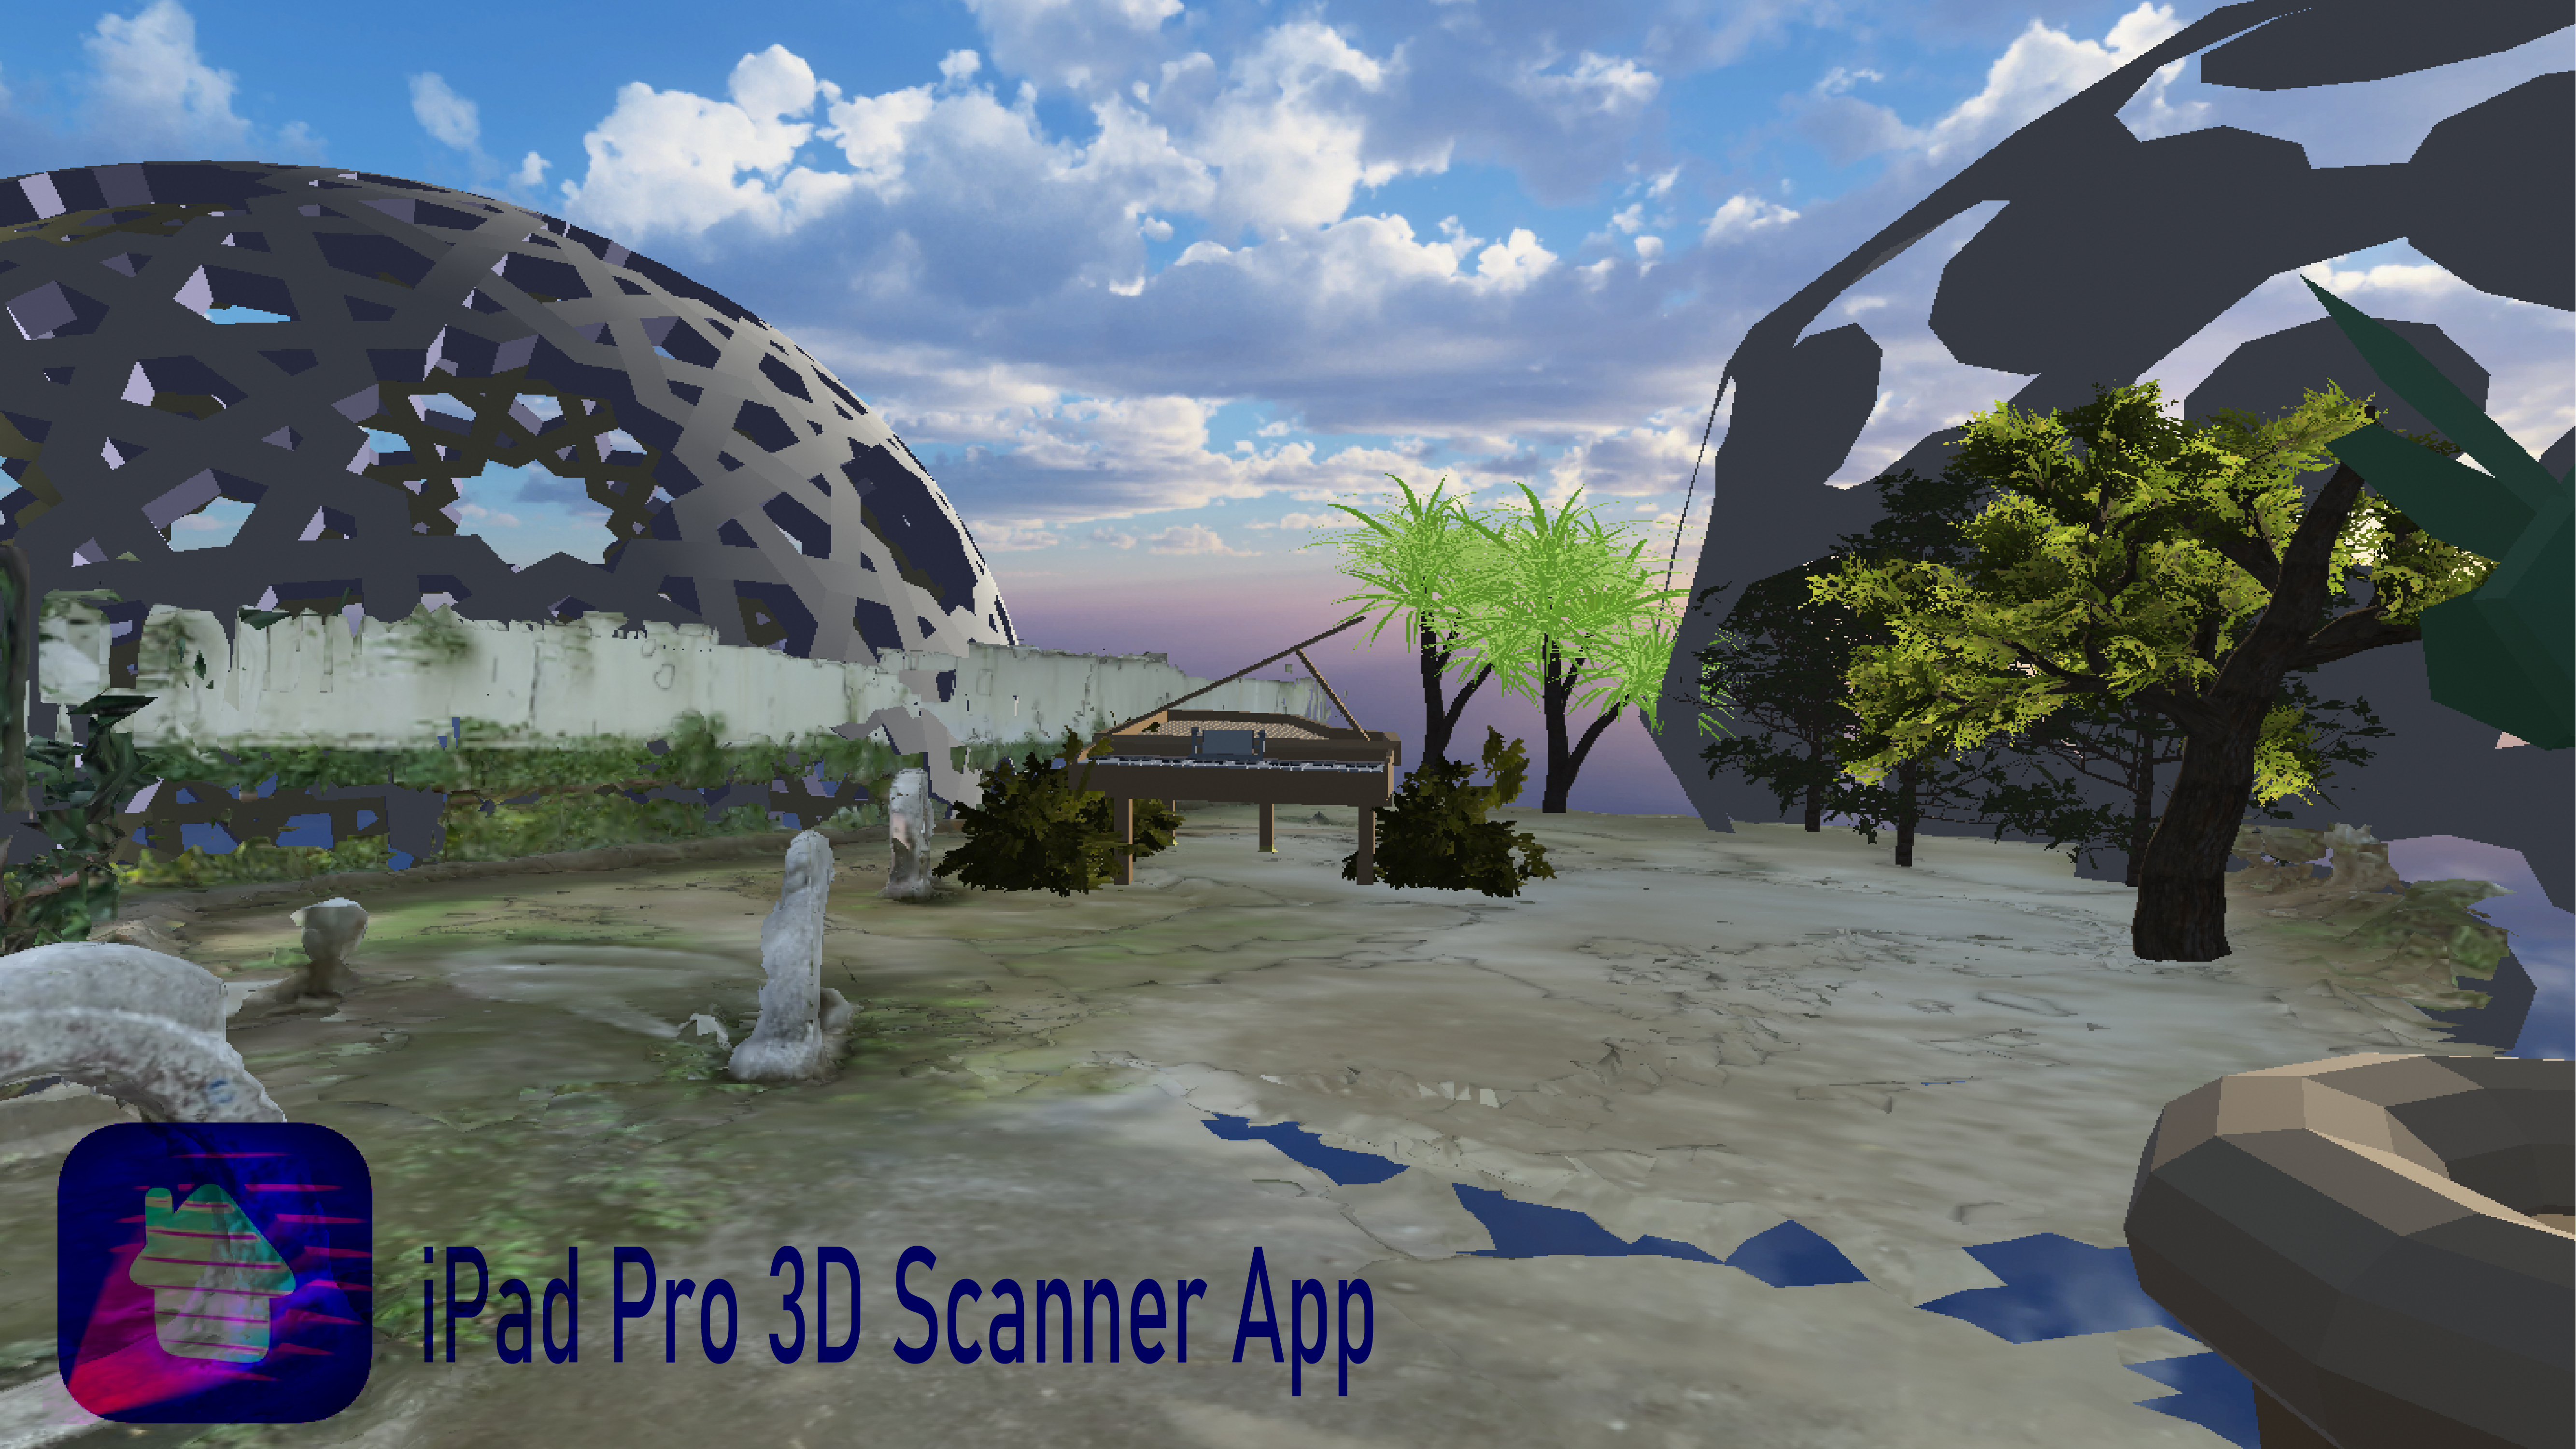
Sample
Here is a sample scene with the 3D model we created. Experience it for yourself.
About the fourth-generation iPad Pro / LiDAR
The 3D Scanner app used in this application is only compatible with the iPad Pro 12.9 / 11 released in 2020.
Please note that it does not support other models and previous generations of the iPad Pro.
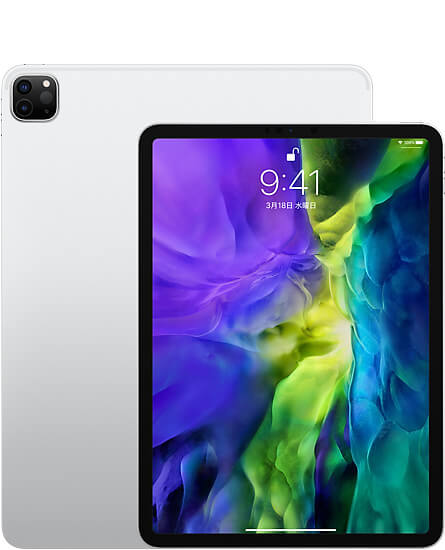
LiDAR, the latest light sensor technology, is included in the fourth-generation iPad Pro and plays an important role in the 3D Scanner App.
“Light Detection and Ranging (LiDAR) measures the time it takes for light to reach an object and reflect back to determine the distance. It is an advanced technology that NASA will use on the next Mars landing mission. We’ve put LiDAR inside a thin and light iPad Pro.
The specially designed LiDAR scanner uses a method called direct time of flight to measure light reflected from up to five meters away, both indoors and outdoors. It works at the photon level and operates at nanosecond speeds, greatly expanding the possibilities of augmented reality and beyond.”
Description of the iPad Pro on the Apple website: https://www.apple.com/ipad-pro/
It is now possible to determine the spatial distance of objects captured by LiDAR and scan a real space on the iPad to create more advanced AR expressions and transform the scan into a 3D model.
The 3D Scanner App can mesh real-world objects scanned by LiDAR, generate textures, and create 3D models at high speed.
In this article, we will only introduce the 3D Scanner App. However, apps developed by LiDAR are also available in the App Store. Give them a try!
Compare with Photogrammetry
At first glance, the 3D model created by the 3D Scanner App used in this article looks like it was created by photogrammetry.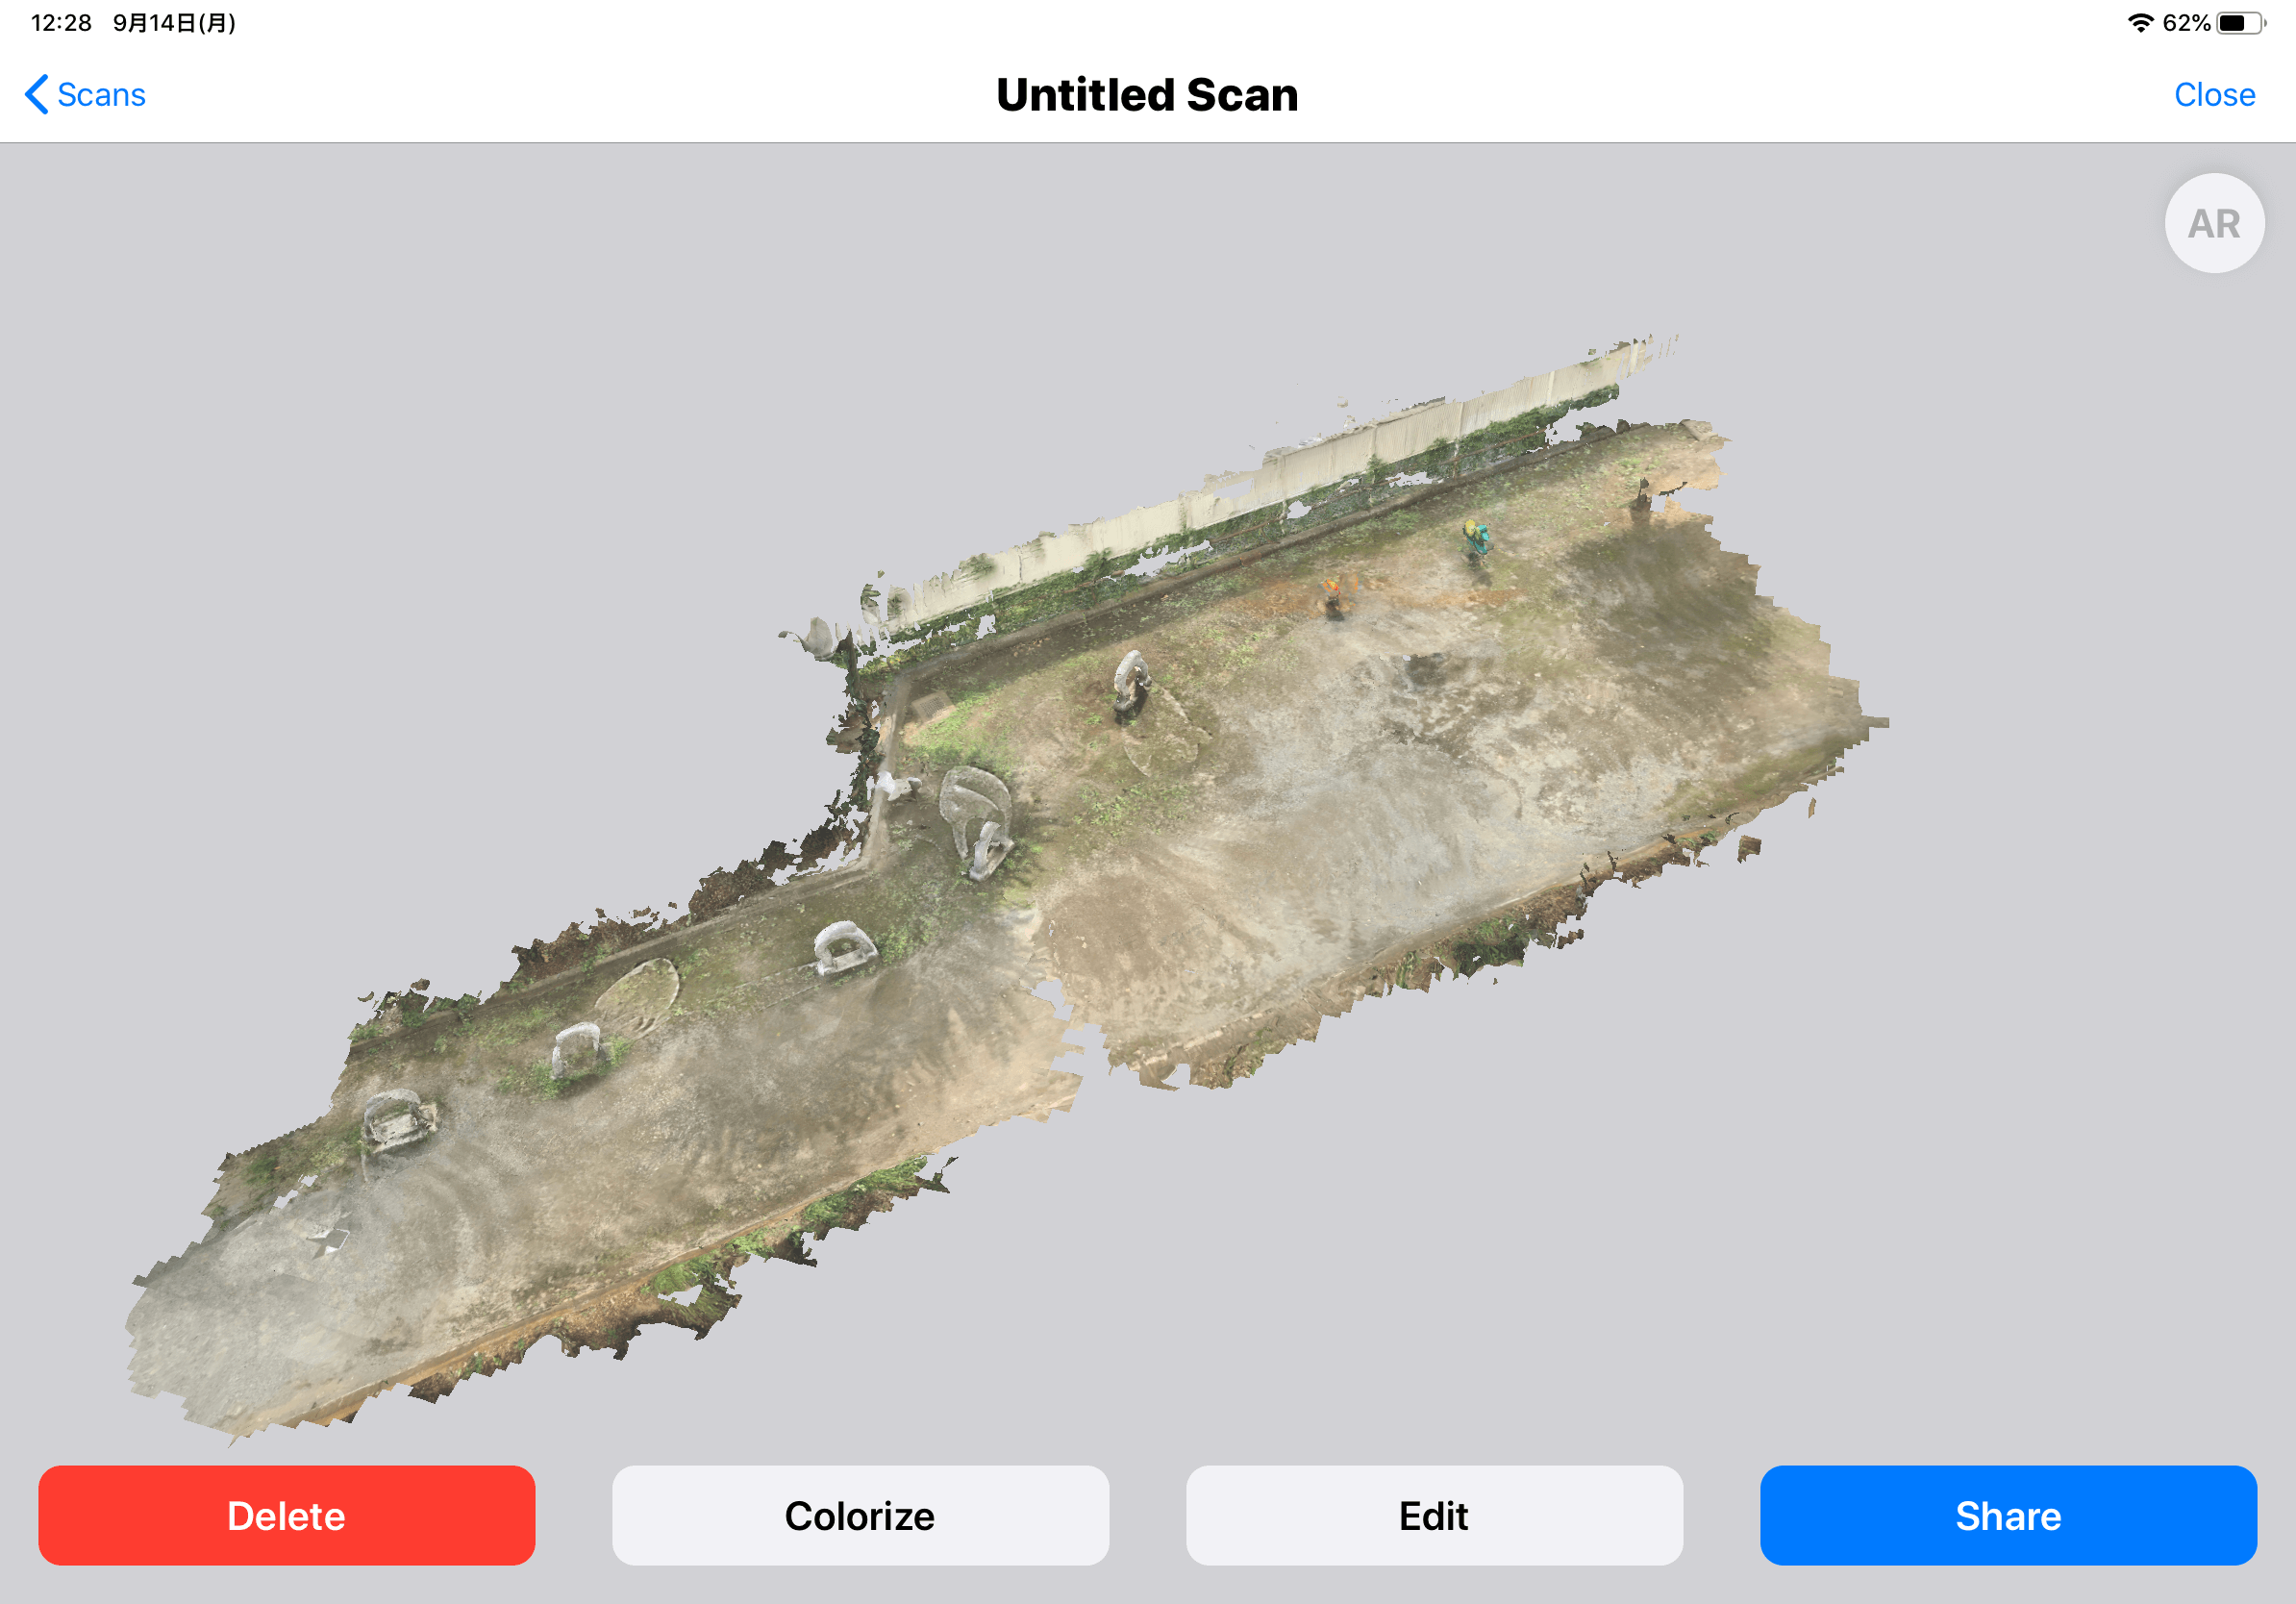
Strictly speaking, however, when we call the model generated by the 3D Scanner App “photogrammetry”, this word has a slightly different meaning.
I will briefly explain that point as well.
Difference between Photogrammetry and Photogrammetry
Photogrammetry, which is translated as “photogrammetry” in Japanese, is a technology that uses computers to analyze photographs taken of an object from various directions to build a 3D model.
In contrast, the 3D Scanner App is a technology for building a 3D model using scans.
The main difference between the two is that photogrammetry generates a 3D model from a photo and the 3D Scanner App generates a 3D model from scans.
Let’s explore this difference further.
Benefits of the 3D Scanner App
One of the major advantages of the 3D Scanner App is the speed and simplicity of generating a 3D model.
Photogrammetry requires taking photos of a single model or space from different angles and processing them with specialized software.
Photogrammetry involves the following steps:
Take a picture → Import image data to a PC → Generate point cloud data on the software → Generate mesh → Generate texture → Complete → Export
And in the process there are many
The 3D Scanner App
Scan → Generate mesh → Generate texture → Finish → Export
The processing time for each step is dramatically reduced, and the speed of 3D model generation is unparalleled.
This allows the 3D Scanner App to reduce the generation time when compared to photogrammetry.
In addition, the 3D Scanner App can export 3D models as GLB data, which can be exported to a PC and then uploaded directly to STYLY.
Depending on the size of the model’s data, a lightweight model can go from scanning to viewing in VR within about five minutes.
Disadvantages of the 3D Scanner App
The 3D Scanner App is not a universal scanner app.
There are certain objects that the 3D Scanner App does not handle well. While it can scan flat areas in space such as floors and walls clearly, it has difficulty scanning “small objects and objects with complex shapes”, for example.
Texture resolution and the accuracy of the 3D models themselves are also inevitably inferior to photogrammetry.
If you are looking for an accurate model, photogrammetry is the way to go.
Generating a 3D Model
This article explains the process of actually downloading the app on the iPad Pro, from generating a 3D model to uploading it to STYLY.
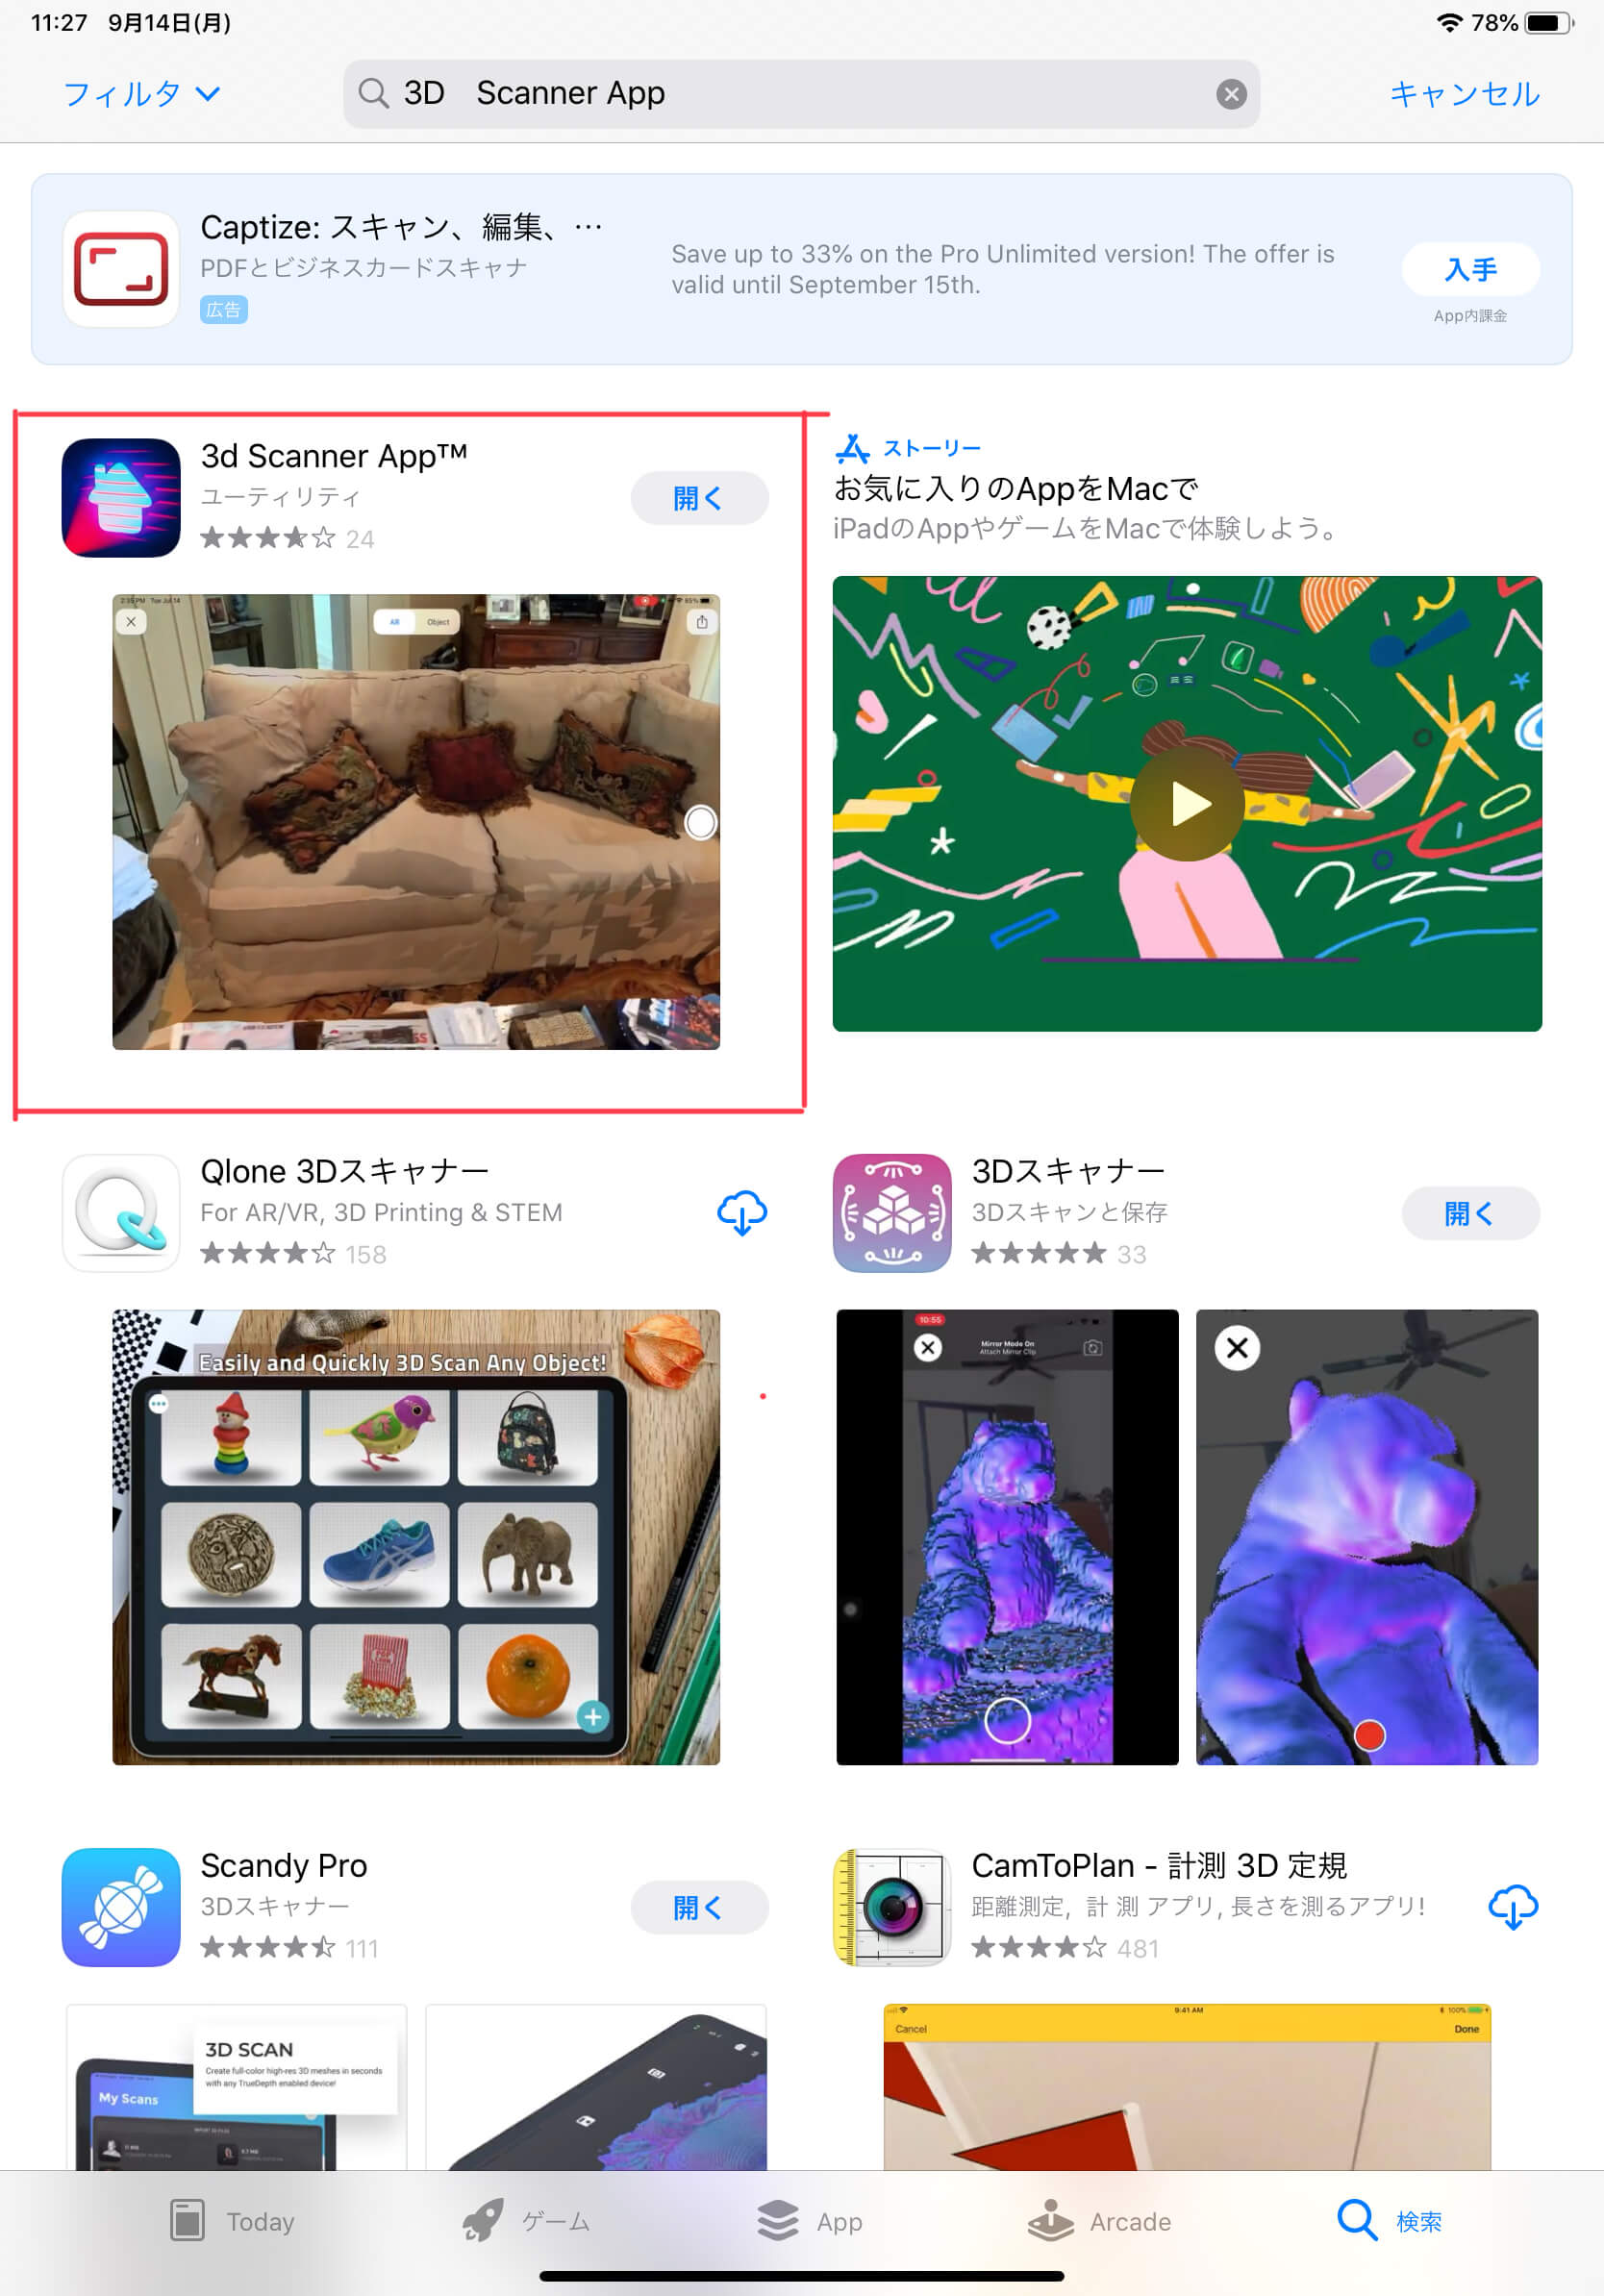
Downloading the app
Download the app.
Look up “3D Scanner App” in the App Store search bar.
Select “Get” and follow the procedure to download the app.
Launch Screen
After selecting the app and launching it, you will be taken to a screen that looks like a video recording screen.
Press the red “Record” button to start scanning.

Points to note when scanning
Walk around with an iPad to scan. Make sure the space is large enough and does not disturb other people.
The space where you scan must have good lighting to generate a clean 3D model.
Choose a well-lit area.
Scanning
Let’s actually scan it.
Go to the place you want to scan, and press the red button to start scanning.
In this case, I chose a park in my neighborhood.

Press the scan “Start” button, and walk around the place you want to scan while holding your iPad.
As you can see, the area that is generating the mesh appears as a purple wireframe.
The area where the wireframe is not displayed is not scanned well. Create a mesh by moving close to it.

There is no set area to scan. But it will take time to generate the mesh texture if the area is too large, so try to adjust the size of the scan.
When the scan of the area you want to generate is complete, press the red “Record” button to finish.
The screen will transition, and the mesh will appear.
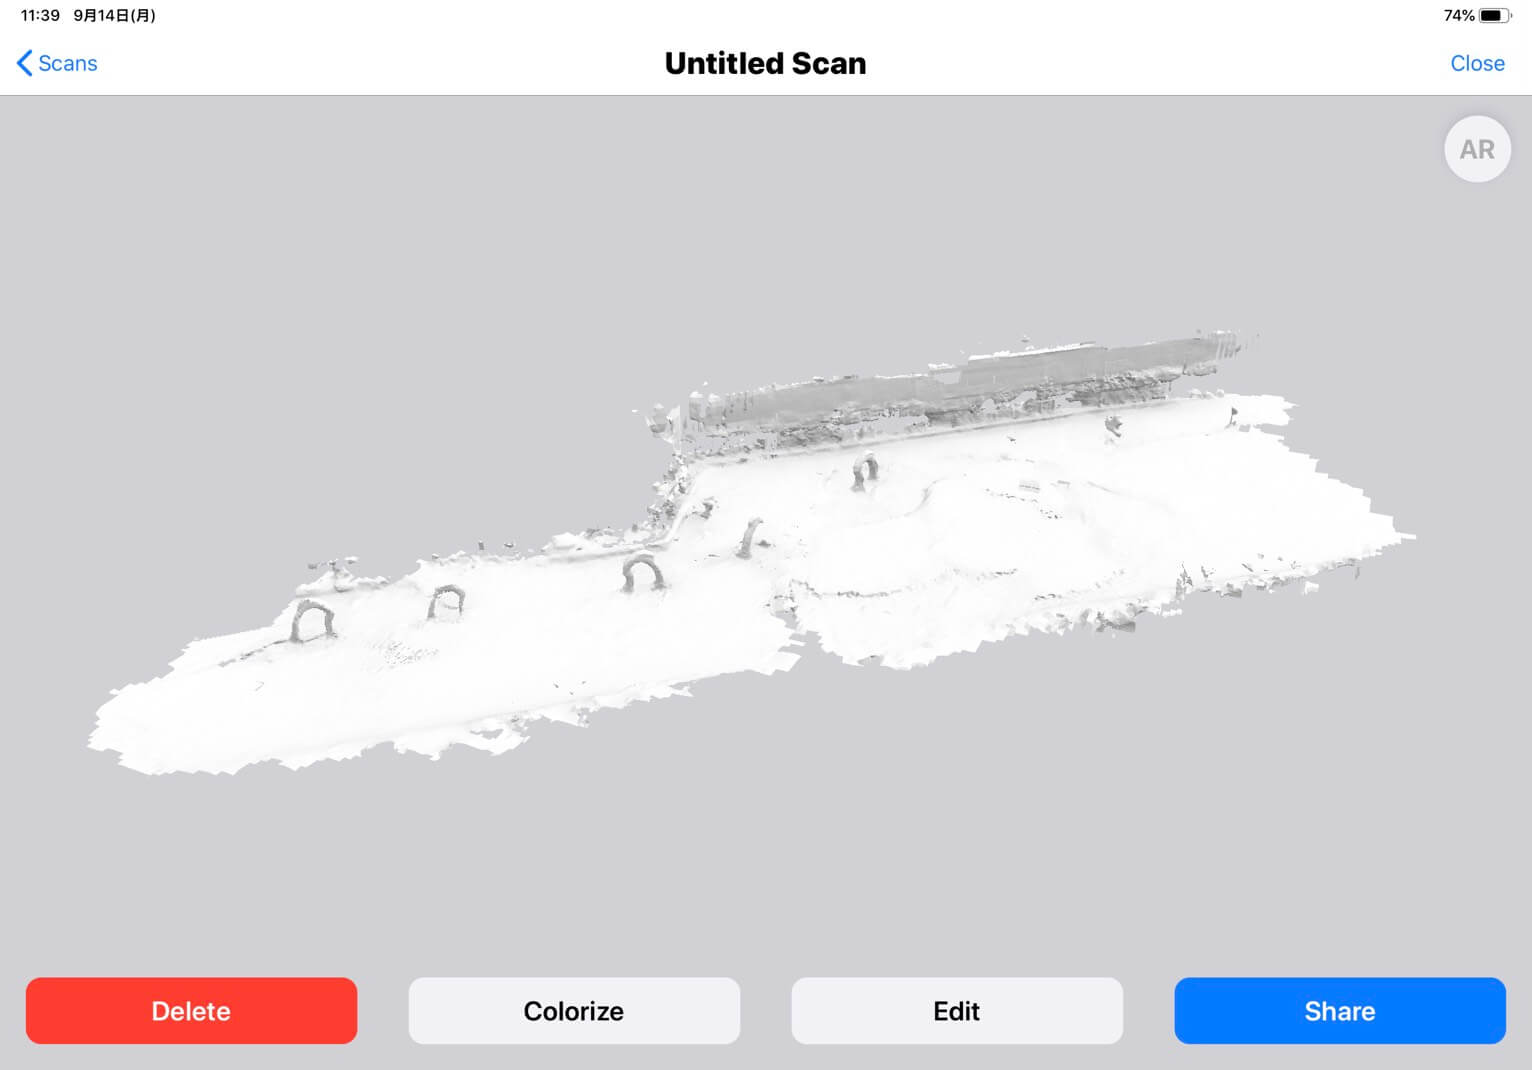
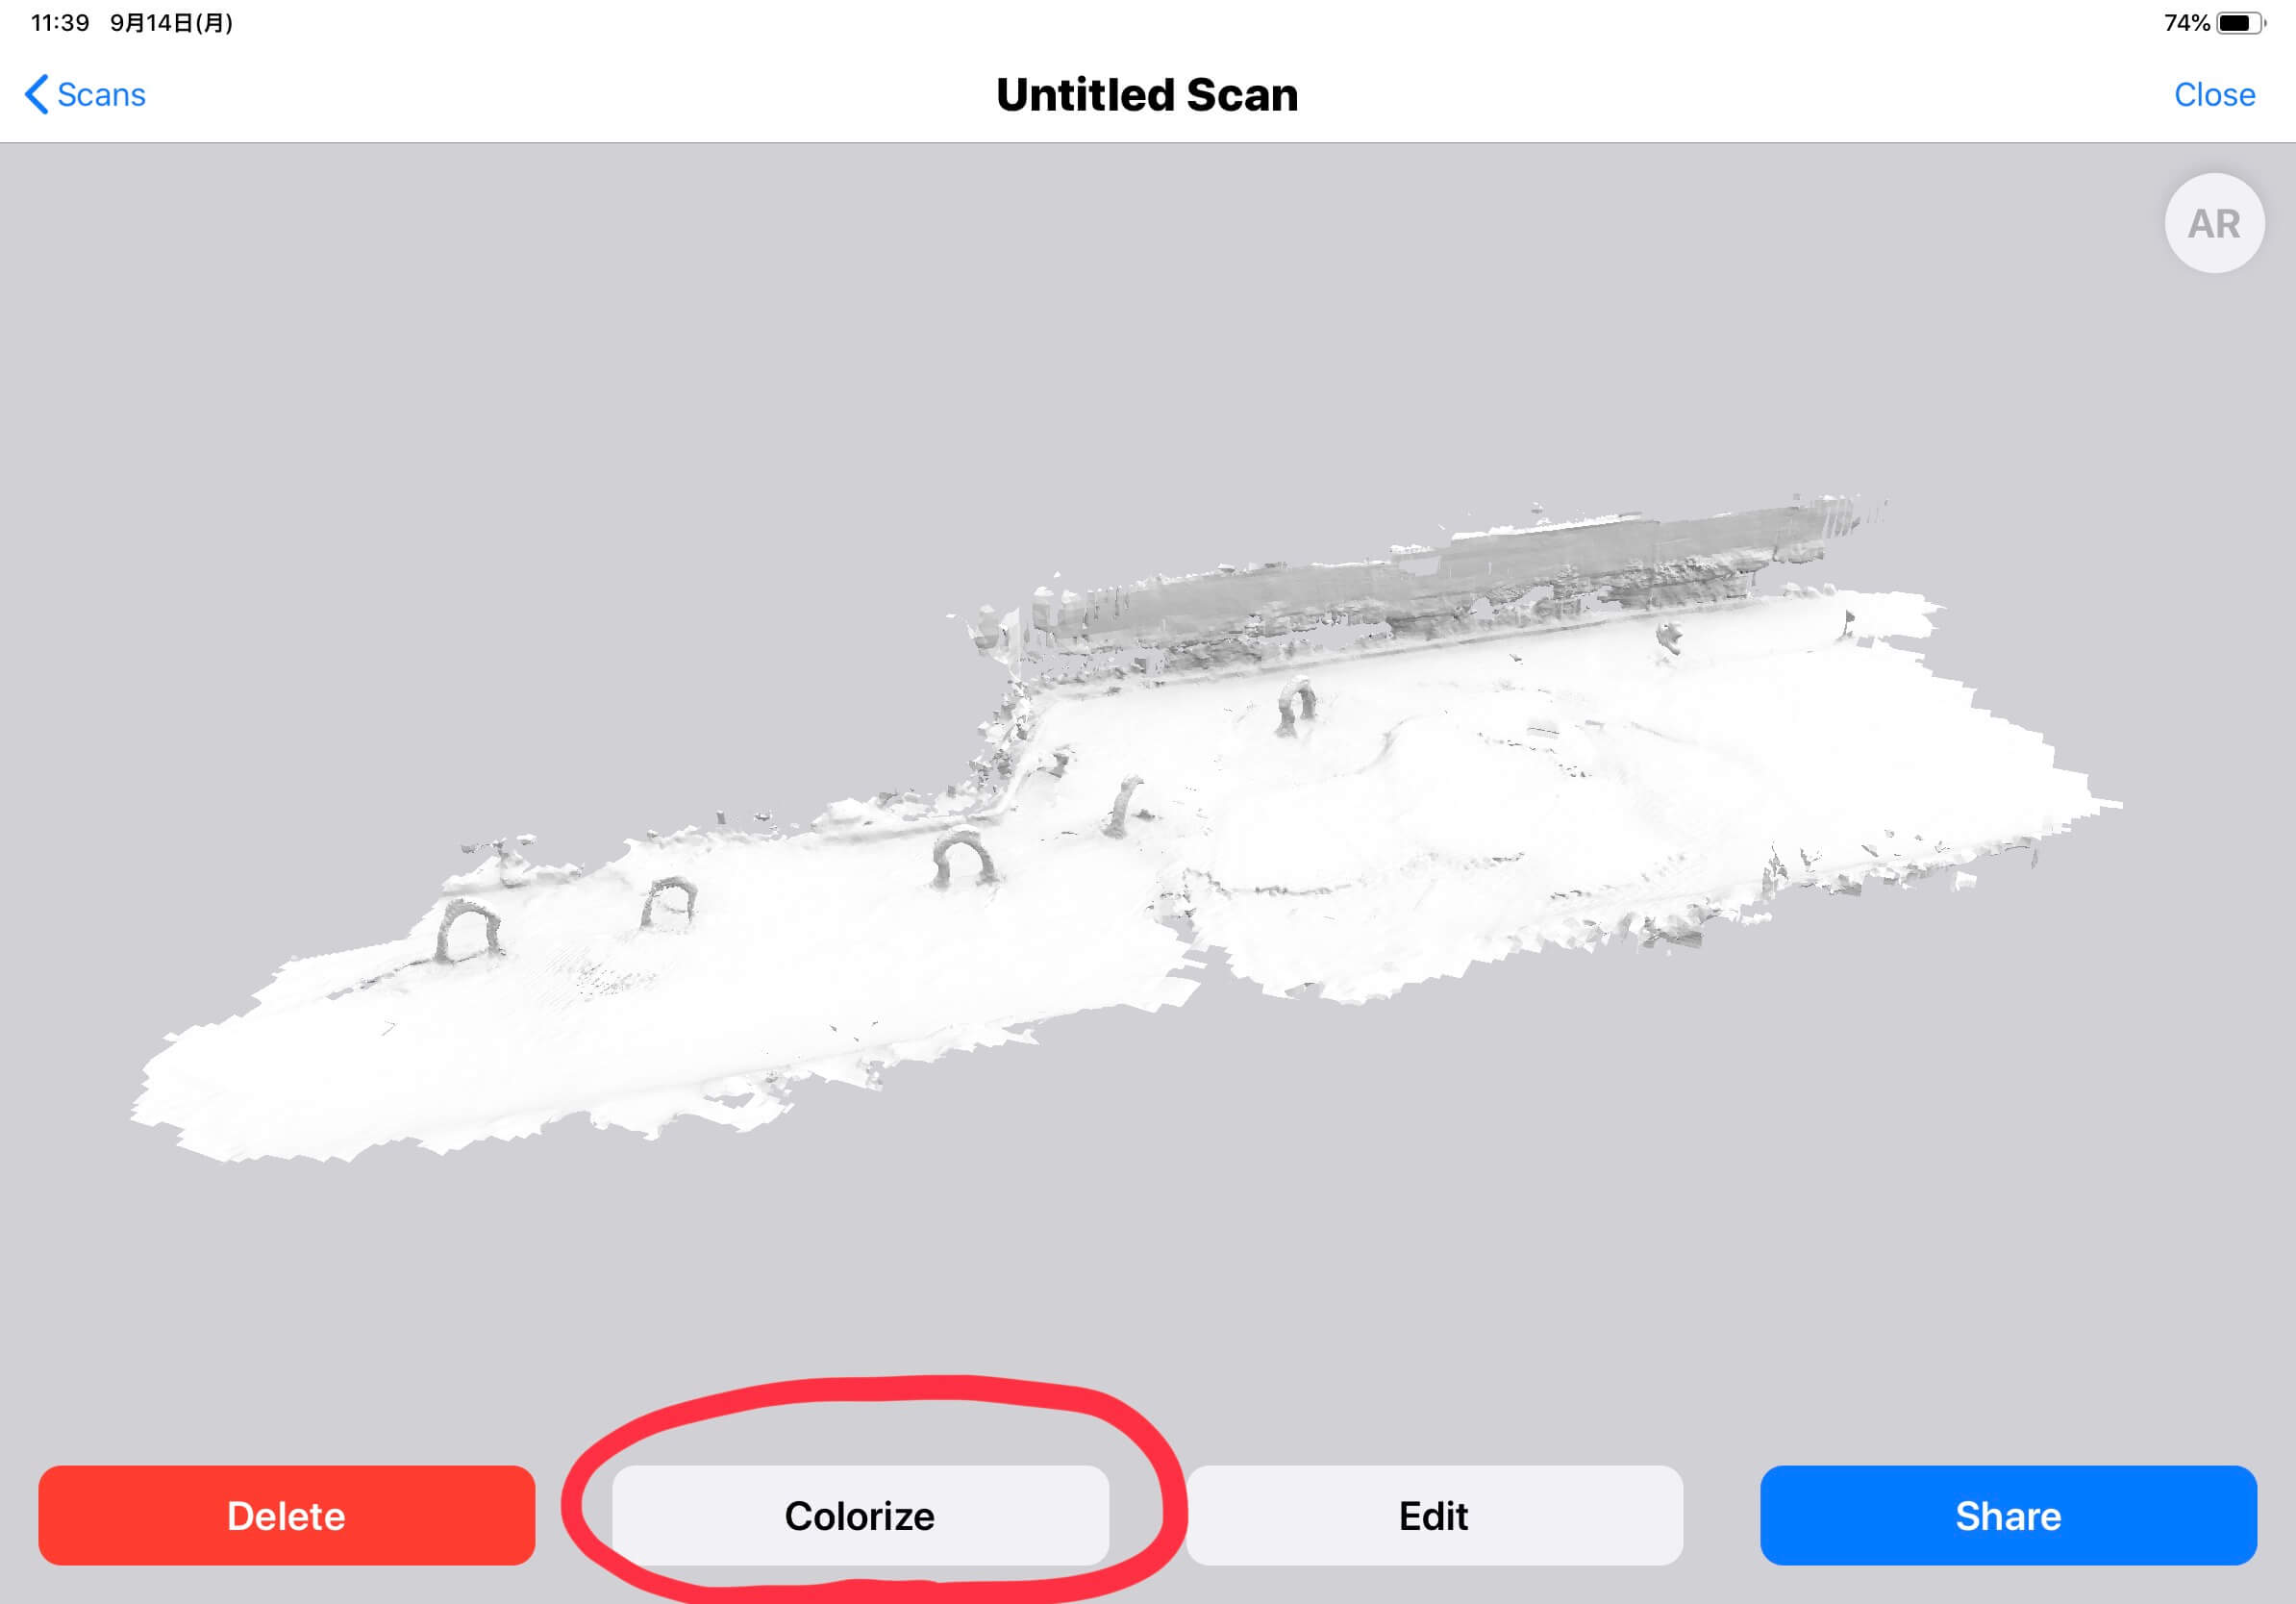
The mesh itself has been generated. Next, let’s generate the texture.
Select “Colorize” to generate the texture.
If the data is a bit large, the following warning is displayed: “This is a reminder that it will take __ minutes to generate the texture”. It takes three minutes to generate a texture for the following image.
Let’s select “Yes” here.
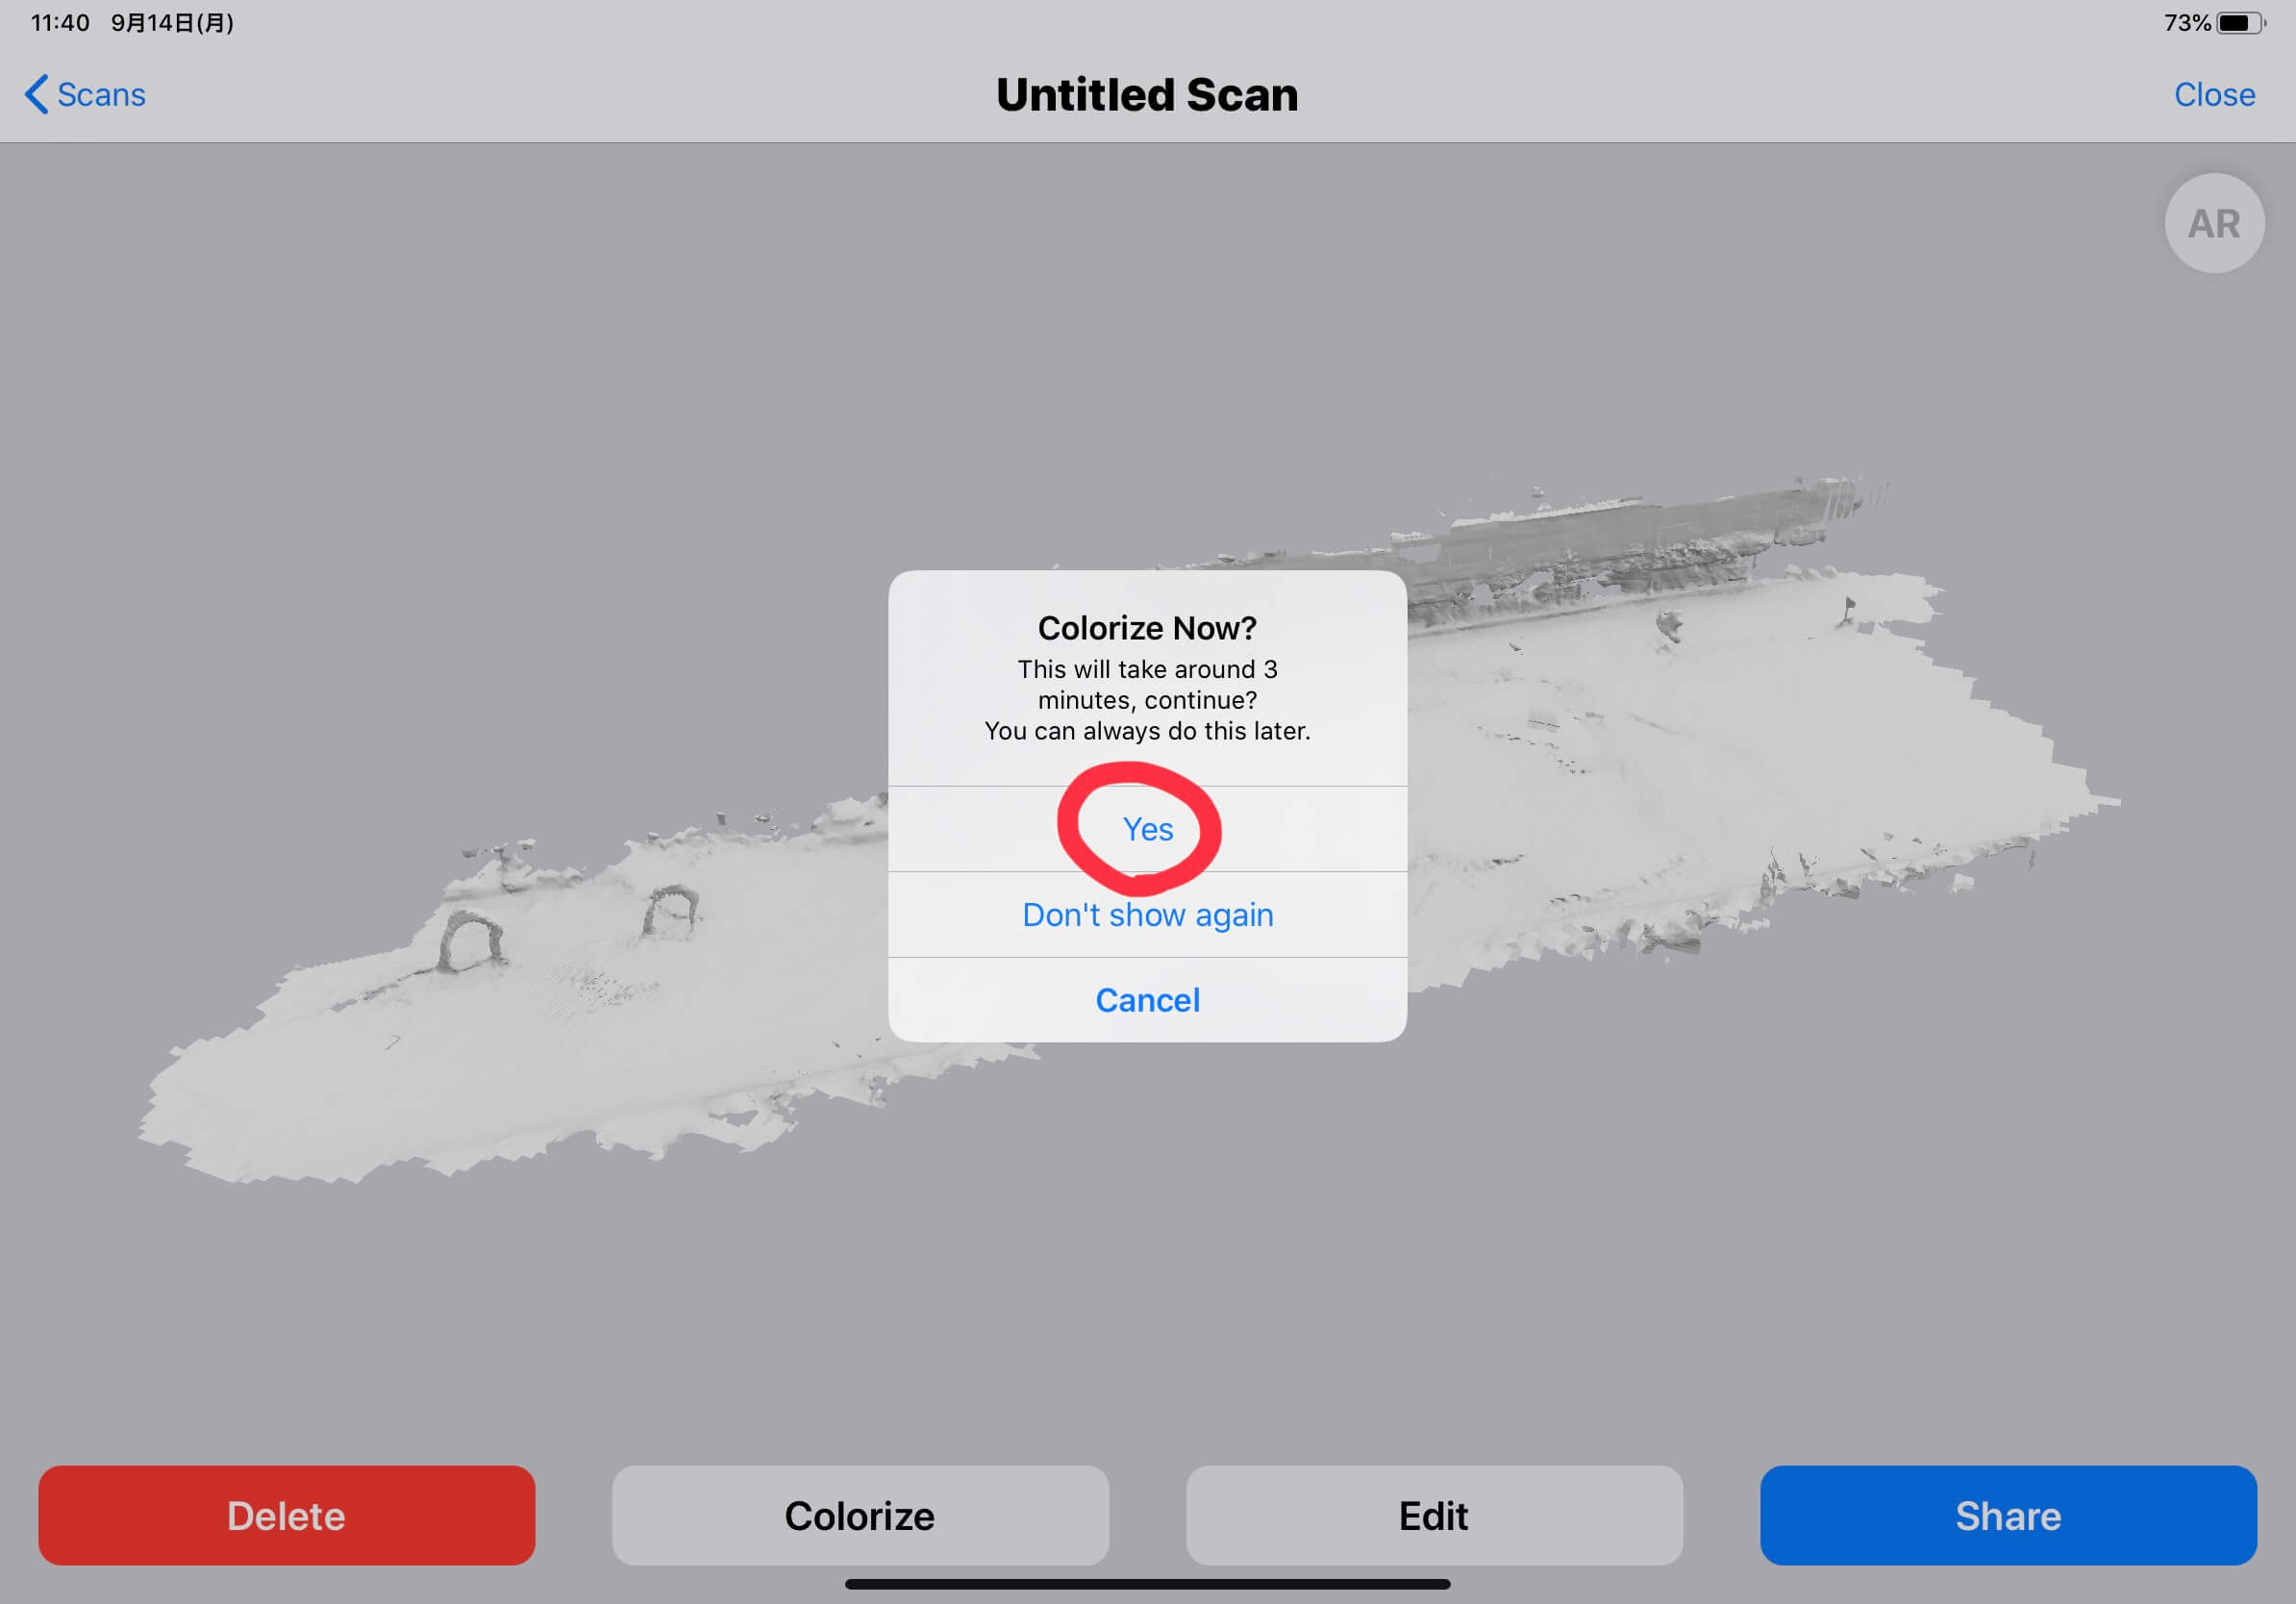
When you select “Yes”, the texture generation begins. Let’s wait a bit.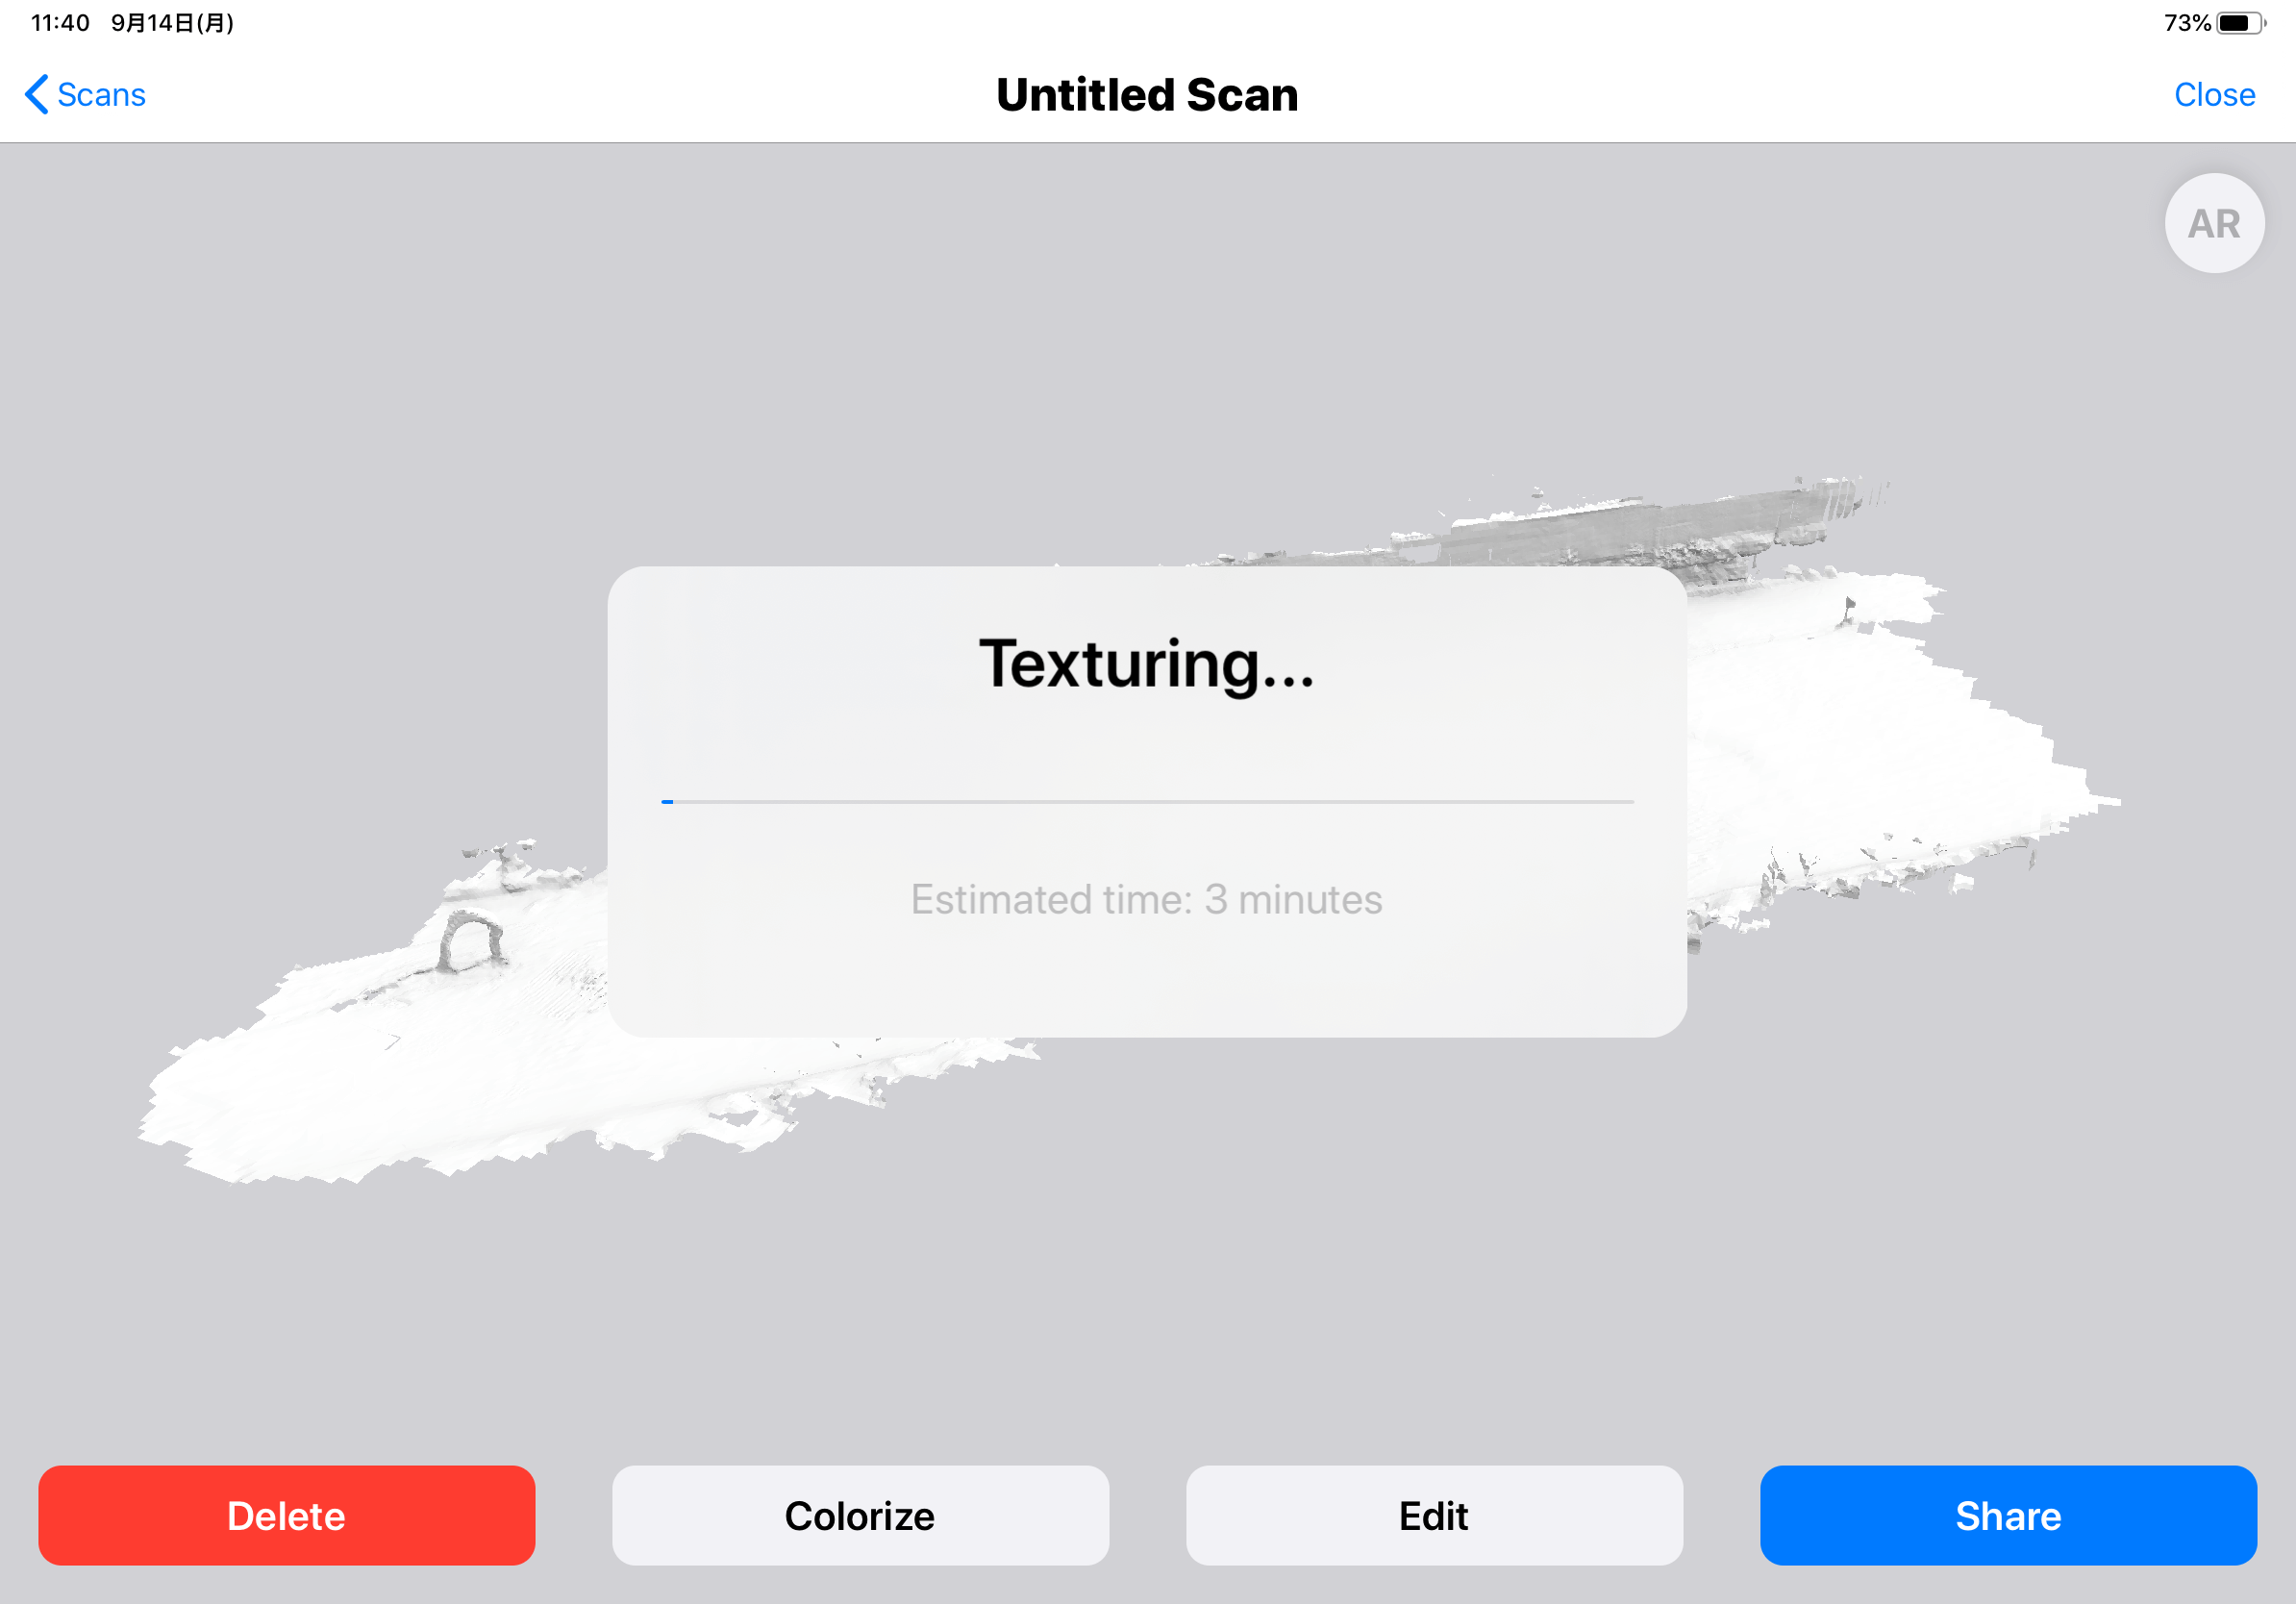
After three minutes of waiting, we have a textured 3D model.
The details are not exactly generated, but we were able to generate a rough outline.
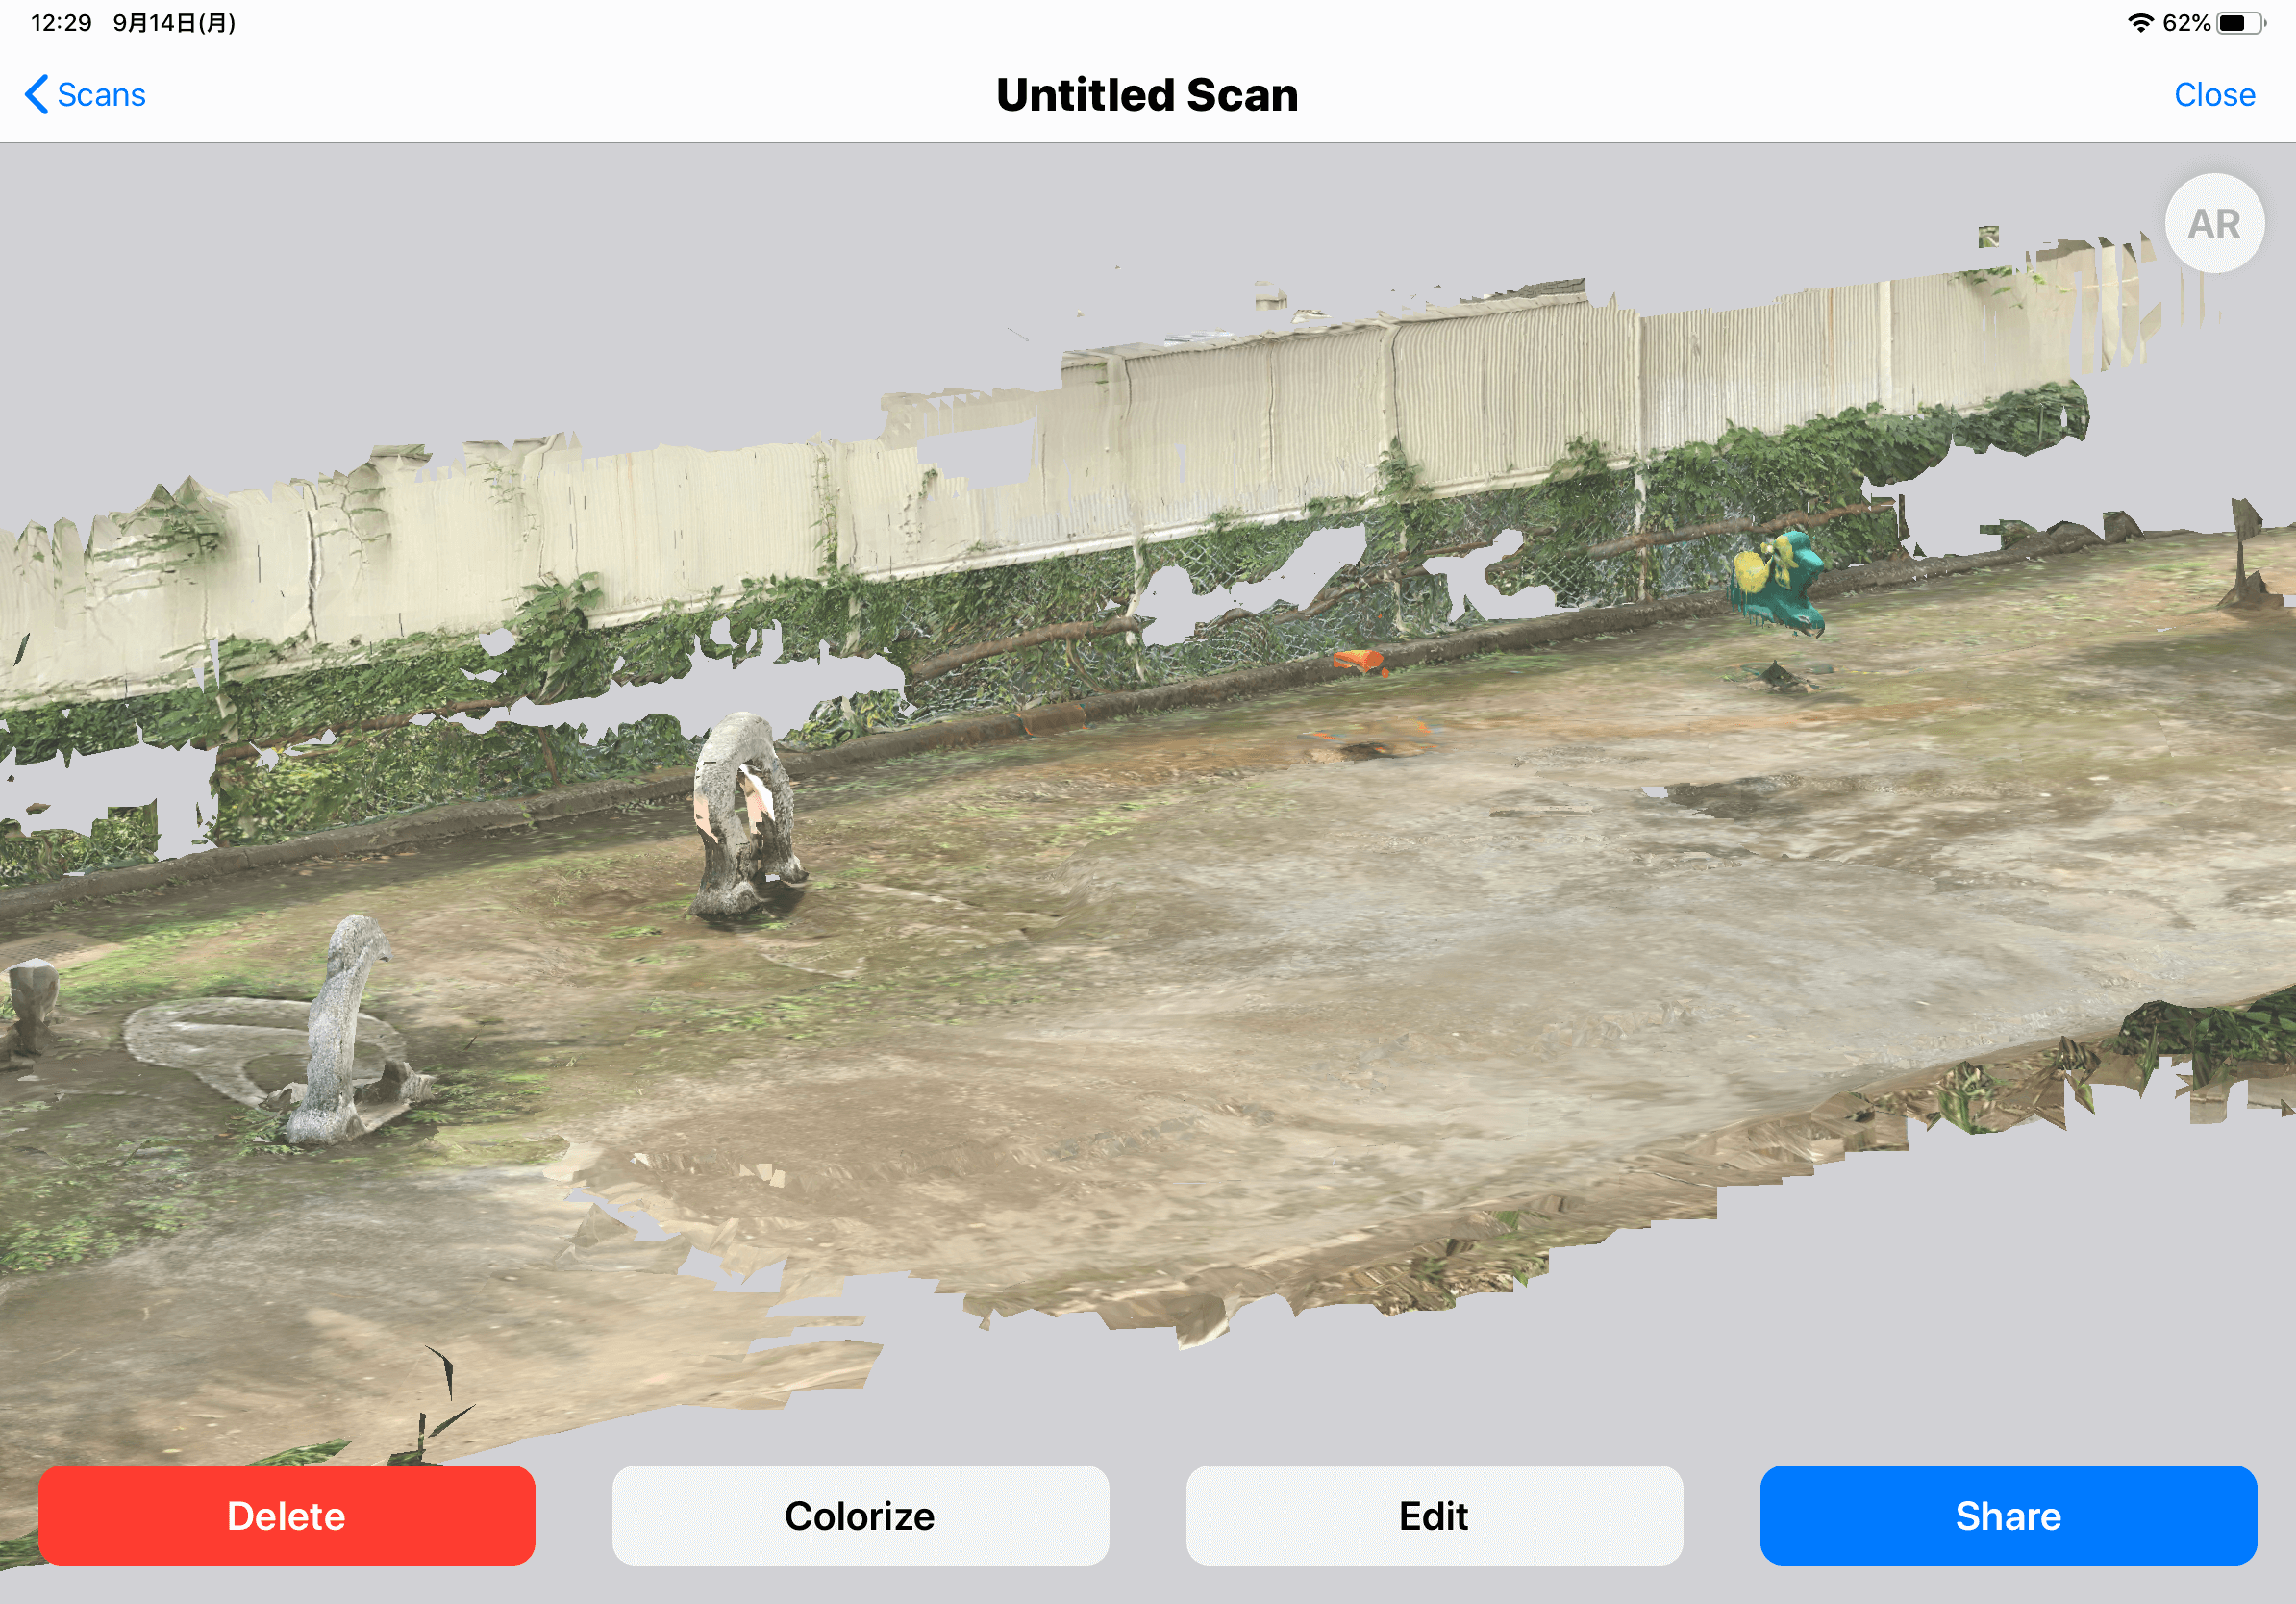
If you want to scan again, you can delete the generated 3D model by pressing the “Delete” button in the lower left corner. You will see the “Record” button and can scan again from there.
Modify
The generated model can be easily modified in the app. Let’s press the Edit button in the menu.
The edit screen appears.
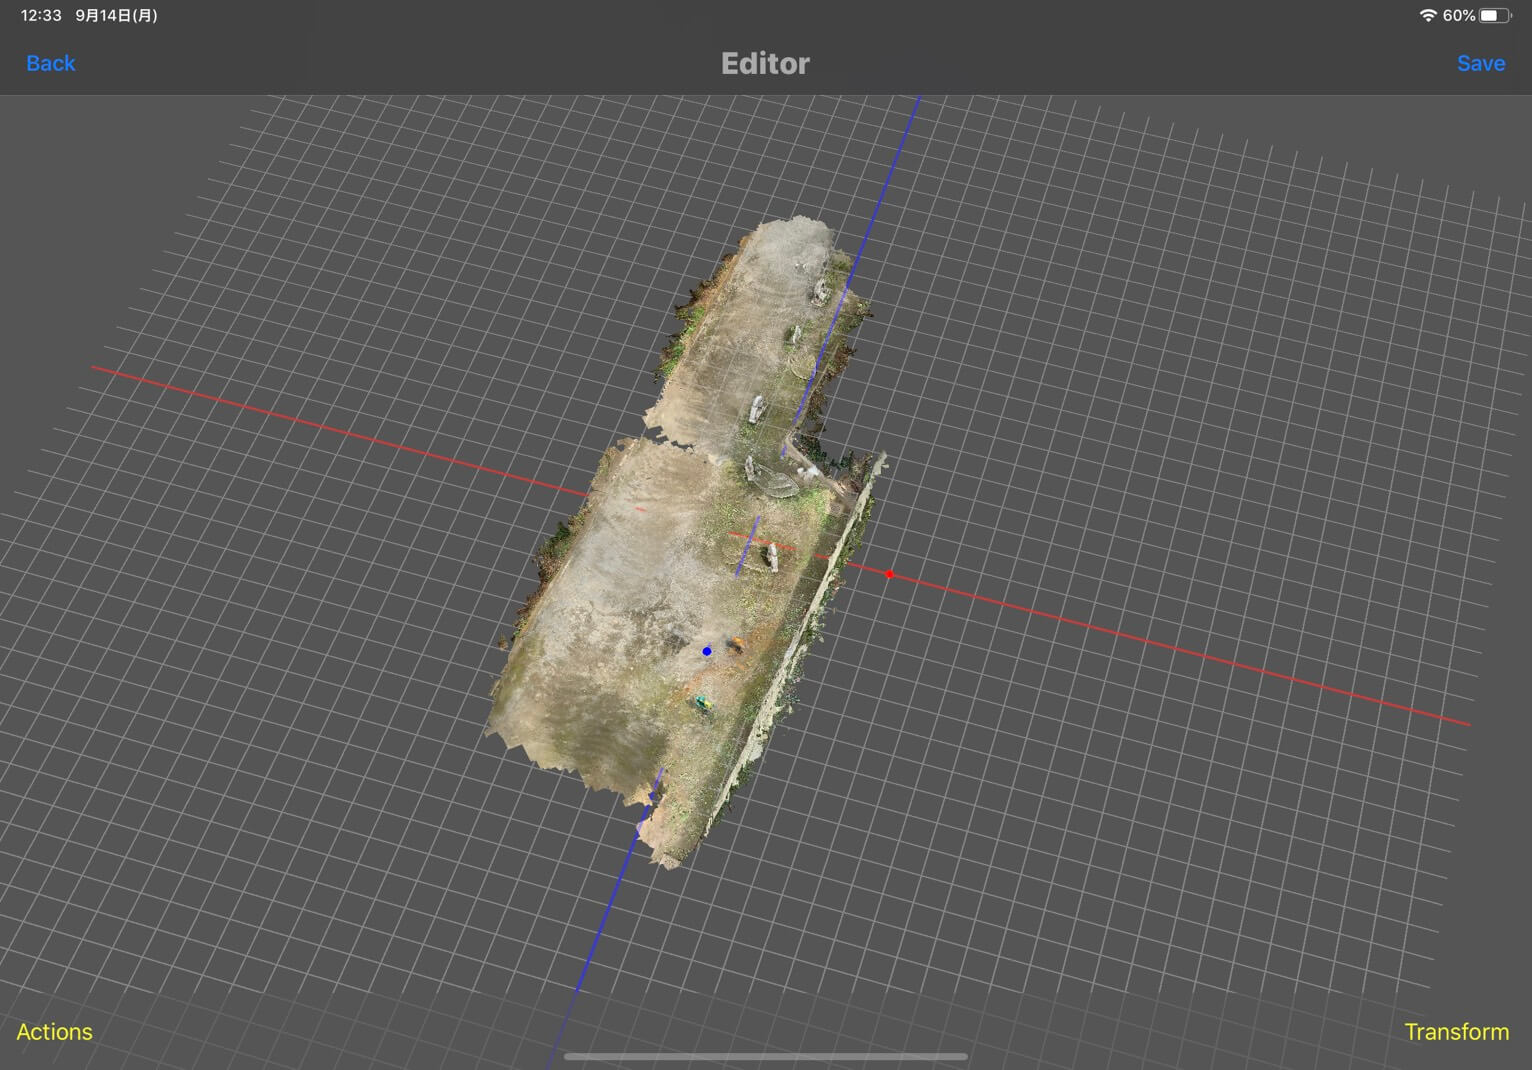
With “Transform”, you can adjust the position, rotation, and scale of the 3D model.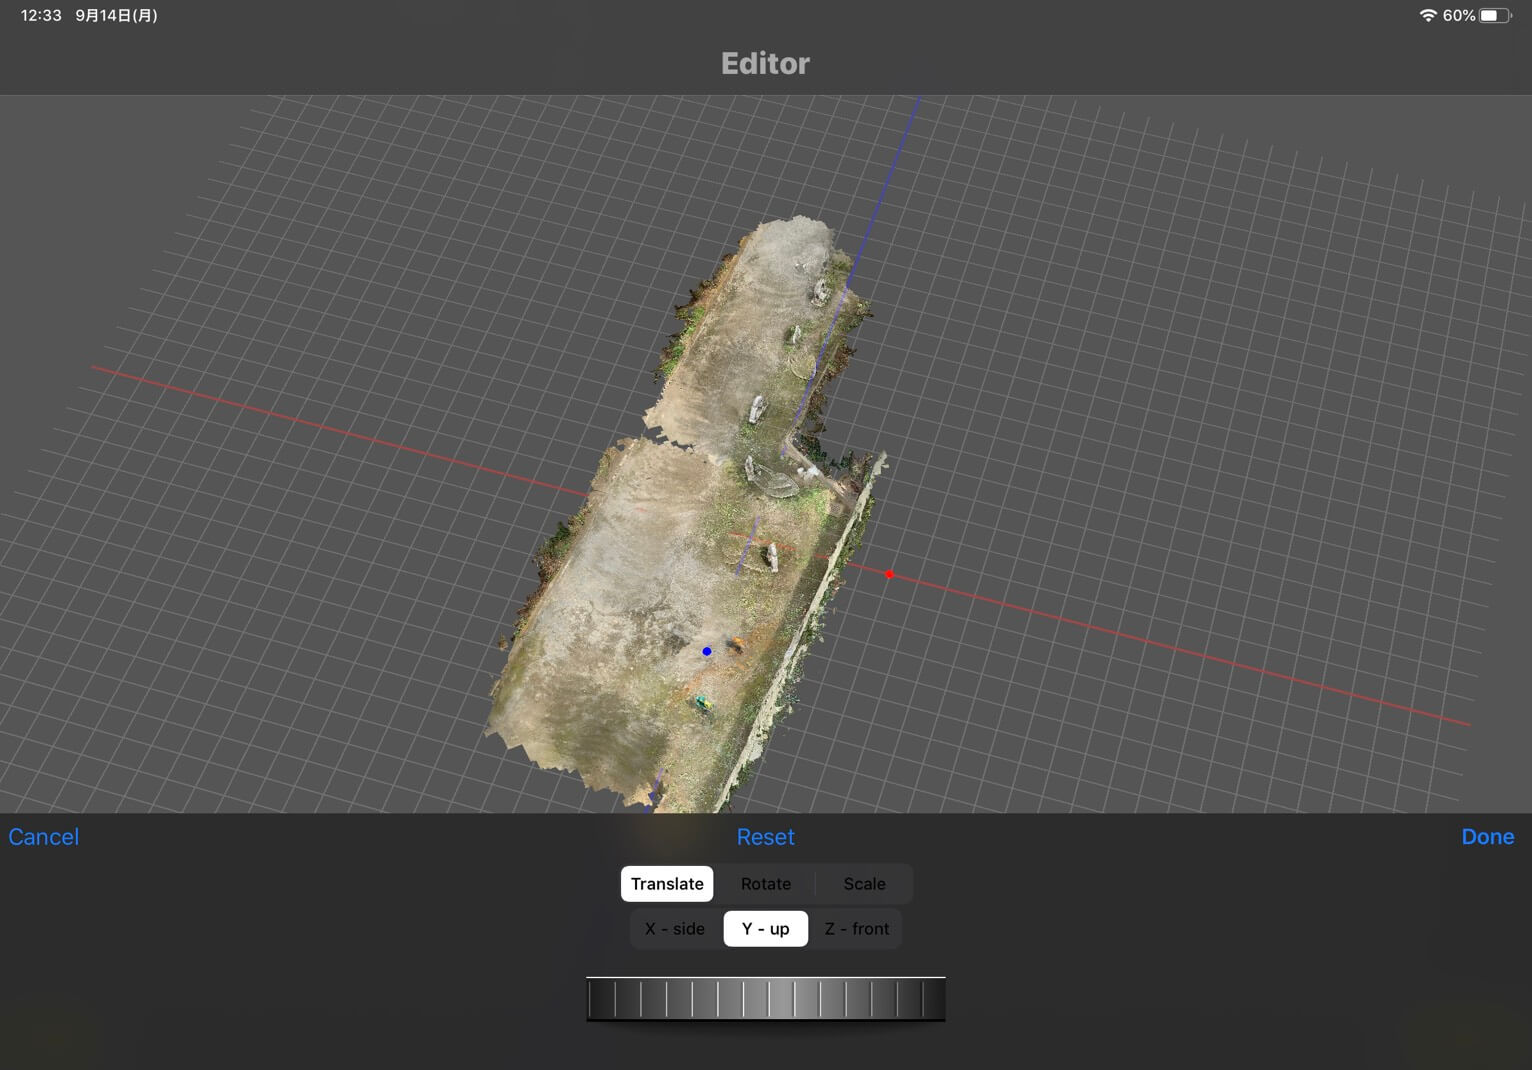
With “Action”, you can crop the model using a shape such as a plane or a plain.
Select “Align to Ground” to return the moved 3D model to the specified position.
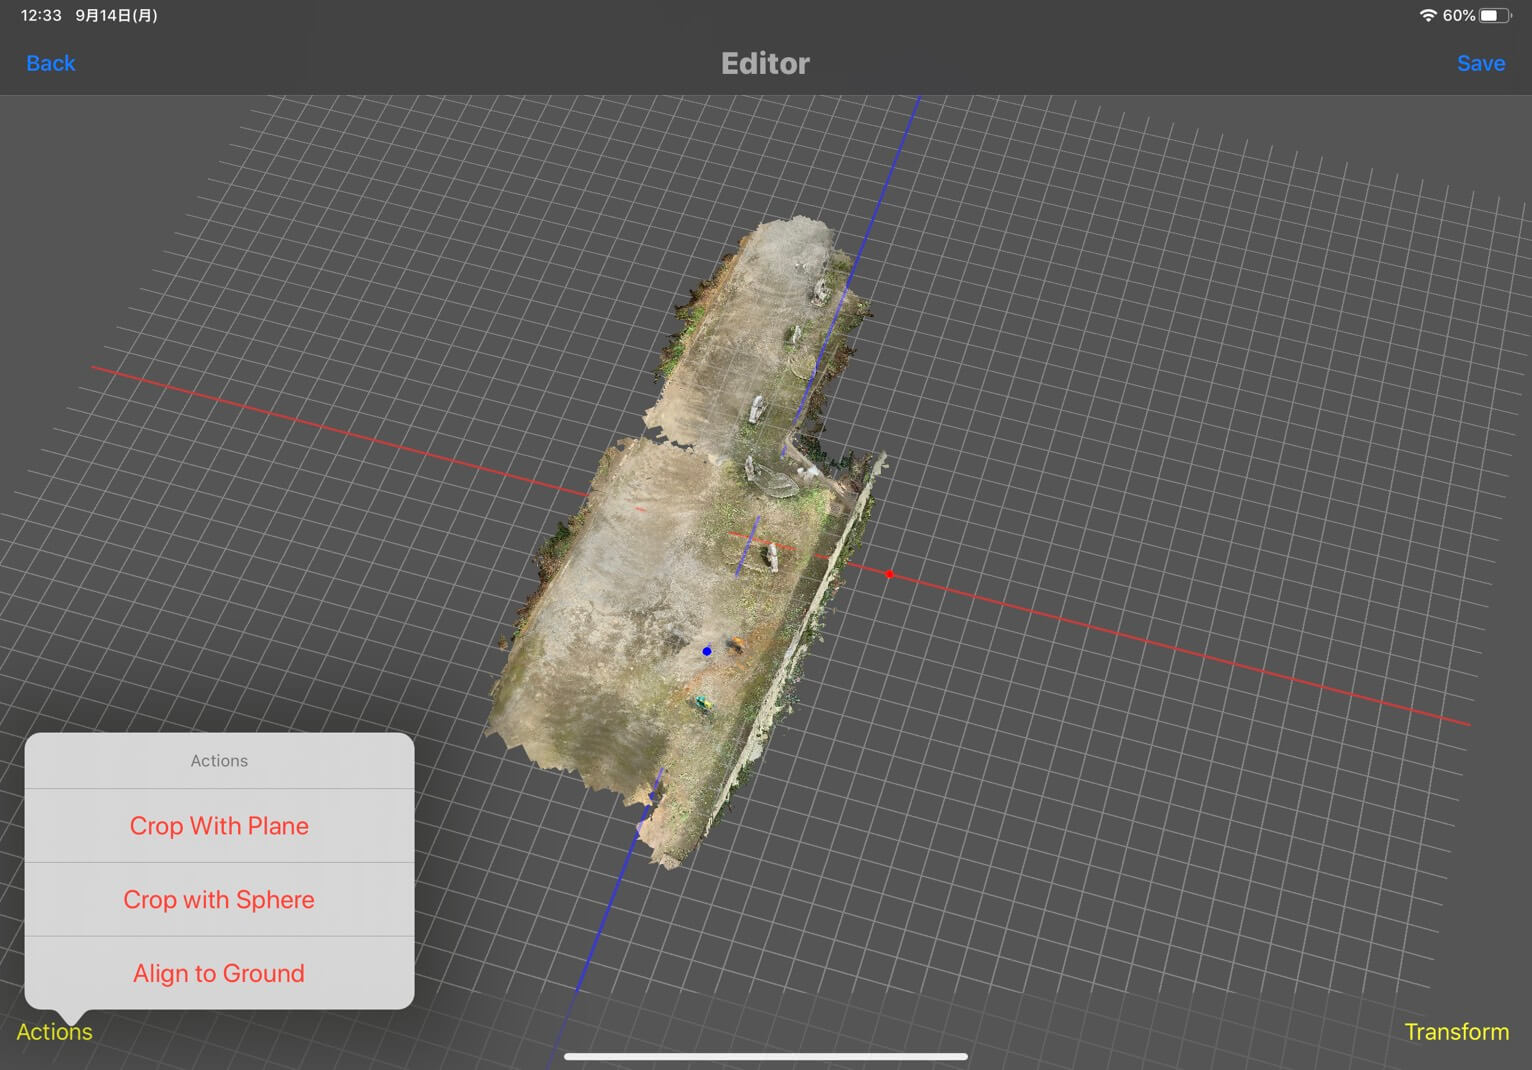
Edit it as you wish.
Exporting
Let’s export the generated model to a PC.
Select “Share” in the menu bar.
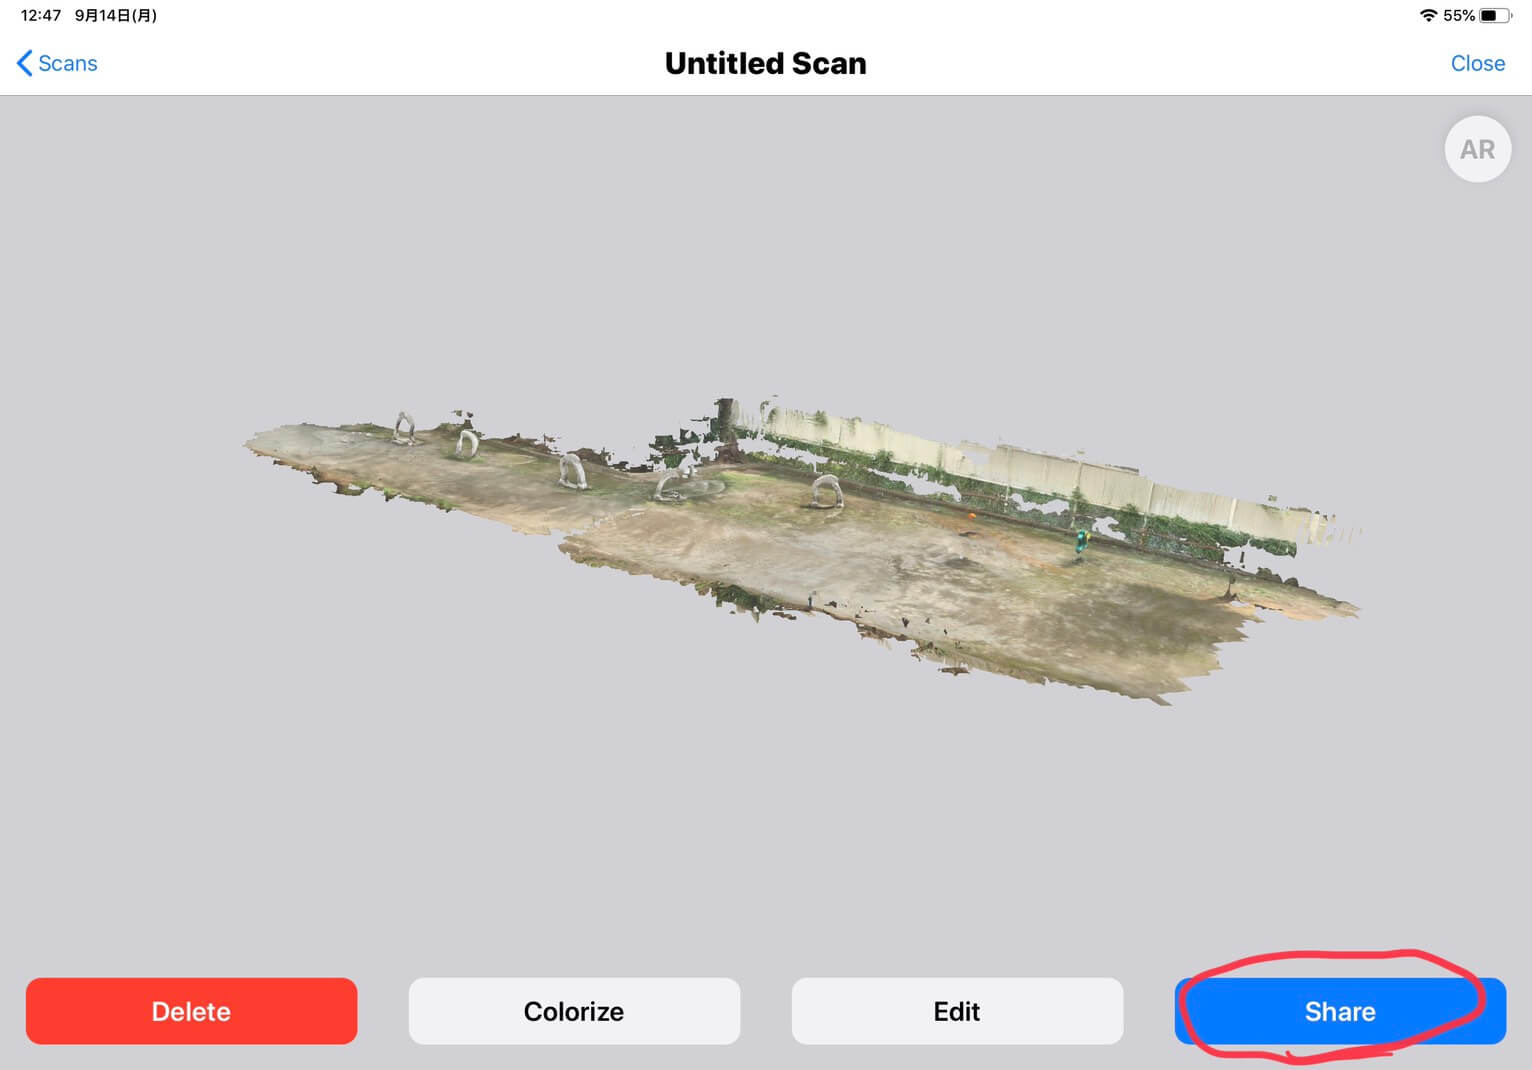
You will see a menu of file formats.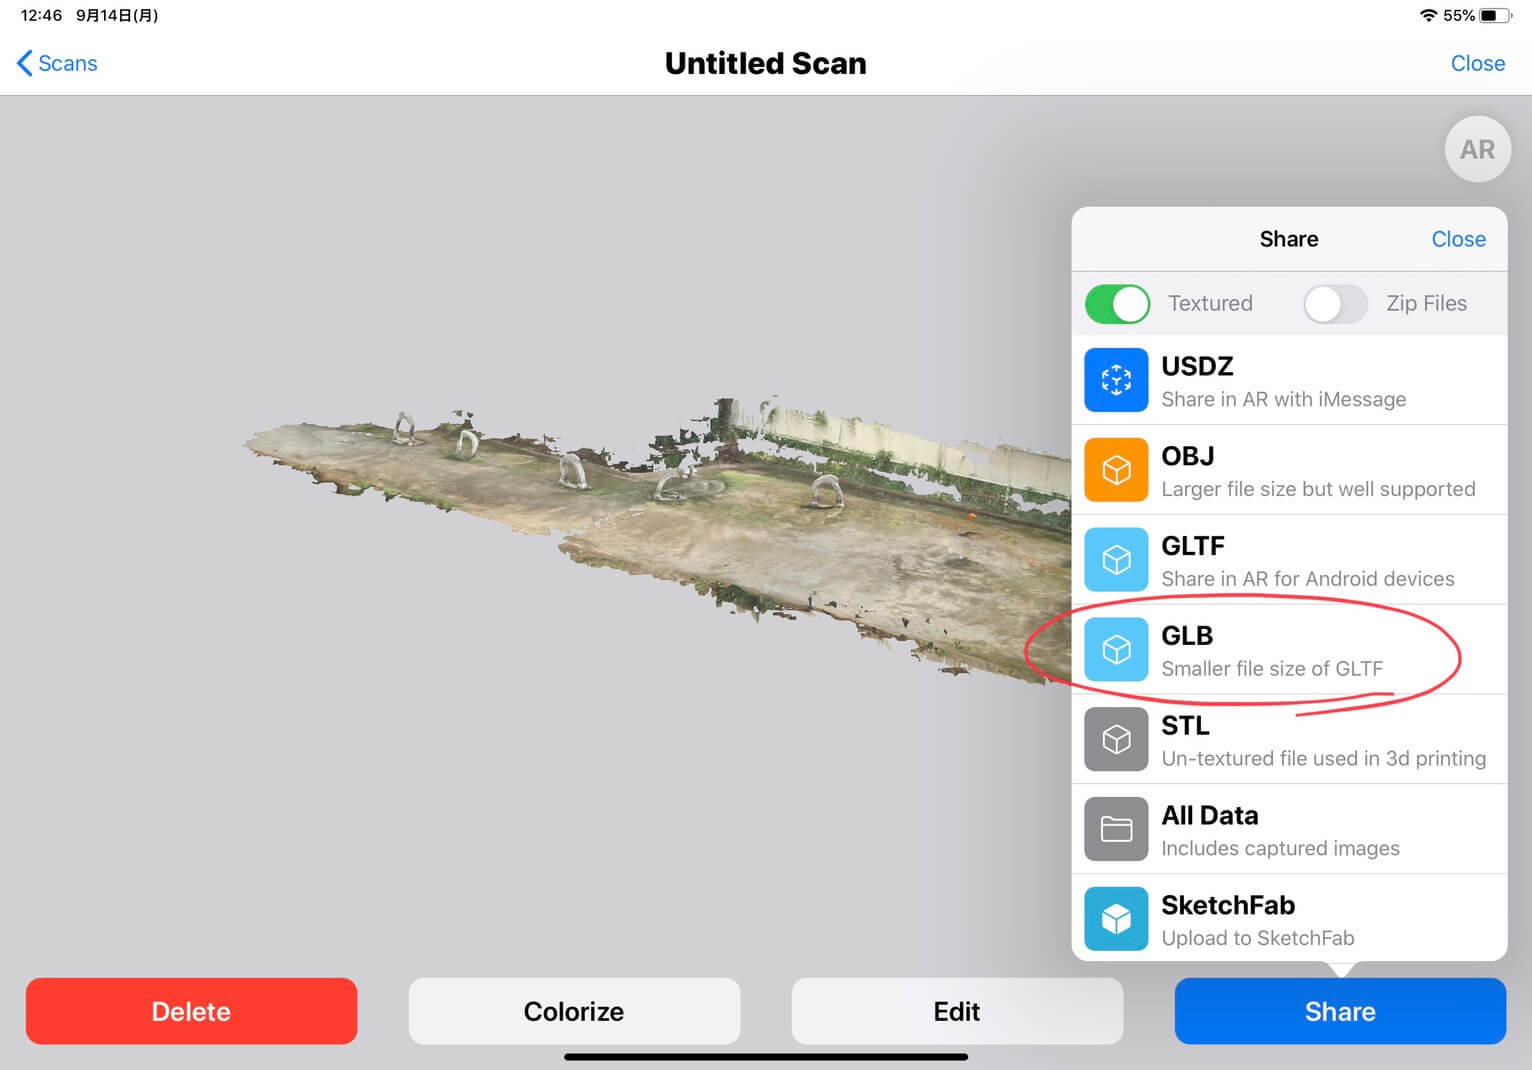
You can choose any file format. But in this case, we will choose GLB to upload directly to STYLY.
If you want to use the model in Unity, for example, choose OBJ. The texture file and the model data will be exported.
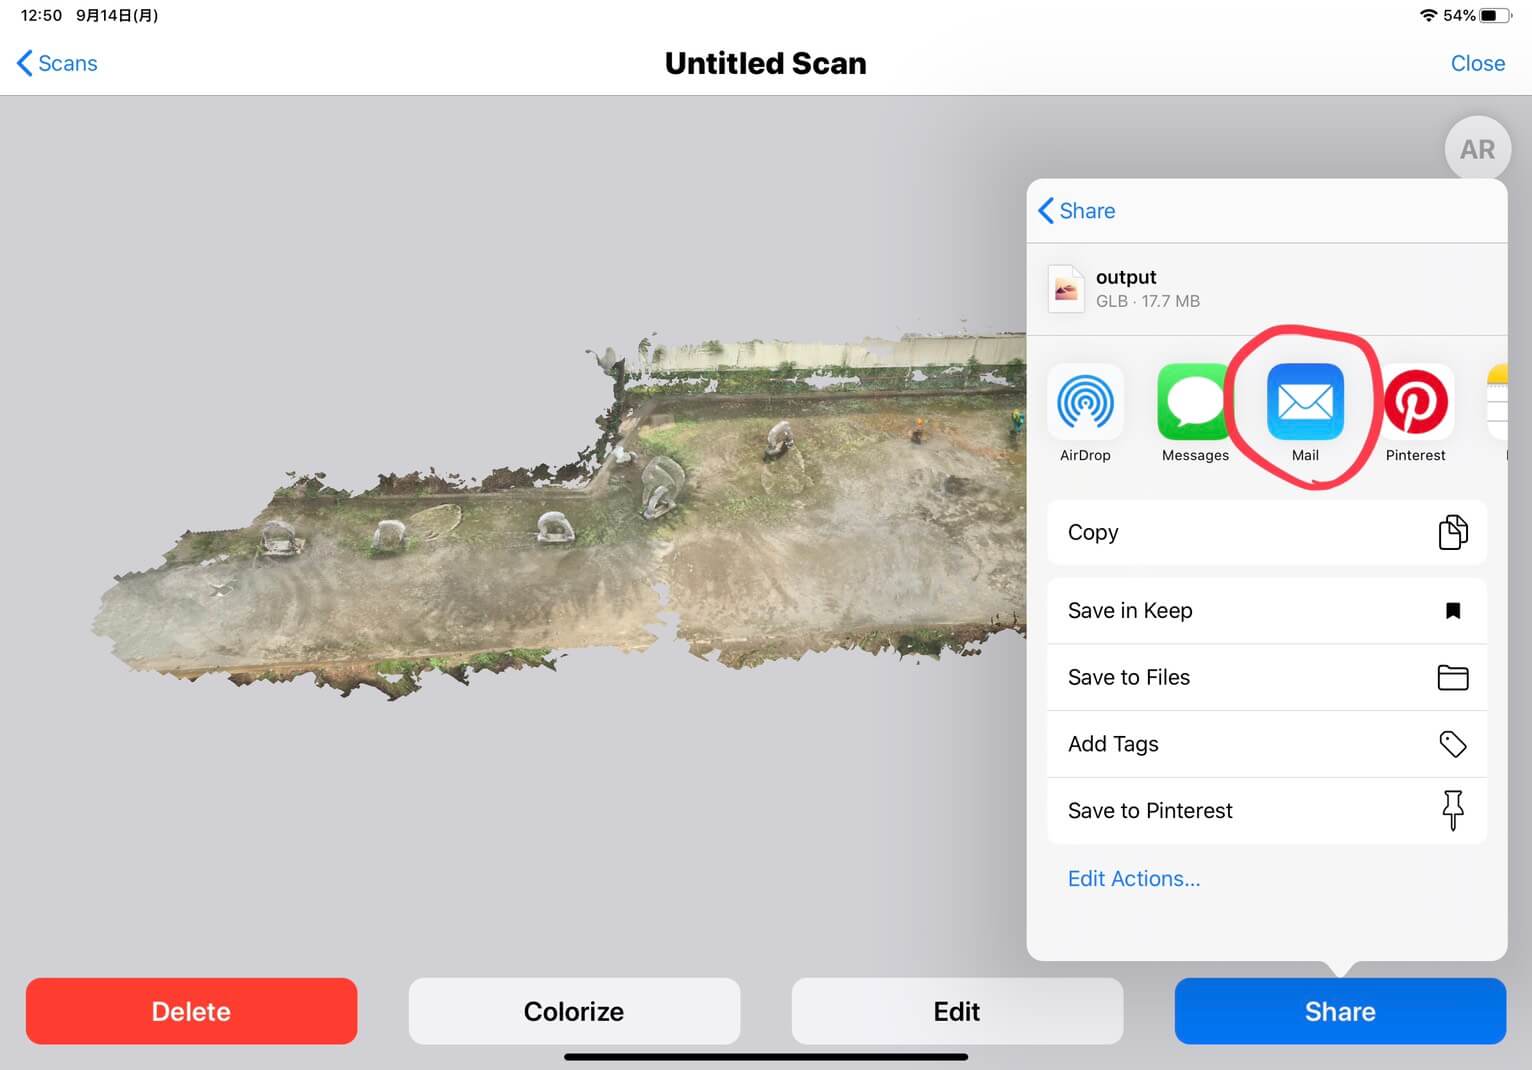
After selecting the file format, choose how you want to export it.
If you want to export to a PC, select “Email”.
Enter your email address and send your data.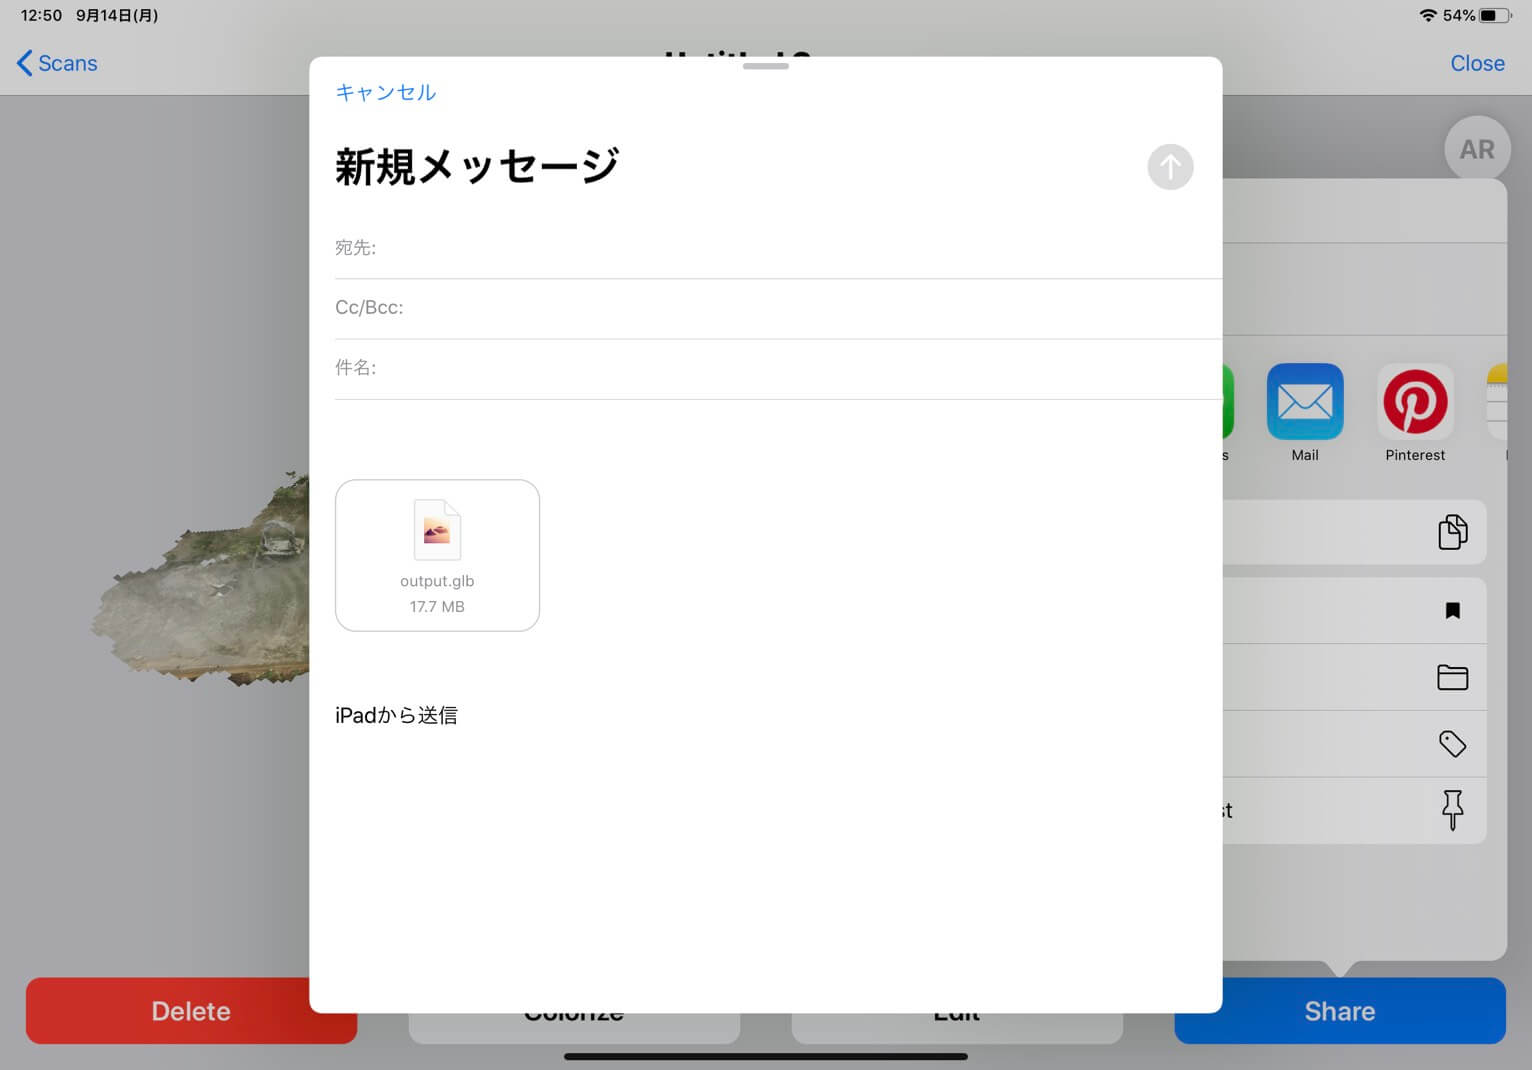
After a short time, the data will be sent to your email. Check the email form on your computer and download the data.
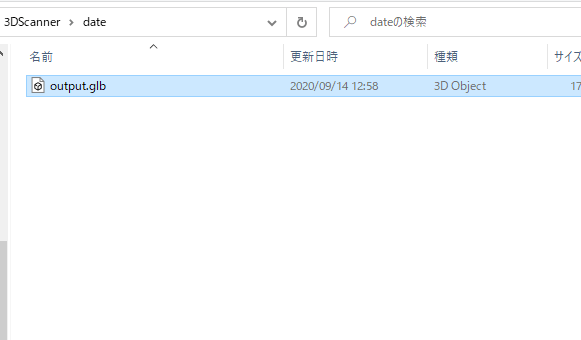
Save the data to any location.
Your export is now complete.
Upload to STYLY
Upload the exported model to STYLY, and view it in VR and AR.
If you haven’t created an account yet, please refer to the following
Create a STYLY account
How to create an account

Create a new scene in STYLY’s STUDIO and upload your model in GLB.
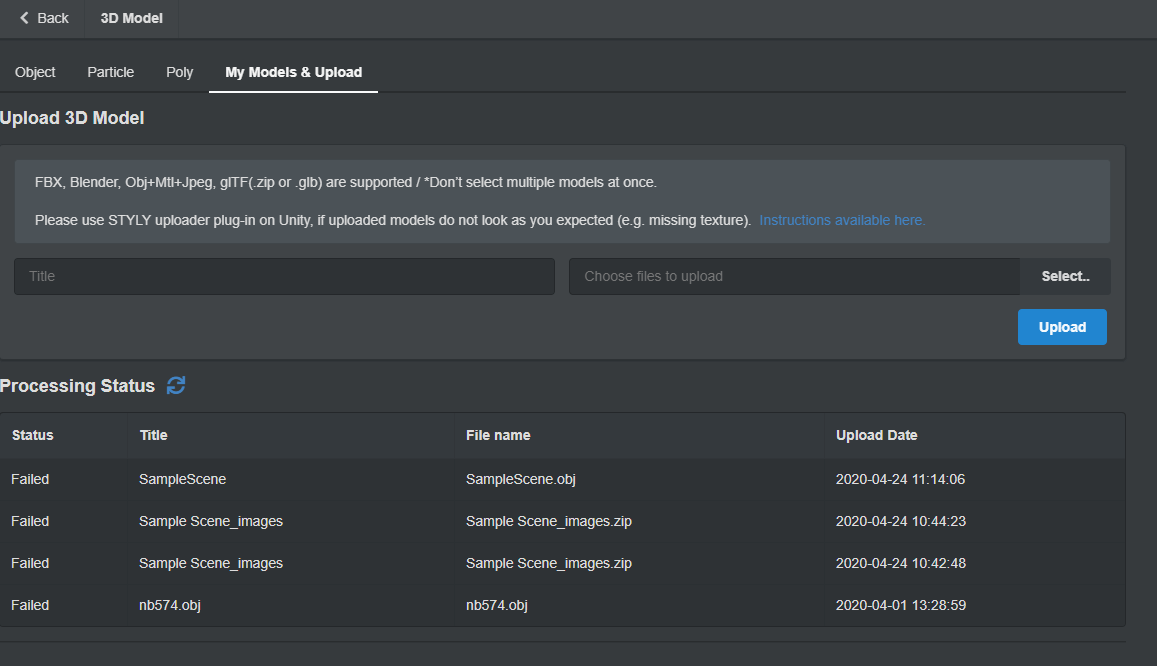
Once the upload is complete, place it in the scene.
When the model is uploaded, it will be dark due to the lighting.
Let’s adjust the lighting to make it look nicer.
Now you’re done!
Let’s design a nice space. Here’s a scene I created using the 3D model I generated this time.
Introduction to NEWVIEW SCHOOl ONLINE
NEWVIEW SCHOOl ONLINE, where you can learn the basics of Unity and PlayMaker to create VR/AR content—from the fundamentals to the application—is now open. It also covers the process of producing the fascinating content available on STYLY (and the techniques used to create it),.
