In this article, I will introduce the basic Materials and how to create a UV layout. Maya2016 is used here.
The materials shown in this article are mainly for the object other than the human model.
Basic Materials

When creating a primitive, the ‘Lambert1’ tab appears in the Attribute Editor. It’s a shader added by default. The ‘Lambert’ shader is suitable for the object with a matte surface such as rubber, concrete.
You can set the colour, transparency, ambient colour, Bump mapping and etc. in ‘Common Material Attributes’. ‘Lambert1’ is not used so often. So we create a new material basically.
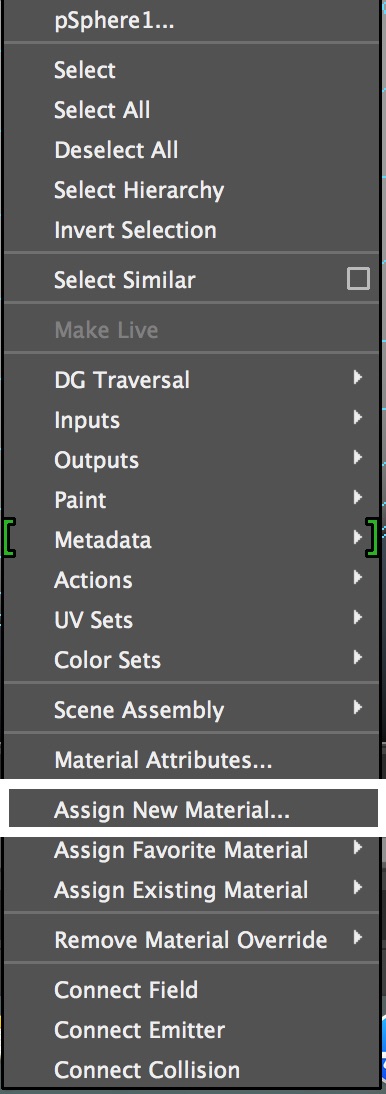
With a primitive or a face selected, right-click and select ‘Assign New Material’.
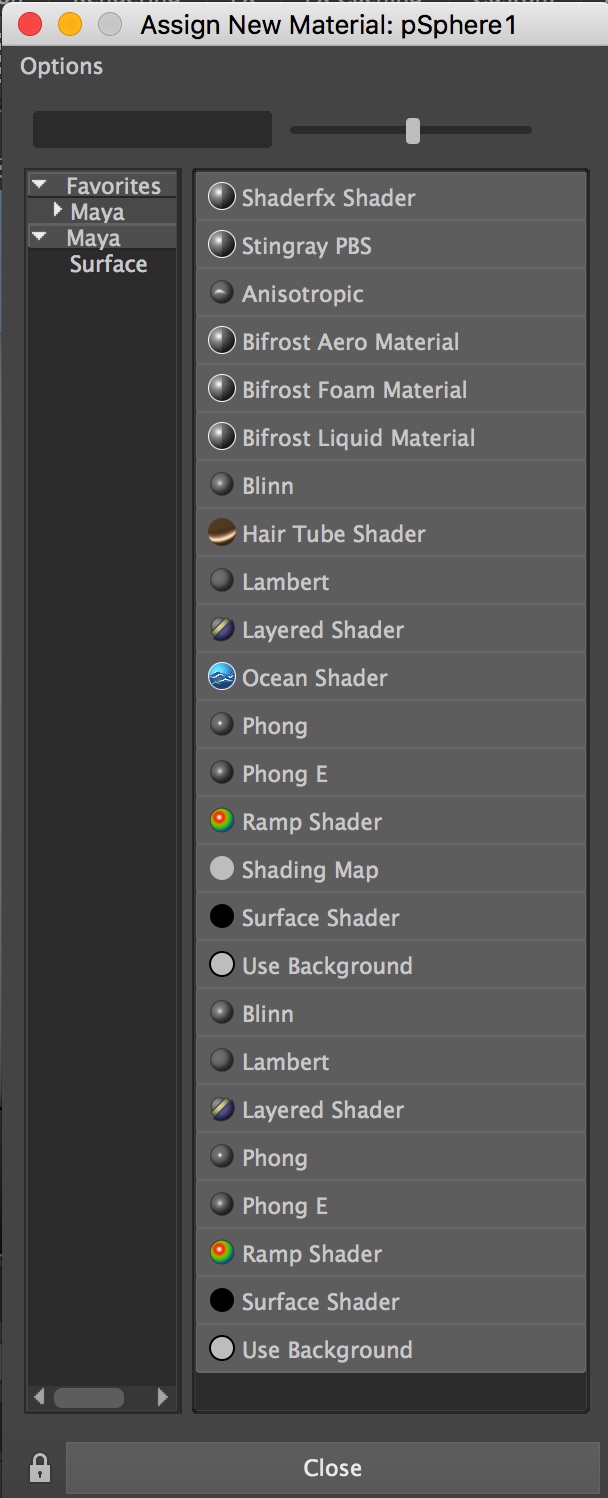
It brings up the ‘Assign New Material’ window. You can apply a material in this window.
The following materials are frequently used:
Lambert (Matte surface, e.g. rubber, concrete and etc.)
Blinn(Metallic surface, e.g. varnish, metal and etc.)
Phong(Glossy surface, e.g. plastic, mirror and etc.)
That ends the introduction of the basic materials.
UV Mapping on Maya
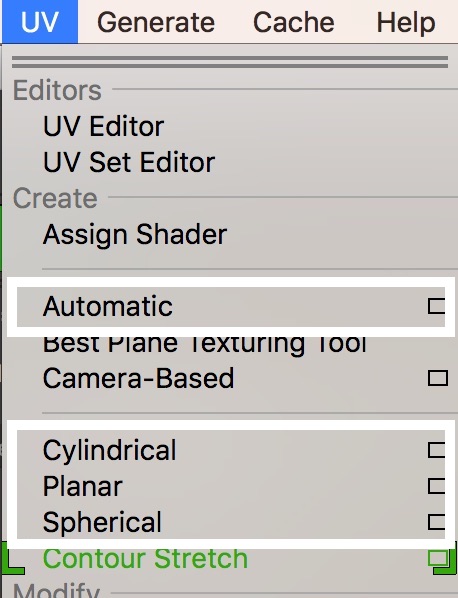
The followings are the UV mappings available in Maya.
Planer UV mapping: It projects UVs onto the mesh through a plane.
Cylindrical UV mapping: It creates UVs based on a cylindrical shape enclosing the mesh.
Spherical UV mapping: It creates UVs based on a spherical shape enclosing the mesh.
Automatic UV mapping: It creates UVs with the best UV placement automatically.
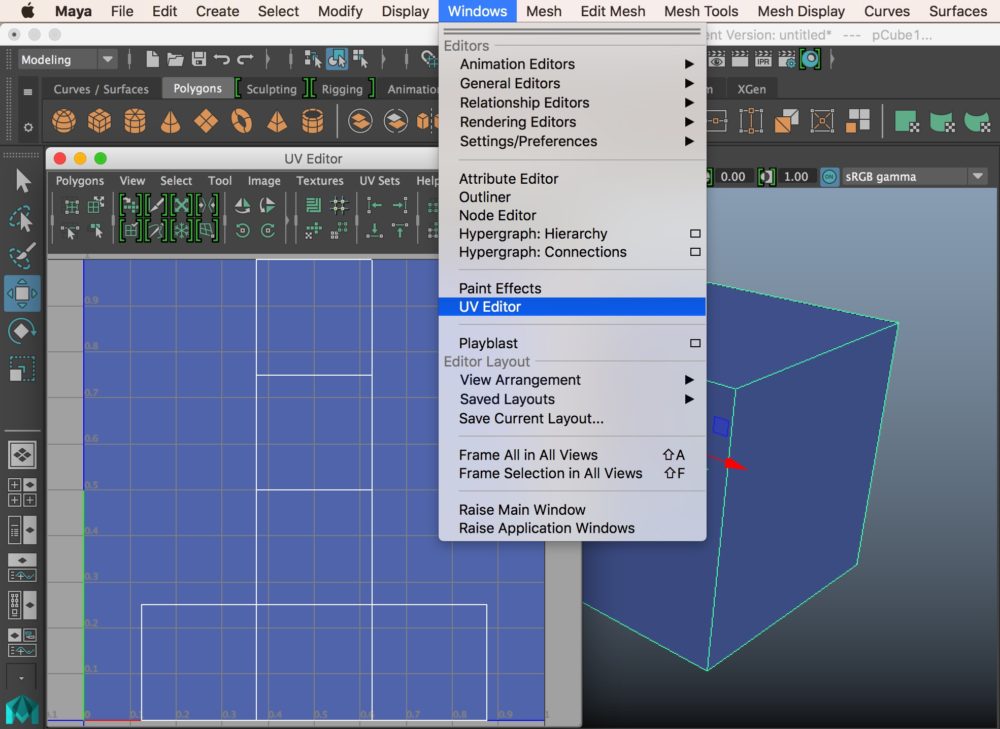
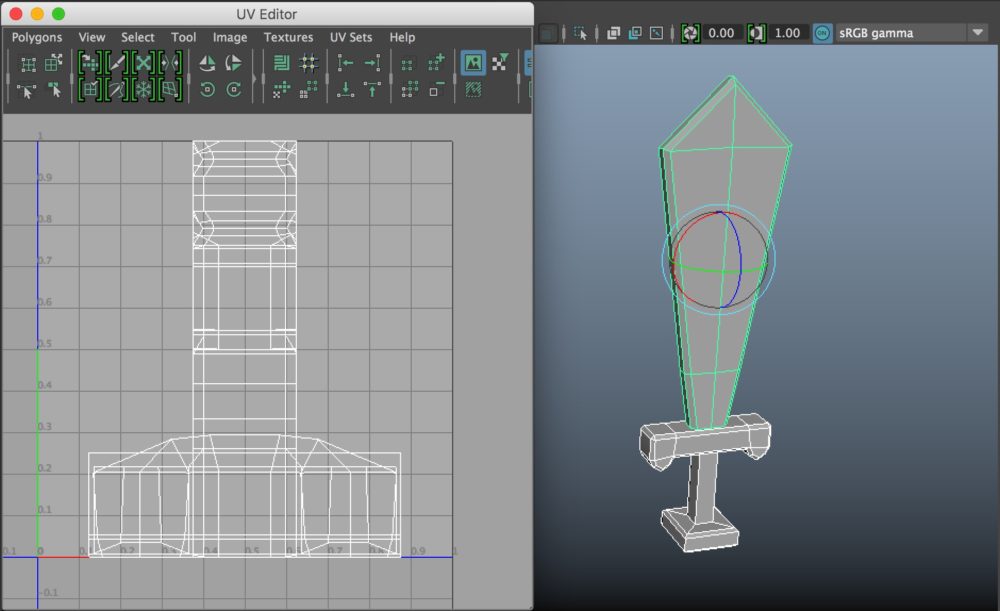
Windows > UV Editor
It opens the UV Editor. The default primitive has already got a UVs. By selecting a component in the UV Editor, you can find the corresponding component in the 3D scene view.
Apply a UV mapping
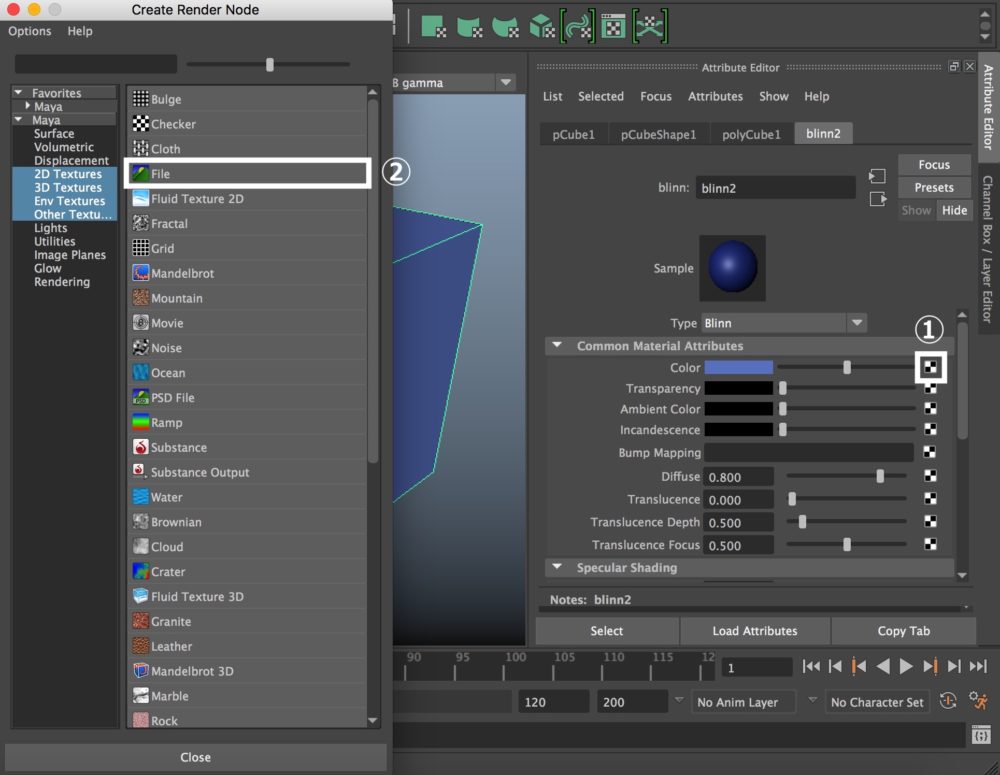 Click the checker-board icon next to the ‘Color’ slider on the ‘Common Material Attributes’ bar. Select ‘Create Render Node > File’.

You can upload the file by entering ‘Image Name’ on the File Attribute bar.
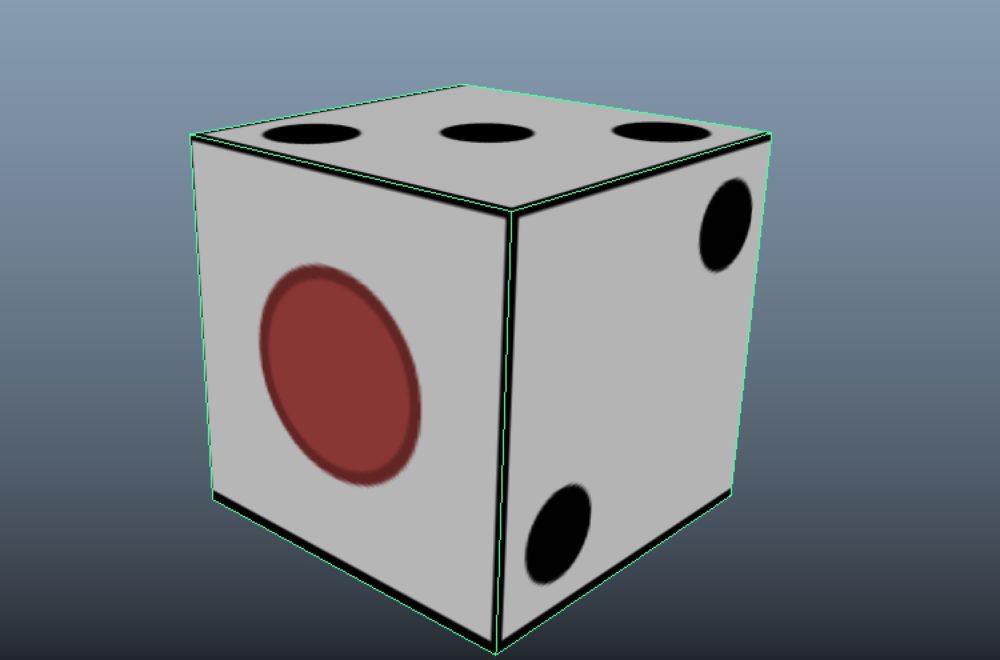 A dice texture has been mapped as shown above.
UV Layout
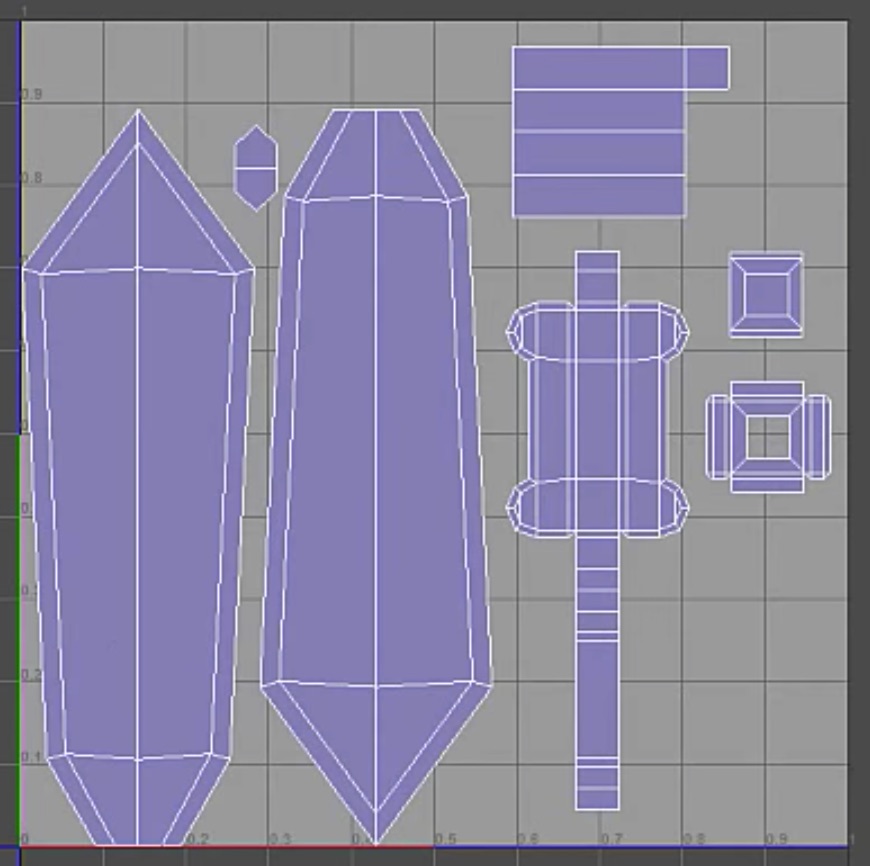
Taking the sword modelled previously as an example, I will explain UV mapping.
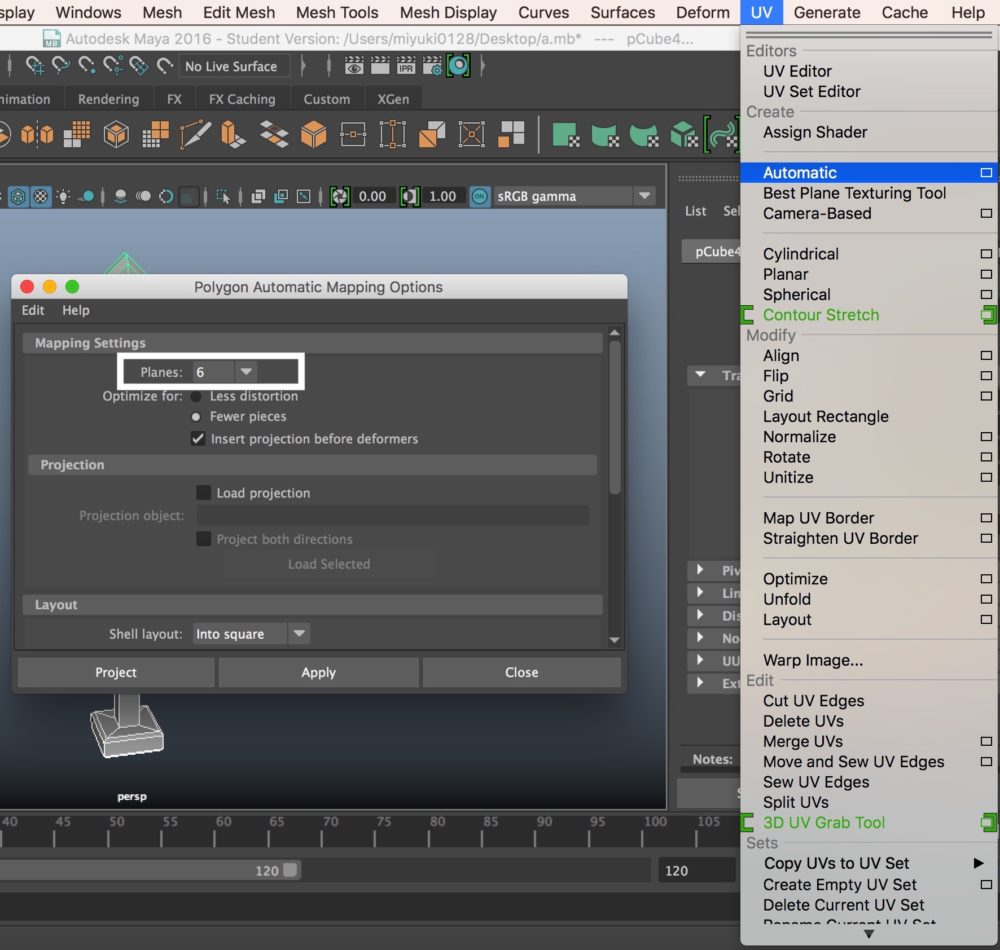
Select the whole model and click UV > Automatic Option.
Set Planes to 6 and press ‘Apply’.
(Reference: https://area.autodesk.jp/movie/maya-learning-channel/12.html)

We mainly use the tools highlighted above.
In the Component mode, make a clean UV layout by cutting edges and merging vertices and edges repeatedly.
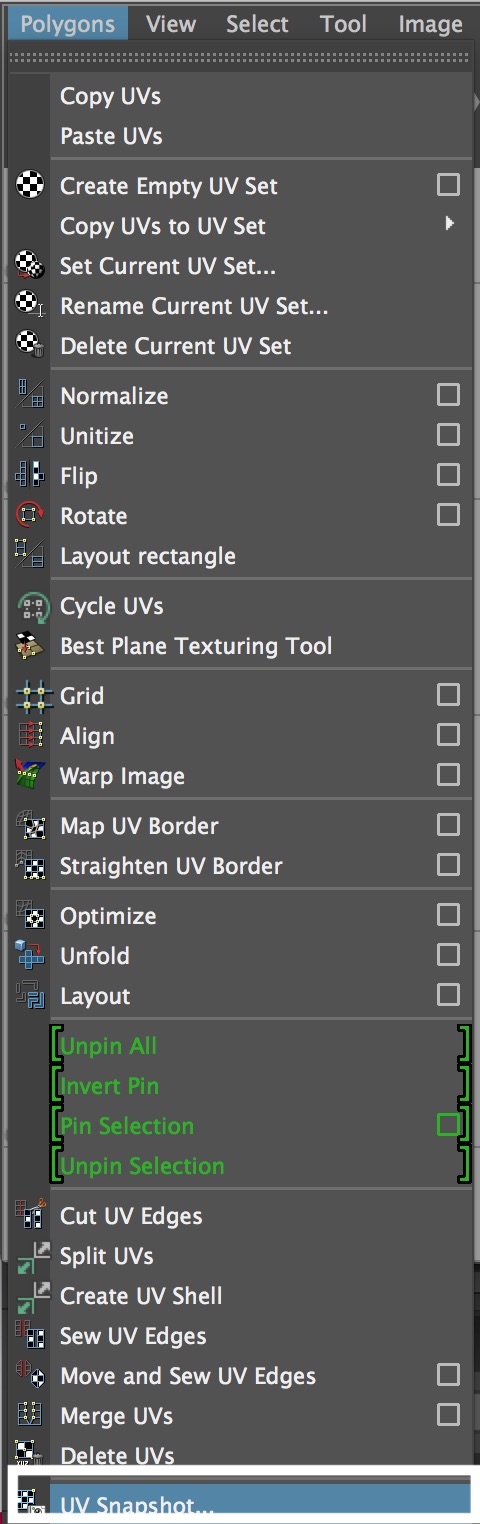
In the UV Editor, select Polygons > UV Snapshot.
Then, it opens the UV Snapshot window. Let’s set where to save and the file name. As you guessed, we create a texture from this image file by a graphics editor such as Photoshop.
After finishing the texture,
Press the checker-board icon on the ‘Common Material Attributes’ bar and select ‘Create Render Node > File’ to assign the texture.
Textures are sometimes made from scratch. In that case, you can make a texture exactly you planned since you can fully control the colours and the Bump map in the editing process.
On the other hand, there are many cases you refer to the photos you took or download the base image from a free distribution site.
Personally, I often download a base image and edit it by a graphics editor in addition to using a 3D paint tool such as Substance Painter.
It’s just a brief introduction. Have you got some idea of the workflow?
Please make your original texture. It’s fun!
(Reference: AREA JAPAN Maya Learning Channel)