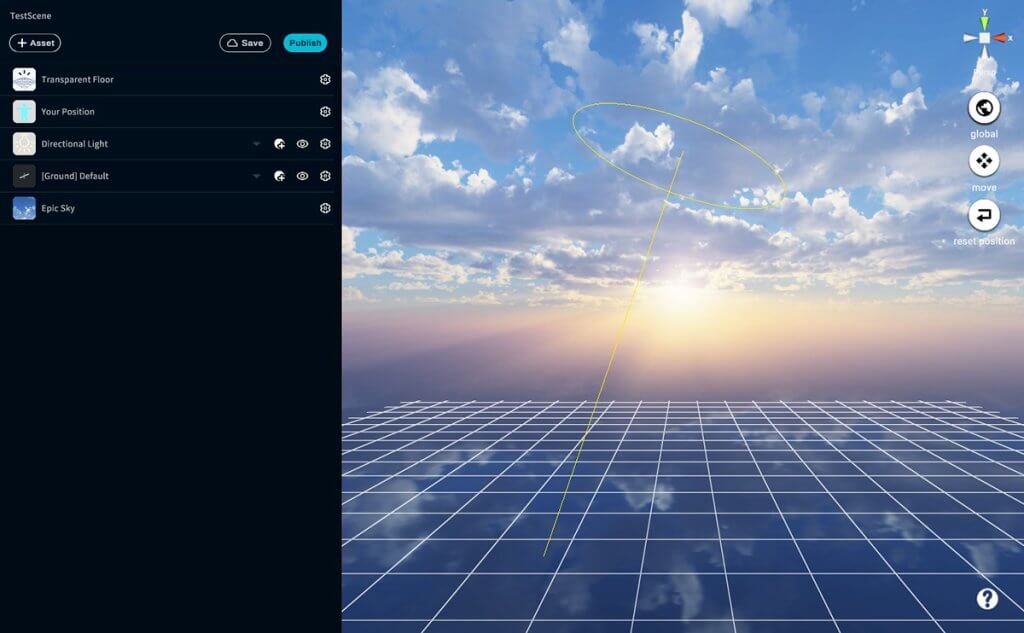
In this article, we will introduce the types of assets that can be placed in Scene and how to place them.
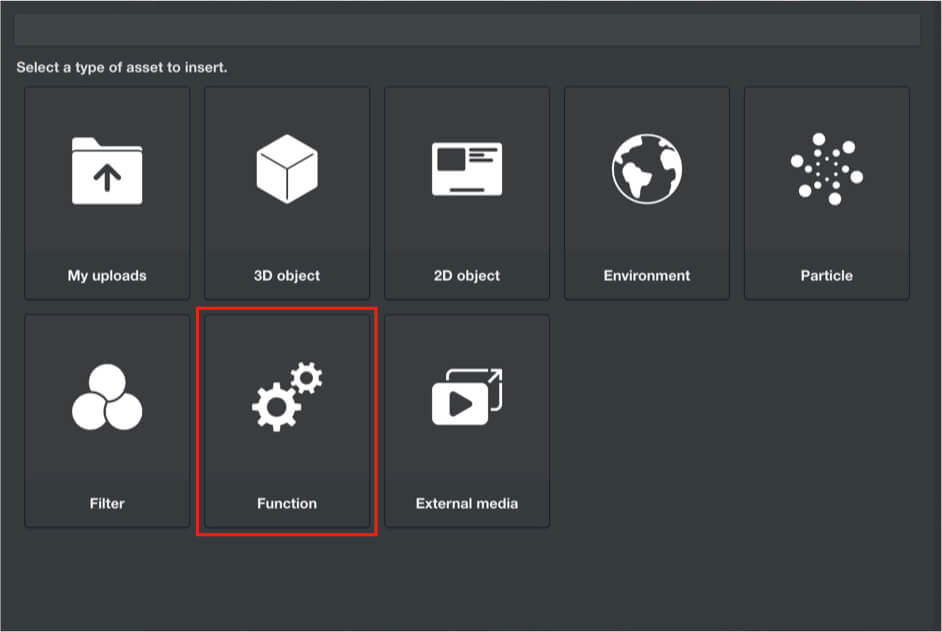
The types of assets that can be placed are My upload, 3D object, 2D object, Environment, Particle, Filter, Function, and External media.
An asset is a component that creates a Scene.
Click the asset button from the menu field on the upper left of STYLY Studio to display the asset selection screen where you can select an asset.

Asset selection screen
My Uploads
My uploads has five functions: Unity, 3D model, Image, Music, and Video, allowing you to upload your own image data (png, jpeg, gif) and sound files.
Unity
From Unity in My uploads, you can add 3D models uploaded to STYLY via Unity from your own PC.

My uploads→Unity

Unity List
For more information, please see below.
3D model
My Uploads 3D model allows you to upload a 3D model from your own PC to STYLY.

My Uploads screen
The data format of the 3D model corresponds to the following.
- FBX
- Blender
- OBJ+MTL+JPEG
- glTF(zip file)
Introducing how to upload OBJ + MTL + JPEG files. Other formats can be uploaded in the same way.
* Only glTF, upload with zip or glb file including glTF file
Click the [Select ..] button.
![Click the [Select ..] button](https://styly.cc/wp-content/uploads/2022/08/14.5.png)
Click the [Select ..] button
Select OBJ file, MTL file, JPEG file.
Enter the file name in the upload file name form and click the [Upload] button.
![click the [Upload] button](https://styly.cc/wp-content/uploads/2022/08/15.png)
click the [Upload] butto
You can check the status during upload. Introducing the types of status.
- Waiting
- Processing
- Completed
- Failed
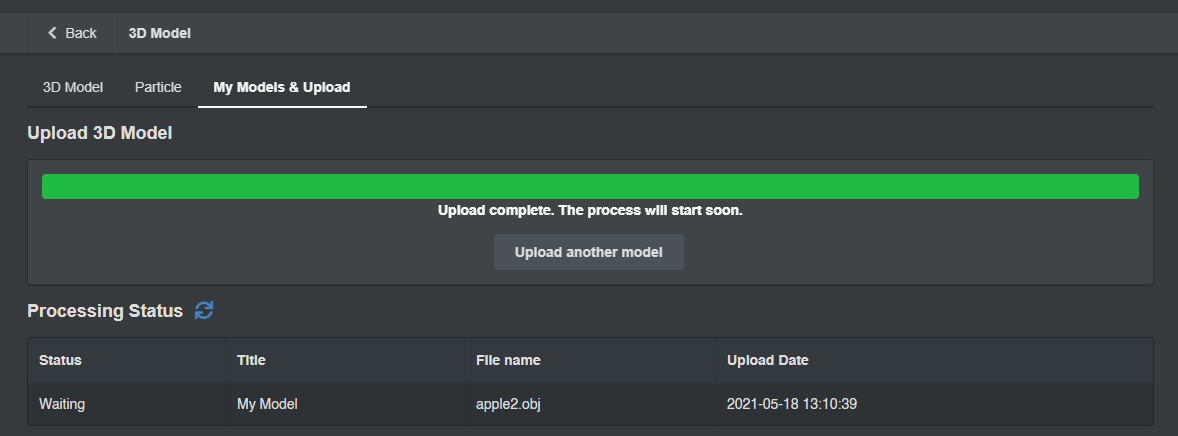
Uploading
When the status becomes Completed, Upload is complete.
You can view the latest status by clicking the Update Status button during Upload.

Update button
The uploaded 3D model will be displayed in My Models and can be placed in the Scene.
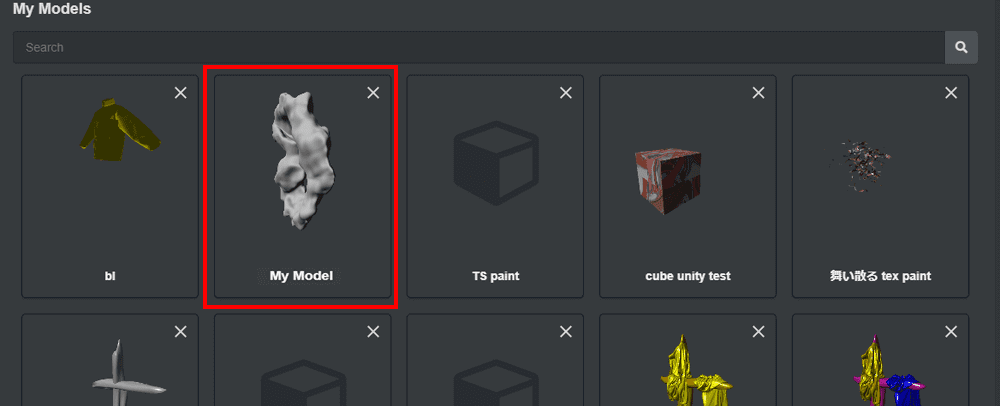
My Models list
Sketchfab
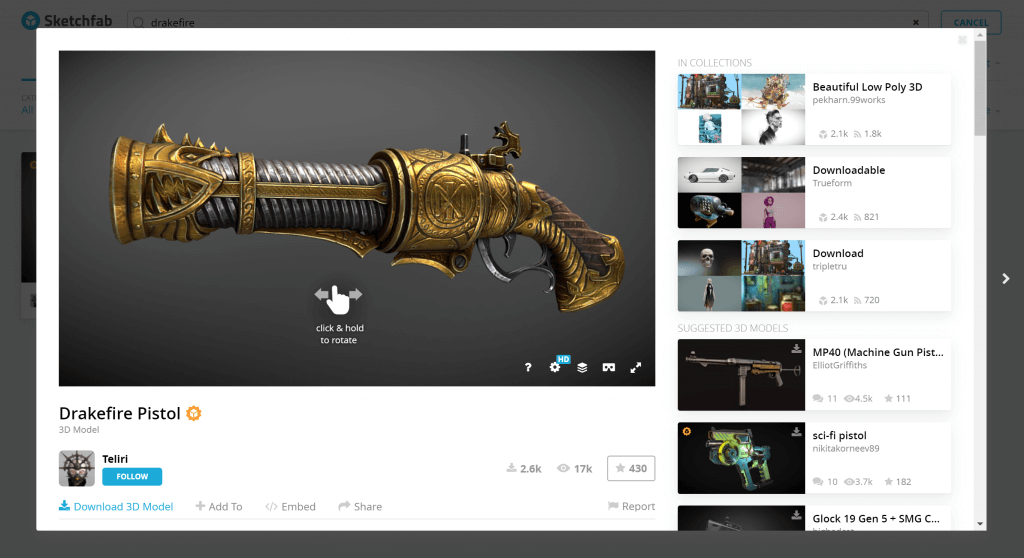
Data from “Sketchfab“, a 3D model sharing / posting service, can also be uploaded to STYLY.
When you find your favorite 3D model from the 3D model list, click it to move to the details page.
The Download button is displayed at the bottom left of the details page (* It will not be displayed if download is not permitted), so click it. Select either Original format or Autoconverted format (glTF) and click the download button to start downloading.
The glTF format allows you to upload the downloaded file to STYLY as it is, so if you do not want to edit the 3D model, please download glTF.
glTF is downloaded as a zip file, but please upload it to STYLY as a zip file.
For more information about Sketchfab, including account registration, please see the following articles.
Image
Image allows you to place images.
The image format supports PNG, JPEG, and GIF.
We also have several types of image screens.
You can also make the image look like a Skybox, or make the image look like it’s moving. Now, I will show you how to upload images.
Click the Select .. button.

Image Upload Method 1
Select the image you want to upload (JPG file, PNG file, GIF file).

Image Upload Method 2
Click the Upload button.

Image Upload Method 3
After the upload is complete, click the [Next] button.

Image Upload Method 4
Select what kind of screen you want the image to fit on.
Introducing some screens.
Regular Screens mainly include screens with different size ratios, screens with different shapes, and 360 ° screens.
3D Rotating Screens are three-dimensional and moving screens.

Screen selection screen
- Square Screen
- 16:9 Screen
- Original Aspect Screen
- Curved Screen
- Tunnel Screen

Regular Screens
The 360 ° Screen allows you to place the image as a celestial sphere, much like a Skybox.
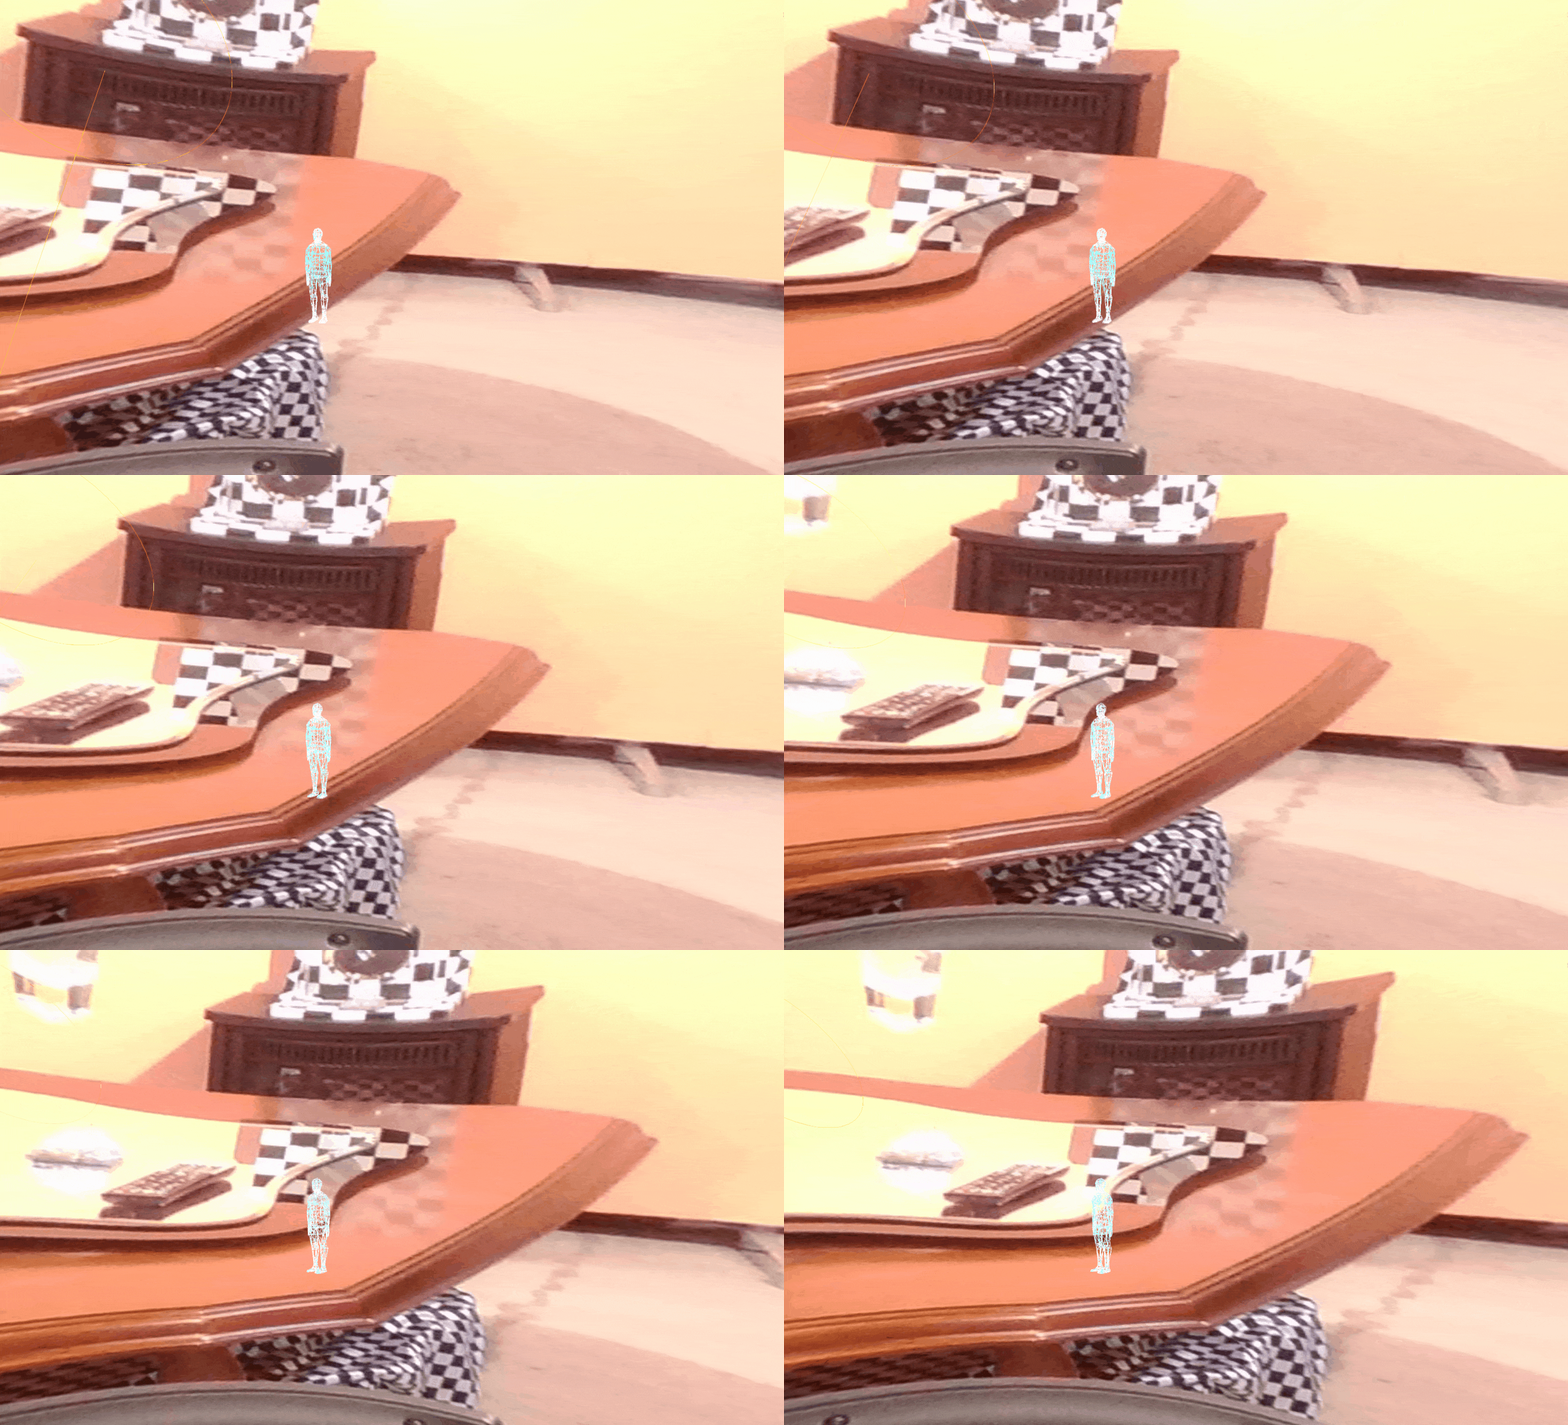
360°Screen
- Rotating Cube
- Rotating Slanted
- Rotating Sphere
- Rotating ICO Sphere
- Rotating Star
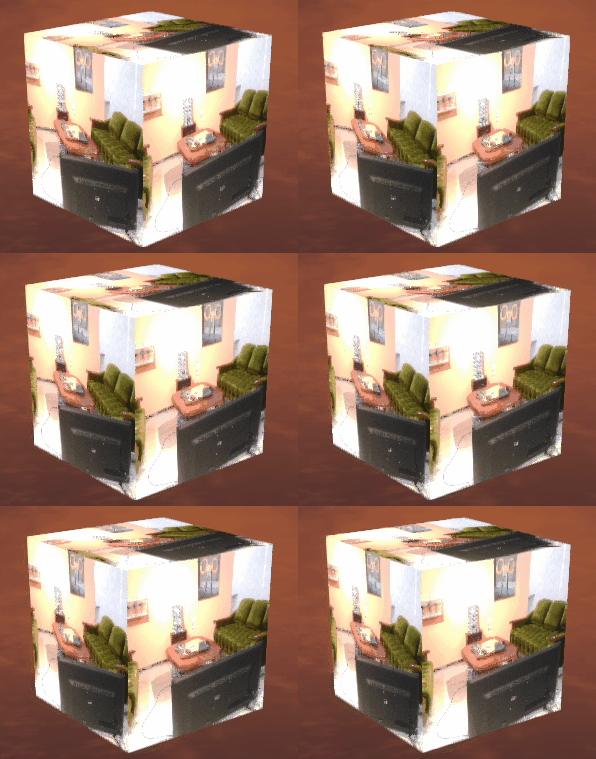 Rotating Cube |
 Rotating Slanted |
 Rotating Sphere |
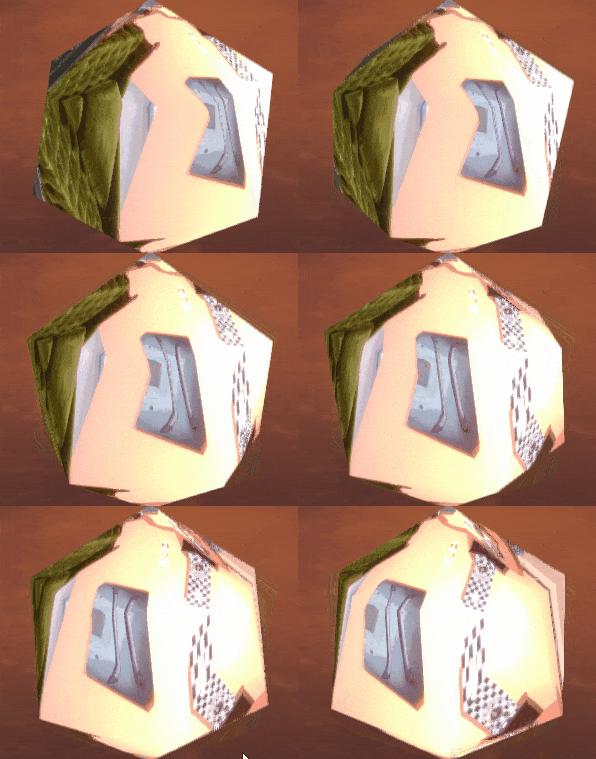 Rotating ICO Sphere |
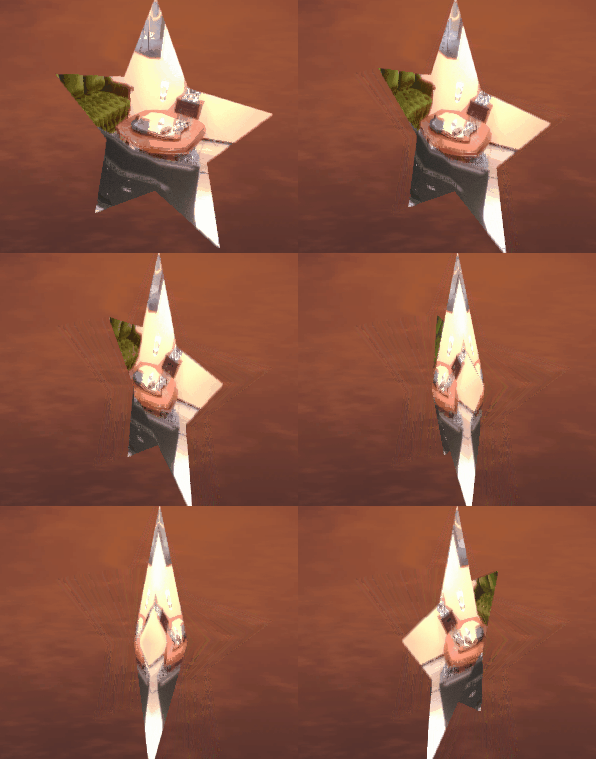 Rotating Star |
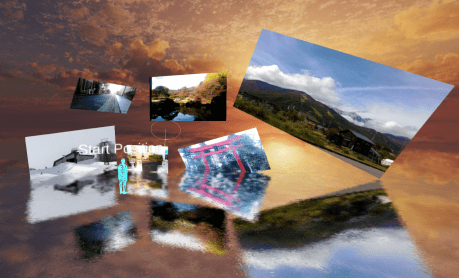
You can also hold exhibitions and solo exhibitions in VR simply by placing your own photos and illustrations on the Scene on various screens.
See below for examples of creating scenes with images and videos.
Music
Music can be arranged in Music.
It can be placed from MP3 format files.

Asset list screen Music
Introducing how to arrange MP3 files. Click the Select .. button.

Music MP3 file placement method 1
Select the music (MP3 file) you want to place.

Music MP3 file placement method 2
Click the Upload button.

Music MP3 file placement method 3
After the upload is complete, click the [Next] button.

Music MP3 file placement method 4
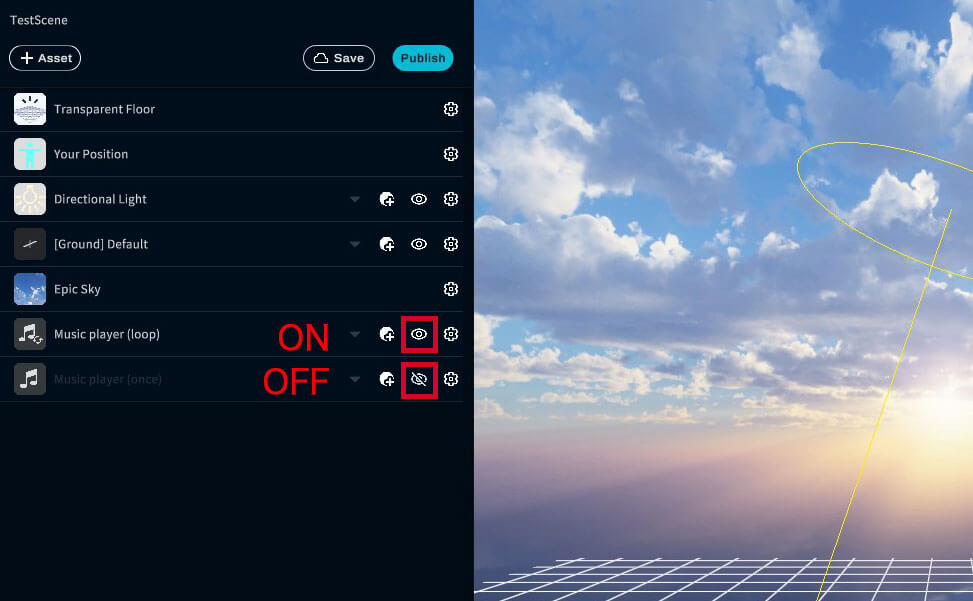
If you want to play the music repeatedly, select Music player (loop).
If you want to play the music only once, select Music player (once).

Music MP3 file placement method 5
Once uploaded, the file is in My Uploads.

Music MP3 file placement method 6
Multiple Music can be placed, but they will be played in duplicate, so click on the eye icon to hide (turn off) the music you want to turn off.
See below for examples of scenes created using sound
Video
Video allows you to place YouTube videos. I will introduce the placement method.
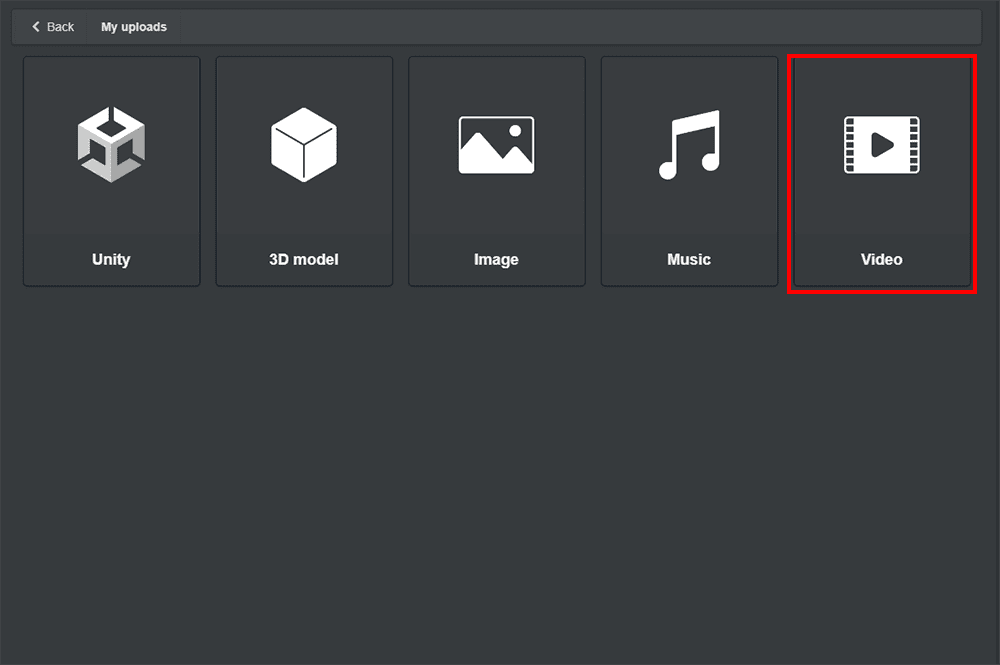
video
Click on Video to select the format in which to display the video.

Display Format
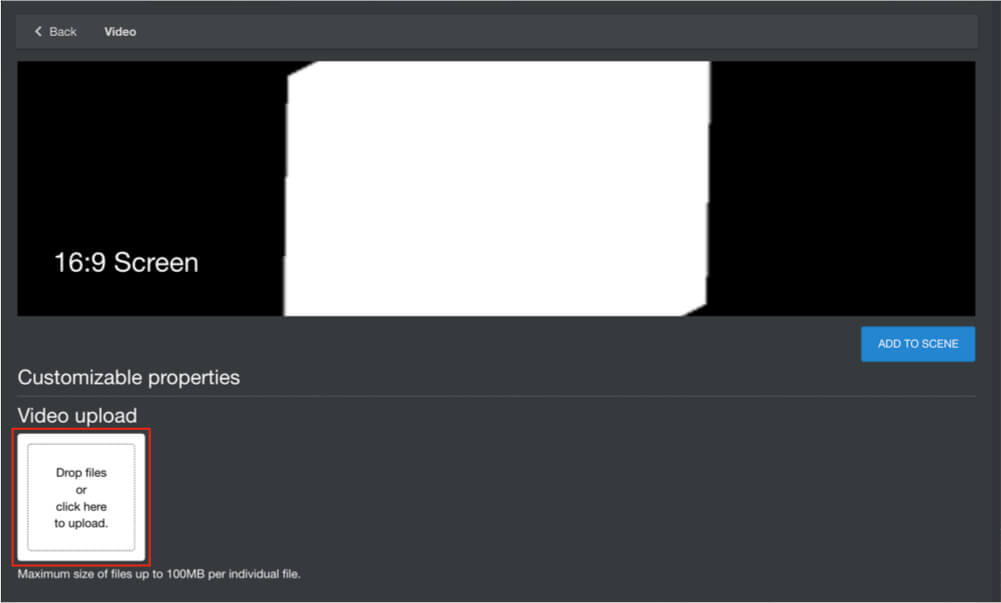
After selecting the format to import, select the video file you want to upload and click ADD TO SCENE to add the video to the scene.
First, select the white box labeled “Video upload”.
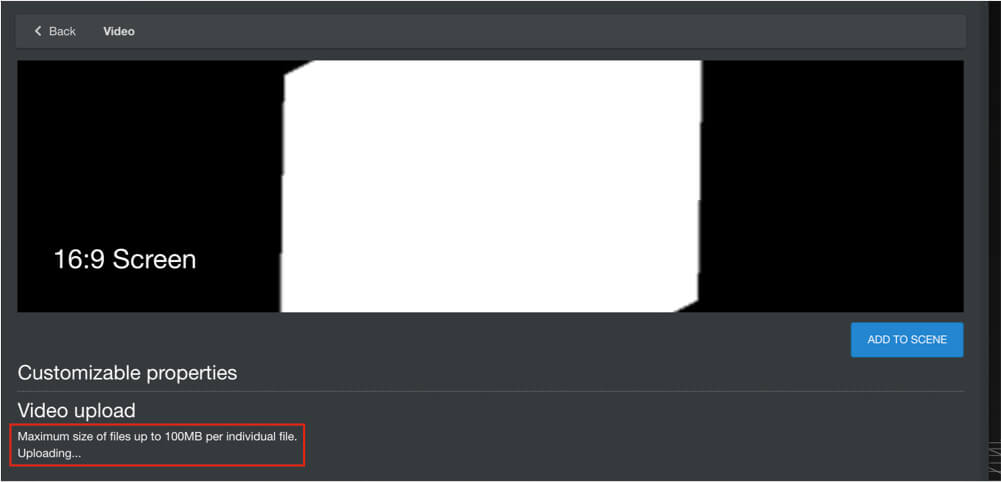
Next, wait for the data to upload, which may take some time.
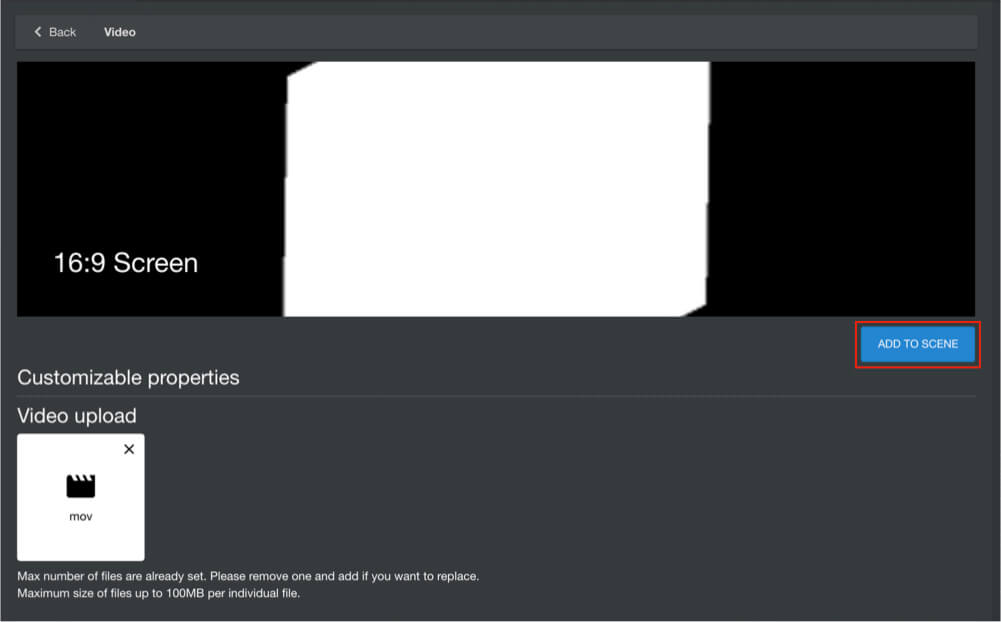
If the upload is successful, it will be marked as “mov” as shown below. select ADD TO SCENE to place it in the scene.
See below for examples of creating scenes with images and videos.
3D Object
The 3D Object menu allows you to place Models that can be used within STYLY.
Each category is introduced below.

3D object
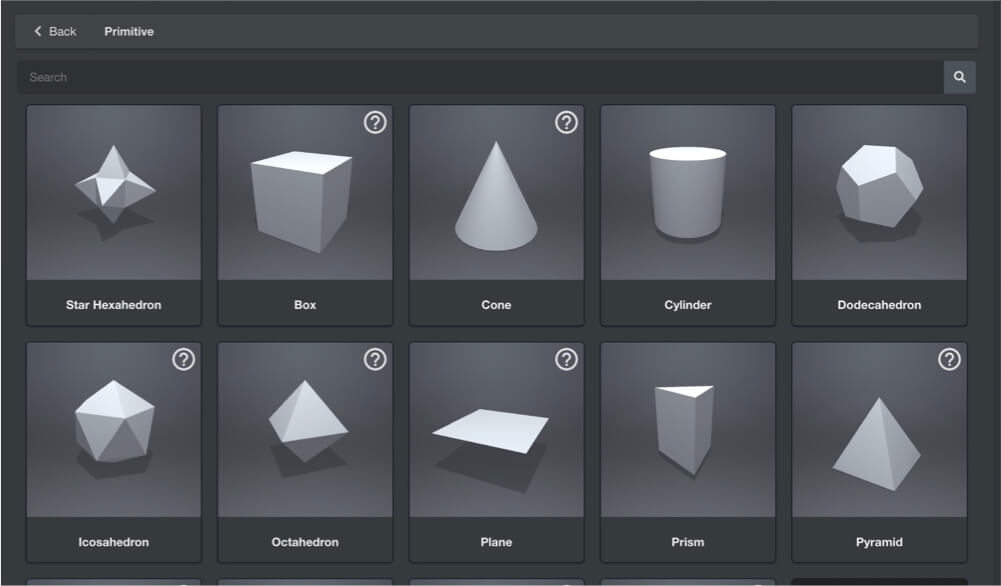
Primitive
A collection of geometric objects.
See below for details.
Official Model
It is an official STYLY model, so the size and other features have been optimized.
Scene presets and characters can be used.
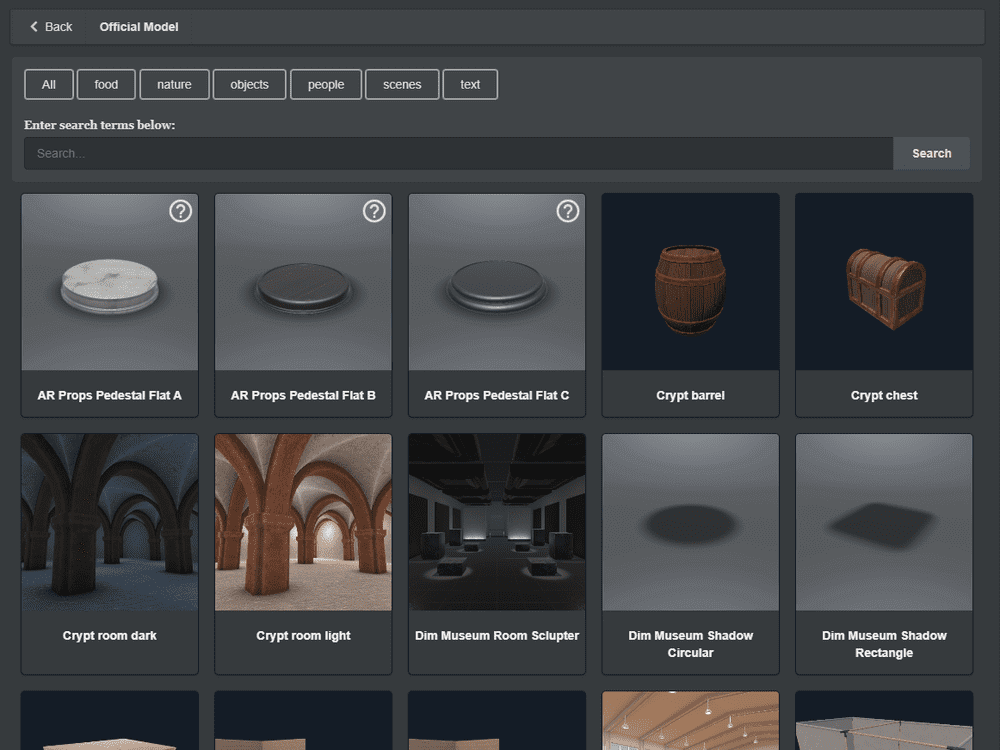
Official Model
Model
Model allows you to place 3D models.
Some adjustments may be necessary when using the model because it is not STYLY’s own model.
There are assets such as plants, clothes, furniture, animals, and buildings.
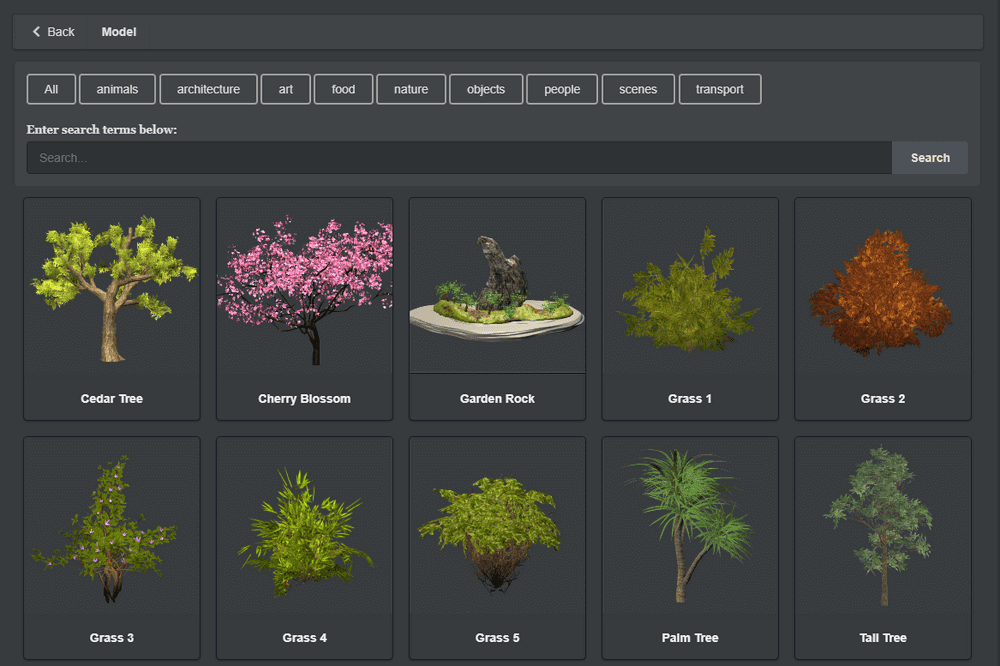
Example of Model List
You can also search by entering a search word in the search form.

Search field
Featured
In Featured, assets with a unified style can be used in a scene, such as “Disaster set,” “Museum set,” etc.
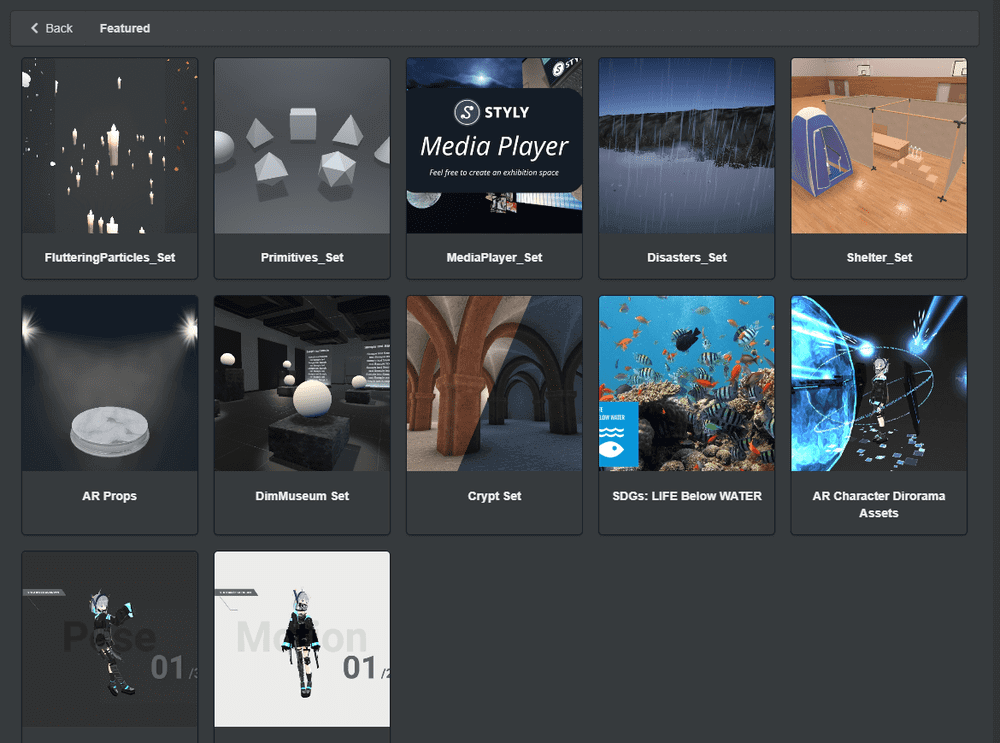
Featured
Please see below for examples of asset utilization.
Environment
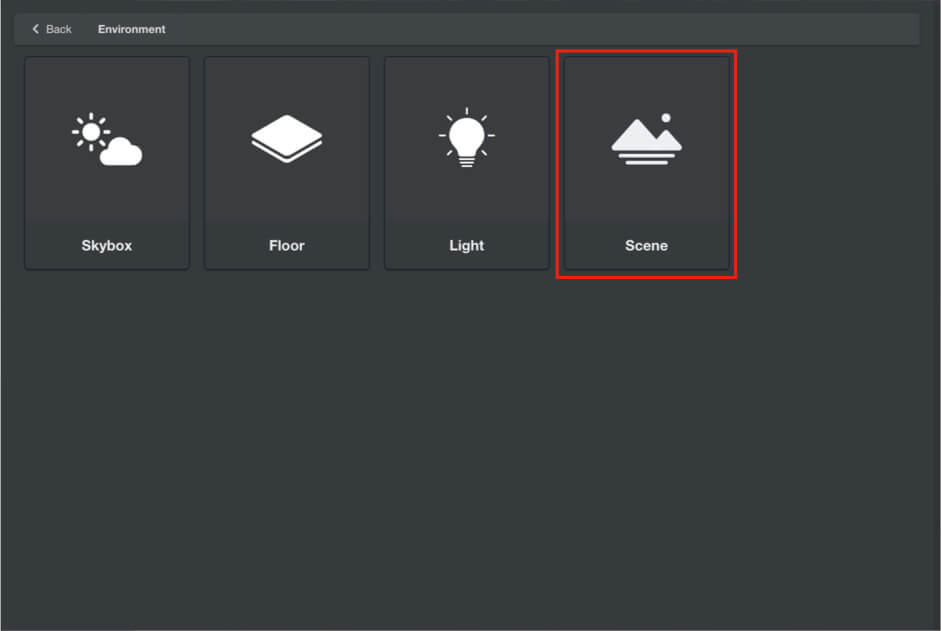
In Environment, there are assets (Skybox, Floor, Light, Scene) that are the basis of Scene.

Environment
Skybox
Skybox is a celestial sphere that covers the entire screen.

Skybox

Skybox list
You can greatly change the image of Scene by changing Skybox.
See below for details.
Floor
Floor is the floor / ground. After deploying Skybox, let’s set Floor.

Floor

Floor list
By arranging Skybox and Floor, I was able to make a base for Scene.
Light
Light is a light source that illuminates the entire space like the sun.
If you don’t have enough light, place the Light in the Scene.

Light
Also, to adjust the light, first select the Directional Light on the scene. Next, you can change the angle of the light that illuminates the 3D model by displaying the manipulator for rotation with the E key and rotating the direction that the light points.
See below for details.
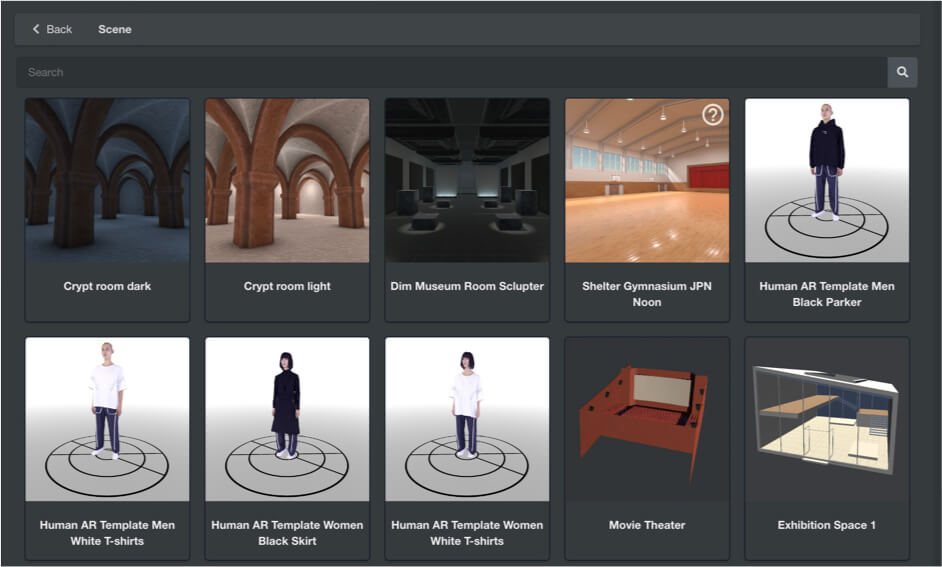
Scene
Scenes have assets about the location and space of the scene.
Please see below for examples of asset utilization.
Particle
Particles allow you to place particles such as stars, flames, lightning, and rainbows in the Scene.

Particle

Prticle List
* What are particles?
A mechanism to generate and move many small dots. By placing a plate polygon or model at that point, you can produce smoke, flames, magic effects, etc.
See below for an example of creating a scene using particles.
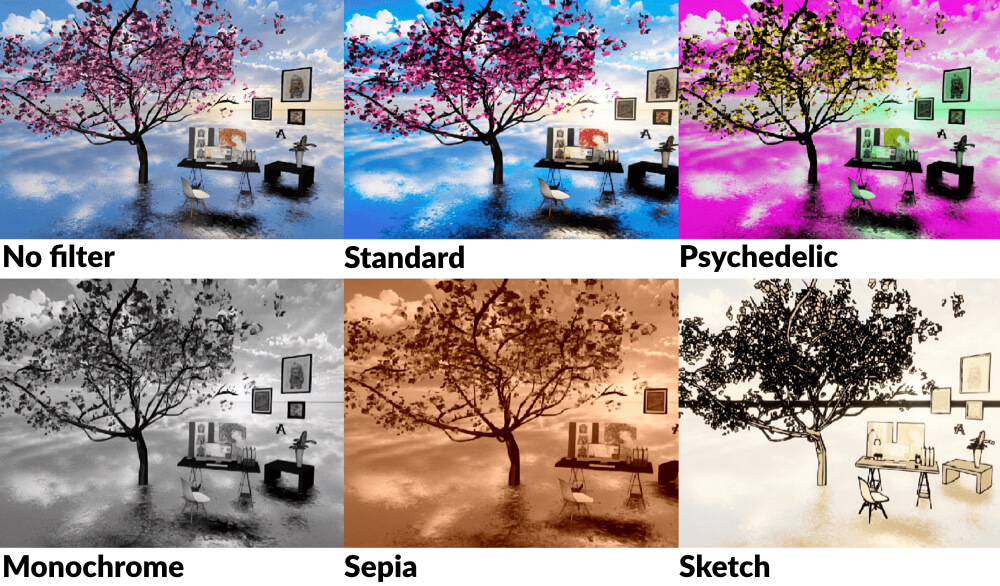
Filter
Filter allows you to filter Scenes.

Filter

Asset list screen Filter
There are 10 types such as Cool, Night and Heaven. You can easily create an artistic scene.
Using various filters, I was able to quickly edit Scenes with different atmospheres.
By using different filters in this way, you can produce various effects.
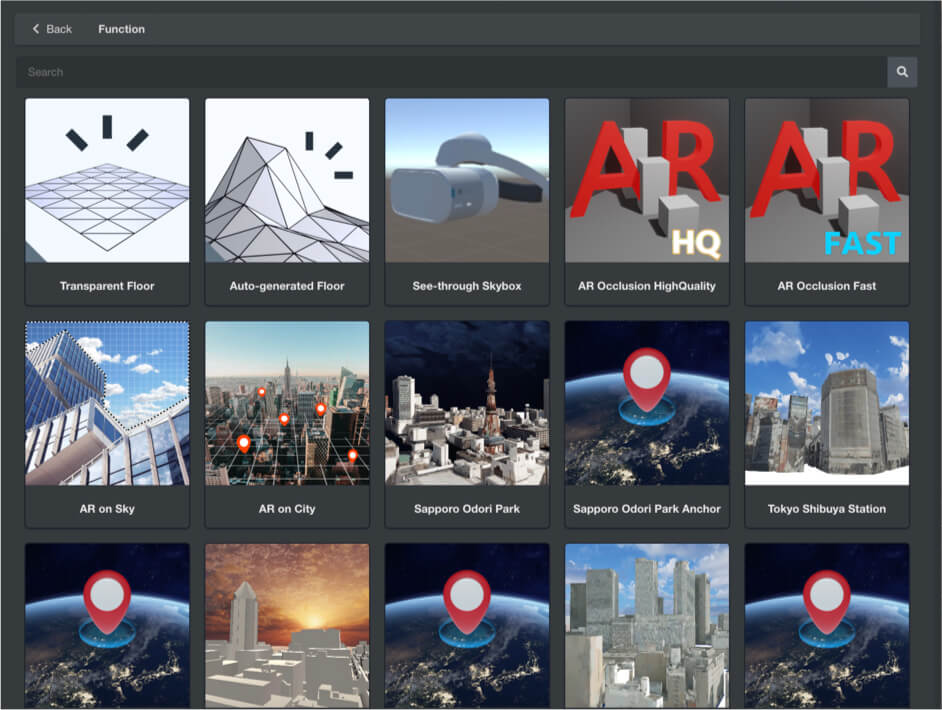
Function
With Function, you can apply effects to the entire scene, such as settings suitable for VR/AR spaces and collision detection.
See below for an explanation of each function of Function and an example of creating a scene using it.
External media
External media can place HoloStream videos.
See below for an example of creating a scene using External media.
