In this article, I will show you a series of steps to create a 3D model scene using Forge, a mesh scanning application for iOS released by Abound Labs Inc.
What is Forge?
Forge is an app that allows you to create a 3D model scene using the LiDAR (3D scanning function) that is available on the latest iOS devices mentioned above.
It can be used on Apple devices equipped with LiDAR, and features an easy-to-use user interface.
There are many other scanner apps that allow you to easily create 3D model spaces today, such as the “3d Scanner App” and “Scandy Pro” that allows you to accurately create face models using the face recognition function.
Forge specializes in spatial generation, and has become a hot topic on social networking sites for its extremely low error rate compared to reality caused by scanning.
I’ll be showing you a series of steps to actually create a 3D model space using Forge and upload it to STYLY.
The app also has a chargeable component, and if you pay a monthly fee, you can export in FBX or OBJ format.
Please refer to the following LiDAR app comparison chart created by a person named imawa@h, which includes a comparison with other apps and their merits.
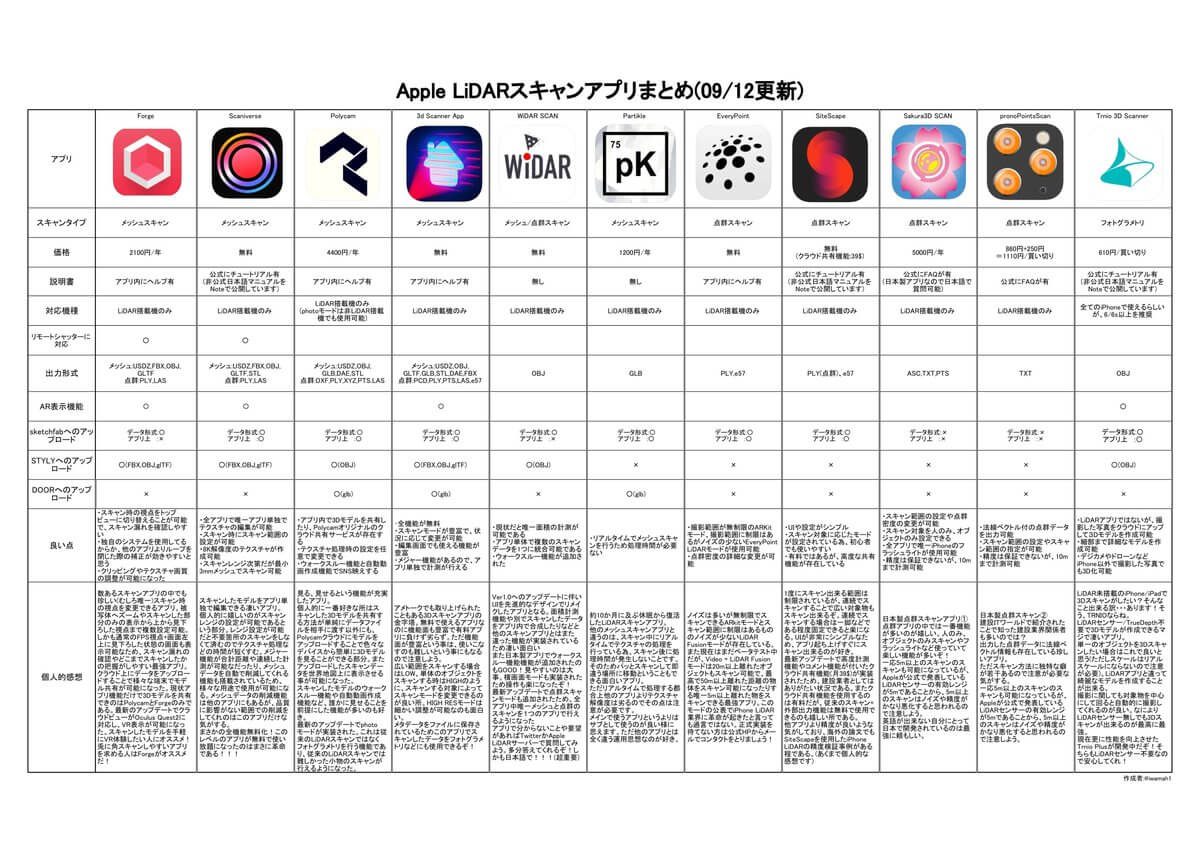
LiDAR application comparison chart: Created by iwama@h
Sample
This is a sample of a work created reflecting the contents of this article.
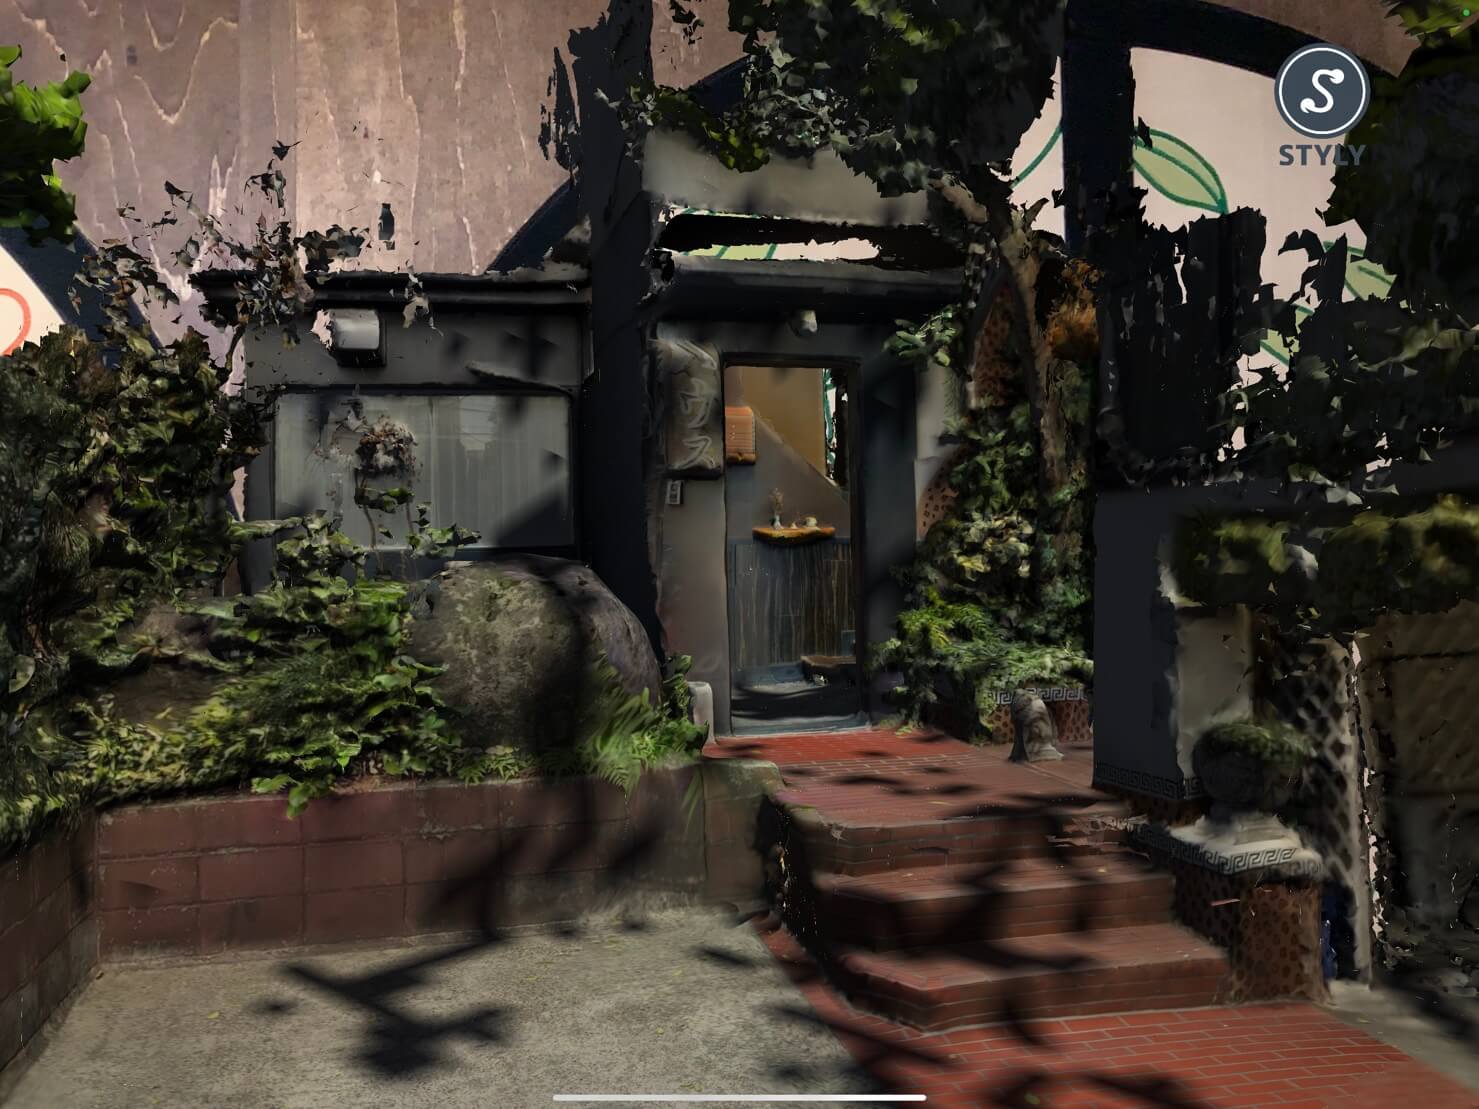
Completed image
As this work is created in AR scene, we recommend you to check it with STYLY Mobile using your smartphone from STYLY GALLERY.
Install STYLY Mobile
You need STYLY Mobile to experience your uploaded work.
Advance preparation
Forge app icon
First of all, let’s do some preliminary preparations.
The following iOS devices are compatible with Forge. *As of 10/5/22
- iPad Pro (2020)
- iPhone14 Pro
- iPhone14 Pro Max
Next, let’s download Forge.
https://apps.apple.com/app/forge-lidar-3d-scanner/id1472387724
Using Forge to create a 3D model scene
We will be using an iPad Pro (2020) to take pictures.
We will take pictures of a road and turn it into a 3D model scene.
First, let’s start Forge.
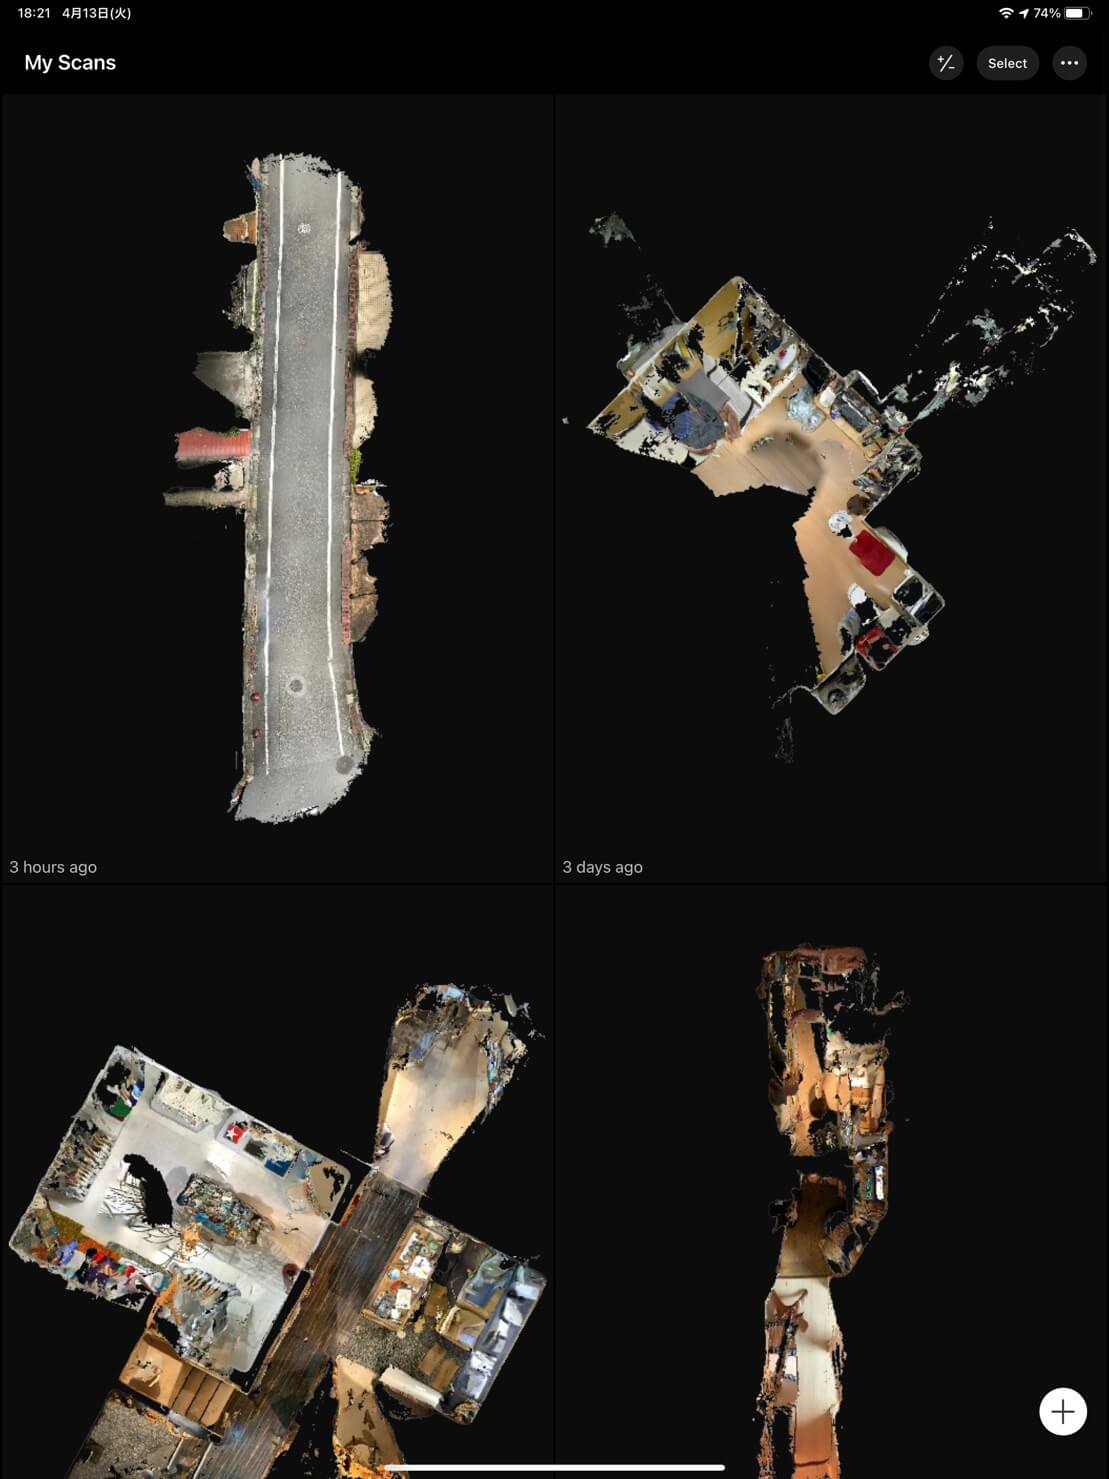
My Scans screen
When you open Forge, you will see a screen called “My Scans”.
This is where you will manage the data you have taken.
Now let’s start shooting. Press the “+” mark in the lower right corner.
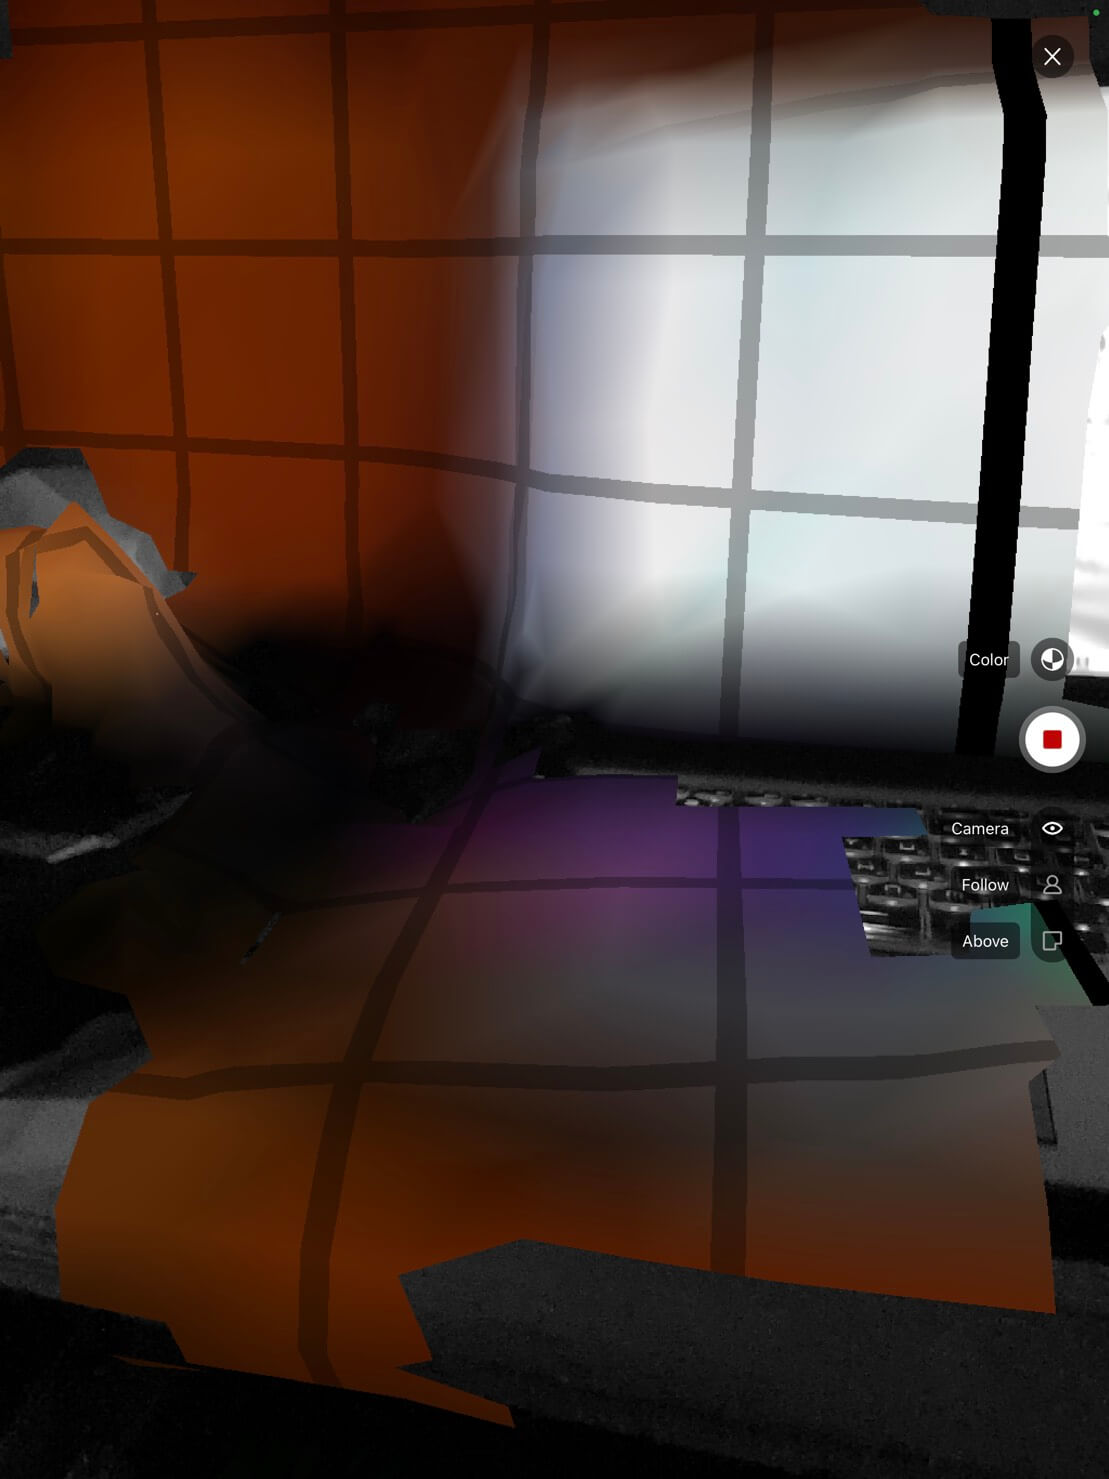
Shooting screen
This will take you to the shooting screen.
One of the features of Forge is that it has various functions such as zooming while shooting and making the subject monochrome to make it easier to shoot.
Let me introduce the functions one by one.
- Color
This function allows you to make the subject monochrome and then colorize the area of the subject that is being scanned, or conversely, display the scanned area as achromatic polygons. - Camera
Allows you to zoom in on your subject. - Follow
Displays the scanned subject in virtual space. - Above
Focuses on the ground and tracks the photographer’s movements to make it easier to shoot.
I turned on Color for shooting.
I felt that one of the features of Forge is the ability to use different functions depending on the shooting location and situation.
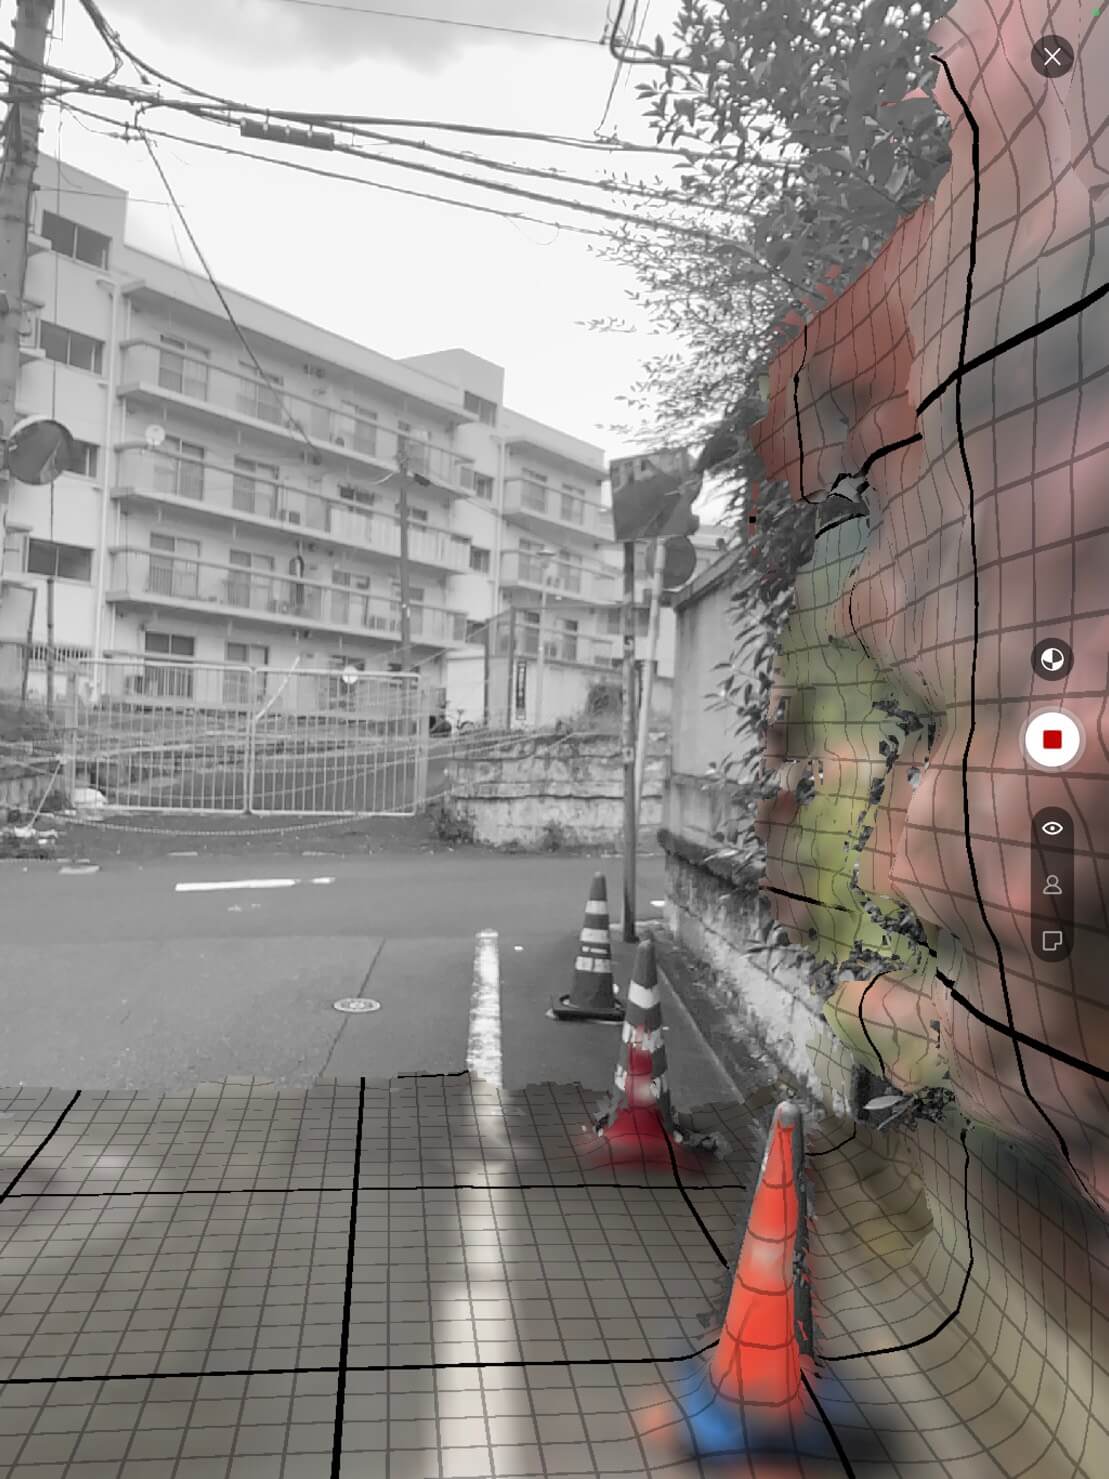
Shooting screen
At first, I recommend shooting a small area.
As is the case with other apps, if you shoot a wide area, there is a risk that the app will crash and the data will be lost when exporting, so start by shooting a small area and gradually expand it.
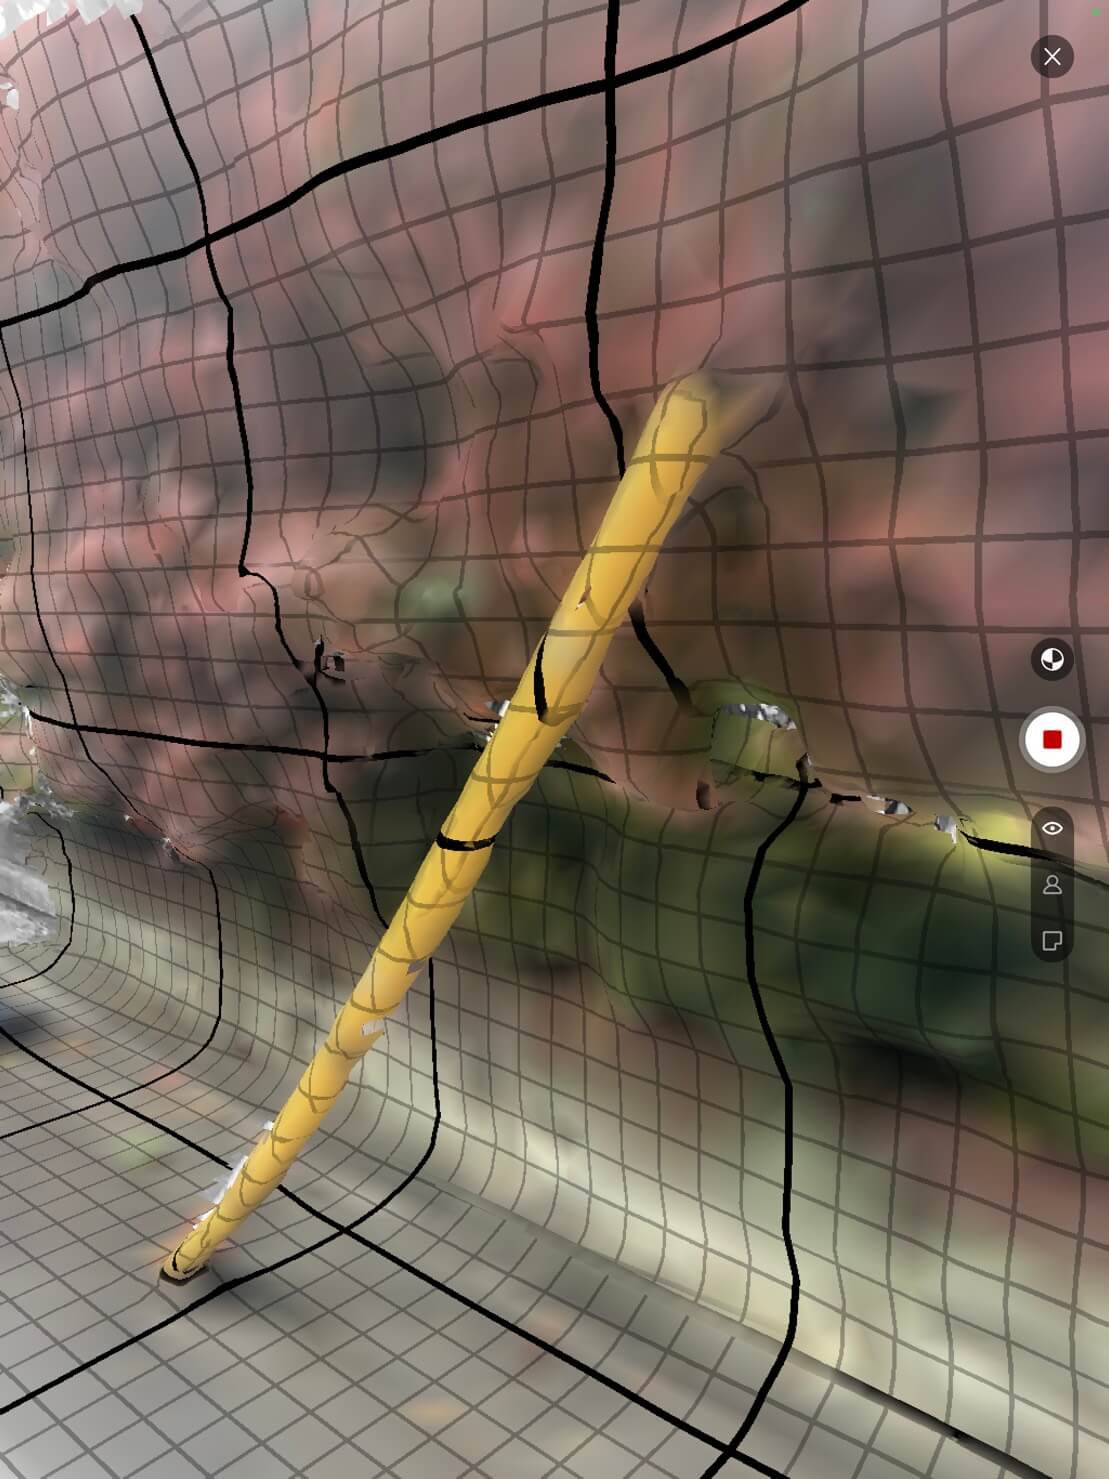
As shown in the image, you can create a beautiful image by carefully shooting around colored cones and rounded objects.
Press the Stop button.
When you are done shooting, press the red rectangle to end the shooting.
Exporting will begin. While exporting, the texture will be unclear, but when it is finished, it will be displayed beautifully.
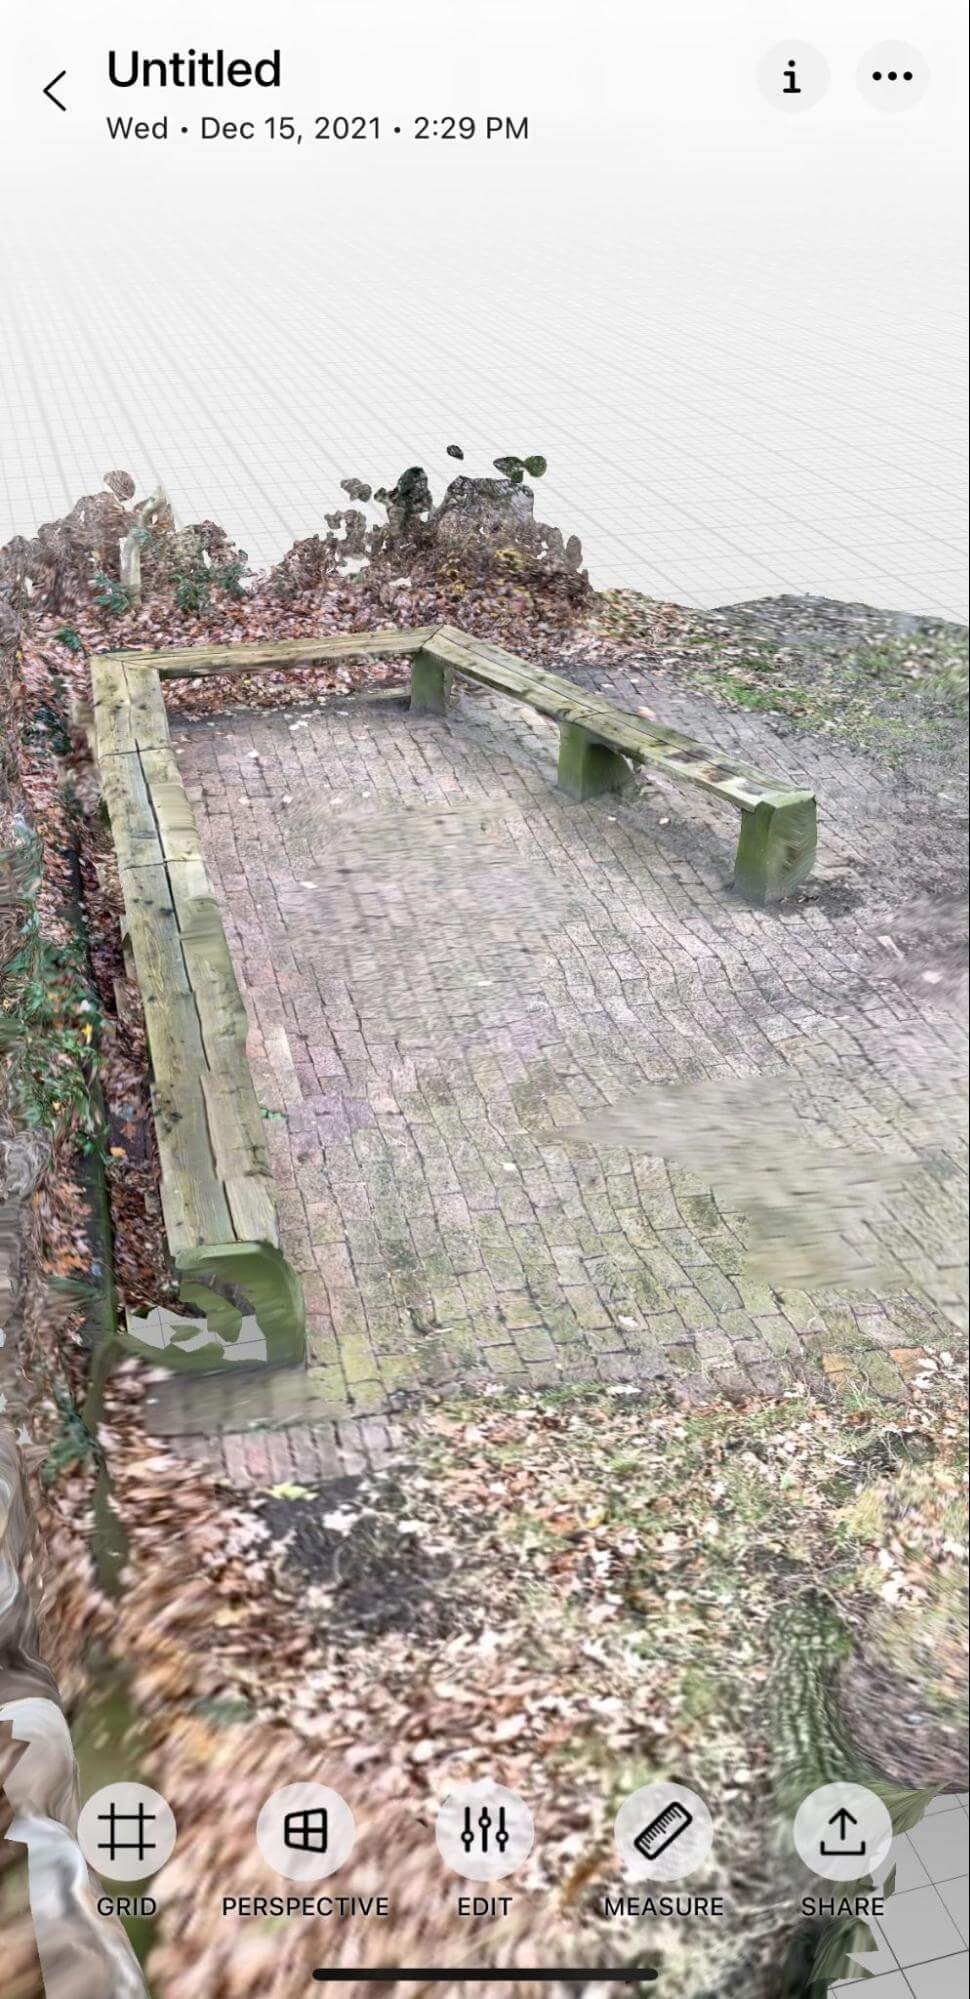
When the export is finished, take a look at the 3D model to check it.
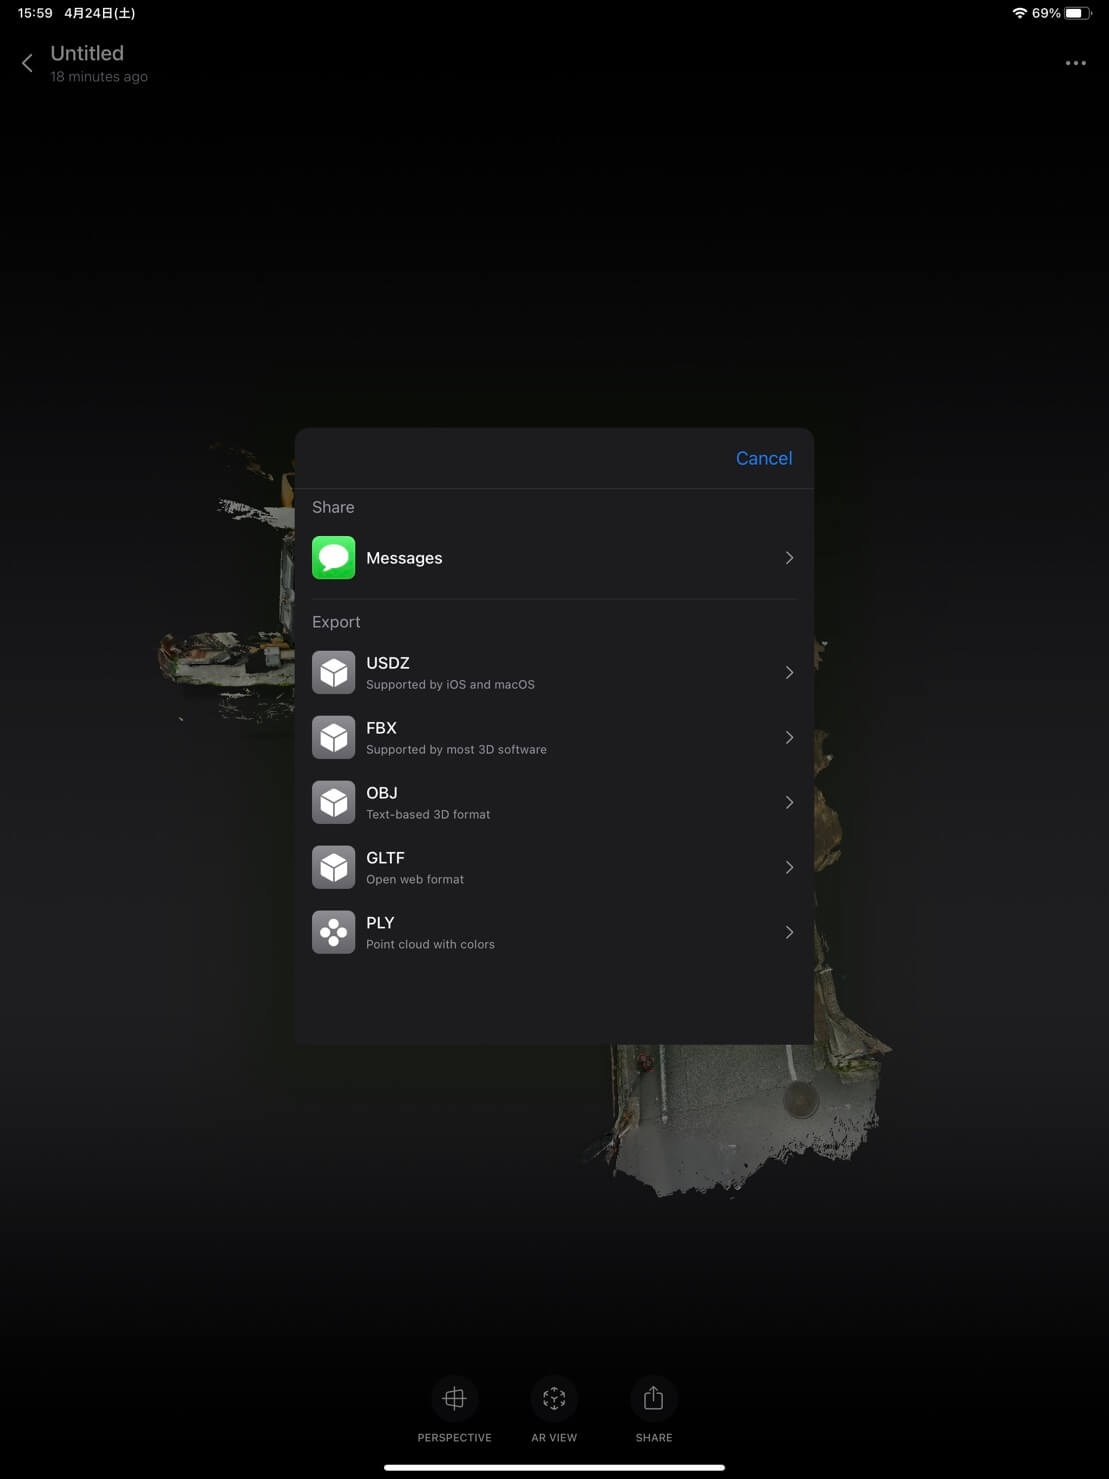
Exporting with FBX
The next step is to export the 3D model to send it to your PC.
Tap the Share button below and select FBX.
I use Google Drive, so I uploaded the file to Google Drive that comes up afterwards.
This completes the process using your iPad/iPhone.
Check your scanned model in VR view
You can quickly check how your 3D scanned model will look like in VR with the URL.
It is convenient to see if the model has been scanned properly on the spot before you create your work in STYLY.
HMD used in this section: Oculus Quest
Scanning
Scan with your iPhone/iPad Pro as described in this article.
Scan
Upload
Open Share and tap Post Scan at the top.
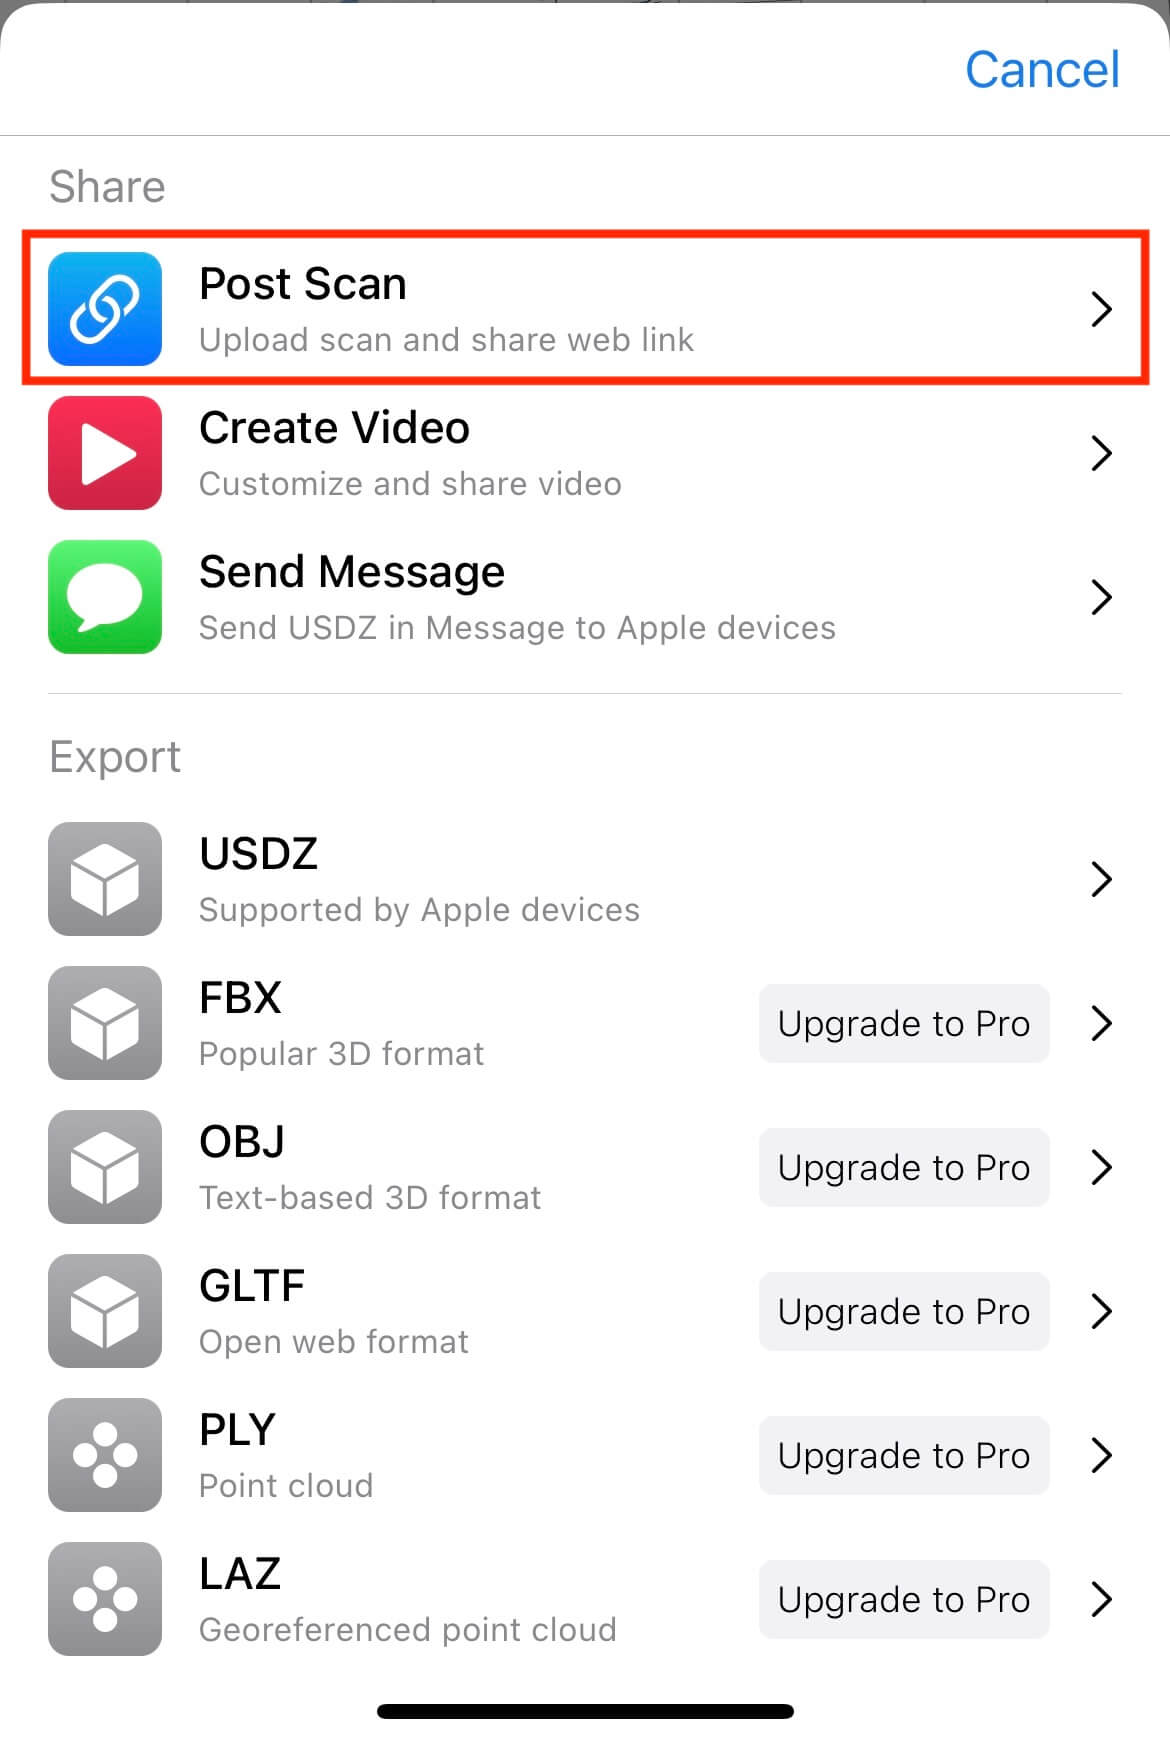
Tap Post Scan

Upload

Upload
Open the URL in the HMD browser
When the upload is complete, a URL will be issued and you can share it to HMD and browse it with your browser.
I chose the email function as the share method, saved the URL as a draft, and opened the email on the HMD side.
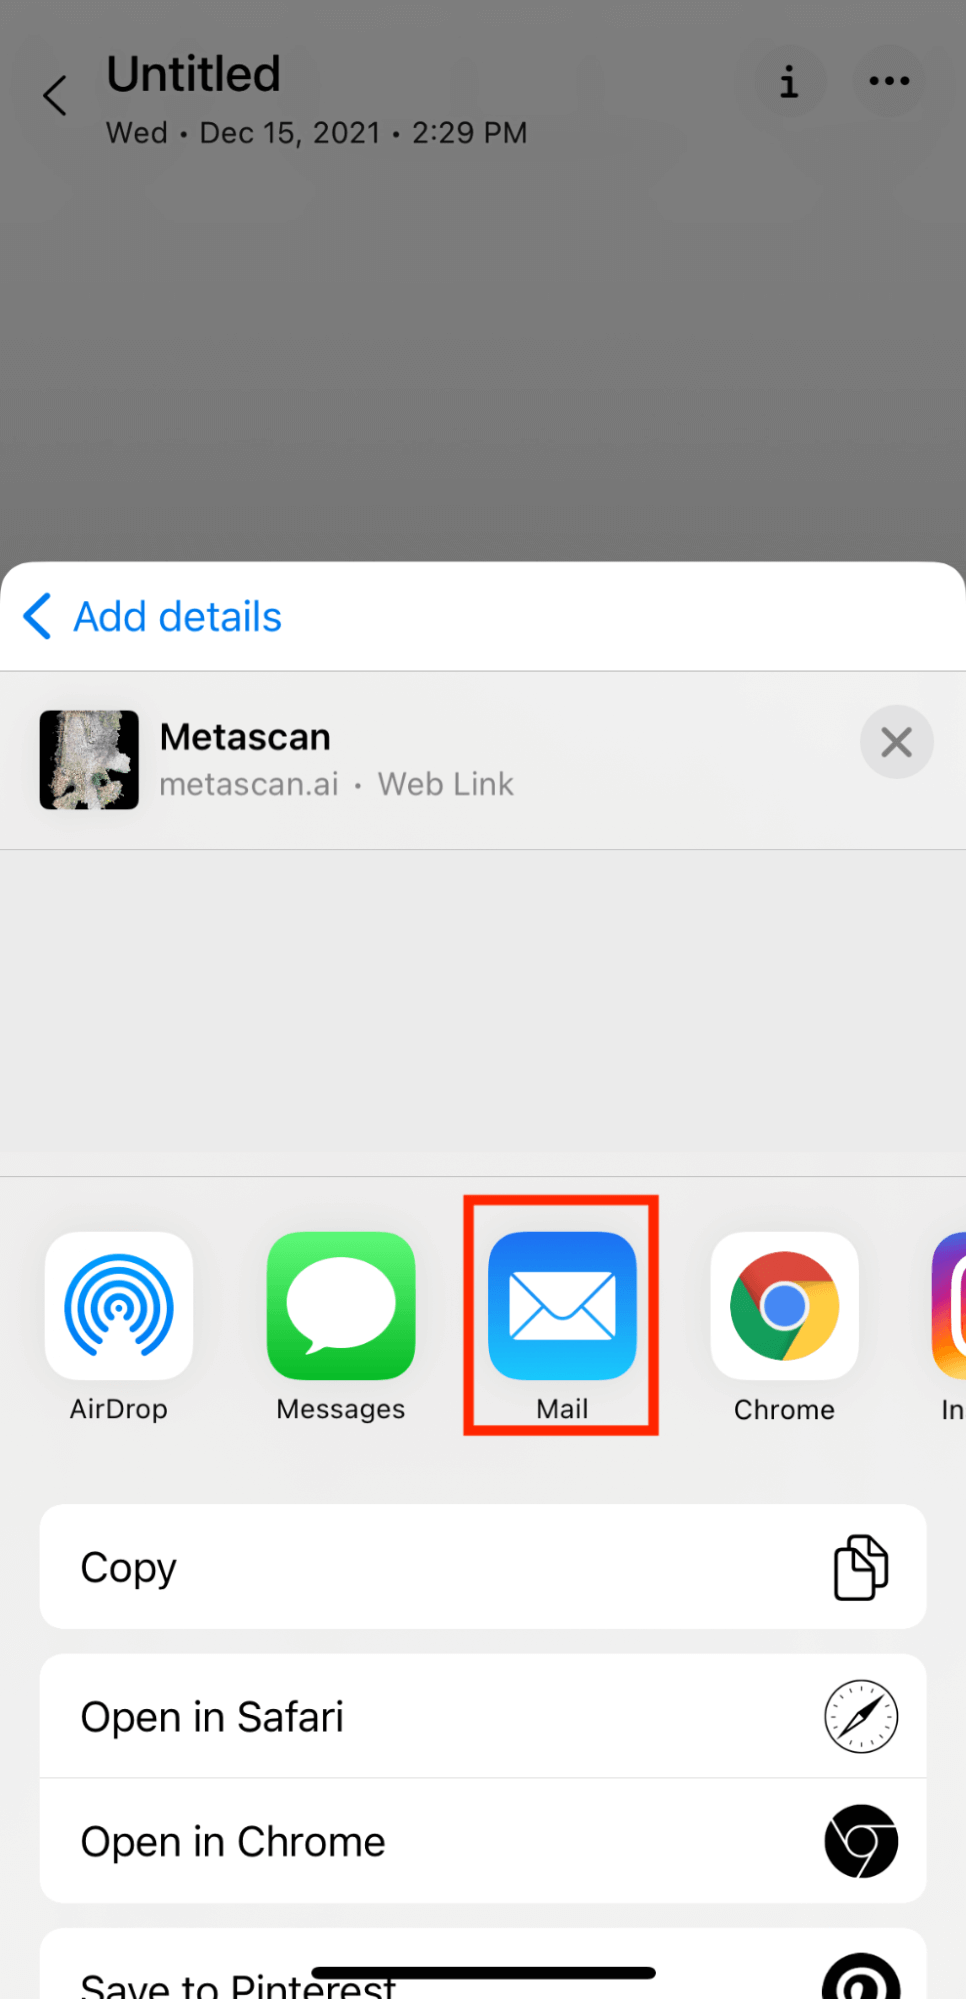
Selecting email as the share method

Save the URL as a draft using the email function.
Open a browser from HMD and log in to your email account.
Then access your drafts folder.

Open the browser from HMD
Login and click on Drafts, and you will see the URL you just saved.
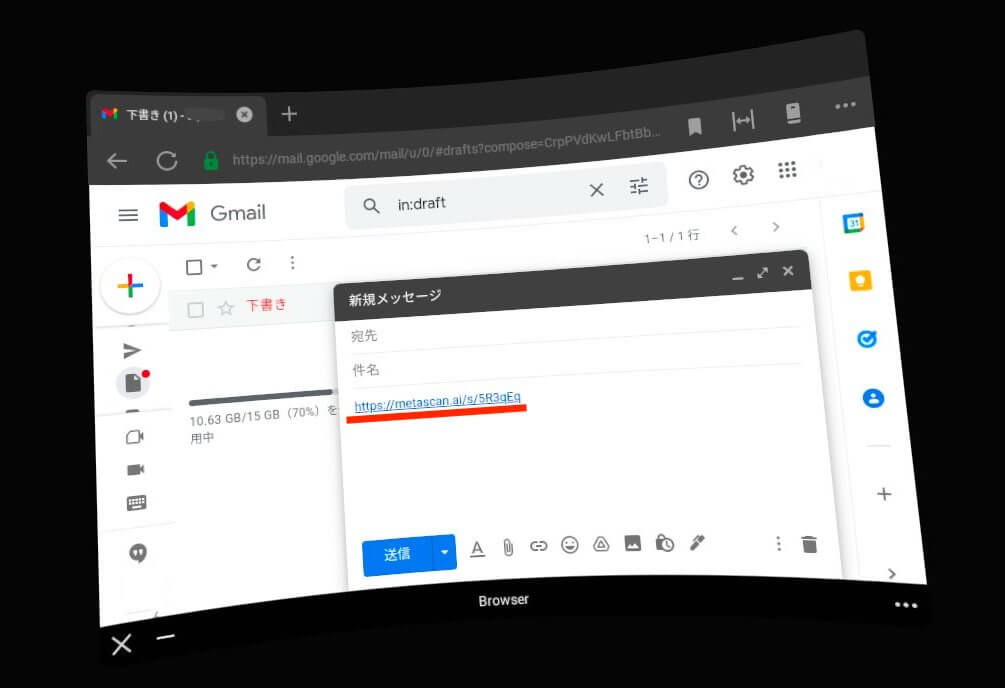
The URL is saved in your email drafts.
VR viewing
Click ENTER VR and wait a moment, then it will appear as a VR.
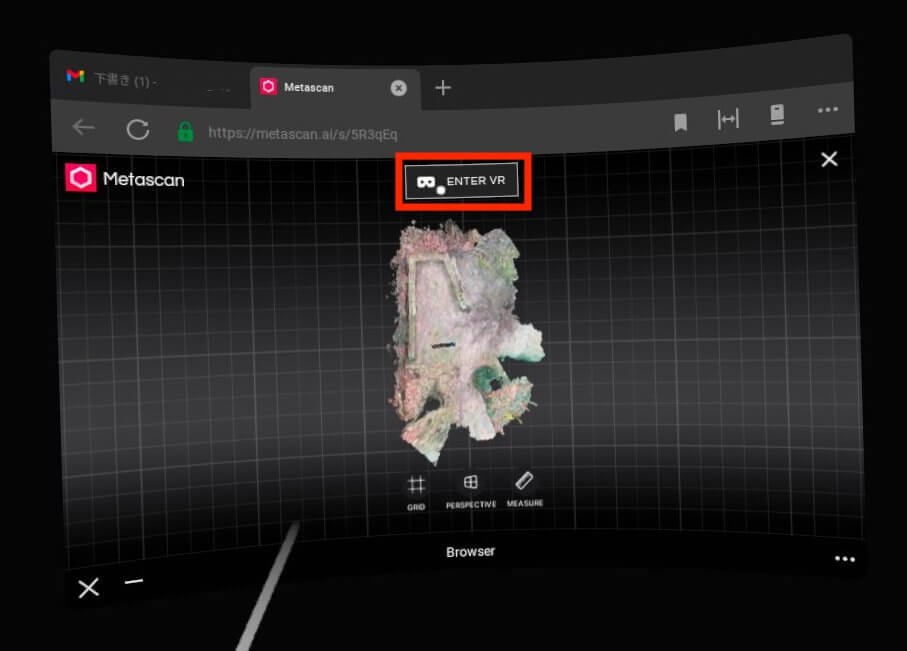
ENTER Click the VR.

The VR is displayed.
Uploading to STYLY
You can learn more about how to upload a 3D model scene in following article.
![[Photogrammetry] Creating a 3D model using Meshroom](https://styly.cc/wp-content/uploads/2020/12/download-1-160x160.gif)
How was it? By scanning an actual space and turning it into a 3D model space, it can be useful as a material for production or as a work of art.
Please refer to this article and try to make a 3D model of your space.
How to create a STYLY account

How to upload your work to STYLY

How to upload from Unity to STYLY

You can use STYLY FORUM to solve the problem. STYLY FORUM is a place where people can discuss a service or technical issue on STYLY, or provide bug reports on STYLY.
https://en.forum.styly.cc/support/discussions